Archive for the ‘Home & Organization’ Category

Weekend Project: New Workspace

Monday, February 18th, 2008

I am so excited because Ryan & I were finally able to complete another project on our to-do list… creating a workspace for two.

We have had a lot of challenges with the two of us both working from home and both working on the computer. We both needed computer time and we were constantly battling for the computer. One of my first investments was getting a laptop. Thanks to having a computer guy for a hubby, he was able to get me an excellent deal on a laptop and I was partially in business.

I say partially because we were still battling over workspace. I have back problems and would want to sit at a desk. He would need the desk for his computer so we would once again be duking it out for the workspace. One of us would be sitting at our children’s tiny table trying to talk about work ideas and the other one of us would be sitting all comfy at the desk. We also had other scenarios where I would try to be productive working in my room and then fall asleep or I would attempt to work from the couch, but someone would want to watch television. In short, it wasn’t working.

Finding a desk though that could fit our “team Clark” philosophy was tough and expensive! We decided to use some of the money that I earned this year to put towards getting a desk that would be perfect for us to work together.

We found what we wanted in the Pottery Barn catalog, but we aren’t a Pottery Barn kind of family (budget wise, I mean). Ryan was able to find it for a fraction of the price on Target’s website though and you can’t even tell a difference between the two designs. He also found a deal where we got 15% off and free shipping. Timing it with that really helped save us some additional money. While it was definitely a splurge, it provided the perfect space for the two of us to work together.
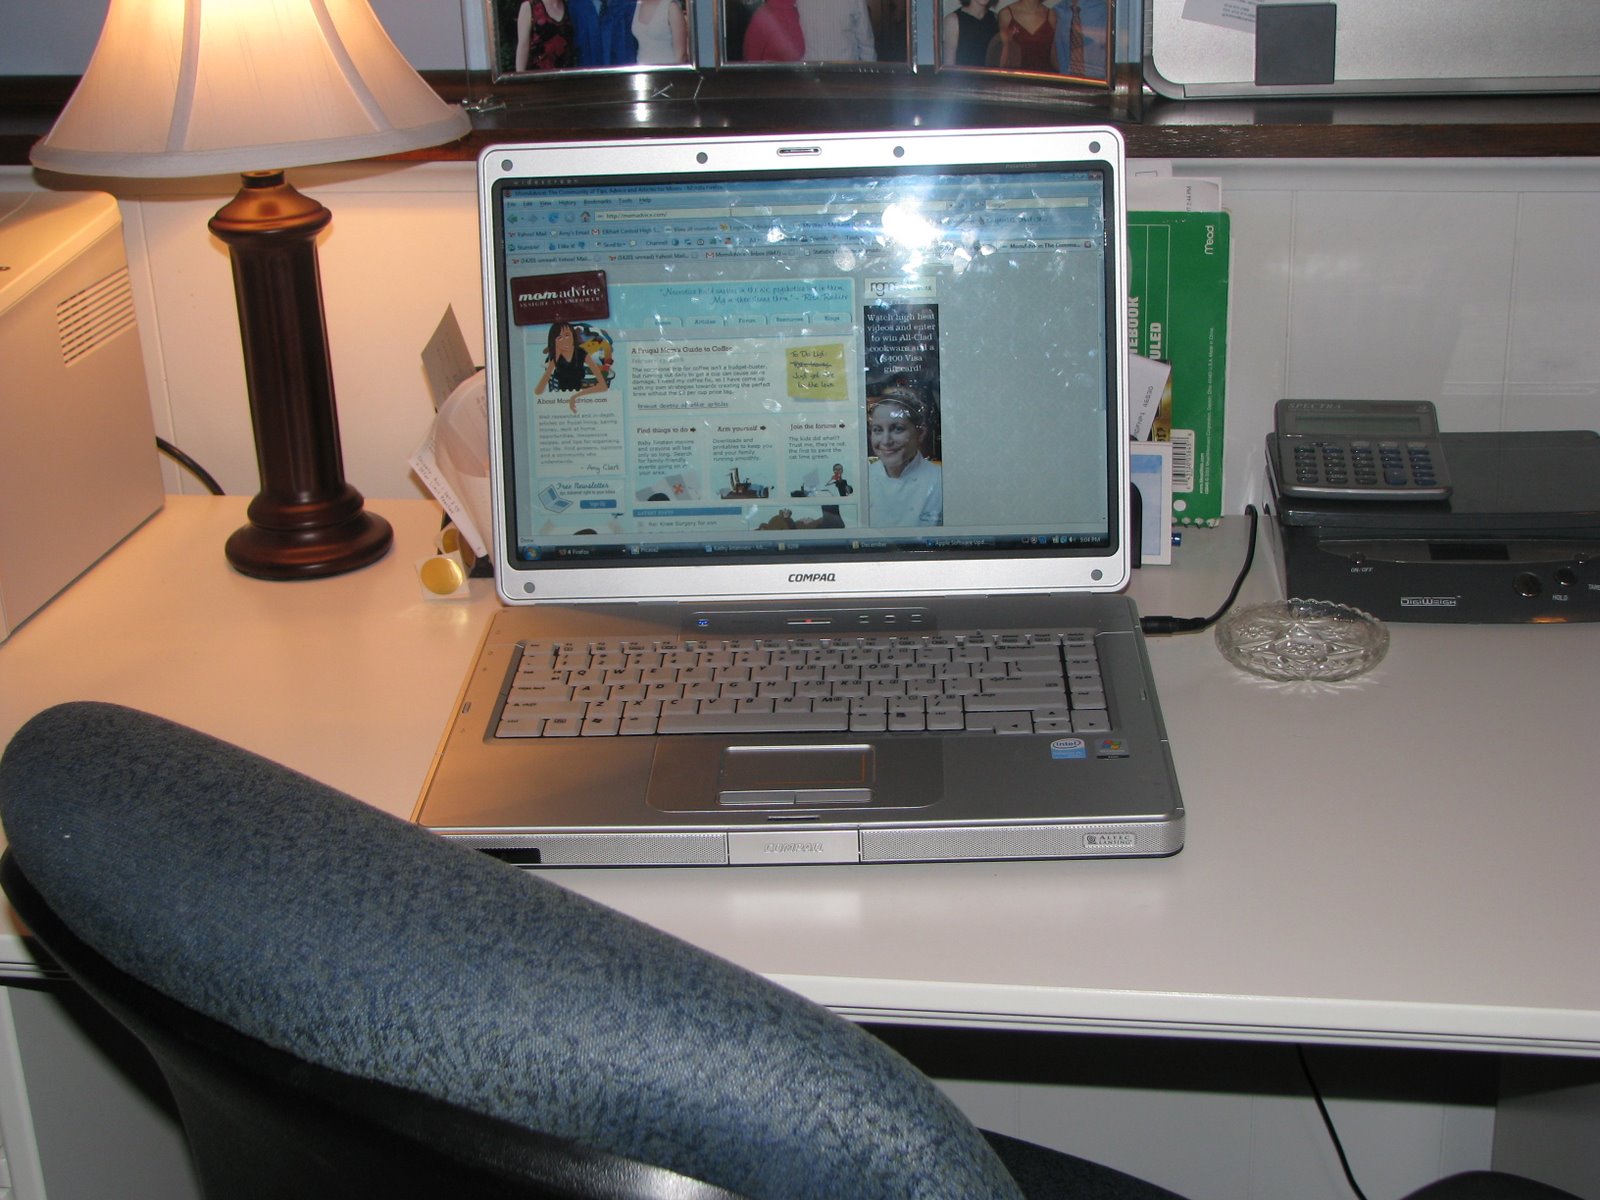
Welcome to my new workspace- isn’t it great? You can expand these pictures to view it in more detail. We purchased three cabinets and bought two desk tops to make our new work area. The two desk tops rest on the center cabinet and make one seamless unit. This set-up works great for us because we work together on many of our projects.

Not only is this great for working together, but it has created a lot more space in our office because it is all against one wall versus our corner desk that we had before.

This set-up was not without challenges because we had originally intended for it to go along our back wall and found that the unit was a lot larger than we had anticipated. We had to remove our closet doors and allow the unit to go basically into the closet space, which meant that this closet is now open and viewable to the world. I am not liking that too much, but it was a way to encourage us to weed through the items in the desk and in the closet to free up space and make it look more organized. I am thinking about making a curtain that would just partially hide this from view since a full set of curtains probably won’t work.
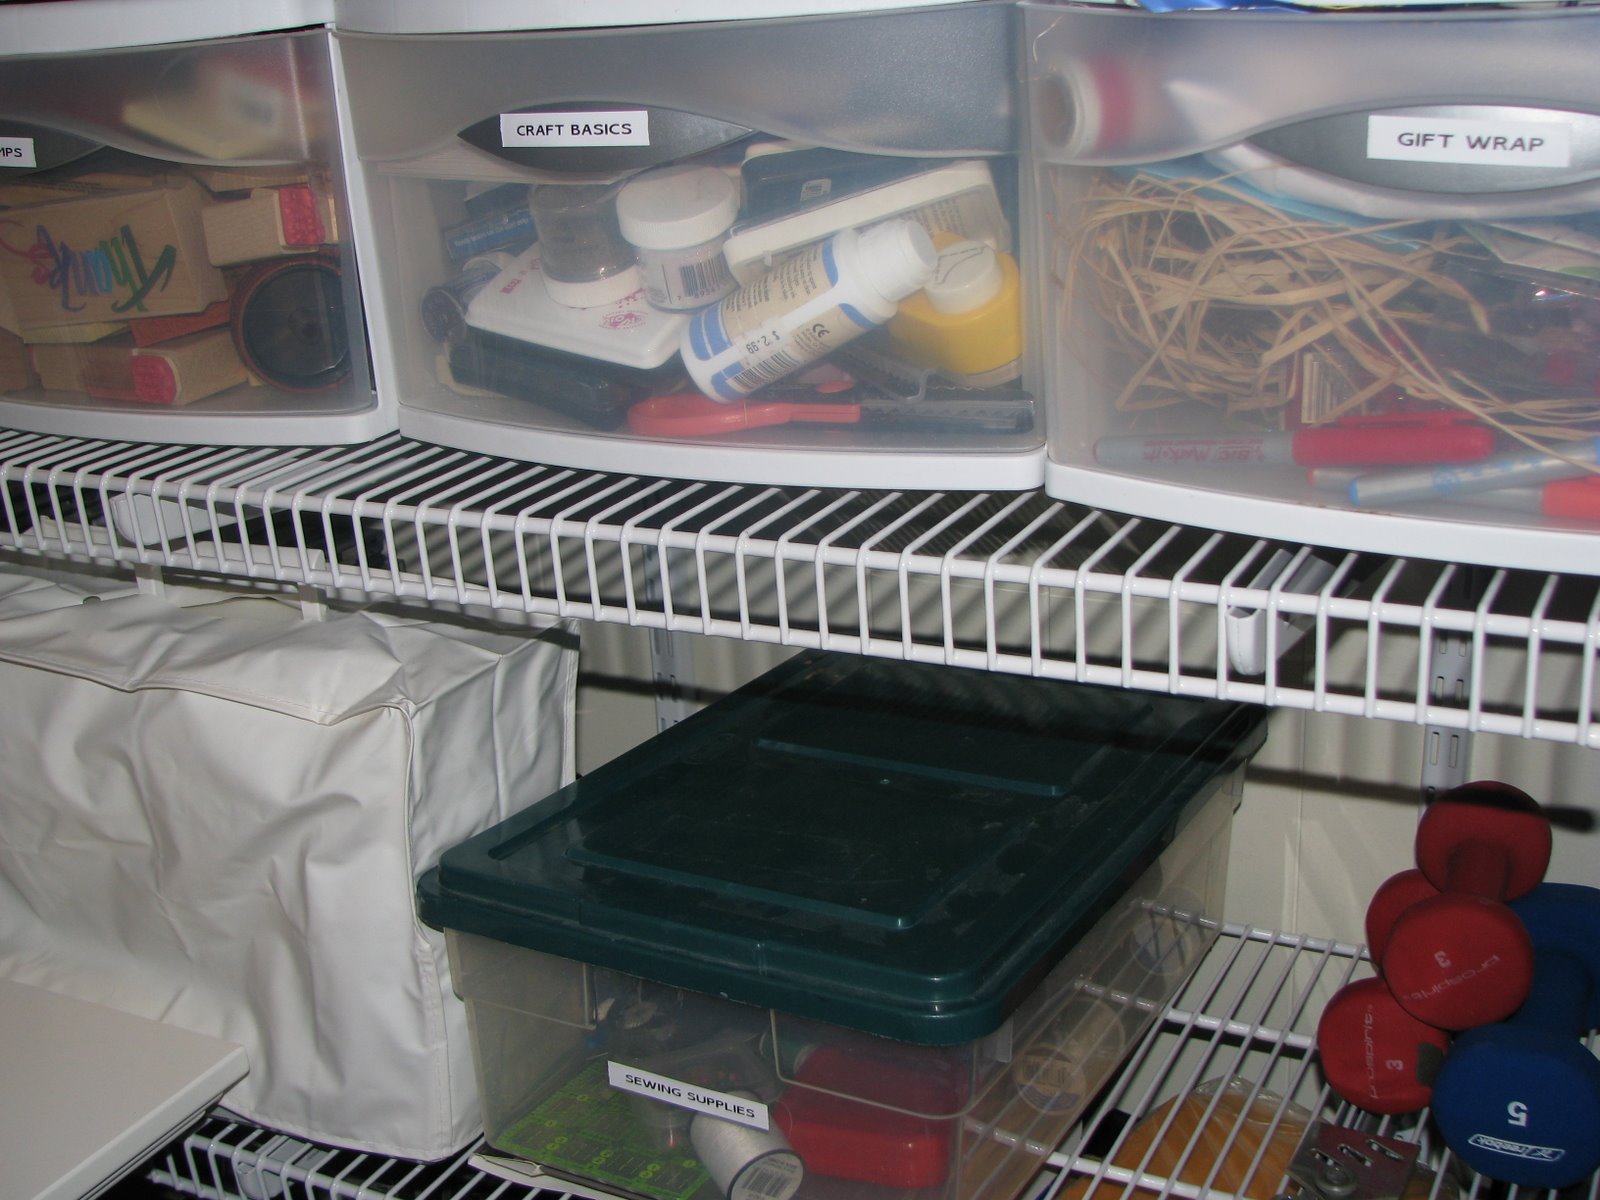
I did tackle an enormous project though…those craft supplies are finally in order! That was no small undertaking and I am so happy to see everything neatly arranged. I even have space for my sewing machine so I can use my workspace to craft as well.

I organized the closet without making any investments. While I think pretty baskets would look so much better, the practical side of me won this battle and I am just using things we already have. If I add a curtain, I can close this off a bit and no one will even notice.

On the opposite wall we have my children’s table and chairs. They can be in the office with us while we work and they can work on their own little projects. You can see past pictures of how we made our workspace kid-friendly.

This is an investment that I hope really pays off because we can both work together and each have our own space. Being productive, without a space to call your own, can be difficult. We love working together so this the ideal space for us!
WSBT-TV: Frugal Storage Solutions

Tuesday, January 29th, 2008

I wanted to post my WSBT-TV segment before the crew head over and tape more of our future segments to air later this month. This morning I got to share easy ways that you can organize your belongings, without spending a lot of cash. This segment goes along with our article on Frugal Storage Solutions for your home.

Next week I will be discussing fun ideas for a frugal Valentine’s Day! I look forward to sharing some of my thrifty solutions for the holiday and I hope you will check back for more fun ideas.

I promise to post our results from our Valentines giveaway later today and I will be guest-writing for Frugal Hacks so I will be sharing that later as well. In the meantime, did you enter the Starbucks $20 gift card giveaway? I am floored by how many people have entered. I don’t know what I would do if I got comment love like that every day, but it has been so fun to see all of the entries for the contest. Who am I kidding? I would love comment love like that everyday. Who wouldn’t? You feel like a blogging rock star and that feels pretty darn good.

Back to our topic for discussion…

Sound Off: What are some inexpensive organizers that you use in your home? Do you have an organizing project that you plan to tackle this year?

December ’07 Menu Planner

Monday, January 7th, 2008

I did not get to make a lot of the dishes that I planned to due to the holidays and us all being sick over those past couple of weeks. I did want to share my ideas though and hope that you can use some of them for your menu plans in the future!

December Menu Choices:

1. Gingerbread Waffles and Christmas Caramel Rolls

2. Basil Cream Chicken Over Pasta

3. Pizza Night

4. Chicken Caesar Wraps With Tortilla Chips

5. Eggnog Baked French Toast

6. Cheeseburger Pasta with Homemade Bread

7. Funky Chicken With Sesame Noodles

8. Italian Chops Over Pasta

9. Turkey Burgers With Oven Fries

10. Chicken Tacos With Tortilla Chips

11. Spaghetti & Turkey Meatballs

12. Herb Baked Tilapia, Rice, & Sweet Cornbread

13. Pizza Night

14. Yeast Waffles & Turkey Bacon

15. Poppy Seed Chicken Casserole (Scroll towards the bottom) Over Egg Noodles

16. Bread Machine Calzones

17. Sloppy Joe Turnovers with Oven Fries

18. Chicken Italiano Over Orzo

19. Chicken & Broccoli Lo Mein With Sticky Rice

20. Roasted Chicken, Rice, & Herb Buttered Corn

21. Harvest Grain & Nut Pancakes

22. Lazy Slow Cooker Creamy Chicken & Noodle Soup with Homemade Bread

23. BBQ Chicken Sandwiches & Shoestring Fries

24. Sloppy Giuseppes (Scroll down to Meal #8) With Oven Fries

Snacks/Desserts: Oreo Biscotti, Cookie Dough Dip, Panettone Bread for the Bread Machine

**Please visit I’m An Organizing Junkie for more menu planning ideas!**

Our Kitchen Makeover

Wednesday, January 2nd, 2008

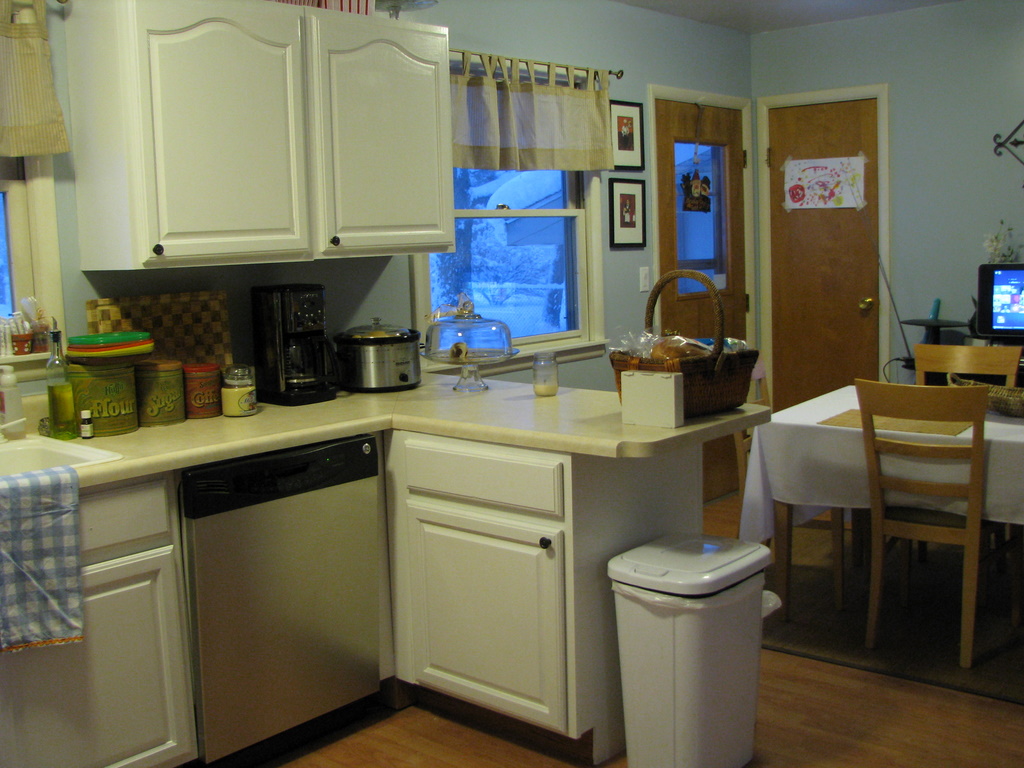
When we moved into our house, one of the big things that attracted us to it was the size of our kitchen. Now that we have lived in our house for four years, I don’t think my kitchen is as big as I would like, but it seemed enormous when our last house had only a galley kitchen. Isn’t that funny how accustomed we can become to more space?

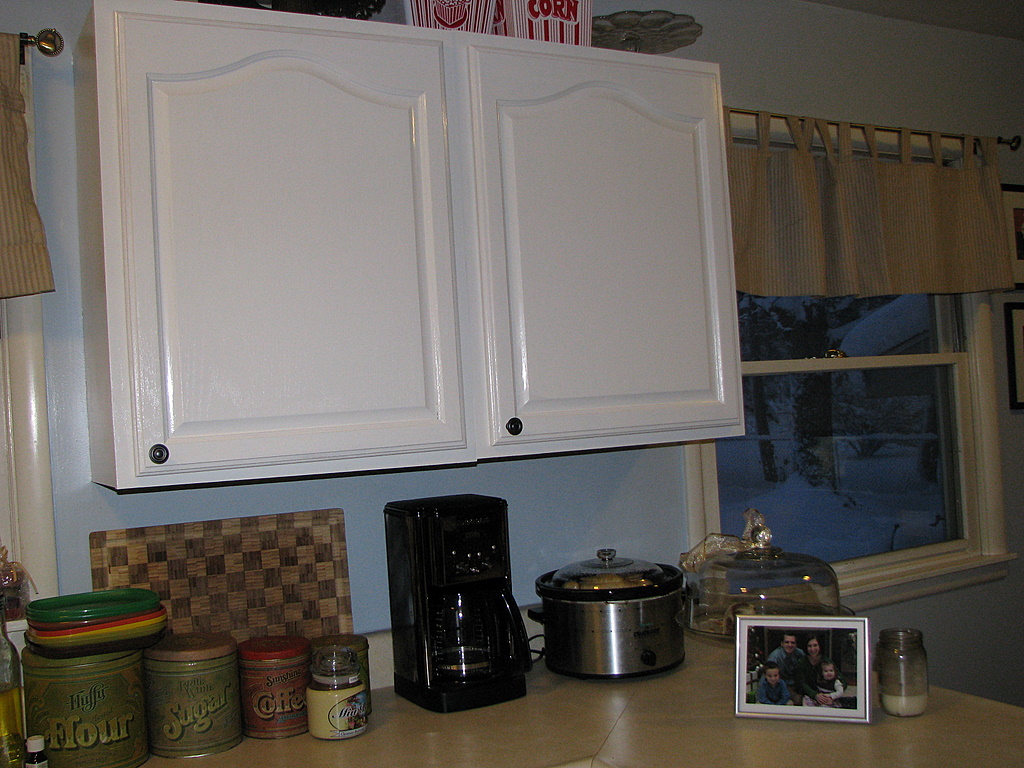
The thing that I was not fond of about the kitchen was the dated look of it and the lack of storage and cupboards. The walls were white, the floors a really light pine color, and the cabinets were oak with no hardware. We didn’t have enough cabinet space, the appliances all needed to be updated, and the kitchen lacked the style I wanted. If this was a reflection of the “heart of our home,” it was certainly missing something. The owner before us had completely renovated the kitchen, but it wasn’t our style and wasn’t cohesive or finished the way we would have liked.

Our kitchen makeover has been a gradual process and we are still working on the details of it, but it has come a long way from the dated eighties look. We would replace things as they went out and updates would come when we had a little extra money. I did want to show where we are at now, with the updating process, and to share how we have renovated our kitchen on a budget.

I wish I would have taken more before pictures of the kitchen, but I hope my descriptions will help.
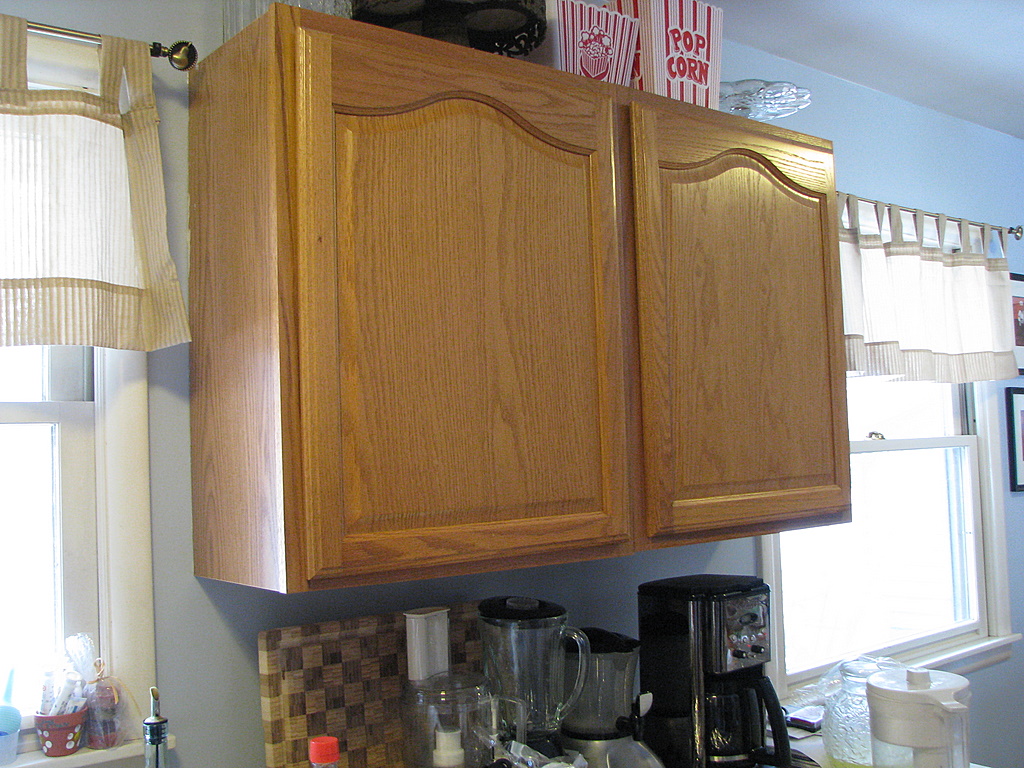
These are the pictures of our cabinets before the makeover. Nice, but not much to write home about. We had received a $50 Lowes gift card for Christmas (thanks, mom & dad!) so we thought we would put the money to good use. I used the steps provided in this tutorial to paint our cabinets. This meant no messy sanding and so it helped to save a step and saved me a lot of cleaning too!
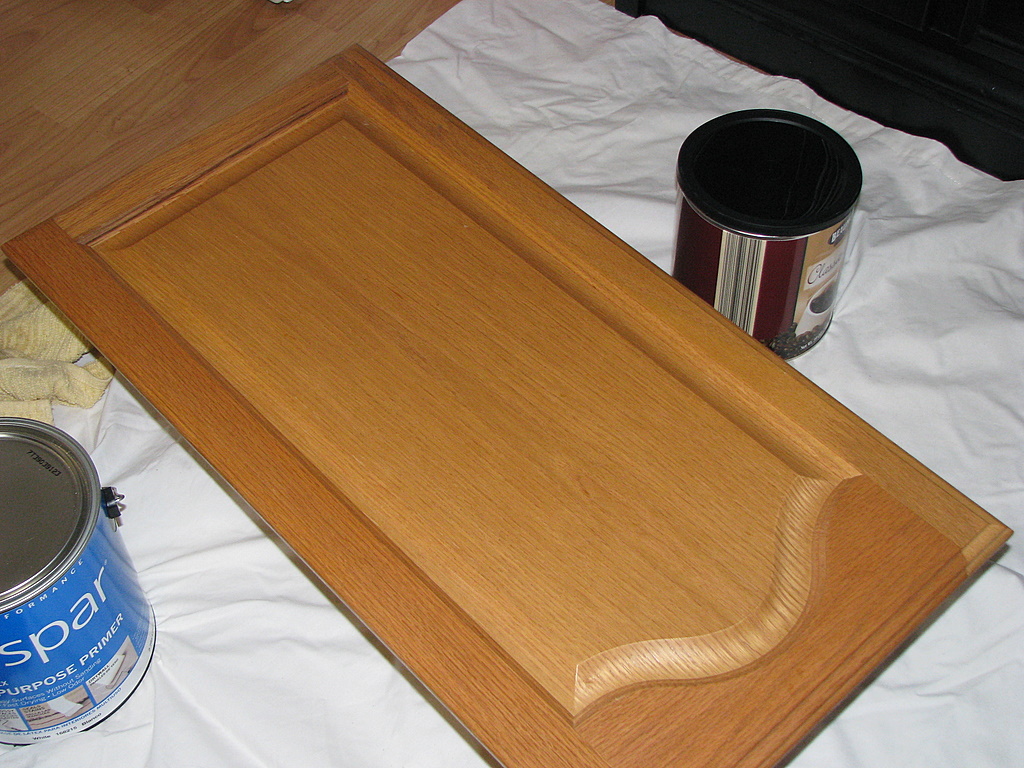
We took all of the doors off and gave them a really good cleaning with a liquid degreaser that I had purchased from the hardware store. Once cleaned, we applied two layers of primer to each side of the doors and to the outside of the cabinets themselves. We allowed the primer to dry one day and then we began painting them the next day. The color that we chose was a Martha Stewart “Wainscot White.” It wasn’t a true white, but was definitely not a cream either.

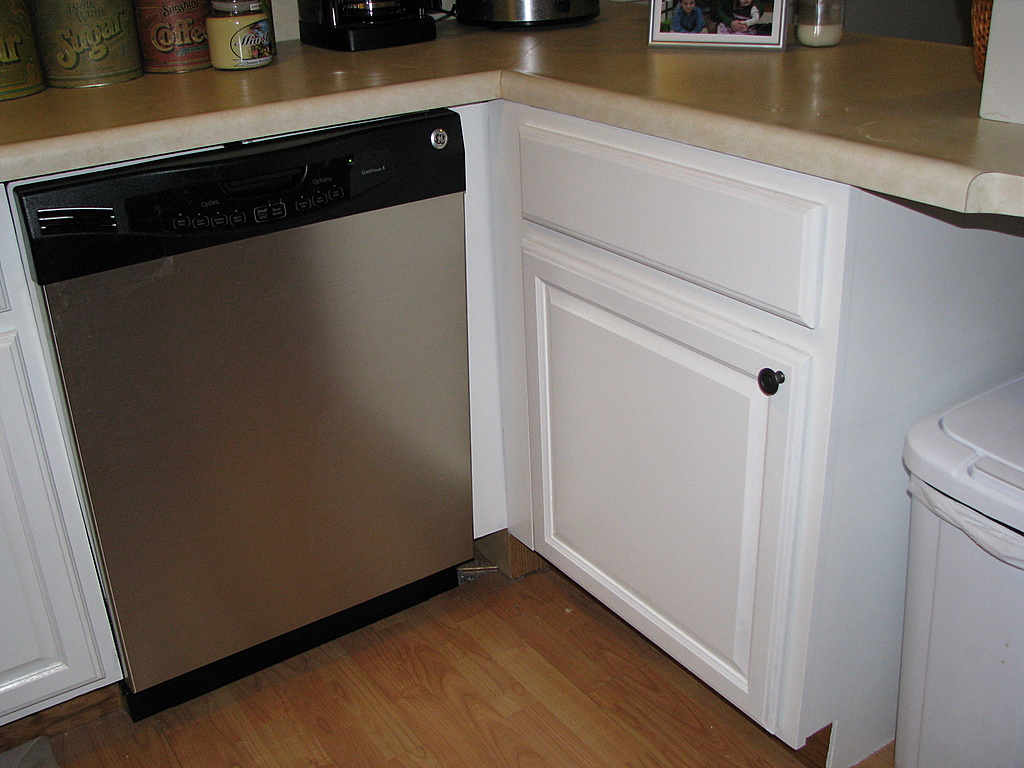
The hardware for the cabinets was purchased from Target. They have ten packs of knobs that very closely resemble the stuff at Restoration Hardware, but they only cost $14.99 for ten versus $5-10 each. The drawer pulls were $4.99 each (also purchased from Target) and they all were in oil rubbed bronze.

These are the cabinets after. What a difference a weekend can make! The cupboards are so beautiful and have brightened the kitchen up so much. Not only that, but the whole space feels so much larger because of the white cabinets. The walls were also painted a pretty gray blue to bring the more up-to-date feel to our space. We left our counters the same, but hope to one day replace them with a more high-end material (or at least make them look more high end).

We replaced our dishwasher with a new GE dishwasher that we purchased from Sears. It is the stainless steel look instead of the real stainless steel, so little hands can smudge away without mommy having to clean the surface as often. We actually won the dishwasher in an advertising contest that was sponsored by Sears. Technically, all of you AWESOME people helped us earn the dishwasher so we thank you for that. This one is so much prettier than the other one and better yet…it works! What a novel idea!
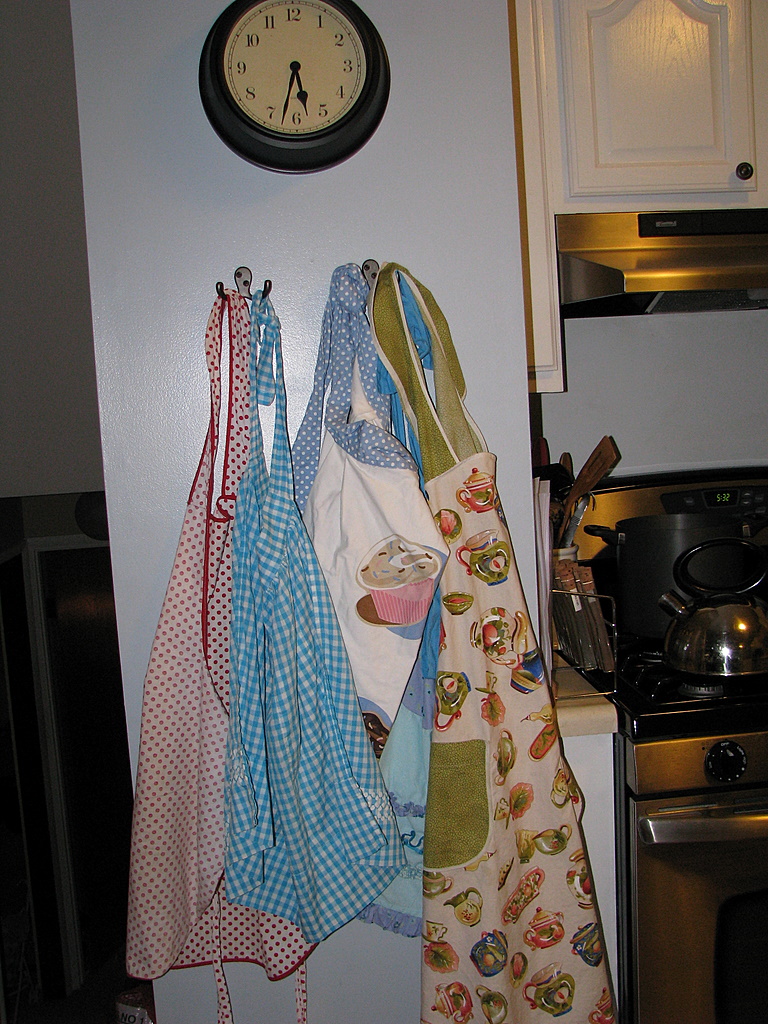
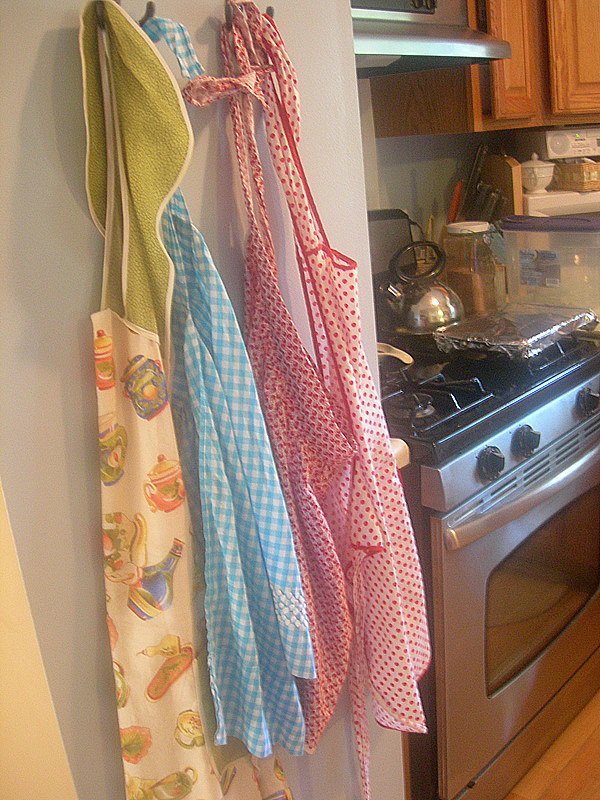
Next to my stove are hooks for my aprons. This was a great way to add some “art” to the walls without making an investment. $3.99 to display a few of my favorite things in the world.

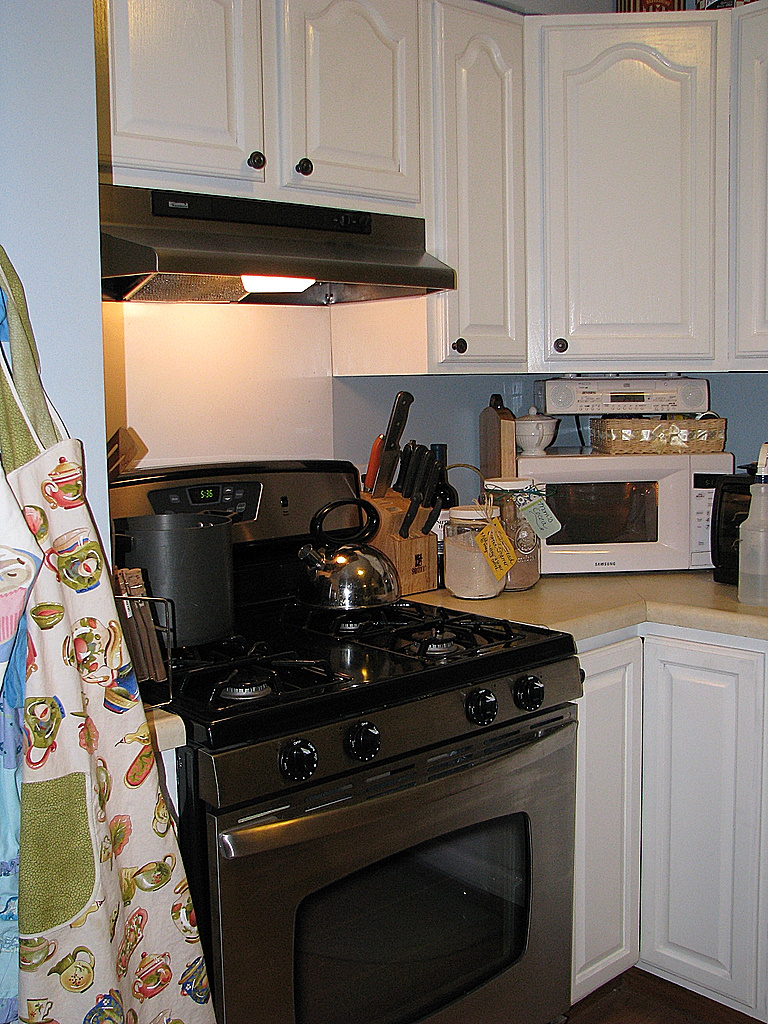
We updated our stove with this fancy stainless steel number. It has everything I could ever want for this space and, while not free, I was able to get a killer deal on it. The stove was marked for $1K and I was able to get them to accept $500. Always pick those floor models, I say, and point out any and every flaw you can…even the stupid stuff. That is how we were able to score this stove.

The range hood was free and part of our Sears shopping spree that we won. Our refrigerator is the last of the white appliances to make an exit, but we are watching Craigslist to see if we can score a good deal on that.
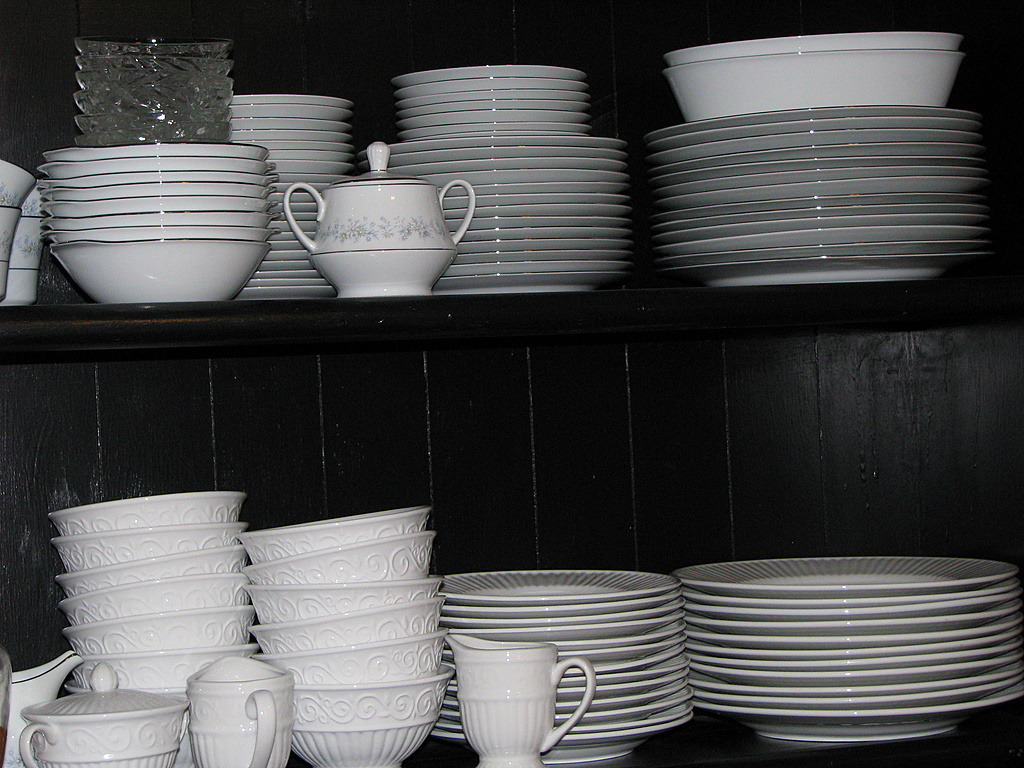
Since cabinet storage was an issue, I was able to find an old ugly eighties desk with a hutch from a thrift store to remedy the problem. I did my makeover work on it and it is now my favorite piece in the house. This was cheaper than buying new cabinets and I just love how it is open for guests to grab their own dishes. The white dishes really make me happy and make me feel like a little Martha when I am entertaining! These dishes were priced at $14.99 for a service for six, including all of the serving dishes! They aren’t the best quality, but I love the clean lines and design on them.

I also have my new china from my mother-in-law that looks so elegant on our tables. She recently brought this over to add to my dishes and I was so thrilled.

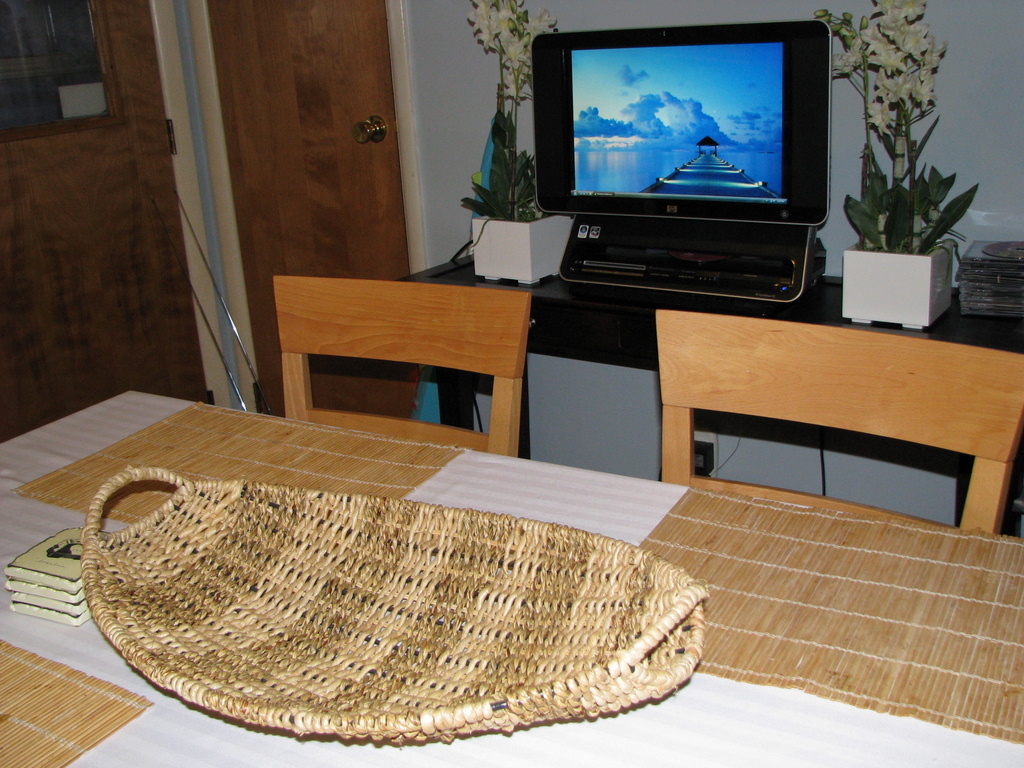
While it can make our seating a little more cramped, we did add a narrow table along the back wall to keep our computer. This has our dinner music on it and I can watch the television while I cook. The two plants on either side were purchased from Target, clearance to $14.99 each. The basket on the table, normally brimming over with fruit, is empty since I need to head to the grocery store. The basket was also a clearance item that I purchased from Marshalls along with some of the decor for our walls.
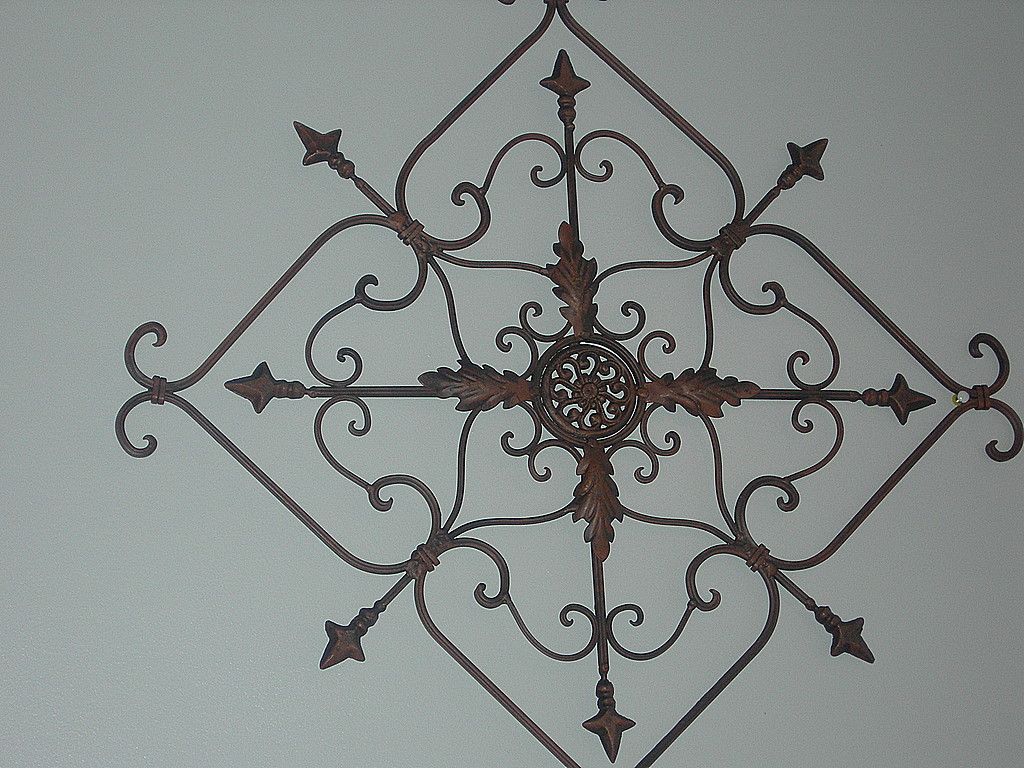
Like this piece that is centered along our back wall! This was a clearance item at Marshalls for $9.99. It got discounted with some of their summer pieces and I thought it would be a perfect focal point in that open spot.

I hope you enjoyed the tour of our kitchen!
We could not be more proud of the space we created…on a budget!

Clean: The Cooktop

Wednesday, December 19th, 2007

Every Sunday, I make it a ritual to clean a few important items in our kitchen. One of the tasks on my list is to give our stove and sink a deep cleaning. A week of cooking can really make my range look bad, but my deep cleaning gives it a nice clean top for the week. I combine this with a clean sink and I feel like my kitchen has gotten some great refreshing.

I just have a standard gas range so my routine is for this. I can post some directions I found for cleaning other surfaces, but will use my stove for this example.

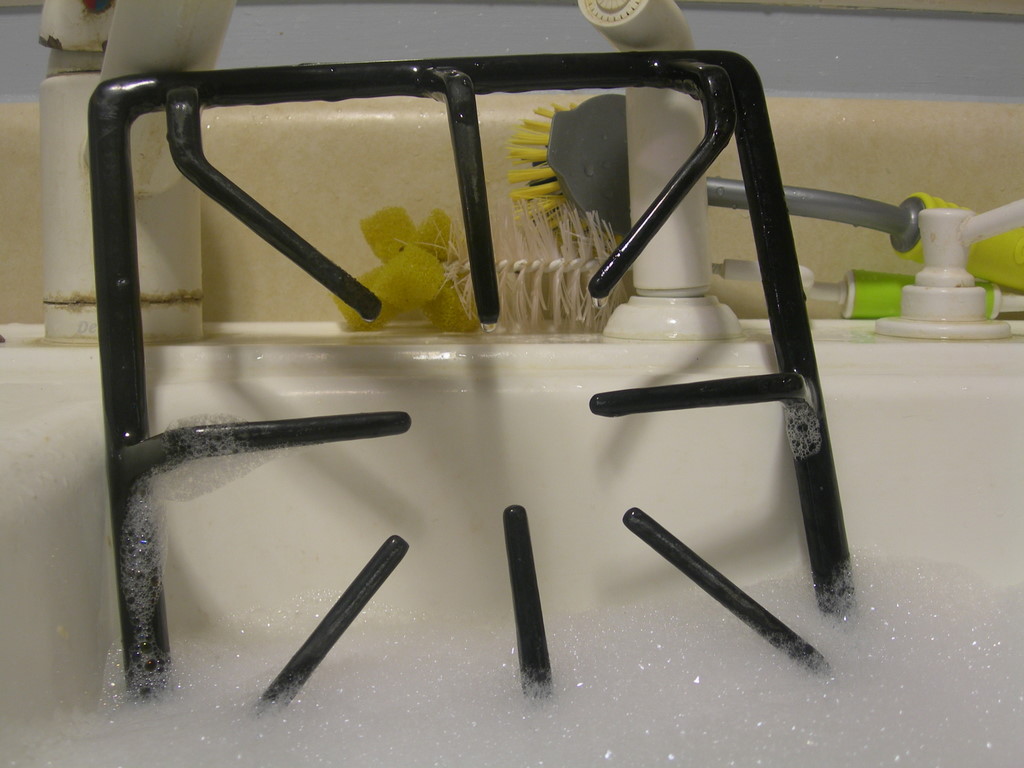
1. First, I fill a sink with warm soapy water. I place all of the burner pieces gently inside of the sink and let them soak while I clean the the top of our stove. At this point, you can also take the knobs off and let them soak too. Just make sure the knobs are in the off position and pull straight out to remove (Side note: It is also possible to put these items in the dishwasher, but I prefer to hand wash them because I think it is more gentle on the pieces)

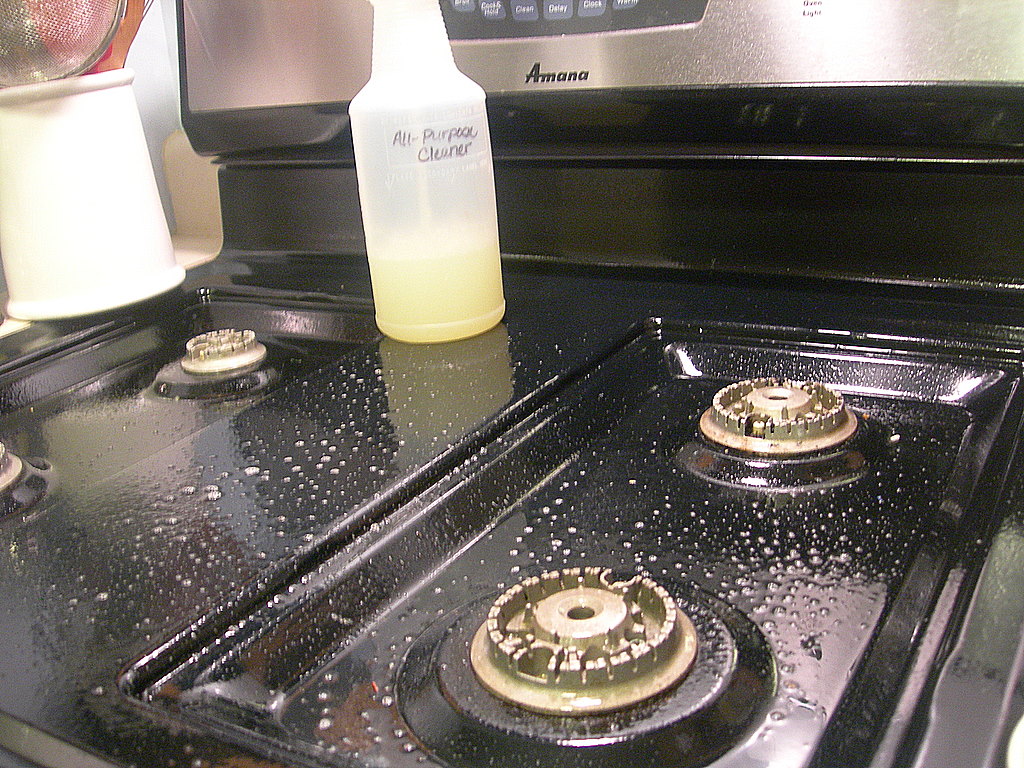
2. I then take my spray bottle filled with my homemade all-purpose spray and spray the top of my range. I let this soak in for a couple of minutes while I work on other tasks around the house.

3. Once the cleaner has done its work, I take a soft damp cloth and wipe off the cleaner.

4. If there are persistent spots that won’t come up, you can try a couple of things to get them off. I pour a couple spoonfuls of baking soda on the spots and then make a paste out of this with a little water. Using the same soft cloth, gently try and get the stain up. If there is stuck on gunk, I take a different (but still gentle!) approach towards cleaning this. I use a Pampered Chef Scraper (if you don’t have one of these, an old credit card is great) for getting this off. The important thing is that you are gentle with your actions, so it doesn’t scratch up your appliance. Use the same gentle tactics on your glass oven door. I first try using my homemade glass cleaner. If that doesn’t do the trick, you can try and get the gunk off with your handy credit card or plastic scraper. Be very careful though- you want to keep your stove looking nice!

5. Next, I use my stainless steel cleaner on my stove with one of my microfiber cloths. I just spray my cloth directly (very teeny tiny bit) and then gently remove any fingerprints that might have taken up residence on my appliance. Remember to chant, go with the grain, go with the grain, go with the grain as you are cleaning.

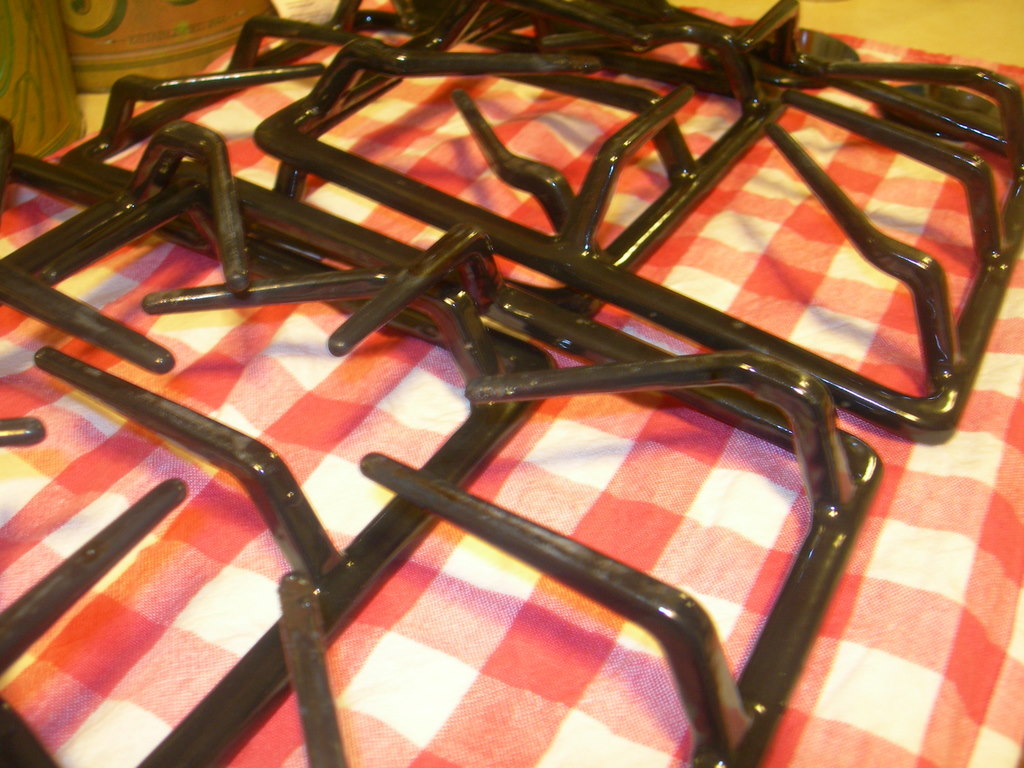
6. Lastly, I drain the sink and give my pieces a good rinse with cool water. At this point, you can just let them air dry or you can give them a dry with a soft towel and place them back on the stove.

Cleaning Tips for Other Types of Stoves (thanks Martha!):

Stainless-Steel Cooktop Surface: Wipe with a sponge and a little dishwashing liquid or you can use a product for stainless-steel cleaning. Be sure to dry thoroughly afterward with a clean microfiber cloth; otherwise you will have streaking. To remove stuck on gunk, soak the area with a towel dampened with hot water to loosen the material and then gently scrape with a rubber spatula.

Glass Ceramic Cooktop Surfaces: Wipe with a very lightly dampened cloth. This type of surface scratches extremely easy, in fact, even the gritty stuff that can get pushed around with a dirty sponge can cause damage. You have be really diligent to clean spills as soon as they happen. If spills do harden. You can buy special cleaners for this type of surface (available at your local hardware store). Remember to never slide pans or metal utensils across the cooktop.

Porcelain Enamel Cooktop Surfaces: Clean as directed above, but realize that the porcelain enamel can become chipped very easily. If it does get chipped though, you can camouflage damage with a little appliance touch-up paint.

Sound Off: Do you have any tips for cleaning your cooktops?

(For more great tips, visit Rocks In My Dryer)

Booster Seat Cleaning Solution

Wednesday, December 12th, 2007

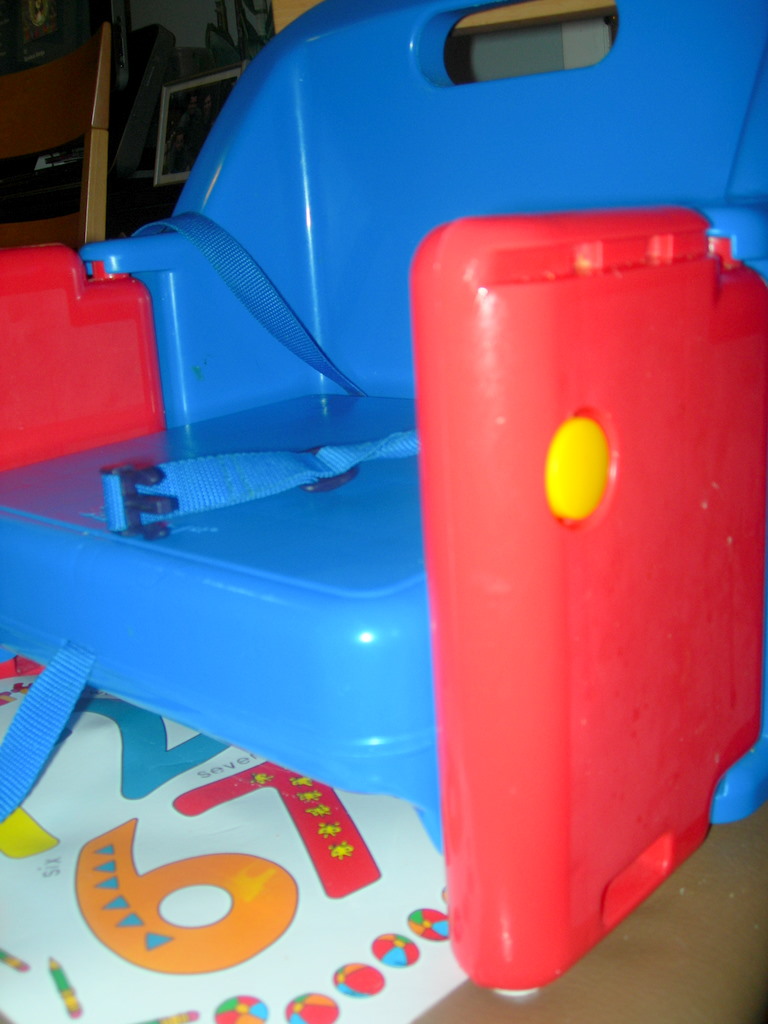
I hate cleaning underneath my daughter’s booster seat, but the things that can get stuck under there can be quite unappetizing a few days after sitting there.

The other day I decided to tuck Emily’s plastic placemat under her seat instead of on the table and can’t believe I had not thought to do that sooner. Now after we enjoy our meal, I just pick the seat up and slide out the mat for a quick rinse instead of trying to clean under the seat, creating a sea of crumbs under our table.

It doesn’t help the nasty on the top of the seat, but sure makes the nasty underneath a little bit easier.

For more fun solutions for your family, be sure to visit Works-For-Me Wednesday over at Rocks in My Dryer.

Sound Off: Do you have any clever solutions for dinner clean-up?

Organize in 15 Minutes: Plastic Food Containers

Tuesday, December 11th, 2007

I am far from organized and am really needing a gentle nudge (or maybe a huge shove) to get me back on track. One of the things people seemed like they would really like to see more of on here were ideas for organizing and caring for their home.


It is hard to guide when I feel so disorganized myself, but maybe sharing my problem spots and solutions will help someone else? That is what I am hoping for!

This project that I did took all of fifteen minutes, but has definitely saved me fifteen minutes of hunting each evening for storage containers for our leftover food.

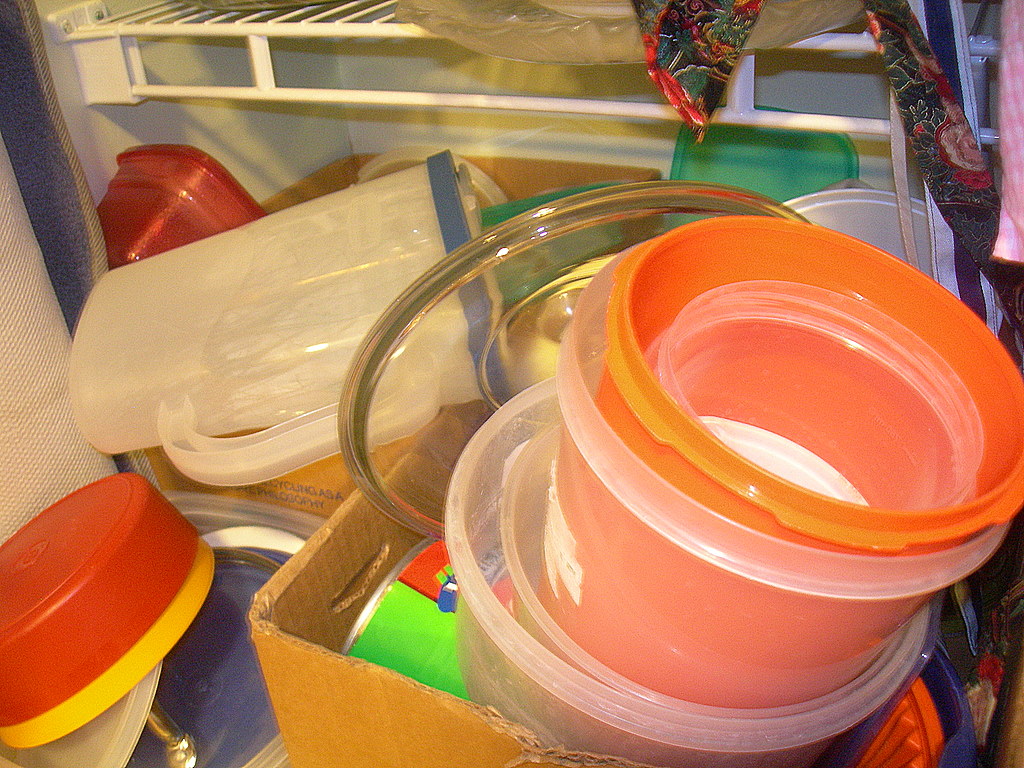
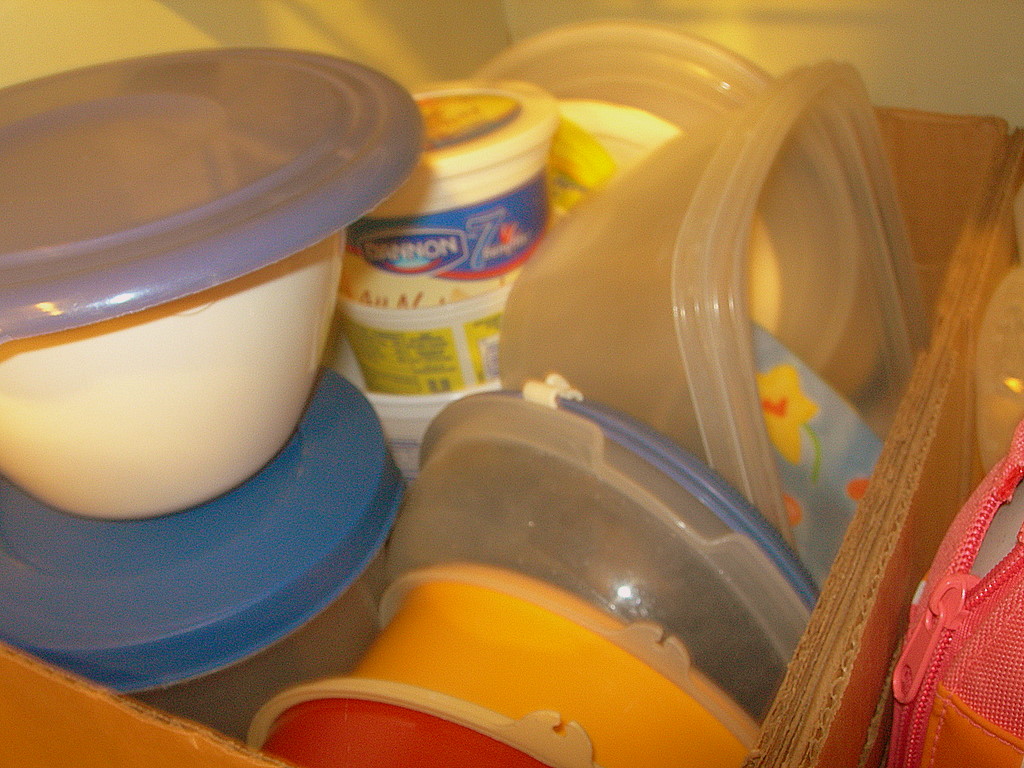
The first picture was of my avalanche of containers that I had in my pantry. Since space is limited in my kitchen, I keep my storage containers in two cardboard boxes in the bottom of my pantry. I am hoping to one day expand the pantry and buy beautiful wicker baskets, but this solution works well for now. They are just old Avon boxes that I had and the size fits perfectly for the narrow closet that we are using for a pantry.

I went through all of the containers and matched them to their lids. No surprise that I had five hundred lids and four actual containers so I kept the lids that had matching containers and pitched the rest.

We do save food containers and repurpose these for a couple of things in our house. The kids love to use these to pretend to help mommy cook so I am able to sacrifice some of these butter tubs for them to play with while I cook.

The main reason I keep these though is for our company. When my family comes to dinner, I love to send them home with a container of the leftovers. These are great to give to them and not to have to give away valuable containers that I might need during my week.

I also have a separate area where I keep the sectioned plastic containers that I use for my husband’s lunch. I found that the best place to keep these was right under the kitchen counter since that is where I prepare all of the food. Those containers are right at my fingertips so that I can make lunches quickly and save us valuable money throughout our week.

Sound Off: How do you organize your plastic food containers?

New Article: Becoming a Wrap Superstar

Monday, December 10th, 2007

We have posted a new article for the holiday season- “Becoming a Wrap Superstar.” This article is also appearing this month in the Michiana Family Magazine.

Cheers to wrapping inventively this year! Happy Holidays!

A Months Worth of Meals: November

Monday, December 10th, 2007

Here is our menu planner from the month of November. I did really well with it and ended up only missing a couple of the meals on our list, mainly because I ended up running out of ingredients due to entertaining and some potluck events on our schedule for the month.

Since people seemed to enjoy this last month, I am hoping to share each month since it will help to keep me on track with our grocery budget and our menu planning.

I hope this will give you some new ideas for your month! Please visit I’m An Organizing Junkie to get more ideas for your family!

November Meals

1. Olive Garden Chicken & Broccoli Fettuccine Alfredo (I used that recipe, but added cooked chicken and broccoli for toppings)

2. Parmesan Sage Pork Chops & Cheesy Orzo Pasta

3. Roast Turkey Sandwiches (Scroll to Meal #7) with Tortilla Chips

4. Yeast Waffles with Orange Juice

5. Pizza Night

6. Clam Chowder & Red Lobster Biscuits

7. Herb Baked Tilapia, Chicken Flavored Rice, & Microwave Corn in Butter Sauce

8. Meatball Subs with Shoestring Oven Fries

9. Chicken & Broccoli Lo Mein

10. Caesar Pork Chops, Cheesy Orzo, & Baby Peas

11. Oatmeal Waffles with Orange Juice

12. Chicken Pasta Milano With Homemade White Bread (I didn’t get to make this chicken dish yet, but I have moved it to next month)

13. Potato Soup & Toasted Cheese Sandwiches

14. Roasted Chicken, Mashed Potatoes, & Buttery Bread Machine Rolls

15. Tomato & Artichoke Chicken Breasts Over Angel Hair Pasta (another one I didn’t get to make, but will move to next month)

16. Pumpkin Pancakes (Scroll to Meal #8) with Scrambled Eggs

17. Sloppy Giuseppes (Scroll down to Meal #8) with Tortilla Chips

18. Italian Sausage Spaghetti Sauce With Homemade Bread

19. Pizza Night

20. Italian Pork Chops Over Spaghetti Noodles

21. Country Ham & Macaroni Casserole (Scroll to Meal #6) with Sweet Cornbread

22. Slow Cooker Lemon Chicken (Scroll down to Meal #16), Chicken Flavored Rice, & Baby Peas

23. Turkey Meatloaf, Mashed Potatoes, and Corn

24. Baked Salmon, Chicken Flavored Rice, & Baby Peas

Snacks: Banana Bread, Pumpkin Muffins, Almost Nutra-Grain Bars, & Chocolate Chip Cookies

Displaying a Collection

Monday, October 22nd, 2007

Last week, while we were out running errands, I was listening to a question and answer session on the radio. The question for their listeners was, “What do you collect?” and they had tons of people calling in to share their weird and interesting collections. People called in and shared about their massive beanie baby collection or crazy key chains that they had begun collecting.

The two things that struck me when these people came in were two things that have always bothered me about collections. The first was that the collections were usually started by someone else in their family or by a friend. It started with the love for one particular thing and it became as though everyone in the world now knew exactly what to get them for Christmas. And their birthday. And their anniversary. And to help cheer them up.

The second thing that seemed to resonate with me was that almost everyone who had a collection had it stored somewhere. When asked where they kept their thousand key chains, the listener would say, “In my basement.” Other answers varied, but they all boiled down to them being put away in boxes because people didn’t have a place for the items or didn’t know a good way to display them.

These are the two things that have always bothered me about collecting items (not to mention all of that dusting). I like to enjoy items, but I don’t enjoy collecting things unless they are useful and are used in some capacity in my home.

I did become obsessed with collecting one item though and as I tsked-tsked the people that called into that radio show, I realized that I had done the same exact thing. My beautiful apron collection, while worn daily, was becoming a disarray of items that were tucked away in the depths of a pantry closet and were brought out rarely. I love aprons and I appreciate their beauty, but what beauty were they bringing me pushed in the back of a closet?

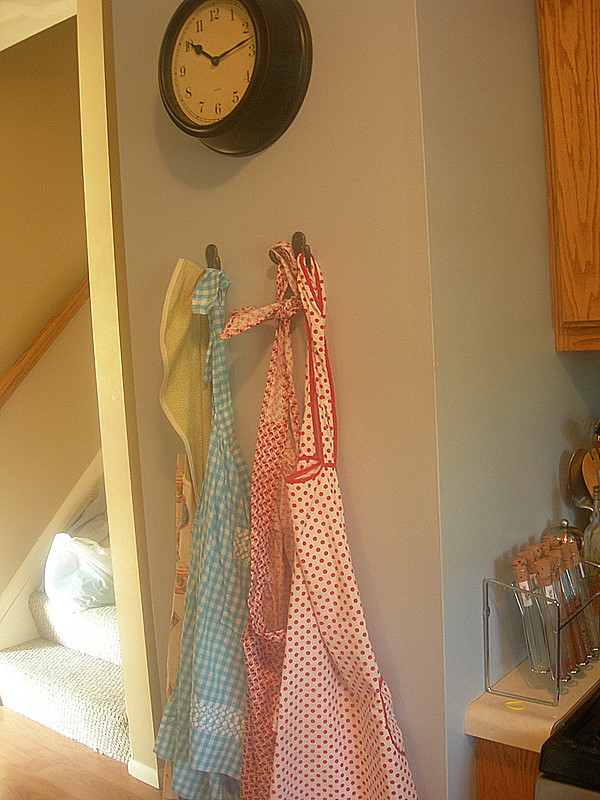
I went to Target and purchased two bronze hooks. The total cost was less than four dollars and I had my husband mount them on an empty wall in our kitchen. I picked four of my favorite aprons and hung them from the hooks.

I am now enjoying my aprons and the true beauty of them in a much greater capacity than I was before. They make me smile when I see them and each of them was given to me by someone special in my life.

Sound Off: What do you collect and how do you display them? Do you have a collection of something stored away?