This post was created in partnership with Waverly Inspirations. Thank you for supporting the companies that support our site!
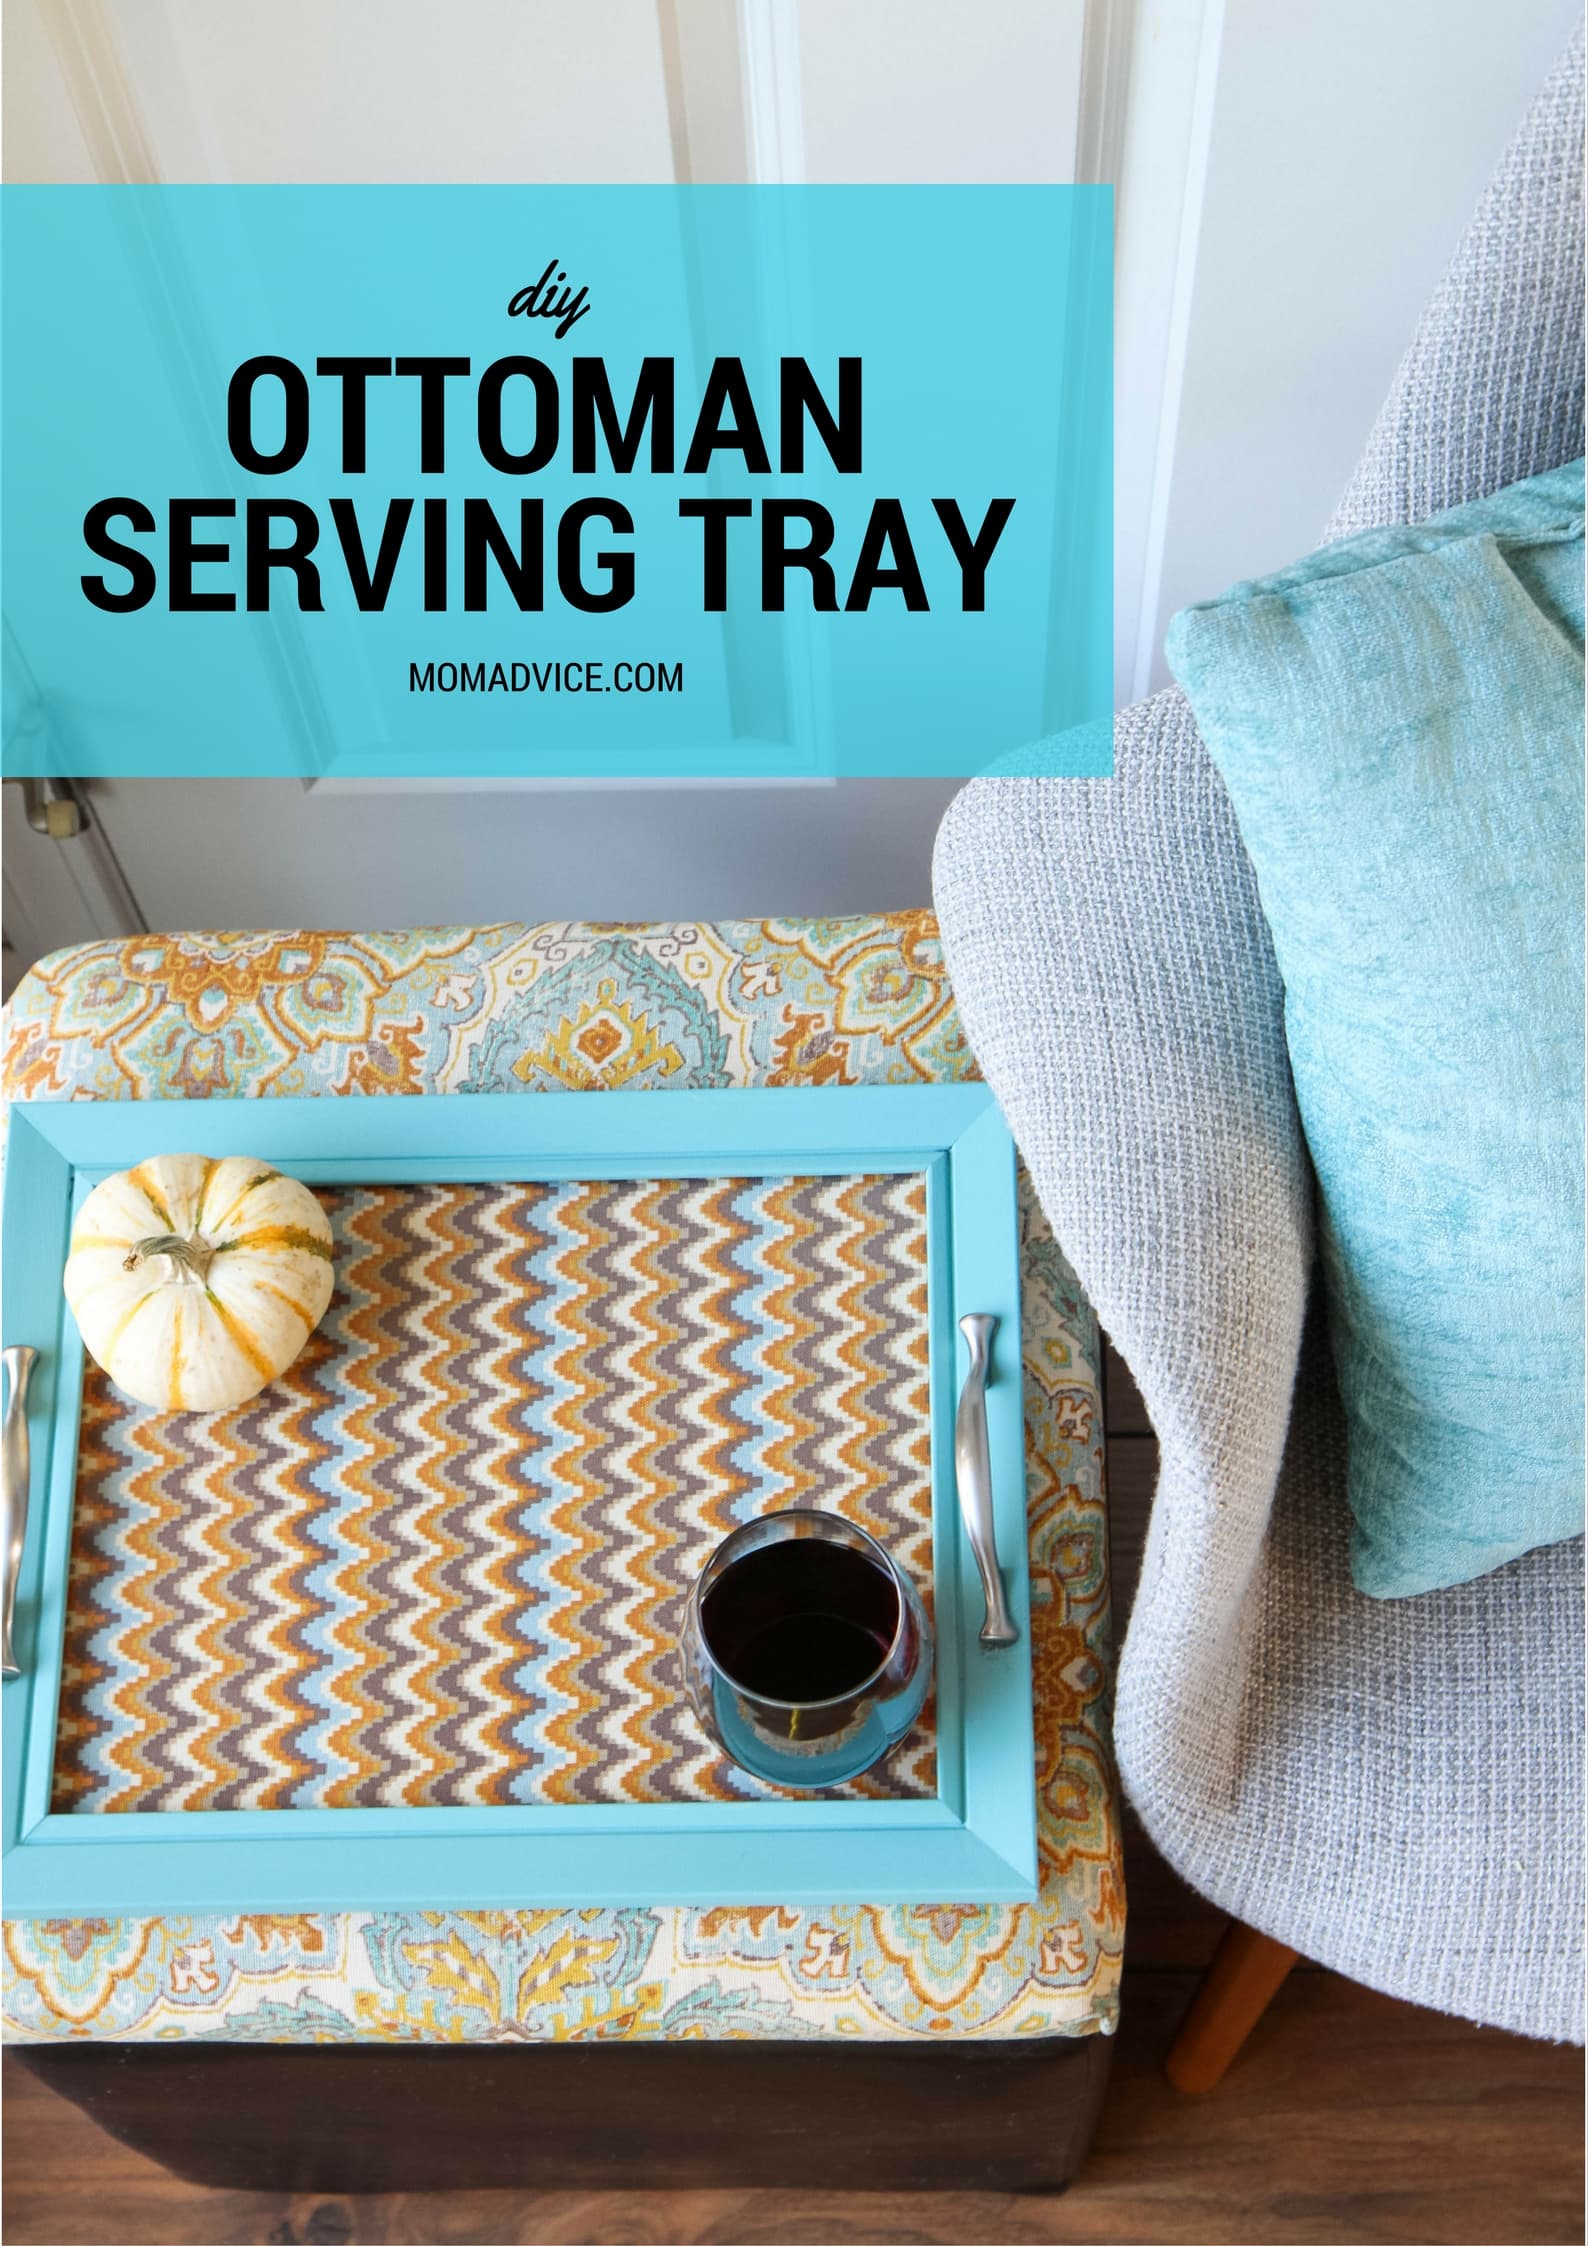
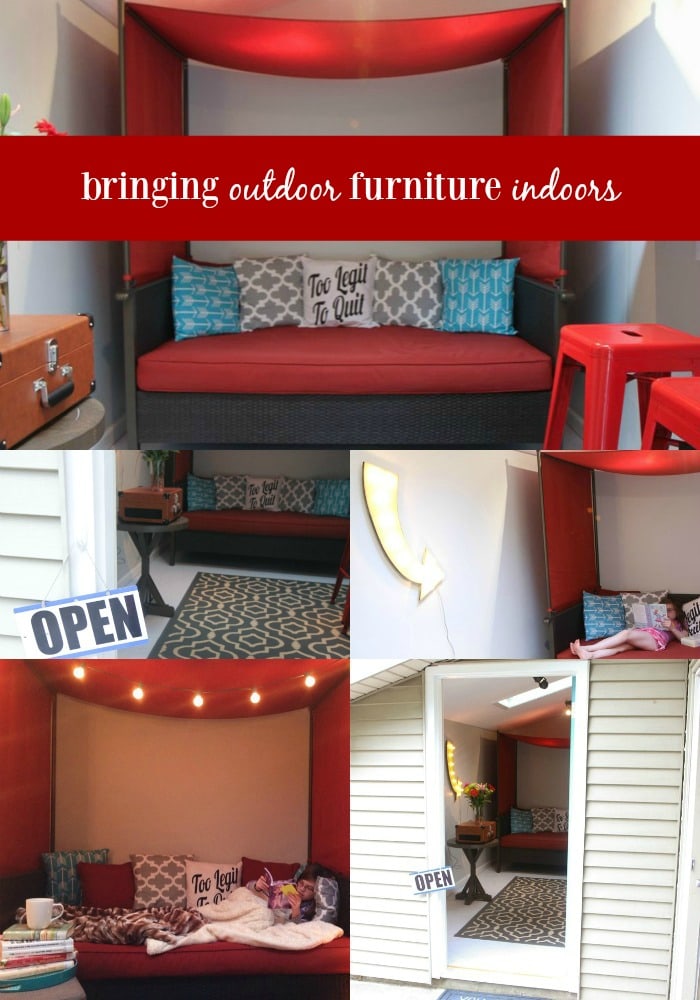
The holidays are upon us and with that means lots of entertaining. I frequently host large holiday and family meals, but our home lacks the space to always seat everyone at the same table. I thought a DIY was in order to transform a neglected ottoman in our home into an additional table for our guests. This DIY Ottoman Serving Tray craft is easy to do and a great way to make the most of one of those storage ottomans that many of us have in our home. Sandwiched between two chairs, guests have a place to prop their drinks or the ottoman can be placed in front of a guest like a television tray would.
Table for one or two? Right this way!
How to Make a DIY Ottoman Serving Tray
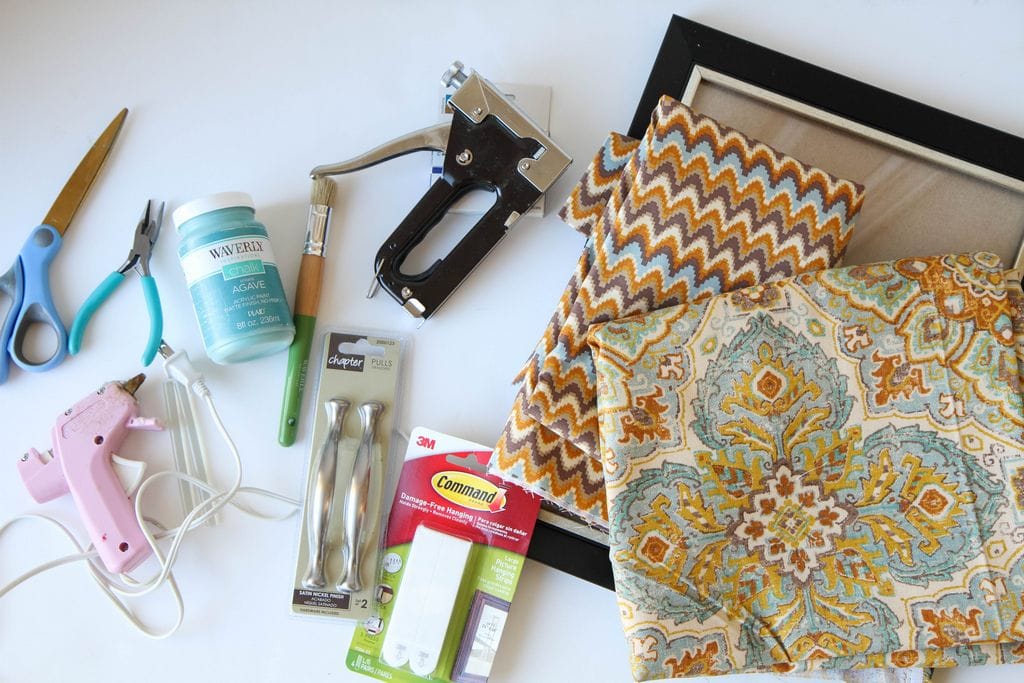
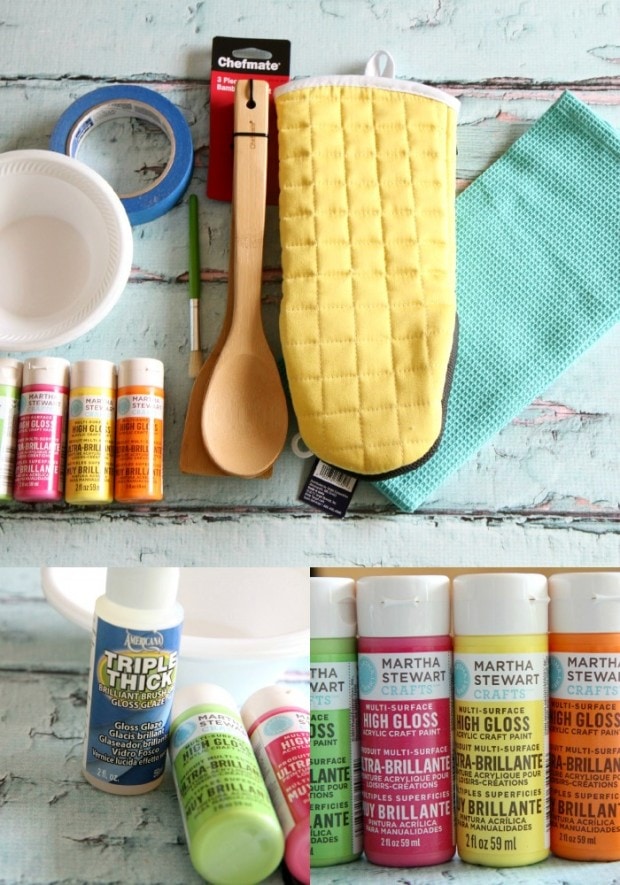
Supplies Needed (all of these supplies can be found at Walmart!)
2 kinds of Waverly Inspirations Fabric in coordinating fabrics (I used the 100% cotton duck fabric available at the store)- measure your ottoman to get the correct amount of fabric
Hot Glue Gun
Hot Glue Sticks
Scissors
Paint Brush
1 1/2 Waverly Ribbon (I needed 3 yards, but it will depend upon your ottoman sizing)
Note- Please ignore the Command Strips- that didn’t work out so well! Always an experiment- ha!
Directions for DIY Ottoman Serving Tray
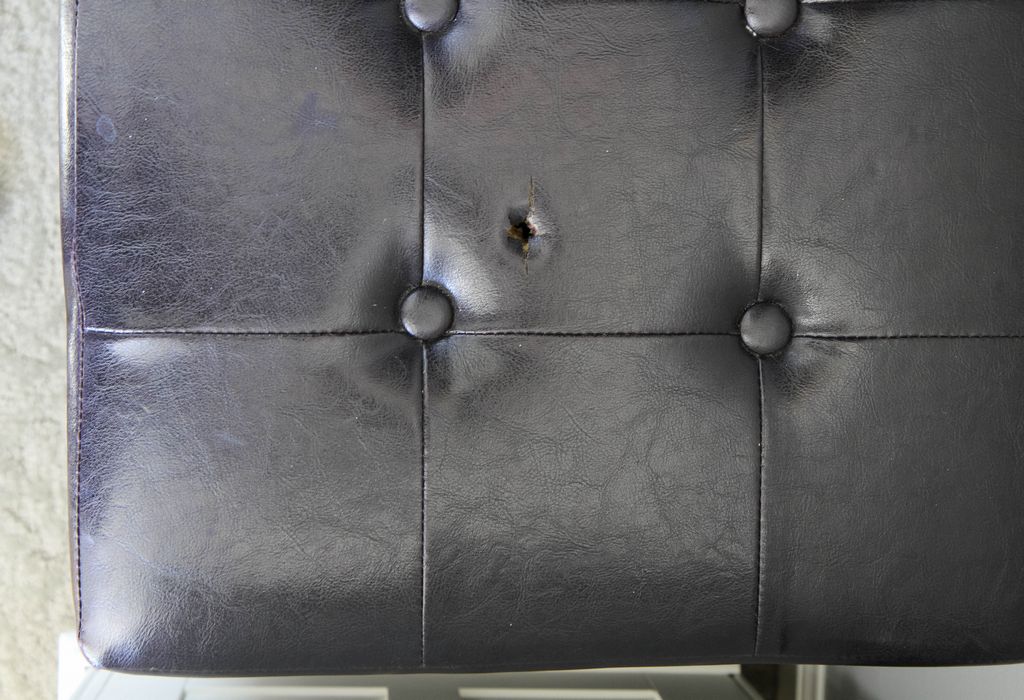
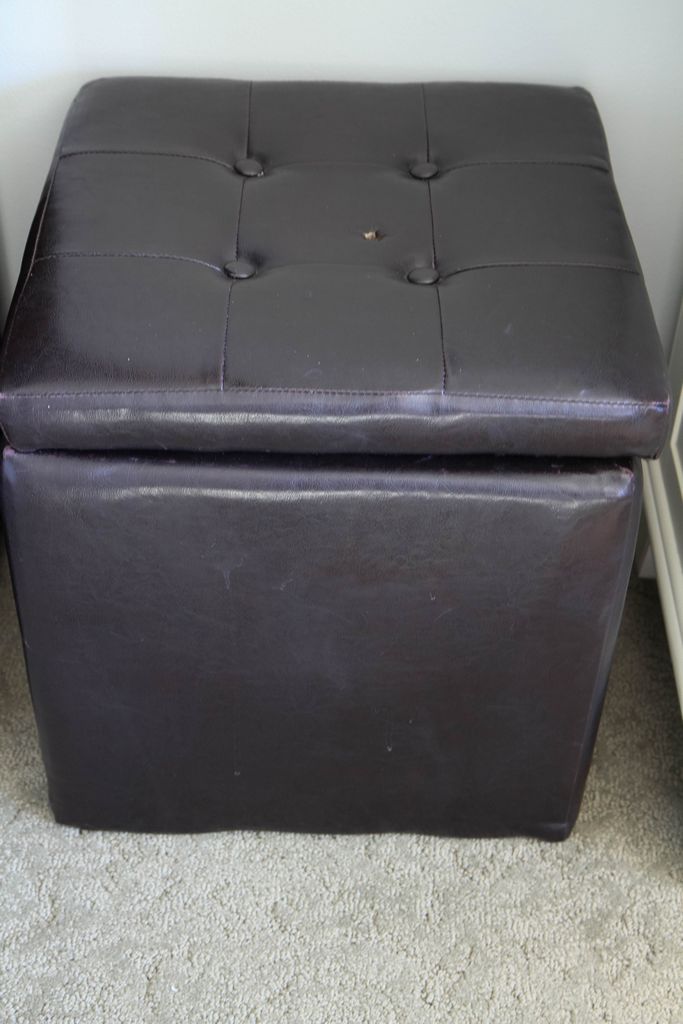
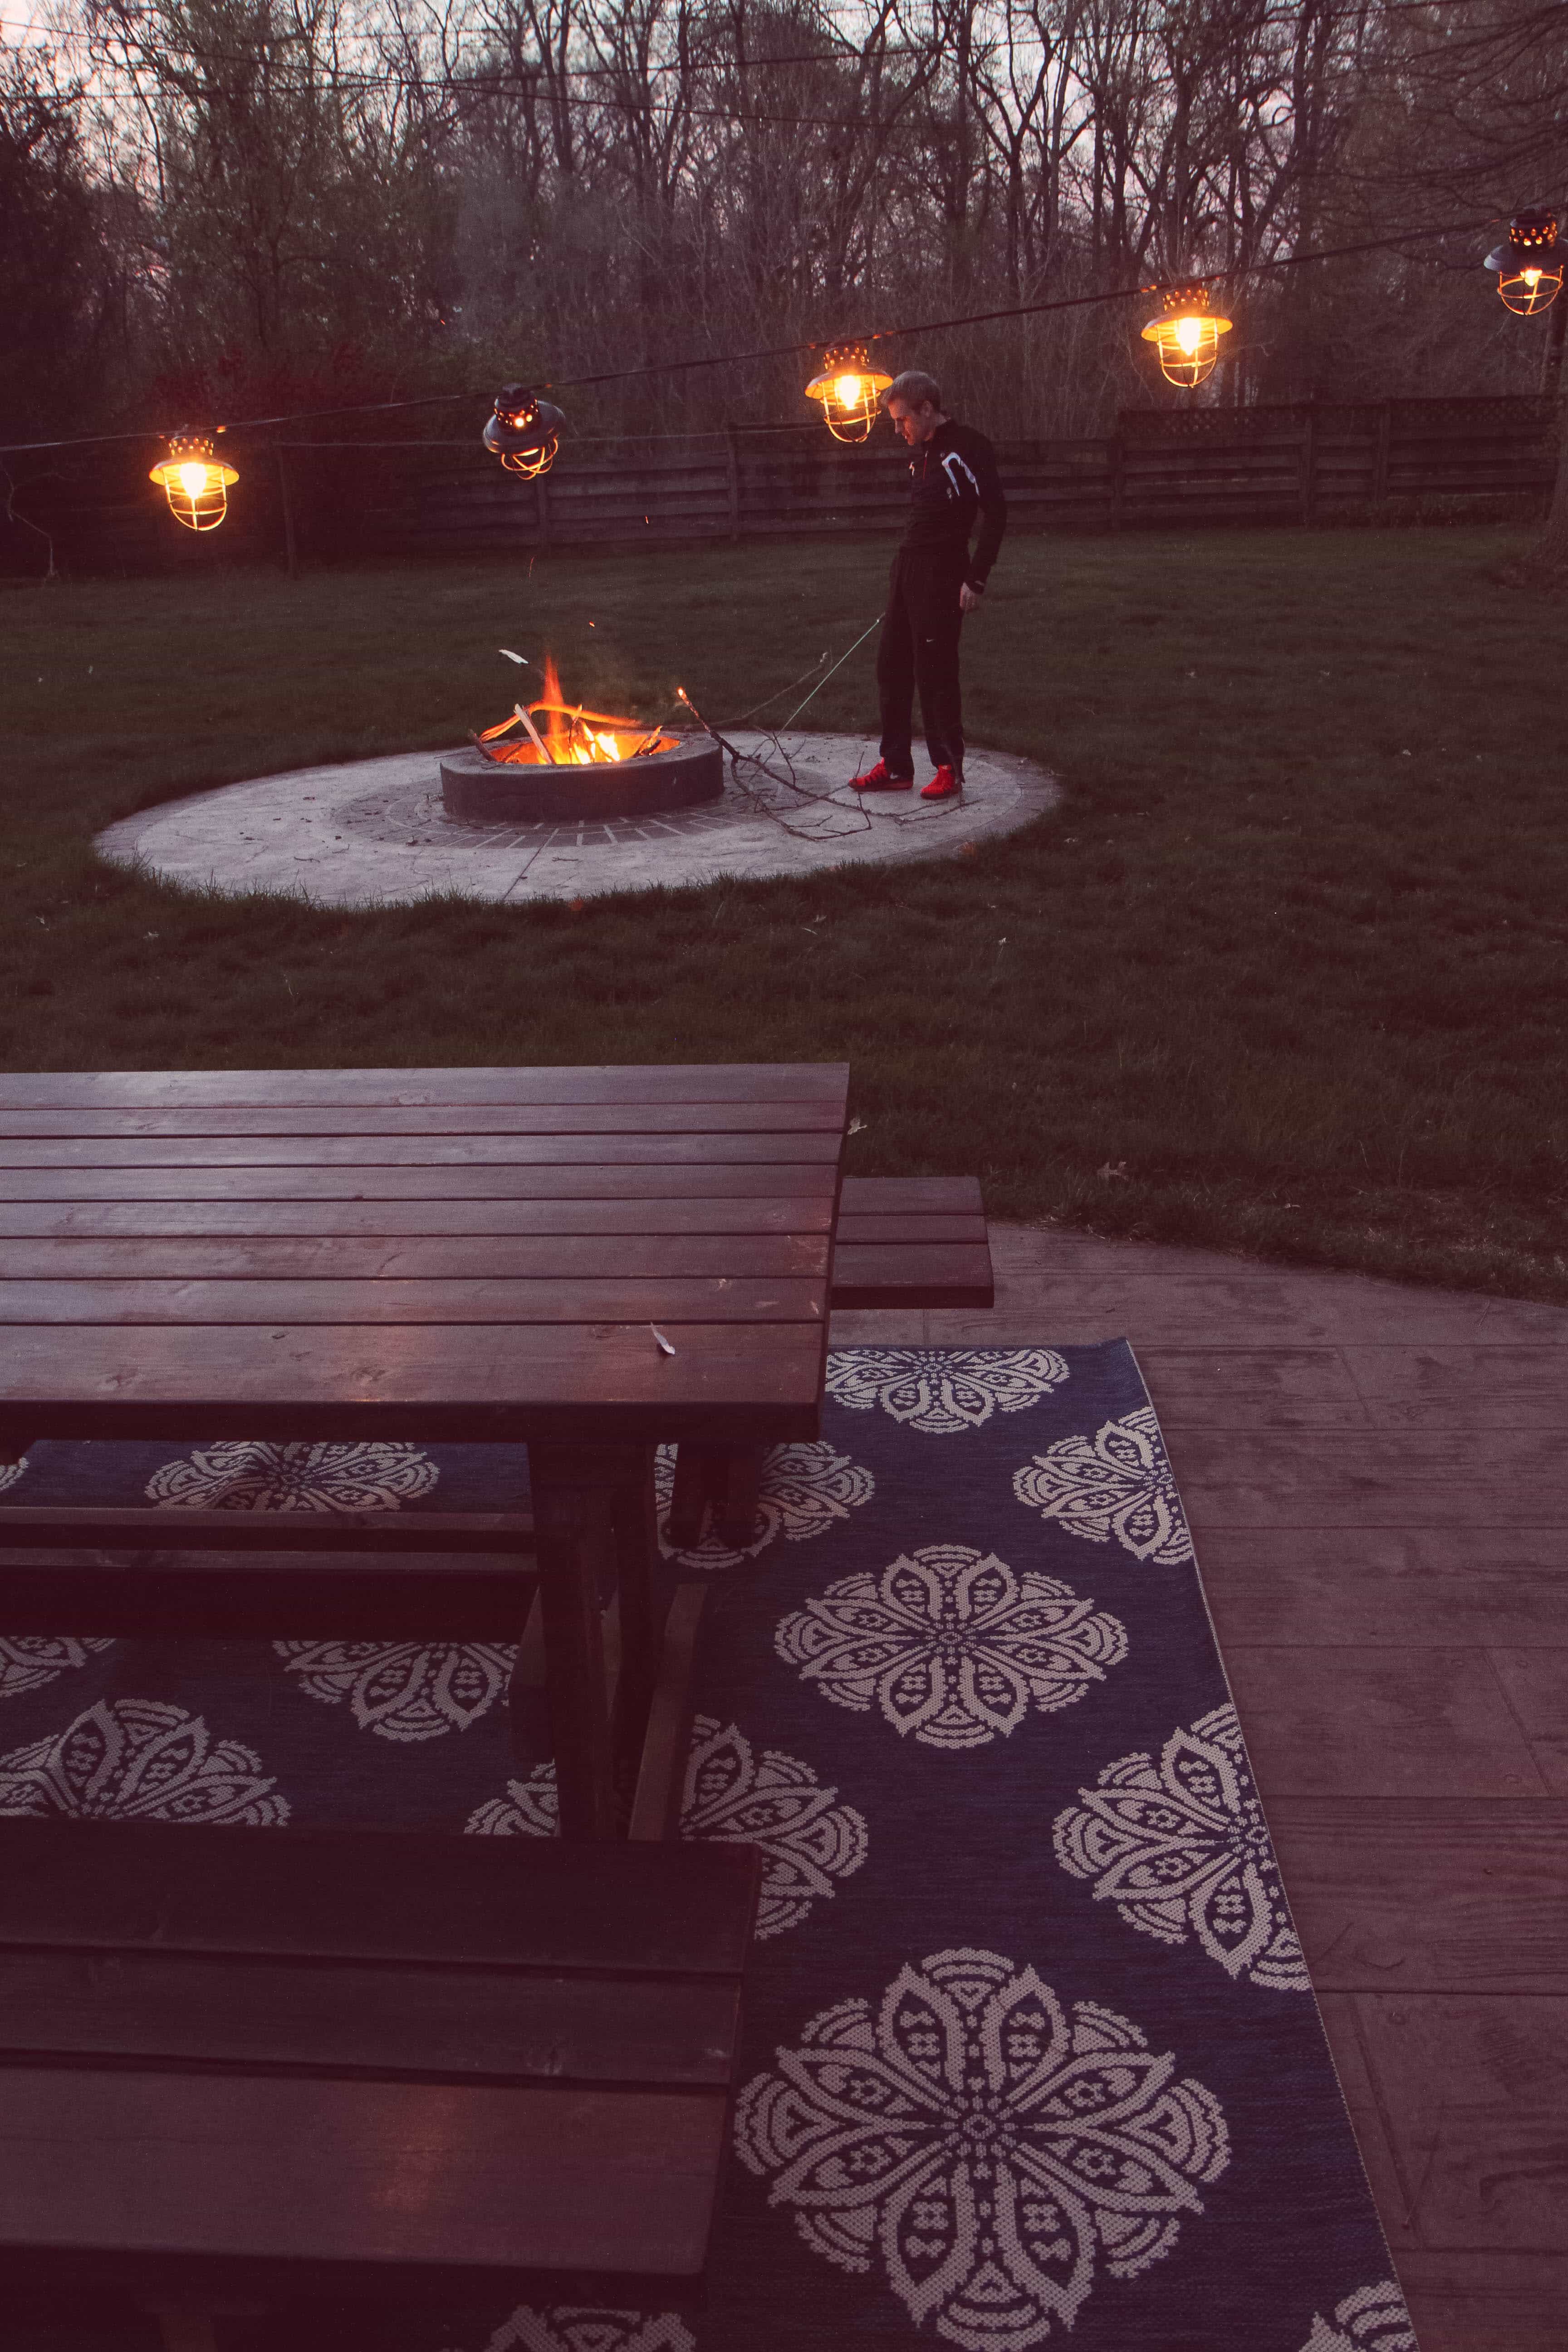
Just a few weeks after purchasing this ottoman, my daughter came to tell me that she had found the perfect “fairy wand holder,” in our living room. Proudly, she showed a wand standing straight to attention in the top of our brand new ottoman.
It became a regular joke when buying furniture, after that moment, to ask the salespeople things like, “Do you have any insurance to protect this couch if your child STABS IT? I mean, just takes something and plunges it through?!”
Oh, the fear and bewilderment in their eyes.
They clearly do not have children and we have learned, moving forward, that furniture insurance is worth its weight in gold.
Now that my daughter is ten, I’m both 1) embarassed that I have thought of repairing this for ten years, but did not do anything and 2) a little misty-eyed covering up our fairy wand days. They grow up so fast!
There are ottomans now that can be bought with a built-in tray, but what if you already bought one and want to make the most of it? This DIY is for you!

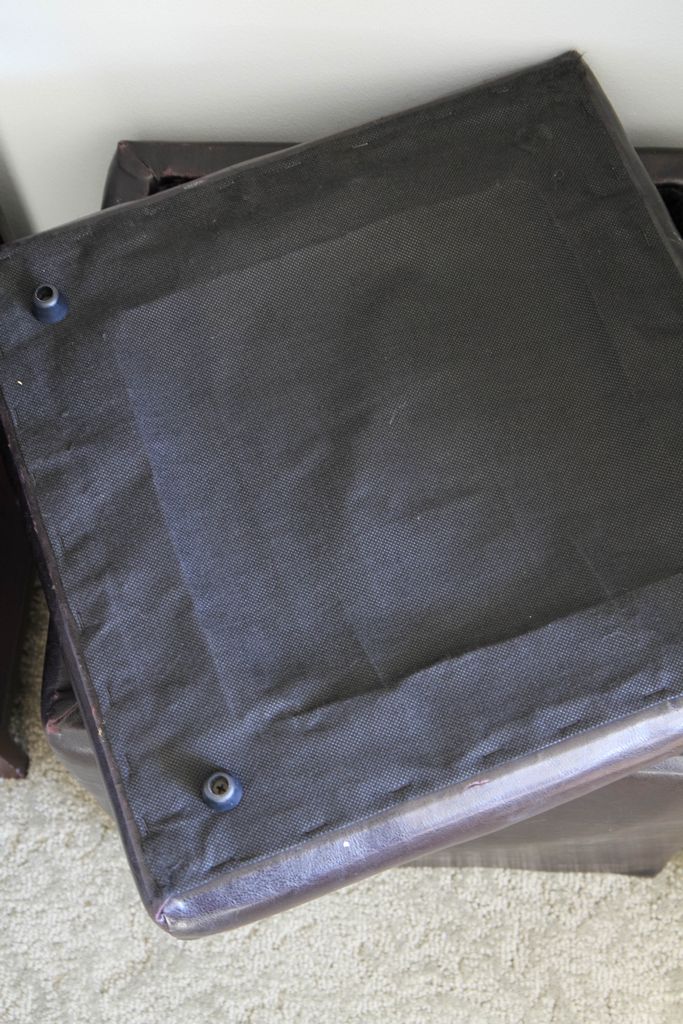
1. Begin by removing any hardware on the bottom of the top of your ottoman and any buttons from the top. Using this as a guide, cut a piece of fabric, making sure to give room around each side for covering and stapling.
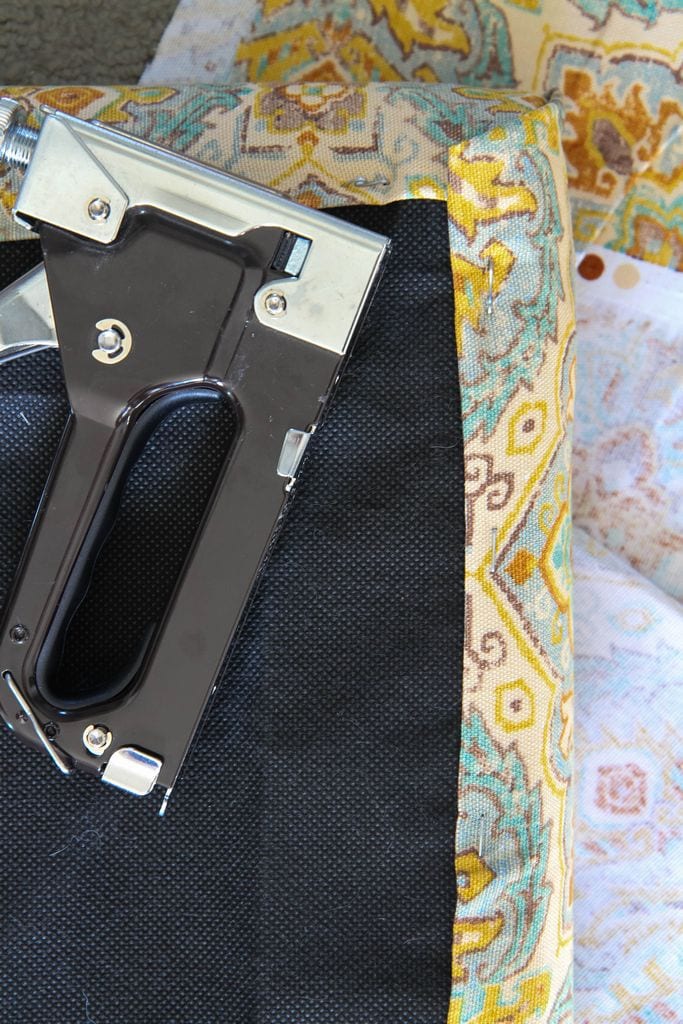
2. Folding under the raw edge of the fabric, begin stapling the fabric down the two shorter sides. Two words- PULL TIGHT. You want a nice smooth surface and no loose fabric. Folding the corners like a package, repeat the process on the two longer sides.
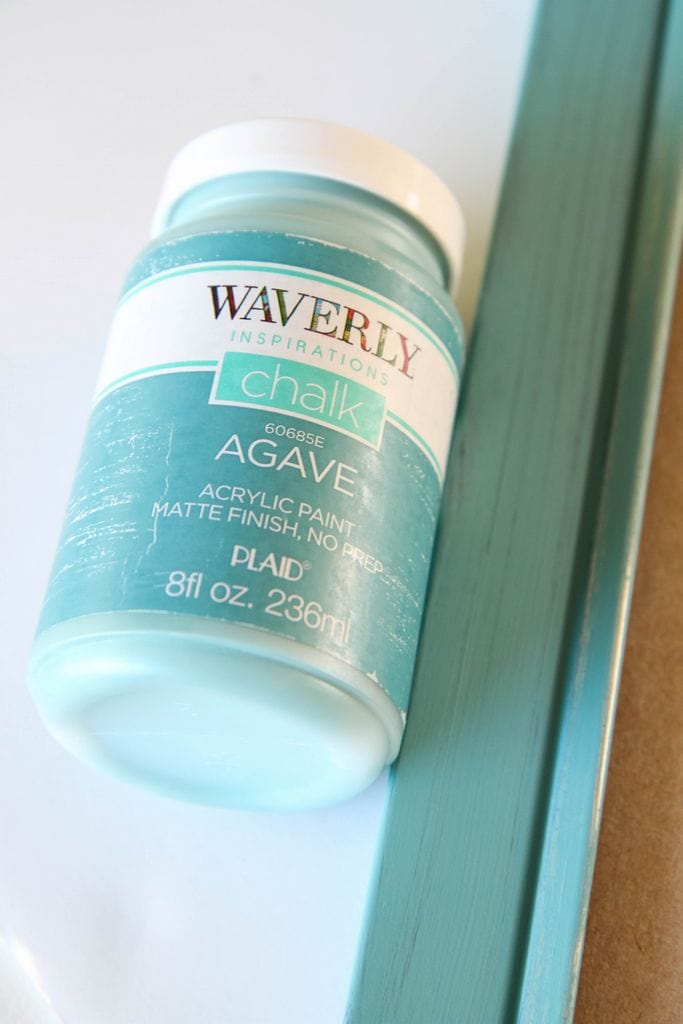
3. Remove the glass and any materials inside the diploma frame. We are using this type of frame because it is very lightweight and has no hardware on the back. Using a paint brush, paint the entire frame in chalk paint and let dry. Repeat with one more additional coat.
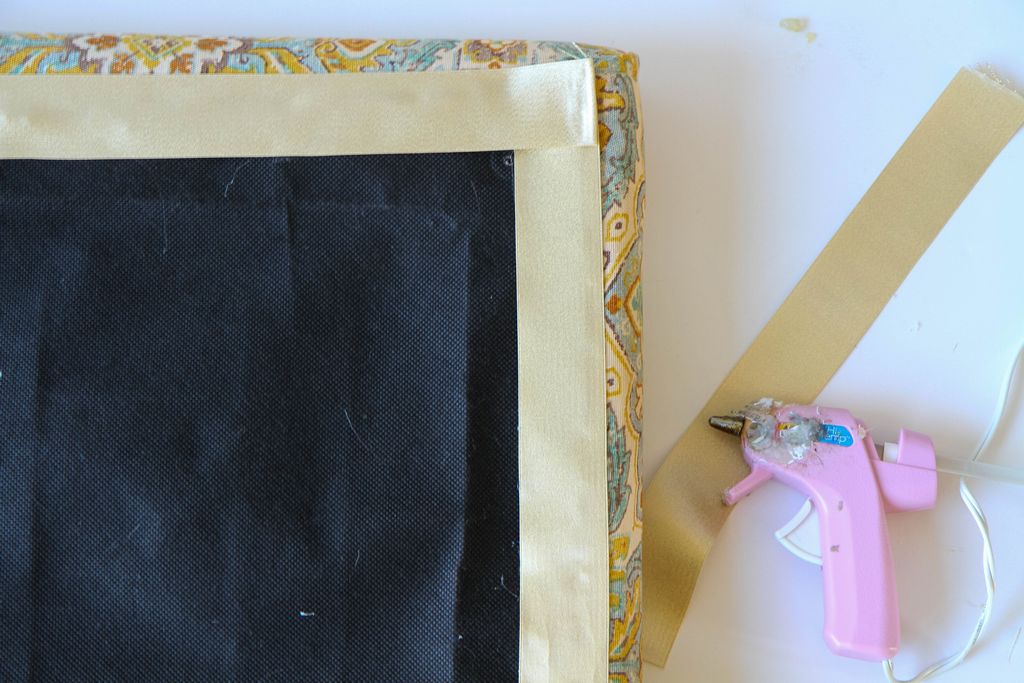
4. To give the ottoman a clean finish, grab your ribbon and outline the bottom of the stapled fabric, folding down the raw edges with a dab of glue, and hot gluing this ribbon all the way down the four sides. This helps cover up the majority of the bottom when the tray is mounted on top.
5. Using the paper from inside your frame as a guide, cut your second fabric to size and then tuck inside the frame.
6. Hot glue drawer handles on the top of the frame to finish.
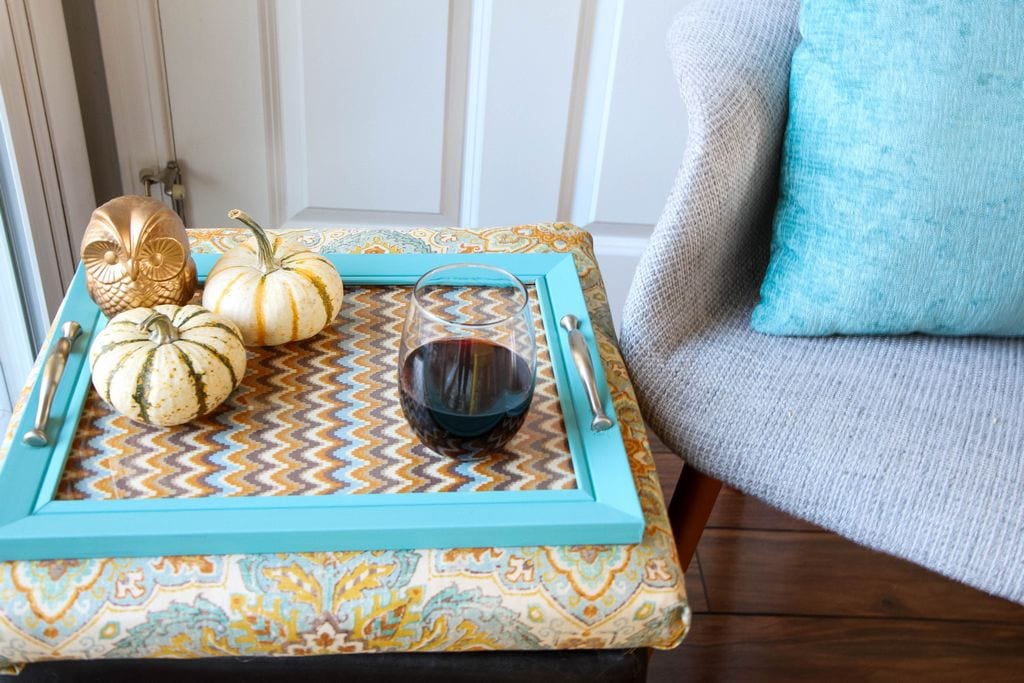
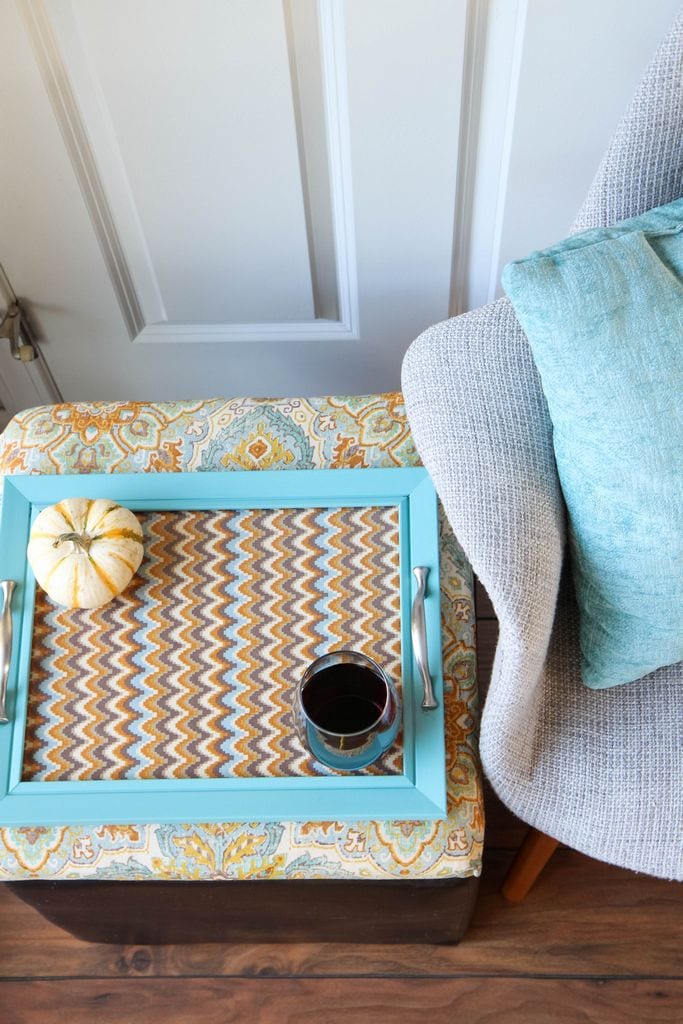
How cute is that? The perfect tabletop for your guests! Store the tray on the inside of the storage ottoman and place the top back on as you usually would. With this small addition it’s like you have a brand new table!
Do you want more craft inspiration from Waverly? Try these!
DIY No-Sew Reversible Chair Cushions
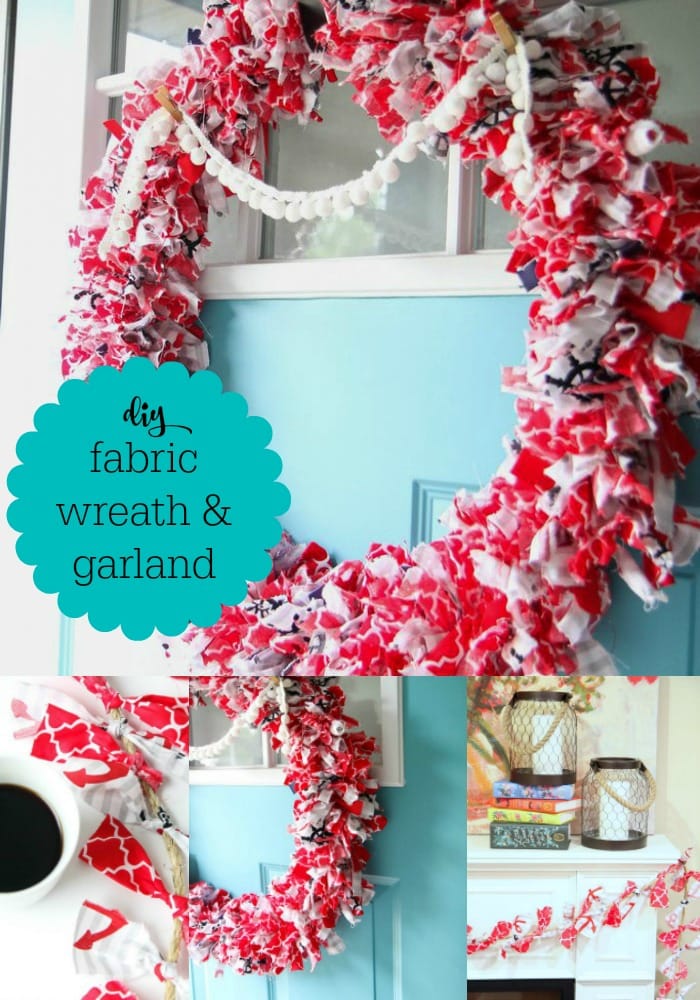
Fabric Wreath & Matching Garland
Fabric Bulletin Board Tutorial
Painting Pumpkins With Acrylic Paints
This post was created in partnership with Waverly Inspirations. Thank you for supporting the companies that support our site!
Pin It


