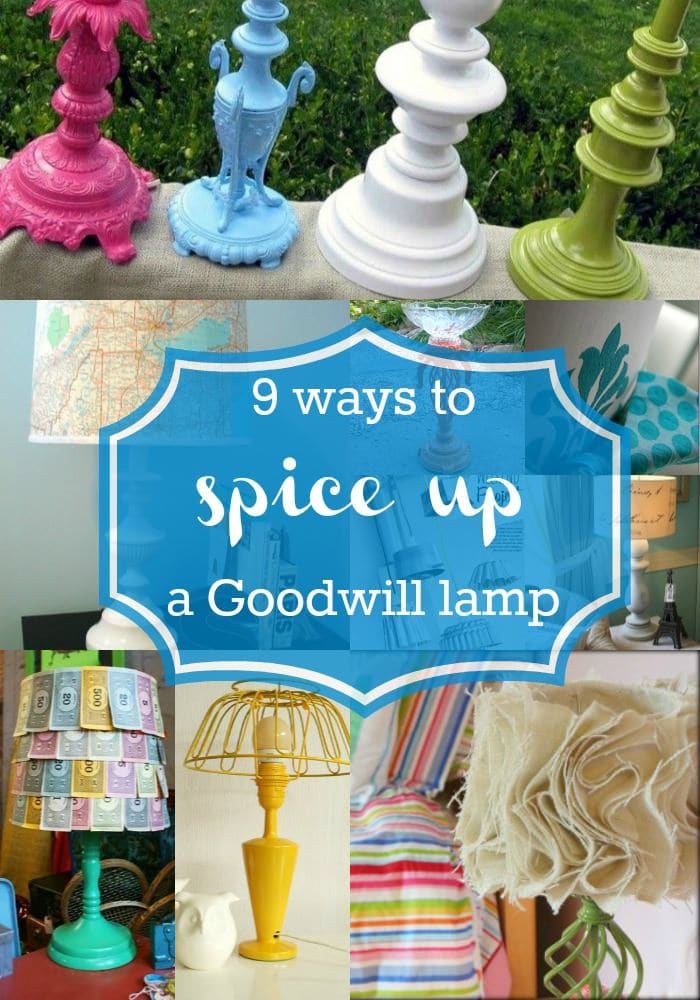
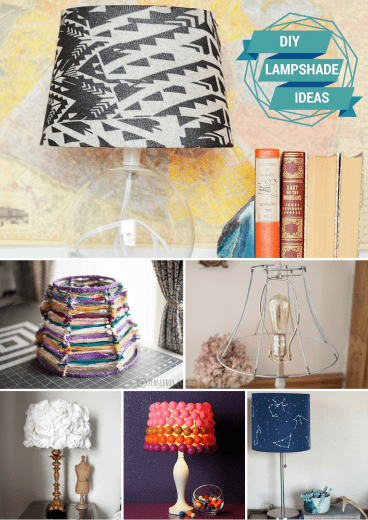
One walk through the aisles of Goodwill and I guarantee you will find a handful of great lamp choices just begging for a fun DIY lamp makeover that can dress up a corner in your home.
To inspire you, I have gathered 9 of my favorite ways to spice up an old lamp.
These lamp makeover ideas are so inspiring, in fact, that I can’t wait to snag a lamp for myself!
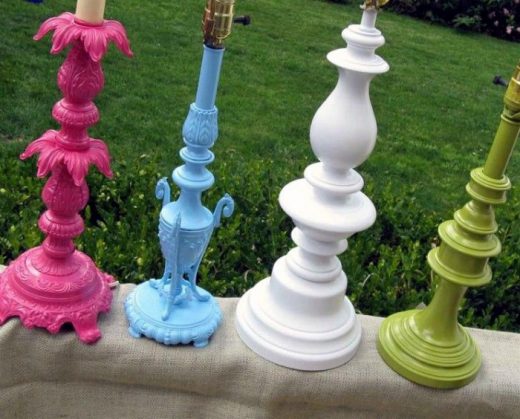
Be Bold With Paint
There is no need to go overboard if you lack the craft skills to tackle a more complex craft project and one way that you can easily spice up an old lamp is just to add a bright pop of color to it with spray paint.
With all of the fun colors in the spray paint aisles, the only hard part will be choosing your favorite color.
Be sure to browse around the Housewares section for other fun additions you can add to a table in your home and can spray paint in the same hue.
One bottle of spray paint will go far with a fun project like this. (Source: Mr. Kate)
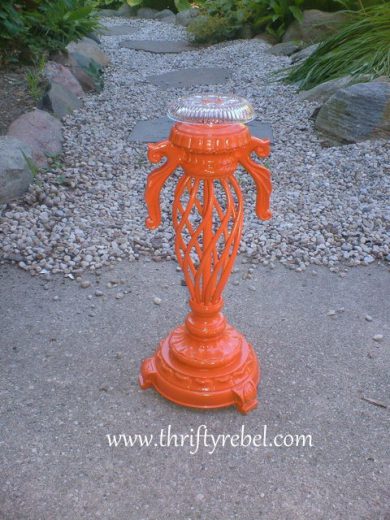
Make It Into a Bird Bath (Say What?)
Sometimes one has to rethink the original purpose of a thrift store item, that is why I am IN LOVE with this idea to turn a lamp into a birdbath for the backyard.
With this DIY, you simply spray paint your base in a fun color to match the colors in your patio set, and then add a bowl on top to create the perfect little birdbath for the backyard.
Why spend a fortune at the garden center, when a birdbath can be made for a fraction of the price? (Source: Thrifty Rebel)
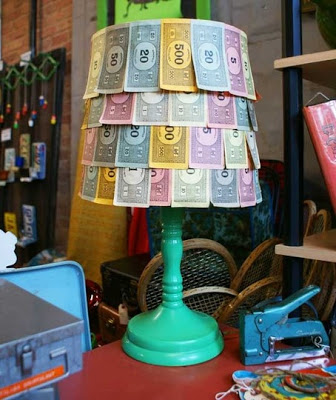
Add A Whimsical Accent to Your Game Room
Do you remember all of the fun I had with board games over the Fall?
If you remember how much fun I had with that, I am sure you will understand my enthusiasm for this adorable lamp for a family’s game room.
The best part about this one is that not only can you pick up the lamp from Goodwill, but you can even pick up the board games there too.
This is a lamp that you could definitely make together as a family and would be absolutely adorable in your game room, family room, or kids playroom. (Source: Apartment Therapy)
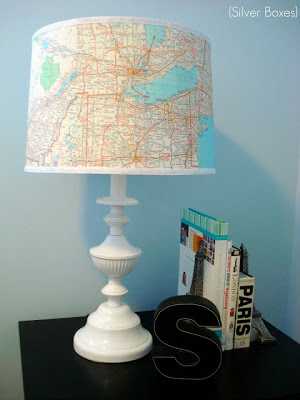
Make it Sentimental
Map crafts are just as popular as the book crafts we highlighted last month and I absolutely love this DIY lampshade makeover made from a map.
Select a map from a location that is special to you, perhaps where you honeymooned, where you grew up, your favorite family vacation, or where you live right now, and make an homage to that location with this sweet lamp.
Finish it with a grosgrain ribbon or an embellished edge ribbon trim from the craft store. (Source: Silver Boxes)

Rethink Your Fixture
Who says you need a lampshade to even create a light.
Have you ever thought of using a cake or jelly mold for a fun industrial fixture.
It is rare that I stop in a thrift store and don’t spy a cake mold with pretty fluted edges and they are often priced at a dollar or less.
Add a spray paint that adds a hammered metal appearance to them or go vintage with a pretty aqua blue.
These light fixtures are not only unique, but they utilized an item that is frequently donated. (Source: Poppytalk)
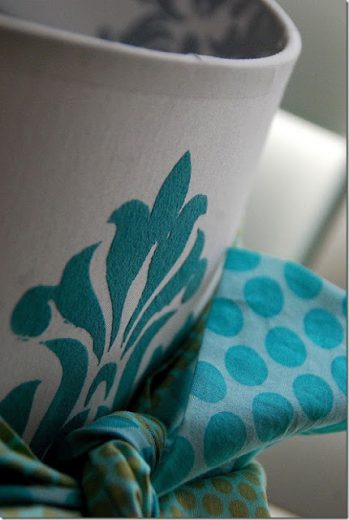
Add a Stenciled Accent
Stencils are all the rage in home decor whether it is a stenciled accent to a wall, to stenciled window treatments, to stenciled accessories in your room.
You can find beautiful stencils to choose from at your local hardware store in the paint aisle or you can create your own if you have a craft cutter, like a Cricut or Silhouette.
This stencil adds texture to the fabric, thanks to the Tulip Soft Fabric paint.
I love the fun bow and cute additions made to this lamp from a scrap of burlap and fabric.
I am sure you will love this one too! (@ Tatertots & Jello)
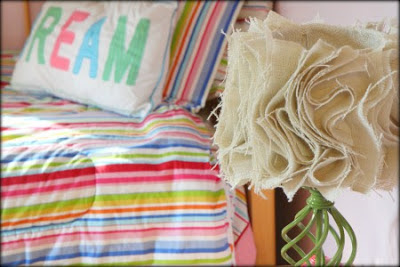
Add a Ruffle
Don’t sew?
No problem!
There are so many fun ways to add fabric to a tired lampshade that you might just be overwhelmed with the choices and few of them involve more than fabric and a glue gun.
This lamp that I created replicated a lamp spotted in Anthropologie, but was made at a fraction of the price with a little burlap and a hot glue gun.
This lamp redo is a great one to add to a craft room or to a little girl’s room for a feminine touch.
Spray paint the base any color to match the room and add a burlap ruffle in whatever shade you can find on sale at your craft store.
(@ MomAdvice)
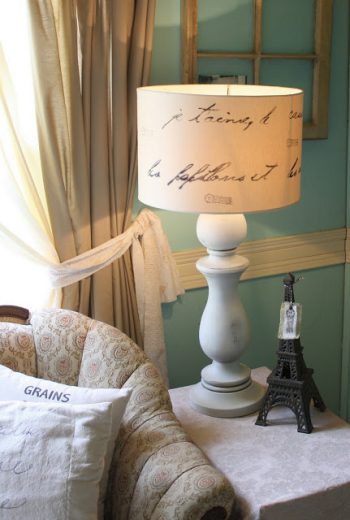
Add Some Script
I love when bloggers are inspired by expensive lamps they see in store catalogs and find a way to replicate that beauty in their homes.
A $159 lamp might not be in your budget, but one created for less than $10 just might be.
Who wouldn’t love a love letter written right on a lampshade?
I am all about sentimental decor in my home and I have a feeling that this lamp makeover is as sweet as it gets
(@ The Shabby Creek)
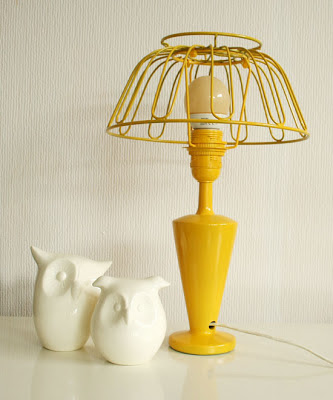
Rethink Your Shade
Industrial lighting is very in right now and one way that you can incorporate that industrial feel to your lighting is by simply creating a different lampshade from other items you might find lurking at your Goodwill store.
A
metal basket is the perfect way to add that industrial touch to a lamp and when they are both spray painted in the same shade, it is a match made in heaven.
(@ DIY Wilma)Have you ever spiced up a lamp? Let us know in the comments what you have done with this frequently donated item!
This post contains affiliate links.
Don’t miss these other crafty ideas from MomAdvice.com:
Pin It


