Archive for the ‘Sides’ Category

Make-Ahead Mashed Potatoes

Sunday, January 18th, 2009

Make-Ahead Mashed Potatoes
Serves 15

5 pounds of potatoes
1 block (8 oz) of low-fat cream cheese, softened
3/4 cup low fat sour cream
4 tablespoons butter
3/4 cup milk (or more if desired)
1 1/2 teaspoons salt

Peel potatoes and cut into small cubes. Throw the potatoes in a large pot filled with cold water. Cook for 25 minutes or until fork-tender. Drain the potatoes and put them back into the hot pot. Add cream cheese, butter, milk, and salt. Mash with a potato masher or use a hand mixer to whip the potatoes. Spoon mixture into a freezer-safe container and label.

Thanksgiving Day: Put potatoes in the fridge 1-2 days before to allow them to completely thaw. Spray slow cooker with cooking spray and put potatoes in the slow cooker. Brush the top of the potatoes with a tablespoon of butter and sprinkle with paprika. Cook on low for two to four hours.

If you would rather bake these, bake the potatoes at 350 degrees for thirty to forty minutes or until completely hot.

Deliciously Spiced Pumpkin Bread

Monday, October 13th, 2008

Before I left for my trip, I wanted to make sure that we had a yummy snack for the kids to munch on. I checked the pantry and had all of the ingredients to put together some mini-loaves of my favorite spiced pumpkin bread in the world. Smear this with a little butter and a cup of coffee, and you have the ultimate coffee shop experience at home.

This batter makes four mini-loaves so I was able to wrap one and put it in the freezer, leave two out for eating, and I gave a loaf of it to my mother-in-law who took a day off to help us with the kids while I am out-of-town. Wrapped in tin foil, I stamped a tag with a little thank you rubber stamp and tied the loaf off with a little raffia. I hope nothing says thank you and I appreciate you like a loaf of this pumpkin bread!

The best part about this bread, of course, is that all of the ingredients can be found and stocked in your pantry. The other great part is that it is inexpensive and easy to make. That makes it a winner in our house!

Spiced Pumpkin Bread

3 cups sugar
1 cup vegetable oil
3 large eggs
1 16-ounce can solid pack pumpkin
3 cups all purpose flour
1 teaspoon ground cloves
1 teaspoon ground cinnamon
1 teaspoon ground nutmeg
1 teaspoon baking soda
1/2 teaspoon salt
1/2 teaspoon baking powder
1 cup coarsely chopped walnuts (optional)

Preheat oven to 350°F. Butter and flour two 9x5x3-inch loaf pans. Beat sugar and oil in large bowl to blend. Mix in eggs and pumpkin. Sift flour, cloves, cinnamon, nutmeg, baking soda, salt and baking powder into another large bowl. Stir into pumpkin mixture in 2 additions. Mix in walnuts, if desired.

Divide batter equally between prepared pans. Bake until tester inserted into center comes out clean, about 1 hour 10 minutes. Transfer to racks and cool 10 minutes. Using sharp knife, cut around edge of loaves. Turn loaves out onto racks and cool completely.

Those Bodacious Blueberry Muffins

Monday, March 31st, 2008

This weekend I made Emily’s, from the wonderful Loria Family Dialogues, Bodacious Blueberry Muffins for a snack. I happened to have some of my crumb topping in the freezer so I added a sprinkle of that on top of each of these.

Wow! These were delicious! I think I might mix up some of the dry ingredients, just like I do for my dinners in a bag, for a quick snack to take to playgroups or potlucks.

With the crumb topping, they tasted like a yummy Blueberry Buckle- delicious! I hope you can try these and a big thanks to Emily for such a wonderful recipe! Now I just need to convince my children and husband that blueberry muffins are delicious (weird people!)

What to Do With Leftover Pitas?

Monday, February 11th, 2008

We had pitas leftover from our dinner,but they didn’t last long. Most of them got turned into little personal pan pizzas for lunches this week.

I topped them with some of my homemade sauce, a little cheese, and some pepperoni. The kids gobbled them up and ever since we ate these, Emily keeps pointing to the stove and saying, “Pizza? Pizza?”

These might be a fun variation on our pizza nights at home especially since everyone can pick their own favorite toppings!

Sound Off: What do you do with leftover pitas? Do you have a favorite topping or way to stuff them that is a hit with your family?

Homemade Pitas

Monday, February 11th, 2008

If you would have asked me I thought I could whip up some pitas for my family a few years ago, I would have told you no. I have had this recipe in my collection for so long that I don’t even know where it originated from, but I decided to dust off the old recipe collection and see if these could come together for me. After all, if it was a complete failure…well, at least I tried!

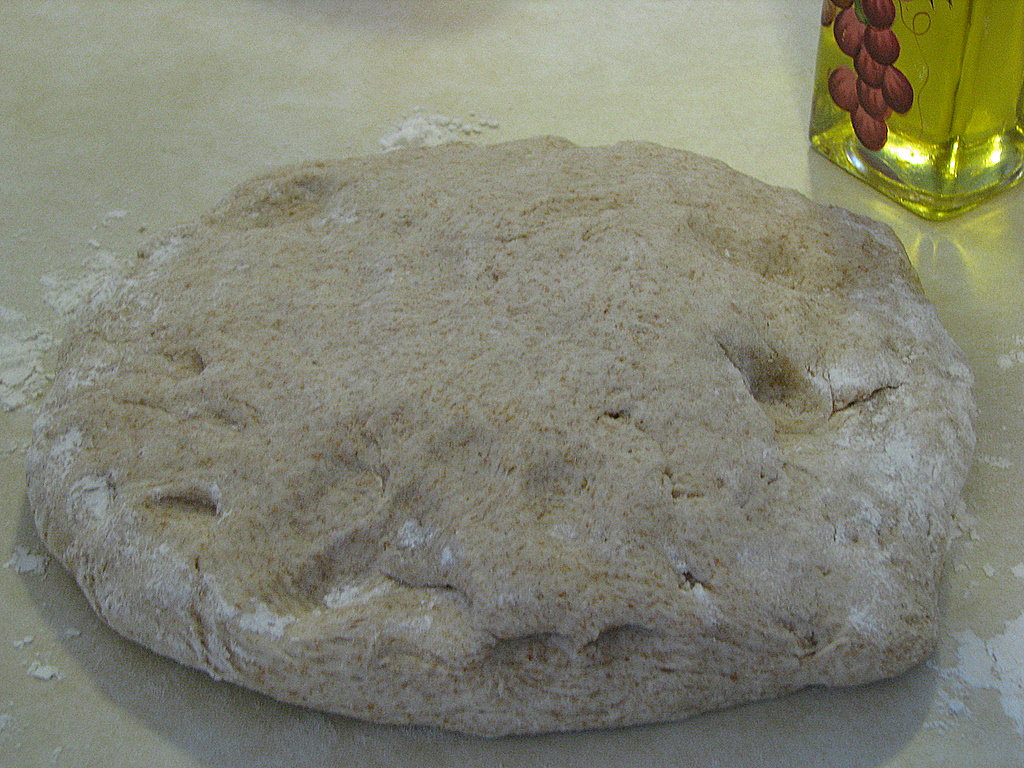
This dough is incredibly easy to work with, especially for a novice! It is not too dry and it is not too wet so you don’t have to use a lot of flour to roll these out.

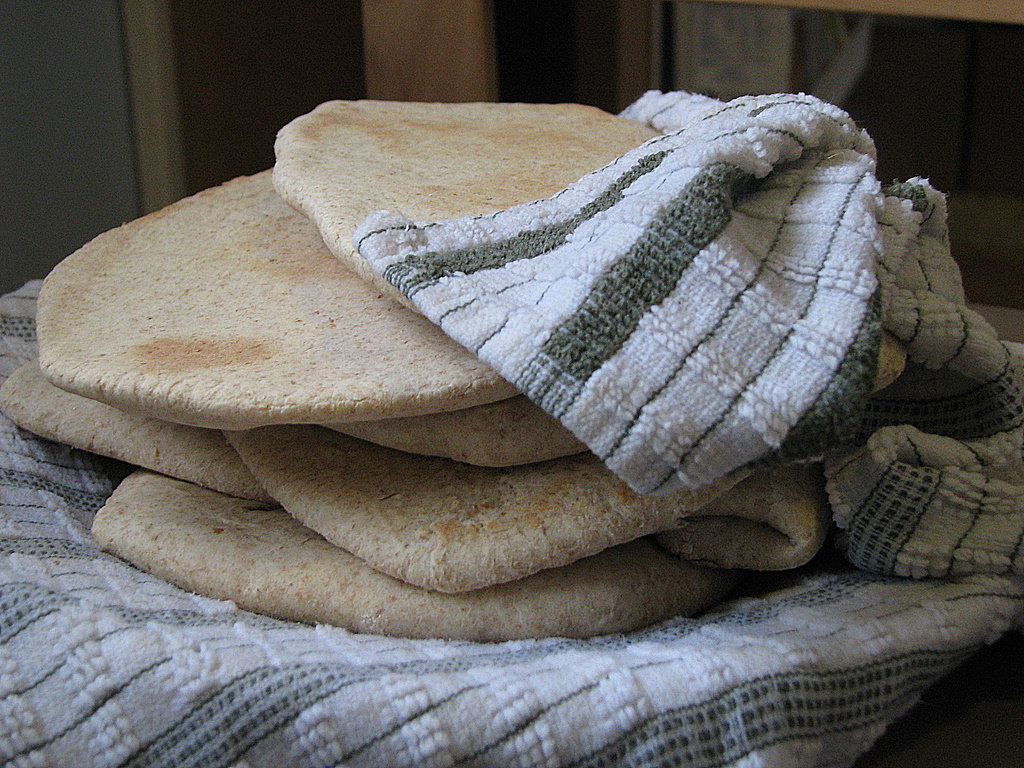
These pitas are so yummy and the whole wheat flour adds a yummy dimension to the flavors. The kids loved these and my husband could not get over that I had made them because they looked just like the store-bought variety.

Now that I have made them though, there is no turning back. I will never buy these at the store again. In fact, I am whipping up my second batch for the week today! I hope your family will enjoy these as much as we have!

Pita Bread (for the Bread Machine)

1 1/3 cup water
3 tablespoons olive oil

1 1/2 tablespoons sugar

1 teaspoon salt
3 cups bread flour
1 1/2 cups whole wheat flour

2 teaspoons yeast

Put ingredients into the bread machine in order listed. Run the dough cycle on your machine. When the bread machine beeps, pull the dough out of the bread machine and divide the dough into ten pieces. Roll each piece into a six inch circle. Place these on a baking sheet (or your pizza stones) and let them rise for twenty minutes (I can fit about four rounds per pizza stone or three pitas per baking sheet). Bake at 500 degrees for three minutes. Using a spatula, flip the pitas and cook for another three to four minutes on the flip side.

Amy’s Side Notes:

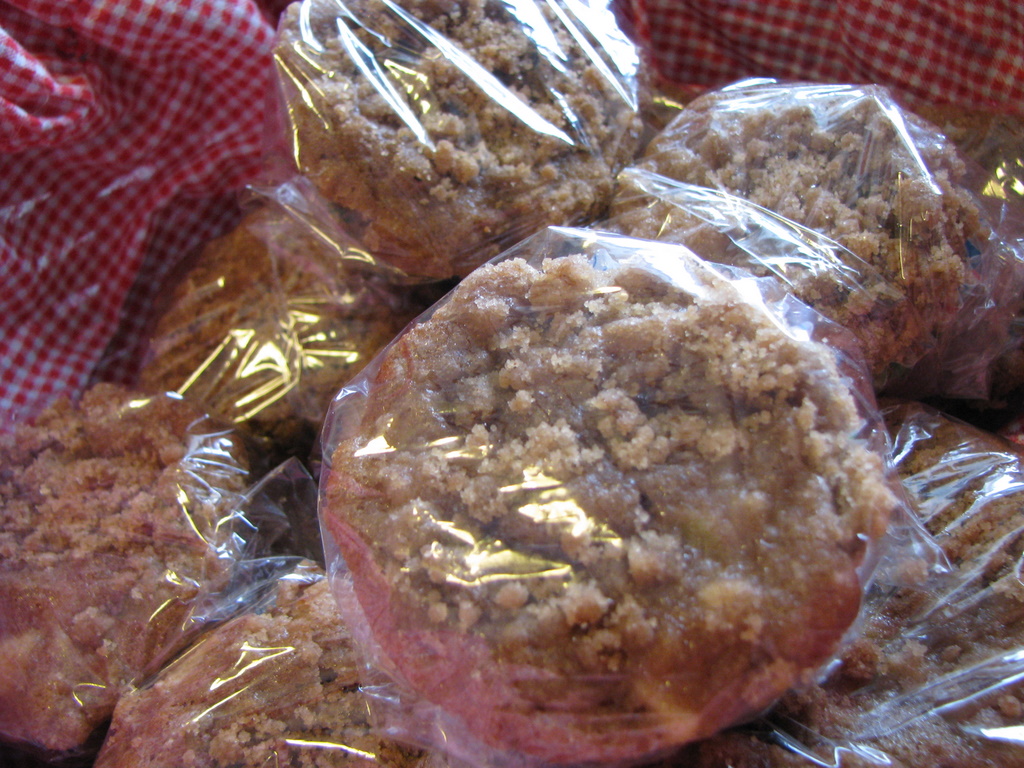
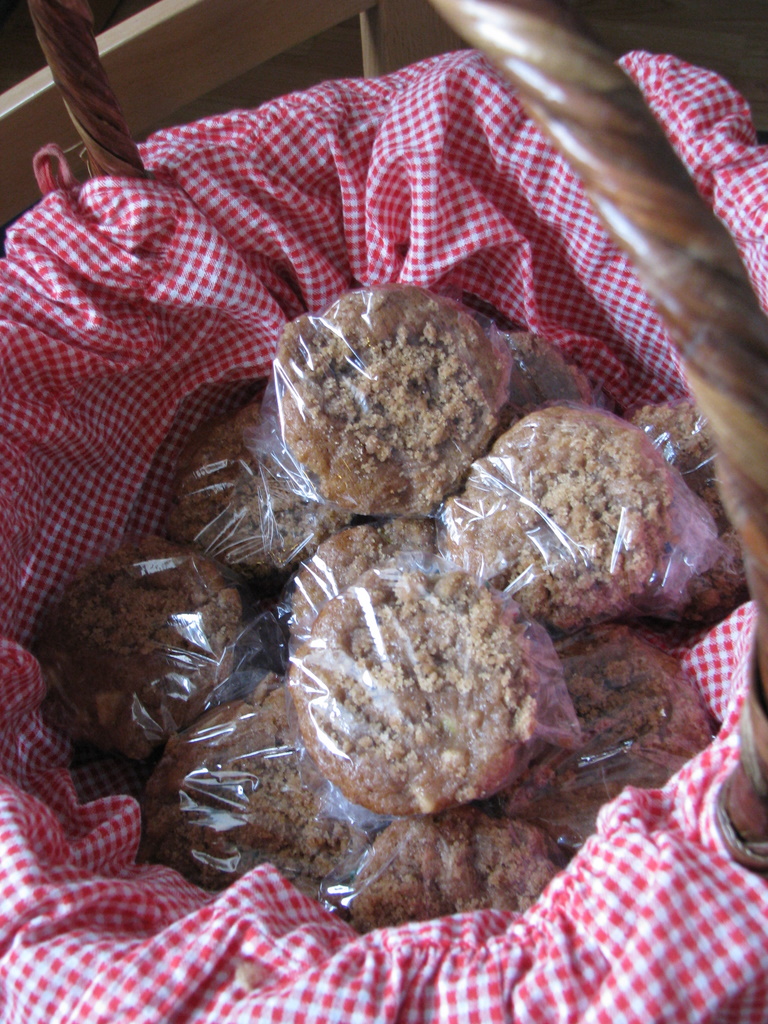
– When you pull the pitas off of your baking sheet, wrap them into a damp kitchen towel for a few minutes. This helps keep them from drying out. Once they are cool, you can store them in a food storage bag.

– Freeze extras for a rainy day! After the pitas have cooled, slip a piece of wax paper between them and store in a freezer bag. You can take out what you need…when you need it!

Apple Pie Muffins

Monday, January 21st, 2008

Practicing hospital hospitality this past week for my nephew, I put together a basket of treats for the family to take down to the hospital with them.

I had lots of apples to use up and thought this recipe for Apple Pie Muffins would be perfect for a yummy treat. I made a double batch for them and for our family. I also made a triple batch of the crumb topping and put it in our freezer to help save a step the next time I make these or my Banana Crumb Muffins.

These muffins are super delicious and just the right balance of sweetness and tartness (from the apples). Serve these with a big glass of milk to wash them down.

Our house smelled so good after I was done baking these that I wanted to extend the scent longer. I used the peels and apple cores from dicing my apples and threw them in a pot with some lemons that were no longer good anymore. I topped the pot with some water and extra cinnamon and let it simmer away while I packaged the muffins up for the trip to Chicago. It smelled like an apple pie for the entire day. Thanks to whoever supplied that tip on Works-For-Me Wednesday because it really worked.

I thought these looked so beautiful in this red gingham basket that I had purchased from Goodwill. I put a little tag on it with a description of the muffins on it so that people knew what they would be diving into.

Although I couldn’t sit in the waiting room with them, it was my way of showing that I loved and supported them during that time.

Macaroni Grill Rosemary Bread

Monday, December 24th, 2007

Serve with olive oil for dipping!

Macaroni Grill Rosemary Bread

1 tablespoon yeast
1 tablespoon sugar
1 cup warm water
2 1/2 cups flour
1 teaspoon salt
2 tablespoons rosemary (fresh is best, but you can sub with dried)
2 tablespoons butter

Place yeast, sugar and water in large bowl or food processor and allow mixture to become bubbly. Mix in 1 T butter, salt, and 2 cups of flour. Add one tablespoon of the fresh chopped rosemary. Knead for about 10 minutes by hand or in food processor about 5 minutes until smooth and elastic. Add more flour if necessary. Oil a bowl, put dough in it and cover with a towel. Punch down dough and divide in half. Let dough rest about 5 minutes. Spray baking pan or cookie sheet with cooking spray. Shape the dough into 2 small rounded oval loaves. Sprinkle remaining 1 Tablespoon of rosemary over the loaves and press lightly into the surface. Let loaves rise again until doubled, about 45 minutes. Preheat oven to 375° F. Bake for 15 to 20 minutes, until lightly browned. Carefully remove from oven, brush with remaining butter (and salt if desired.).

Pine Cone Cheese Ball

Thursday, November 15th, 2007

This is a recipe for the holidays. I have provided make-ahead instructions and instructions for serving day.

Pine Cone Cheese Ball

1 package cream cheese, softened
2 cups shredded cheddar cheese
2 tablespoons Dijon mustard
1/3 cup sliced almonds, toasted

Do-Ahead: Mix cream cheese, shredded cheese, and Dijon mustard in a food processor until blended. Shape into a ball and store in your freezer.

Thanksgiving Day: The day before- remove from freezer and allow it to thaw. Shape cheese into a pine cone shape. Stick almond slivers into the cone-shaped cheese in rows, until the ball is completely covered. Cover and refrigerate. Serve with crackers.

Cranberry Spread

Thursday, November 15th, 2007

This is a recipe for the holidays. I have provided make-ahead instructions and instructions for serving day. The dried cranberries are available in the Fit & Active brand.

Cranberry Spread

16 oz. cream cheese, softened
1 cup dried cranberries
1/4 c. orange juice

Do-Ahead: Mix all of the ingredients together and mold into a ball or leave loose as a spread. Wrap in plastic wrap, then wrap in foil, and store in a freezer bag. Make sure to label your bag so that you can find it again.

Thanksgiving Day: Let the spread thaw in the refrigerator 1-2 days before Thanksgiving. Place dip in a bowl (or on a platter if it has been molded into a ball) and serve with gingersnaps or crackers.

The Make-Ahead Thanksgiving Dinner: Side Dishes

Wednesday, October 31st, 2007

I just wanted to take the time to share some make-ahead side dishes that you could bring or provide at your next Thanksgiving dinner. Don’t forget to visit my make-ahead appetizers post to get ideas for getting your meal started off right (without the stress!)

These entries will be an ongoing series until Thanksgiving, and then these will be turned into an article for future reference. If you have ideas for dishes that you can make ahead for the holidays, please email me at amy@momadvice.com and I will include your recipes within the entries.

Make-Ahead Thanksgiving Side Dishes

Bread Stuffing

Creamy Corn Casserole

Boston Market Squash Casserole

Broccoli Rice Casserole

Sweet Potato & Apple Casserole

Macaroni & Cheese

Cranberry Sauce (Make a few days ahead to allow flavors to merry)

Mashed Potatoes

Sound Off: What is your favorite Thanksgiving side dish?