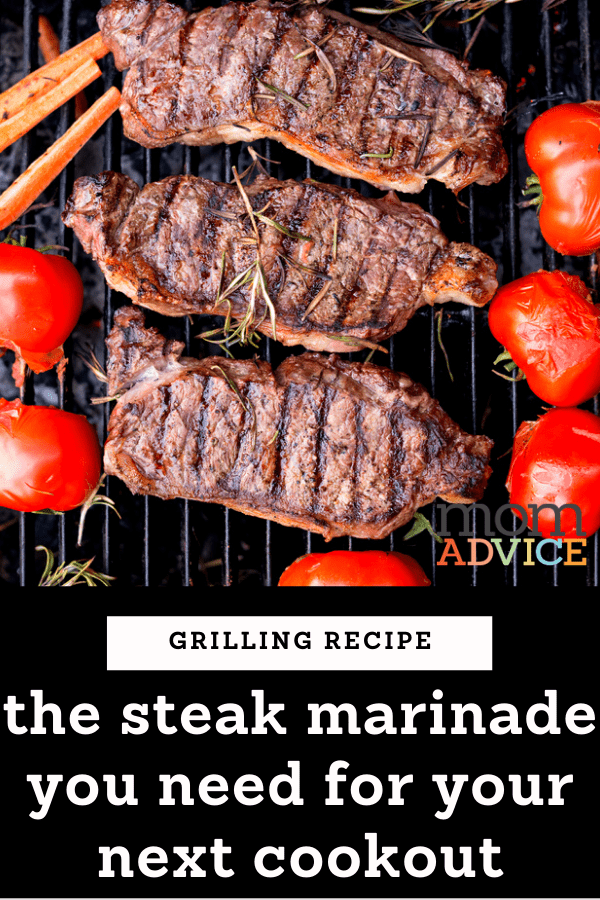
Looking for an easy steak marinade for your next cookout? These steaks can marinate in a freezer bag while you prepare your side dishes. This recipe elevates any cut of steak so no need to spend money on a filet mignon.
Adding flavor and tenderness to an inexpensive steak is so easy to do with a simple steak marinade.
If I am spending a lot of money on a more expensive cut, like a gorgeous filet mignon, I skip the marinating and allow this cut of meat shine.
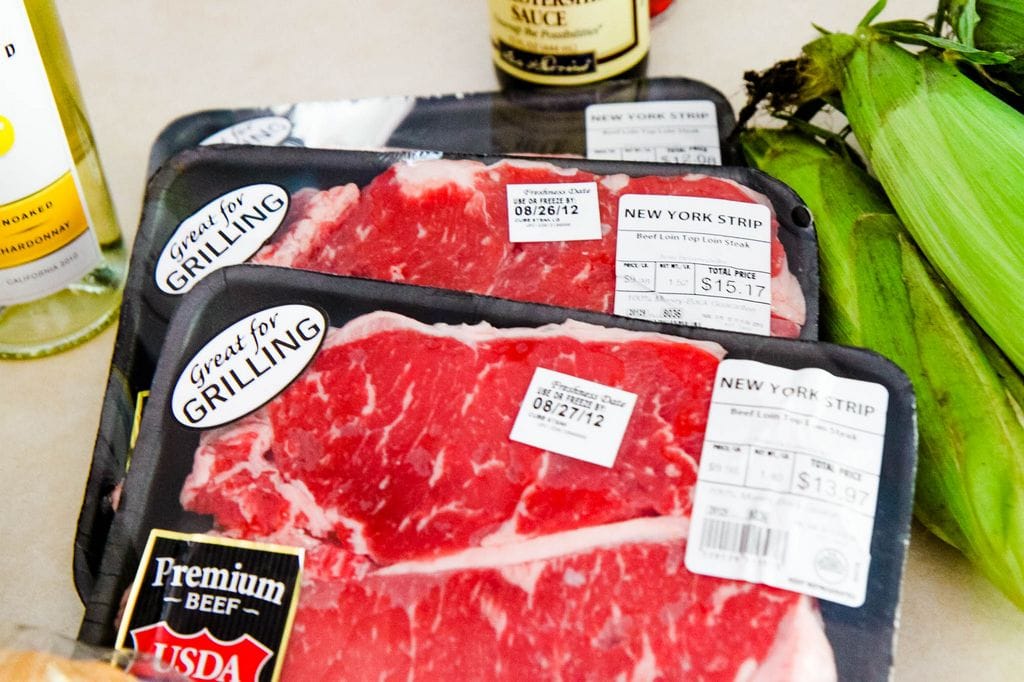
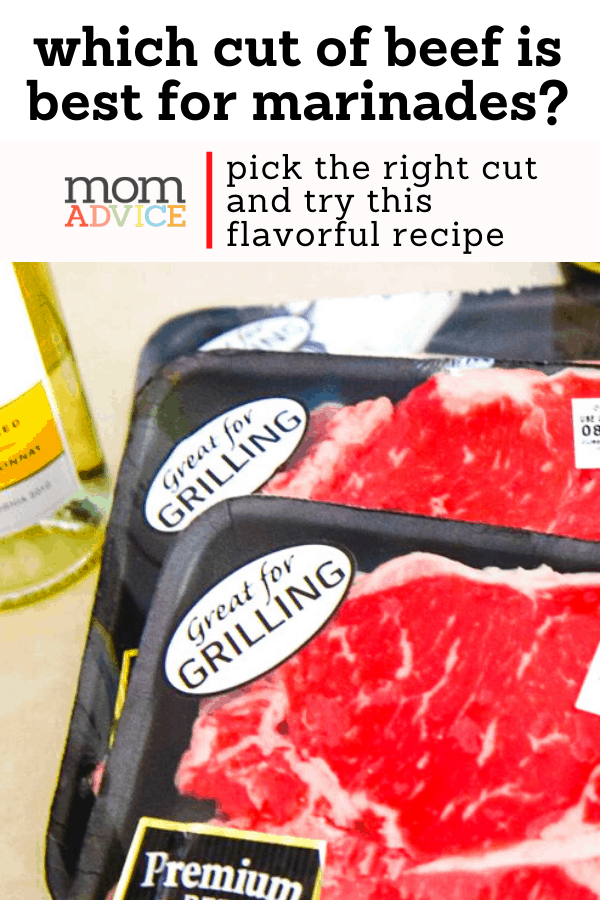
The truth is, we don’t often purchase filets though. We, instead, rely heavily on the old, “who has steak on sale this week?” method for selection instead.
One technique that I’ve mastered over the years is thinly cutting my beef to disguise any toughness in texture.
It is why you often see inexpensive cuts, like skirt or flank steak, cut very thin strips for tacos.
Which steak is best for this recipe?
I happened to hit a great sale on NY strip steaks, but normally I would use this recipe on tougher cuts of beef that would benefit from being tenderized.
This recipe is great for cuts of beef like chuck steaks, hanger, skirt, or flank.
Consider any tougher cuts of beef that you might prepare in your slow cooker too.
Should you marinate a New York strip steak?
I did marinate my New York strip steaks, but this is definitely not necessary! This cut of meat is tender and flavorful without a lot of intervention.
What is the best way to cook New York strip steaks then?
Fancy cuts of meat don’t require a lot.
Since New York strip steaks are so tender, they don’t require anything beyond a pat of butter.
What cooking method is best for each cut of beef?
I recommend taking a peek at this article on 4 expensive cuts of beef that are big on flavor. This guide should help explain which cooking method is best and help you understand the difference in flavor profiles between different cuts of meat.
For example, how ribeye and New York strip steak differ?
That, and all your burning questions about the difference between filet mignon and top sirloin are worth reading so you can adapt your cooking techniques based around steak sales.
I really think this is an incredible guide for beginner and experienced cooks.
If you use this method to make a medium rare New York strip steak, you will want to cook it to 140 degrees and then allow it to rest before cutting.
Speaking of New York strip steaks, I can’t wait to try this frozen New York strip steak technique in my kitchen soon.

I don’t want to grill. How do I cook a steak like a restaurant does?
Tired of paying premium prices at your local steakhouse?
One of the best time investments I have made has been learning to make our steak dinners at home.
The trick is starting the steak on the stovetop and then finishing it in the oven.
The best part is that everything can be done in ONE cast iron skillet.
Did someone say LESS DISHES?
Count me in!
Once you master this cast iron skillet method, you can enjoy a weekly steak without the guilt.
I can’t recommend my pan seared oven roasted steak recipe enough.
This is my recommendation for that restaurant experience in your own kitchen.
What can I marinade my beef in that isn’t made of plastic?
Consider purchasing one of these reusable glass dishes for your marinades.
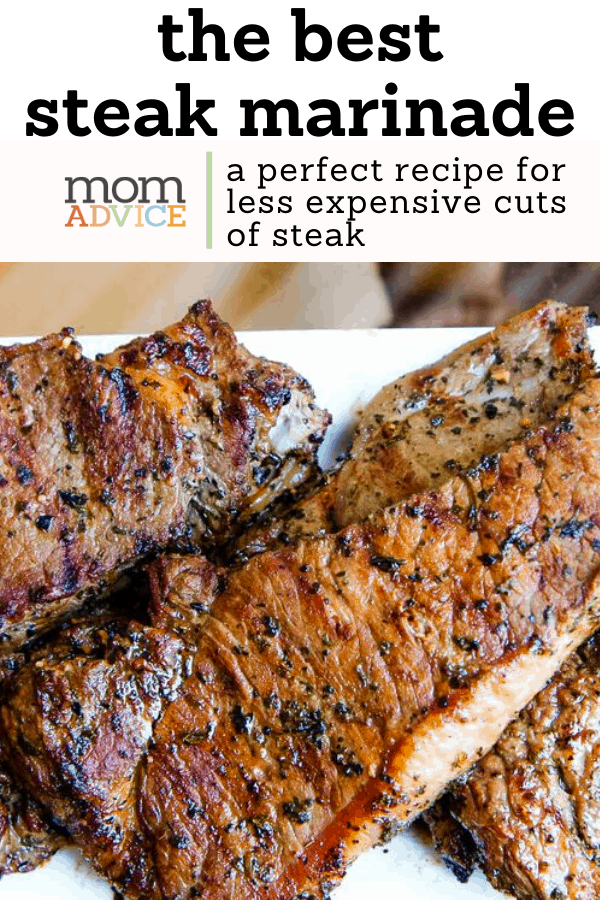
The Best Steak Marinade Recipe for Grilling
Today I wanted to share with you a recipe I tried for a steak marinade.
I am no stranger to marinated steak and the beauty of creating a great steak meal at home. In the past, I have relied on a little balsamic vinegar and olive oil marinade.
I was looking for a fresh marinade recipe and stumbled upon this one.
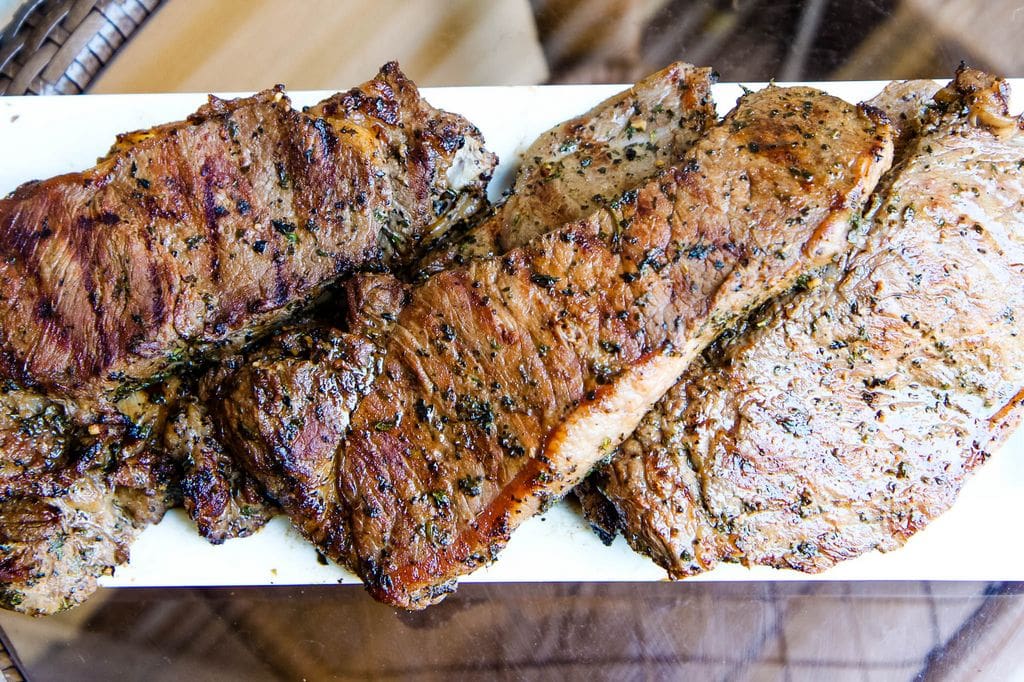
Honestly, I have never tried a better steak marinade recipe than this one and it is made from ingredients you probably already have in your pantry.
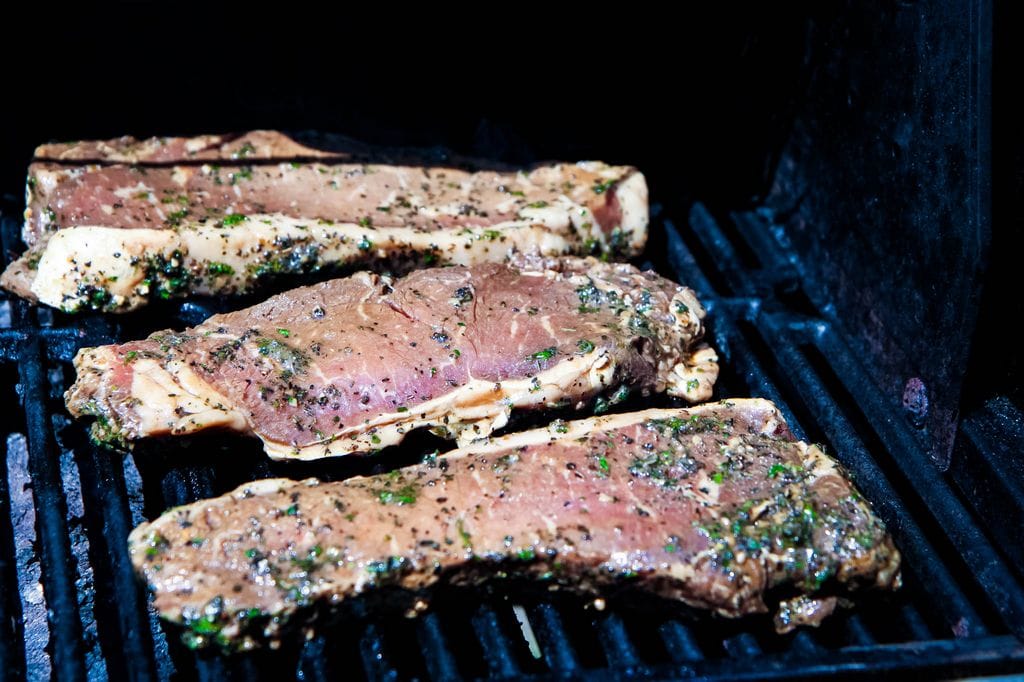
For the best results, you will want to marinate your steaks for 24 hours.
Simply add steaks to a gallon size bag (I double bag these or use a freezer bag instead) and then add marinade ingredients to the bag. Seal the bag, removing the excess air, and store it in the fridge until it is time to grill.
Now that I have tried this recipe, it is highly likely I will never make my steak any other way again. You won’t believe the flavors in this and none of them overpower the delicious taste of the meat itself.
| Best Steak Marinade in Existence |
|
Recipe Type: Main
Author: Adapted from AllRecipes.com
Prep time: 5 mins
Cook time: 10 mins
Total time: 15 mins
Serves: 6
A flavorful steak marinade that will enhance the flavor of any cut of meat you might find on sale at your local supermarket.
- 1/3 cup soy sauce
- 1/2 cup olive oil
- 1/3 cup fresh lemon juice
- 1/4 cup Worcestershire sauce
- 1 1/2 tablespoons garlic powder
- 3 tablespoons dried basil
- 1 1/2 tablespoons dried parsley flakes
- 1 teaspoon ground white pepper
- 1 teaspoon kosher salt
- 1 teaspoon minced garlic
- Place the soy sauce, olive oil, lemon juice, Worcestershire sauce, garlic powder, basil, parsley, minced garlic, salt, and pepper in a mixing bowl and whisk well.
- Pour marinade over desired type of meat.
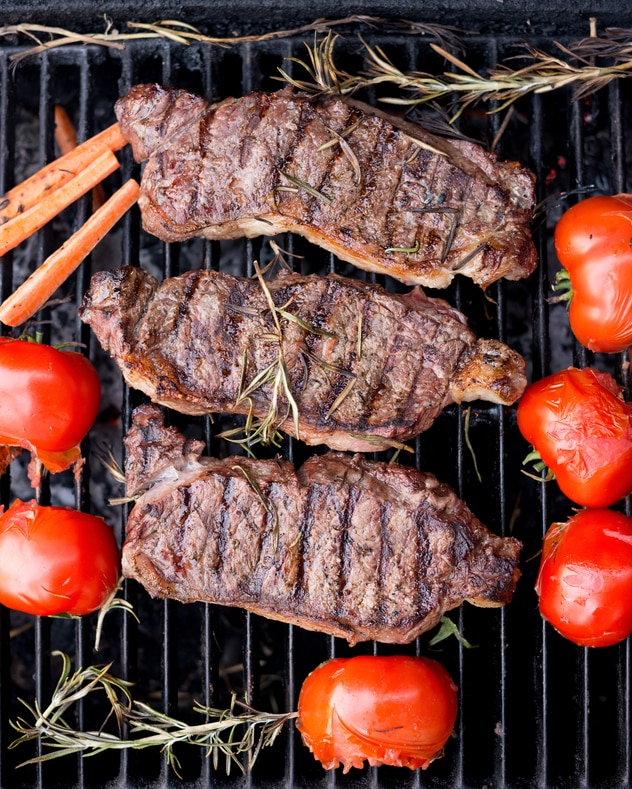
- Cover, and refrigerate overnight. Grill meat as desired.
2.2.1
As an Amazon Associate I earn from qualifying purchases.
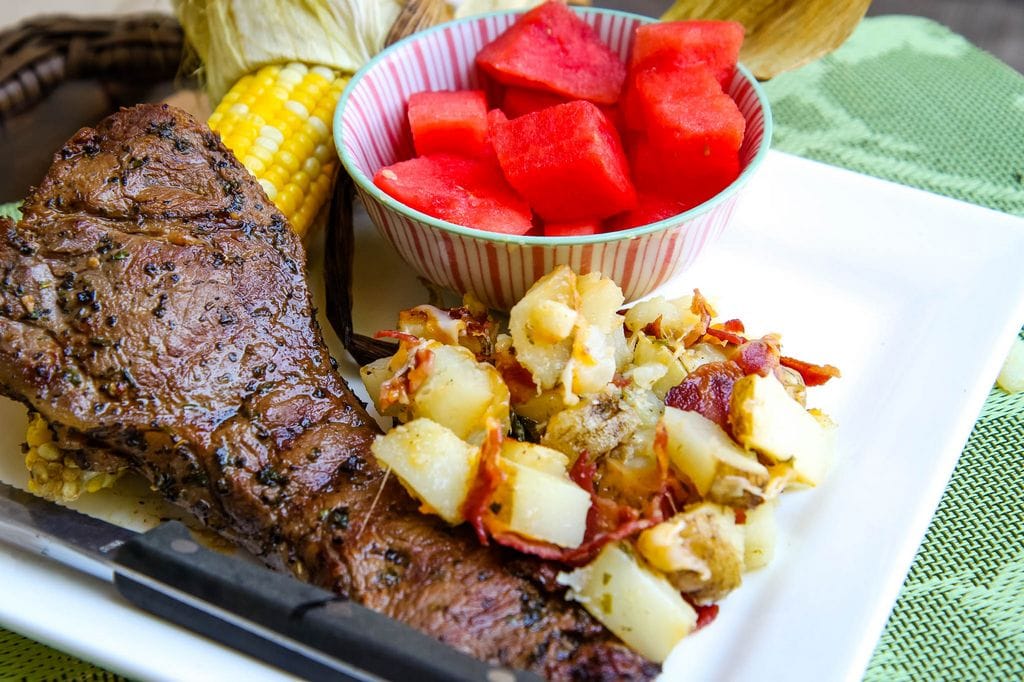
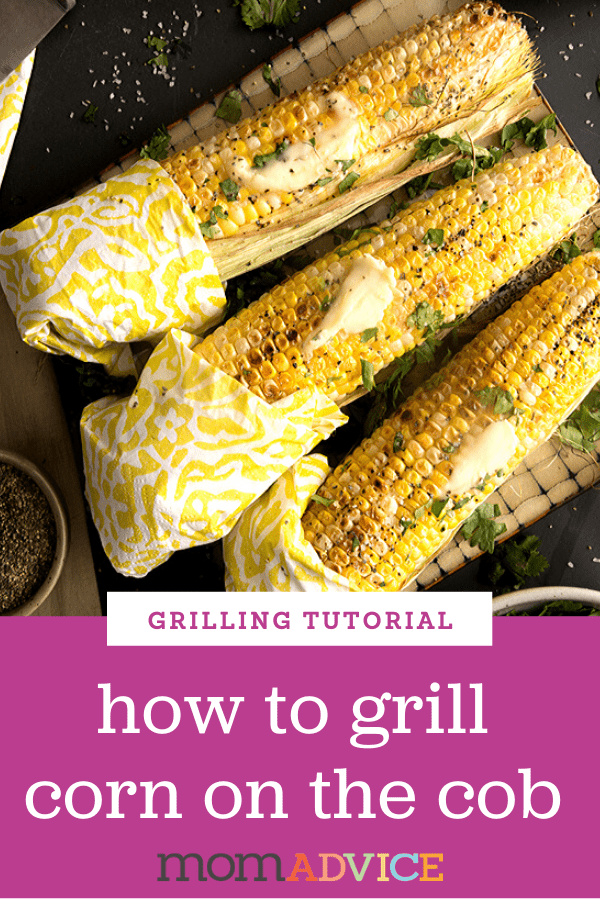
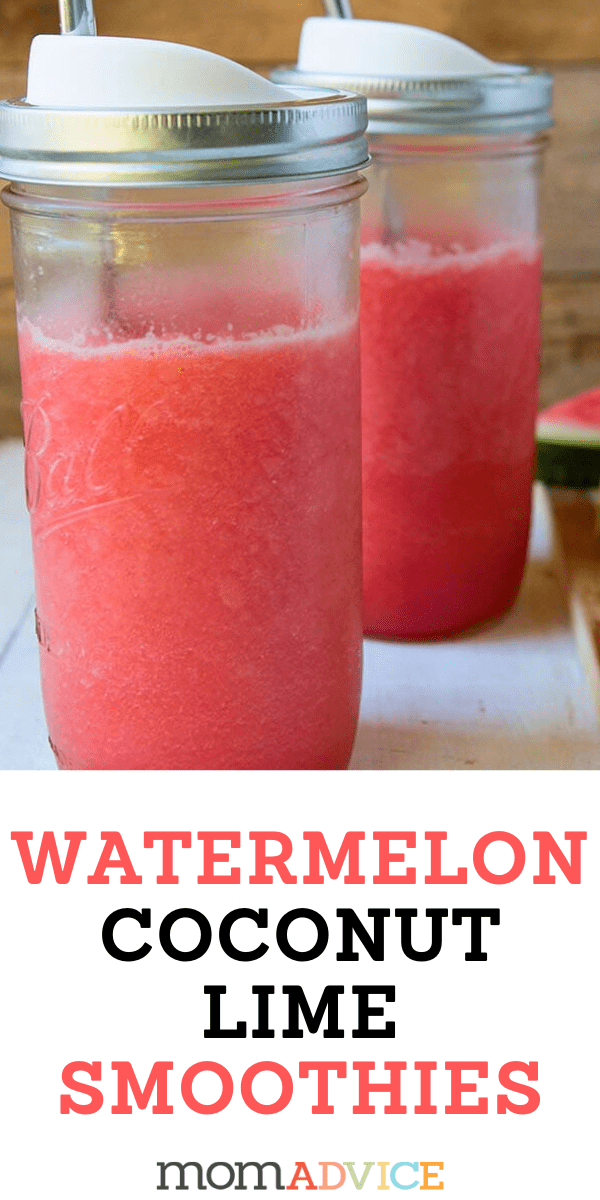
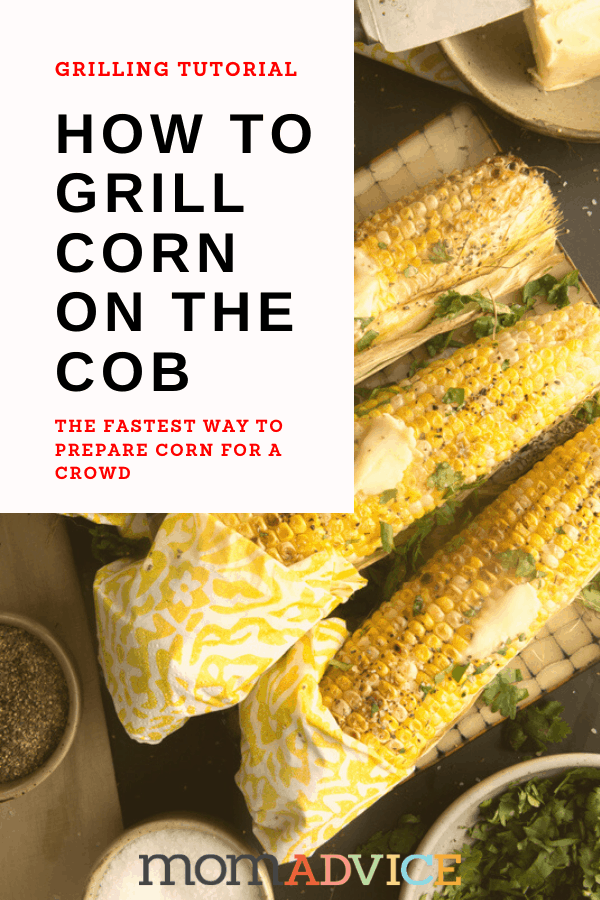
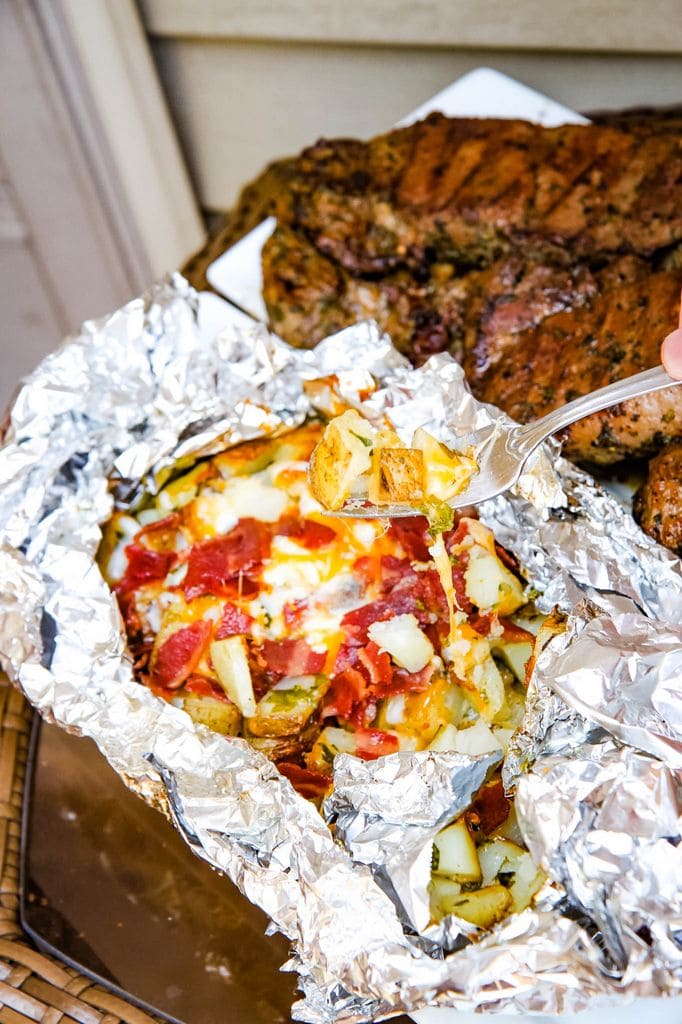
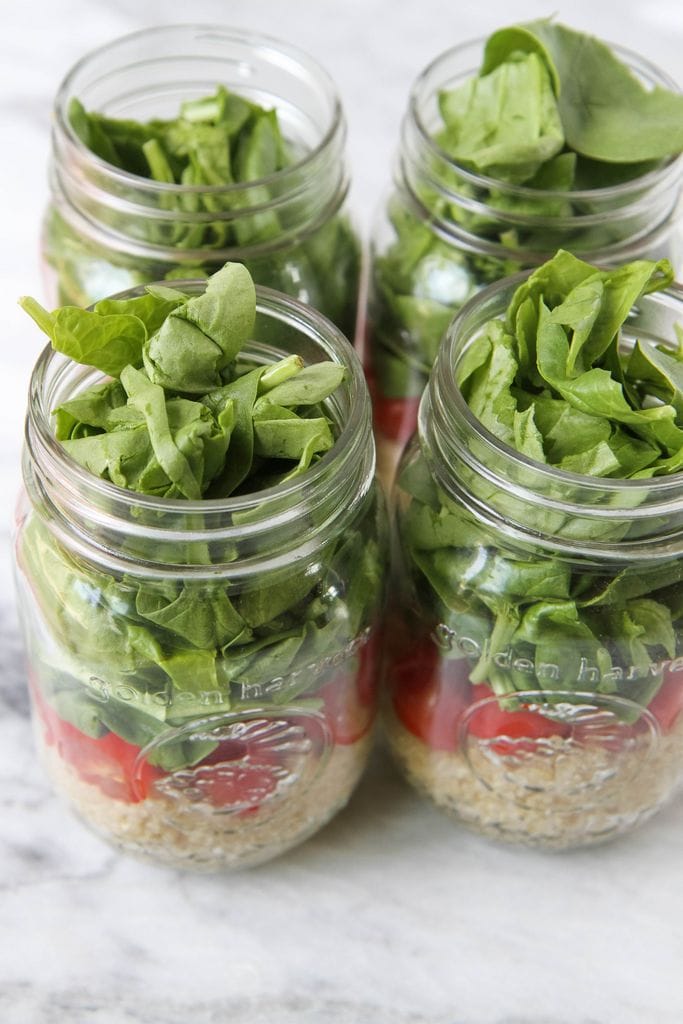
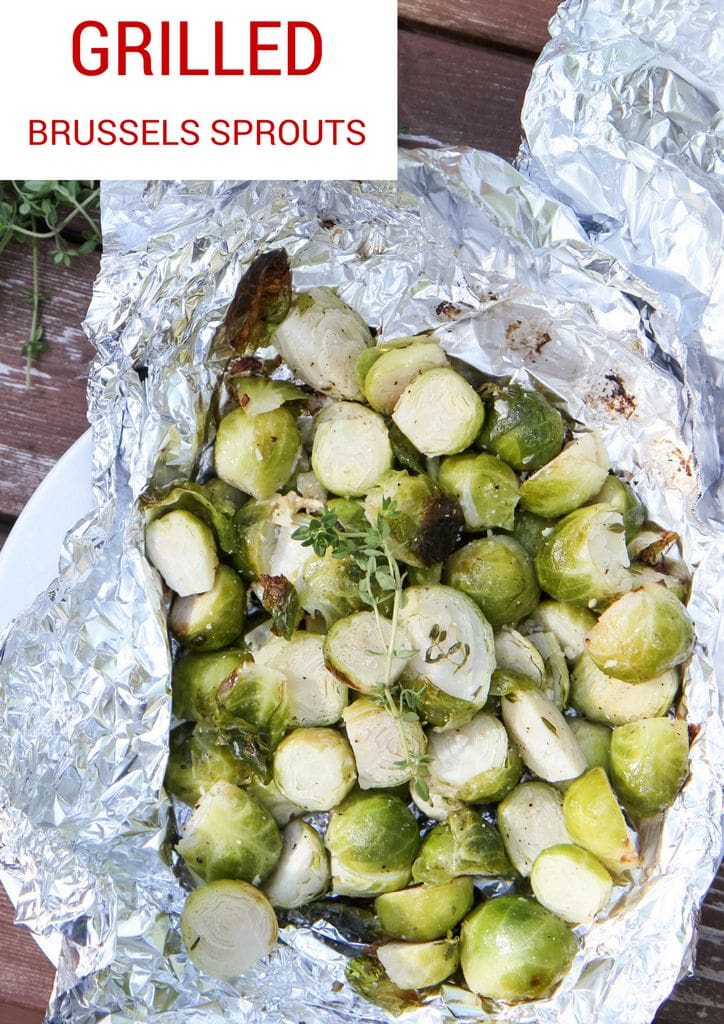
Looking for great grilling side recipes? Check out these easy side ideas!
Happy grilling!


