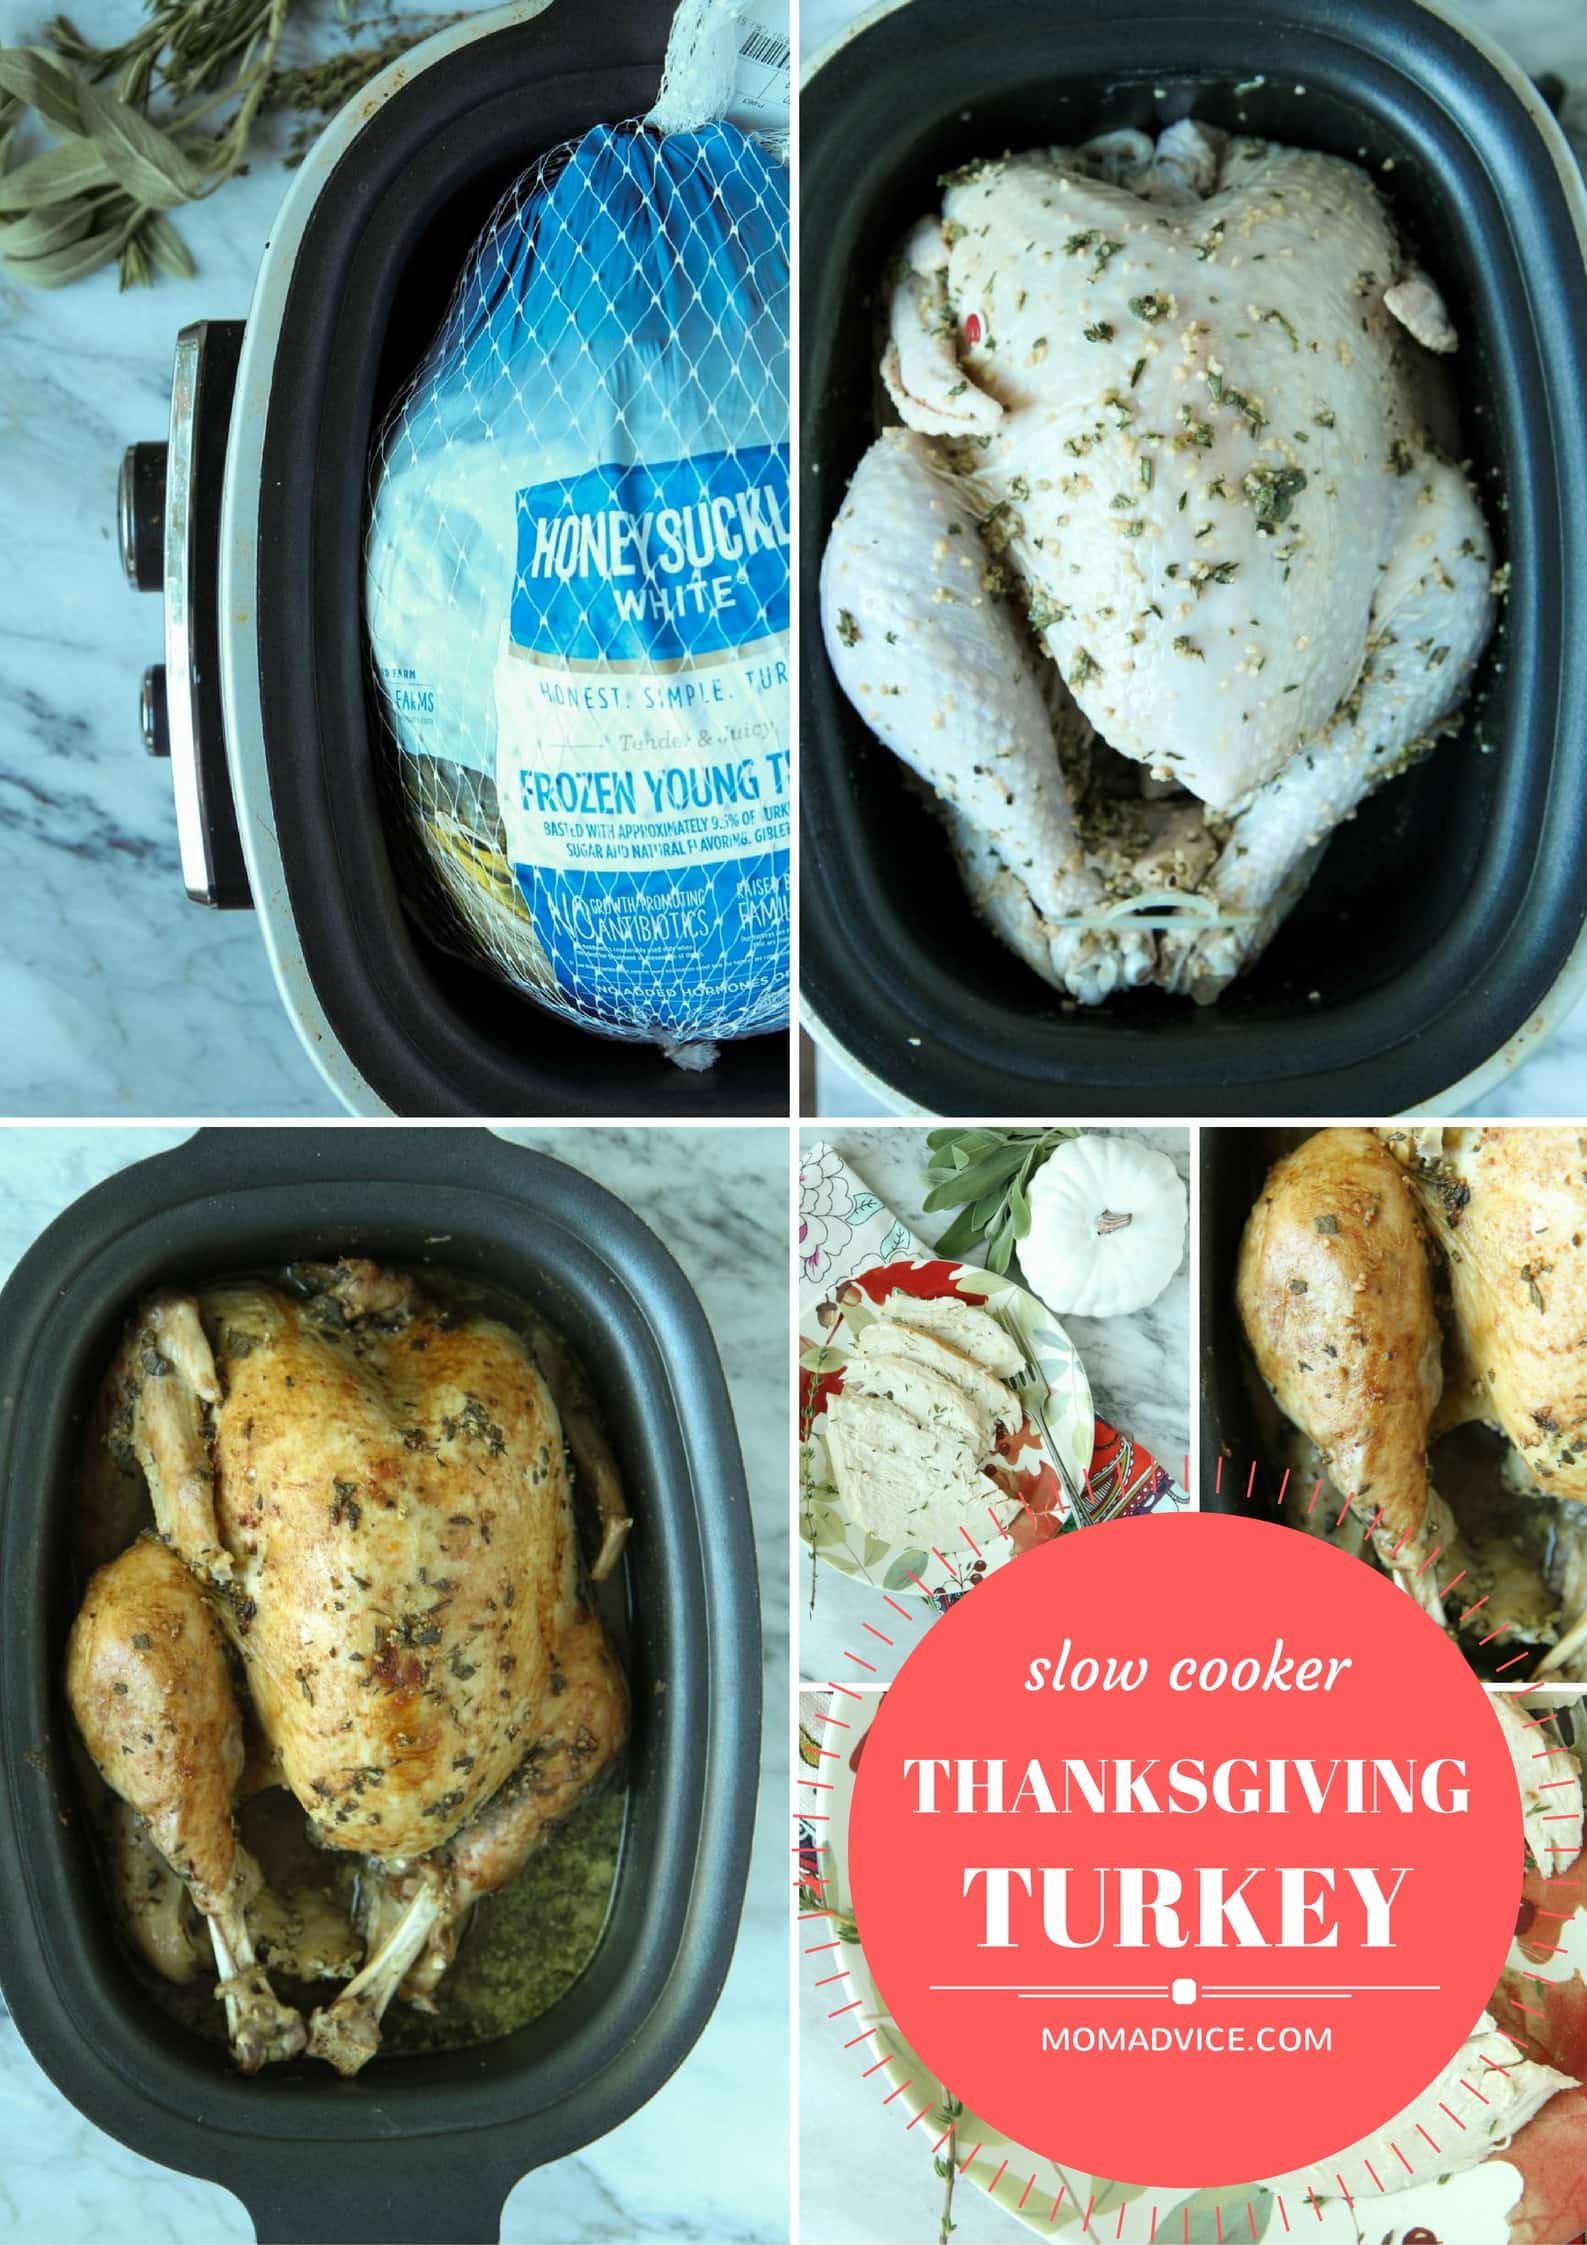
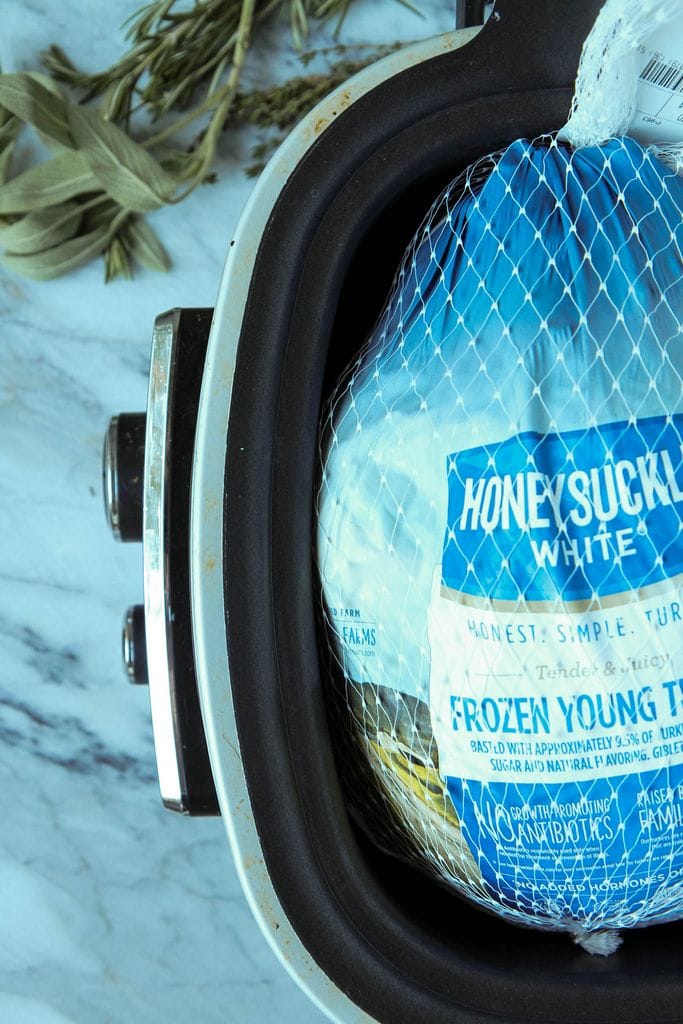
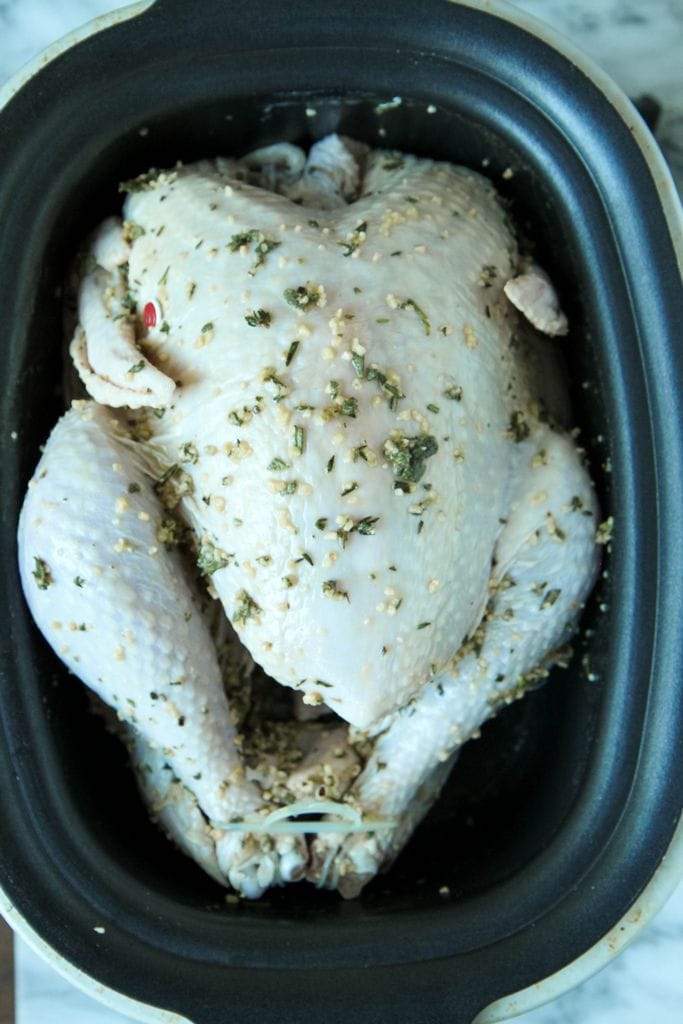
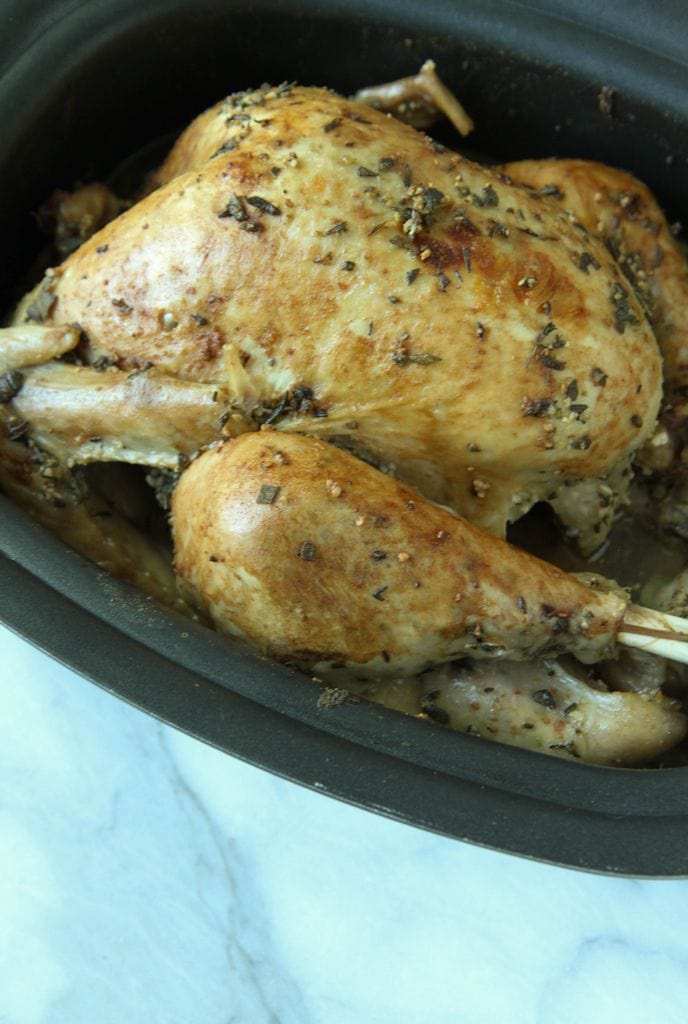
This post was created in partnership with Honeysuckle White. Thank you for supporting the companies that support our site!
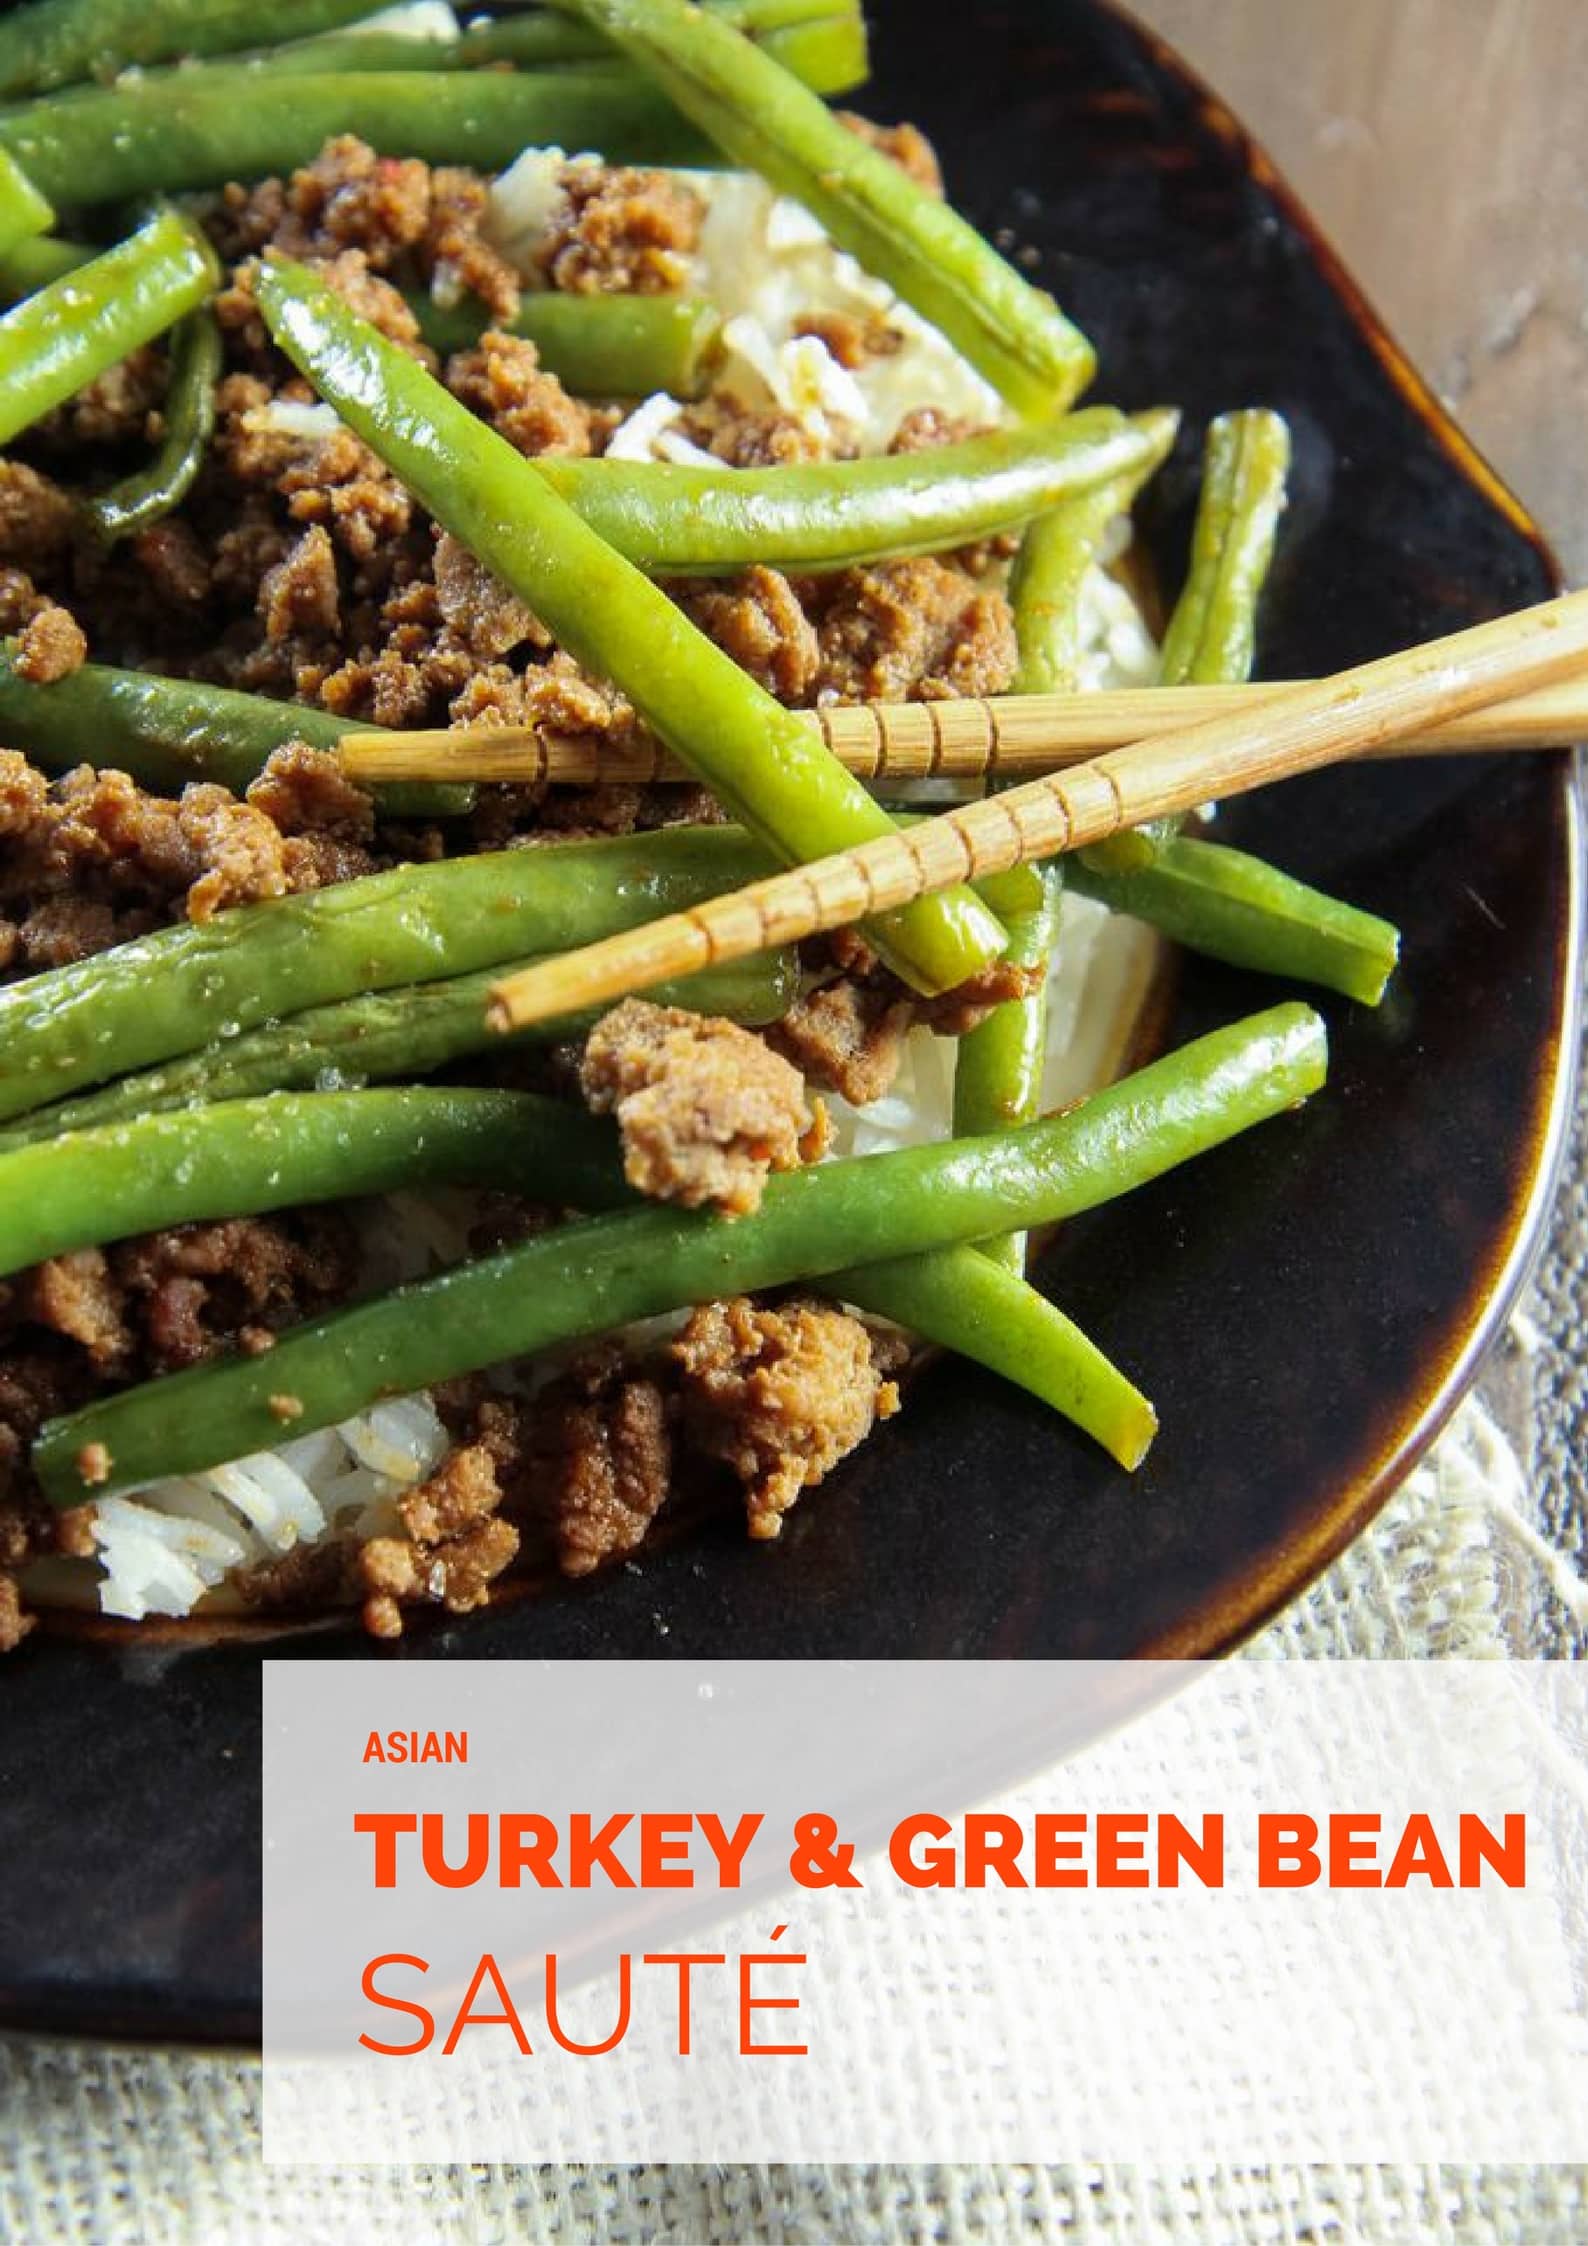
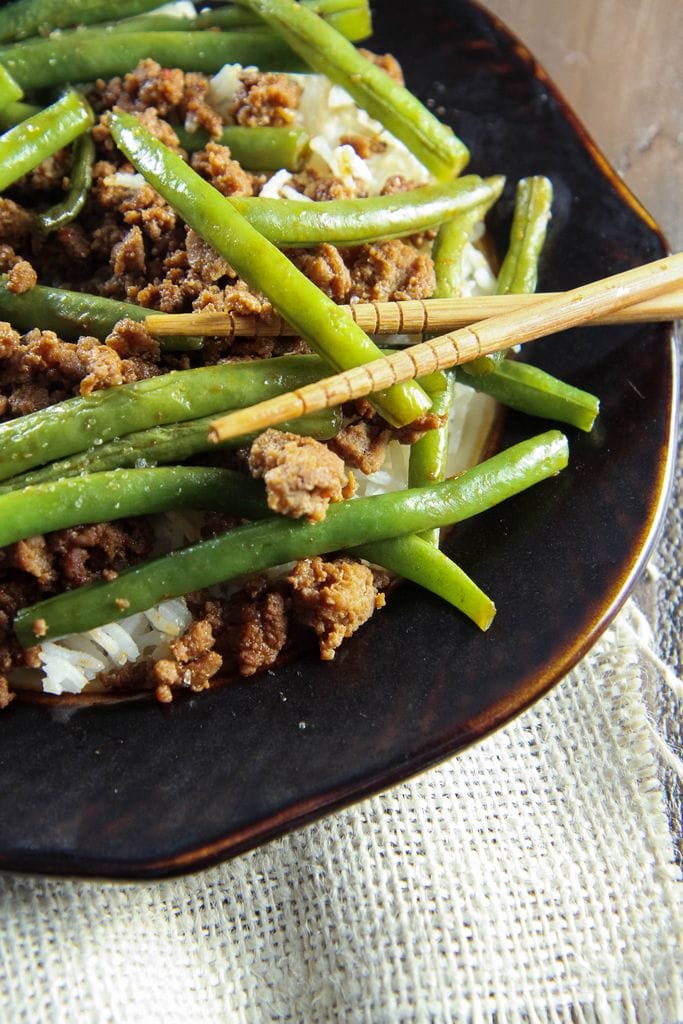
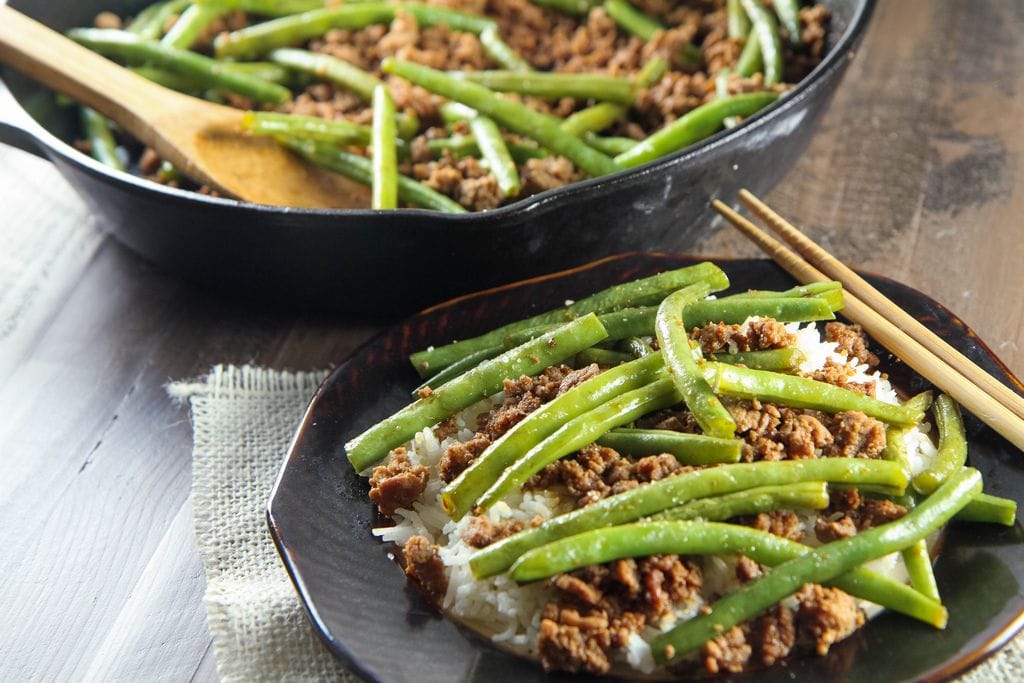
One of my favorite dishes is a delicious green bean sauté spooned over a big platter of rice that I had discovered at my favorite Chinese restaurant. The crunchy green beans adds a fresh flavor and texture to contrast with the heartiness of the meat in this dish. You would think it would be bland, but the layers of salt and spice make it a flavorful dish that I crave often.
I can also admit that this highly addictive dish is usually ate in record time and I am always left wanting more.
Did anyone witness me slamming this dish in three seconds flat?
I hope not.
It has been on my cooking bucket list to create this dish at home to save some money and to indulge in it a little more regularly with wild abandon. What could be healthier than a big dose of veggies and protein to start your new year of cooking out right?
My partnership with Honeysuckle White seemed the perfect excuse to add this meal to our planner to share with you.
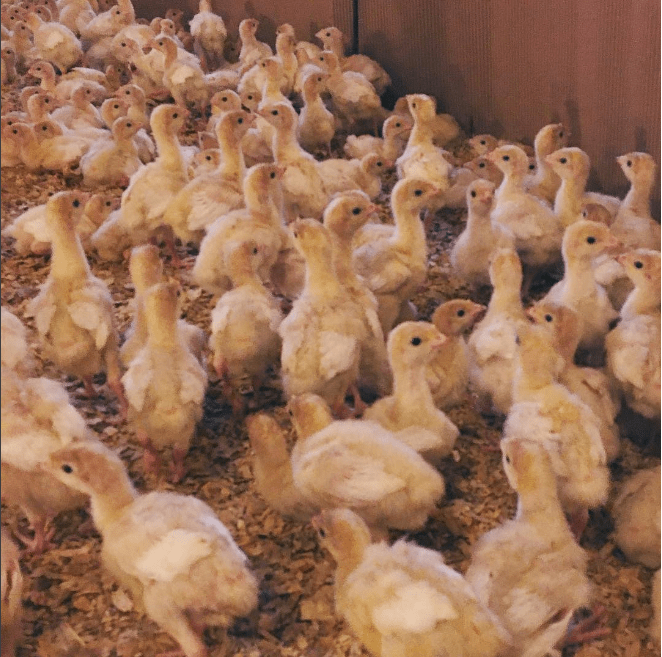


It has been a unique experience to now feel a deeper connection with our food this year, thanks to this fun partnership. I was invited out to Virginia to tour the River Hill Farms, one of the 700 independent family farmers that works with Honeysuckle White. Not only did we discover they are well-trained in animal handling practices, but they also happen to exceed the standards and they wanted to share that experience with us.
Glenn & Sheri Rhodes were so gracious to open up their farm to us and the pride they feel for the land and their animals was felt by all of us as we visited their gorgeous property.
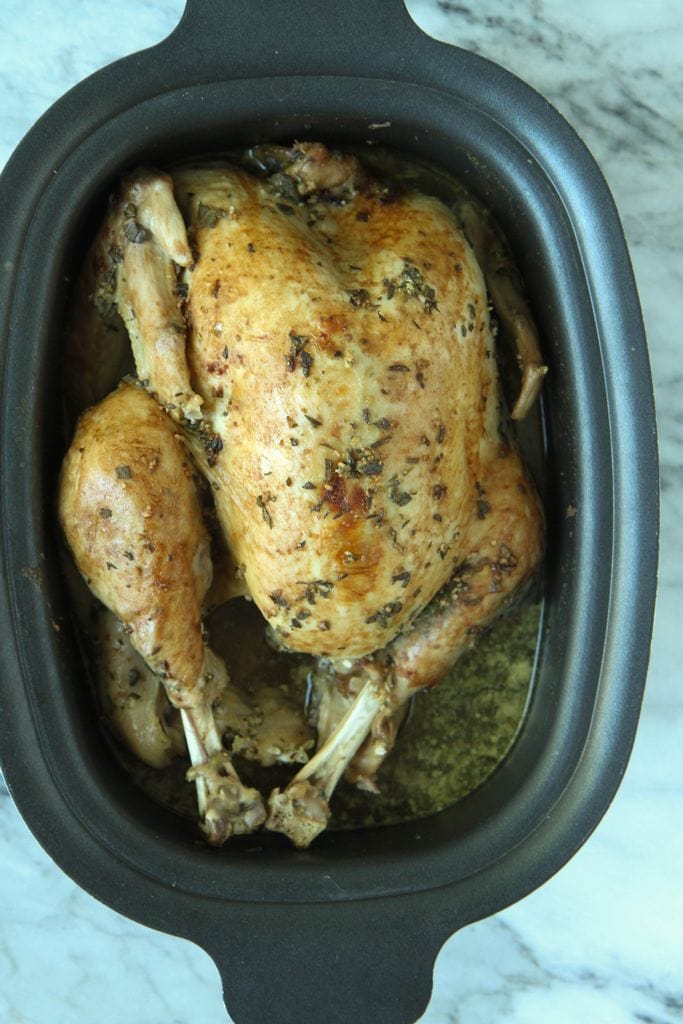
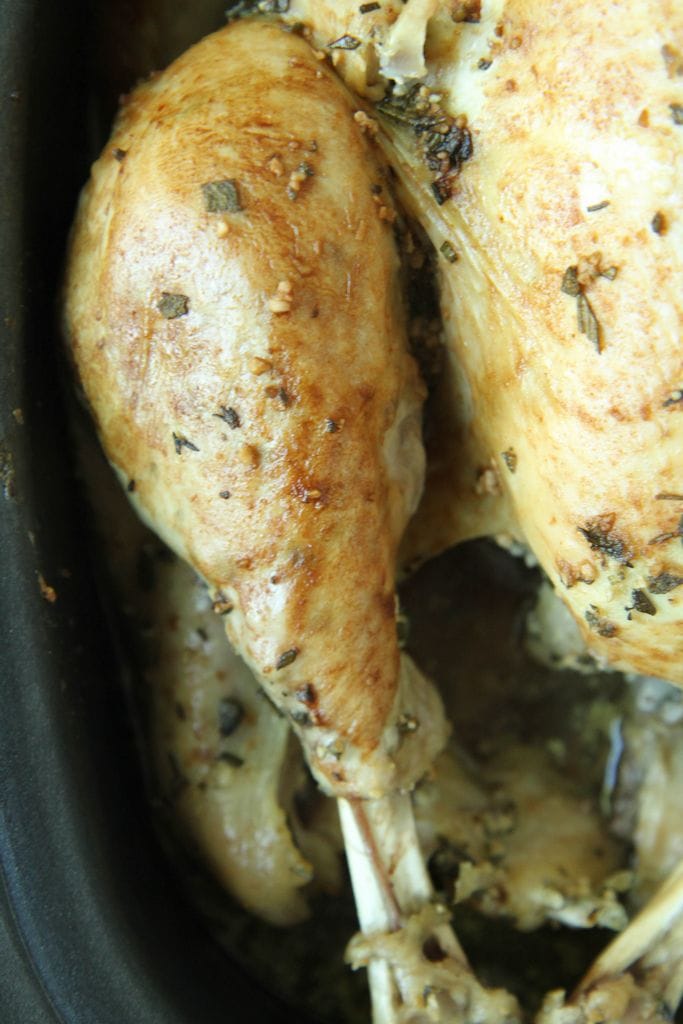
I had absolutely no idea what to expect when I received the invitation and was so pleasantly surprised when we arrived at the beauty all around us. The farm was beautifully kept, the spaces were generous for the animals, and it is so good to know that the farm is committed to raising their turkeys without any growth-promoting antibiotics, hormones, or steroids.
As if that wasn’t lovely enough, Glenn made us all some good old-fashioned kettle corn that we shared over snacks and discussed his life’s work and the pride he has felt for his farm.
My great-grandfather was one of the hardest working farmers that I had ever known and I felt that same sense of warmth, family, and commitment to good work in both Glenn & Sheri. It felt a little like the summers that were spent on my grandparent’s porch after their long day of hard work and good food.
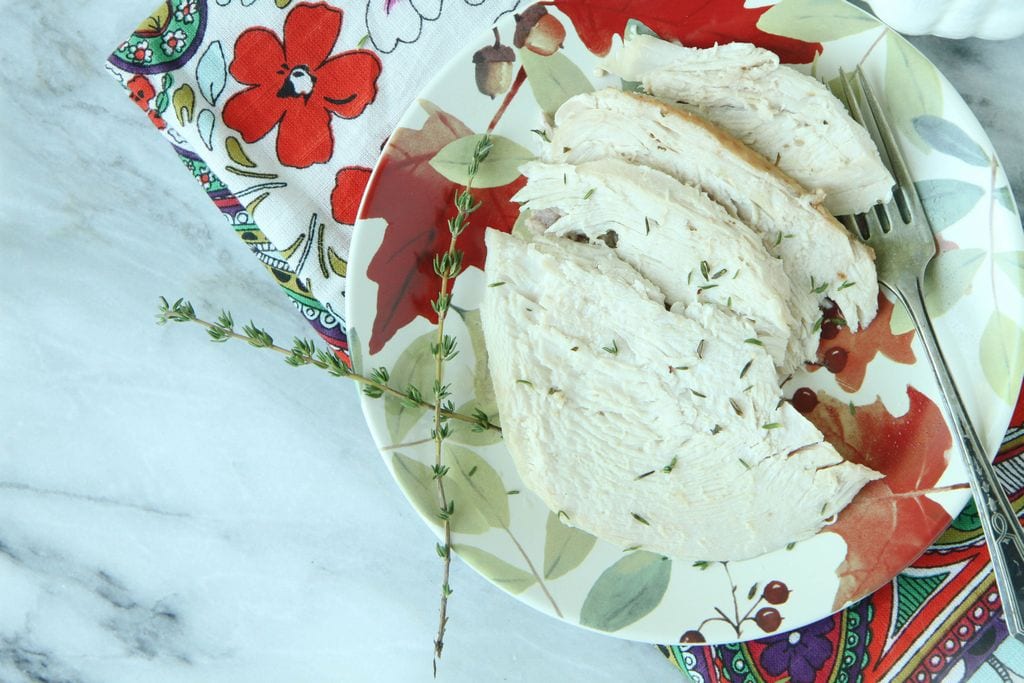
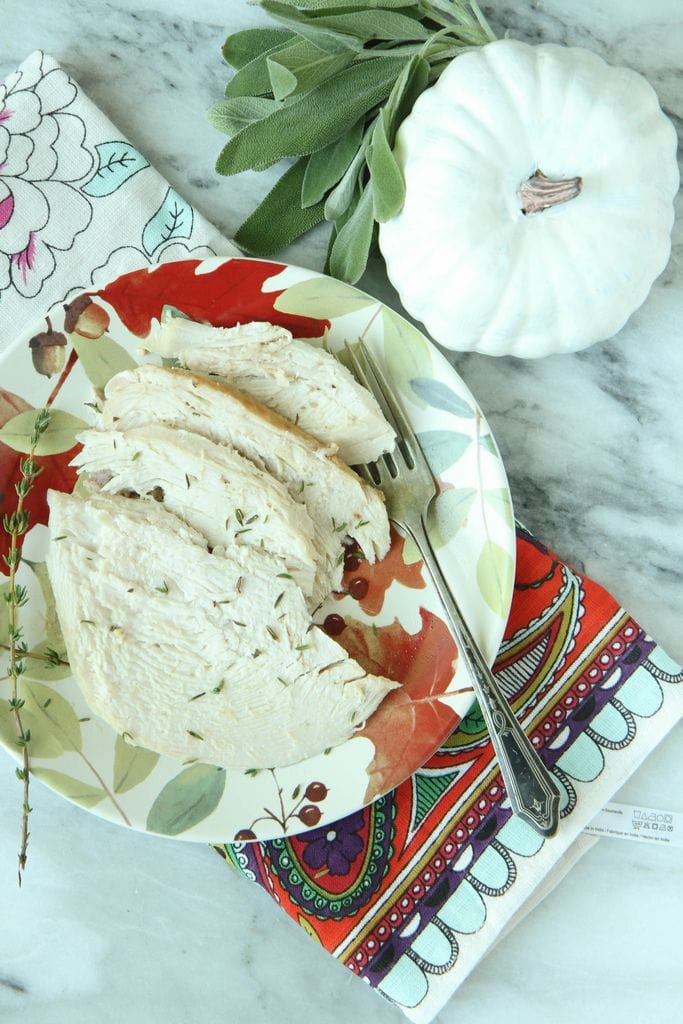
As the new year begins, I know many are making resolutions like eating at home more and eating better food for your health. If you are trying to reach a weight-loss goal this year, it’s good to know that turkey has more protein, fewer calories, and less total fat and cholesterol than chicken. When mixed with this delicious combination of sauces and spices, you will also find that it increases the flavor and you may even forget that you are eating such a lean and smart protein.
This dish has A LOT of kick, thanks to the chili garlic sauce, but you can crank it down with less or add more for some FIRE in your tummy!
I was looking forward to binging on these leftovers with a Netflix marathon, but once my kids dug into this, they seemed to be overcome by the same shovel-it-all-up-in-your-face-in-three-seconds struggle that I have.
No green bean was left behind which is an awesome rarity in our house.
How can I complain about that?
You must give this recipe a try and save your family loads of money on this delicious and healthy takeout dish made at home! I have already added it to our menu planner again for this week and hope you enjoy this one half as much as we did! A huge thank you to Honeysuckle White for sharing a little behind-the-scenes on how their products are made and their commitment to delivering the best quality at the lowest price.
- 2 cups medium-grain rice, uncooked
- 1 tablespoon sesame oil
- 3 cloves garlic, minced or crushed
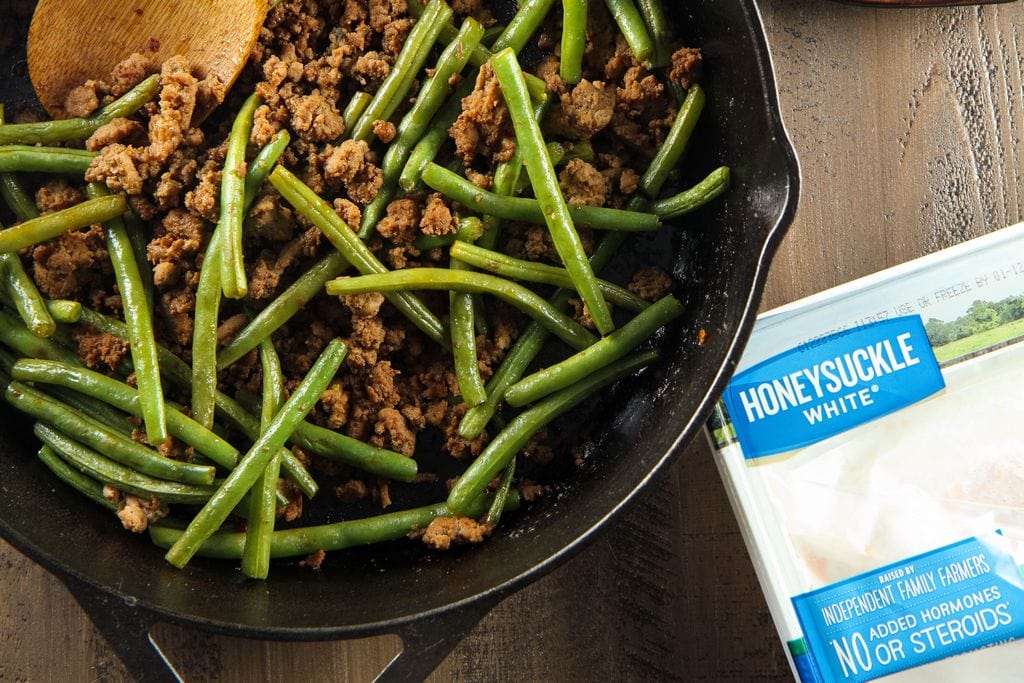
- 1 pound Honeysuckle White ground turkey
- 1/2 tablespoon chili garlic sauce (this is spicy for us, increase or decrease to your own personal taste)
- 2 tablespoons hoisin sauce
- 1 teaspoon crushed ginger
- 1 pound washed and trimmed green beans
- 2 tablespoons soy sauce
- 1 tablespoon rice vinegar
- Prepare rice as directed on packaging.
- Place a separate skillet over medium heat. Add sesame oil, and sauté garlic for one minute. Remove from the pan and set aside.
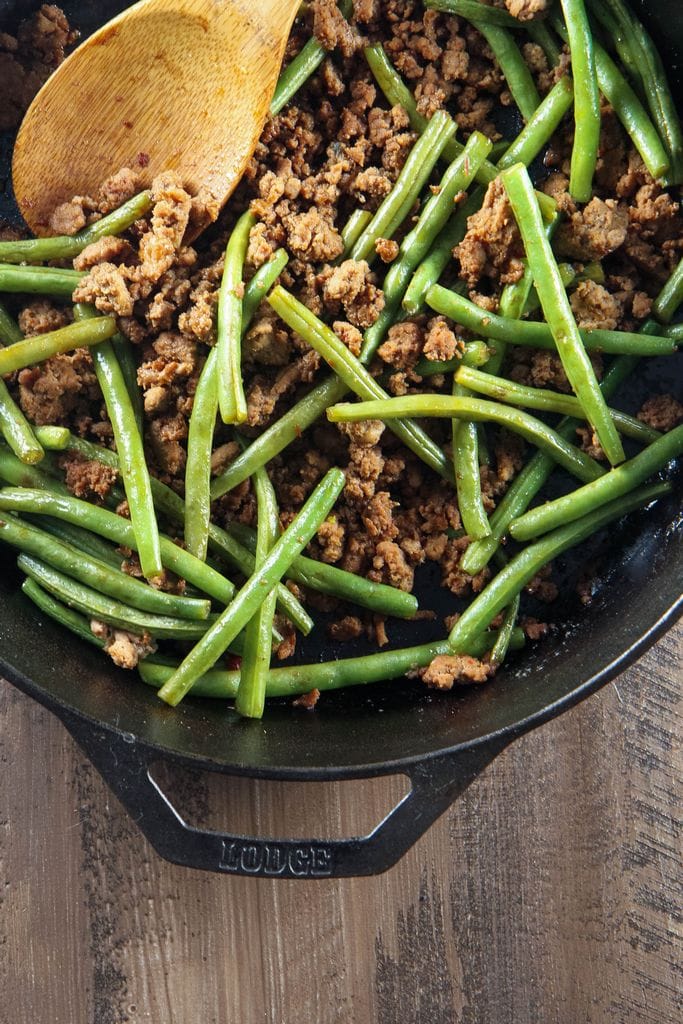
- Add ground turkey to the skillet and sauté 3-5 minutes, until meat is mostly cooked, breaking the meat up with your spoon.
- In a small bowl mix together chili garlic sauce, hoisin sauce, ginger, and soy sauce and stir to coat. Pour this sauce over the ground beef and add back in the green beans, stirring to coat everything fully.
- Continue cooking over high heat for 7-9 minutes longer, stirring frequently, until beans are slightly tender.
- Stir in rice vinegar, and cook one minute longer. Serve over cooked rice.
This post was created in partnership with Honeysuckle White. Thank you for supporting the companies that support our site!
Pin It


