Archive for the ‘Main Dishes’ Category

Elegant Entertaining Without the Work: Chicken Italiano

Monday, April 27th, 2009


Need a fast and elegant dish to entertain with? What about one you could throw in your slow cooker? How about one that could be prepared and thrown in the freezer? How about something that could be made from pantry ingredients? Well, this dish is for you!

When I was growing up my mom used to buy a product called “Chicken Tonight” that had a sauce that you could cook your chicken in to make a fast dinner. My mom served it over rice as a quick weeknight meal and it was always a favorite of mine.

This recipe reminds me a lot of that dish and is as equally easy to prepare. You can throw it in your slow cooker or you can put it in the oven for last minute guests.

I hope you can throw this recipe in your rotation. It has never failed me and everyone I know that has made it, loves the simplicity of this fast and delicious dish.

Chicken Italiano (or Amy’s Copycat Version of “Chicken Tonight”)

4 chicken breasts
2 cups marinara sauce
1/3 cup chopped tomatoes (you can use fresh or a can of diced tomatoes)
1/2 cup Italian Dressing

Slow Cooker Version: Place all ingredients in your slow cooker. Cover and cook on low for six hours. Serve over spaghetti or rice with a sprinkle of Parmesan cheese. This is delicious with a side of roasted green beans.

Oven Version: Throw frozen chicken breasts in. Pour sauce, tomatoes, & Italian dressing on top. Bake at 375 for 1 hour (or longer if they are large chicken breasts).

Make-Ahead Version: Throw all of the ingredients in a freezer bag and label with cooking directions. To prepare, just thaw and follow one of the versions above.

To see more great recipes, please visit Tasty Tuesday at Balancing Beauty & Bedlam!

Day Old Bread Gets A Makeover…Or Four

Tuesday, April 14th, 2009

One of our favorite sandwich shops in town is Jimmy John’s. If you haven’t sampled one of their yummy gourmet subs, you must run out and get one. My husband loves these so much that this is where he wanted to meet us for his birthday lunch. The two of us spent many a late night over their subs at Purdue University. Now as parents, our children love them just as much as we do!

When chatting with my friend Jessica, whose husband happens to own and operate our local Jimmy John’s, she shared with me that they offer their “day old” bread for a deeply discounted price. Day old simply means that the bread is more than five hours old and so they can no longer use it to make the sandwiches. I never realized that they offered this and was anxious to find out the price and if they would have any the next time I went.

After church on Sunday, we headed over to the restaurant to grab some lunch and I asked if they had any day old bread to spare. Stacked high on the counter were many loaves of bread offered at a discounted rate. For $.48 a loaf, I grabbed four loaves to see what I could invent in the kitchen with this inexpensive bread. That is right, only $.48 a loaf, far cheaper than even the discounted bakery cart at Walmart!


That evening, I worked on a beautiful roast chicken, mashed potatoes, and baby peas for a delicious Sunday dinner. The chicken had a yummy lemon sauce and we used the bread to mop up the sauce. We quickly polished off the first loaf that night. No need to change anything when the bread is fresh and a perfect side to any dinner hour.

I called my mother-in-law to see if she would like to come over for dinner the following night. For $.48 a loaf, I can afford to entertain! The second loaf of bread is reinvented into my favorite overnight breakfast casserole. We served this with orange juice, coffee, and a fresh loaf of my banana oat bread. Everyone left the table will full bellies and smiles on their face.

That evening, I cut the last two loaves into squares, drizzled them with olive oil, sprinkled them with garlic salt and threw them in the oven to make homemade croutons. The bread was still soft, but a little stale so this was a great way to use up what was left.

The next morning we had a playgroup to attend and we had to pack our lunches. My yummy lunch was a grilled chicken salad topped with those homemade croutons and a sprinkle of Parmesan cheese.

When I got home that night, I still had to make our dinner. Lucky for me, I have plenty of croutons so I gave them a spin in my food processor.

Poured them into my favorite thrifted tin platter.

I gave my chicken a little dip in some egg and then the breadcrumbs.

They were baked into my new new favorite Chicken Parmesan recipe, served with pasta, and a little wine. As everyone happily munched away, I brought up the bread that we had bought several days before. “This is the best you have ever made!” my husband proclaimed. I batted my eyes and said, “It must be that day old bread from Jimmy John’s that makes it so good.” His look of surprise was priceless.

I still have enough leftover to make a batch of meatballs and bread our pork chops this week.

As a frugal homemaker, I don’t think I reinvent the wheel of frugality… but I sure know how to beat a dead horse!

What are some of your proudest money-saving moments? Do you have a “beat the dead horse” approach towards using what you have?

Notebook Experiments: A Chicken Cooked In Milk?

Wednesday, April 8th, 2009


Experiment: Will my family love a chicken cooked in milk?

Experiment Taken From: Notebook Entry 04.02.09

Materials Needed: Please see The Kitchn for specific directions on how to make Jamie Oliver’s chicken cooked in milk & lemon. I followed the instructions outlined by The Kitchn and left the lid on for the first hour of the cooking time, versus the chicken uncovered as Jamie outlines in his recipe. I also omitted the cinnamon stick to go with a more traditional flavor, but might give that a try next time.

Results: I love roasted chicken and it is the ultimate Sunday dinner for our family. When I saw this recipe, I knew I would have to try it. I happened to be out at Target so I picked up all the ingredients there including an organic bird since they had them on sale.

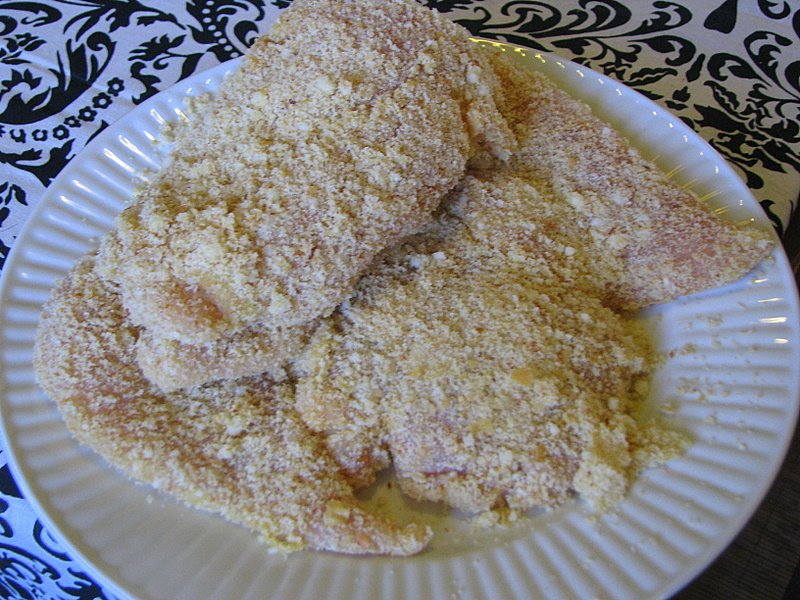
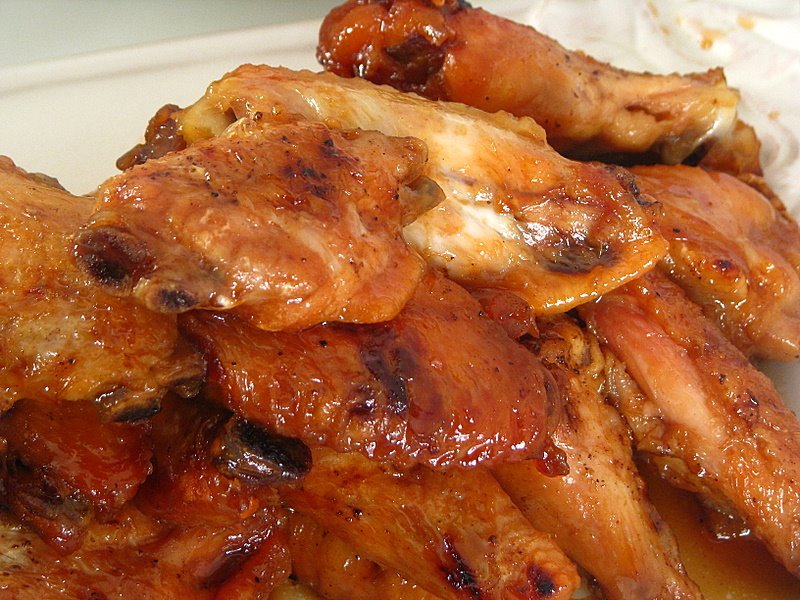
The main difficulty I had with the recipe was frying the bird in the butter. I think the butter could have been easily reduced to half the amount and still brought out a lot of flavor. I had a hard time flipping the bird without splattering myself, but got a good start on the skin before it went into the oven.

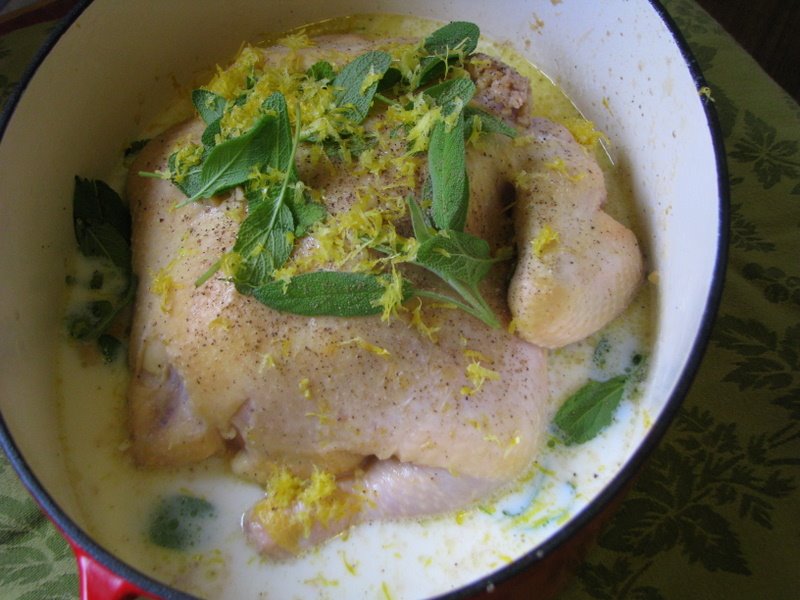
I added all the ingredients to the pot and then put the lid on it. It cooked for the first hour with the lid on and then I basted it and removed the lid for the last half hour.

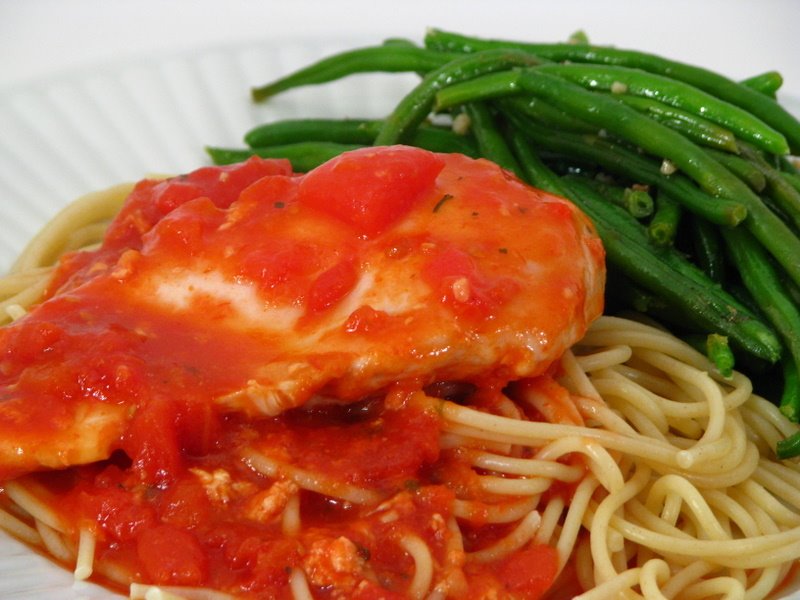
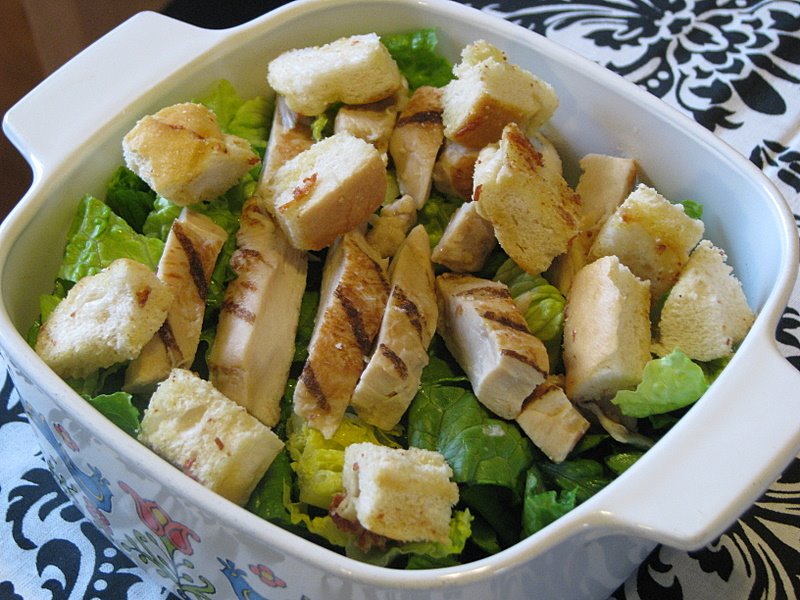
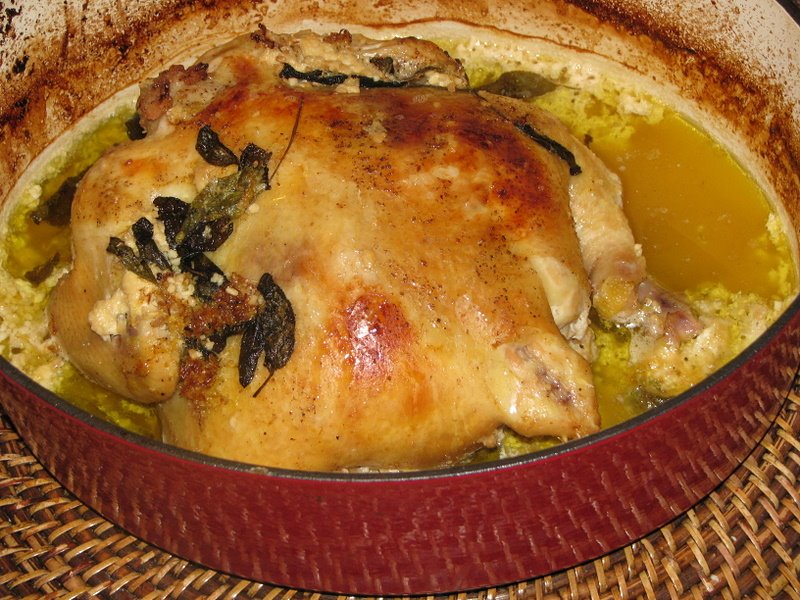
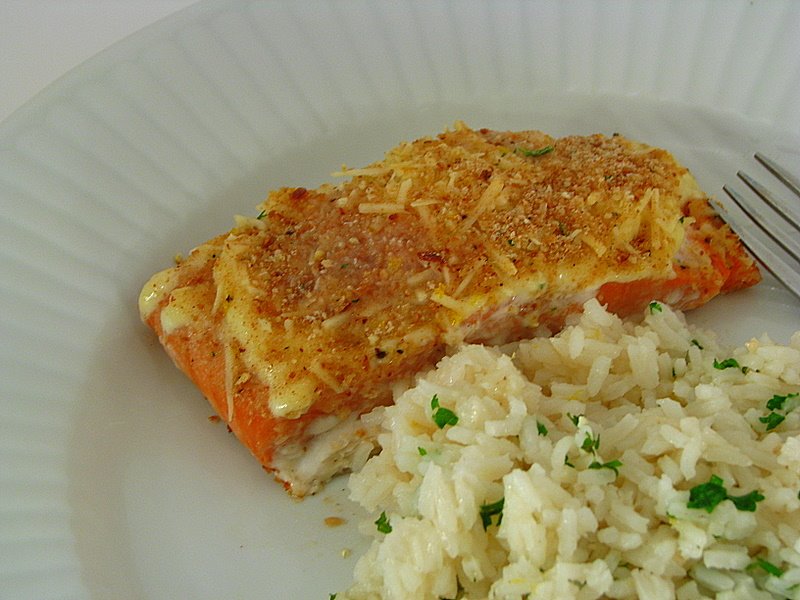
Here is what you need to know about this recipe that makes it worth the little bit of effort. First, it made the whole house smell amazing and I literally wanted to eat it within the first fifteen minutes of cooking because the house smelled that good. Second, the meat literally falls off of the bone. There is no carving, it literally falls off. Third, the sauce is delicious and the “curdled” appearance was barely noticeable at all in the sauce.

All of that being said, the breast meat was drier than I would have liked so I am not sure if that could be remedied with a shorter cooking time or cooking it with the lid on the entire time. I am going to try a few different scenarios until I perfect this one because it is truly that good.

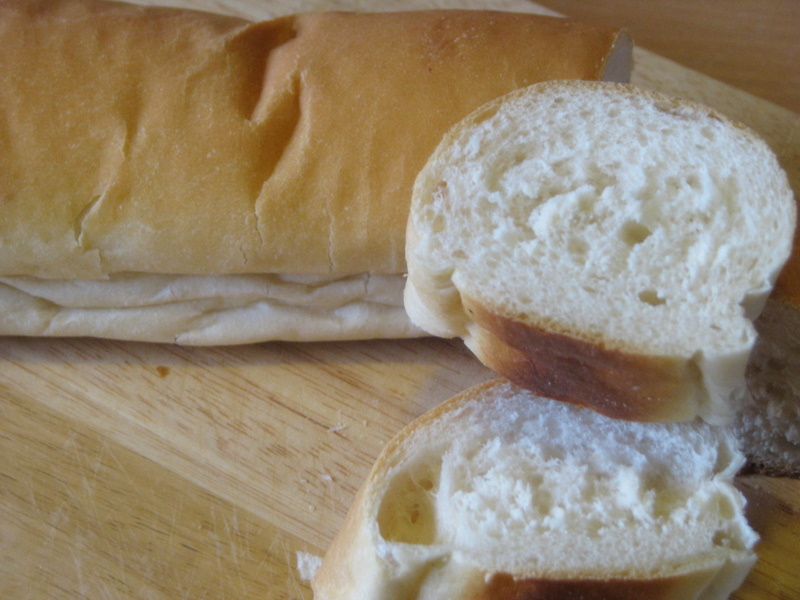
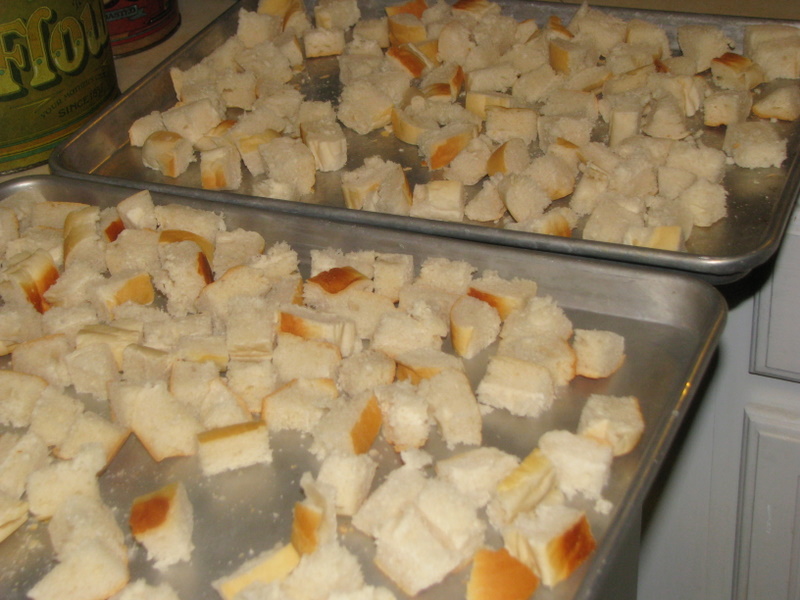
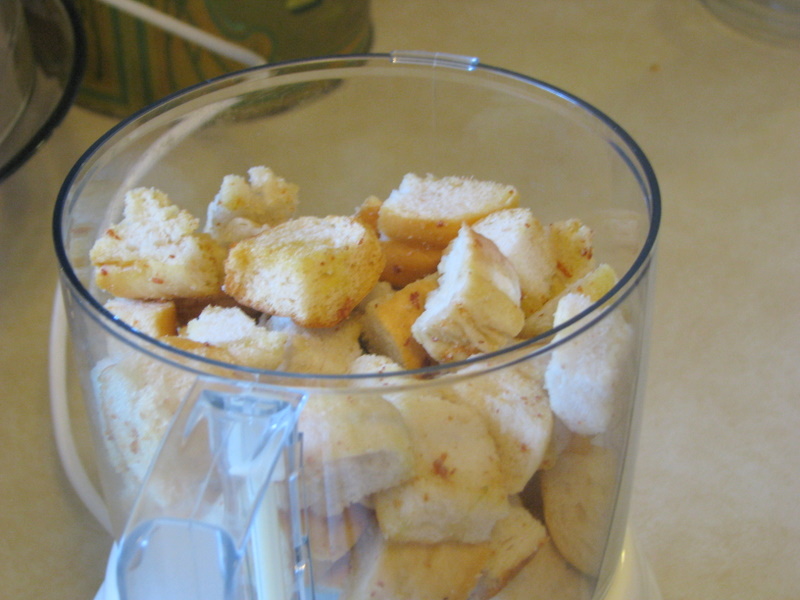
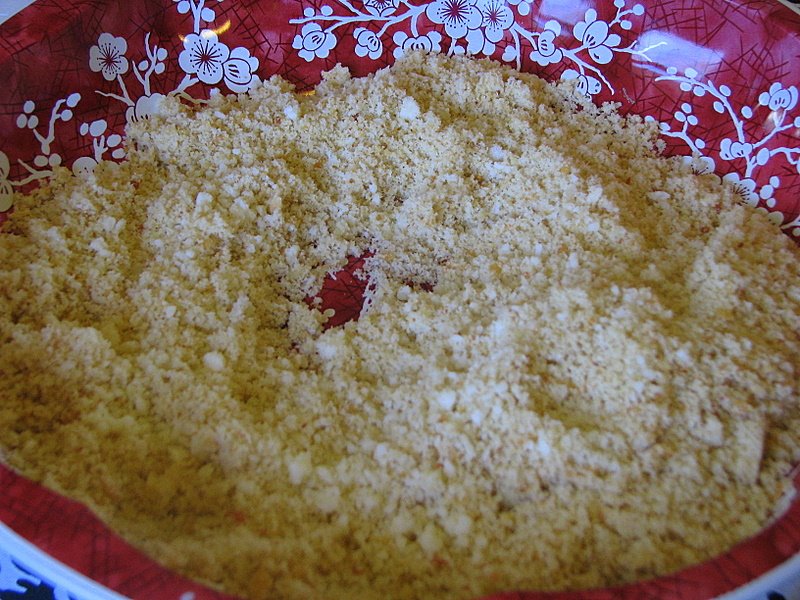
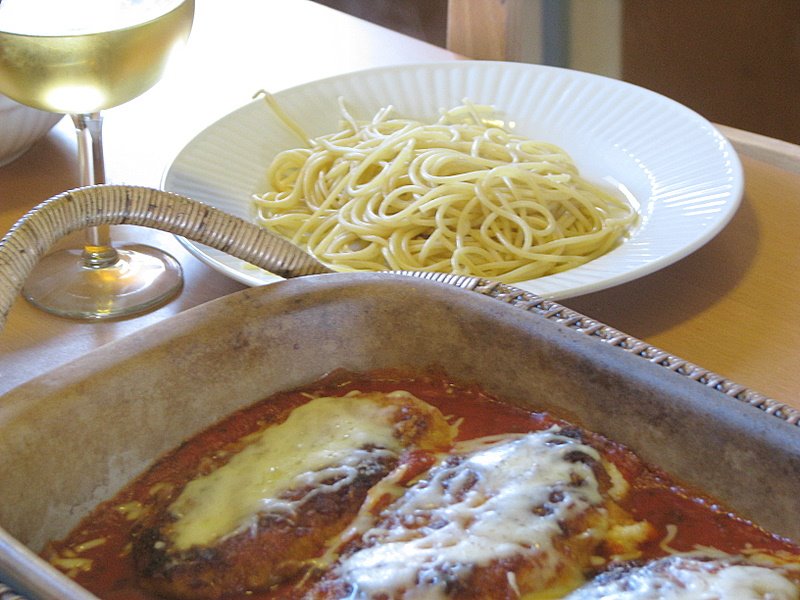
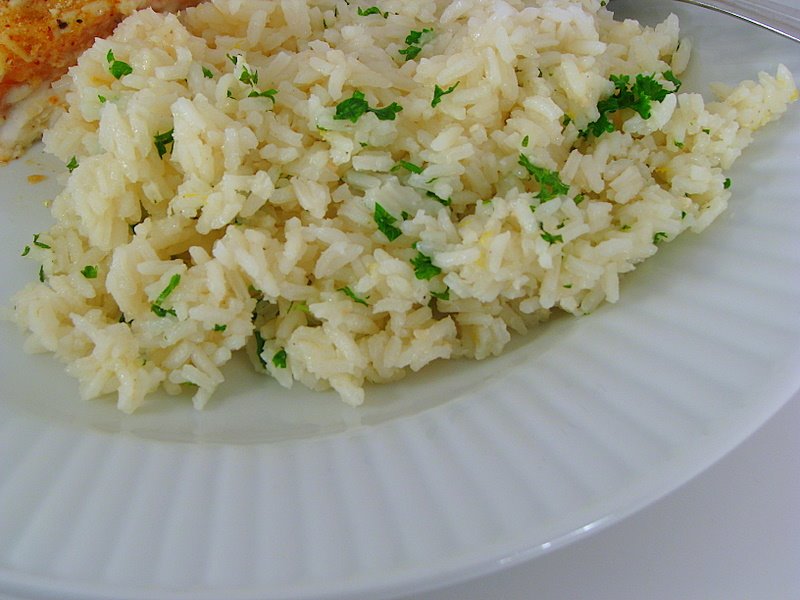
Make sure to have lots of bread for mopping up all that great sauce. If you pair this with a good white wine, a pile of mashed potatoes, and a great Etta James CD (like our family did), you will love every minute and bite that happens during that dinner!

Update: We tried this chicken again. This time I did not brown it, omitted the butter entirely, and cut the lemons in half and added two halves around the chicken and two halves stuffed in the chicken. I sprinkled the outside of the chicken with cinnamon instead of the cinnamon stick (which costs quite a bit more at our supermarket). I cooked it covered and then gave it twenty minutes with the lid off. The second time…absolutely perfect and lower calorie to boot!

Conclusion: This recipe will be repeated again and again! I thank The Kitchn for highlighting it and I can’t wait to try some different variations to make this chicken the ultimate chicken in our house!
**********************

I am so excited to open our Notebook Experiments up to everyone and I hope that you will be able to participate this week or in weeks to come! I will be posting this each Wednesday so please mark your calendars if you plan to participate. You can post your entries at any time throughout the week and then leave your entry in the links below.

We have this handy banner that you are more than welcome to use, but it is not a requirement! It is just something you can add to add a little sparkle to your entry.

Rules for Participation:

1. Choose anything from any of our notebook entries (past or present) to do with your family. We have hundreds of bookmarked links of crafts, ways to save money, and organizing ideas.
2. Complete an experiment from the notebook and share about it on your blog or website. We would love to see pictures of what you accomplished or a detailed description of how your projects turned out. Please include a link to this entry, a link to the original posting of the entry (at the original craftster’s blog), and (to help us relocate the project) the date or link of the notebook entry where you found it. You can use the same formatting as our entries or you can just include that information in your post in your own unique way!
3. Post a link below. Please include your name or blog name & a fast description of your project. Example- MomAdvice (WHO bread)

I can’t wait to see what you create and what you find inspiring!

Baked Salmon With Lemony Rice Pilaf

Monday, March 16th, 2009

Salmon is one of my favorite types of fish and I couldn’t wait to try this recipe out. It mimics the same flavors as the Herb Baked Tilapia, but offers the addition of the lemon seasoning to add a unique twist to one of my family’s favorite meals.

Our whole family really loved this dish and I loved adding a side of the homemade Lemony Rice Pilaf since the fish had the hint of lemon flavoring throughout it.

I hope you enjoy this dish as much as our family did!

Baked Salmon

1 lb salmon fillets (I used the frozen fillets from Aldi Supermarket)
2 tablespoons mayonnaise
1 teaspoon Lawry’s Lemon Pepper
1 tablespoon Parmesan cheese
1 cup dry breadcrumbs (I used Italian breadcrumbs)

Preheat oven to 350°F. Fillet salmon and place skin side down on a glass baking dish. Spread a generous amount of mayonnaise; cover entire top of fish. Sprinkle liberally with seasoned salt, cheese and dry bread crumbs. Bake about 25 to 30 minutes, uncovered (with the frozen fillet portions, fifteen-twenty minutes should be plenty of time). Place under broiler until top turns brown.

Lemony Rice Pilaf (Courtesy of Recipezaar)

1 teaspoon vegetable oil, preferably canola oil
1 cup finely chopped onion
1 1/2 cups long grain white rice
3 cups chicken stock (vegetable stock makes this vegetarian/vegan)
1 grated lemon, rind of
1 tablespoon freshly squeezed lemon juice
1/2 cup coarsely chopped flat-leaf Italian parsley
fresh ground pepper

In a heavy saucepan, heat oil over medium heat and cook onion for 5 minutes, or until softened. Stir in rice, then stock, and bring to a boil. Reduce heat and cover; let simmer for 20 minutes, or until rice is tender. Stir in lemon zest, lemon juice, and parsley; taste and add pepper if you wish. Note: This reheats very well so you can make a double batch for another night, if you like!

Chicken Wings With Honey BBQ Sauce

Monday, March 2nd, 2009

These wings…oh, these chicken wings. This picture does not do them justice, but maybe if I tell you that I really hate chicken wings and I would eat these any day of the week, it just might convince you to try this recipe.

Since we have been doing the No Spend Challenge, I only had a 1/4 cup of soy sauce left in a bottle and no other bottles in my pantry. I did have a bottle of Teriyaki sauce so I substituted half of the soy sauce with Teriyaki sauce instead and hoped for the best.

My husband looked up at me and said, “Whatever you did, do this every single time.”

So I will and I am blogging it too so I don’t ever forget it.

May I recommend a fun appetizer night with your family? After all, what is better than a ton of fun snacky foods and a good family flick?

Chicken Wings With Honey BBQ Sauce (updated)

3 pounds chicken wings
1 cup honey
1/4 cup soy sauce
1/4 cup Teriyaki sauce
1/4 cup BBQ sauce
1/8 cup vegetable oil
1 clove garlic, minced (I just used a tablespoon of bottled minced garlic)

Season wings with salt & pepper. Place frozen wings on broiler pan and broil for twelve-fifteen minutes on each side. Transfer wings to the slow cooker. Combine ingredients and pour over wings. Cook on high two hours or low for four hours.

Total Comfort Food: Italian Vegetable Soup

Monday, February 23rd, 2009

One of my favorite things in the world is a delicious bowl of soup. After my visit to Campbell’s and a recent article that I read in All You Magazine about soup being a great way to consume less calories during your lunch hour, I was inspired to make a big batch of soup for myself. And when I say myself, I mean only me. No one else in my family likes soup so I am able to eat a batch of this for a week or even freeze it to eat over the course of a couple of weeks.

This soup was in my Slow Cooker Menu Planner, but I wanted to make it a little lighter for the lunch hour. By omitting the ground turkey and using small pasta shells and increasing the liquid a bit, I had the perfect balance for a filling soup that wasn’t too heavy plus it is a great way to get in all those yummy veggies.

The soup did seem to absorb a lot of the broth so if it got too thick, I would just add a little beef or chicken broth to thin it out when reheating it.

This is definitely comfort food at it’s best!

Italian Veggie Pasta Soup

3 carrots – chopped very small

4 stalks celery

2 cans diced tomatoes – do not drain (I used the petite diced)

2 cans red kidney beans – drained

4 cans beef broth

1 jar spaghetti sauce

8 ounces noodles – I used the small past shells

2 tablespoons olive oil

Add two tablespoons of olive oil to the pot and saute vegetables for 15-20 minutes, until the vegetables are softened. Sprinkle these liberally with salt and pepper. While these are cooking, in a separate pot boil water and cook pasta shells until they are just cooked (about 5-6 minutes). Drain the pasta water, but do not rinse the pasta. Set aside. Next add diced tomatoes (do not drain), kidney beans, beef broth, and spaghetti sauce to the pot with the vegetables. Allow this to cook for an hour or so, until the veggies are cooked through and the flavors are incorporated. Add the pasta right before serving to the pot. Dish up and serve with a crusty bread for dipping.

Bow Ties With Sausage, Tomato, & Cream

Monday, February 16th, 2009


Would you like to prepare a dish that is going to totally wow your company? Maybe you are looking for a restaurant-quality dish, but one that can be whipped up on a weeknight? Well, then I have the dish for you!

I have had this recipe in my recipe box for years, but hadn’t tried it yet. I don’t know why I let it gather dust for so long because it was a hit with every single person in our family. It is a great balance of cream and tomato and the sausage adds a great burst of flavor in each bite.

I tried to make it a little more figure friendly by substituting regular sausage with Italian turkey sausage and substituted the heavy whipping cream with half & half. What resulted was a dish that was still rich and elegant, but shaved a little bit of the fat off of the equation.

I hope you can give this recipe a try in your rotation. I promise you won’t be disappointed!

Bow Ties With Sausage, Tomato, & Cream

1 (12 ounce) package bow tie pasta
1 tablespoon olive oil
1 lb Sweet Italian Turkey Sausage (removed from the casing)
1/2 teaspoon red pepper flakes (can omit/decrease if your family doesn’t like spicy dishes)
1/2 cup diced onion
3 garlic cloves, minced
1 (28 ounce) can Italian-style plum tomatoes, coarsely chopped
1 1/2 cups heavy cream (or half & half to save on calories)
1/2 teaspoon salt
3 tablespoons minced fresh parsley

Bring a large pot of lightly salted water to a boil. Cook pasta in boiling water for 8 to 10 minutes, or until al dente; drain. Heat oil in a large, deep skillet over medium heat. Cook sausage. Stir in onion and garlic, and cook until onion is tender. Stir in tomatoes, cream, and salt. Simmer until mixture thickens, 8 to 10 minutes. Stir cooked pasta into sauce, and heat through. Sprinkle with parsley.

Parmesan Sage Pork Chops With Cheesy Orzo

Monday, February 2nd, 2009


I have been stepping out of my comfort zone lately with my recipe collection and new recipes for pork chops was another one that I felt like I should tackle, I have my top three ways I like pork chops- my Ranch Pork Chops, the Italian Chops, & then the Slow Cooked Pork Chops. No other recipes seem to do it for me, but I had the ingredients hiding in my pantry to make this dish and thought I would take the plunge.

This has to be the best pork chop I have ever eaten in my life. The combination of cooking the pork chop in the butter with the olive oil helped keep the breading on the pork chop instead of stuck to the pan. The flavorful coating helps to keep the pork chop moist so you don’t have the dried out chops like most recipes usually end up with.

The special ingredient that takes this over the edge though is definitely the lemon zest mixed in with the Parmesan cheese & Italian breadcrumbs. I saved the lemons after zesting them and squeezed the lemons ofter the hot chops when they came out of the oven. Sprinkling it with a little fresh parsley takes this from a boring flavor experience to a very exciting one. Pairing this with my cheesy orzo made for the perfect combination!

I would highly recommend making this dish as soon as you can! No one could stop eating it and the leftovers were leftover barely a night in our house.

Parmesan Sage Pork Chops (Courtesy of Recipezaar)

1 1/2 cups breadcrumbs (I used the Italian bread crumbs)
1 cup grated Parmesan cheese
tablespoon dried rubbed sage
1 lemon, rind of, teaspoon grated (save the lemons for squeezing over the hot chops)
2 large eggs, whisked
1/4 cup flour, seasoned with
salt and pepper
4 pork chops, about 1 inch thick (can use bone in or out ones)
1/8-1/4 cup butter
2 tablespoons olive oil
Fresh sprinkle of parsley when you are done

Preheat oven to 425F degrees. Mix in bowl, bread crumbs, grated parmesan cheese, dried rubbed sage and grated lemon peel. Then, on a plate put flour seasoned with salt and pepper; coat chops with flour. Dip in egg. Then dip in bread crumb mixture. Melt butter and olive oil in a oven-proof skillet. Brown chops until golden. Transfer to oven and bake until meat thermometer says 150 degrees, about 20 minutes.

Cheesy Orzo (Courtesy of Food Network)

2 tablespoons extra-virgin olive oil, 2 turns of the pan
1/2 small onion, chopped (I omit this ingredient)
2 cloves garlic, chopped
2 cans (14 ounces) chicken or vegetable broth or stock
2 cups orzo pasta (enriched rice may be substituted)
1/2 cup grated Parmigiano or Romano (I just use Parmesan cheese)
Salt and freshly ground black pepper

Preheat a 8 inch pot with a tight fitting cover over moderate heat. Add oil, onion and garlic and saute for 2 or 3 minutes. Add broth to the pan and bring to a boil. Stir in orzo and return broth to a boil. Cover pot and reduce heat to simmer. Cook 15 minutes, stirring occasionally, or until liquid is absorbed and pasta tender. Remove lid and stir in cheese. Season with salt and pepper to your taste. You favorite fresh herbs may also be stirred into the orzo or rice to strengthen the flavor even more.

Baked Tiliapia With Lots of Spice

Monday, January 26th, 2009

I have wanted to try some new tilapia recipes for a long time now, but I have to admit that I was afraid to waste a package of it and have it not turn out. My Herb Baked Tilapia is served almost weekly in our house and is loved by the whole family. Why mess with a good thing, right?

Well, I saw this recipe and just had to try it. It is so low in fat (one tablespoon of olive oil for four pieces of fish total), was made with everything in my spice cabinet, and it was a baked fish so I wouldn’t have to dirty up a skillet or my oven to make it. I thought it would be worth a try, just to see if we could switch up our old standby.

This fish was excellent. The balance of spices in this is perfect, the crust tasted almost fried because it crisped up so well, and the fish was perfectly flaky. Our whole family truly loved it and I think I will be making this again and again. It would make an excellent fish sandwich so I think I will be trying that next time, just to keep the dish fresh and new.

Thank goodness I stepped out of the comfort zone so I could add this meal to our meal rotation!

Baked Tilapia With Lots of Spice
(Recipe from Recipezaar)

1 teaspoon salt
3/4 teaspoon paprika
3/4 teaspoon onion powder
3/4 teaspoon dry mustard
1/2 teaspoon garlic powder
1/2 teaspoon pepper
1/2 teaspoon cumin
1/2 teaspoon basil
3/4 teaspoon Italian seasoning
4 (4 ounce) tilapia fillets
1/2 cup breadcrumbs
3 tablespoons sliced green onions
1 tablespoon dried parsley flakes
1 tablespoon olive oil

Preheat the oven to 450 degrees. In a small bowl combine the spices from the salt through the Italian seasoning and set it aside. In a shallow container mix the bread crumbs, dried parsley, and green onions. Measure 4 tsp of the spice mix and sprinkle that all over the 4 fish fillets. Add the remaining spice mix to the bread crumbs, mixing well. Add the olive oil to the bread crumb mix, blending it in with your hands. Dredge the fish in the breadcrumbs, coating well. Shake off any excess breadcrumbs. Place the fish on a baking pan that has been sprayed with non-stick spray. Bake for 6 minutes. Turn over and bake for 4 minutes. Turn over again and bake until flaky, about 4 more minutes. Serve immediately.

Emily’s Famous Sloppy Joes

Monday, January 19th, 2009

This famous recipe wouldn’t be from my Emily, but from another Emily who submitted her recipe to the AllRecipes Dinner Tonight cookbook. I figured if it was created by an Emily, it had to be good!

I really love my recipe for Sloppy Joes, but I am always looking to try new things. I really liked that this recipe used tomato paste instead of ketchup and was intrigued by the ingredient and spice combination.

I gave it some extra time to simmer while the hamburger buns cooled off, and the flavors were absolutely perfect. I loved everything about this recipe and really loved that it was made out of ingredients that were already in the pantry.

Emily’s Famous Sloppy Joes

1 1/2 pounds ground beef
1 onion, chopped
1 red bell pepper, chopped (omitted for our picky eaters)
1 (6 ounce) can tomato paste
1 cup water
3 cloves garlic, minced
1 tablespoon chili powder (I decreased this to 1 teaspoon)
1 teaspoon paprika
1 teaspoon ground cumin
1 teaspoon white vinegar
3 tablespoons brown sugar
2 teaspoon dried oregano
1/2 teaspoon salt
1/2 teaspoon ground pepper

In a large skillet over medium-high heat, saute the ground beef for five minutes. Add the onion and red bell pepper; saute for five more minutes or until onion is tender and beef is browned. Drin. Mix in tomato paste and water, stirring until paste is dissolved. Stir in garlic, chili powder, parika, cumin, vinegar, brown sugar, oregano, salt, and pepper. Continue to heat for five to ten minutes or until mixture is thick. Yield: 8 servings.