Archive for the ‘Desserts’ Category

A Gingerbread Kind of Day

Monday, December 21st, 2009

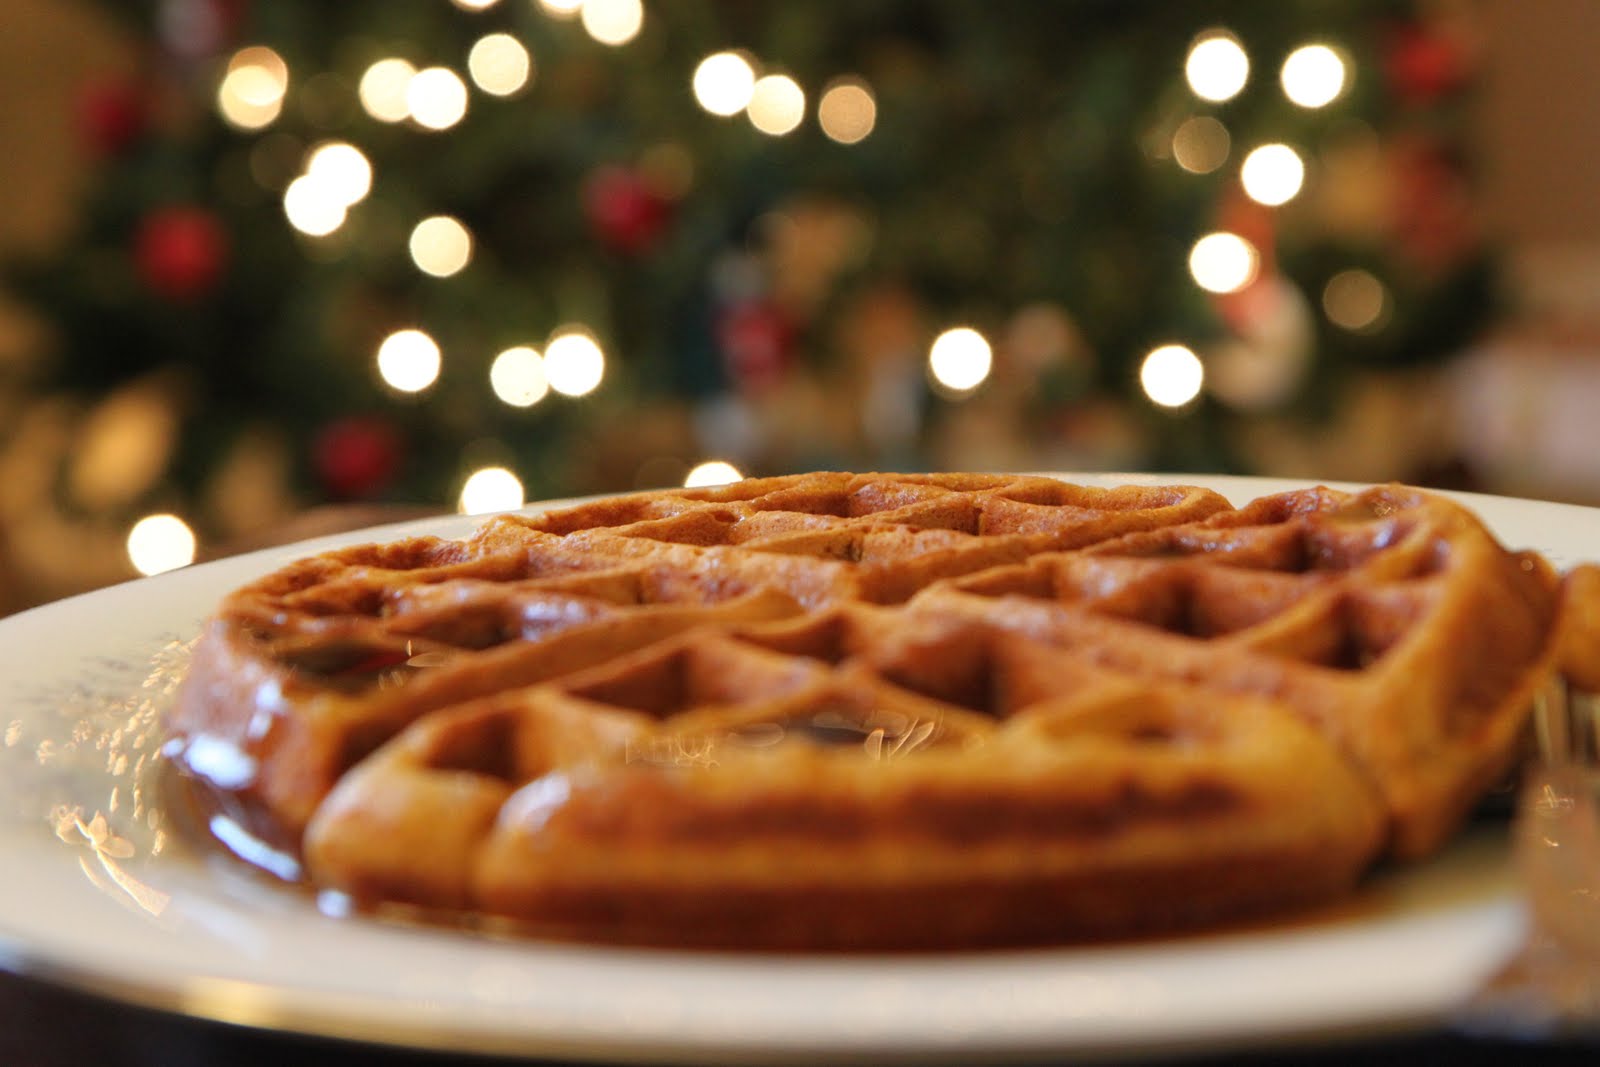
Each year I make our family a giant batch of gingerbread waffles as soon as December hits. Much like our pumpkin waffles, these are a treat that our family looks forward to each year. It is a recipe worth doubling or tripling and enjoying with a mug of cocoa to warm your belly before beginning your busy day.

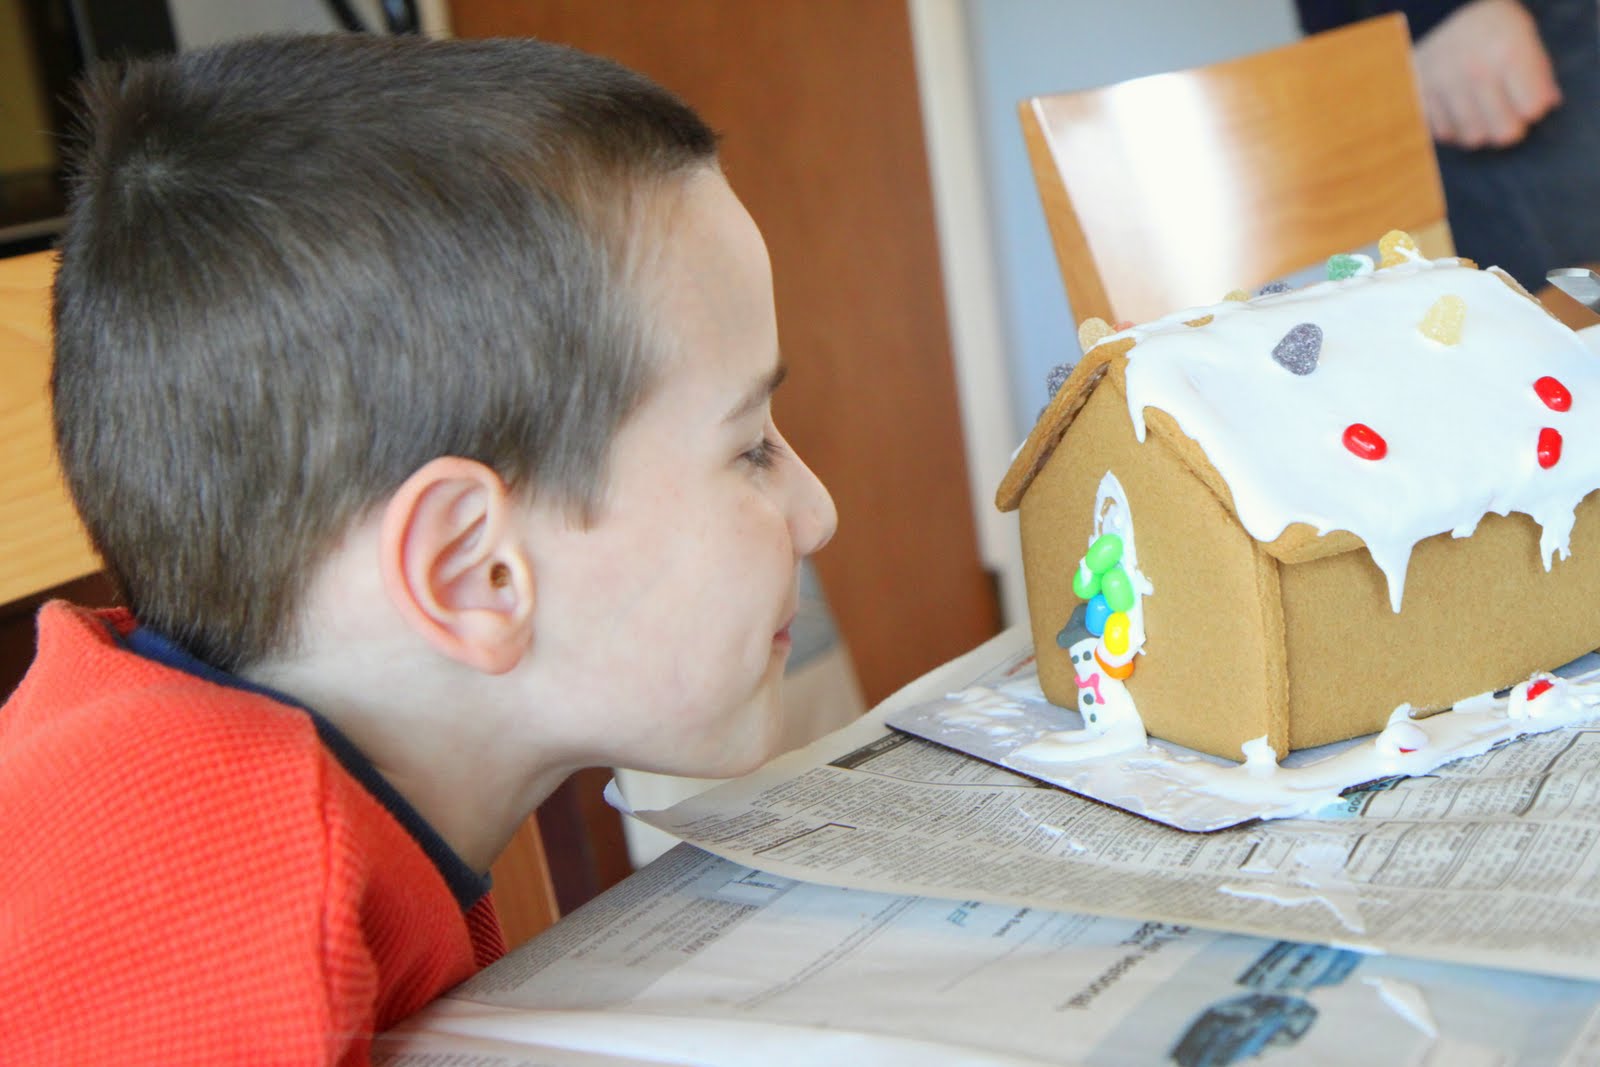
This year I decided a perfect pairing would be a gingerbread house making day. To be honest, I had never made a gingerbread house growing up. What a fun and special tradition to start in our house and the kids couldn’t wait to attempt decorating their houses for the first year as a family.


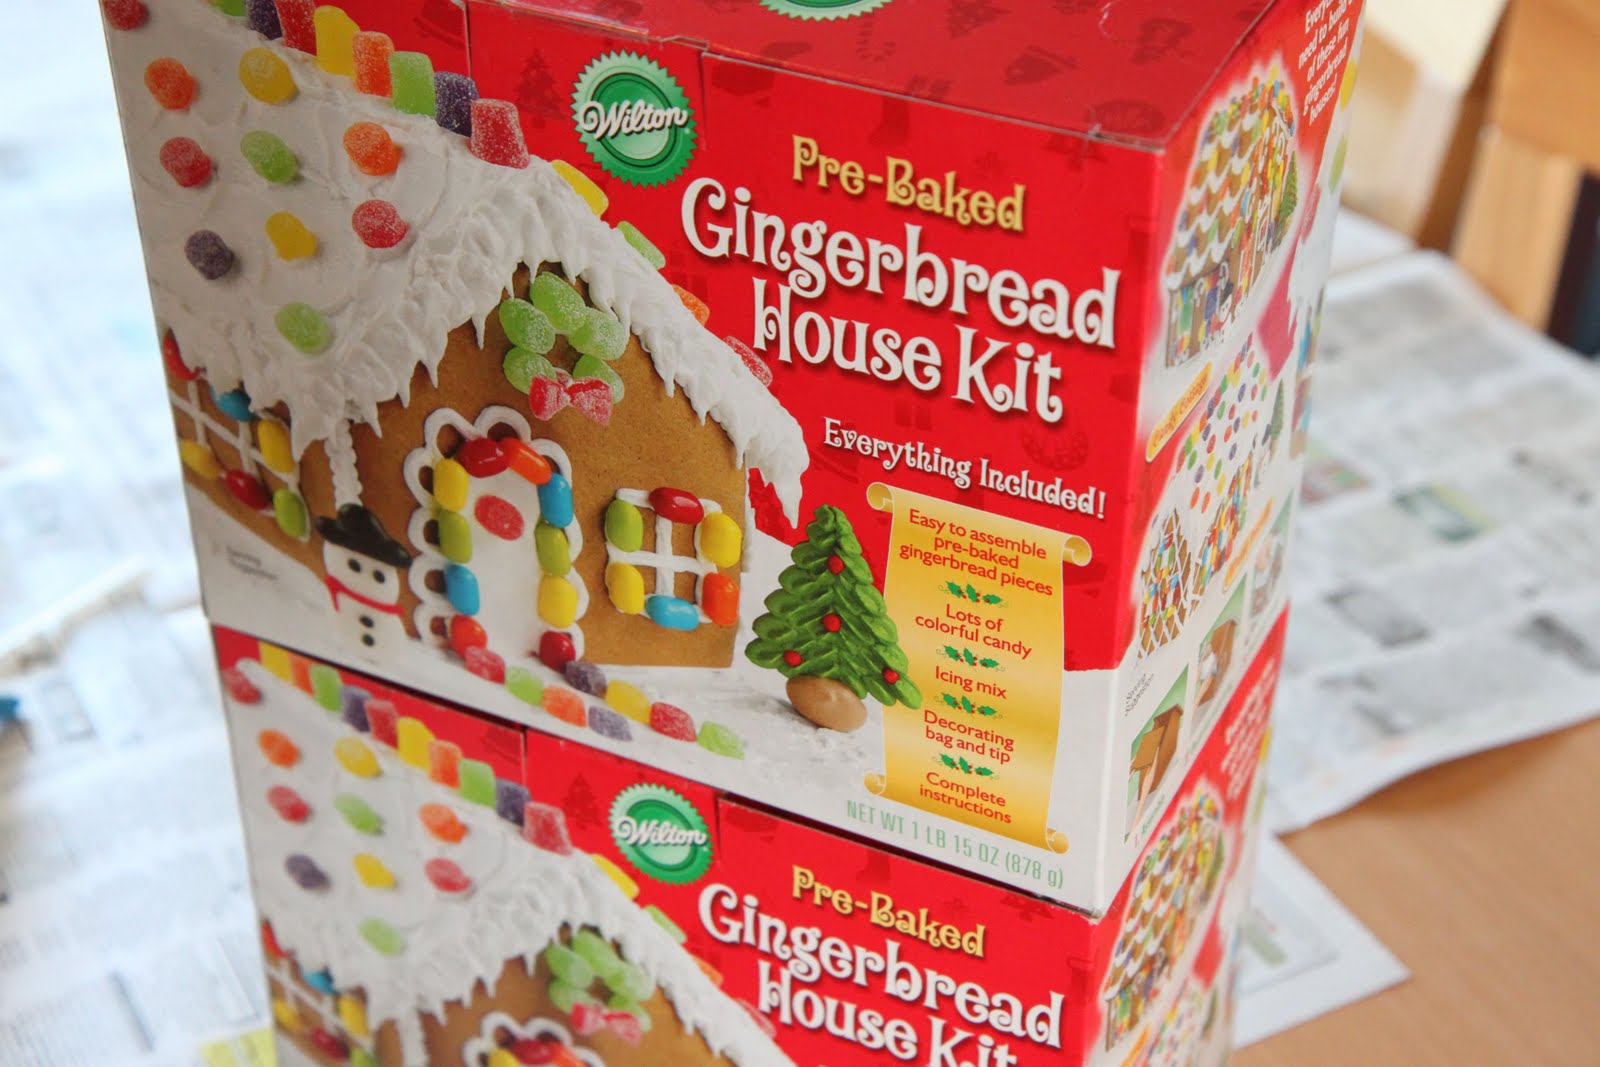
These houses were the miniature size and were perfect for my little helpers. I found them for $8.99 each on Amazon although I did see them for comparable prices at the craft store. Once again though, I used the Swagbucks to put towards these and saved them until we drew our gingerbread house day from our Advent Calendar.

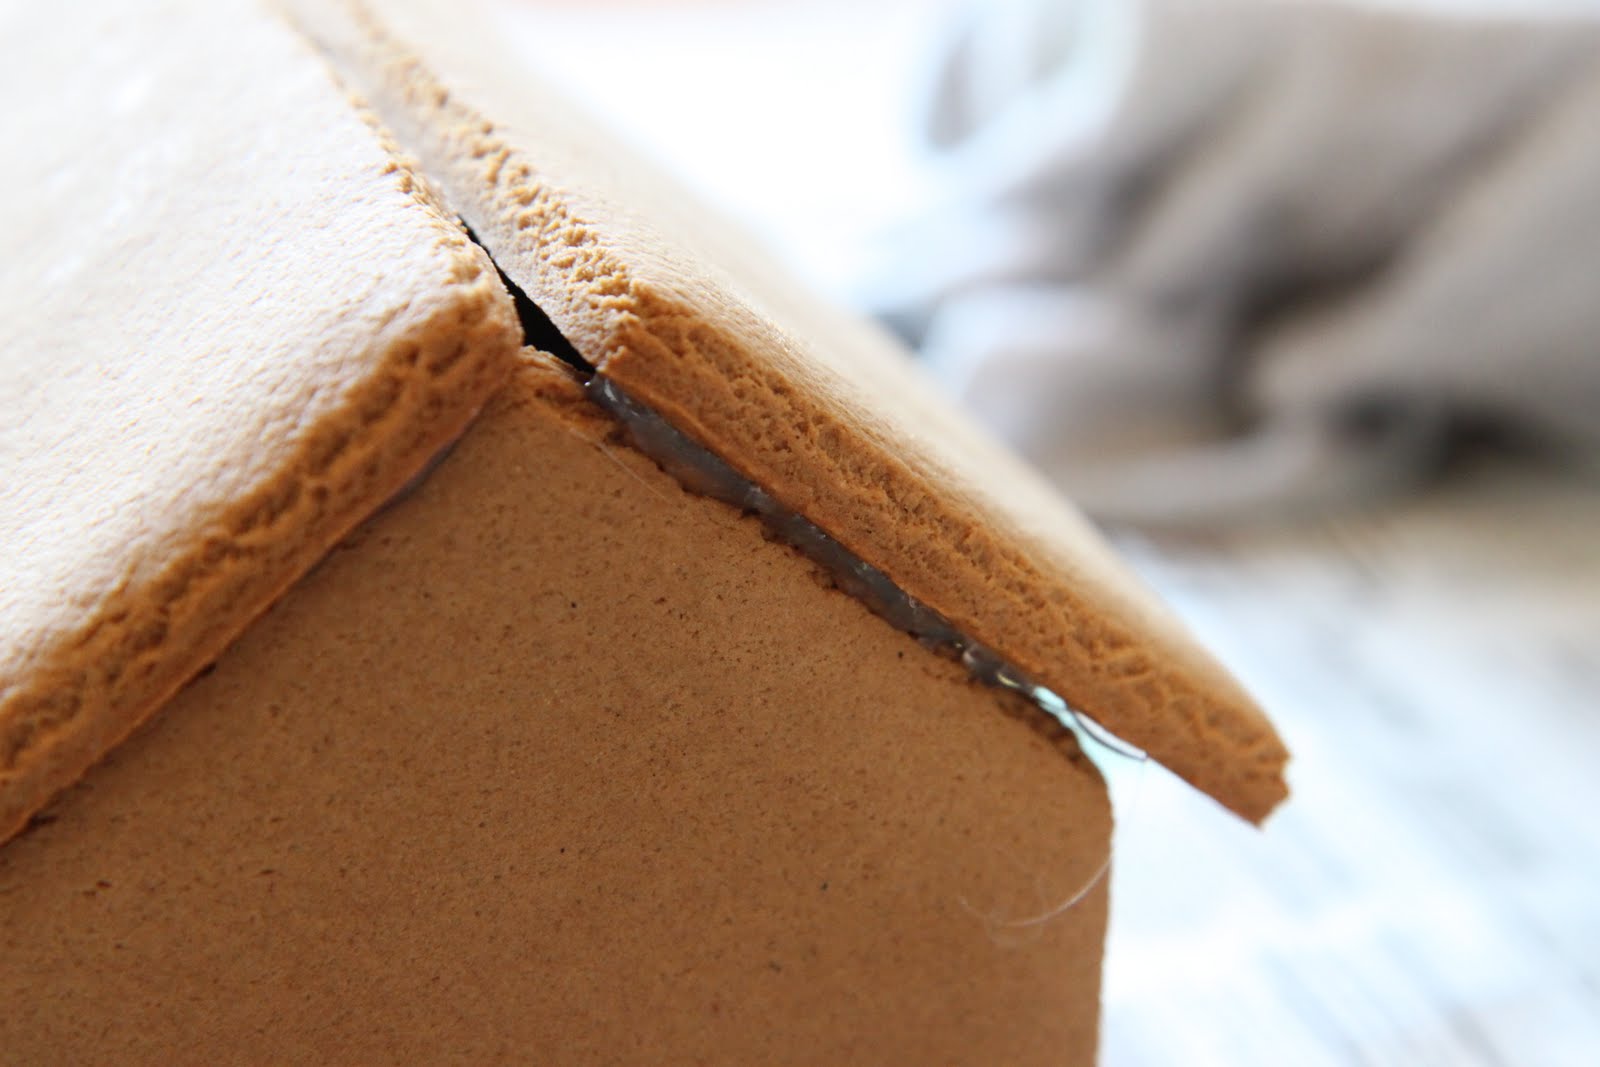
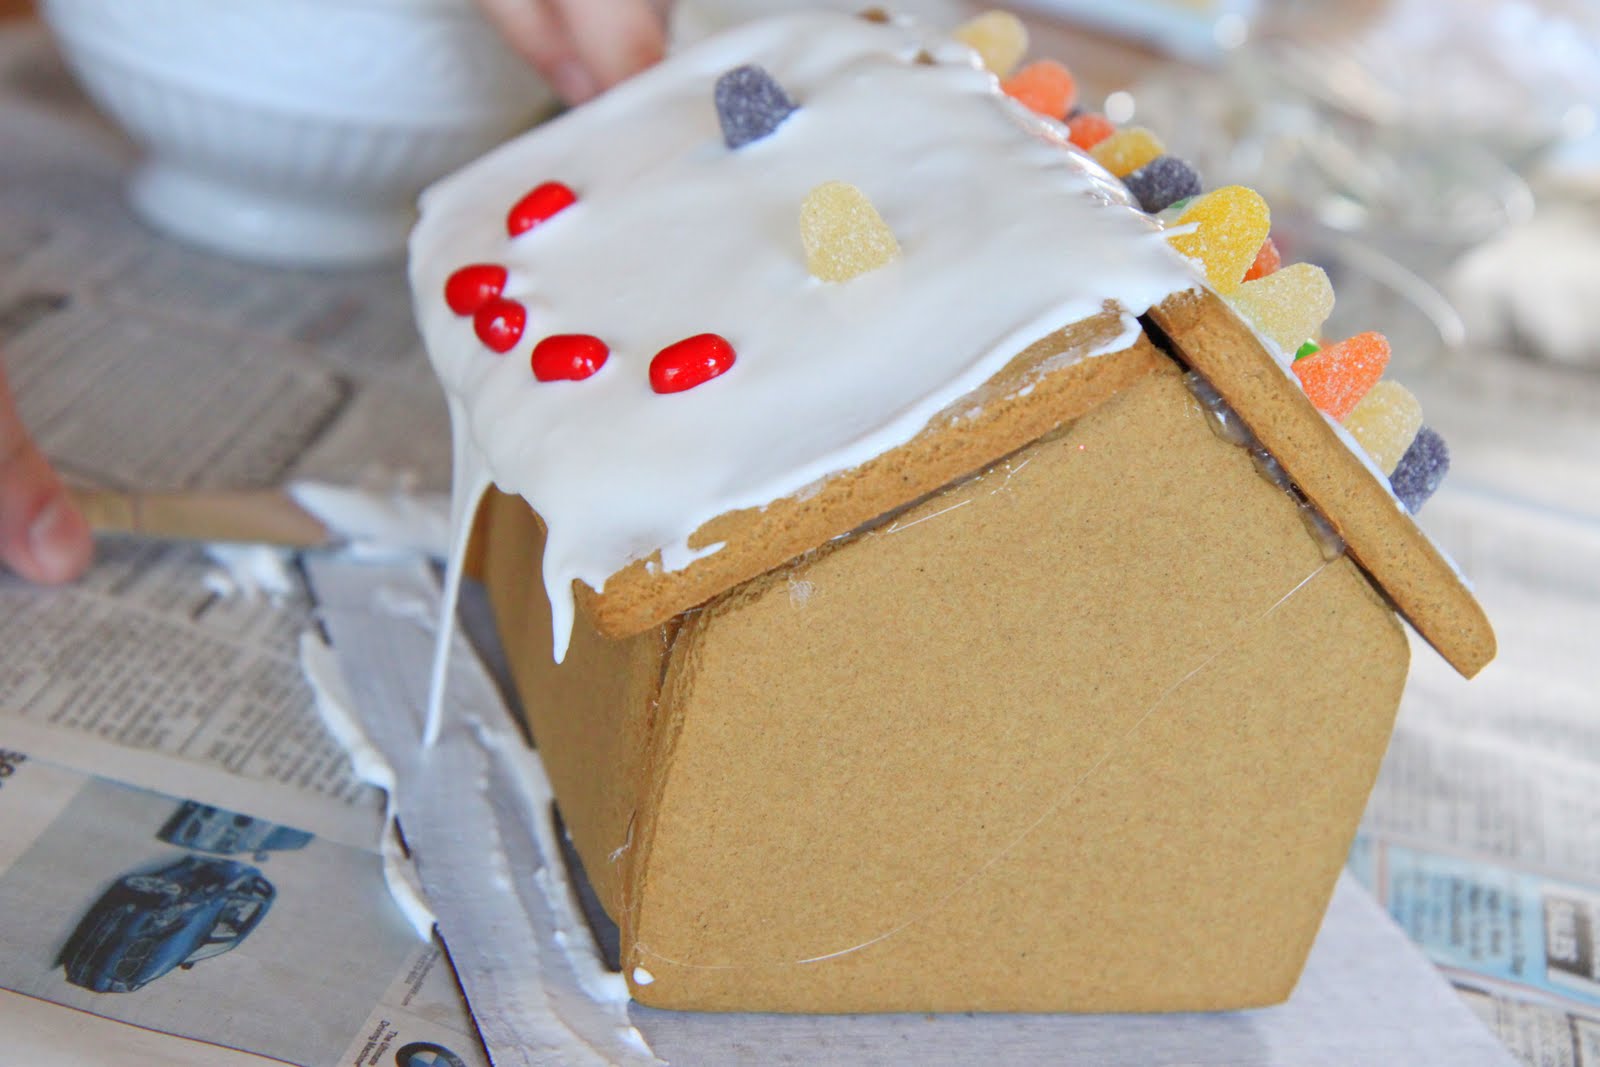
Although I haven’t been completing official Notebook Experiments, we have still been doing a lot out of the Notebooks each week. The idea to use hot glue to hold the gingerbread houses together from The Idea Room was perhaps one of the most brilliant ideas ever. Although it wouldn’t fly in a Food Network competition, it worked perfectly for two impatient children who were ready to decorate their houses as soon as they were pulled from the box.


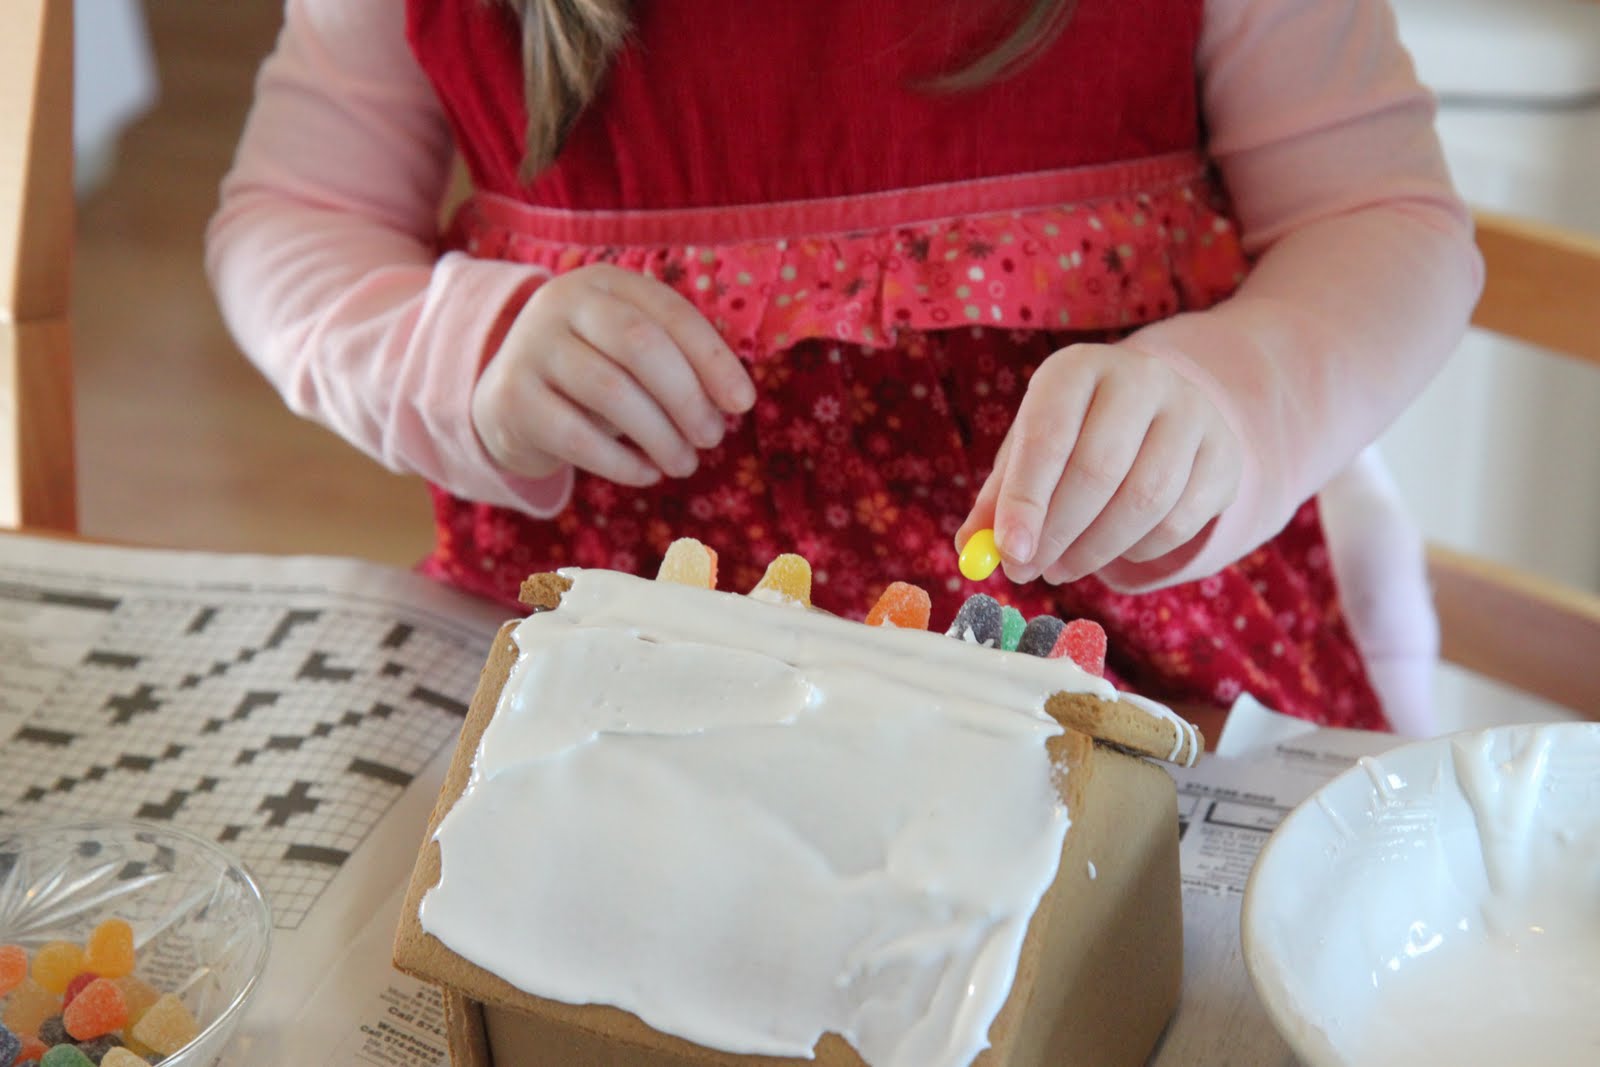
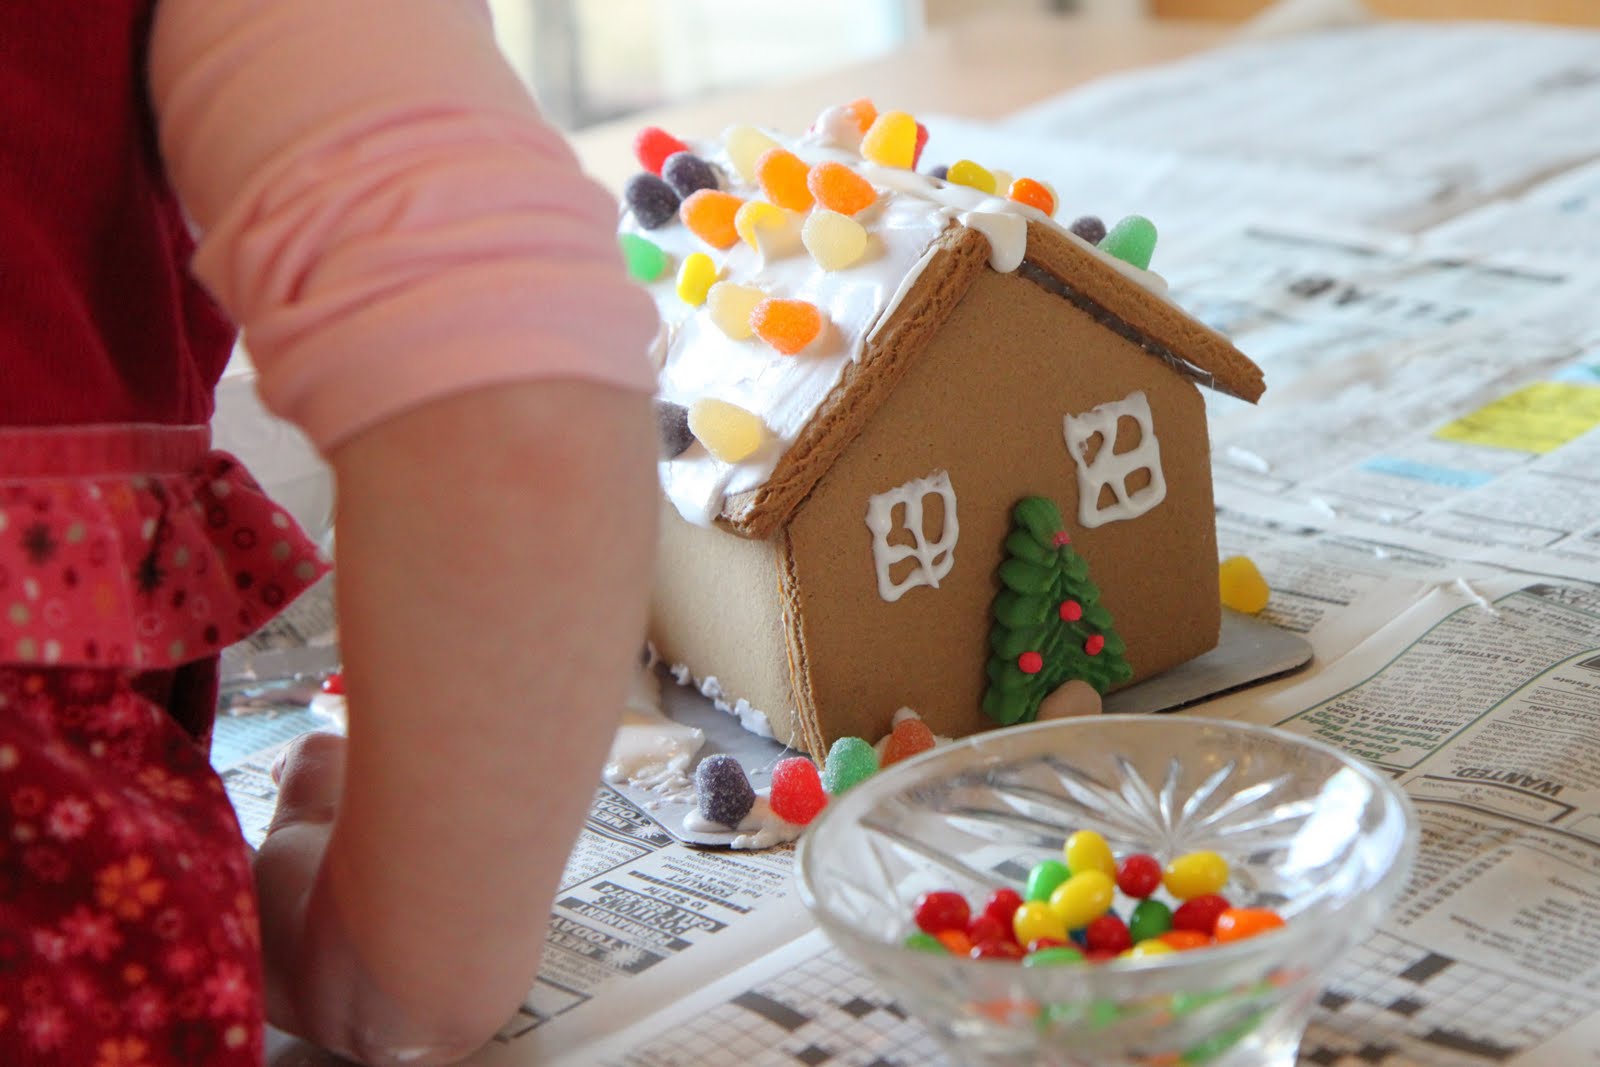
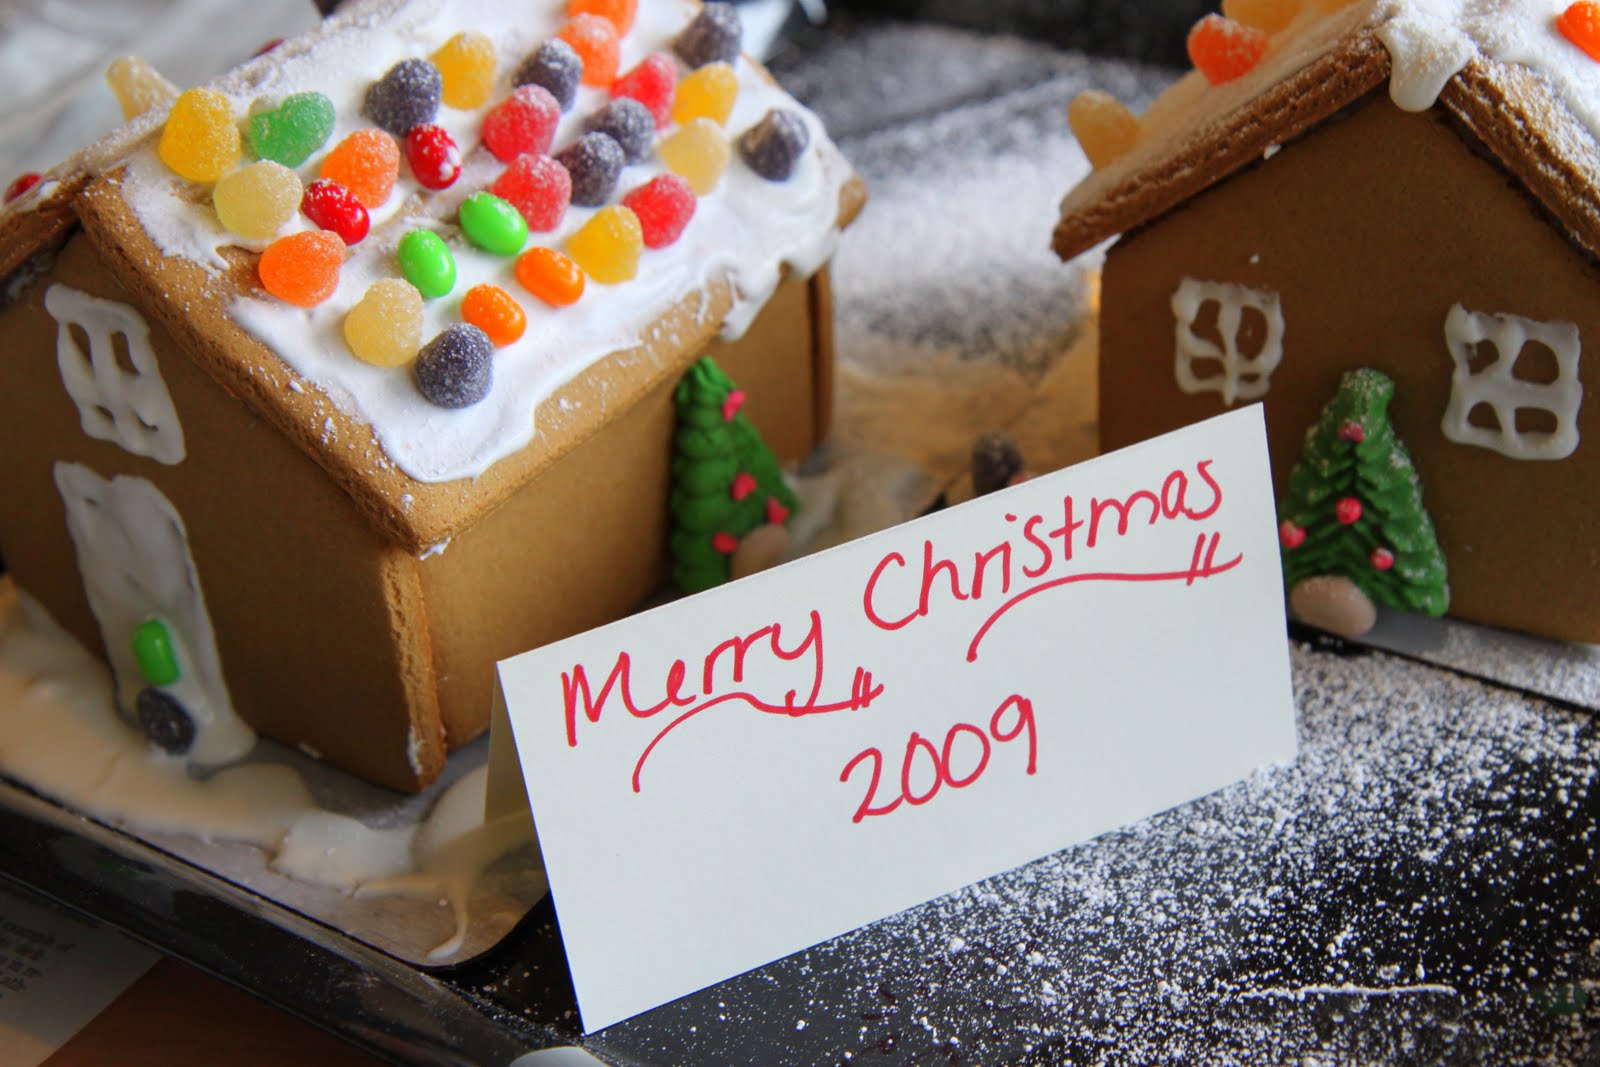
I had saved a sturdy deli tray from a sandwich order that we had place for party and used that to display our gingerbread house. A little shake of confectioner’s sugar over the top and the addition of our $1.99 lighted tree from The Christmas Tree Shoppe and it looked like an adorable little snow village on our thrifty budget. The kids admired their handiwork and I took a picture with the year on it so we could see how our houses evolve over the years.


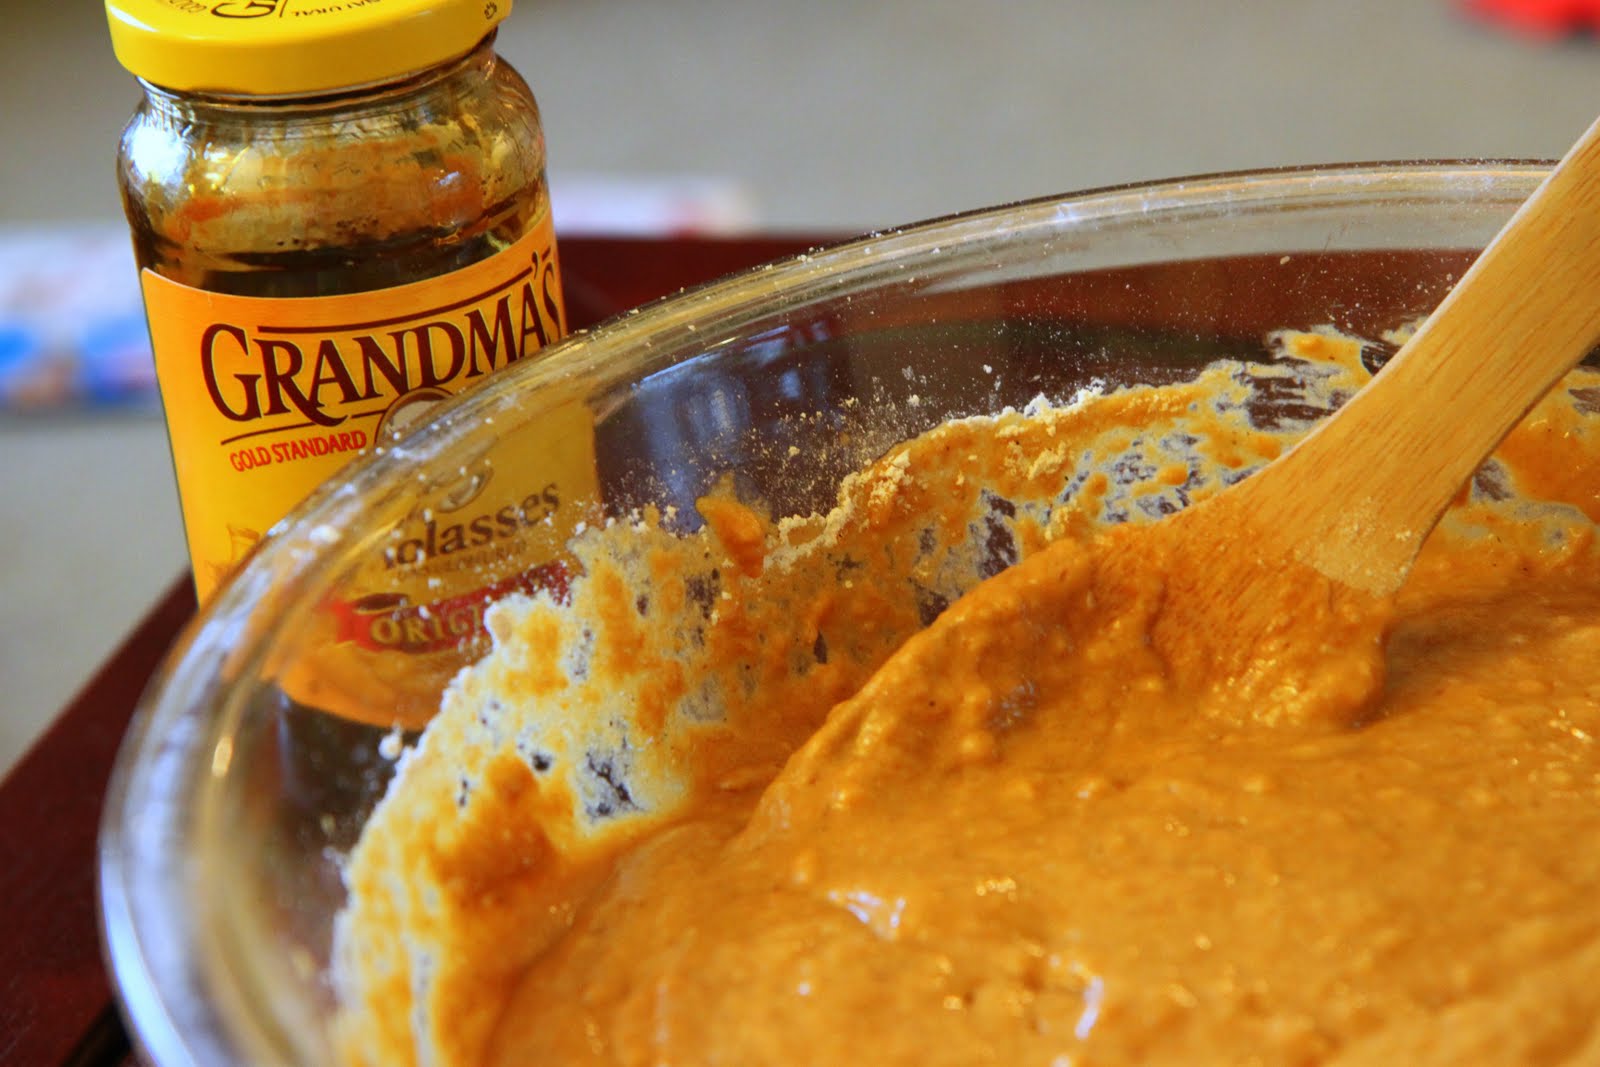
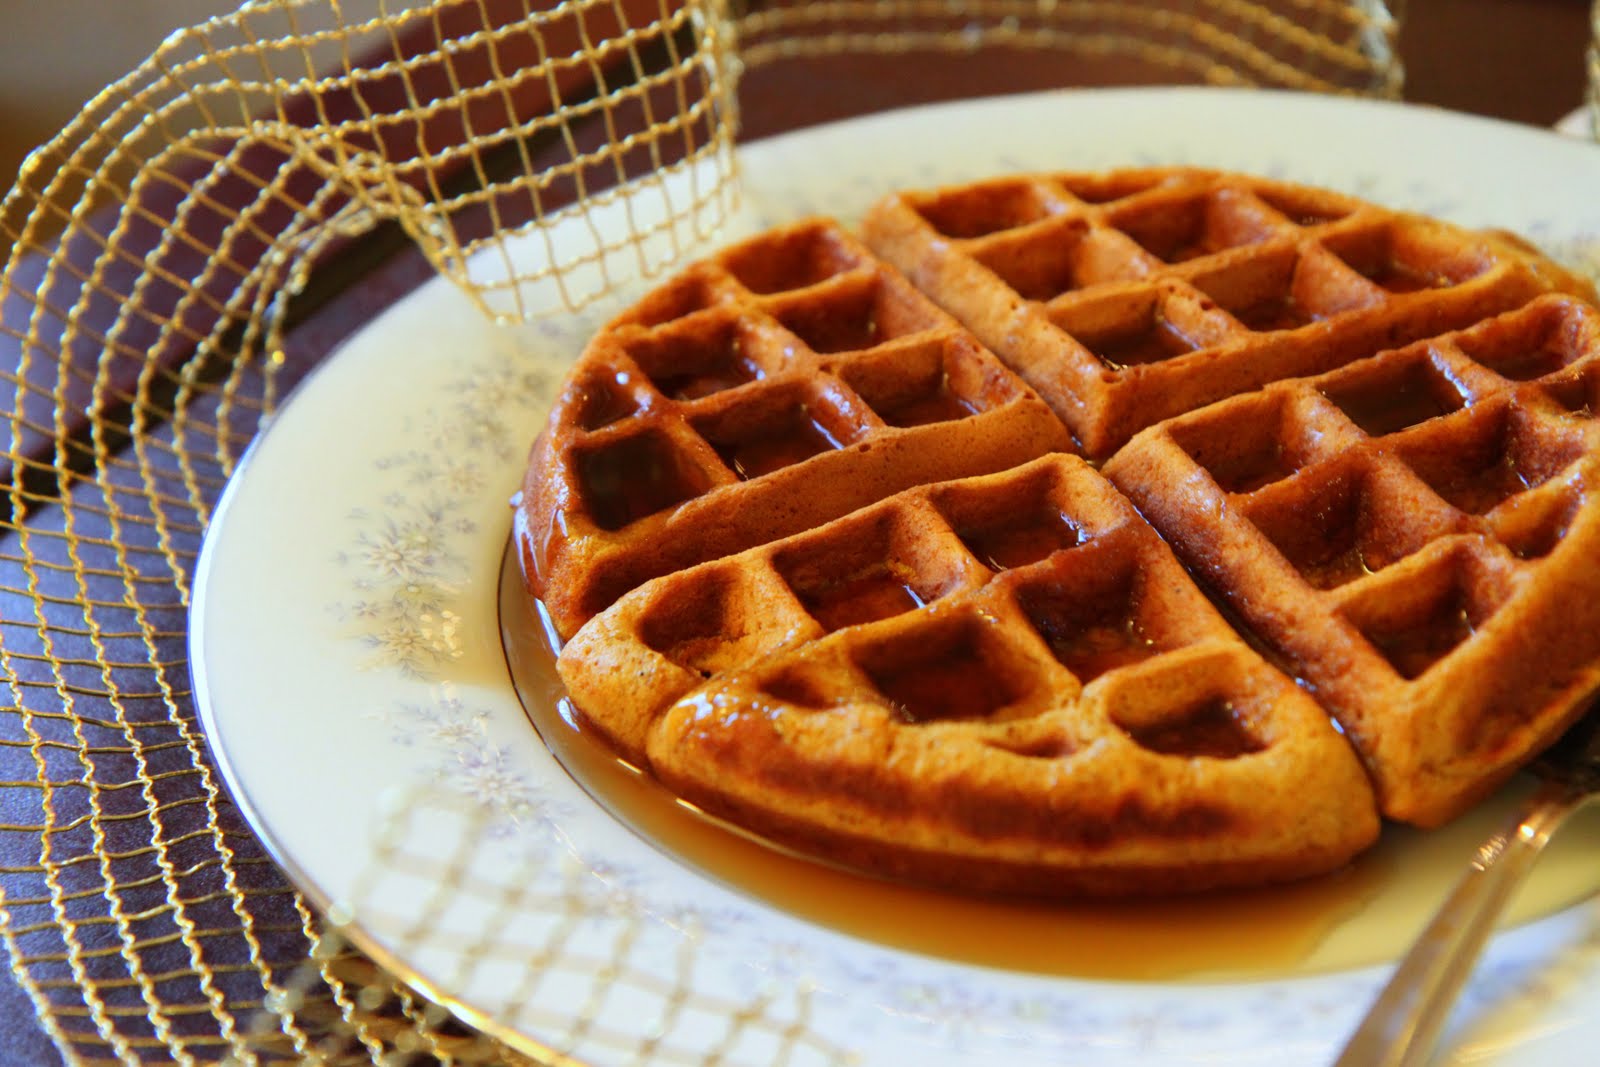
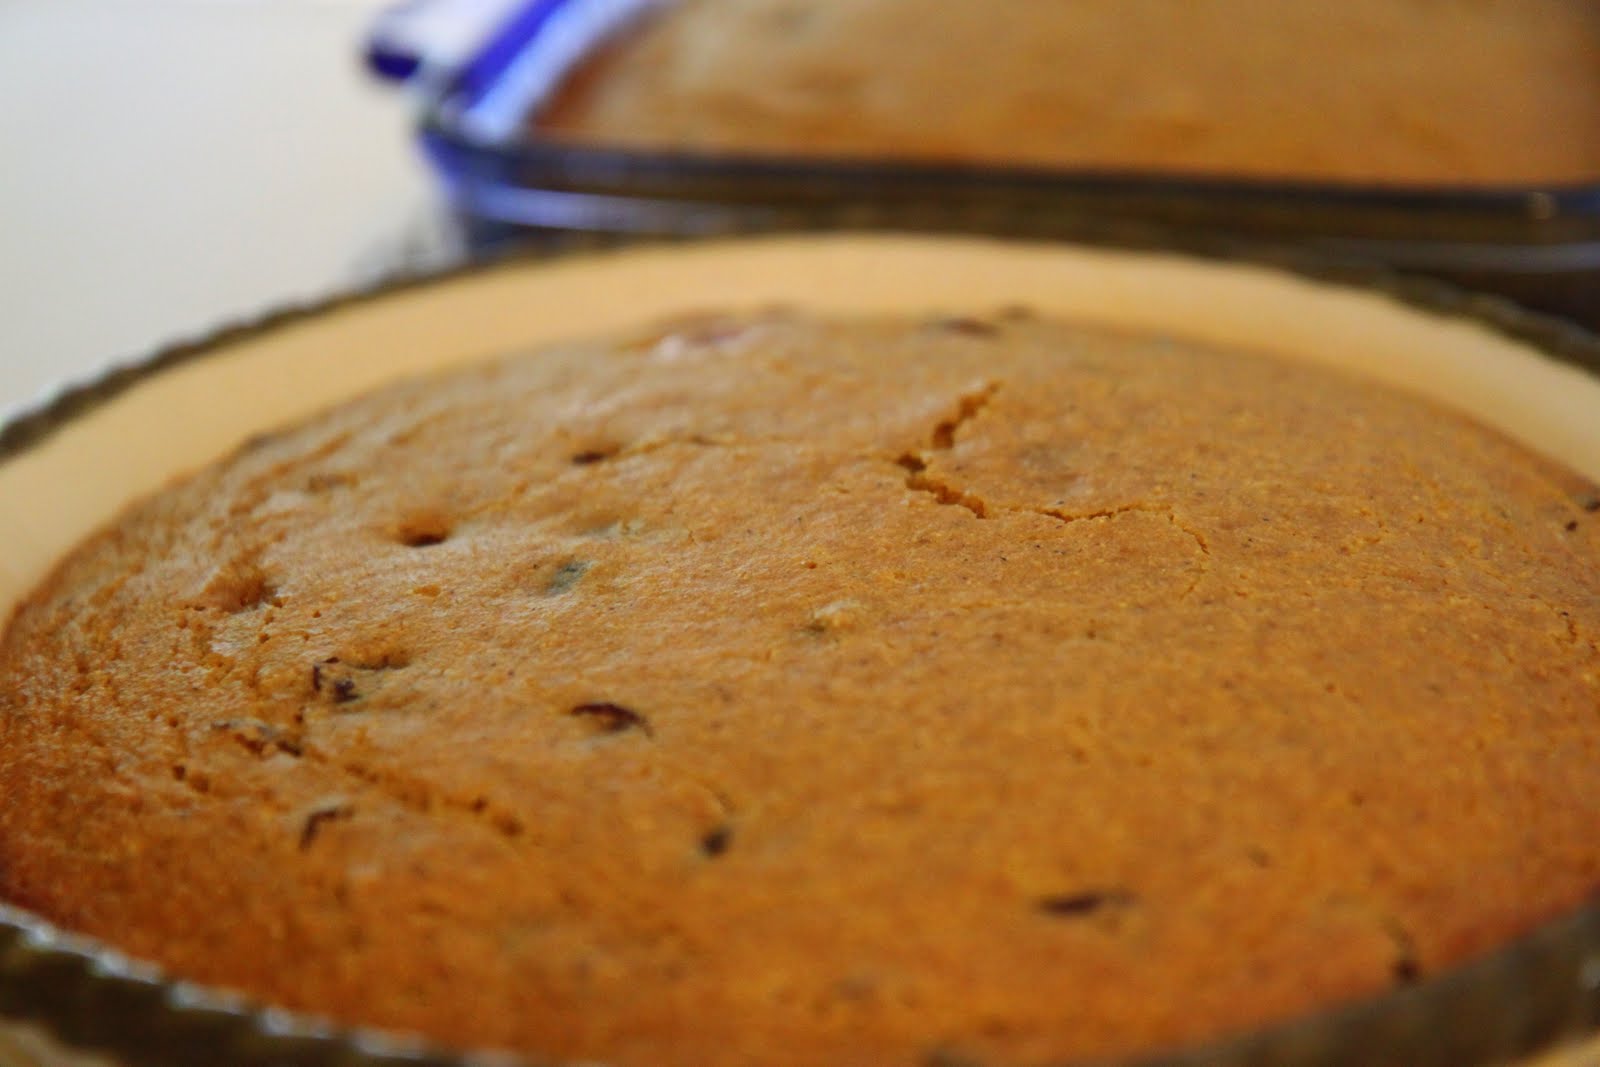
Once we were done decorating it was time to mix up a big batch of our gingerbread waffles. There are few things I love during the holidays more than a giant gingerbread waffle. I found this recipe from Rachael Ray about four years ago and it has been a family tradition every year since then.

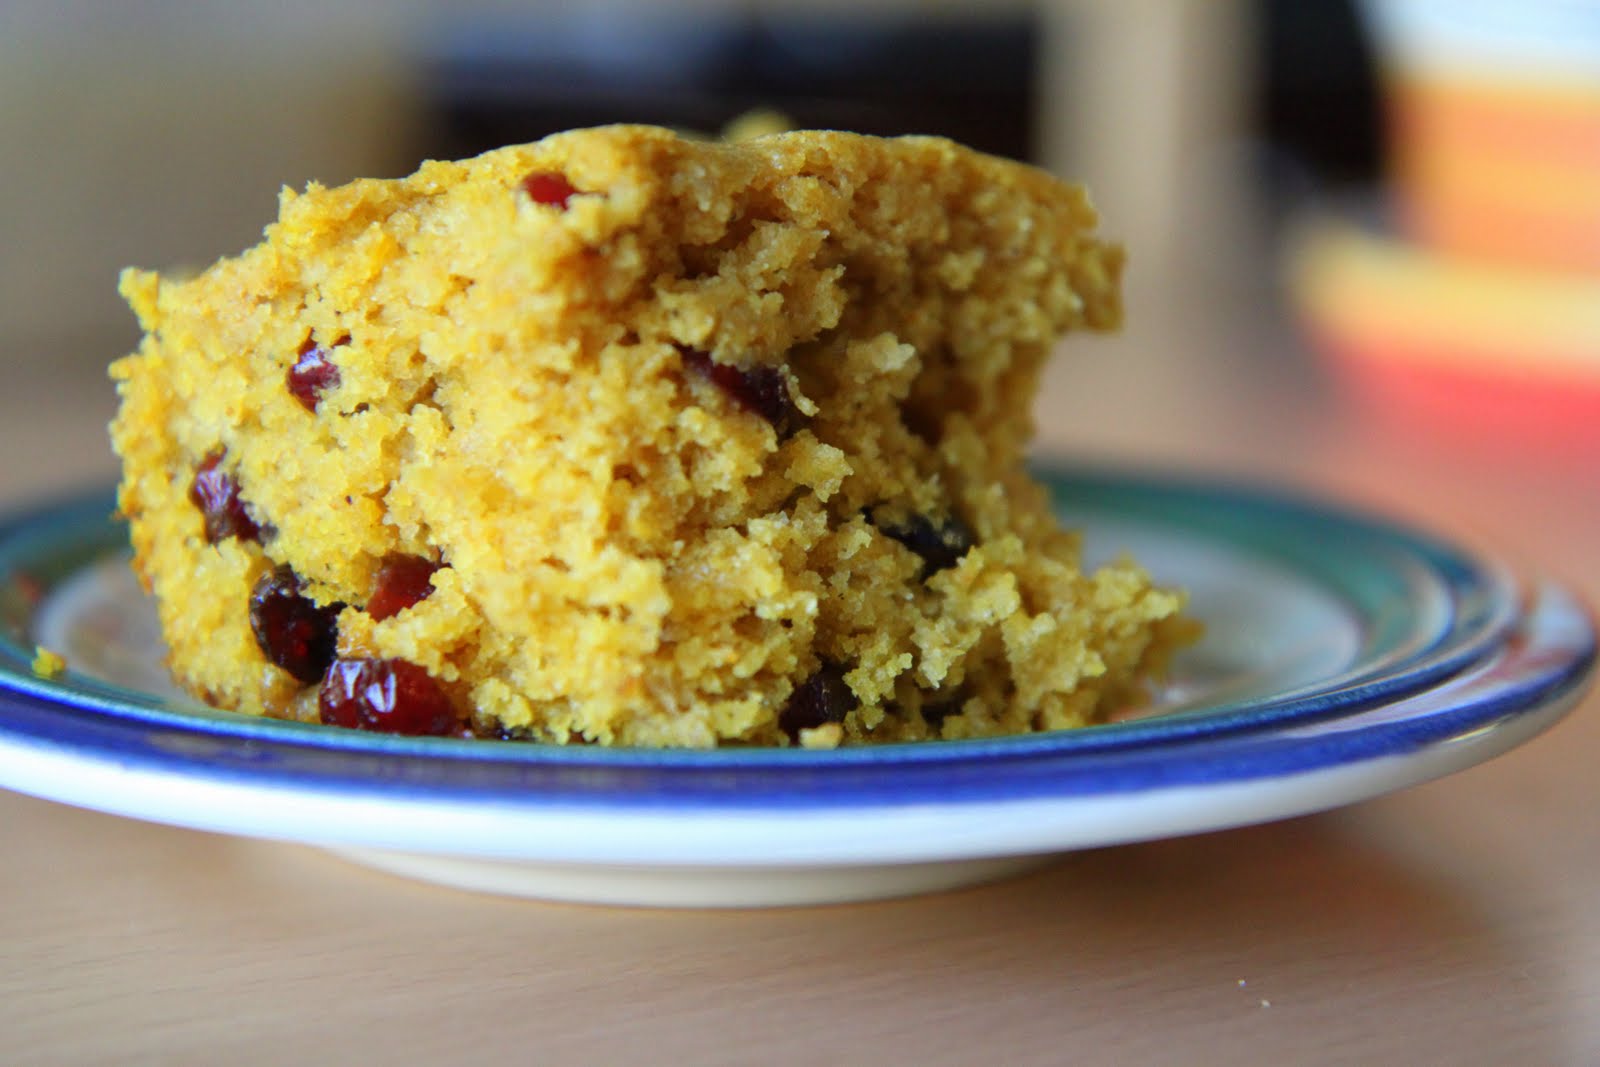
It incorporates all of the holiday flavors I love- molasses, ginger, cinnamon, brown sugar, pumpkin, and nutmeg. What more can I say?

The only downfall to this recipe… you can’t eat just one! I hope this recipe can grace your holiday table and be a family tradition for you too. Happy Holidays, everyone!

Gingerbread Waffles (courtesy of 30 Minute Meals)

3 cups all-purpose flour
4 teaspoons baking powder
2 teaspoons ground cinnamon
2 teaspoons ground ginger
1/2 teaspoon freshly grated nutmeg, eyeball it
1/2 teaspoon salt
4 l
arge eggs
2/3 cup packed dark brown sugar
1 cup canned pumpkin puree
1 1/4 cups milk
1/2 cup molasses
1/2 cup (1 stick) melted butter, plus some to butter the iron
Syrup, whipped cream or fresh fruits for topping, to pass at table

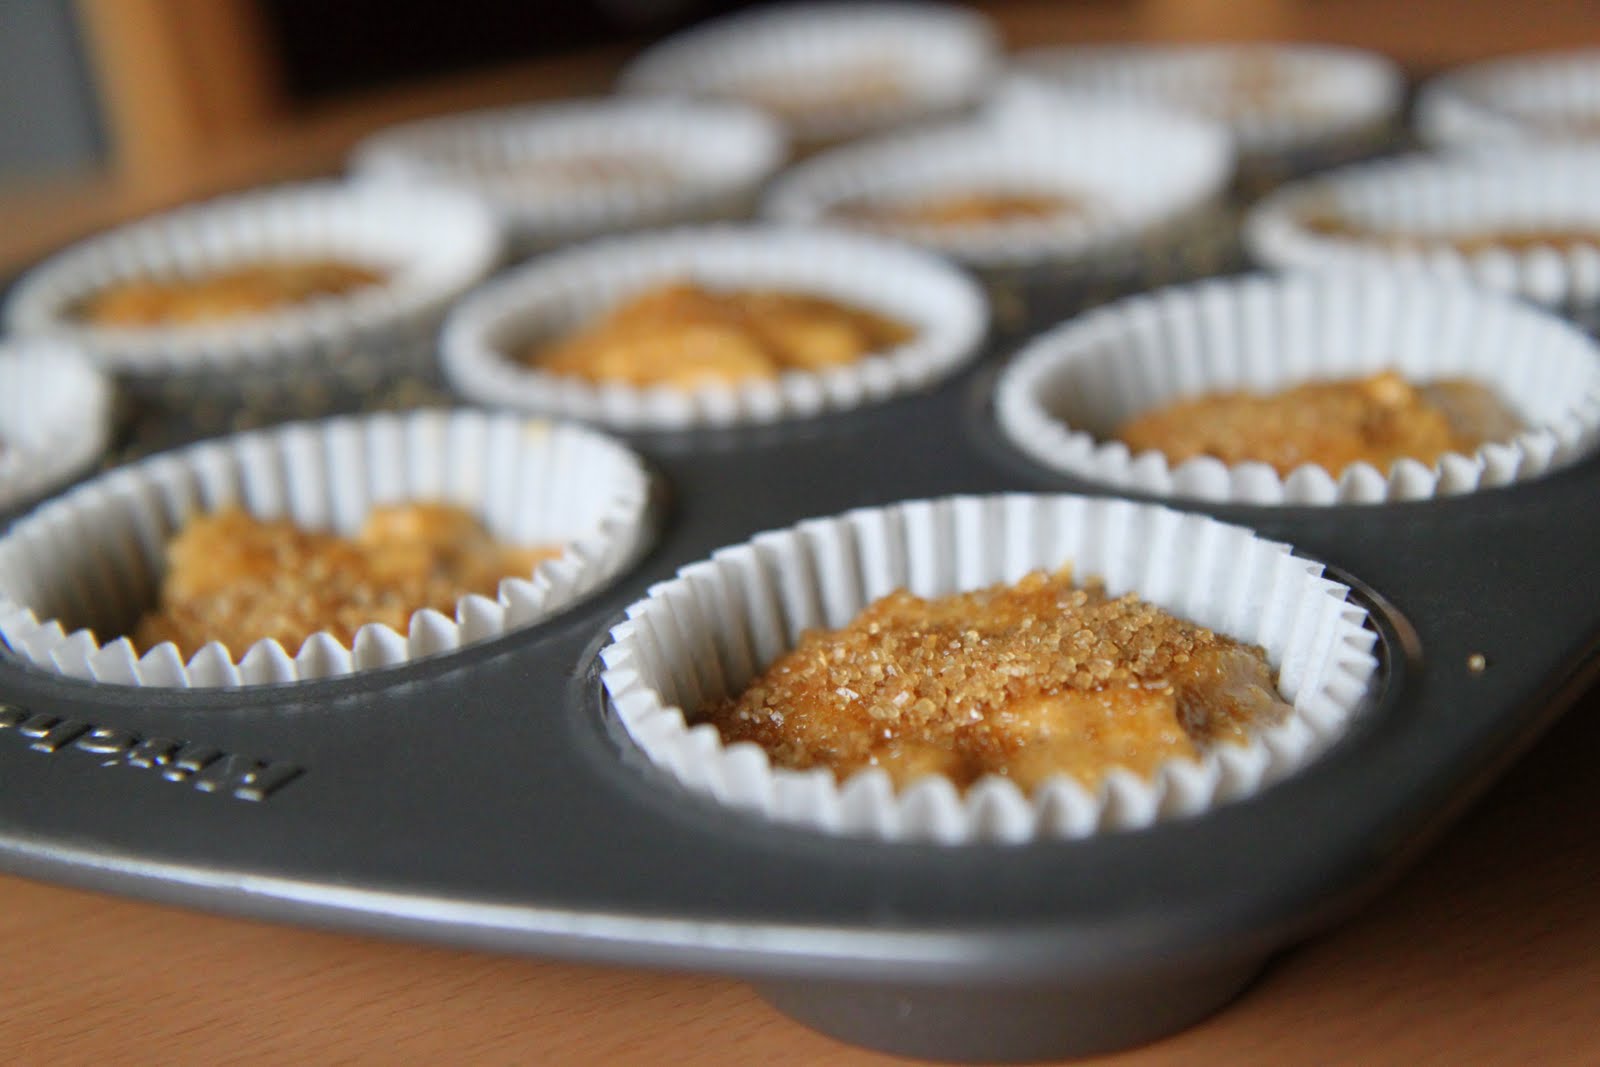
Preheat waffles iron. In a large bowl combine flour, baking powder, cinnamon, ginger, nutmeg and salt. In a medium bowl, beat eggs and brown sugar until fluffy, then beat in pumpkin, milk, molasses and melted butter. Stir the wet into dry until just moist. Do not overstir the waffle batter. Brush the iron with a little melted butter and cook 4 waffles, 4 sections each. Serve with toppings of choice.

Spunky Spinach Dip

Monday, November 2nd, 2009

I am an appetizer kind of girl. When we go out to eat, I would be satisfied with three or four different kinds of appetizers so I could dip and gorge myself to my heart’s delight. My top favorites? Fried mushrooms, spinach dip, chips & salsa, cheesy dip with french fries, and mozzarella sticks.

This recipe combines two of my favorites into one combination- my salsa dip and my spinach dip. The cream cheese adds a creamy consistency to the dip and the cheese adds the cheesiness that I can’t resist.

The recipe originally stated to just microwave it until it is hot, but I prefer my dip baked in the oven so I am including the directions for that too. I doubled this recipe for a party and doubled the cooking time (40-45 minutes) and it still was absolute perfection. I do love reheating it though for a great little afternoon snack in the microwave with a stack of tortilla chips.

Serve this with your favorite dipper. I love a sturdy bagel chip, tortilla chips, or even fresh cut veggies. Keep the dish light with fat-free cream cheese and low-fat cheeses and you still get the dipping extravaganza without the guilt!

Spunky Spinach Dip (courtesy of Gooseberry Patch Cookbook)

2 cups salsa (approximately one standard size jar)
2 cups Monterey Jack cheese
8 oz low-fat or fat-free cream cheese, softened and cubed
10 oz frozen chopped spinach (thawed and drained)

Mix ingredients together in a mixing bowl. Stir well. Place in a microwave-safe bowl and heat until cooked through. If baking, cook at 350 for 20-25 minutes (double your cooking time for a double batch) in an oven-safe bowl (covered). Serve with your favorite dipper!

Taste of Fall: Pumpkin Cranberry Cornbread

Monday, October 26th, 2009

Ah, the sweet smell of Fall is in the air and I am loving the vivid colors in the trees. Nothing says fall to me though like pumpkins and cranberries. When I happened upon this recipe for cornbread that incorporated my two favorite flavors of the season, I could not delay making it.

This recipe is so unbelievably fantastic! Perfectly moist and even better the second day, it is a cornbread that you can feel confident serving with a big pot of chili for tailgating or just enjoying a cozy night at home with your family.

I have prepared this recipe two ways for you! The first is the traditional way stuffed with cranberry deliciousness. The second version is as a muffin and minus the cranberries for the cranberry-haters. We have one of those in our family so I made the second batch just for him…To which my husband pronounced, “Perfection,” and then he swiftly ate three!

Yes, this is a recipe for everyone and is the perfect way to use up the last of that pumpkin after preparing a pie, or pumpkin pancakes, or pumpkin pasta, or pumpkin spice latte, or pumpkin waffles.

Just consider me a resource for all-things-pumpkin this year!

Pumpkin Cranberry Cornbread

1 1/4 cups flour
3/4 cup cornmeal
2/3 cup light brown sugar
1 tablespoon baking powder
1/2 teaspoon salt
1/2 teaspoon nutmeg
1/2 teaspoon cinnamon
3/4 cup canned pumpkin puree
3/4 cup buttermilk (I substituted with regular milk and a teaspoon of vinegar to sour)
1/4 cup butter, melted
2 eggs, room
2 tablespoons honey
1 cup dried cranberries

Preheat oven to 350 degrees. Lightly grease a 8″ x 8″ baking pan or a 9-inch pie pan. In a bowl, toss together flour, cornmeal, sugar, baking powder, salt, nutmeg and cinnamon. In another mixing bowl, mix with a wooden spoon, the pumpkin puree, sour cream or buttermilk , butter, eggs and honey, until well combined. Add the pumpkin mixture to the flour mixture just until combined. Mix in the cranberries. Transfer to a prepared baking dish. Bake for about 40 minutes, or until edges just begin to color. Cool to room temperature.


Pumpkin-y Cornbread Muffins (For the Cranberry Haters)

1 1/4 cups flour
3/4 cup cornmeal
2/3 cup light brown sugar
1 tablespoon baking powder
1/2 teaspoon salt
1/2 teaspoon nutmeg
1/2 teaspoon cinnamon
3/4 cup canned pumpkin puree
3/4 cup buttermilk (I substituted with regular milk and a teaspoon of vinegar to sour)
1/4 cup butter, melted
2 eggs, room
2 tablespoons honey
Sugar for sprinkling (I used the raw sugar)

Preheat oven to 350 degrees. Line a muffin tin with muffin liners. In a bowl, toss together flour, cornmeal, sugar, baking powder, salt, nutmeg and cinnamon. In another mixing bowl, mix with a wooden spoon, the pumpkin puree, sour cream or buttermilk , butter, eggs and honey, until well combined. Add the pumpkin mixture to the flour mixture just until combined. Transfer to the prepared muffin tin. Sprinkle with a little sugar (I used raw sugar) on top. Bake for about 20-25 minutes, or until edges just begin to color. Cool to room temperature. Makes approximately 12-13 muffins.

Foolproof Bread Machine Recipe: Portuguese White Bread

Monday, October 19th, 2009

I am still the biggest fan of my bread machine. I do realize that they aren’t for everyone. Some people love to knead dough and use their stand mixer to do the heavy duty mixing or even to do the process by hand. Not me! The bread machine is the way to go at this stage in my life and it is worth every inch of space that it takes up, residing on the top of the refrigerator.

We haven’t given up buying sandwich bread, but the bread machine is essential to me for easy entertaining and for our weekly pizza night traditions. It has saved me many a trip to the store for hamburger buns. For the holidays, I love to crank out a batch of fancy rolls with a little spread or dip. For the ultimate in special Saturday morning traditions, a little indulgence in monkey bread or fancy cinnamon rolls is a special family treat. Making these treats myself, I am assured that I am giving my kids those fun food memories, but am controlling the quality of the ingredients that are going into them.

This bread recipe is a no-fail bread machine recipe that I have used for years. The ingredients are so simple and it makes the perfect loaf of bread every single time.


Portuguese White Bread

1 cup water
3 tablespoons margarine
1 tablespoon sugar
1 teaspoon salt
3 cups white flour
1 1/2 teaspoons bread machine yeast

Add all ingredients in order listed into your bread machine. Choose the”basic” cycle and wait for the perfect loaf of white bread to appear! Yes, it is that simple!

Do you have a bread machine? What is your favorite recipe to make with this appliance?

Oreo & Fudge Ice Cream Cake

Tuesday, September 22nd, 2009

Oreo & Fudge Ice Cream Cake

1/2 cup hot fudge ice cream topping, warmed
1 tub (8 oz.) whipped topping, thawed, divided
1 pkg. (3.9 oz.) chocolate instant pudding
8 Oreo cookie sandwiches (approximately 1 cup) (I use the off-brand available at Aldi)
12 vanilla ice cream sandwiches

Pour fudge topping into medium bowl. Whisk in 1 cup whipped topping. Add dry pudding mix; stir 2 min. Stir in chopped cookies. Arrange 4 ice cream sandwiches, side-by-side, on 24-inch-long piece of foil; top with half the whipped topping mixture. Repeat layers. Top with remaining sandwiches. Frost top and sides with remaining whipped topping. Bring up foil sides; double fold top and ends to loosely seal packet. Freeze (at least) four hours.

Amy’s Notes- One year I had difficulty with the tin foil sticking to my cake so this year I prepared the cake in a cupcake tote container with a lid and that worked much better than wrapping in tin foil and was easier to stack with other items in our freezer.

Homemade Wendy’s Frosty

Tuesday, September 22nd, 2009

Homemade Wendy’s Frosty (The Magic Milkshake courtesy of Hillbilly Housewife)

1-1/2 to 2 cups ice water
1-1/2 cups nonfat dry milk powder
2/3 cup sugar
1/4 cup unsweetened cocoa
1 teaspoon vanilla
1 to 1-1/2 trays of ice cubes, as much as you can spare
2 tablespoons corn oil plus a 5-second squirt of non-stick spray for emulsification purpose (I substitute the corn oil with canola oil & you can read her notes on why you need that non-stick spray)

Place all of the ingredients into the blender, including the oil and the non-stick spray. Use less water for thicker milk shakes and more water for shakes that are easy on your blender motor. The blender should be about 3/4’s full. Place the lid on. Process for a full 2 minutes. Pour into cups and serve. Makes 4 – 12oz servings.

Chocolate Chip Cookie Bars

Tuesday, September 22nd, 2009

Chocolate Chip Cookie Bars

2 1/4 cups all-purpose flour
1 teaspoon baking soda
1 teaspoon salt
1 cup butter, softened
3/4 cup granulated sugar
3/4 cup packed brown sugar
1 teaspoon vanilla extract
2 eggs
1 (12 ounce) package semi-sweet chocolate chips
1 cup chopped nuts (optional)

Preheat oven to 375 degrees. Grease a 9×13″ pan. Combine flour, baking soda and salt in small bowl. Beat butter, both sugars and vanilla in large mixer bowl. Add eggs one at a time, beating well after each. Gradually beat flour mixture into butter mixture. Stir in chocolate chips and nuts. Spread into prepared pan. Bake 30-35 minutes or until golden brown.

Bread Machine Monkey Bread

Tuesday, September 22nd, 2009

Bread Machine Monkey Bread

1/4 cup water, warm (100-110F)
2 tbsp butter, melted
3/4 cup milk, warm (100-110F)
1/2 tsp vanilla extract
1 large egg (beaten)
3 – 3 1/2 cups all purpose flour
1 tsp salt
3 tbsp sugar
2 1/2 tsp active dry yeast (.25-oz)

Sugar Mixture:
2 cups brown sugar
1 1/2 tbsp ground cinnamon
1/2 tsp ground allspice
1/2 cup butter, melted

Lightly grease a standard 10-in bundt pan with vegetable oil or any cake-shaped pan. Set aside.
In a microwavable bowl, combine the water, milk, and butter and microwave it for one minute (or just until warm). Pour this into the bottom of your bread machine. Add the egg and vanilla next. Add the flour, salt, sugar, and then finally the yeast. Run the Dough cycle on your bread machine and let it run through the entire cycle until it beeps.

Turn dough out onto a very lightly floured surface and gently deflate so that dough is relatively flat (maybe 1/2-3/4 inch thick) Using a knife or a bench scraper, cut off small pieces of dough to form 1/2 to 1-inch balls. As you cut each piece of dough, roll it into a ball in the palms of your hands. Dunk each ball in butter, use the fork to remove it and transfer it to the sugar mixture to be thoroughly coated. Place all coated dough balls into prepared bundt pan.

Once all balls have been coated and places in the pan, cover the pan lightly with plastic wrap and let bread rise for 60 minutes, until almost doubled in size. I covered this with plastic wrap and then popped it in the fridge overnight.

Preheat the oven to 350F when you are ready to bake it. If it is in the refrigerator, pull it out a half hour before and let it rise on the kitchen counter before baking. Bake for 30-35 minutes. Bread will spring back when lightly pressed. Let bread cool in pan for 10 minutes, then turn out onto a serving platter. Eat immediately (or reheat leftovers), as the bread is best served warm and gooey.

Sinfully Sweet Cornbread & Chicken Caesar Pasta Salad

Monday, August 10th, 2009


This sinful cornbread is a “sometimes food” in our house, but a delicious addition as a special side treat. My family is from the South so I have a deep fondness for sweet tea and sweet cornbread. This cornbread takes the cake literally, in my opinion, because it is deliciously sweet and tastes almost like a little bakery cake with your dinner. Unlucky for me, it is made with all the items I have in my pantry so it is far too convenient to make!

You need to balance this side out with something nice and light though to make up for it so I love to pair this with a delicious summer salad. My Chicken Caesar Pasta Salad is loved by all and is a favorite recipe from my Cooking Light Magazine.

If you have a garden, don’t be afraid to work in whatever you have on hand. I tossed in a handful of fresh parsley and garden tomatoes from our little patio garden. Whatever you have on hand or see at the farmer’s market is fair game for this yummy dish.

Sinfully Sweet Cornbread

1 cup all-purpose flour
1 cup yellow cornmeal
2/3 cup white sugar
1 teaspoon salt
3 teaspoons baking powder
1 egg
1 cup milk
1/3 cup vegetable oil

Preheat oven to 400 degrees. Spray or lightly grease a nine inch round cake pan. In a large bowl combine flour, cornmeal, sugar, salt, and baking powder. Stir in egg, milk, and vegetable oil until well combined. Pour batter into prepared pan. Bake in a preheated oven for 20-25 minutes.


Chicken Caesar Pasta Salad

1 pound chicken (about three small breasts)
½ pound penne pasta (can do regular or whole wheat pasta)
1 romaine heart, chopped
½ pint cherry or grape tomatoes (I did regular tomatoes from our garden, but placed them on the side for those that wanted them)
1/3 cup Caesar dressing (I love the Kraft fat-free Caesar Dressing)
A sprinkle of Parmesan cheese on top

Bake chicken breasts as directed on package on a cookie sheet. While the chicken is baking, chop the romaine heart and halve the tomatoes. Cook pasta until al dente, as directed on package. Drain and rinse pasta with cold water. Dice the cooked chicken and put this in a bowl. Toss in pasta, tomatoes, lettuce, and the dressing. Mix until all the ingredients are incorporated. This can be served with a little sprinkle of Parmesan cheese.

Amy’s Notes- Because I wanted plenty of food for leftovers, I actually cooked the entire box of pasta and kept all the other ingredients the same. This stretched the dish further and we have enough for four more lunches. Additional dressing can be added to leftovers to keep pasta from tasting dried out. Basically, for forty more cents you can feed another four people! That makes this a great dish to entertain with!

Notebook Experiments: Is WHO Bread Delicious?

Wednesday, July 29th, 2009


Experiment: Is WHO bread really and truly delicious?

Experiment Taken From: Notebook Entry 02.14.07

Materials Needed: Please see SouleMama for the complete recipe and instructions.

Results: I have had this recipe bookmarked for a very long time and have finally replaced my bread machine so I can test another fun bread machine recipe.

We grilled out last night and I thought I would make a loaf of this bread and (just because I am over-the-top kind of gal) I decided to make a batch of my Honey Butter to spread on top.

This bread is delicious and smelled like heaven as it baked. It has all of my favorite elements in it- a dash of brown sugar, honey, oatmeal, and cinnamon. I did substitute one cup of the white flour with whole wheat flour, which gave it a deliciously chewy texture with a nice firm crust.

Conclusion: I would definitely make this bread over and over again. It is such a perfect balance of flavors and adding my addition of the honey butter really made it even more delicious. Every single person in the family loved this bread and I look forward to smearing some jam on it for toast in the morning.

If you don’t have a bread machine, don’t despair because Soule Mama also has an acoustic version for those without bread machines. Many thanks to Soule Mama for generously sharing her wonderful recipes!