 Experiment: Can I make waffles that are as light as air?
Experiment Taken From: Notebook Entry 02.25.09
Materials Needed: Please see Serious Eats for the full instructions.
Results: I loved all your feedback last week on my failed pretzel experience. I thought it was important to share that I can totally flop in the kitchen just like anyone else. I have had many failed experiments over the years, but I probably do not share those as often as I should. I try to only showcase the tried and true recipes, but there are those days where the cooking isn’t very stellar in this house and I want to share that with you too!
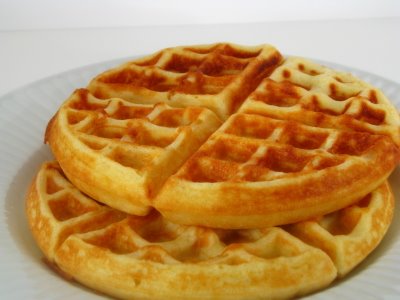
That failed experiment though did not stop me from attempting another recipe in the notebook. As soon as I saw this recipe for waffles, I knew that I wanted to try it. I love my waffles, but often wish that they were not so dense so that is why I was intrigued by this recipe. I decided to make a double batch, hoping they would turn out and make a fun breakfast for the kids out of the leftovers.
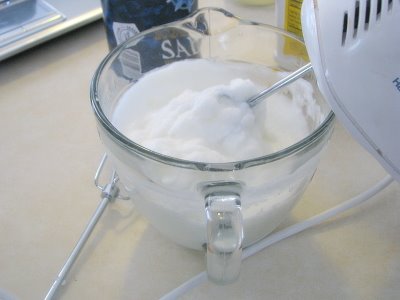
There were several things that made this recipe different from others I have tried. There was no vanilla in it, no sugar even, and it required you to separate the yolks and whites in the egg, whipping the whites until they were at the stiff peak stage. After mixing the batter together, you then fold in the egg whites which created a lot of volume and airiness to the batter.
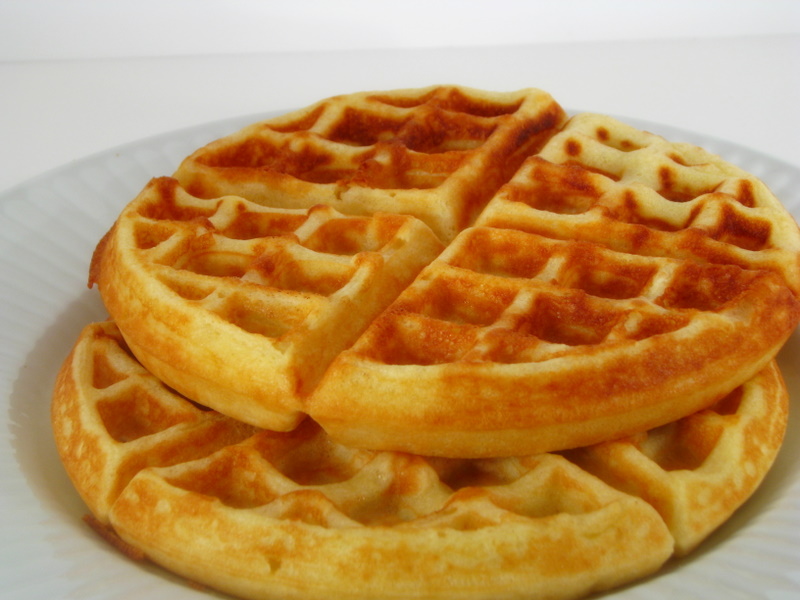
This combination of ingredients was absolutely perfect and folding in the egg whites helped to create the perfect balance of crispness and airiness that I have been looking for in a waffle recipe. The lack of sugar in the recipe also made it so the waffles were not so sweet and could be heavily coated in homemade pancake syrup without making them too heavy.
1 3/4 cups all-purpose flour
1 teaspoon baking powder
1/4 teaspoon salt
2 egg yolks
1 3/4 cups milk
1/2 cup canola oil
2 egg whites
Procedure
1. In a medium mixing bowl stir together flour, baking powder, and salt. Make a well in the center.
2. In another bowl beat egg yolks slightly. Stir in milk and oil.
3. Add egg yolk mixture all at once to the dry mixture. Stir just till moistened (should be lumpy).
4. In a small bowl beat egg whites until stiff peaks form (tips stand straight up).
5. Gently fold egg whites into flour and egg yolk mixture, leaving a few fluffs of egg white, Do not overmix.
6. Spoon waffle batter into your waffle iron, making sure not to overfill it.
7. Serve with real maple syrup and unsalted butter.
Side Note– I doubled this recipe for my family of four and we had enough for three extra Belgian waffles
Conclusion: I will make these waffles again and again because they were absolutely perfect. They truly were the best waffles ever and I look forward to serving these again for a fun brunch or weeknight meal!
**********************
Want to join in on the MomAdvice No Spend Challenge? Make sure to add your name to the linky list and read more about our challenge. You can also join our No Spend Challenge Flickr Group and upload your pictures of what you did each day.
To read all the entries on not spending, you can visit our No Spend Challenge category!
********************
 I am so excited to open our Notebook Experiments up to everyone and I hope that you will be able to participate this week or in weeks to come! I will be posting this each Wednesday so please mark your calendars if you plan to participate. You can post your entries at any time throughout the week and then leave your entry in the links below.
We have this handy banner that you are more than welcome to use, but it is not a requirement! It is just something you can add to add a little sparkle to your entry.
Rules for Participation:
1. Choose anything from any of our notebook entries (past or present) to do with your family. We have hundreds of bookmarked links of crafts, ways to save money, and organizing ideas.
2. Complete an experiment from the notebook and share about it on your blog or website. We would love to see pictures of what you accomplished or a detailed description of how your projects turned out. Please include a link to this entry, a link to the original posting of the entry (at the original crafster’s blog), and (to help us relocate the project) the date or link of the notebook entry where you found it. You can use the same formatting as our entries or you can just include that information in your post in your own unique way!
3. Post a link below. Please include your name or blog name & a fast description of your project. Example- MomAdvice (WHO bread)
I can’t wait to see what you create and what you find inspiring!
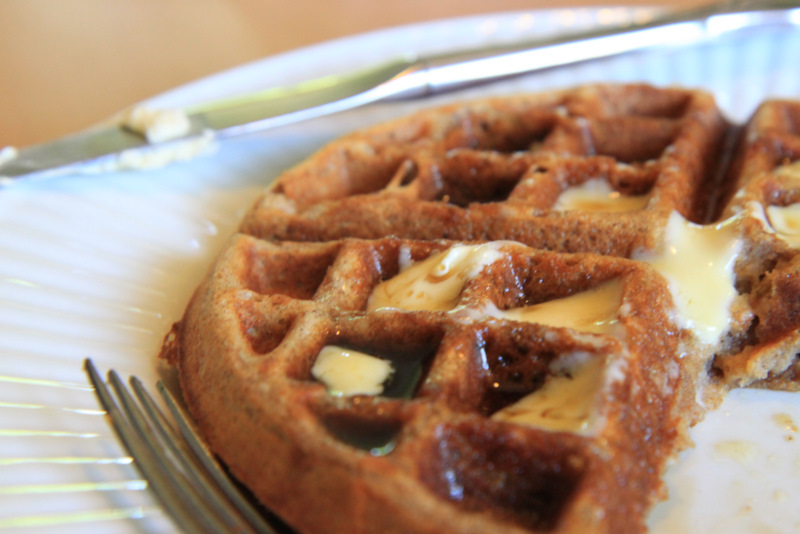 You know something is good if it can’t even be photographed before being devoured. These Cinnamon Whole Wheat Waffles are a new favorite Sunday brunch for our family and I love that they incorporate a bit of healthy in them to balance out the mounds of pancake syrup.