Well, we have made it halfway through the series and I have really been loving your comments and hints. You all teach me so much and I really appreciated the coffee talk from yesterday. The tips are invaluable and the comments are what make this so much fun for me, so thanks!
My sister became a mom before me and I remember the first time that we came to her apartment and saw my nephew. Every corner of their apartment was stuffed to the brim with toys from family and friends. Her first words to us were, “Welcome to Toy Land!” Since my nephew has so many health problems and is in and out of the hospital, the natural thing that people want to do for him is buy him little toys and treats. What happened was that my sister’s home was overrun with toys and they had lost their grown-up space.
She was the one who introduced me to the process of alternating toys and we did a lot of this when our son was born. She had several totes that she would alternate for him. When he became bored with his toys, she would haul those up into the tote and bring a new tote out. She is such a smart mom and I have learned so much from her!
We now have two children and the toys are overflowing out of our bins. We had lots of boy toys and now that we have a little girl, we need to get girl toys too. I often wish that I would have bought more gender neutral toys in the beginning because there would have been such a huge savings there.
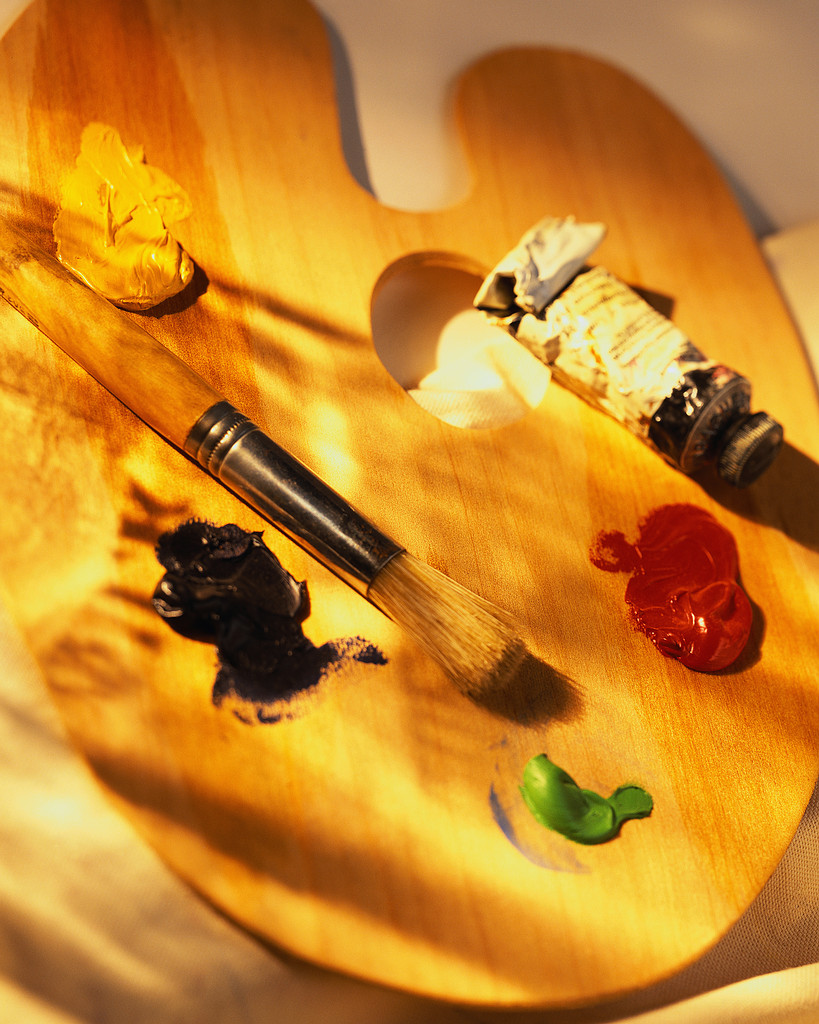
You don’t have to buy toys though to keep the kids entertained and there are lots of fun crafts and activities that you can do for free. I just want to share some ideas that you can do with your children that will hopefully inspire you to get more creative, instead of just opening your wallet.
Scratch & Sniff Watercolors
1 Tbs. unsweetened powdered drink mix
1 Tbs. warm water
Several small containers (muffin tins work really well!)
Mix water and unsweetened drink mix together in a small bowl. Repeat this step several times, using various flavors of drink mix to create different colors of paint. Allow finished works to dry overnight before scratching and sniffing.
Silly Putty
1 Tbs. liquid starch
Food coloring
2 Tbs. white glue
Plastic Easter egg or zip bag
Mix white glue and food coloring together in a small bowl. Pour liquid starch into a second small bowl. Slowly pour the glue mixture on top of the liquid starch. Allow the concoction to stand for 5 minutes or until the glue absorbs the liquid starch. Remove putty from bowl and knead. At first this mixture may look as if it’s a mistake, but it isn’t. The more you knead the putty, the better the consistency will be. Store in a plastic Easter egg or zip bag. You can roil this on newspaper comics or pictures printed with an ink jet printer. Slowly pull the putty off of the paper. The picture will transfer magically.
Fun Sidewalk Paint
1/4 cup cornstarch
1/4 cup cold water
6-8 drops food coloring
Mix cornstarch and cold water together in a small bowl. Add food coloring and stir. Repeat the process to create different colors of paint. This paint can easily be washed away with water. You can use it to make hopscotch grids, cakewalks, even make believe roads and highways for toy cars.
Pudding Paint
1 large package of instant vanilla pudding (3.4 oz)
2 cups ice-cold water
Food coloring
Whisk water and instant pudding together in a bowl for two minutes. Refrigerate for five minutes. Divide into several small bowls or muffin tins. Add 5-7 drops of food coloring to each bowl or tin and mix. You can paint with a brush or use them as finger paints.
Edible Play Dough
1/4 cup peanut butter
1/2 cup dry milk
1/2 Tbs. honey
Plastic zip bag
Pour peanut butter, dry milk, and honey into a plastic zip bag. Close bag and knead until mixture turns to dough. Do not reuse or store this dough. You can use raisins and assorted candies to add eyes, mouths, and other features to your edible creations.
Invisible Ink
2 Tbs. pure lemon juice
Cotton swab
Pour lemon juice into a small glass or plastic dish. Soak one end of the cotton swab to write a secret message or draw a picture on a sheet of paper. When you are ready to view your secret message have an adult hold the sheet of paper near a light bulb. The heat will slowly turn the lemon juice dark brown and reveal a hidden message.
Amazing Bubbles
2.5 quarts water
1/2 cup light corn syrup
1 cup liquid dish detergent
Mix water and corn syrup together until completely blended. Gently stir in the liquid detergent. These will store for several weeks in an airtight container. You can create bubbles in different sizes using items like a plastic strawberry basket or a wire whisk.
Tornado in a Bottle
1- 16 oz clear plastic soda bottle with a cap (the rounder the bottom the better the tornado)
2 drops clear liquid dish detergent
1 tsp. glitter
Fill the bottle with cold water. Add liquid dish detergent and glitter to the bottle. Screw on the cap tightly. Holding the bottle by the neck, turn it upside down. Quickly rotate your wrist several times in a clockwise motion. When you stop rotating, a min-tornado will form inside the bottle. Using permanent markers, you can draw a picture of a city or landscape around the bottom of the plastic bottle. Add a few drops of blue food coloring to the bottle to create a sky effect.
There are lots of great sites out there that help promote fun and free activities to do with your children. DLTK’s sites are excellent for finding coloring pages, cool crafts and fun activities that you can do with your child. Family Fun offers a whole a bunch of activities that you can do with your child. I love their magazine because they offer crafts for every age group. The Nick Jr and Noggin websites are a big hit with our son.
Whatever you do, your kids will love just spending time with you more than any new toy that you could give them. Try to savor these moments while they last!
Potential Monthly Savings: $5 or more
Sound Off: Do you have any great kid’s recipes that are a hit in your home or a favorite kid’s craft? Do you have any tips for toy clutter control?
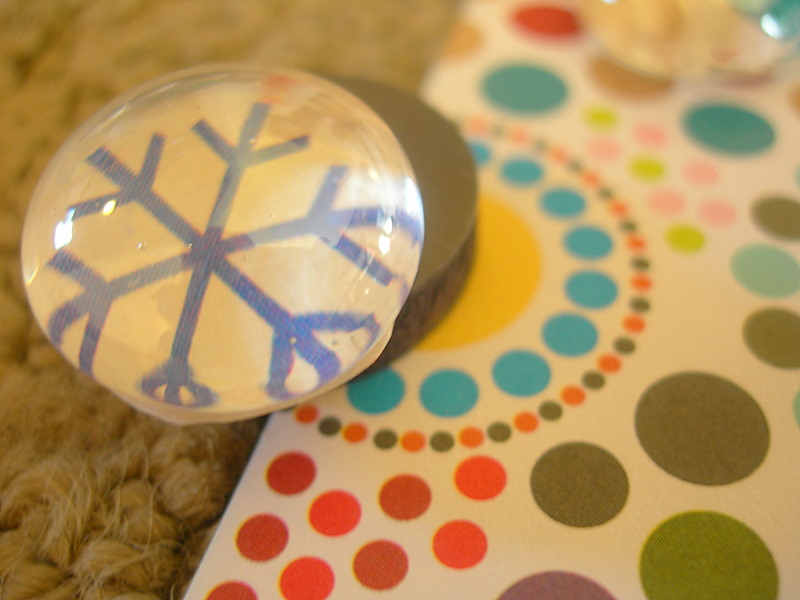 Today I wanted to share a little holiday craft that I have been working on. I have been making some bubbly magnets to go in stockings and as small gifts for those special people in our life.
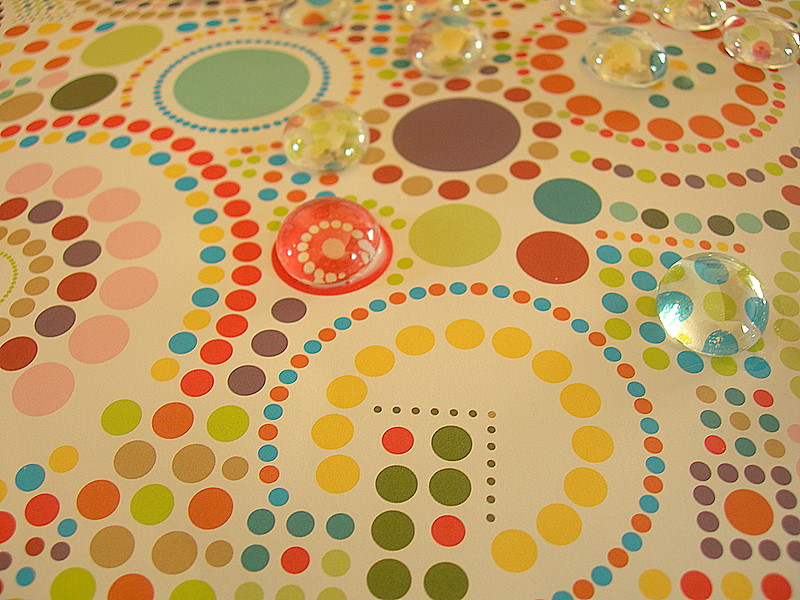 Flat marbles (These can be purchased at the dollar store or in the floral section of your local craft store)
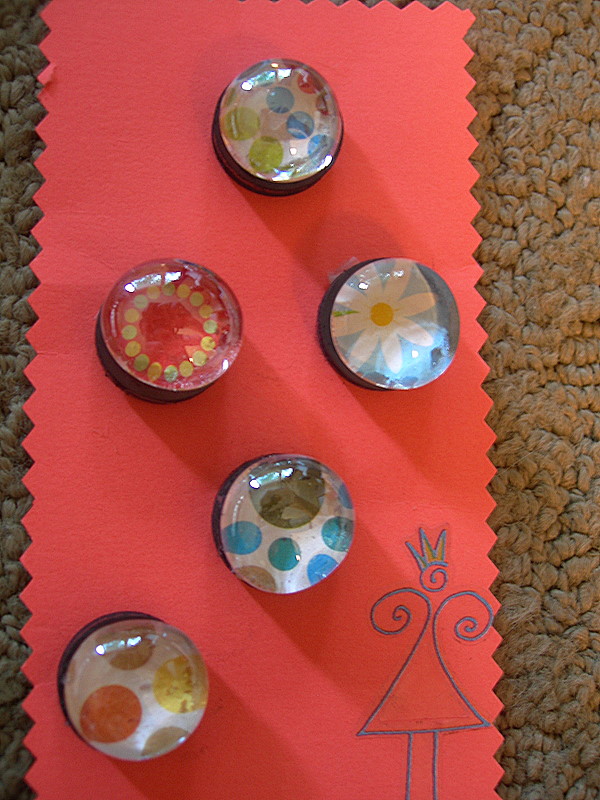 Take your marbles and center it over your desired design, just to make sure it will fit perfectly under your marble. Dip your brush into the Mod Podge glue and brush the glue onto your design. Center your marble over the design and stick it to the pattern. Allow the glue to dry for fifteen to twenty minutes. If you are doing more than one magnet, on the same sheet, repeat the process on the paper or move on to your next sheet of paper.
 The gifts might not all match, they may not be overly red and green, they also aren’t going to be uniform, but at least each gift will have their own original style.

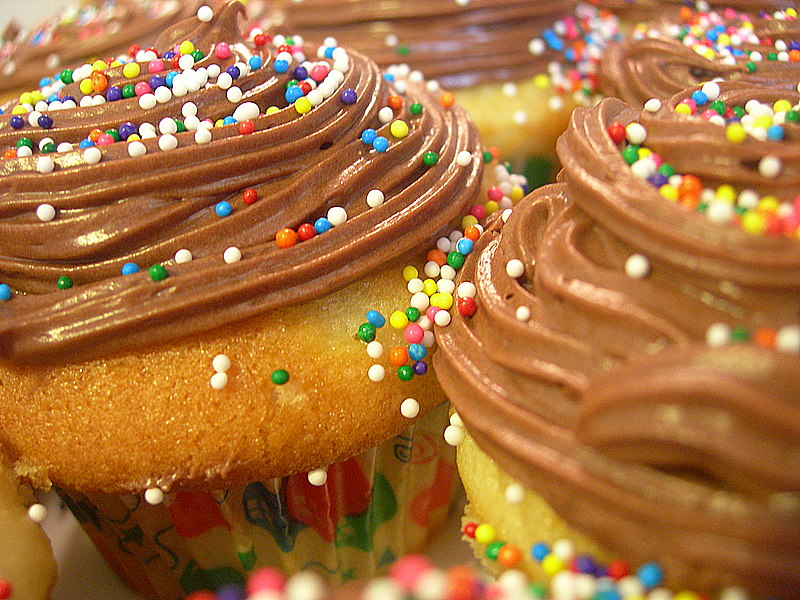
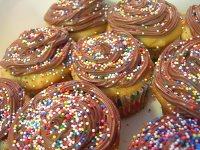 The Best Birthday Cupcakes