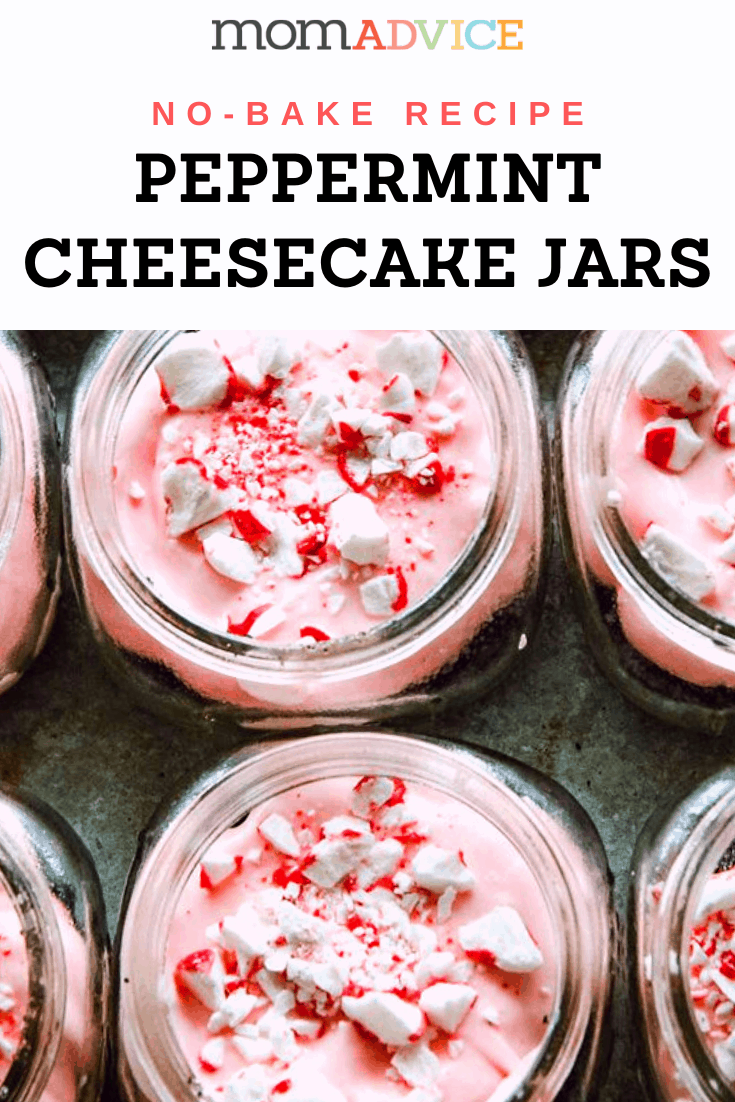
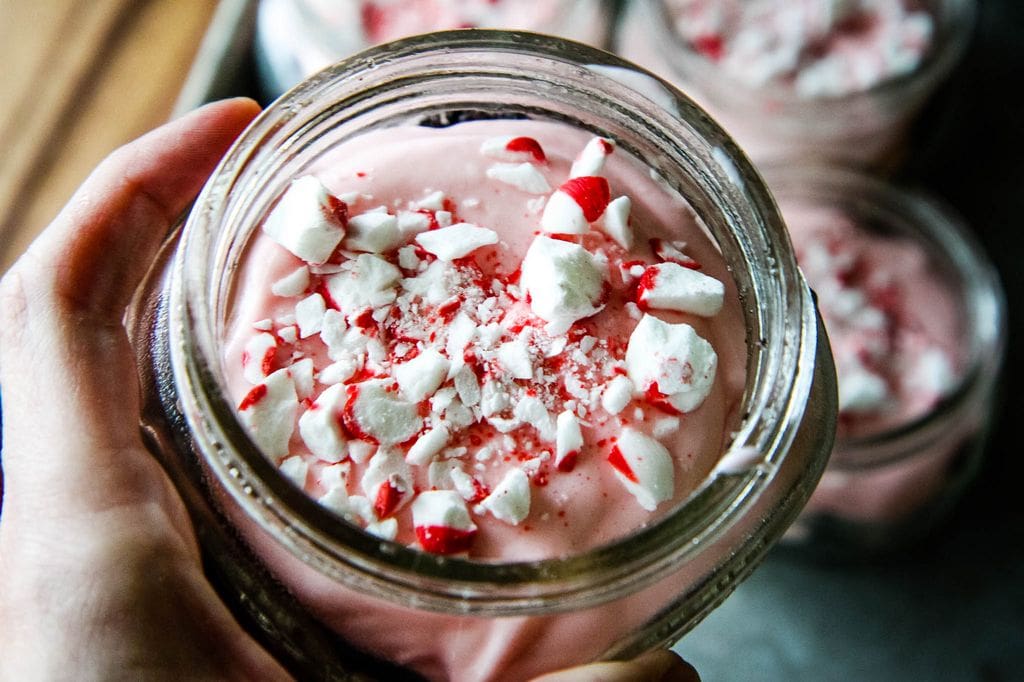
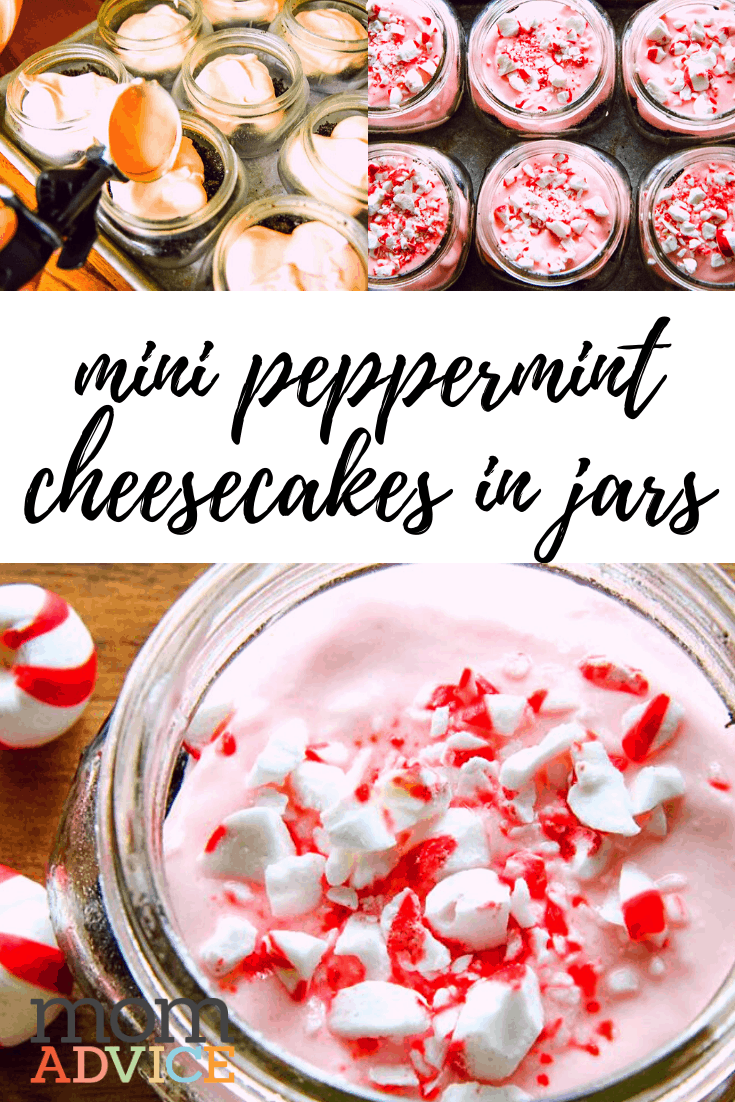
These no-bake peppermint cheesecakes in a jar are a perfect gift to give and full of that peppermint flavor we crave around the holidays. The best part about these isn’t the jar though, it is the, “no baking required,” feature that I happen to love the most. Print this recipe today for an adorable individual-sized dessert.
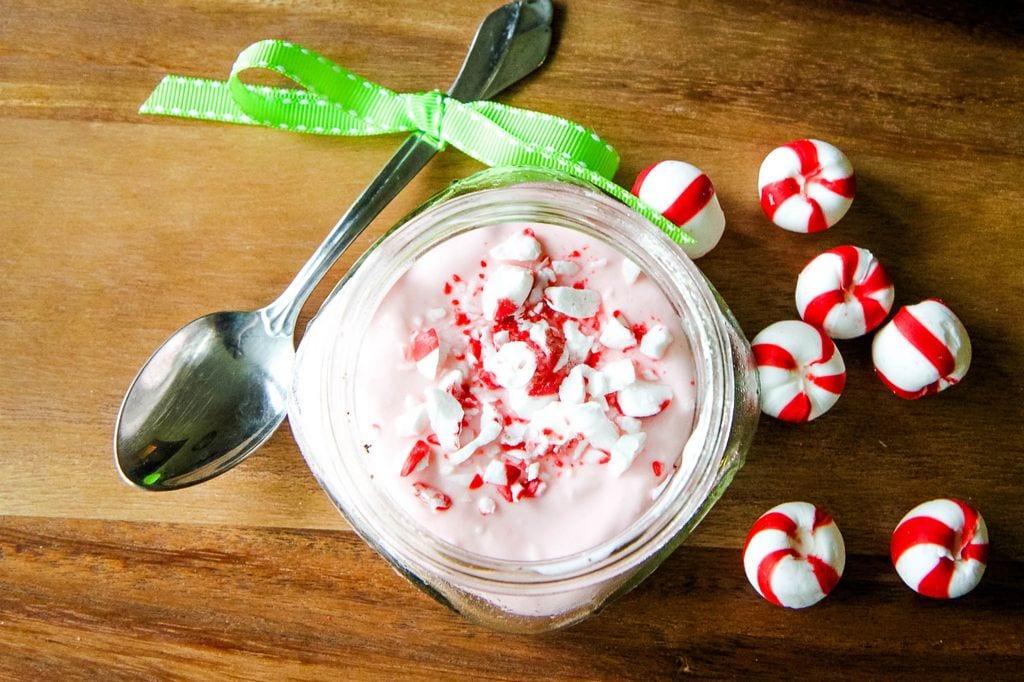
These mini peppermint cheesecake jars are a fun holiday party dessert or could be a fantastic hostess gift to share with someone. This no-bake cheesecake recipe is quick and easy and perfect for stashing in the freezer for the unexpected guest.
I have a theory that any gift in a jar is more special when decorated and created in a portion size for one.
In the past, I have made only salads in a jar. Although I do love a good jarred salad, I have to say that cheesecake is a heck of a lot more fun.
This year I wanted to create holiday hostess gifts that would long be remembered, but quickly be used.
What could be more memorable or useful than a tiny cheesecake in a jar?
The thing is, I am NOT a great baker.
Why let my skill set stop me from delivering a delicious dessert though?
That is why I thought it would be fun to make a no-bake treat instead that even a beginning cook could pull together.
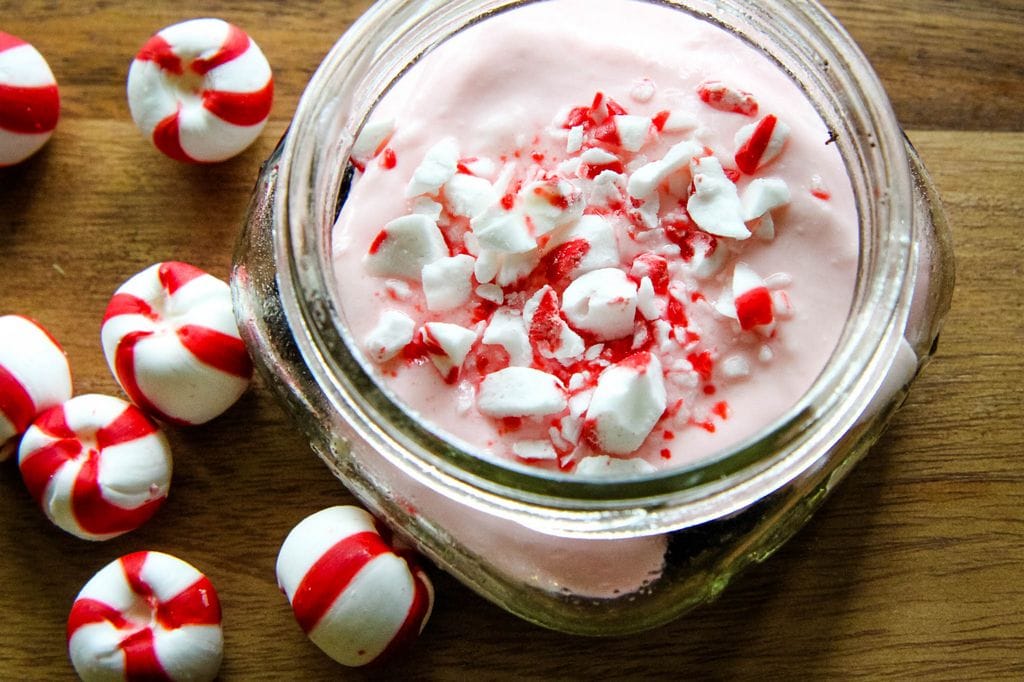
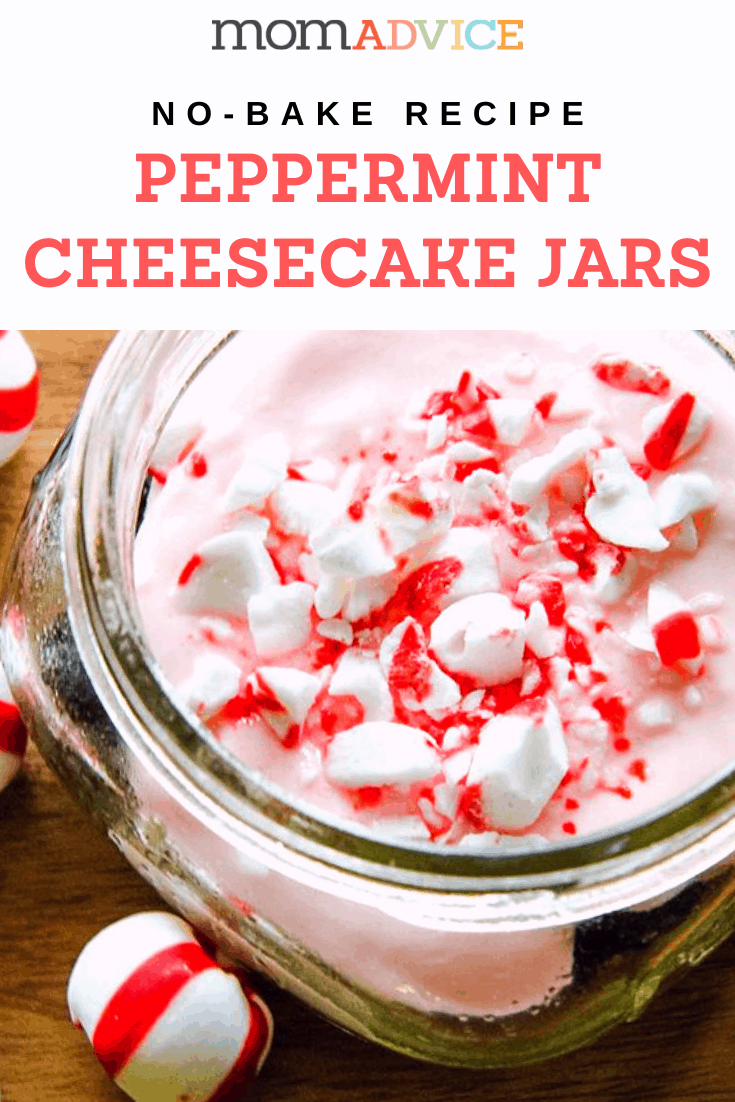
These no-bake peppermint cheesecakes in a jar are a perfect gift to give. Nothing says the holidays to me more than that minty flavor and festive crushed candy canes.
Is it just me or are chocolate and peppermint the most perfect of pairs? With this dessert, I used crushed cookies instead of the traditional graham cracker crust (made from graham cracker crumbs) for my cheesecake.
I just love bringing those peppermint and chocolate flavors together.
I also love a rich cheesecake filling so I skipped a lower calorie filling substitution (like greek yogurt or sour cream) and opted for full-fat cream cheese for my filling.
YOLO, amiright?
The best part about these isn’t the jar though, it is the, “no baking required,” feature that I happen to love the most.
Here’s how to make these delicious no-bake peppermint cheesecakes.
No-Bake Peppermint Cheesecake Jars
The cookie crust, for these adorable jarred cheesecakes, can be created by crushing the cookies with a rolling pin or pulsing them through your food processor.
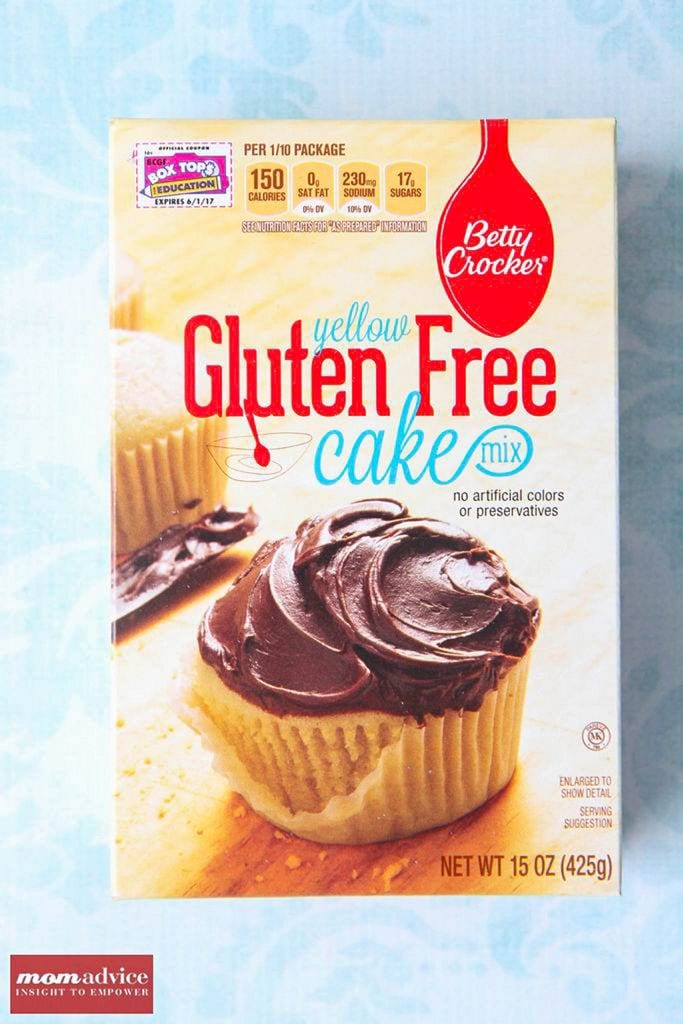
Gluten-free?
No problem!
They make delicious gluten-free cookie sandwiches or I have even used a gluten-free chocolate granola as a fun substitution for my curst.
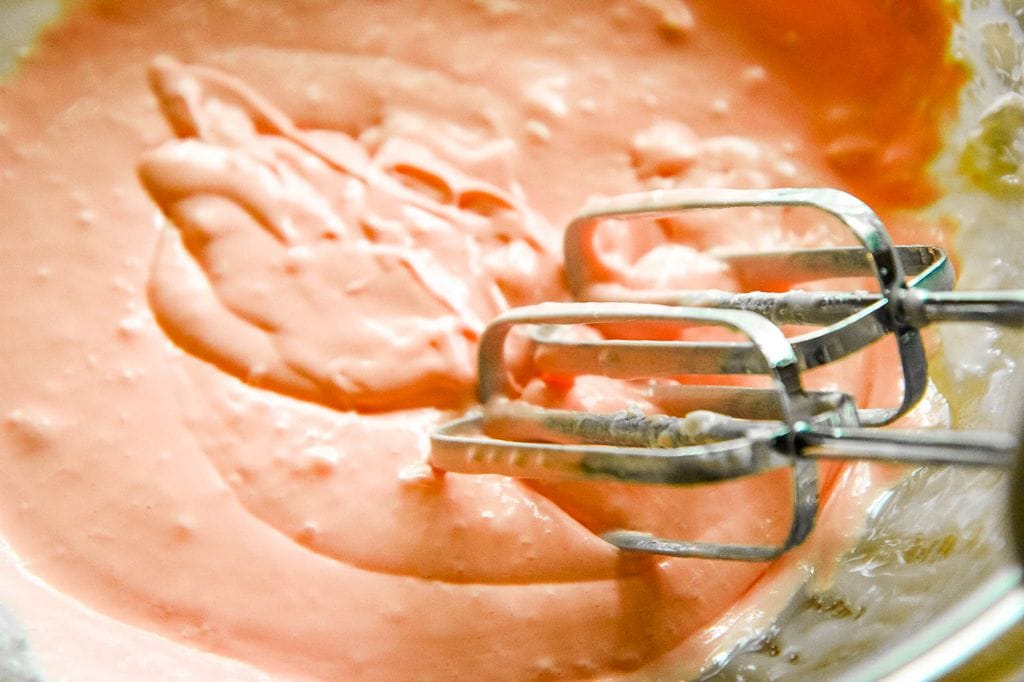

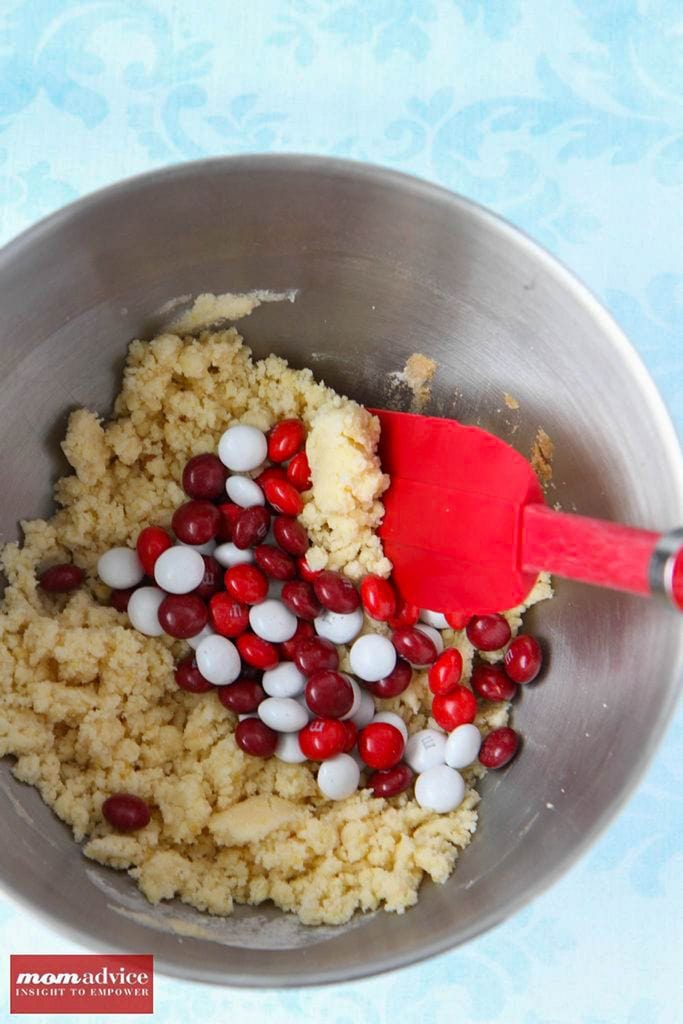
After laying down your cookie base you can blend up your cream cheese mixture for your cheesecake filling.
I like to use a handheld electric mixer and blend this cheesecake filling in a mixing bowl.
Folding in the whipped cream, at the end, allows helps this cheesecake filling to be light and airy.
To get that holiday peppermint flavor, we just substitute a traditional vanilla extract with a peppermint extract instead.
The possibilities with this fun food craft are endless.
Convert your favorite no-bake cheesecake into a sweet gift. I love to decorate jars with spray paint or a scrap of pretty fabric.
These gifts can easily be personalized and will be a fun treat for whoever you might share them with.
I guarantee if you made me one of these, as a hostess gift, I would have you over and over again…
How To Decorate Yours No-Bake Peppermint Cheesecake Jars
Supplies Needed
Red Spray Paint (I REALLY recommend getting one of these to help with paint application)

Directions
Remove the bands from the jars and set aside. Outside or in a well-ventilated area, spread your jar lids out on newspaper.
Shake your spray paint well.
Slowly and evenly, spray your spray paint back and forth until all of the lids are covered with the spray paint.
Allow these to dry for at least thirty minutes.
Plug in your glue gun and allow it to heat up.
Tie grosgrain ribbon (any width you desire) into a small bow.
Place your spray-painted lids on top of your jars and screw the bands into place.
Squirt a tiny dot of hot glue on the back of your bow and place it on top in the center of your lid. Hold it in place for a minute. Sit back and bask in your crafting glory.

- 10 Half Pint Ball Jars
- Cooking Spray
- 2 cups of chocolate sandwich cookies (approximately 17 cookies)
- 1/4 cup granulated sugar
- 1/4 cup unsalted butter, melted
- 1 (8 ounce) package cream cheese, softened
- 1 (14 ounce) can sweetened condensed milk
- 2 teaspoons peppermint extract
- 2 cups whipping cream, whipped
- Red food coloring
- 20 peppermint candies
- 3 freezer bags
- 1 rolling pin
- For decorating jars (optional): Red Spray Paint, Green Grosgrain Ribbon, and Hot Glue
- Place your chocolate sandwich cookies in a freezer bag and use a rolling pin to smash them until they become cookie crumbs.
- Add your melted butter and sugar to a bag and mix until the three ingredients pull together. You just want to make sure that your crust is well incorporated so it holds well together.
- Take the lids off of your glass jars and place them on a cookie sheet to contain the mess.
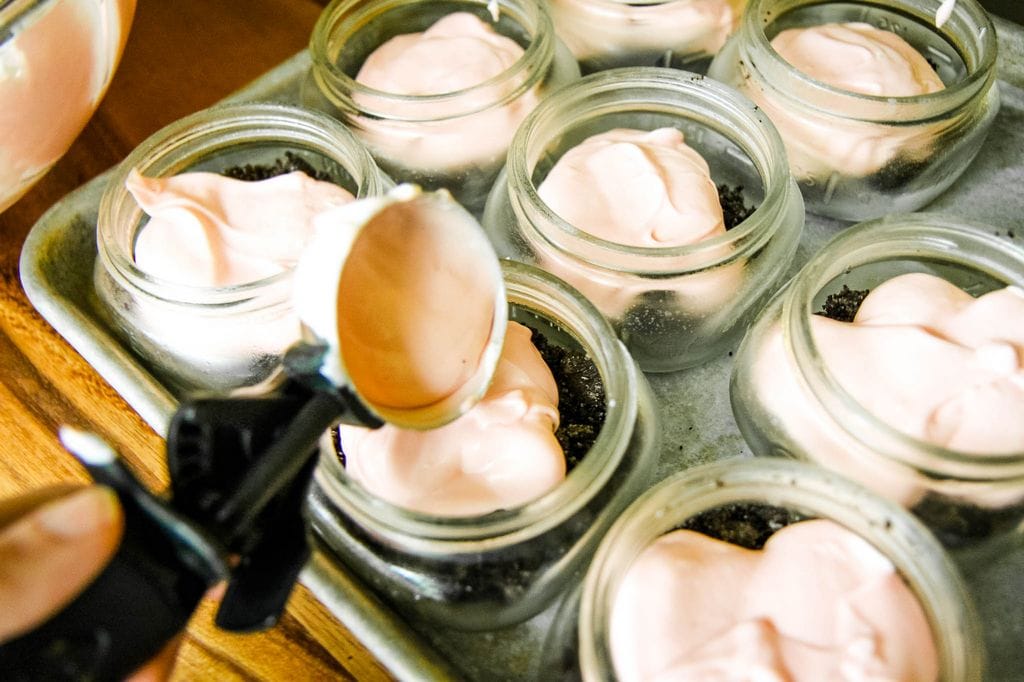
- Spray each of the jars with cooking spray. Put two spoonfuls of cookie crumbs into each jar and use the back of the spoon or your hands to press the crust into each jar.
- Slide the cookie sheet of jars back into the freezer to chill while you prepare the filling.
- In a large bowl, beat your cream cheese until light and fluffy. Gradually pour in a can of sweetened condensed milk until it is smooth.
- Stir in your peppermint extract and red food coloring, approximately three drops, to achieve a pale pink color. Mix all of these ingredients well.
- Fold in your whipped cream.
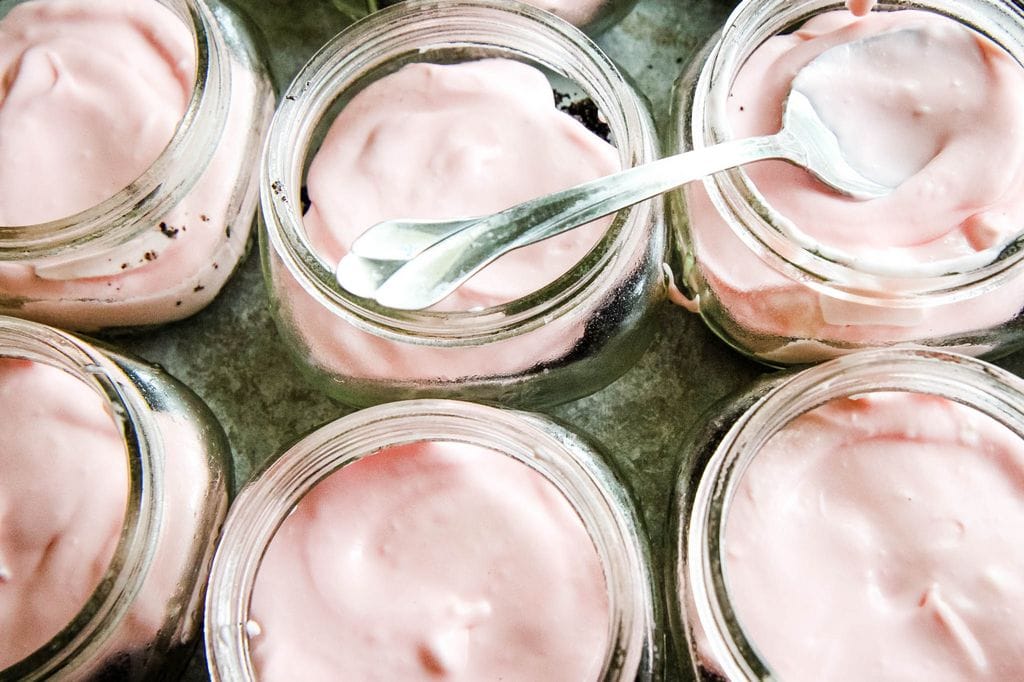
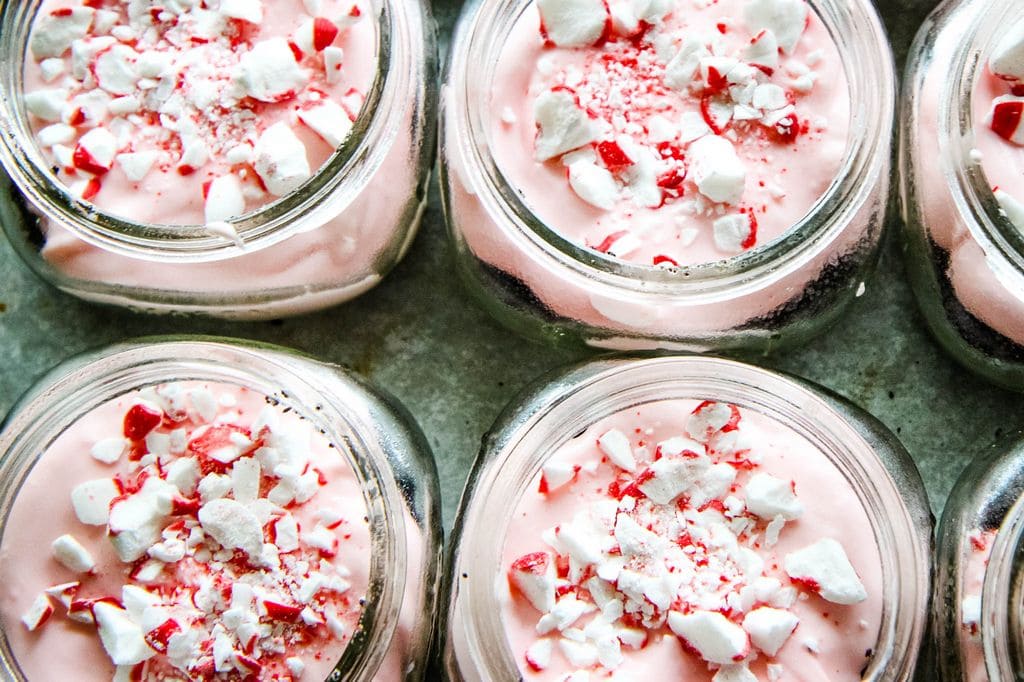
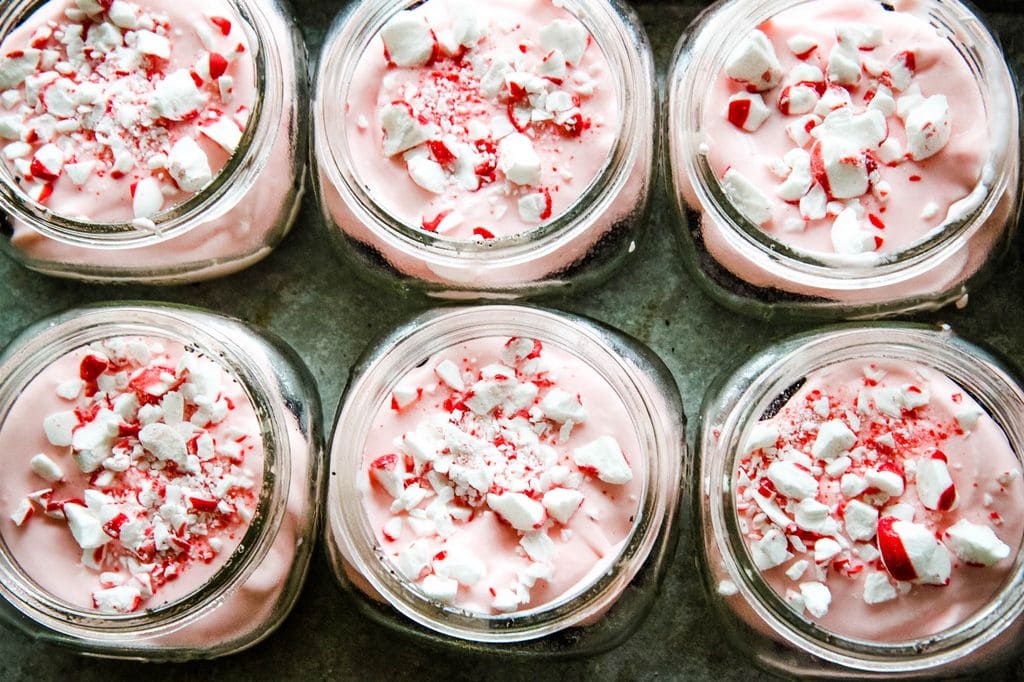
- Remove your tray of jars from the freezer. Using a standard ice cream scoop, add one scoop of filling to each of your jars. Use the back of a small spoon to smooth the filling on top until it is level and smooth.
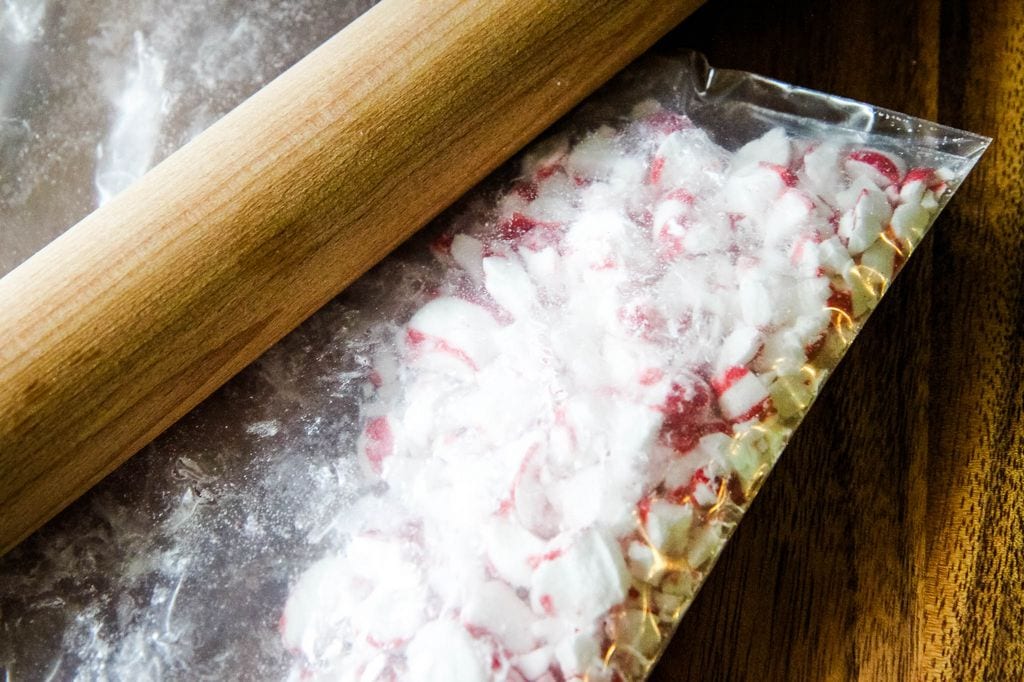
- Remove the wrappers from your peppermint candies. Place the peppermint candies into a double-bagged freezer bag and use your rolling pin to smash these into small pieces to garnish your cheesecakes. Sprinkle the broken peppermints on top of each one.
- Screw the lids back on your jars and put these back into the freezer. Freeze for two hours or until firm.
Make a batch of these and keep them on hand for those unexpected occasions where a gift is needed!
It also could be a lovely reward for yourself after all of that hard holiday preparation you have been doing. You deserve it.
As an Amazon Associate I earn from qualifying purchases.
Looking for more great holiday hostess gift? Here are 3 other projects to check out!
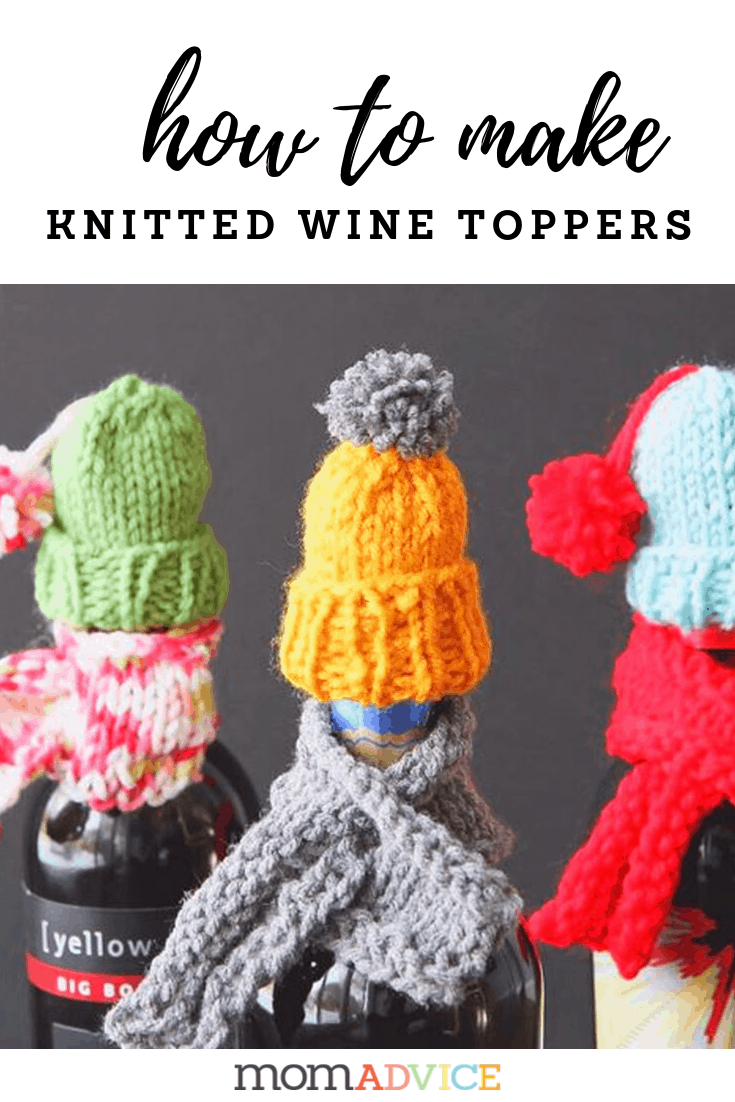 knitted wine bottle hats and scarves
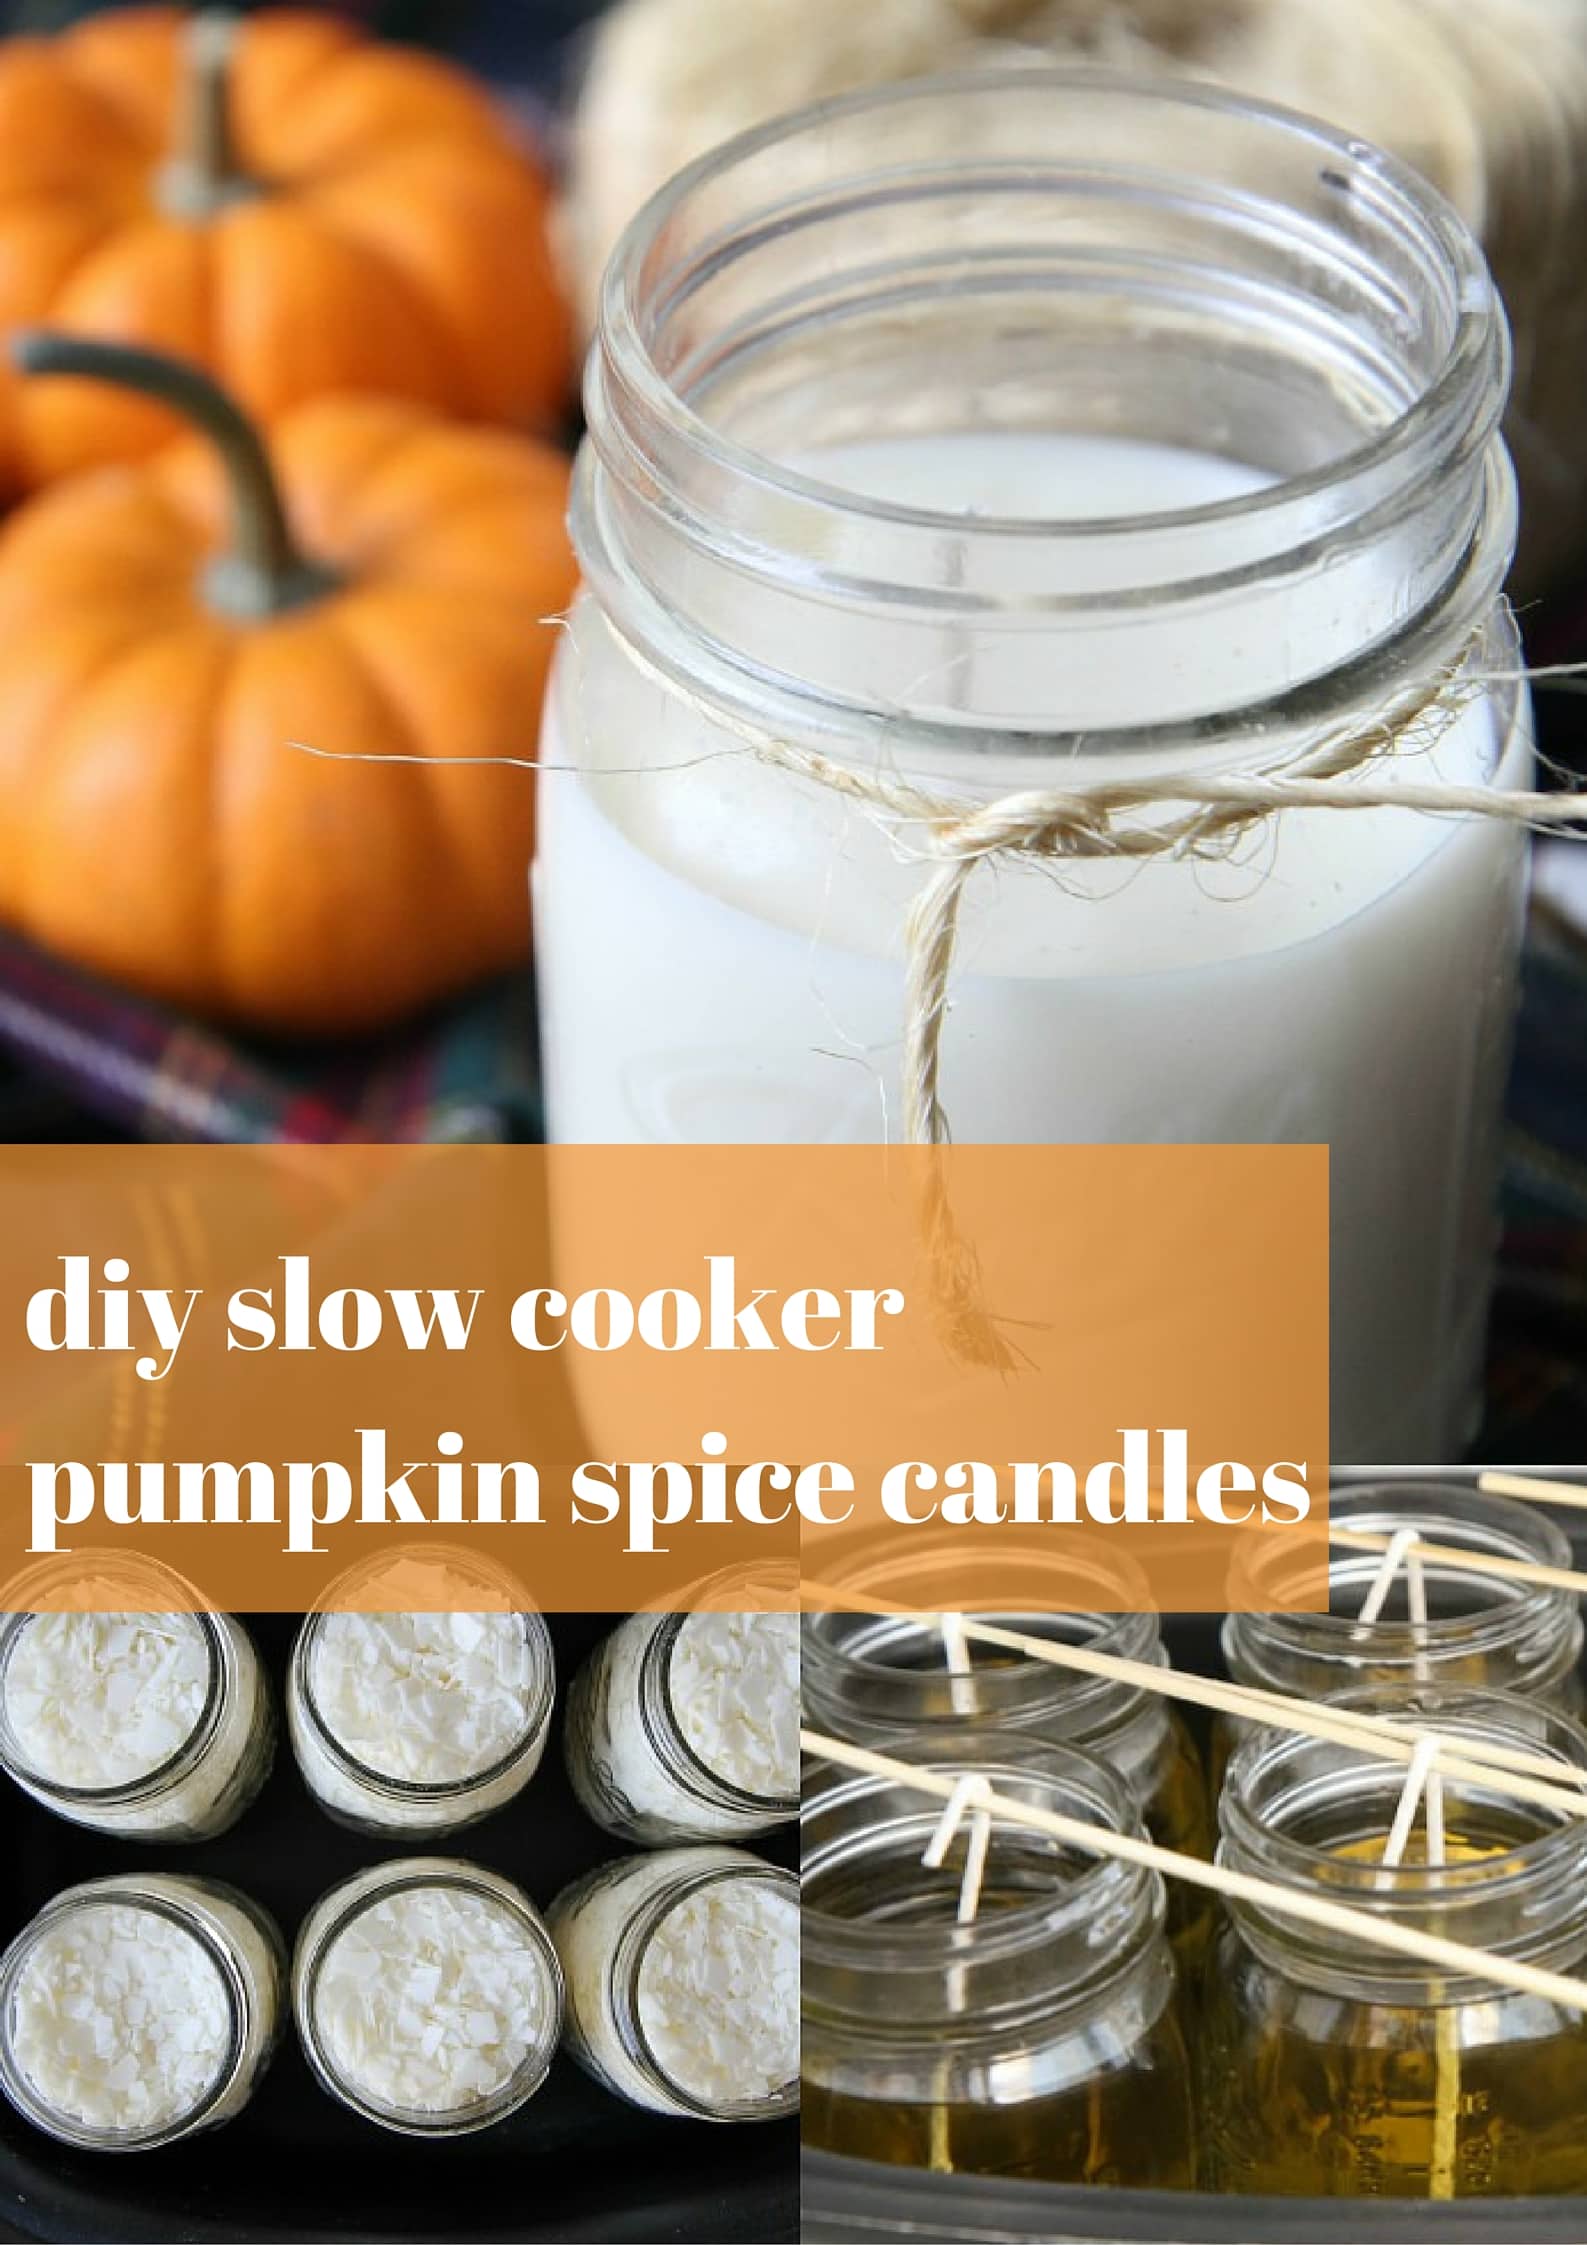 slow cooker pumpkin candles
 diy vanilla chai tea mix in a jar
What are some of your favorite hostess gifts to give?
Pin It


