Author Archive

Images From Our Summer List

Tuesday, June 23rd, 2009
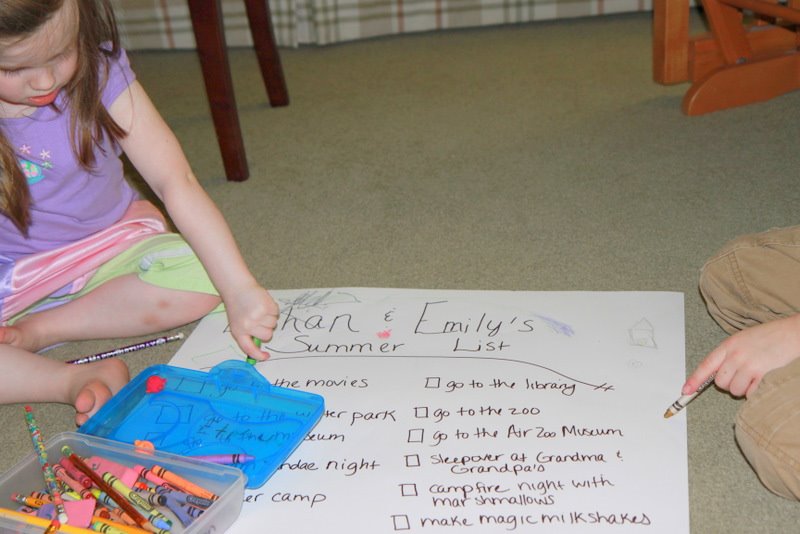
Making Our Summer List

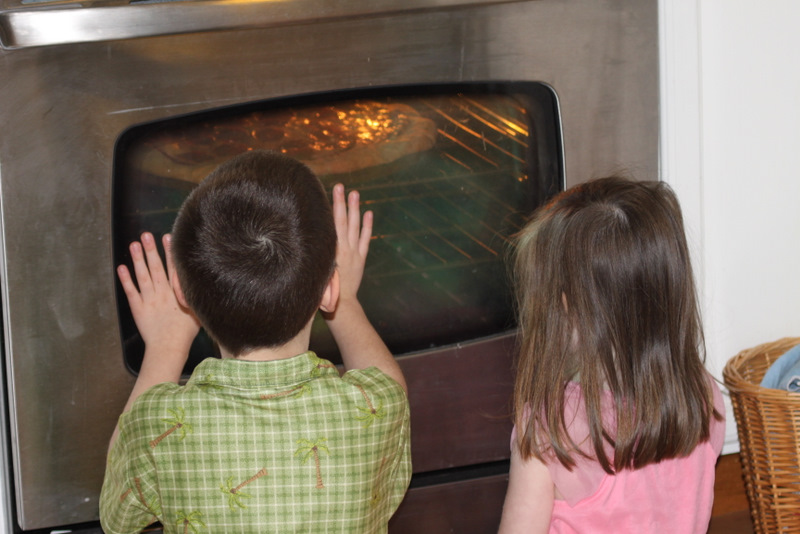
had a pizza and a movie night

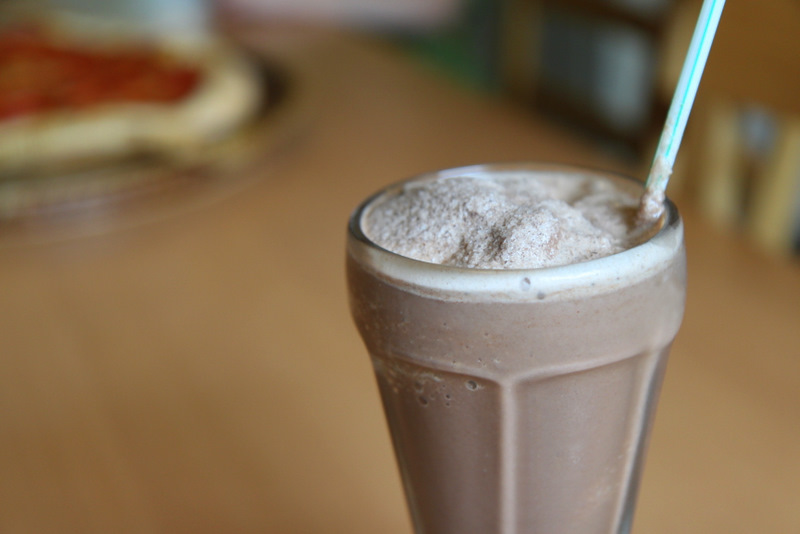
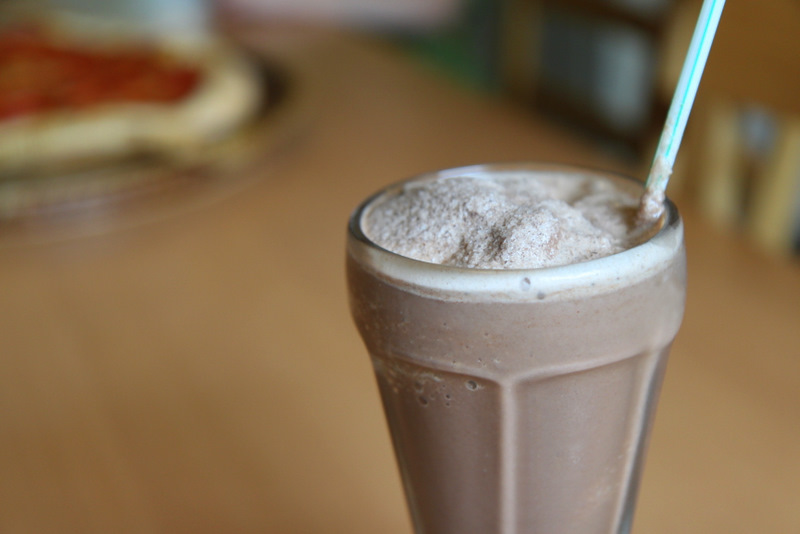
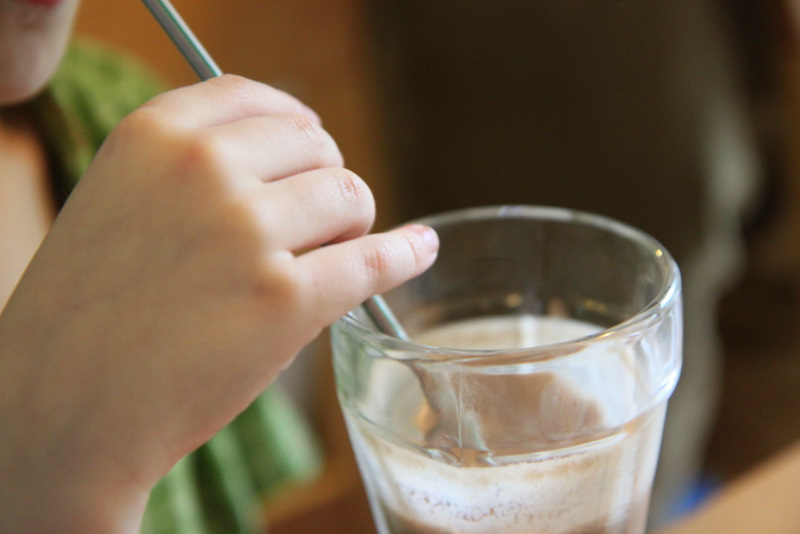
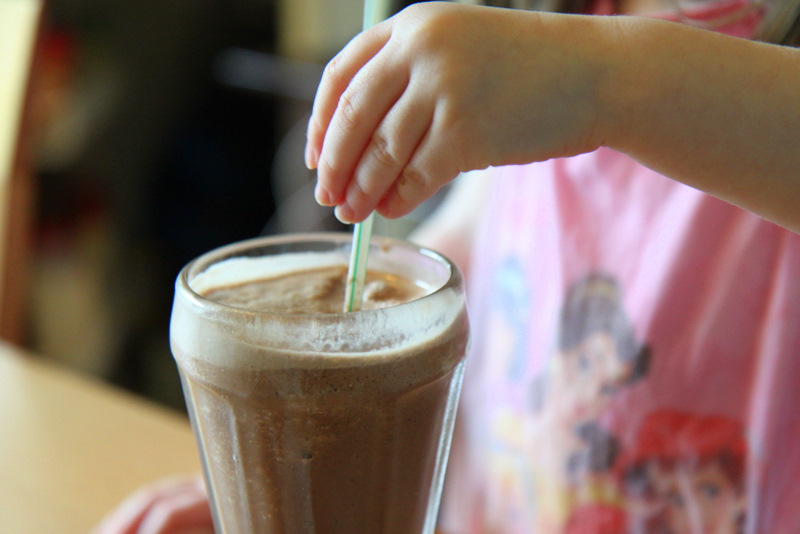
made milkshakes

went to soccer camp for a week


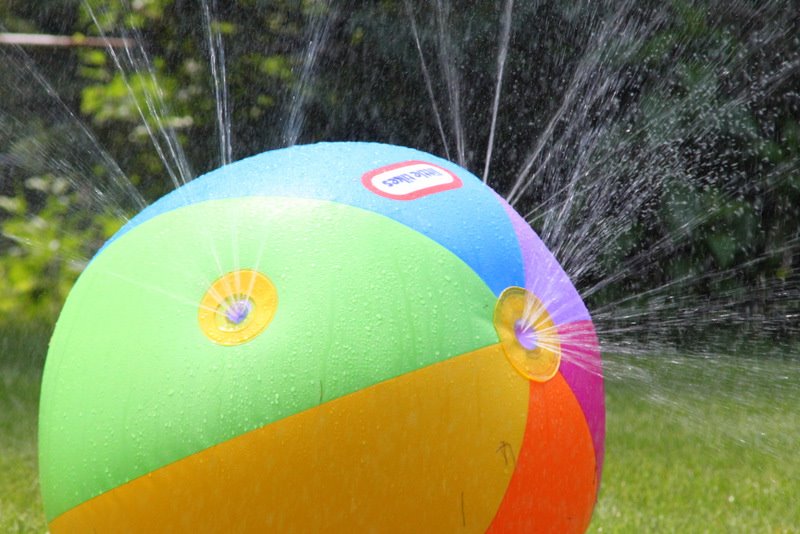
ran through the sprinklers (and lounged by them too)

went to the (stinky) zoo

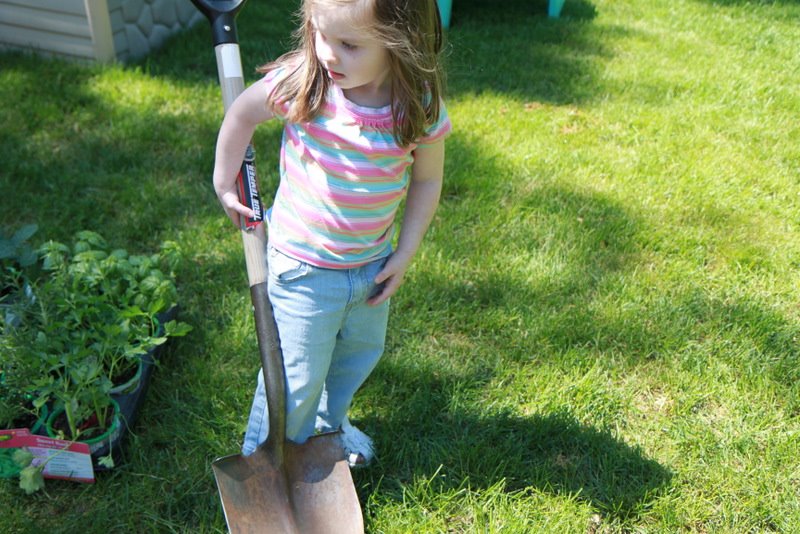
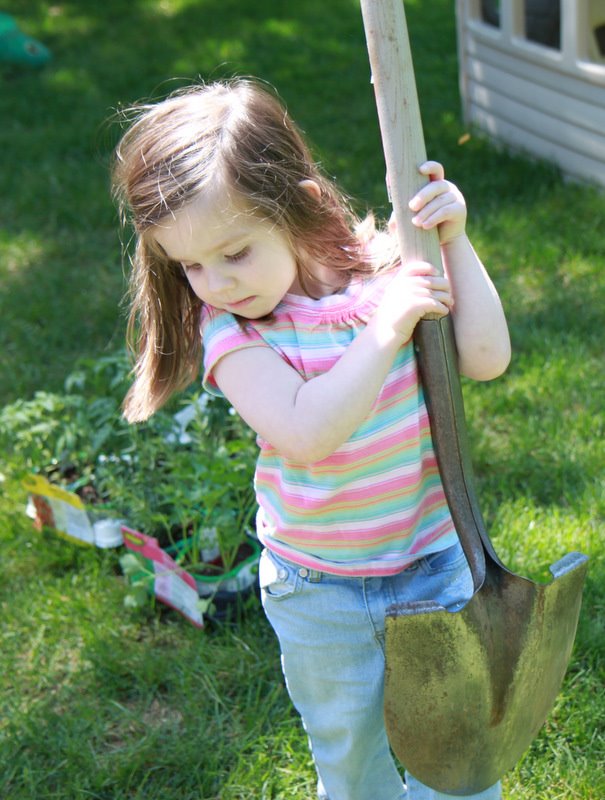
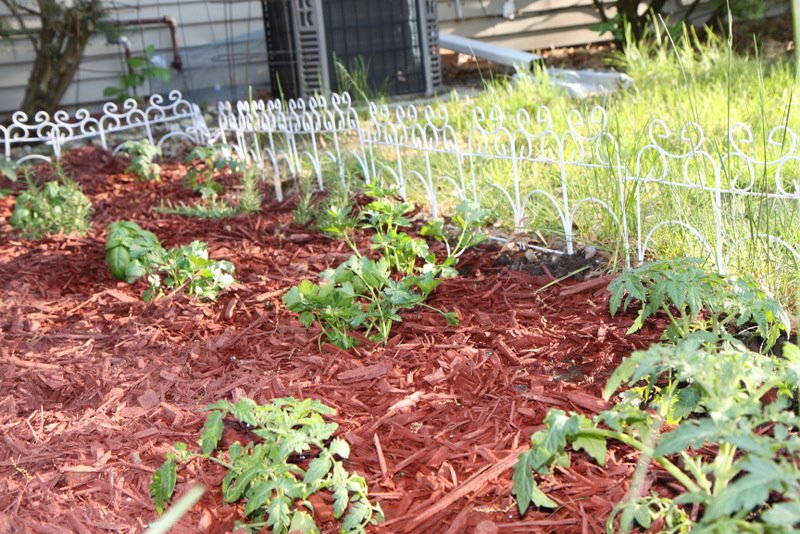
planted our garden

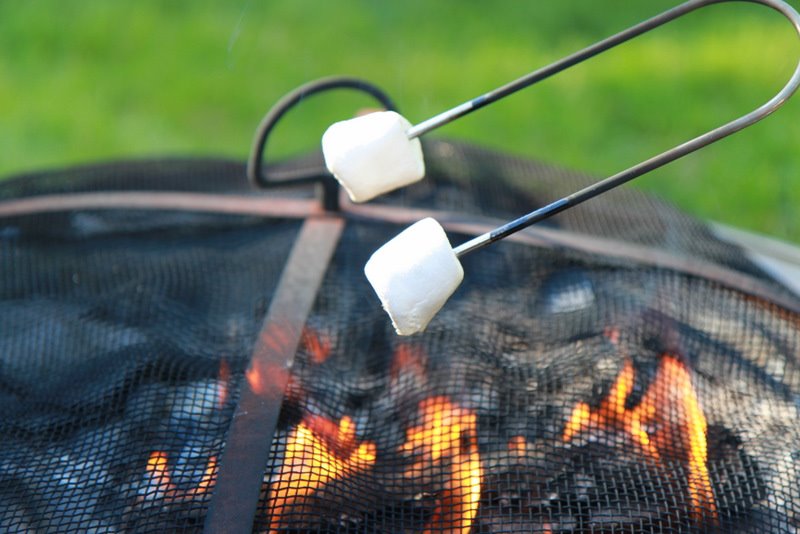
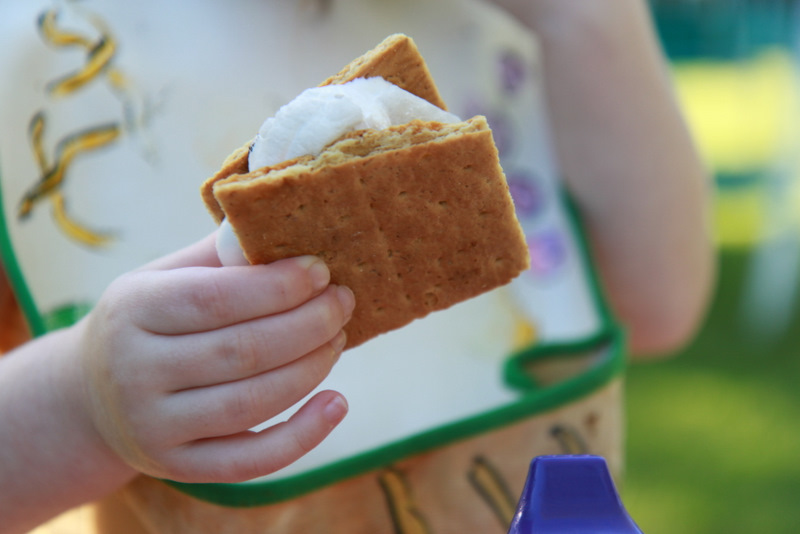
had a campfire night with marshmallows

Also accomplished: went to the movies * ice cream sundae night * attended VBS * went to the library * sleepover at Grandma & Grandpa’s * made homemade slushies

I realize that many of you have just recently got out of school, but we have been out since May so our summer will be coming to a close in August. We are trucking through our list and looking forward to lots more fun stuff this summer.

I hope you are having a fantastic summer too and spending lots of quality time with your sweet children! I am hoping the sun will be shining more here so we can do more water activities. In the meantime, we are having a blast and enjoying these precious moments together. I am trying to store each of these moments in my heart and treasuring these lazy summer days as much as I can for I know they end way too soon! Happy summer!

In June, as many as a dozen species may burst their buds on a single day. No man can heed all of these anniversaries; no man can ignore all of them. ~Aldo Leopold

Homemade Wendy’s Frosty

Monday, June 22nd, 2009

We really put our blender to work in the summer and I wanted to share with you one of my kid’s favorite treats for our homemade pizza night.

This is another fantastic recipe that I found on Hillbilly Housewife called, “Magic Milkshakes.” To me, this recipe tastes just like a Wendy’s Frosty with a fantastic balance of chocolate, creaminess, and the spoonable or sippable goodness that makes them one of my favorite summertime treats.

The magical component about them is that there is no ice cream in this yummy milkshake and that all the ingredients can be found in your cupboards. I adore recipes that can be whipped up as a fun surprise without the need to run to the store.

If you haven’t tried this recipe before, do not let another summer pass you by without putting this into your rotation! These are inexpensive, delicious, and will score coolest mom every points!


Homemade Wendy’s Frosty (The Magic Milkshake courtesy of Hillbilly Housewife)

1-1/2 to 2 cups ice water
1-1/2 cups nonfat dry milk powder
2/3 cup sugar
1/4 cup unsweetened cocoa
1 teaspoon vanilla
1 to 1-1/2 trays of ice cubes, as much as you can spare
2 tablespoons corn oil plus a 5-second squirt of non-stick spray for emulsification purpose (I substitute the corn oil with canola oil & you can read her notes on why you need that non-stick spray)

Place all of the ingredients into the blender, including the oil and the non-stick spray. Use less water for thicker milk shakes and more water for shakes that are easy on your blender motor. The blender should be about 3/4’s full. Place the lid on. Process for a full 2 minutes. Pour into cups and serve. Makes 4 – 12oz servings.

Related Links:

Homemade Slushies

Freebie Friday: June 19, 2009

Friday, June 19th, 2009

I hope everyone is having a great week! Please enjoy all of these fantastic freebies courtesy of Heather, from Freebies 4 Mom, to kick off a wonderful weekend. Don’t forget to check her site for the latest round of coupons.

We are on our third week of the Water Way Challenge and I encourage you get your entry in for our $50 prize! We only have one more week to go in the challenge and each entry will get you closer towards those great prizes.

Happy Freebie Friday, everyone!

Health & Beauty

Scott Sample Pack (Walmart)
Vaseline Aloe Fresh (Costco Members only)
o.b.

Food
Mars Free Chocolate Friday
Emeril’s Original Essence

Entertainment

CVS Free 8×10 (coupon code FREE8x10)
Wendy’s Frosty Father’s Day eCard (Wendy donates 25 cents for each card made)
Harlequin Romance (16 free books to download)]
Forbes magazine (RewardsGold)

Home & Garden
Suze Orman Will & Trust Kit (coupon code People First)

Upcoming Freebie Events:
Please call your local store or restaurant to confirm they are participating in these freebie events.

JUNE
19 – Orange Julius Free Light Smoothie Day
19 – A&W; Float 2 to 8pm
20- Lakeshore Free Kid Crafts father’s day tie11 to 3pm
20&21 – Bass Pro Shops Family Summer Camp paint a wooden lure Noon to 6pm
20&21 – The Home Depot Home Improver Workshops 5 different topics
20&21 – National Parks Fee Free Weekend
21 – TCBY Father’s Day free cup or cone for dad
25 – Glidden National Paint Giveaway
27 – Lowes Build and Grow Kids make a pirate ship 10 to 11am

JULY

4 – The Home Depot Kids Workshop make a picnic caddy 9 to noon
4&5 – Museums on Us (free admission for Bank of America customers)
10 – Chick-fil-A Cow Appreciation Day
11 – 7-Eleven Free Slurpee
18-19 – National Parks Fee Free Weekend

AUGUST

1&2 – Museums on Us (free admission for Bank of America customers)
15-16 – National Parks Fee Free Weekend

Play It Again, Momma: 35 Ways to Reduce That Grocery Budget

Thursday, June 18th, 2009


I wanted to bring back this entry because it really is the best showcase of all of our grocery saving advice on the site and on our blogs. If I could add only one tip, I would urge you to pull your fruit basket up so your child does not sink her teeth into each piece of fruit to stake her claim on it.

With grocery prices rising and package sizes shrinking, it can be difficult to stay within your grocery budget. Here are 35 steps towards improving your grocery budget and making the most of your money.

1. Buy the least expensive ground beef and rinse the meat instead to reduce the fat content.
2. Stop buying baby carrots and chop the carrots yourself.
3. Milk your milk budget by using powdered milk when the milk prices are too high.
4. Try making your own coffee syrups and coffee creamers to help save on your coffee expenses.
5. Dispose of the disposable items and switch to cloth napkins, washcloths, and and microfiber cloths to replace your paper napkins and disposable wipes.
6. Try making your own bread using a bread machine or making bread the good old-fashioned way.
7. Start keeping a price book to cash in on the best deals (you can download a free one here).
8. Take advantage of grocery delivery services or free in-store shopping services to help avoid impulse shopping.
9. Give wholesale club shopping a try for items that you use frequently, just be sure to use your price book to compare the prices.
10. Start making your own homemade cleaners.
11. Learn the art of stockpiling and create a system for storing your stockpile that works for your family.
12. Create a series of menu plans that you can rotate so you can make your grocery shopping easier and keep yourself under budget.
13. Try using coupons and utilizing free coupon services to help you score the best deals for your money.
14. Start gardening with simple foods that are easy to grow like tomatoes, herbs, cucumbers, and squash.
15. Try canning items from your garden to help cut costs in the winter months.
16. Make your own baby food or find a way to buy it cheaper.
17. Give cloth diapering a shot! They have come a long way and can save you hundreds and hundreds of dollars.
18. Sign up for free samples of food and toiletry items. You will waste less money trying new items out and these samples can help get you by when times are more lean.
19. Make your own mixes instead of buying them.
20. Try shopping at a less expensive supermarket.
21. Bring your own grocery bags for a grocery bag credit at most supermarkets.
22. Shop at stores that will double your coupons.
23. Bring cash and a calculator instead of using your debit card. This will help you to stay on budget better.
24. Utilize a slow cooker so you can buy cheaper cuts of meats and use the slow cooker to tenderize them.
25. Try making your own condiments like pancake syrup, croutons, and salad dressings.
26. Take inventory in your fridge, pantry, and freezer before shopping to avoid buying repeat and unnecessary items.
27. Try replacing one evening meal with breakfast foods instead. Most brunch dishes are less expensive and you can omit or stretch meat in these dishes a lot further.
28. Instead of buying prepackaged bagged ingredients, try packaging your own ingredients once a week instead. It will help get dinner on the table faster and it will save you money in your grocery budget.
29. Make a homemade pizza instead of buying pizzas in the frozen section.
30. Schedule a day in your kitchen every week to make cooking easier and to help save on the cost of buying convenience foods.
31. Feed your freezer and/or give once-a-month cooking a try to save on time and money.
32. Eliminate meat or make one night a m
eat-free night.
33. Make snacks items convenient so you don’t have to buy the prepackaged goodies.
34. Buy and prepare whole chickens instead of buying chicken breasts as a meal or shred this meat for your casseroles.
35. Buy your meat in bulk.

Am I missing a tip? Feel free to share the ways you reduce your family’s grocery budget?

Wordless Wednesday: Mommy’s Hat

Wednesday, June 17th, 2009

Notebook Experiments: Can I Craft Some Bath Toys?

Wednesday, June 17th, 2009

I apologize for all of our technical difficulties! As we are frantically trying to repair all that has been occurring, I share with you one of our favorite crafts. Now that my son is turning seven, I have a feeling that he would take great joy in creating some toys for future baths in our house. This is a quick and easy craft that brought many hours of enjoyment for my children.

Experiment: Can I Craft Some Bath Toys?

Experiment Taken From: Notebook Entry 06.26.08

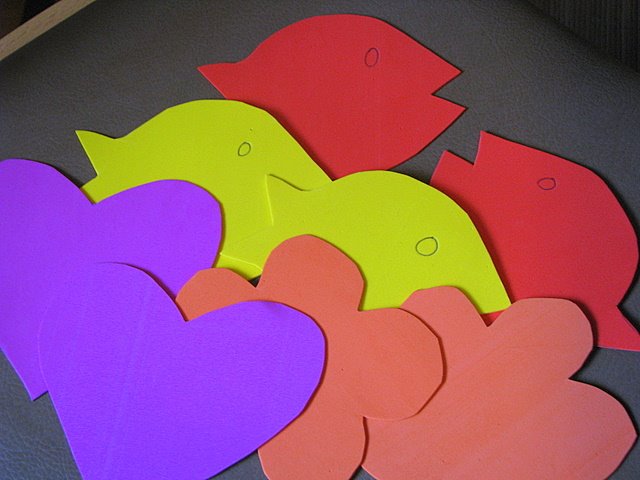
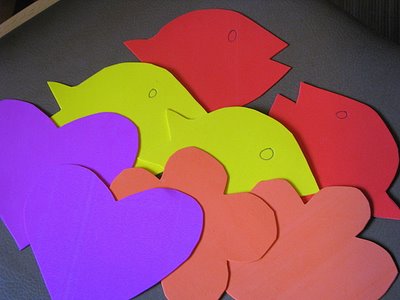
Materials Needed: Please see plumpudding for the full instructions on this task. I hit our local dollar store and picked up a ten pack of craft foam to use for this project. The craft foam is thin enough that you can cut these with plain old scissors or you could break out your zig-zag scissors from your scrapbooking materials.

Results:
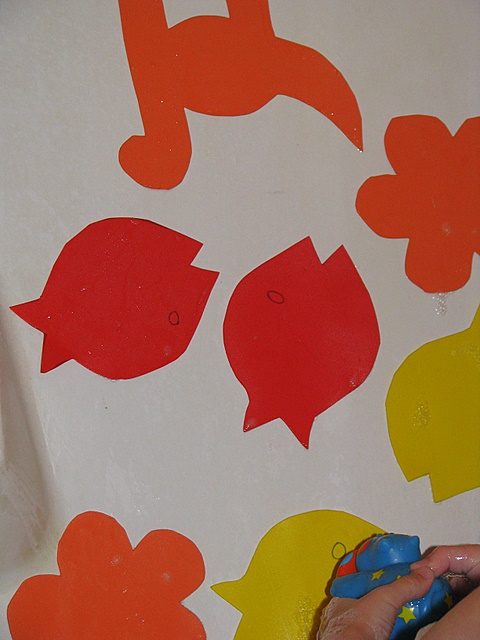
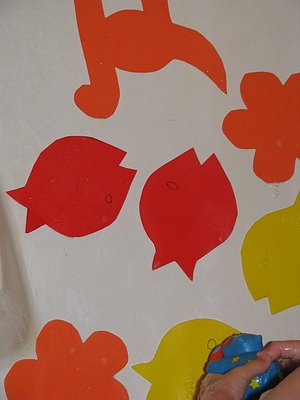
I am not very good at free-hand drawing so I went ahead and looked for a template where I could stencil some really cute shapes out of my foam. I found this handy template from the Martha Stewart website and whipped up several fishes, flowers, and hearts for the kids. These were very easy to trace and took only a few minutes to whip up. My husband also put together some that he drew for the kids.

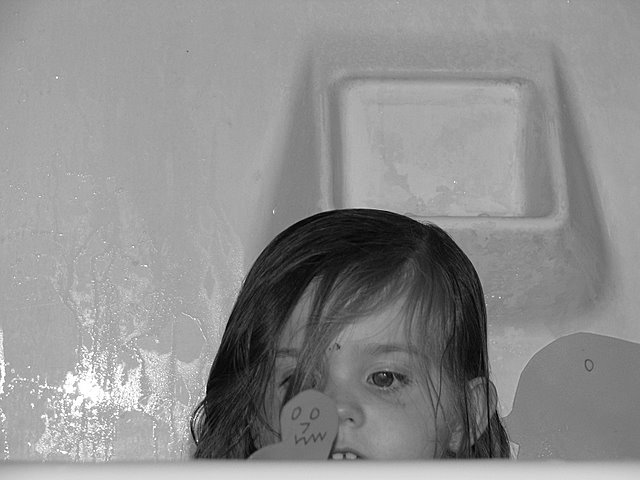
The kids absolutely loved these and didn’t want to get out of the bathtub. I also saved a few sheets of foam for the kids to do finger-painting on. I am planning to use these foam sheets with some of our homemade pudding paints (with only enough water to make a finger-paint consistency instead of a water paint consistency) and then I will just rinse the sheets off when they are done so that they can make brand new creations!

I would recommend making sure to soak the foam before you begin sticking it on walls. The pink color did bleed onto the walls and left a pink shade that is going to take some serious scrubbing to get out. None of the other colors caused this problem, but giving them a good soaking first should prevent this problem.


Conclusion: One package of foam can keep my children entertained for many baths and I can’t wait to whip up some more of these for them to play with. I am thinking that these would make excellent stocking stuffers this year and you can’t beat the price! Thanks plumpudding for your creative idea!
********************

I am so excited to open our Notebook Experiments up to everyone and I hope that you will be able to participate this week or in weeks to come! I will be posting this each Thursday so please mark your calendars if you plan to participate. You can post your entries at any time throughout the week and then leave your entry in the links below.

We have this handy banner that you are more than welcome to use, but it is not a requirement! It is just something you can add to add a little sparkle to your entry.

Rules for Participation:

1. Choose anything from any of our notebook entries (past or present) to do with your family. We have hundreds of bookmarked links of crafts, ways to save money, and organizing ideas.
2. Complete an experiment from the notebook and share about it on your blog or website. We would love to see pictures of what you accomplished or a detailed description of how your projects turned out. Please include a link to this entry, a link to the original posting of the entry (at the original crafster’s blog), and (to help us relocate the project) the date or link of the notebook entry where you found it. You can use the same formatting as our entries or you can just include that information in your post in your own unique way!
3. Post a link below. Please include your name or blog name & a fast description of your project. Example- MomAdvice (WHO bread)

I can’t wait to see what you create and what you find inspiring!
Amy’s Notebook 06.17.09

Wednesday, June 17th, 2009

This salted butter caramel ice cream looks so delicious (@ David Lebovitz)

This fabric table topper would be a fun addition to a playroom (@ ohdeedoh)

I love these terry cloth cases for the beach (@ Martha Stewart)

This painted brick home is stunning (@ chatting at the sky)

This summer wreath is absolutely adorable (@ paint, decorate, design on the cheap– hat tip to A Soft Place to Land)

One of these years I will actually make strawberry jam (@ Intimate Weddings Blog)

My kids would think making homemade rain was really cool (@ Salt and Chocolate)

I like this tutorial on how to blanch and freeze kale (@ not martha)

This banana birthday party looks like a fun and fantastic birthday theme (@ chica schmica)

I can’t wait to flip through these projects in the summer issue of Knitty (@ Knitty)

These chocolate chip cookie s’mores look evil and delicious (@ Picky Palate)

My daughter would adore these pipe cleaner fairies (@ 5 Orange Potatoes)

I want to try these fruit-filled oatmeal bars (@ Erin Compton Design)

I love this idea for spray painting those hand-me-down outdoor toys (@ teach mama)

I want to try these banana cream smoothies this summer (@ Cooking Light)

Whole Wheat Cinnamon Waffles

Monday, June 15th, 2009

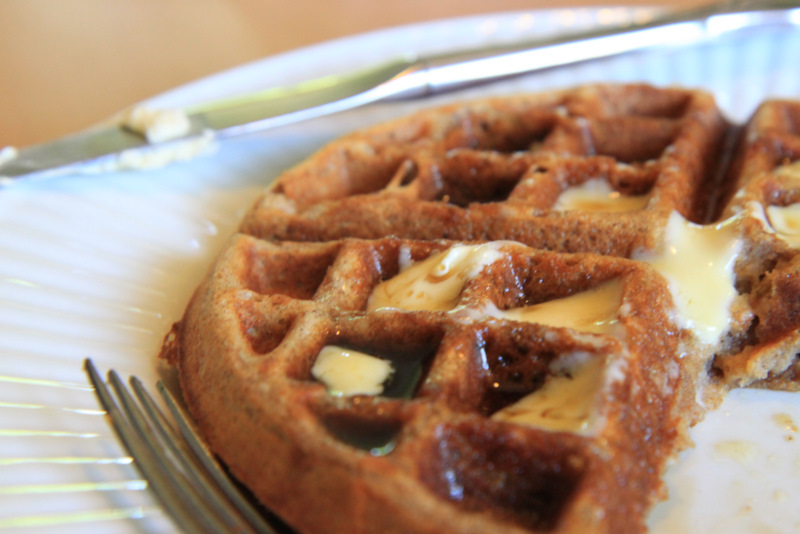
You know something is good if it can’t even be photographed before being devoured. These Cinnamon Whole Wheat Waffles are a new favorite Sunday brunch for our family and I love that they incorporate a bit of healthy in them to balance out the mounds of pancake syrup.

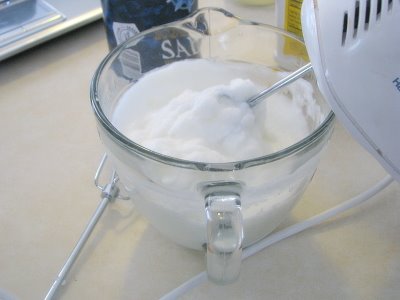
The first batch we made of these, I found that they were extremely dense and a little too heavy for my liking. I remembered the tip from my Notebook Experiment where you whip the egg whites to a stiff peak and fold them in and decided to give that a shot. This little step added a bit of airiness to the waffles and balanced out the heaviness of that whole wheat flavor.


Really, there is just nothing more to say except that we love these as our Sunday treat. This batch is enough to make 5 waffles in my waffle iron. You can make a double batch of these for some delicious leftovers.

Whole Wheat Cinnamon Waffles

1 cup whole wheat flour
3/4 cup unbleached flour
1/4 cup toasted wheat germ (I substituted this with 1/4 cup rolled oats)
1/3 cup instant nonfat dry milk powder
1 tablespoon ground cinnamon
1 tablespoon baking powder
1/2 teaspoon baking soda
1/2 teaspoon salt
2 eggs (separate the egg whites from the egg yolks)
3 tablespoons canola oil
2 teaspoons vanilla extract
2 cups buttermilk (I used regular milk and then added 2 tablespoons of vinegar & let it stand for five minutes)

In a large bowl, combine the whole-wheat flour, unbleached flour, dry milk, cinnamon, baking powder, baking soda, wheat germ, and salt; mix well. Separate the egg yolks from the egg whites. In a medium bowl, mix the yolks, oil, buttermilk, and vanilla. Pour over the dry ingredients. In a small bowl beat egg whites until stiff peaks form (tips stand straight up). Gently fold egg whites into flour and egg yolk mixture, leaving a few fluffs of egg white, Do not overmix. Coat your waffle iron with vegetable cooking spray and preheat. Pour 1/2 cup of the batter into the center of the hot waffle iron and cook until the batter stops steaming, about 6 minutes. Cooking time varies according to the they type of waffle iron you have. Repeat with remainder of the dough, applying the cooking spray between waffles. Serve warm with your favorite syrup.

Freebie Friday: June 12, 2009

Friday, June 12th, 2009

Happy Freebie Friday, everyone! I hope you all are having a great week this week. I would like to thank Heather, from Freebies 4 Mom, for providing us with her great round-up of the best freebies of the week. Heather has a fantastic entry this week on word-of-mouth programs and what they offer. This is a definite must read for scoring additional free samples and products. If you missed Heather on the Tyra Banks Show, they are airing the episode again today. Be sure to visit Freebies 4 Mom for the scoop!

We have another $50 giveaway to offer for our Crystal Light Water Way Challenge. By participating in this challenge, we are able to help others have access to clean water. You can enter each Monday (four times in all). Our Apron Full of Giveaways will also offer access to more great contests on the web!

Finally, if you have a moment and could put in a vote for MomAdvice in the BlogLuxe Awards, I would greatly appreciate it. You can vote once daily and we have been nominated in the Cleanest Blog Category & Blogs You Learned The Most From. Thank you so much for your votes!

Enjoy the freebies!

Health & Beauty

Food
Mars Free Chocolate Friday
Godiva Chocolate Rewards
Metamucil Pink Lemonade and Berry Burst
True Lemon

Entertainment

CVS Free 8×10 (coupon code FREE8x10)
Kids Song “I Can Do It Myself” by Miss Amy
GeoTrax DVD
Summer Playlist 2009 – 22 free iTunes songs
National Parks Fee Free Weekends
Cruising World magazine subscription (ValueMags)

Home & Garden
Recycling Crafts eBook
Splenda Sweet Solutions House Party
Royal Caribbean House Party

Upcoming Freebie Events:
Please call your local store or restaurant to confirm they are participating in these freebie events.

JUNE
13 – Lakeshore Free Kid Crafts flip flop magnetic notepad 11 to 3pm
13 – Toys ‘R Us Super Why Play Day 12 to 2pm
13 – Lowes Build and Grow Kids make a putting green 10 to 11am
13&14 – Bass Pro Shops Family Summer Camp paint a wooden lure Noon to 6pm
13&14 – The Home Depot Home Improver Workshops 5 different topics
15- Free Hot Dog on a Stick Day 5 to 8pm
19 – Orange Julius Free Light Smoothie Day
20-21 – National Parks Fee Free Weekend
21 – TCBY Father’s Day free cup or cone for dad
27 – Lowes Build and Grow Kids make a pirate ship 10 to 11am

JULY

4 – The Home Depot Kids Workshop make a picnic caddy 9 to noon
10 – Chick-fil-A Cow Appreciation Day
11 – 7-Eleven Free Slurpee
18-19 – National Parks Fee Free Weekend

A
UGUST

15-16 – National Parks Fee Free Weekend

Play It Again, Momma: Making Your Own Pitas

Thursday, June 11th, 2009

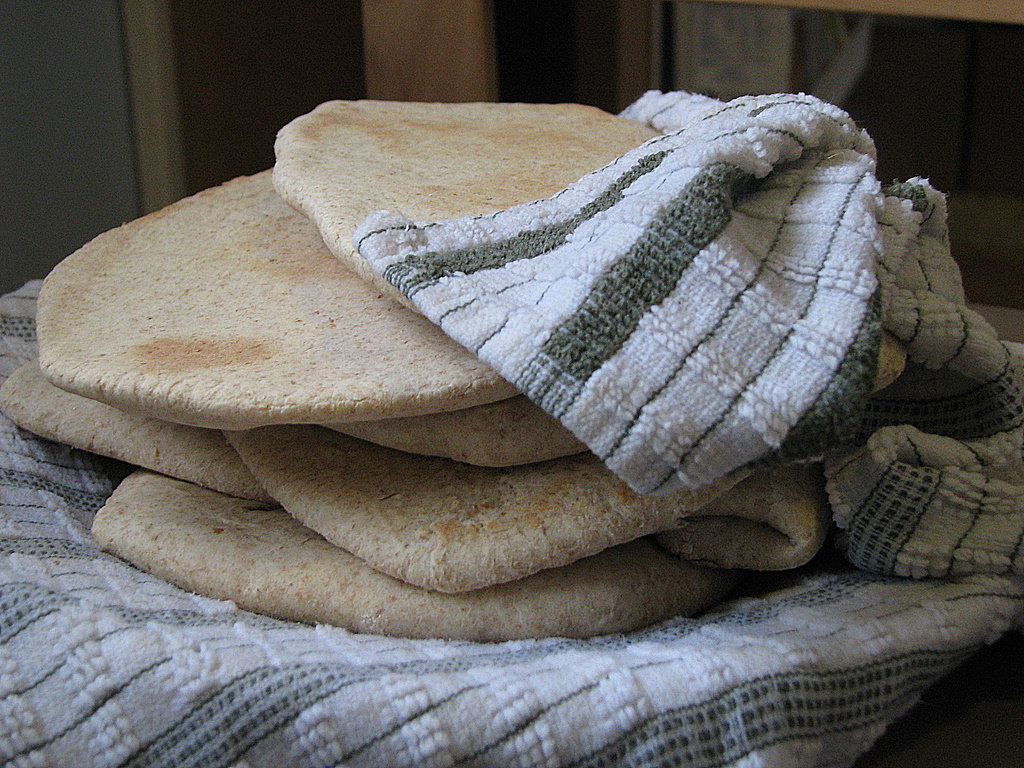
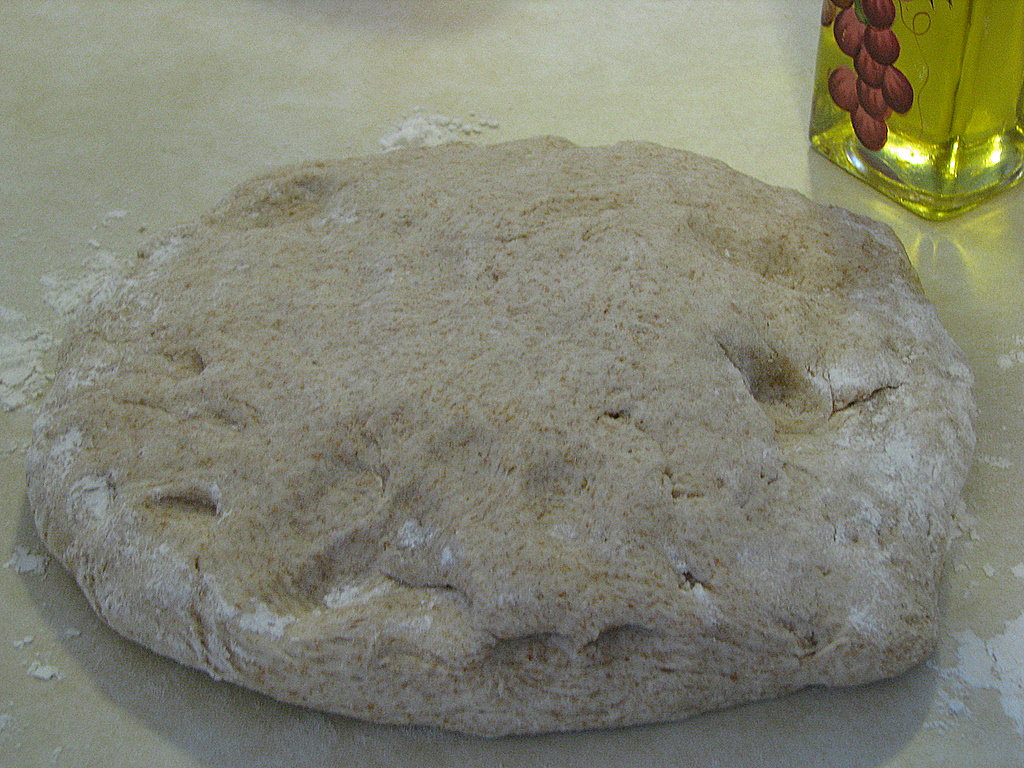
If you would have asked me I thought I could whip up some pitas for my family a few years ago, I would have told you no. I have had this recipe in my collection for so long that I don’t even know where it originated from, but I decided to dust off the old recipe collection and see if these could come together for me. After all, if it was a complete failure…well, at least I tried!

This dough is incredibly easy to work with, especially for a novice! It is not too dry and it is not too wet so you don’t have to use a lot of flour to roll these out.

These pitas are so yummy and the whole wheat flour adds a yummy dimension to the flavors. The kids loved these and my husband could not get over that I had made them because they looked just like the store-bought variety.

Now that I have made them though, there is no turning back. I will never buy these at the store again. In fact, I am whipping up my second batch for the week today! I hope your family will enjoy these as much as we have!

Pita Bread (for the Bread Machine)

1 1/3 cup water
3 tablespoons olive oil

1 1/2 tablespoons sugar

1 teaspoon salt
3 cups bread flour
1 1/2 cups whole wheat flour

2 teaspoons yeast

Put ingredients into the bread machine in order listed. Run the dough cycle on your machine. When the bread machine beeps, pull the dough out of the bread machine and divide the dough into ten pieces. Roll each piece into a six inch circle. Place these on a baking sheet (or your pizza stones) and let them rise for twenty minutes (I can fit about four rounds per pizza stone or three pitas per baking sheet). Bake at 500 degrees for three minutes. Using a spatula, flip the pitas and cook for another three to four minutes on the flip side.

Amy’s Side Notes:

– When you pull the pitas off of your baking sheet, wrap them into a damp kitchen towel for a few minutes. This helps keep them from drying out. Once they are cool, you can store them in a food storage bag.

– Freeze extras for a rainy day! After the pitas have cooled, slip a piece of wax paper between them and store in a freezer bag. You can take out what you need…when you need it!