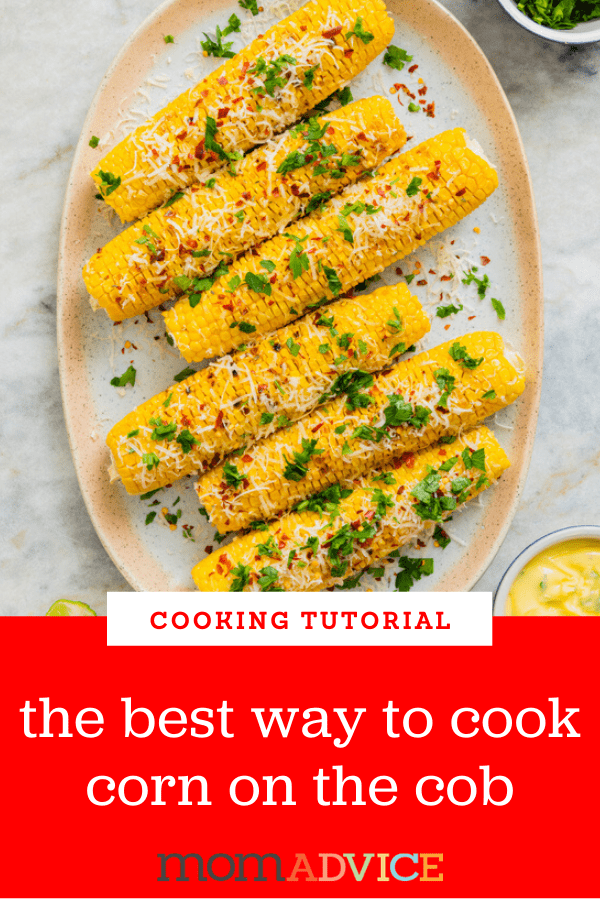
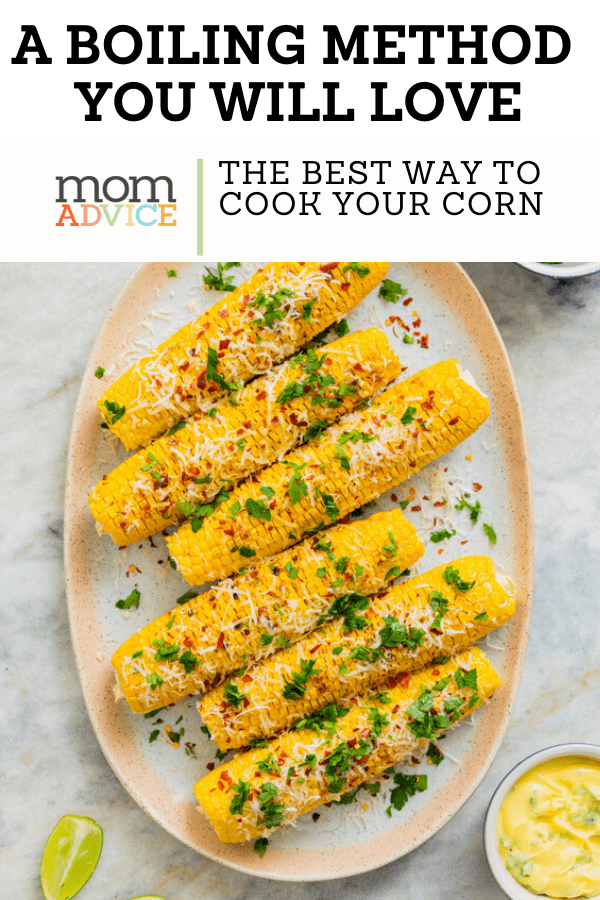
Corn doesn’t even need to be in season, to taste good, thanks to this surprising kitchen hack. This favorite side dish recipe gets a little added sweetness with milk, butter, and brown sugar. Try my tried-and-true method for boiling corn.
You know you grew up in the Midwest if corn was a favorite family side dish.
Not only has it always been a favorite side, it also is easy to prepare for a crowd.
If you are on the hunt for some new ways to cook corn, you will want to check out my corn on the cob on the grill recipe that allows you to cook your corn right in the husk, saving you loads of time and tin foil.
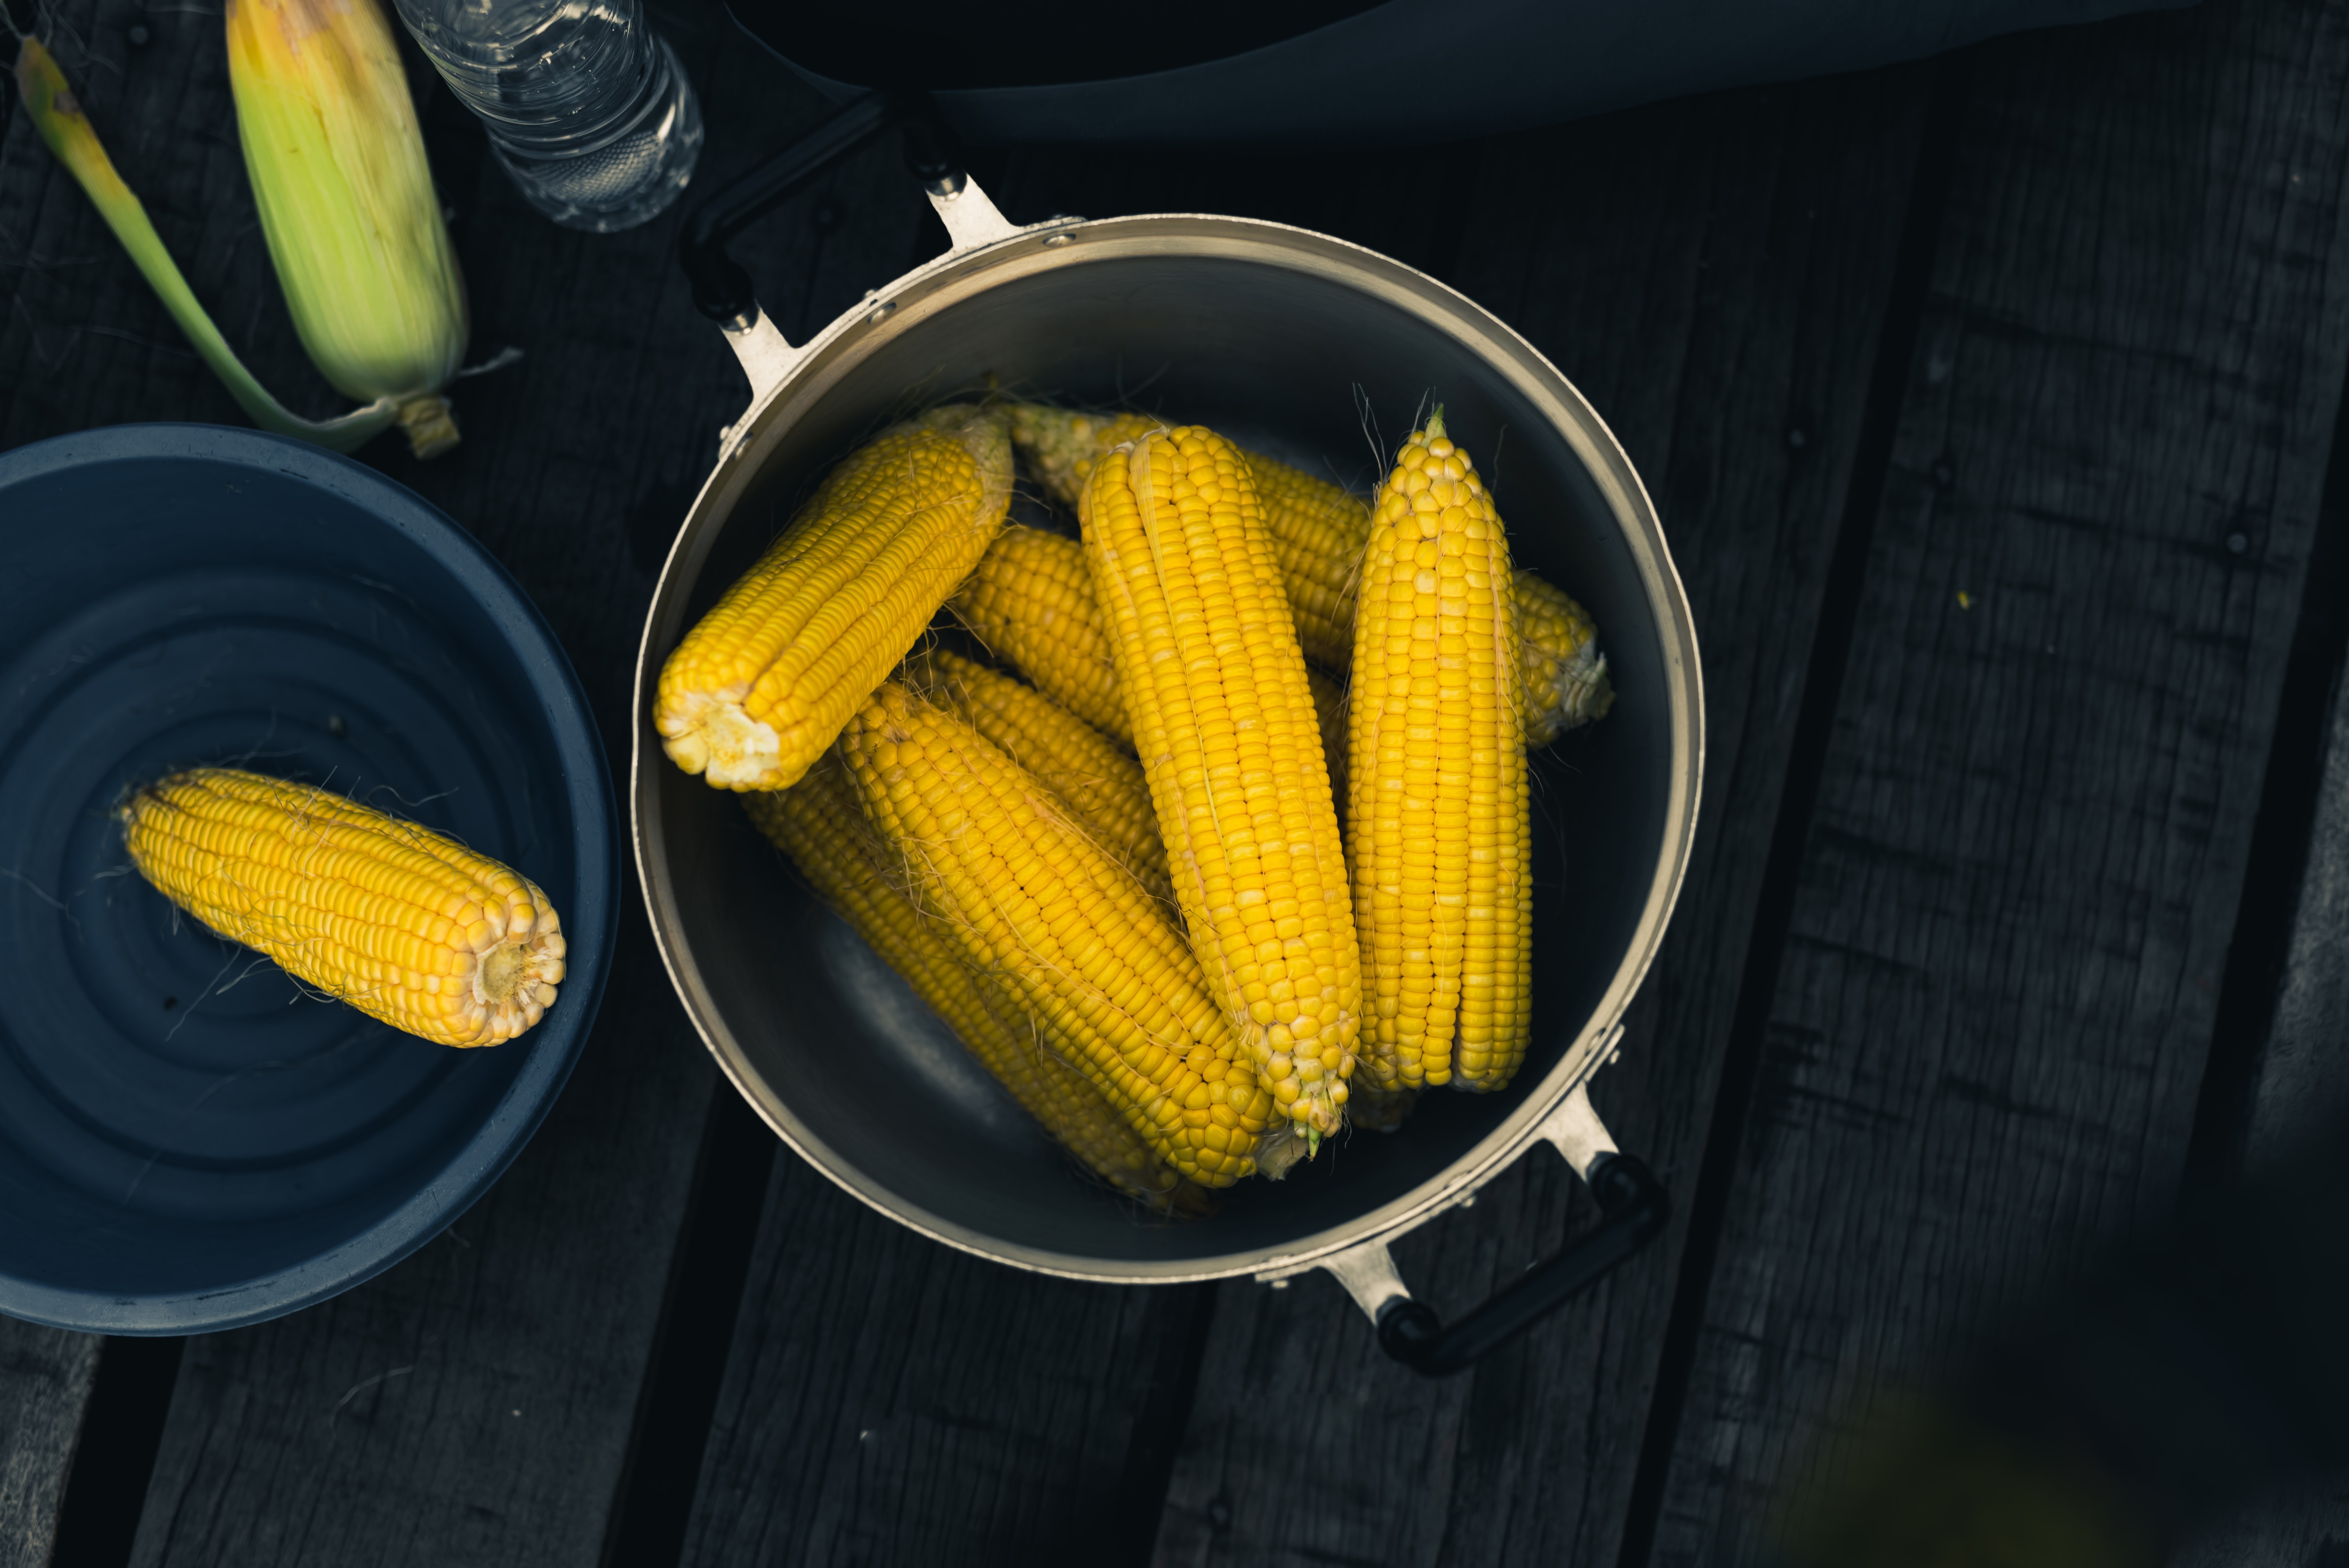
Have you been curious about boiling corn on the stove top though? This method is traditionally done with boiling salted water in a large pot.
Butttt, I’d love to switch it up today and share my idea to help out-of-season corn taste like a summer day!
How to Cook Corn on the Cob
Just as I love to infuse delicious flavors in my shrimp boil, this same method can be applied to corn that isn’t in season.
I will also openly admit that I don’t always buy the best quality corn that I could buy, relying on whatever is on sale at my grocer.
Maybe that is why I am more open to splurging on these additional ingredients to achieve a better tasting vegetable.
I discovered, many years ago, that adding milk, butter, and brown sugar add so much flavor to the traditional hot water bath.
Since you are adding butter to the water, you can skip the buttering at the end. This milky buttered combination coats the corn cobs and gives you all the buttery flavor without the messy butter drips.
Love the taste of fresh sweet corn?
The addition of milk and sugar adds the sweet taste to the corn that is sweet, but not too sweet. This recipe is MADE for those spring days when you are craving this staple side dish.
I can’t recommend this recipe enough and hope you can give it a try this summer.
Here are a few commonly asked questions about preparing corn!
When is corn in season?
Are you buying corn for this recipe?
You might be wondering when corn is in season.
Even though this method makes the most of out-of-season corn, peak corn season lasts from May until September.
Corn is grown in all 50 states (even though I have some Hoosier pride about Indiana corn) so you can find corn just about anywhere!
That means, this method might not be necessary for in-season corn, but I do love it for the later Fall & Spring months.
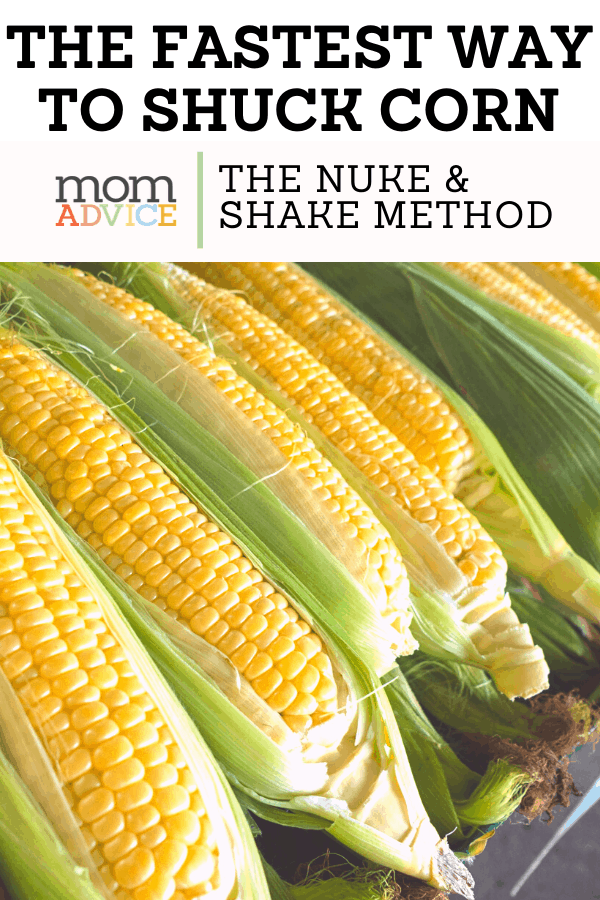
What Is the Easiest Way to Shuck Corn?
I am a big fan of the recipe tips and tricks that America’s Test Kitchen provides. They call this shucking method their, “nuke and shake.”
They recommend cutting off the stalk end of your cob, about 1″ above the last row of kernels.
Then place these in your microwave and cook them for 2-4 minutes.
Remove the corn from the microwave and prepare it for this recipe.
The microwave creates enough steam to loosen the silk and husk so when you pick it up, you can just shake your corn out from the husk.
The best part is that the silk will just fall out with it.
No need to buy any gadgets, thanks to this smart kitchen hack.
You can see a demonstration of their corn shucking method here.
How Long Does it Take to Boil Corn?
I’ve read tutorials that say anywhere between 15 minutes to 30 minutes (roughly the same length of time as it would be to bring water to a boil)
Personally, I like a bit of a bite to my corn so I prefer to boil corn for 7-8 minutes instead.
I Don’t Have Time to Boil Corn. How Long Do I Microwave Corn On the Cob Instead?
As a busy mom, I get it!
Place the prepared corn on a plate and cover it with a damp paper towel. The paper towel will help develop the steam needed for your corn to cook.
Microwave corn for 5 minutes.
Can You Over Boil Corn?
Um, yes.
Have you ever eaten cafeteria food corn or ate at a buffet where the corn has been on display just a tad too long?
Overcooked corn is mushy and doesn’t retain its sweet flavor.
Using this recipe though, with recommended cooking times, should yield a deliciously sweet ear of corn with bite.
How Can I Prepare Corn for My Grill?
Lucky for you, grilling corn on the cob is one of my favorite ways to prepare it.
This grilling method is done by soaking the corn, in its husk, and then placing it on the grill.
This tutorial also offers some extra tips and tips if you prefer to clean your corn before placing it on the grill too.
Can You Share Any Corn on the Cob Topping Ideas?
Thanks to the flavor infusion, in your pot of water, this corn doesn’t require a lot from you.
I love this list though of 12 surprising 1-topping ingredients for your corn.
The good news?
It doesn’t have to be complicated.
What Can I Do With Leftover Corn on the Cob?
It never fails that we have a few ears of corn leftover from a cookout.
Lucky for me, I ended up going to a fancy restaurant that topped their house salads with shaved corn.
It is my new favorite way to dress up any green salad.
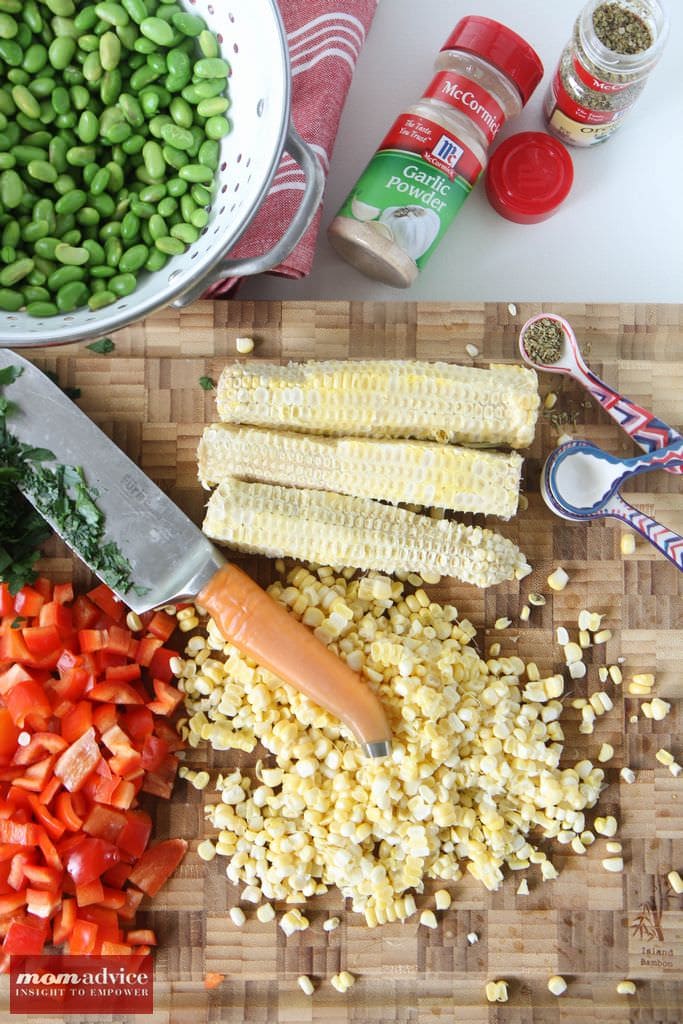
Looking for a unique salad combination? This Edamame & Corn Salad is always a cookout winner.
Shaved corn can also be made into a delicious roasted corn salsa, as a fun appetizer to munch on with your leftovers.
Admittedly, shaving corn can be a messy affair, but these tips are genius for keeping the corn mess to a minimum.
Don’t feel like making the effort to shave corn?
Another simple way you can use up those ears of corn are to reserve them for a shrimp boil on another night.
Just add the already cooked corn cobs, at the end of your boiling time, to warm.

- 6-8 ears corn, husks and silk removed
- water
- 1 1/4 cup milk
- 1/3 cup brown sugar
- 1/4 cup butter (optional and to add to the water)
- Begin by removing the husk and removing the silks from the corn.
- Fill a large stock pot half full with water (use a large enough pot to hold all the corn).
- Add in the milk, sugar, and butter. If you prefer the sweet and salty combination, add salt to the water bath too. Cover the pot and bring it to a boil.
- Add the corn and return to a boil.
- Reduce heat to a simmer and allow corn to cook for 7-8 minutes or until just tender, depending on size of corn try not to over cook the corn as it will become tough.
- Using long tongs remove the corn and place on a plate or in a bowl, then cover with foil until ready to serve. Serve with butter, salt, and pepper (optional as I think this has the perfect flavor).
As an Amazon Associate I earn from qualifying purchases.
Love this side dish?
Be sure to check out these sides for your next meal too!
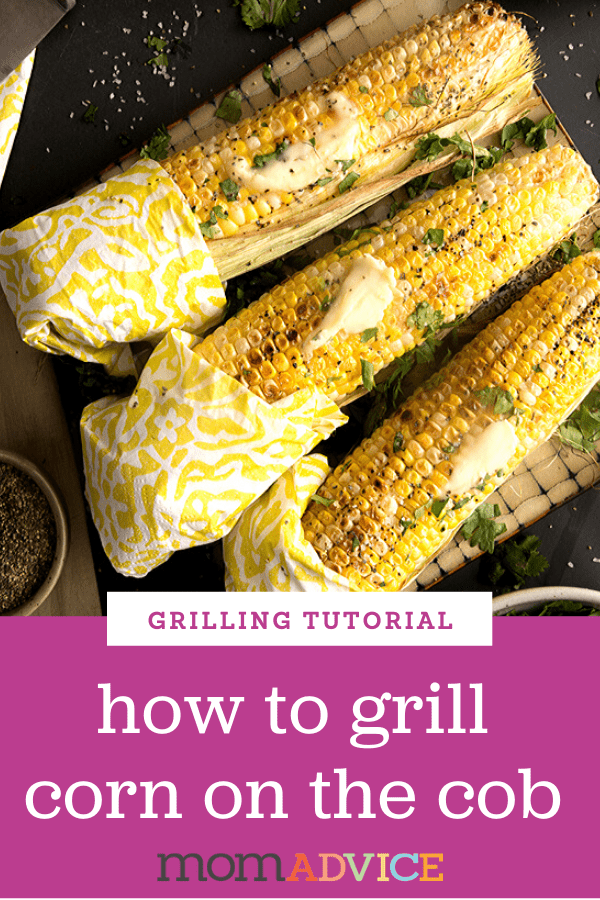 learn how to grill corn on the cob
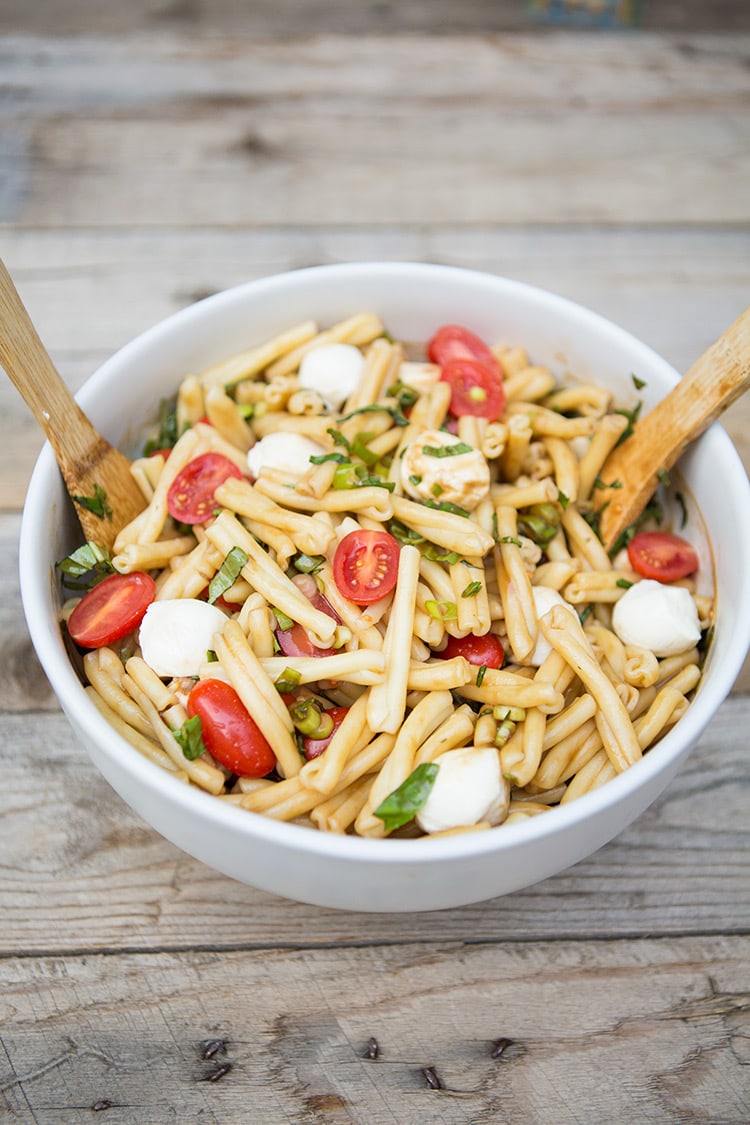 caprese pasta salad
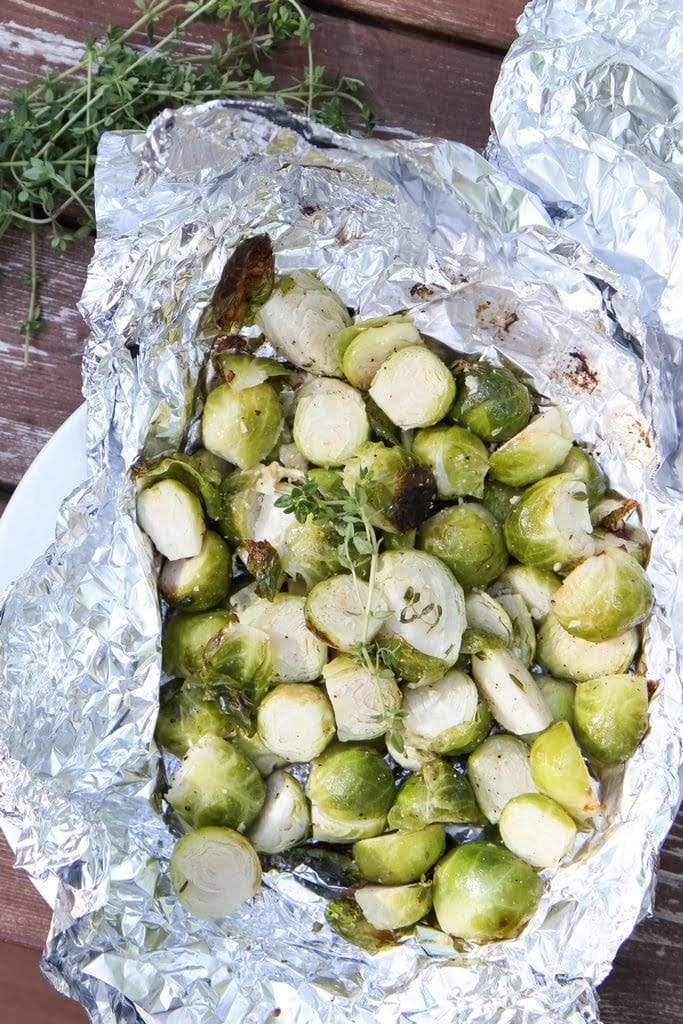 grilled brussel sprouts
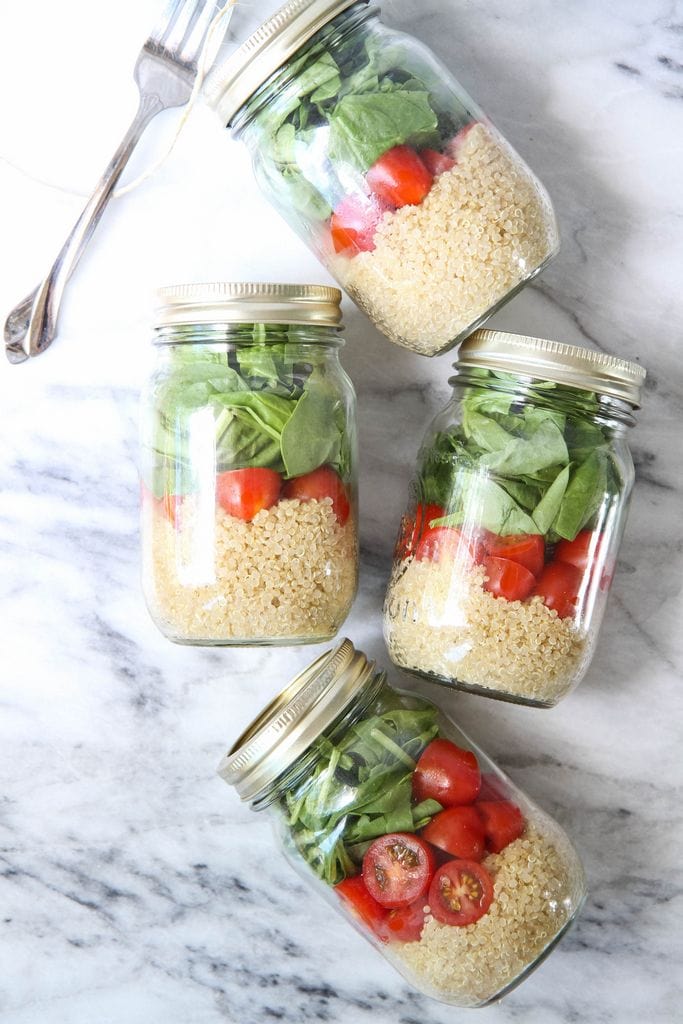 quinoa jar salads
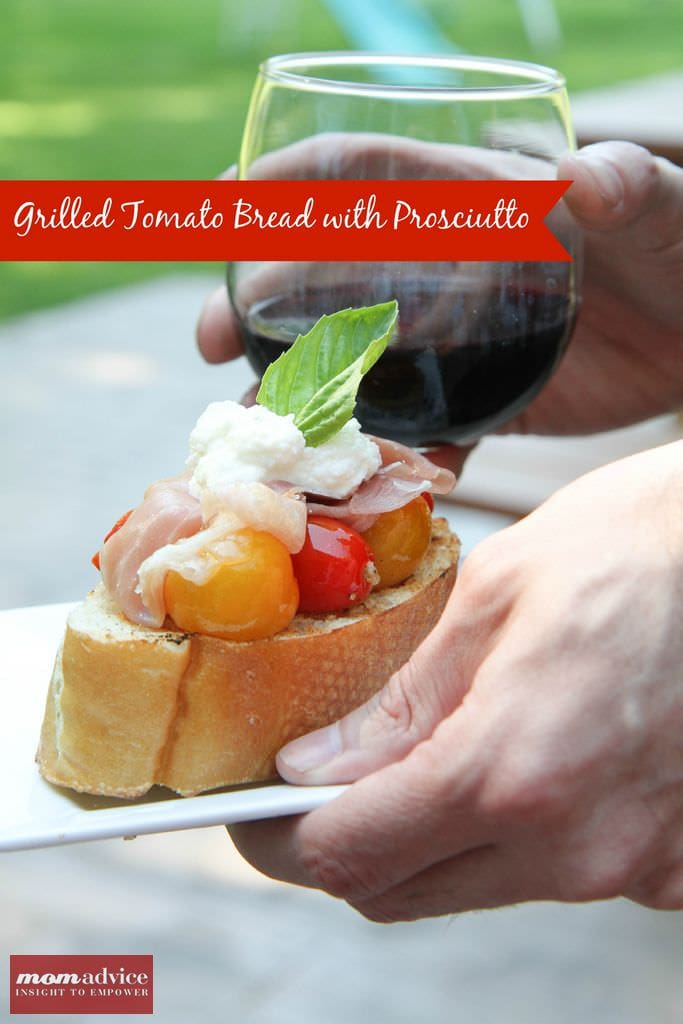 grilled tomato bread with prosciutto
Happy cooking!


