Archive for the ‘Food & Recipes’ Category

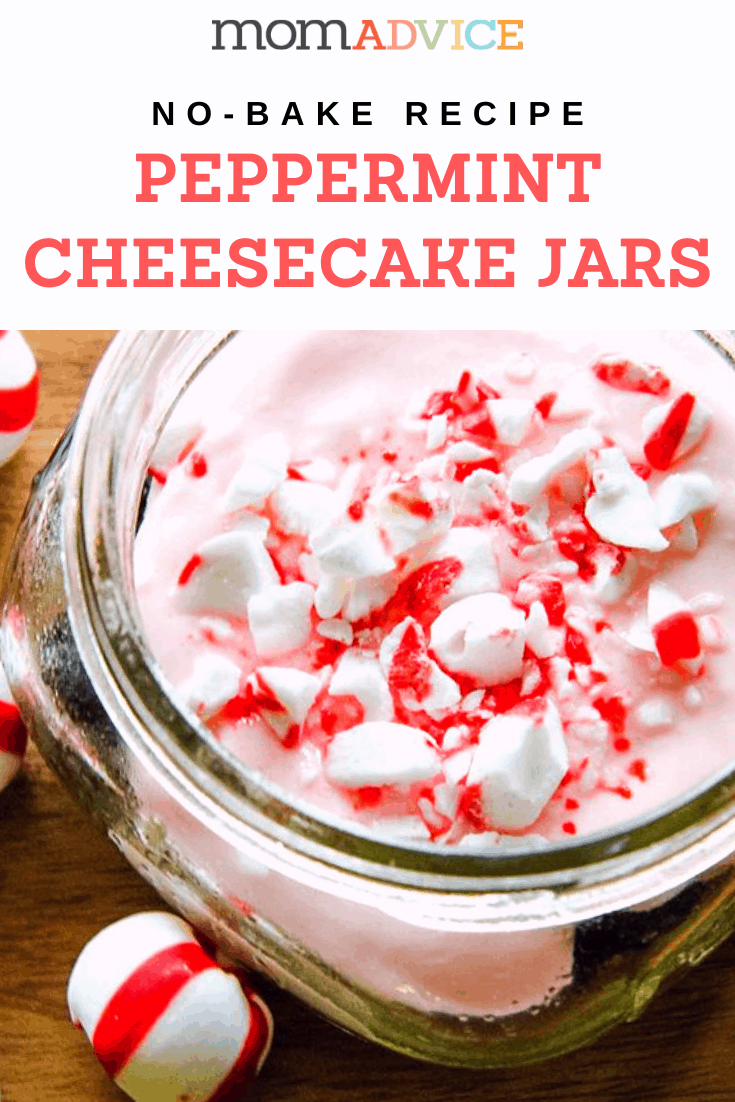
No-Bake Peppermint Cheesecake Jars

Friday, November 15th, 2019

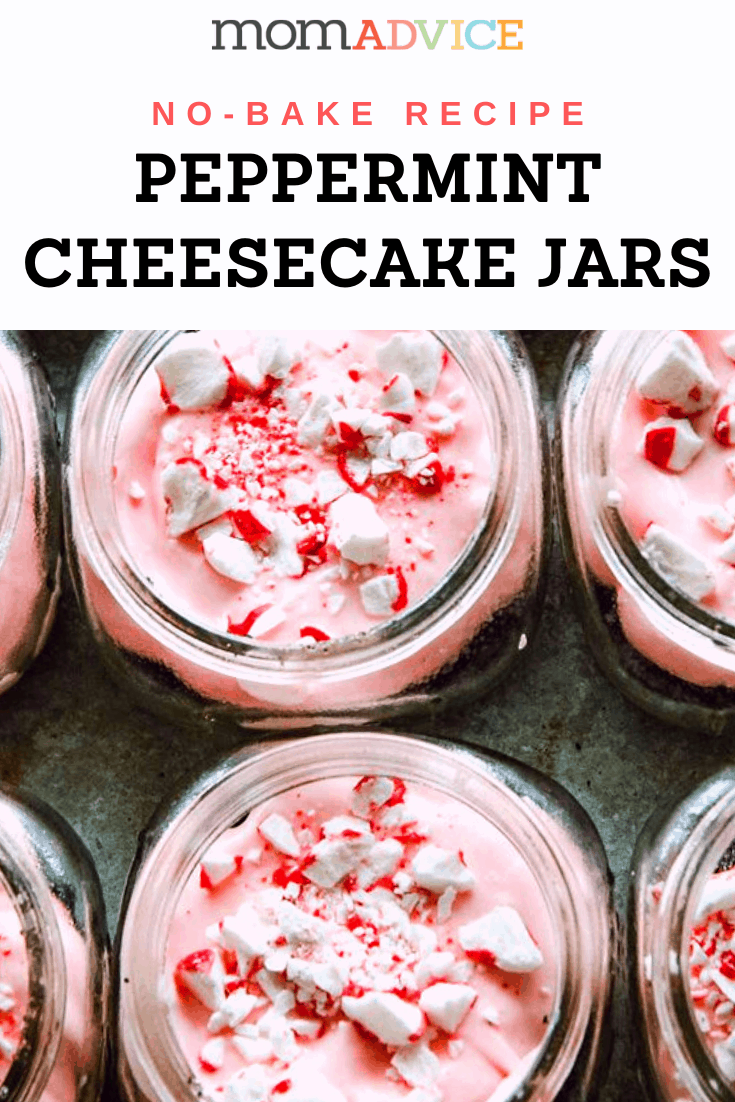
No-Bake Peppermint Cheesecake Jars from MomAdvice.com

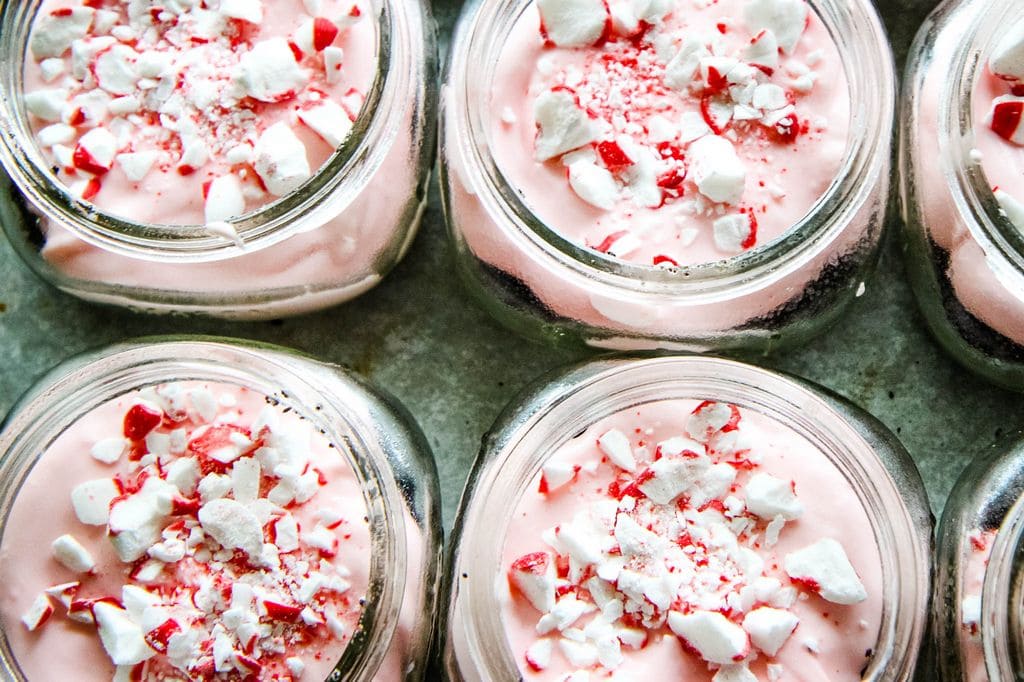
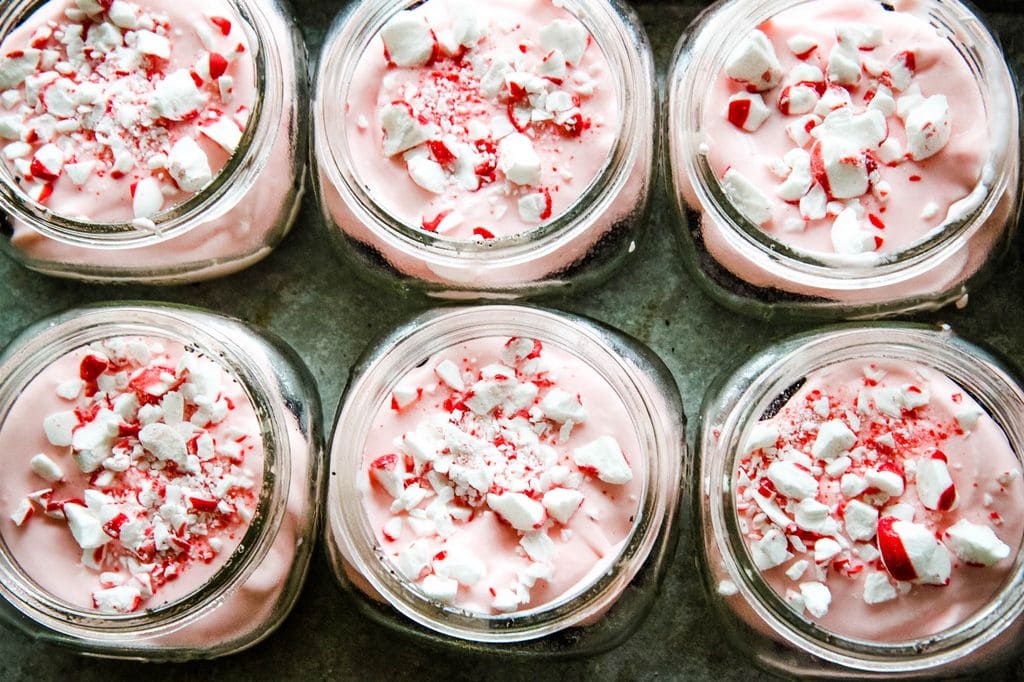
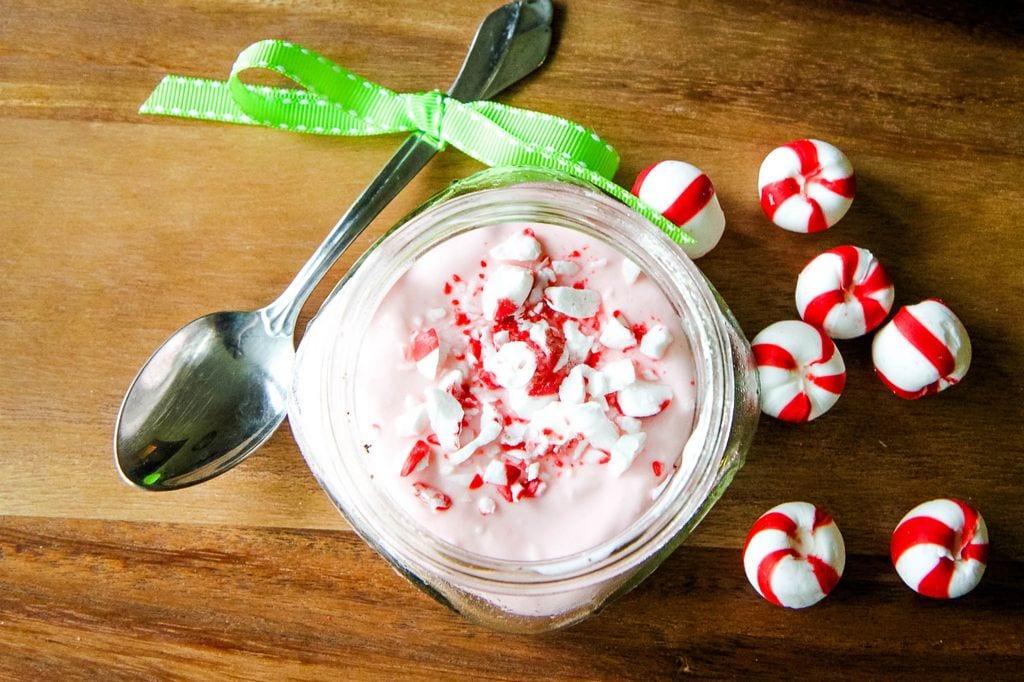
These no-bake peppermint cheesecakes in a jar are a perfect gift to give and full of that peppermint flavor we crave around the holidays. The best part about these isn’t the jar though, it is the, “no baking required,” feature that I happen to love the most. Print this recipe today for an adorable individual-sized dessert.

These mini peppermint cheesecake jars are a fun holiday party dessert or could be a fantastic hostess gift to share with someone. This no-bake cheesecake recipe is quick and easy and perfect for stashing in the freezer for the unexpected guest.

I have a theory that any gift in a jar is more special when decorated and created in a portion size for one.

In the past, I have made only salads in a jar. Although I do love a good jarred salad, I have to say that cheesecake is a heck of a lot more fun.

This year I wanted to create holiday hostess gifts that would long be remembered, but quickly be used.

What could be more memorable or useful than a tiny cheesecake in a jar?

The thing is, I am NOT a great baker.

Why let my skill set stop me from delivering a delicious dessert though? 

That is why I thought it would be fun to make a no-bake treat instead that even a beginning cook could pull together.

These no-bake peppermint cheesecakes in a jar are a perfect gift to give. Nothing says the holidays to me more than that minty flavor and festive crushed candy canes.

Is it just me or are chocolate and peppermint the most perfect of pairs? With this dessert, I used crushed cookies instead of the traditional graham cracker crust (made from graham cracker crumbs) for my cheesecake.

I just love bringing those peppermint and chocolate flavors together.

I also love a rich cheesecake filling so I skipped a lower calorie filling substitution (like greek yogurt or sour cream) and opted for full-fat cream cheese for my filling.

YOLO, amiright?

The best part about these isn’t the jar though, it is the, “no baking required,” feature that I happen to love the most.

Here’s how to make these delicious no-bake peppermint cheesecakes.

No-Bake Peppermint Cheesecake Jars

The cookie crust, for these adorable jarred cheesecakes,  can be created by crushing the cookies with a rolling pin or pulsing them through your food processor.

Gluten-free?

No problem!

They make delicious gluten-free cookie sandwiches or I have even used a gluten-free chocolate granola as a fun substitution for my curst.
No-Bake Peppermint Cheesecake Jars from MomAdvice.com

No-Bake Peppermint Cheesecake Jars from MomAdvice.com

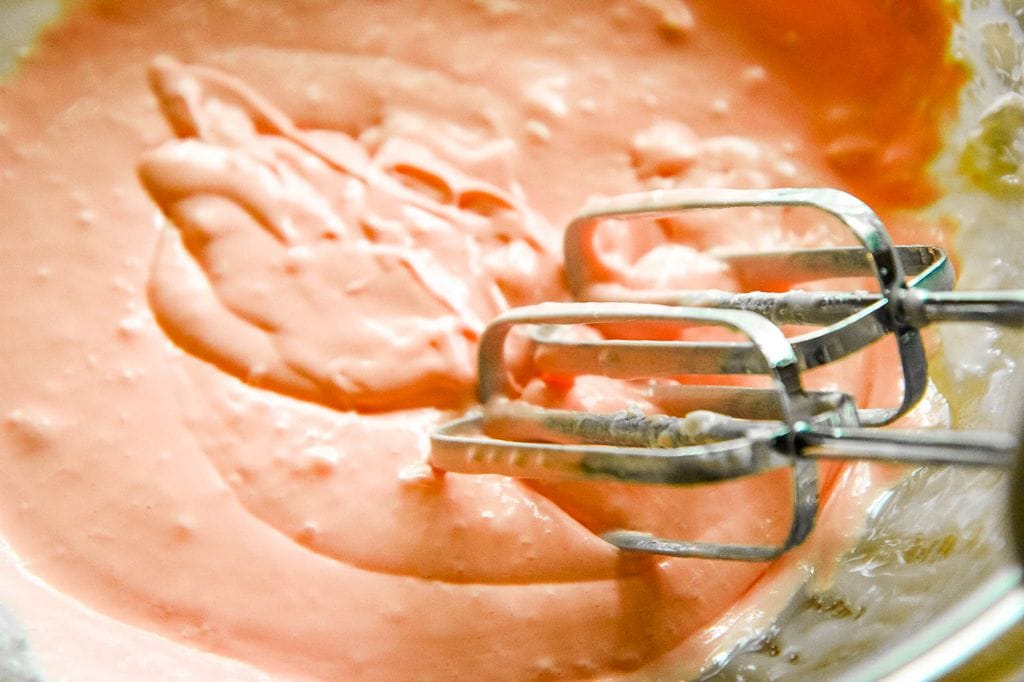
After laying down your cookie base you can blend up your cream cheese mixture for your cheesecake filling.

I like to use a handheld electric mixer and blend this cheesecake filling in a mixing bowl.

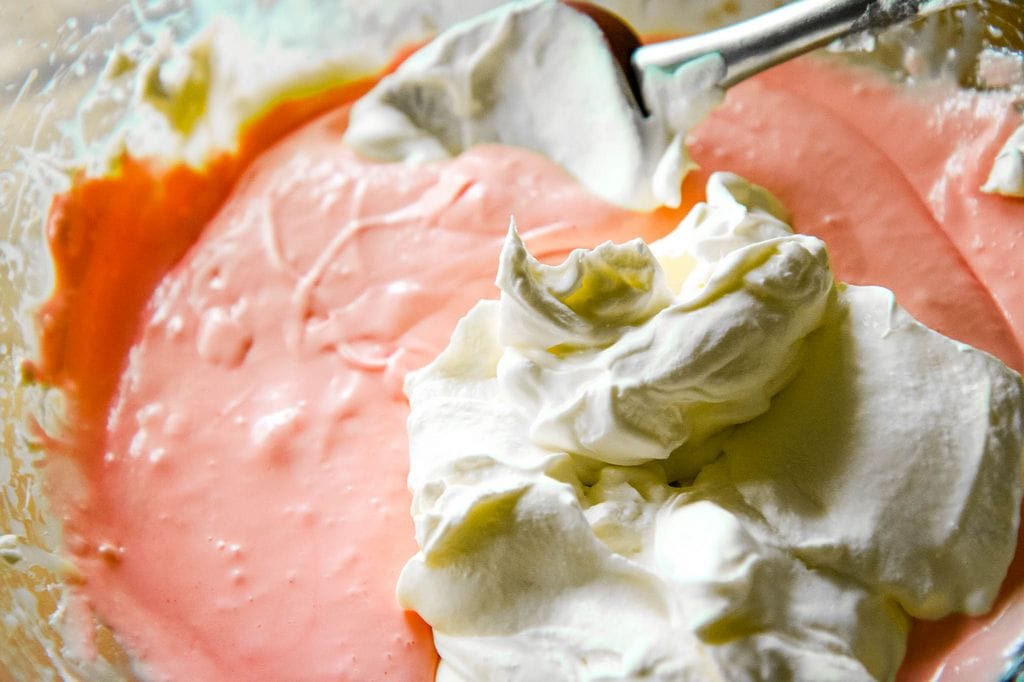
Folding in the whipped cream, at the end, allows helps this cheesecake filling to be light and airy.
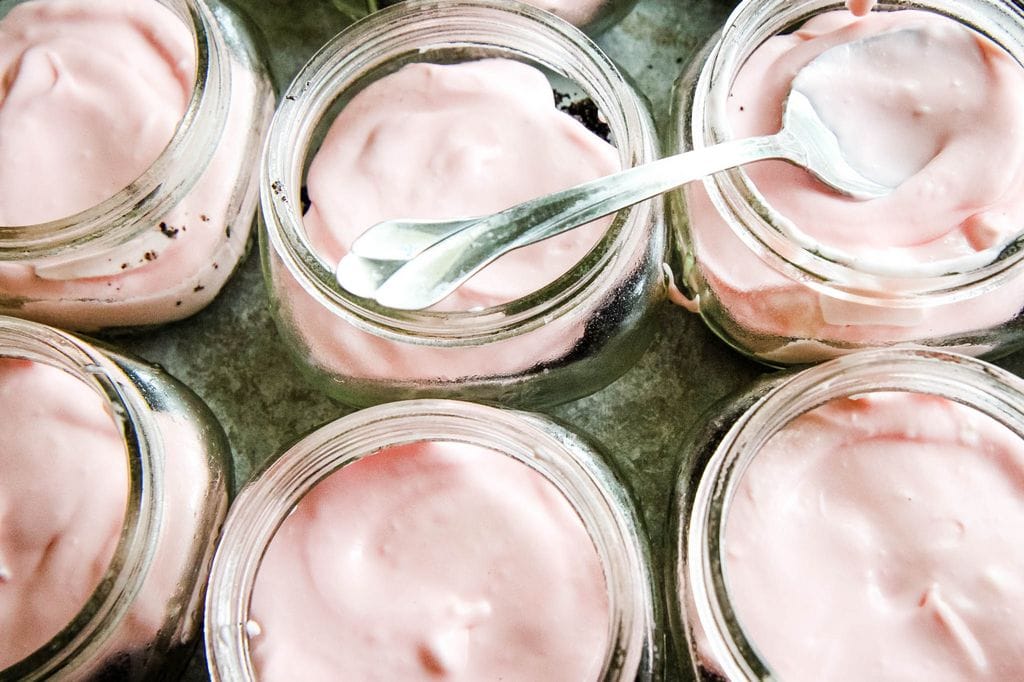
No-Bake Peppermint Cheesecake Jars from MomAdvice.com

To get that holiday peppermint flavor, we just substitute a traditional vanilla extract with a peppermint extract instead.
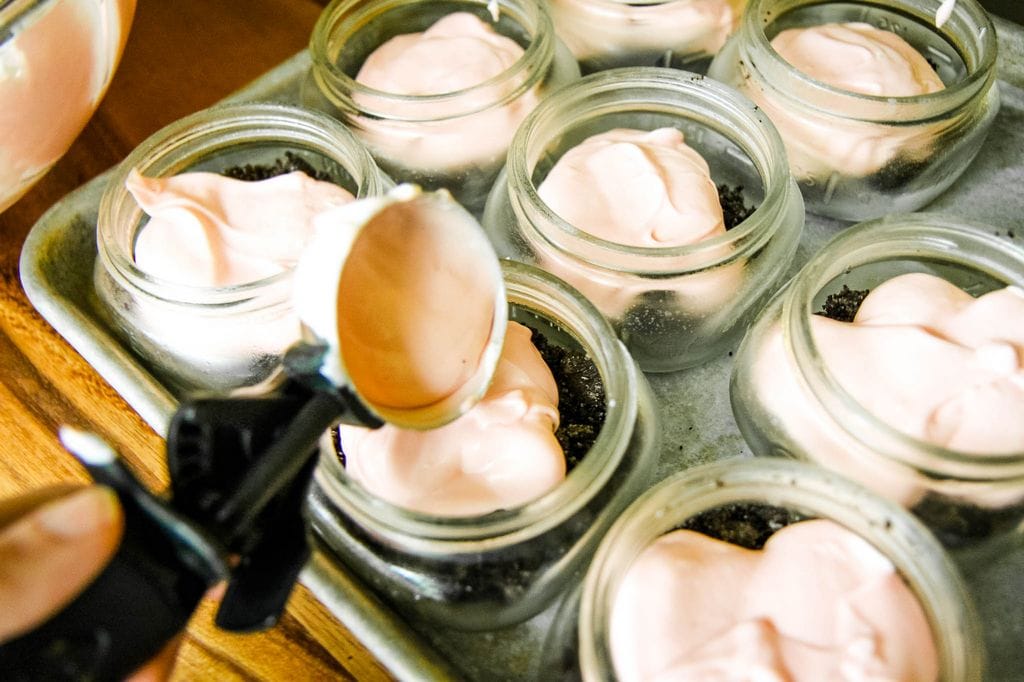
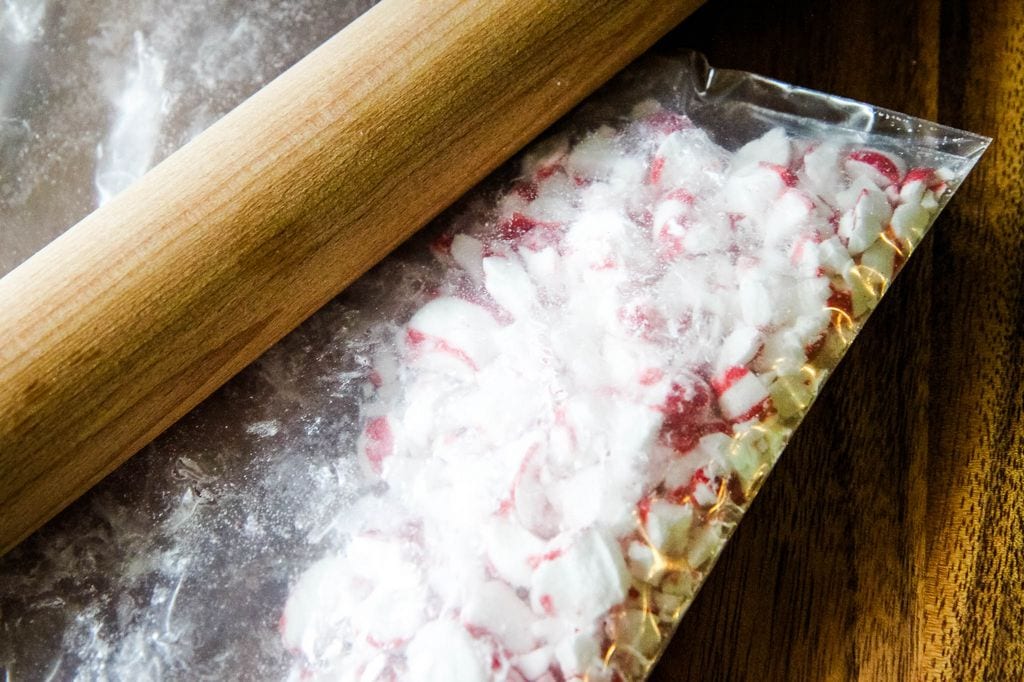
No-Bake Peppermint Cheesecake Jars from MomAdvice.com

No-Bake Peppermint Cheesecake Jars from MomAdvice.com

No-Bake Peppermint Cheesecake Jars from MomAdvice.com

No-Bake Peppermint Cheesecake Jars from MomAdvice.com

The possibilities with this fun food craft are endless.

Convert your favorite no-bake cheesecake into a sweet gift. I love to decorate jars with spray paint or a scrap of pretty fabric.

These gifts can easily be personalized and will be a fun treat for whoever you might share them with.

I guarantee if you made me one of these, as a hostess gift, I would have you over and over again…
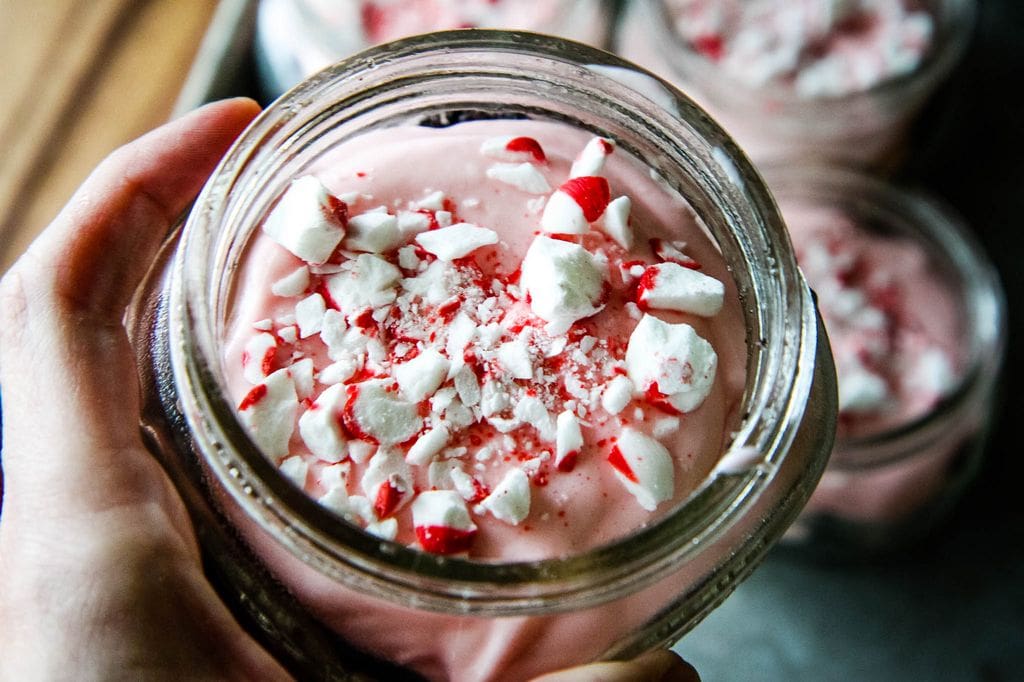
No-Bake Peppermint Cheesecake Jars from MomAdvice.com

How To Decorate Yours No-Bake Peppermint Cheesecake Jars


Supplies Needed

10 Half-Pint Ball Jars

Red Spray Paint (I REALLY recommend getting one of these to help with paint application)

Hot Glue and Glue Sticks

Green Grosgrain Ribbon

No-Bake Peppermint Cheesecake Jars from MomAdvice.com

Directions

Remove the bands from the jars and set aside. Outside or in a well-ventilated area, spread your jar lids out on newspaper.

Shake your spray paint well.

Slowly and evenly, spray your spray paint back and forth until all of the lids are covered with the spray paint.

Allow these to dry for at least thirty minutes.

Plug in your glue gun and allow it to heat up.

Tie grosgrain ribbon (any width you desire) into a small bow. 

Place your spray-painted lids on top of your jars and screw the bands into place.

Squirt a tiny dot of hot glue on the back of your bow and place it on top in the center of your lid.  Hold it in place for a minute. Sit back and bask in your crafting glory.
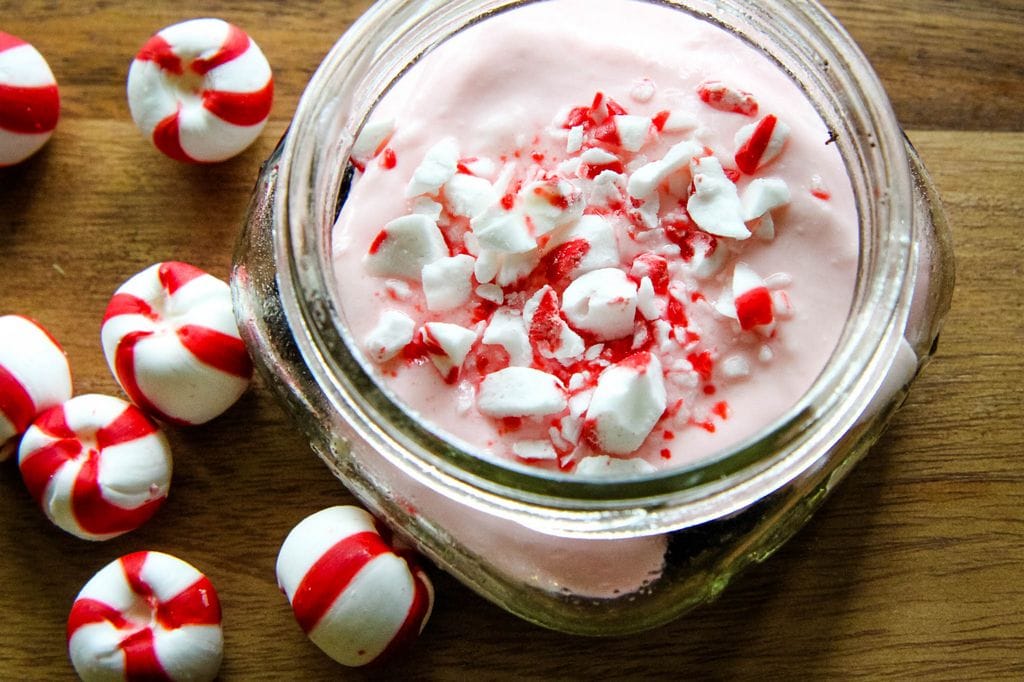
 

No-Bake Peppermint Cheesecake Jars from MomAdvice.com

No-Bake Peppermint Cheesecake Jars from MomAdvice.com

No-Bake Peppermint Cheesecakes In A Jar
 
Author: Amy Allen Clark
Prep time:
Total time:
Serves: 10
A sweet & simple no-bake cheesecake in a jar that you can give to someone special for the holidays. This is the perfect little hostess gift, teacher gift, or neighbor gift to share!
Ingredients
  • 10 Half Pint Ball Jars
  • Cooking Spray
  • 2 cups of chocolate sandwich cookies (approximately 17 cookies)
  • 1/4 cup granulated sugar
  • 1/4 cup unsalted butter, melted
  • 1 (8 ounce) package cream cheese, softened
  • 1 (14 ounce) can sweetened condensed milk
  • 2 teaspoons peppermint extract
  • 2 cups whipping cream, whipped
  • Red food coloring
  • 20 peppermint candies
  • 3 freezer bags
  • 1 rolling pin
  • For decorating jars (optional): Red Spray Paint, Green Grosgrain Ribbon, and Hot Glue
Instructions
  1. Place your chocolate sandwich cookies in a freezer bag and use a rolling pin to smash them until they become cookie crumbs.
  2. Add your melted butter and sugar to a bag and mix until the three ingredients pull together. You just want to make sure that your crust is well incorporated so it holds well together.
  3. Take the lids off of your glass jars and place them on a cookie sheet to contain the mess.
  4. Spray each of the jars with cooking spray. Put two spoonfuls of cookie crumbs into each jar and use the back of the spoon or your hands to press the crust into each jar.
  5. Slide the cookie sheet of jars back into the freezer to chill while you prepare the filling.
  6. In a large bowl, beat your cream cheese until light and fluffy. Gradually pour in a can of sweetened condensed milk until it is smooth.
  7. Stir in your peppermint extract and red food coloring, approximately three drops, to achieve a pale pink color. Mix all of these ingredients well.
  8. Fold in your whipped cream.
  9. Remove your tray of jars from the freezer. Using a standard ice cream scoop, add one scoop of filling to each of your jars. Use the back of a small spoon to smooth the filling on top until it is level and smooth.
  10. Remove the wrappers from your peppermint candies. Place the peppermint candies into a double-bagged freezer bag and use your rolling pin to smash these into small pieces to garnish your cheesecakes. Sprinkle the broken peppermints on top of each one.
  11. Screw the lids back on your jars and put these back into the freezer. Freeze for two hours or until firm.
 

Make a batch of these and keep them on hand for those unexpected occasions where a gift is needed!
It also could be a lovely reward for yourself after all of that hard holiday preparation you have been doing. You deserve it.

As an Amazon Associate I earn from qualifying purchases.

Looking for more great holiday hostess gift? Here are 3 other projects to check out!

How to Make Knitted Wine Toppers from MomAdvice.com knitted wine bottle hats and scarves

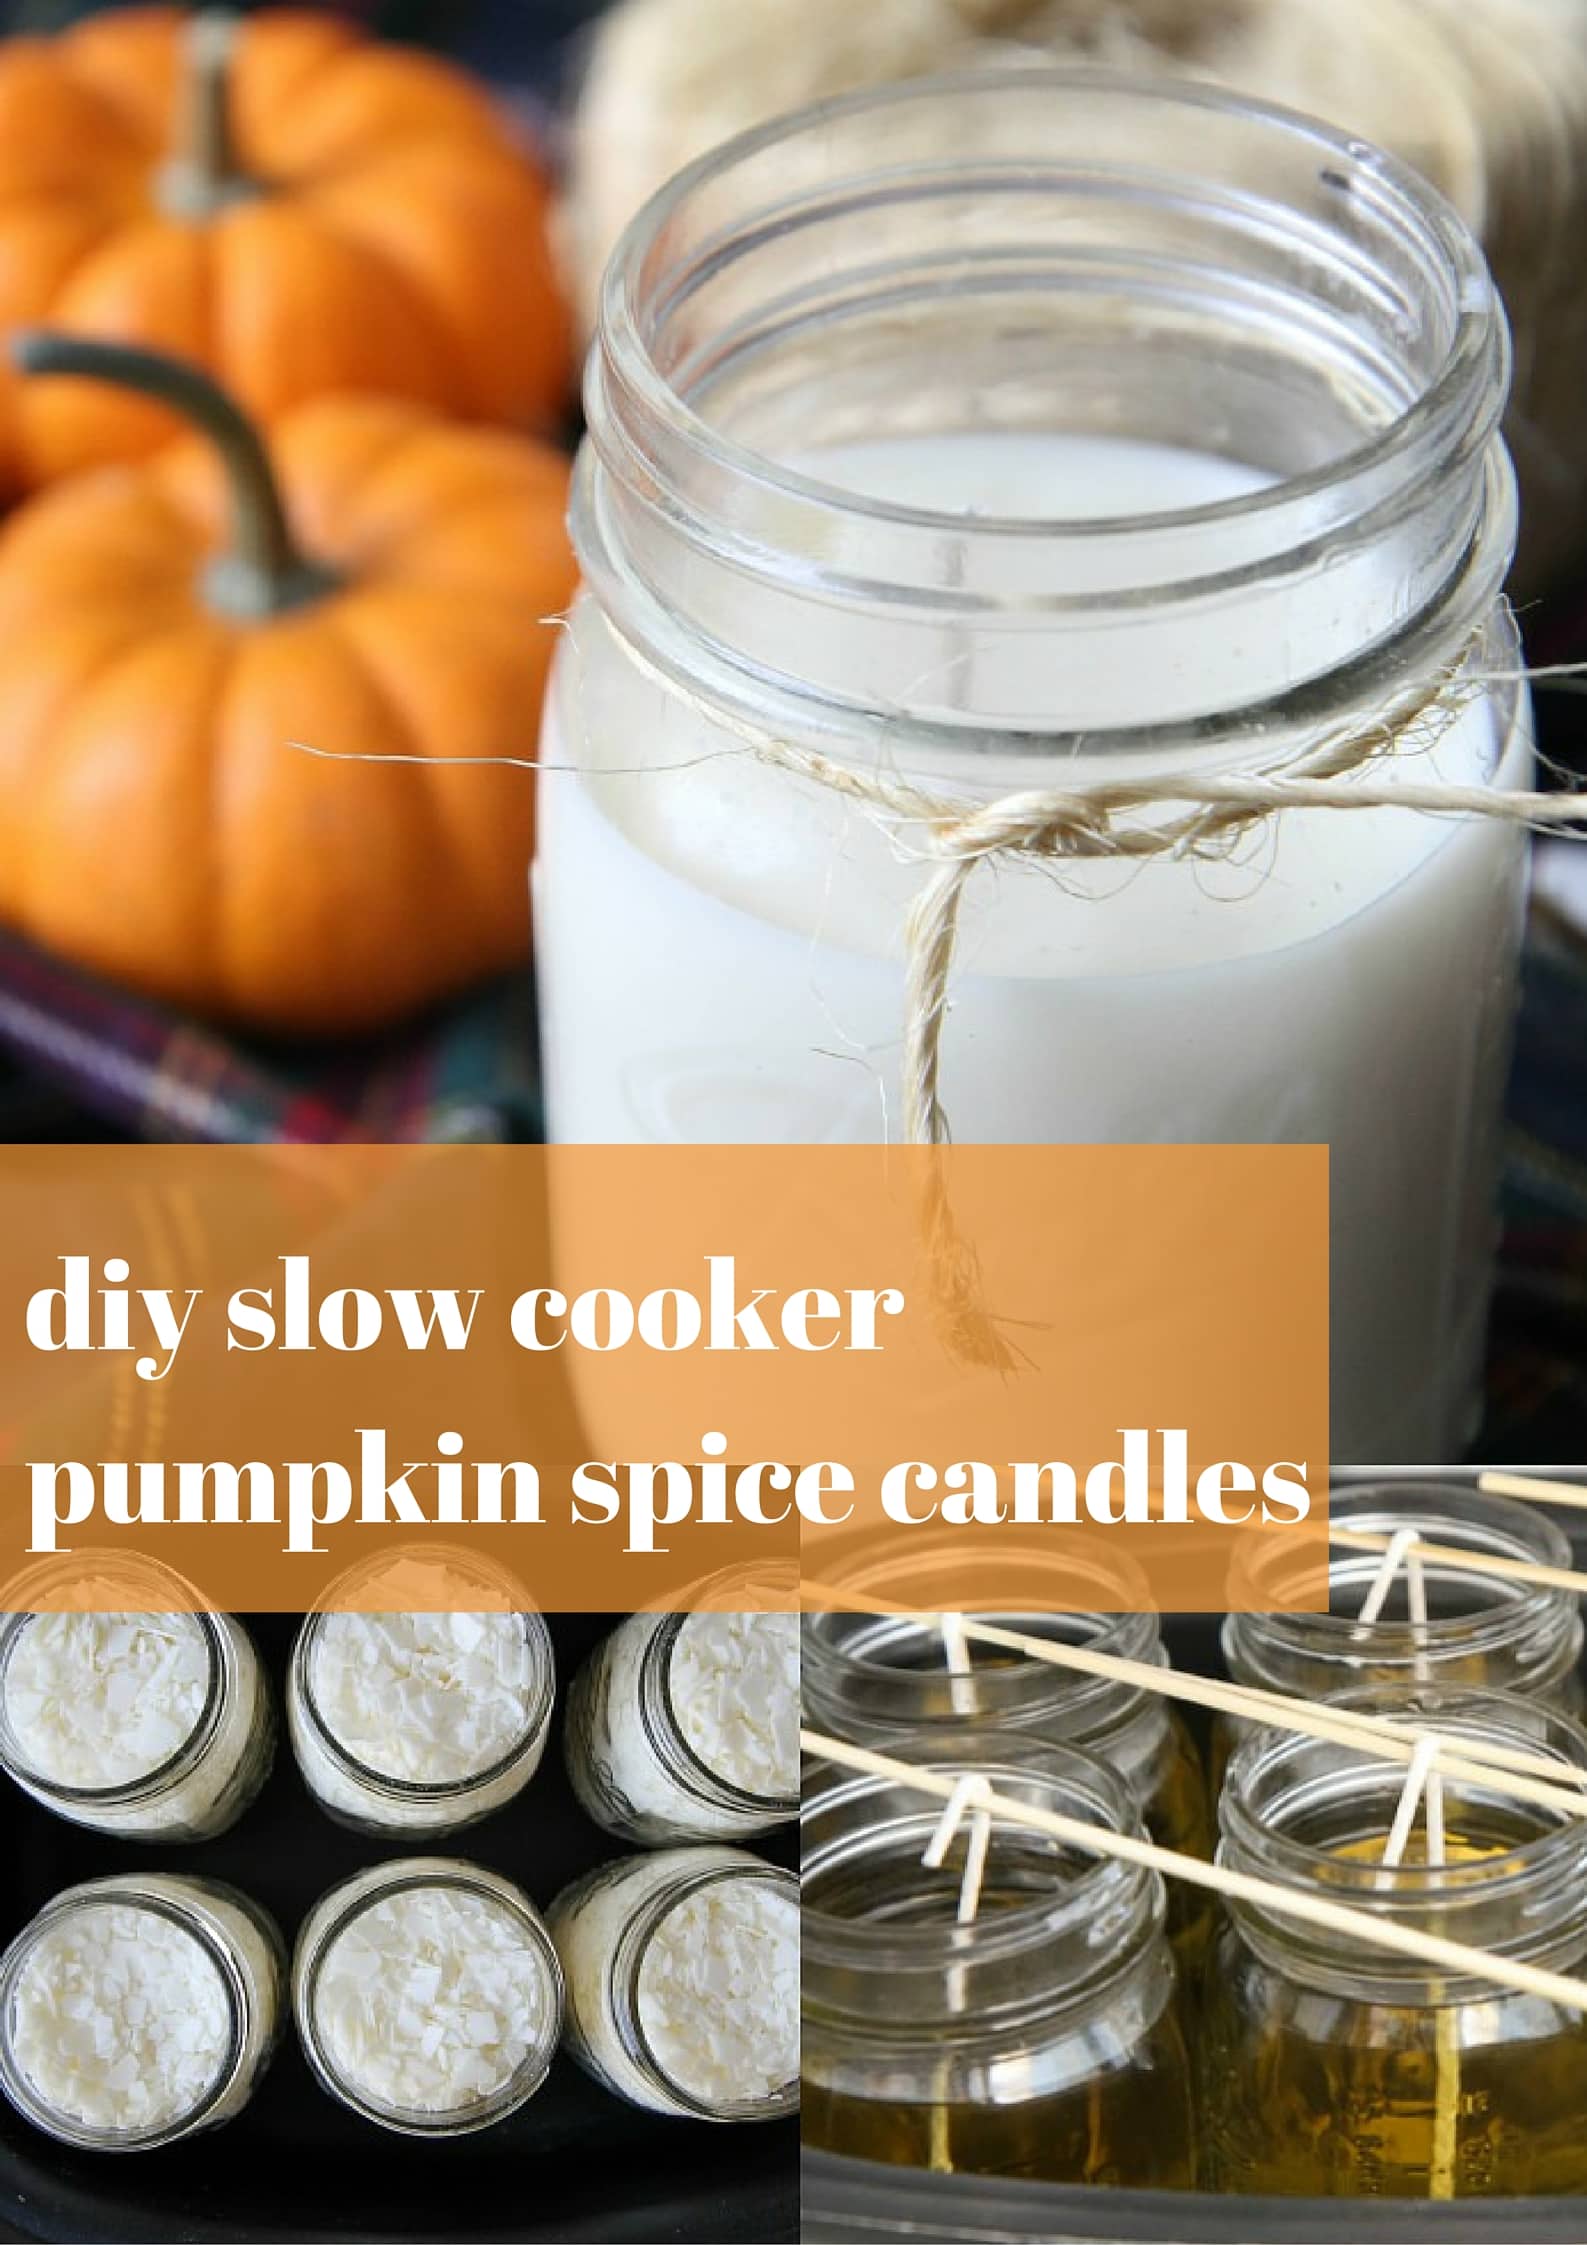
slow cooker pumpkin candles

DIY Vanilla Chai Tea Mix from MomAdvice.com diy vanilla chai tea mix in a jar

What are some of your favorite hostess gifts to give? 
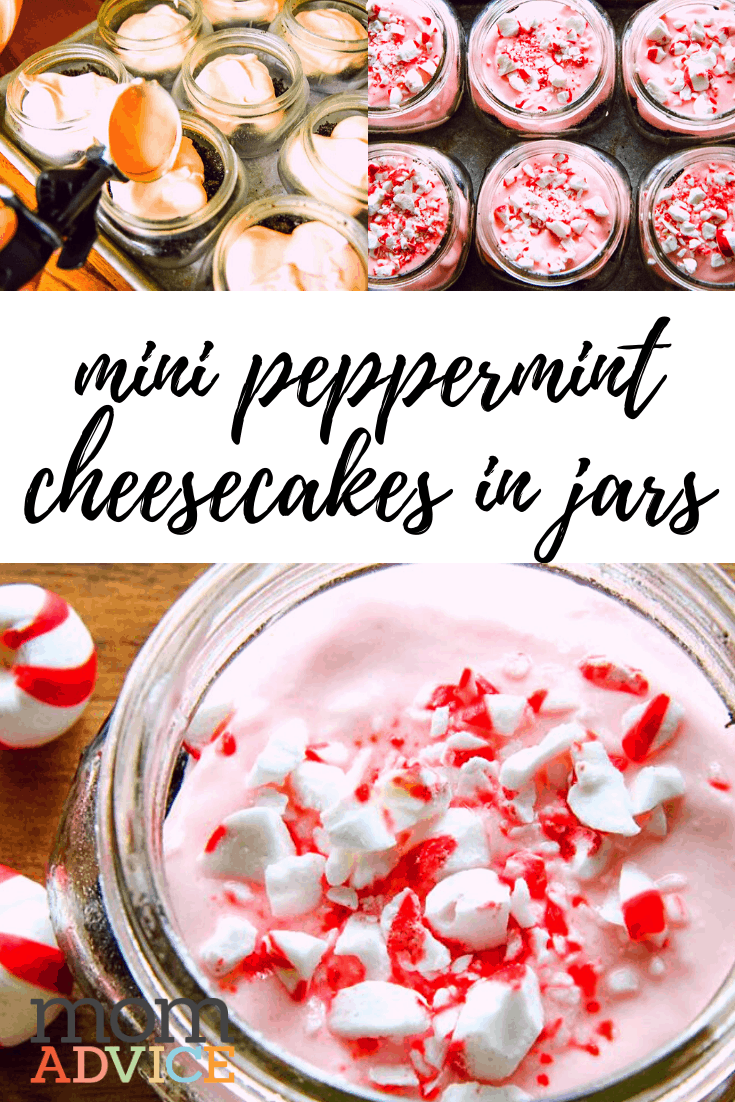
No-Bake Peppermint Cheesecake Jars from MomAdvice.com

No-Bake Peppermint Cheesecake Jars from MomAdvice.com


Pin It
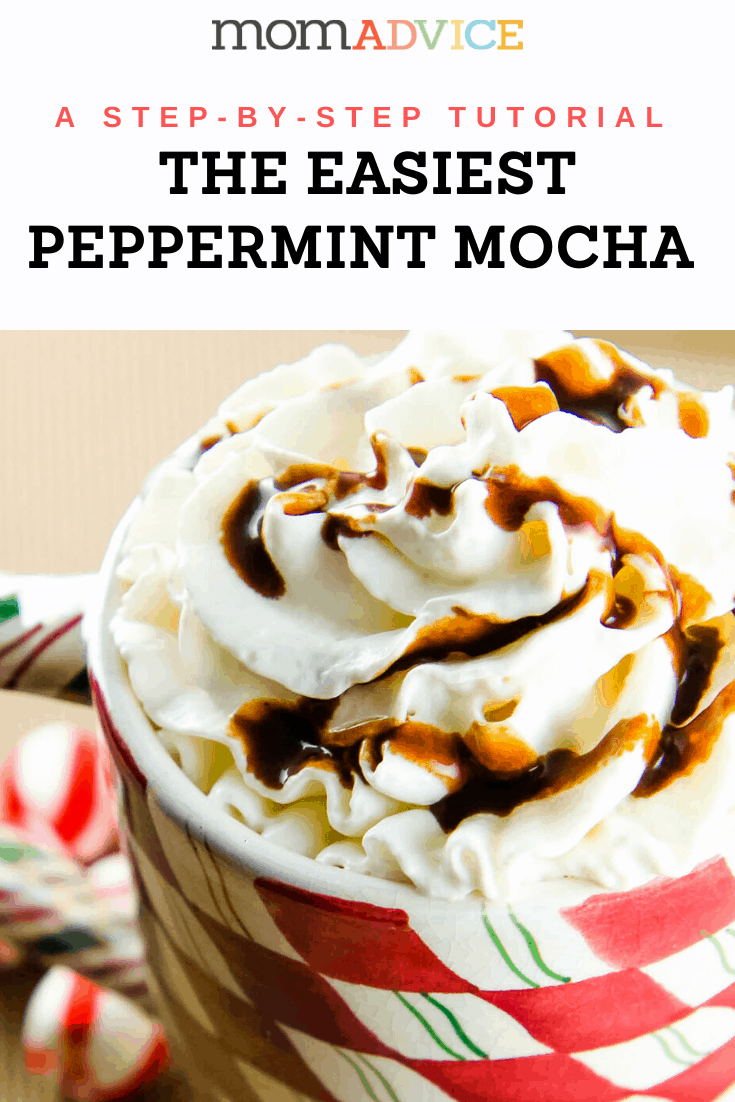
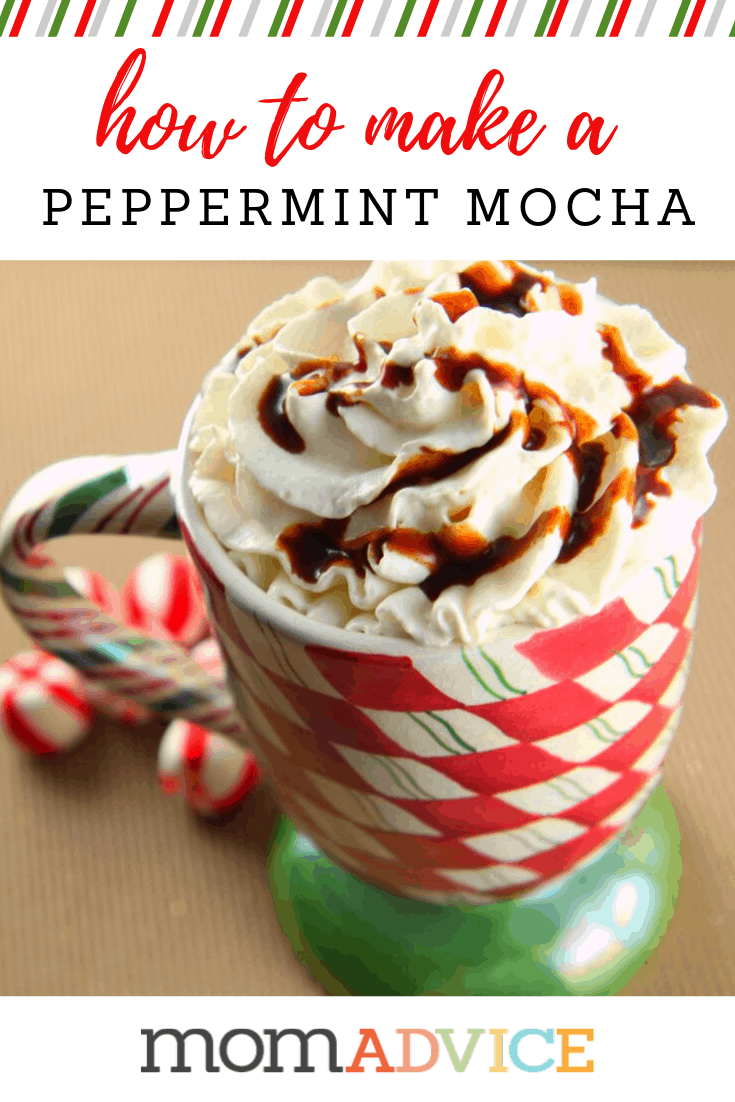
Easy Peppermint Mocha: Starbucks Copycat Recipe

Monday, November 11th, 2019

Easy Peppermint Mocha: Starbucks Copycat Recipe Header

Nothing says the holidays like a Peppermint Mocha. Today I’m sharing how you can make this super easy recipe right at home. There is no need to spend a lot this holiday season, with this copycat Starbucks Peppermint Mocha recipe.

With the holidays just around the corner, the one treat I love to indulge in while doing my holiday shopping is a delicious Peppermint Mocha.

What screams holiday more than a minty cup of coffee topped with whipped cream and crushed candy canes?

I was ordering these year round until they came out with the Salted Caramel Mocha, which seemed to satisfy my out-of-season mocha cravings.

Of course, wouldn’t it be lovely to be able to make these at home and save your money for your Christmas presents this year?

I hit the kitchen to try and whip up a batch of these at home.

Once I had my basic mocha recipe down from my DIY Pumpkin Spice Latte & my DIY Salted Caramel Mocha, it was just a matter of figuring out how to create the peppermint flavor at home out of ingredients I had in my pantry.

Close-Up of a Peppermint Mocha

Easy Peppermint Mocha Tutorial

Here are a few commonly asked questions about making your Peppermint Mochas at home!

What Supplies Do I Need to Make a Peppermint Mocha at Home?

The tools I would recommend are an immersion blender (or small individual blender for drinks or a simple whisk), a saucepan, and a french press or espresso pot (depending on how strong you like to make it).

I like to use a French Press for my lattes, but I also embrace my little stovetop espresso maker when I need that extra bit of caffeine.

How Can I Make a Peppermint Mocha At Home if I Have a Keurig?

I don’t, personally, have a Keurig, but two of my amazing readers shared their tricks to get that coffee shop taste at home with your Keurig.

Lora shared this idea for K-Cups-

“Try one of the dark, strong coffee K-Cups they offer! Jet fuel is one. They do make some nice strong ones you just have to look!”

What a great idea! Take a peek at some of the k-cup options for a diy latte at home.

Another reader, Kim, shared this super smart idea to brew coffee with a completely different type of k-cup.

“If you buy the iced coffee blends for Keurig (I have Nantucket Iced Coffee) and just brew it like a normal cup (not over ice) – it is super strong and works great for these type recipes!”

Another fantastic suggestion! You can shop for iced coffee k-cup options here.

Vertical Image: Easy Peppermint Mocha: Starbucks Copycat Recipe

How Do I Make My Own Peppermint Syrup?

You don’t have to create the peppermint syrup yourself, although it is really easy to do and made from pantry ingredients. 

Simple syrups are just as simple as their name to create.

It is just a matter of dissolving sugar into water, reducing it a bit, and then adding your flavoring of choice for your favorite beverages.

To make this peppermint simple syrup you will need 1 cup sugar, 1 cup water, and 2 teaspoons peppermint extract.

In a small saucepan, bring sugar and water to a boil.

Reduce the heat to medium and stir constantly until sugar is dissolved.

Stir in the peppermint extract.

Cool to room temperature and store in a glass jar in the refrigerator for up to three months.

Once you get this technique down, you can create a variety of coffee drinks and cocktails for the holiday season. This recipe yields enough syrup for 5-7 peppermint mochas at home.

Do You Have Any Peppermint Mocha Topping Suggestions?

I don’t usually top mine, to save on calories, but I do have some ideas on how you can make this festive. A drizzle of dark chocolate, white chocolate, or a simple chocolate syrup is a great to pour over a little whipped cream.

If you are feeling extra festive, try adding some fun holiday sprinkles to really make it festive

How Can I Make This Into a Peppermint Mocha Gift for the Holidays?

How fun would it be to make Peppermint Syrup in a jar as a fun holiday gift with all the supplies?

In a basket add your syrup, a good quality coffee, cocoa powder, a festive mug, and candy canes to stir, along with this recipe.

So easy and a great way to start anyone’s day.

I Don’t Have Time to Make a Homemade Peppermint Syrup. Can I Buy Peppermint Syrup from Starbucks?

Simply call ahead to your favorite Starbucks joint and ask if they have a spare bottle of Peppermint Syrup that you can buy or if they can order it for you, if they happen to be running low.

A bottle runs less than $10 or approximately the cost of two of those coffee drinks that you would buy.

Remember, you can split a bottle with a friend if you don’t picture yourself drinking one all winter long or save it for those Peppermint Mocha Frappes, in the summer months.

If you don’t care if the syrup is from Starbucks, here are some more affordable options!

How Can I Enjoy This If I Don’t Like Coffee?

First of all, how dare you.

Secondly, I have a really simple peppermint hot cocoa recipe that would still satisfy those minty cravings you might be having!

These are every bit as good as Starbucks, but costs a lot less than your coffee shop ones. I hope you will enjoy this recipe as much as you have enjoyed the other coffee creations from our kitchen!

What Our Readers Said About This Peppermint Mocha Recipe:

This is fabulous! Thank you so much for sharing. The first cup I made, I gave to my husband with the disclaimer “I’ve never made this. Don’t expect it to taste just like Starbucks.” (We are obsessed with their peppermint mocha lattes but can’t afford them). Still, his eyes lit up like I had just given him the best gift ever! It’s so delicious. 🙂- Sarah

Fabulous! I used twice as much sugar for the syrup, and twice as much peppermint extract just because i have a sweet tooth and I love a lot of mint flavor. Tried adding it to coffee without the cream, that’s just not the same, not a step i recommend skipping, but whole milk works wonders too. Thank you so much for this recipe. You saved me so much money buying my coffee out or the creamers. You definitely helped make my holiday more festive this year. So happy to read your blog. Merry Christmas!- Liz

Aren’t they the best? I hope you love this recipe as much as they did!

toppings for a peppermint mocha at home

Homemade Peppermint Mocha
 
Recipe Type: Drinks
Author: MomAdvice.com
Prep time:
Cook time:
Total time:
Serves: 1 Peppermint Mocha
Nothing says the holidays like a Peppermint Mocha. Today I’m sharing how you can make this super easy recipe right at home. NO need to spend a lot this holiday season, with this copycat Starbucks Peppermint Mocha recipe.
Ingredients
  • 1 cup milk, steamed
  • 1 cup very strong coffee (4 tablespoons coffee grounds to 1 cup of hot water, I prepared this in my French Press, but you can brew a strong drip pot if you prefer)
  • 1 tablespoon cocoa powder
  • 2 tablespoons of sugar
  • 2-3 tablespoons peppermint syrup (read the post for the directions on how to make this)
  • Whipped cream (optional)
  • Chocolate Syrup (optional)
  • Crushed Peppermints (optional)
Instructions
  1. Directions:
  2. Prepare your hot water in your tea kettle.
  3. Add four tablespoons of your favorite coffee grounds to your French Press.
  4. Pour 1 cup of hot water over them and allow the coffee to steep for four minutes while you prepare the other ingredients.
  5. In a pot, heat up one cup of milk until it is steaming.
  6. Froth the milk with a wire whisk or an immersion blender until it is nice and foamy.
  7. In your coffee cup, mix together the prepared coffee, cocoa powder, sugar, and peppermint coffee syrup until the sugar and cocoa powder are dissolved and there are no lumps.
  8. Pour the milk foam over the top of the coffee/mocha mixture and stir to incorporate.
  9. Top with whipped cream, a generous drizzle of chocolate syrup, and crushed peppermints.


Love this recipe? Here are a few others you might like!

Salted Caramel Mocha Latte Recipe from MomAdvice.com salted caramel mocha latte recipe

As an Amazon Associate I earn from qualifying purchases.

Looking for more great drink recipes? Here are a few others we think you will love this fall!

How to Make a Pumpkin Spice Latte from MomAdvice.com homemade pumpkin spice latte

DIY Your Own Chai Tea Mix from MomAdvice.com homemade vanilla chai mix recipe (an easy diy for the pantry!)

How to Make a Gingerbread Latte from MomAdvice.com how to make a gingerbread latte

How to Cold Brew Coffee from MomAdvice.com how to cold brew coffee at home

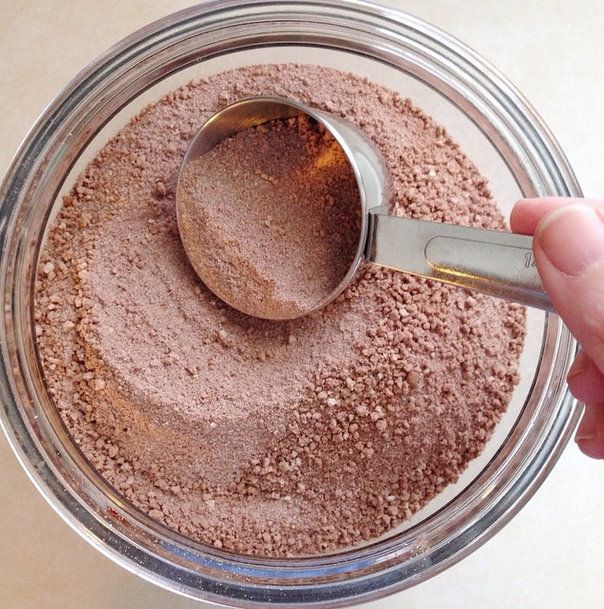
Amy's Famous Cocoa Mix Amy’s Famous Hot Cocoa Mix

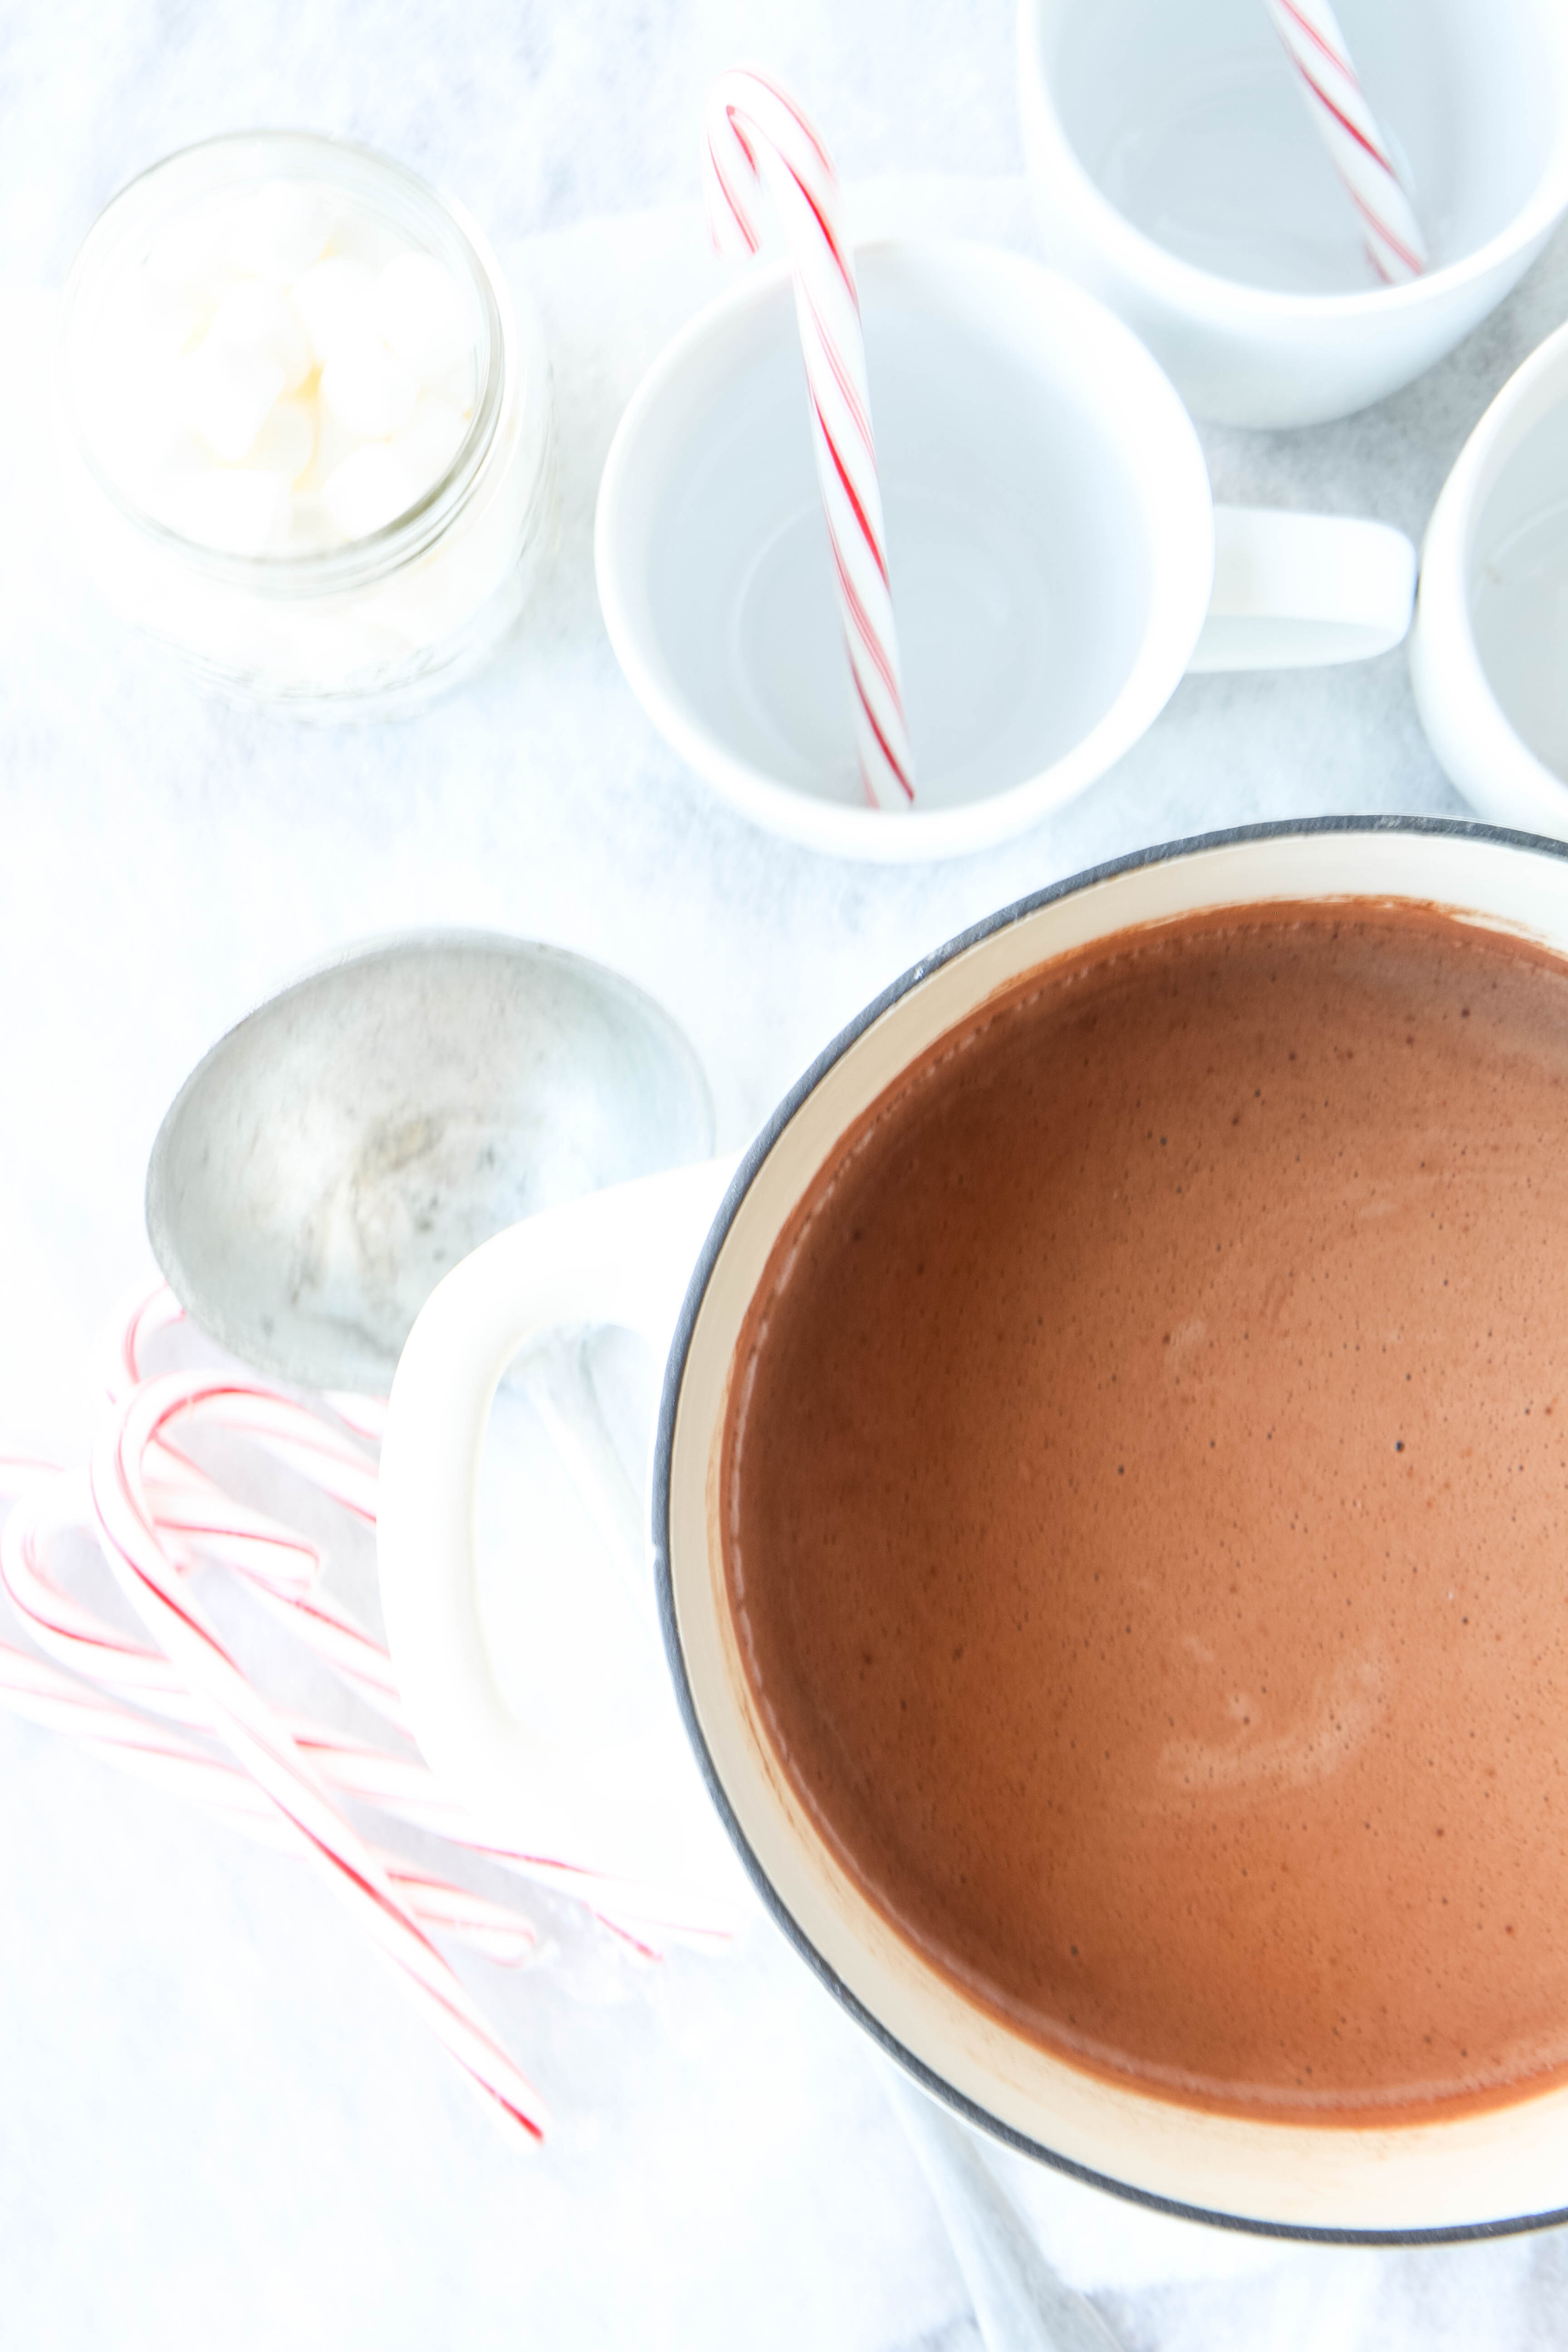
Peppermint Cocoa Recipe from MomAdvice.com peppermint cocoa recipe

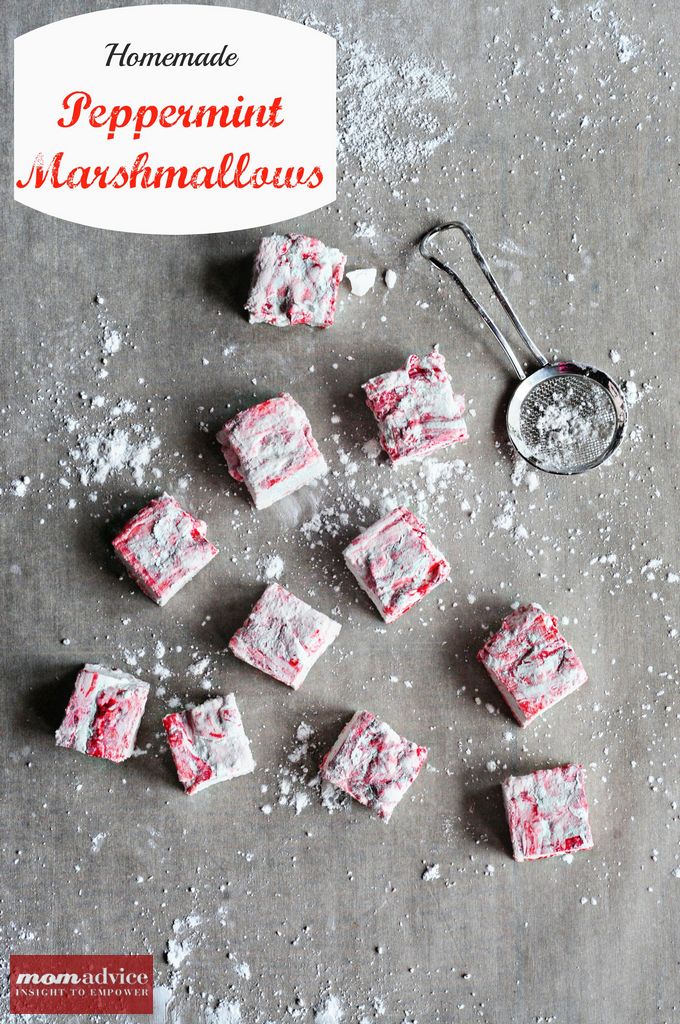
Homemade Peppermint Marshmallows from MomAdvice.com homemade peppermint marshmallows

Chocolate Coffee Spoons from MomAdvice.com chocolate coffee spoons (perfect for upping that mocha taste with a chocolate sauce!!)

Do you have any suggestions to improve on this DIY Peppermint Mocha?

Be sure to leave them in the comments below!

Easy Peppermint Mocha: Starbucks Copycat Recipe


Pin It
Buttery Dinner Rolls in the Bread Machine

Wednesday, November 6th, 2019

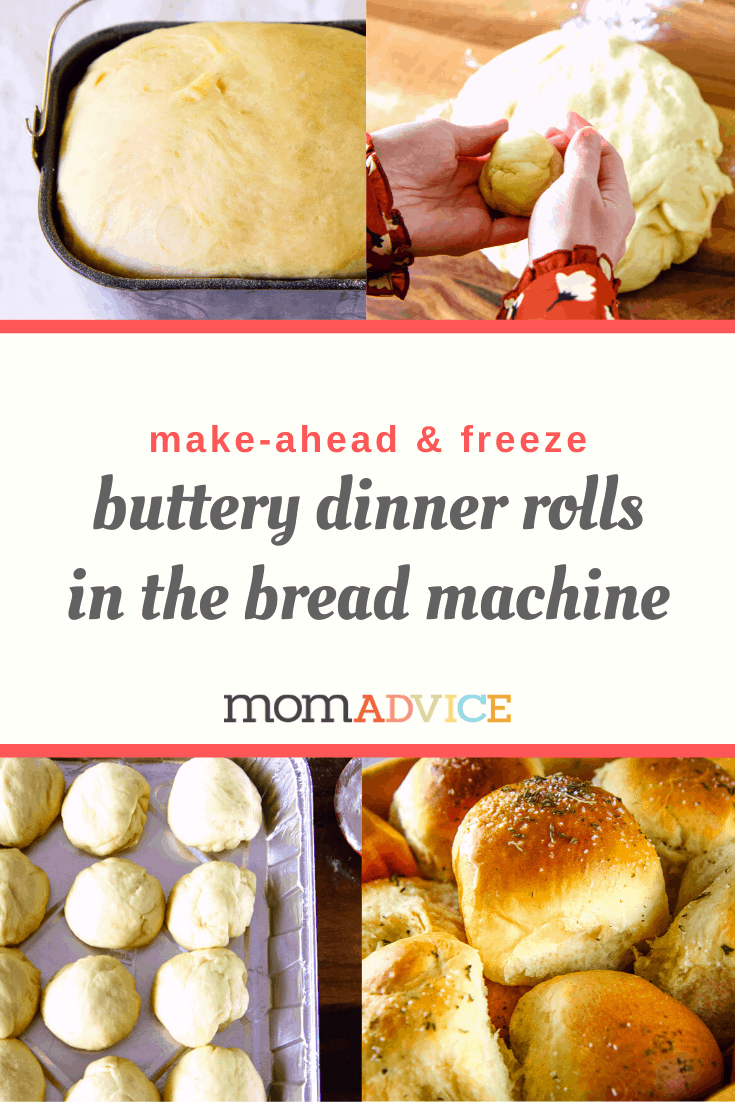
Buttery Dinner Rolls in the Bread Machine from MomAdvice.com

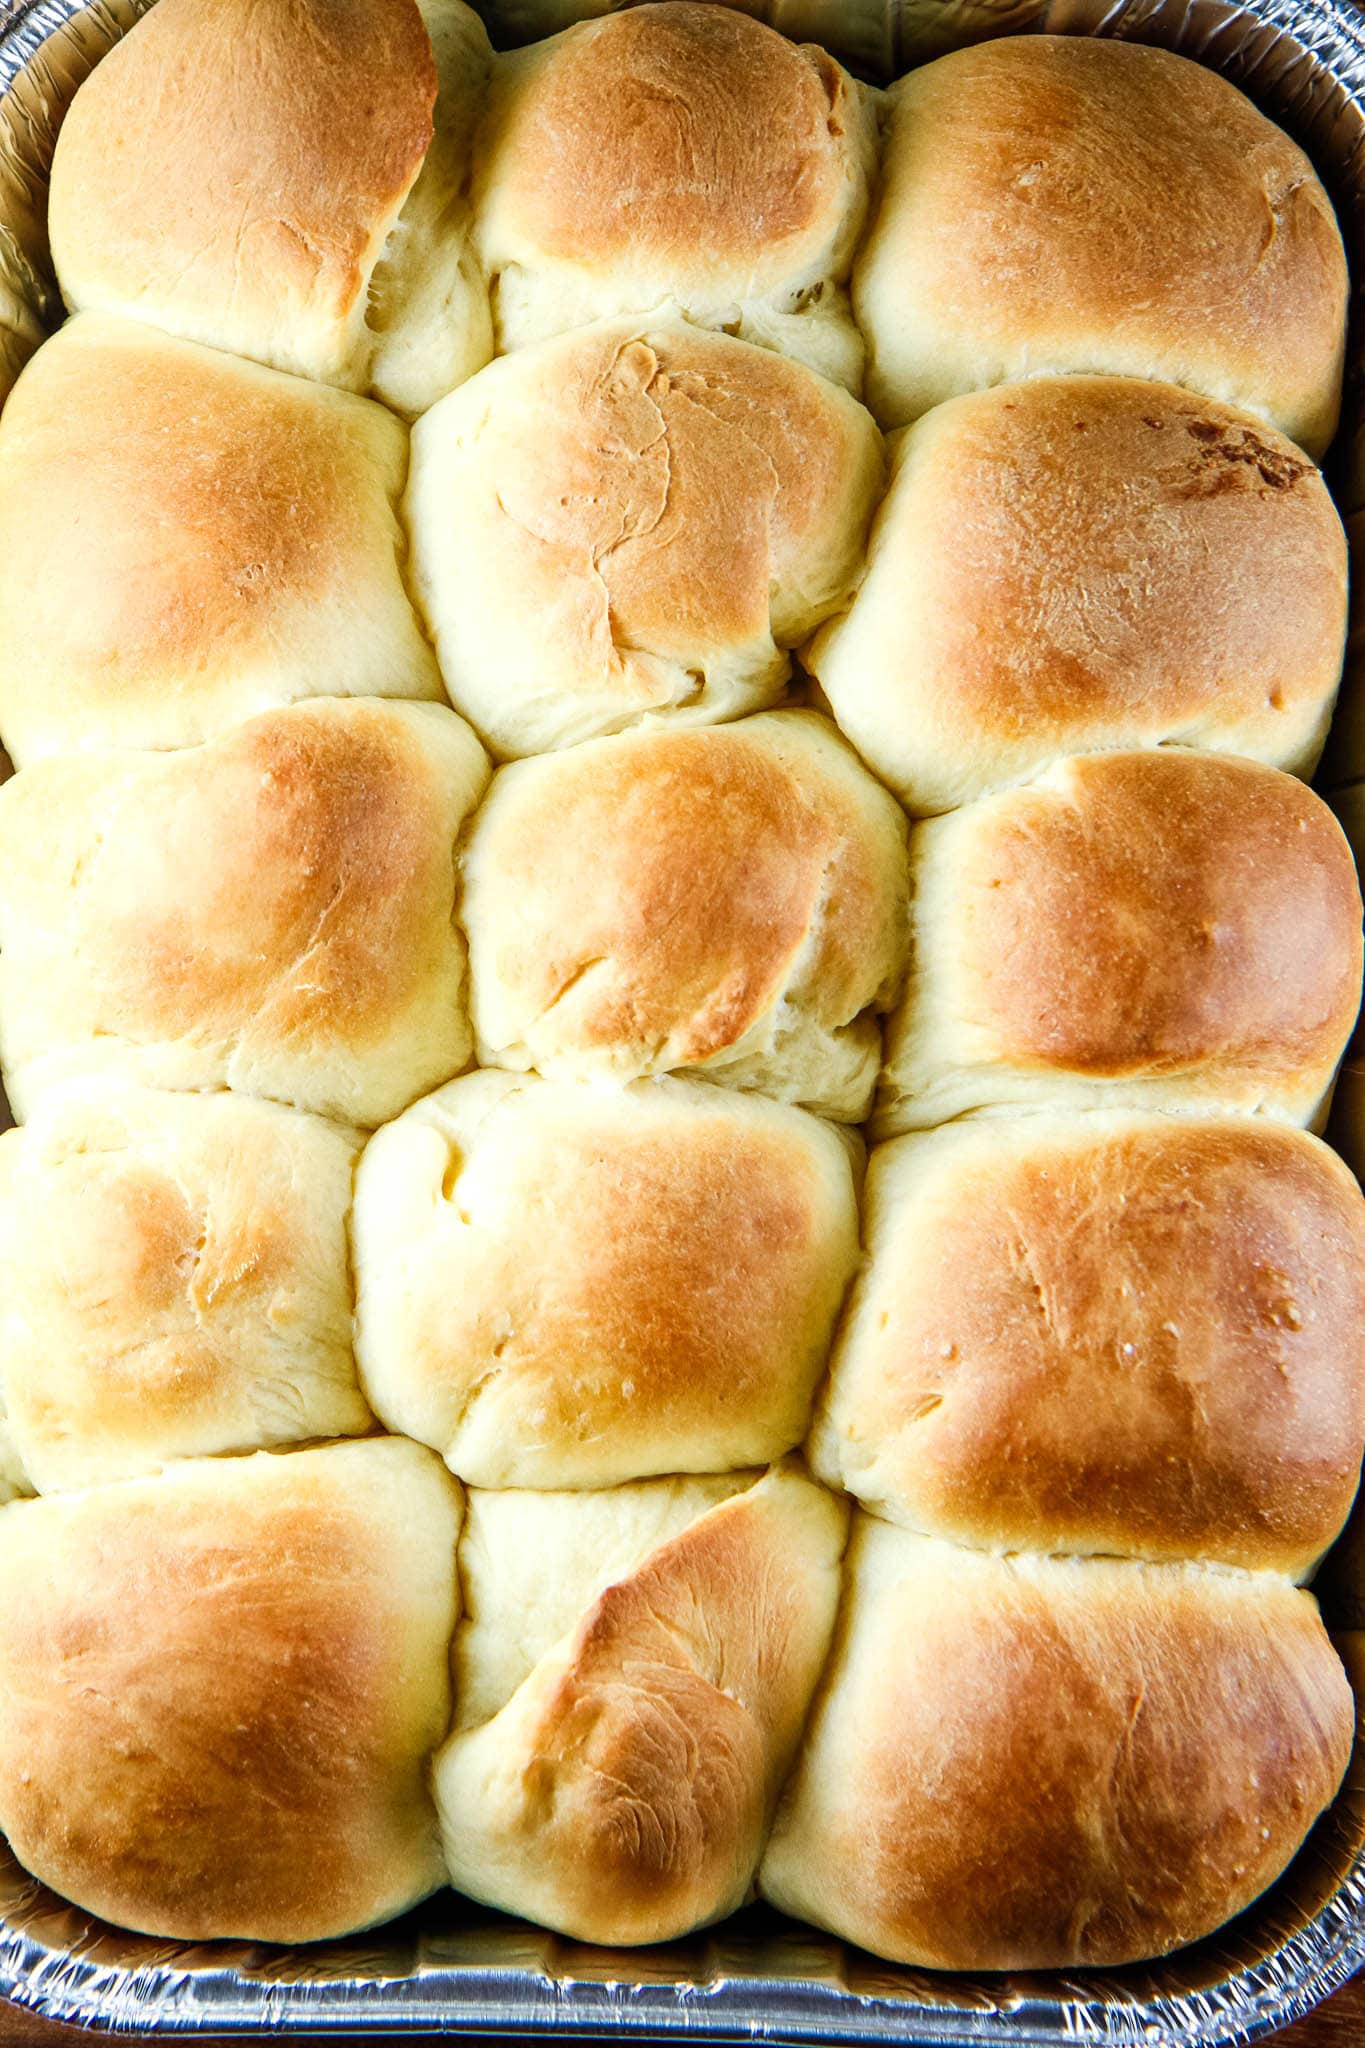
You won’t believe how easy it is to make these buttery bread machine rolls in your bread machine. This is our favorite holiday roll, served up with melted butter and garnished with dried herbs. Add this super easy bread machine roll to your menu today.

Today I am sharing a foolproof bread machine roll that is perfect to make and freeze for the holiday season.

If you are looking for the perfect dinner roll, I have the perfect recipe for you.

These buttery bread machine rolls are my go-to bread recipe for all of our holiday meals.

I also love that you can switch out the toppings on the rolls to make them savory or sweet.

Just take a peek in your cupboard or fridge to dream up your own flavor combo.

Buttery Dinner Rolls in the Bread Machine from MomAdvice.com

The bread machine became my most relied upon tool when whipping up pizzas, cinnamon rolls, and fancy bread for my family.

Be sure to read read this Bread Machine 101 article for some background information on the purpose of this appliance.

If you don’t have a bread machine, check at yard sales or at your local thrift shop. My last three bread machines have all been found in places like these. They are often priced at around $15-20 used!

Be sure to check there when doing your shopping!

Buttery Dinner Rolls in the Bread Machine from MomAdvice.com

Buttery Dinner Rolls in the Bread Machine from MomAdvice.com

Buttery Dinner Rolls in the Bread Machine from MomAdvice.com

Buttery Dinner Rolls in the Bread Machine from MomAdvice.com

There is just so much to love about this roll recipe.

First of all, it isn’t sticky or hard to work with at all.

Secondly, it is quick to shape.

Third, it rises like a dream.

And fourth, you can customize the rolls to your heart’s delight.

One year I added cinnamon butter on the side or have brushed the rolls with butter and a generous shake of cinnamon & sugar.

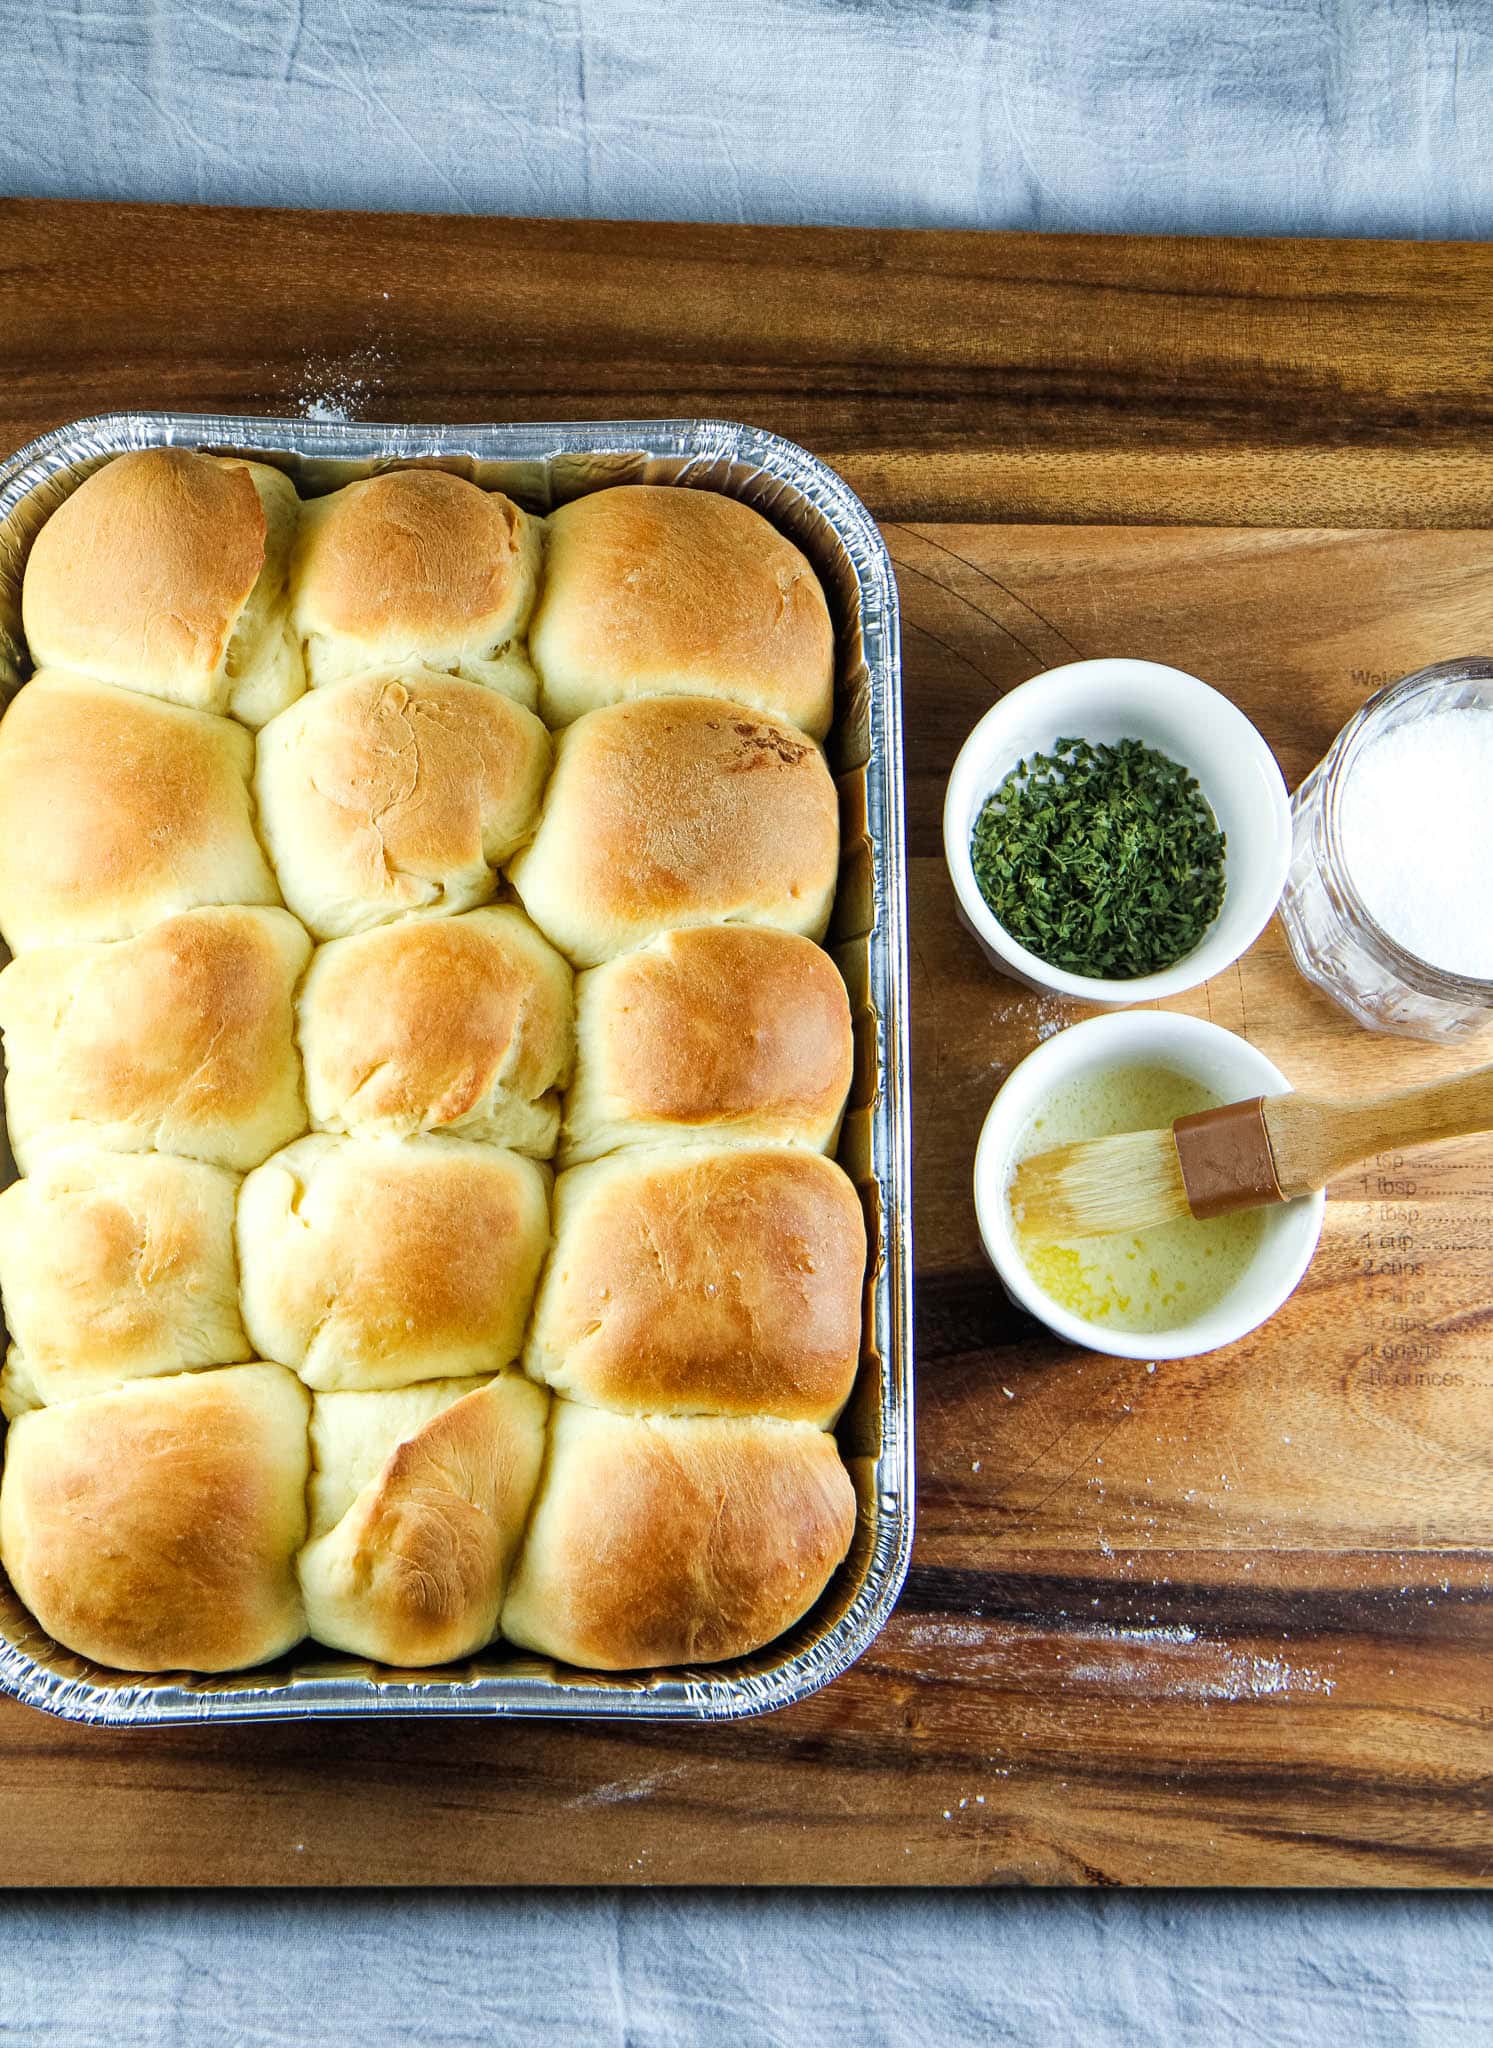
The rolls I baked tonight, for example, accompanied our weeknight chicken noodle soup. For this flavor combination, I brushed them with a little butter, salt, and dried rosemary for a yummy finish.

If you have never made rolls before, try making a practice batch for your Thanksgiving feast, like I have shown here.

One batch of rolls will yield about 15 rolls.

Freeze the rolls after shaping. The dinner rolls can be frozen for a month, and then pulled from the freezer the night before your big day.

Allow them to rise overnight then bake as directed.

Buttery Dinner Rolls in the Bread Machine from MomAdvice.com

Buttery Dinner Rolls in the Bread Machine from MomAdvice.com

Buttery Dinner Rolls in the Bread Machine from MomAdvice.com

Here are a couple of commonly asked questions on this Buttery Dinner Rolls Bread Machine recipe!

What is a Bread Machine?

A bread making machine or bread maker is a home appliance for baking bread.

The bread machine is simple in its construction and consists of a bread pan (or “tin”), at the bottom. At the bottom of the tin are built-in paddles, mounted in the center of a small of the tin.

This little oven is controlled by a simple built-in computer, the settings for which are inputted on the control panel.

Most bread machines have different cycles for different kinds of dough. Typically, cycles include the following cycles: white bread, whole grain, French, and dough-only.

Many also have a timer to allow the bread machine to activate without you even being present.

How awesome is that?

Some of the older bread machines have just a handful of simple settings while newer models offer more advanced cycles like making jam or cake baking settings.

To be honest, I don’t use the fancy bread machine cycles and mostly use the Basic and Dough setting, which can be found on every machine.

The basic cycle is just the basic setting for making a loaf of bread.

The Dough cycle (that we are using here) just completes the kneading and rising of the dough. Once the dough cycle is complete, you can take the dough out and shape it into these simple dinner rolls.

What is the Difference Between Bread Flour and All- Purpose Flour?

The biggest difference is just protein content. Bread flour has more protein content than all-purpose, which helps with gluten development. Recipes, like this dinner roll, call for it when an especially chewy and elastic crumb is desired.

Since we want these to be more elastic in nature, we are using bread flour in this recipe.

If you don’t have bread flour on hand, you can substitute with all-purpose flour in a pinch. Honestly, I do think it makes a difference in the texture of the roll when you substitute with all-purpose flour. Bread flour yields less crumbs and has a more elastic texture, both qualities I love in a good roll.

Make Ahead Buttery Bread Machine Rolls
 
Recipe Type: Side
Author: Amy Clark
Prep time:
Cook time:
Total time:
Serves: 15
A foolproof bread machine roll recipe that can be customized with whatever compliments your meal- sweet toppings, savory toppings, or flavored butters. Freeze these for the holidays and bask in the compliments when hosting your holiday feasts!
Ingredients
  • 1 cup milk (110 degrees F.)
  • 1/2 cup butter, room temperature
  • 1/4 cup granulated sugar
  • 2 eggs, room temperature and lightly beaten
  • 3/4 teaspoon salt
  • 4 cups bread flour (you can substitute with all-purpose flour if needed)
  • 3 teaspoons instant yeast
Instructions
  1. Place all ingredients in (in order given) in bread pan of your bread machine.
  2. Select DOUGH setting and press start
  3. When dough cycle has finished, remove dough from pan and turn out onto a lightly-floured surface.
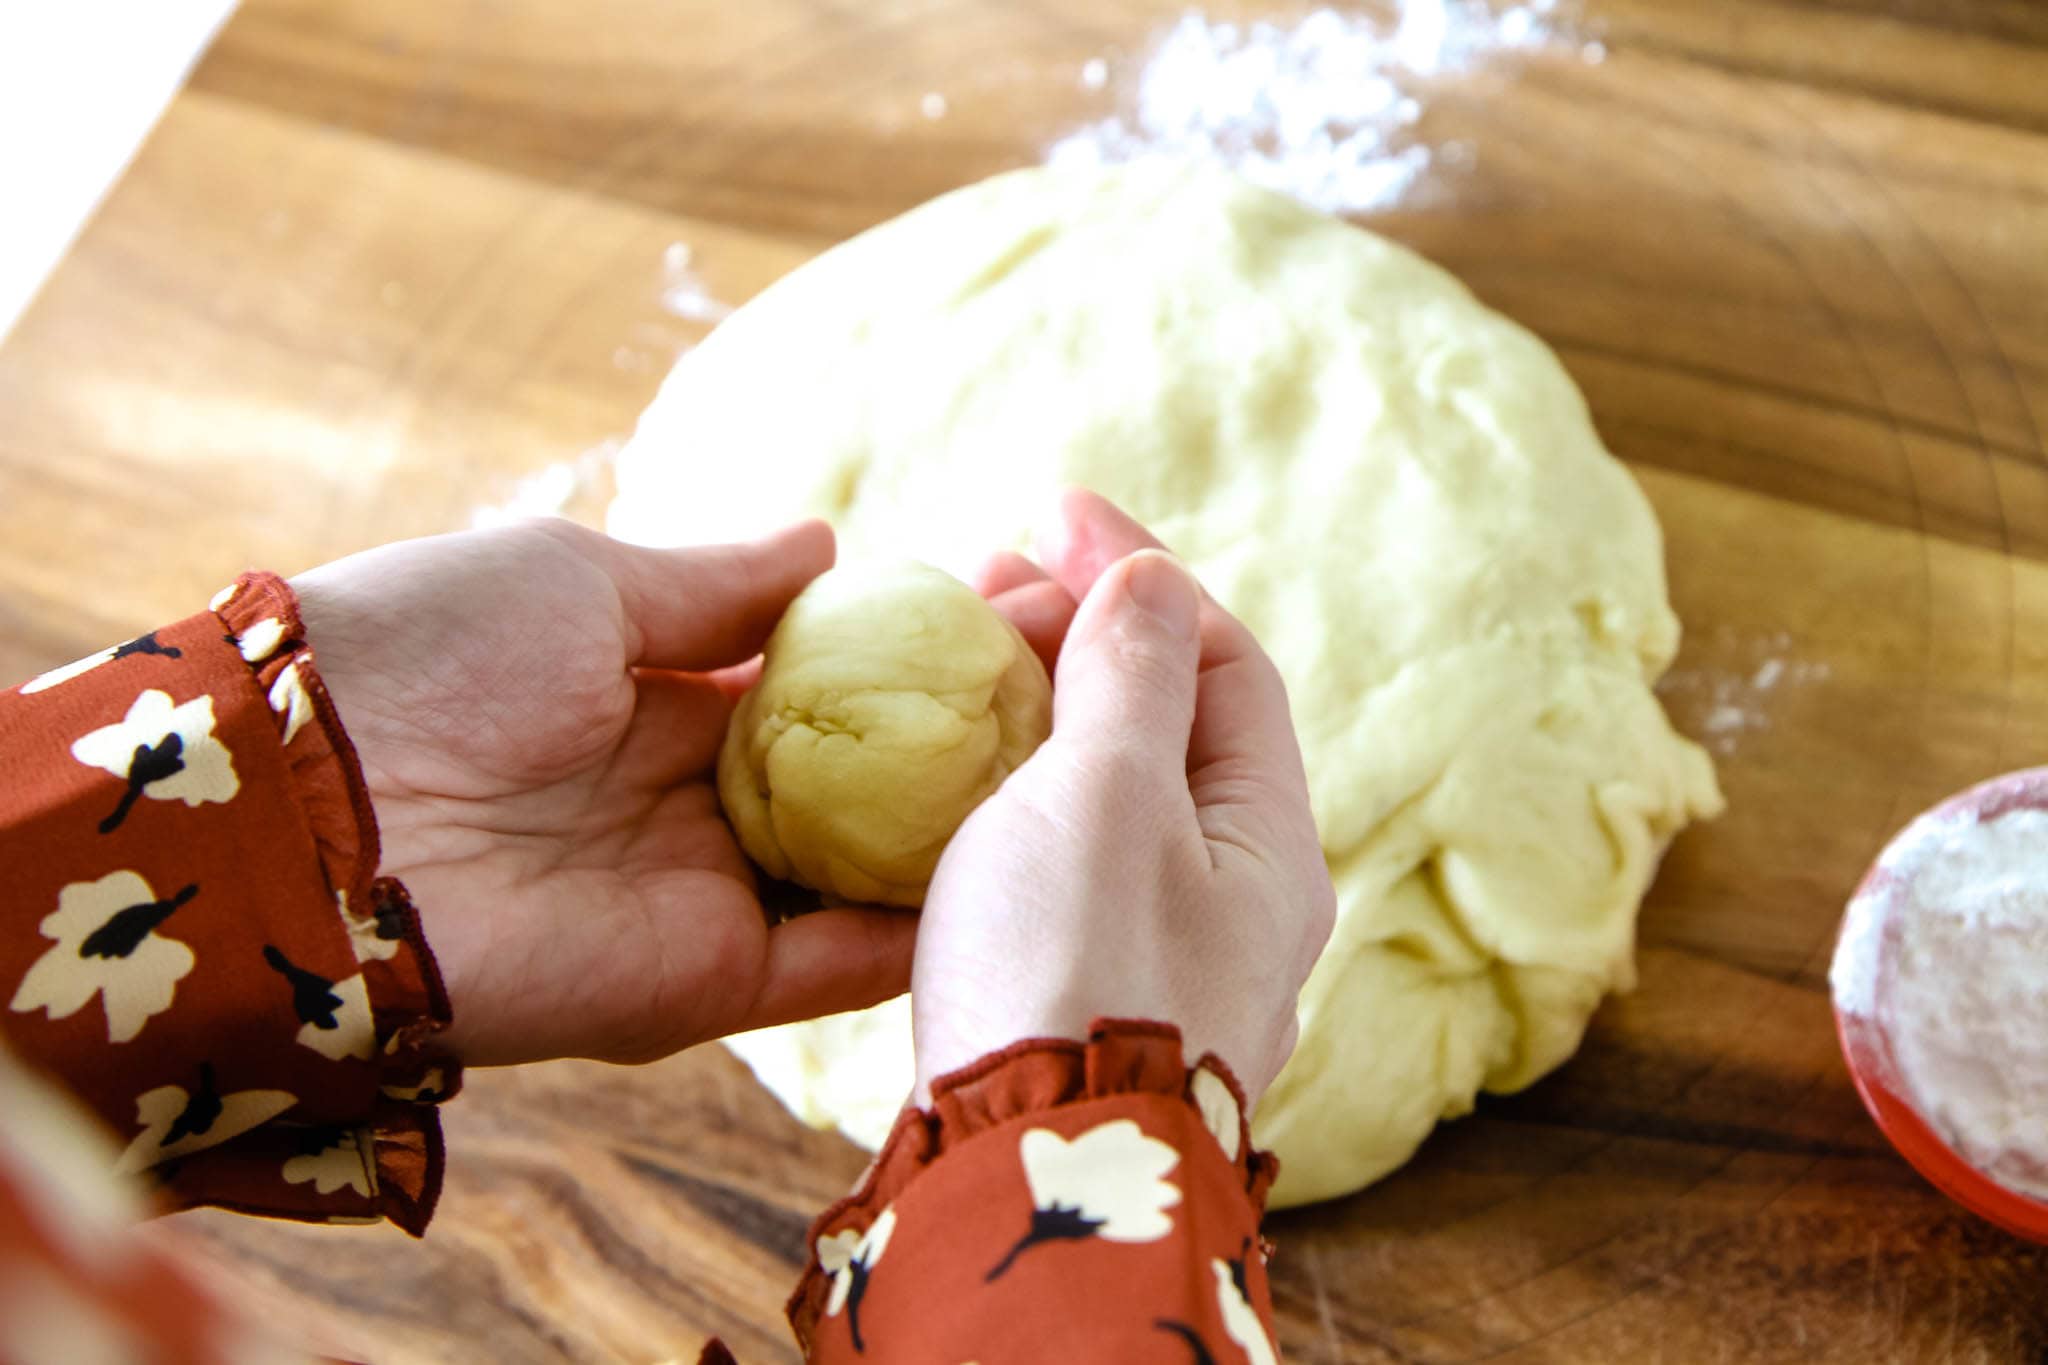
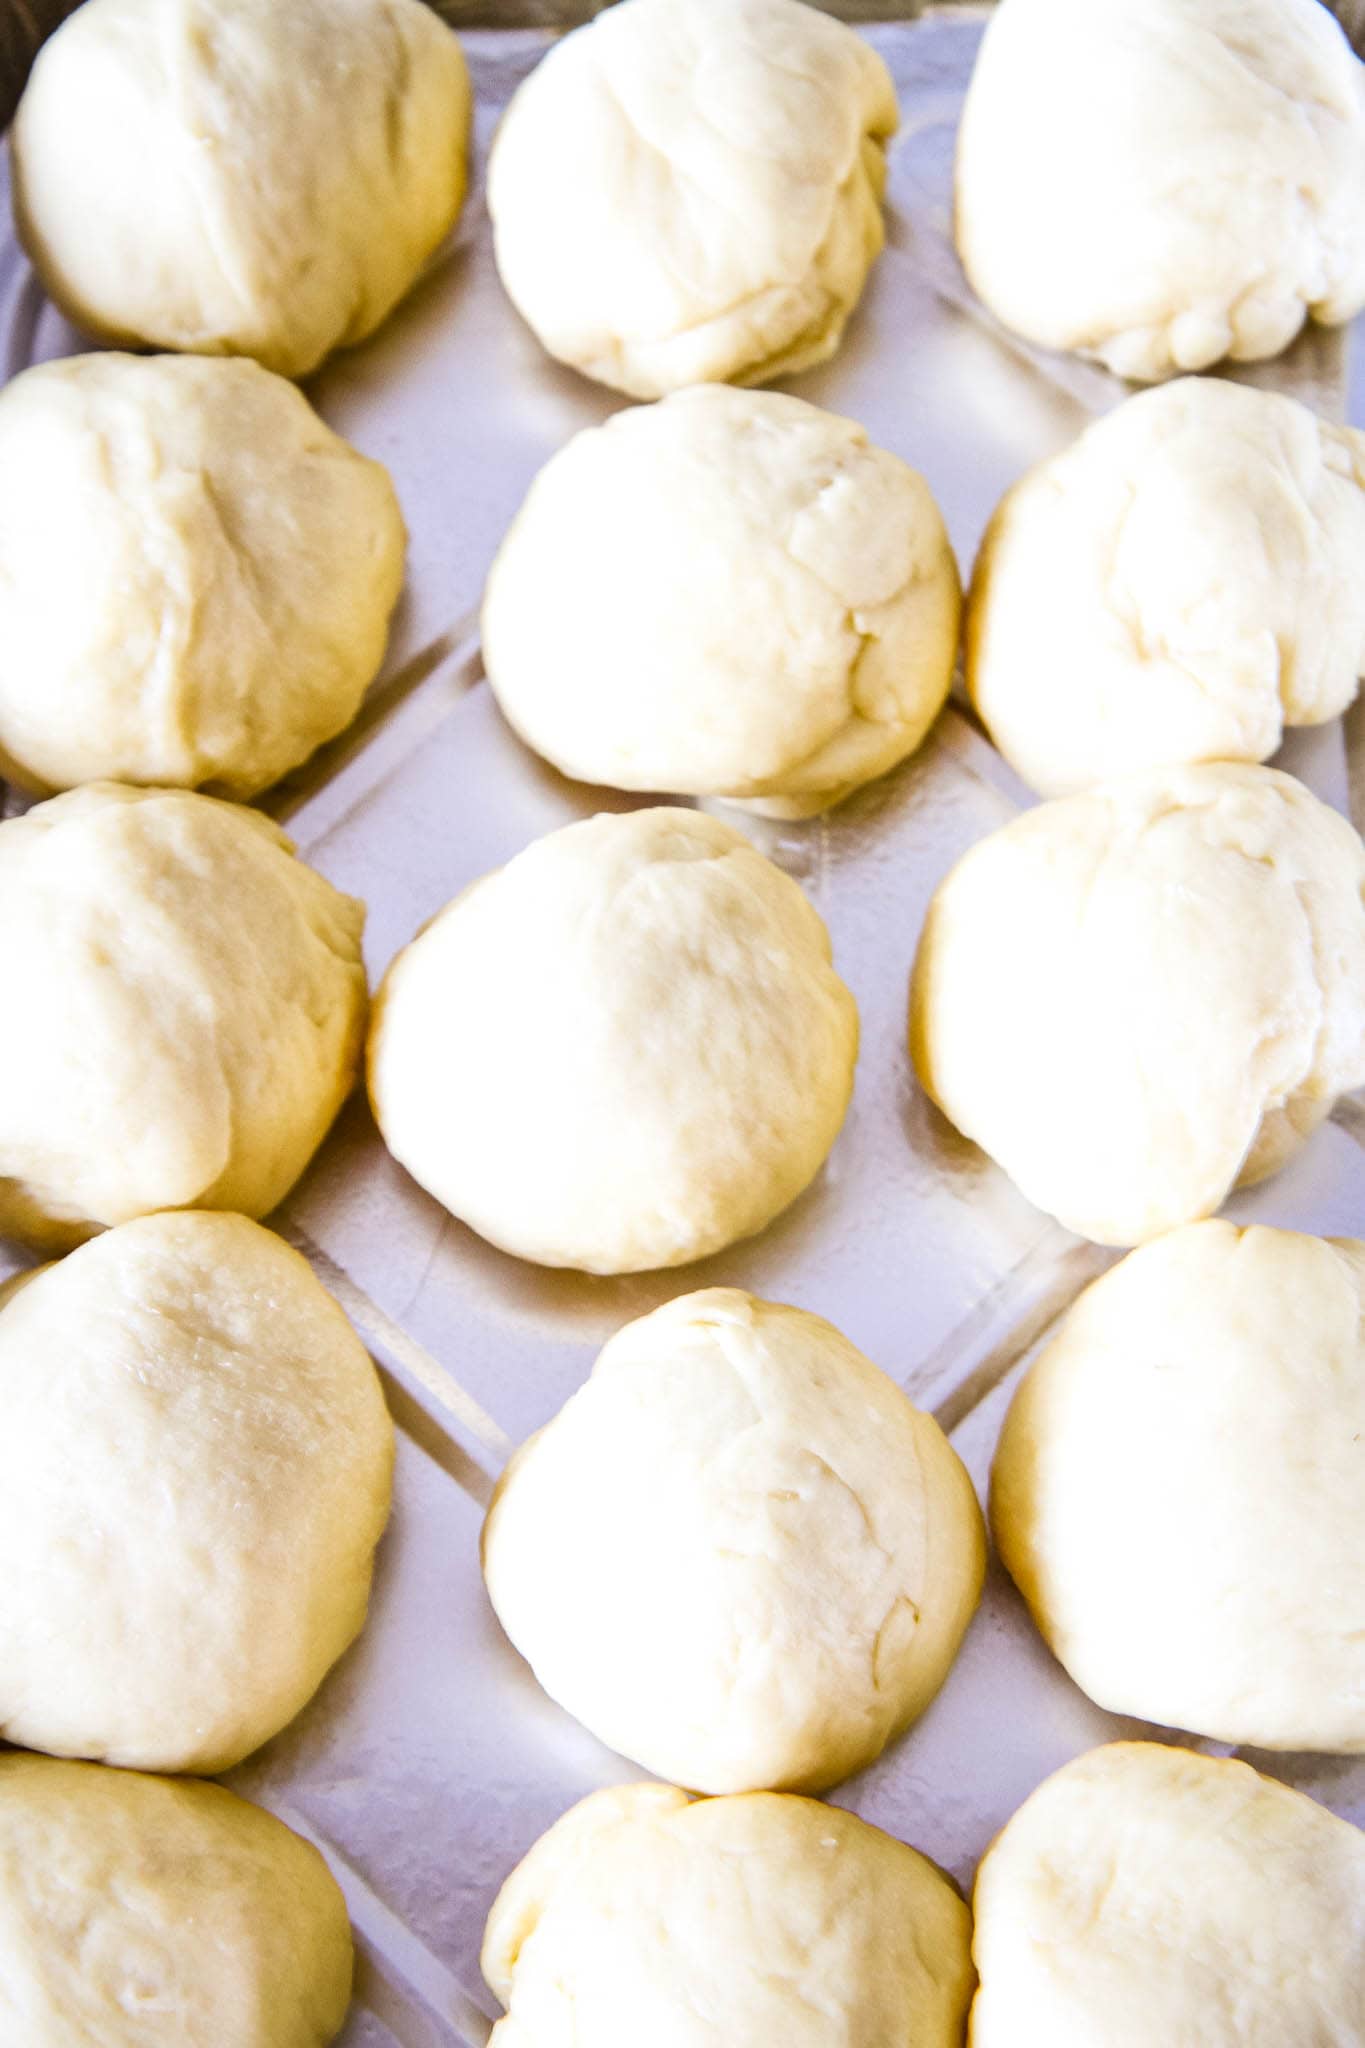
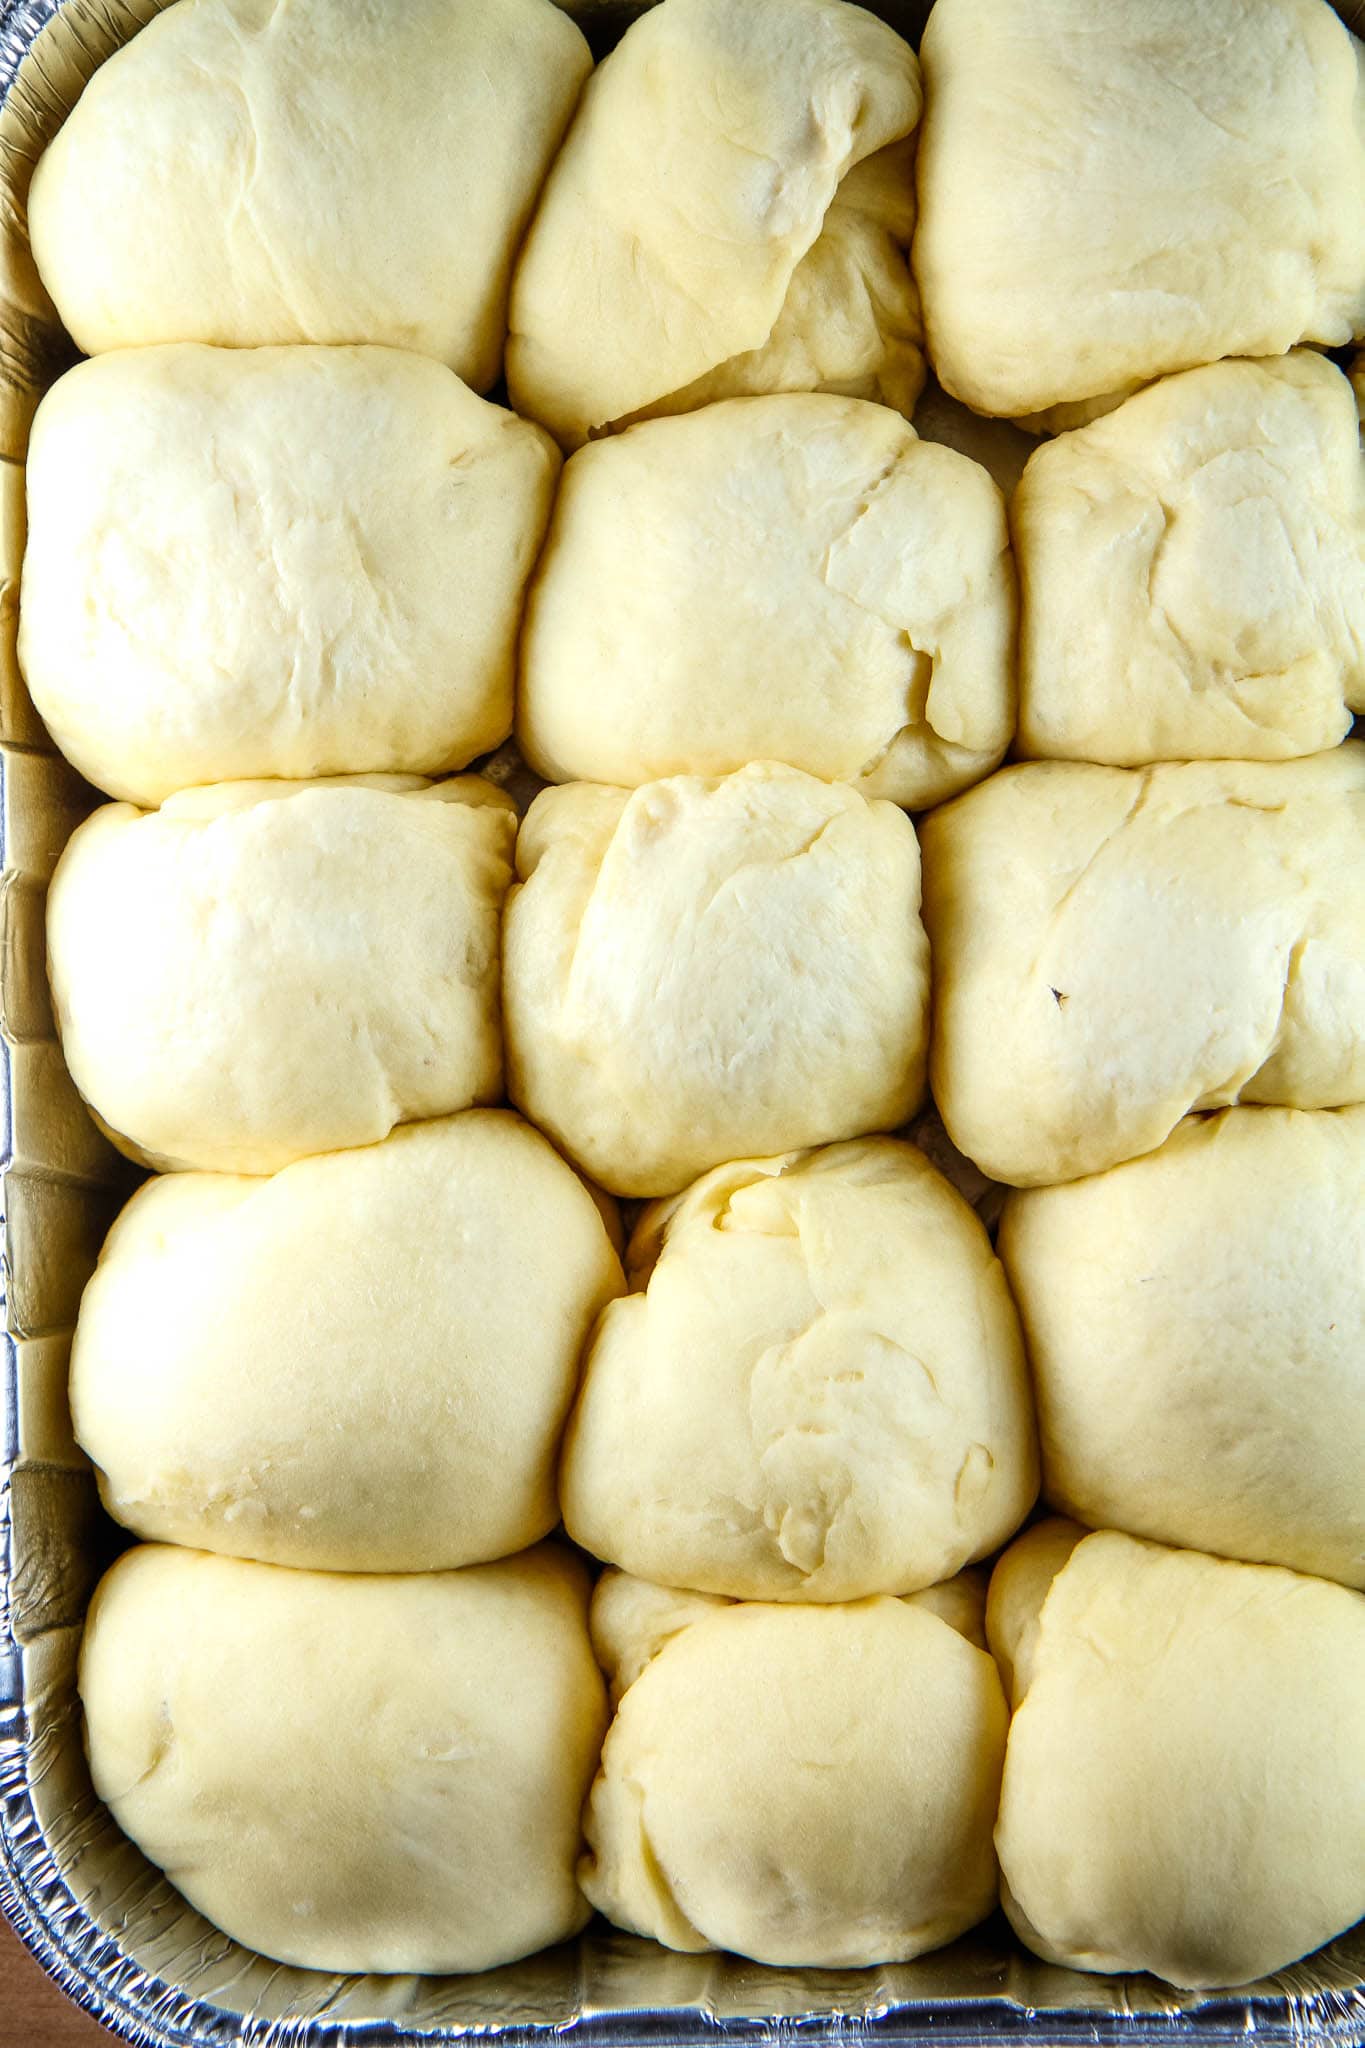
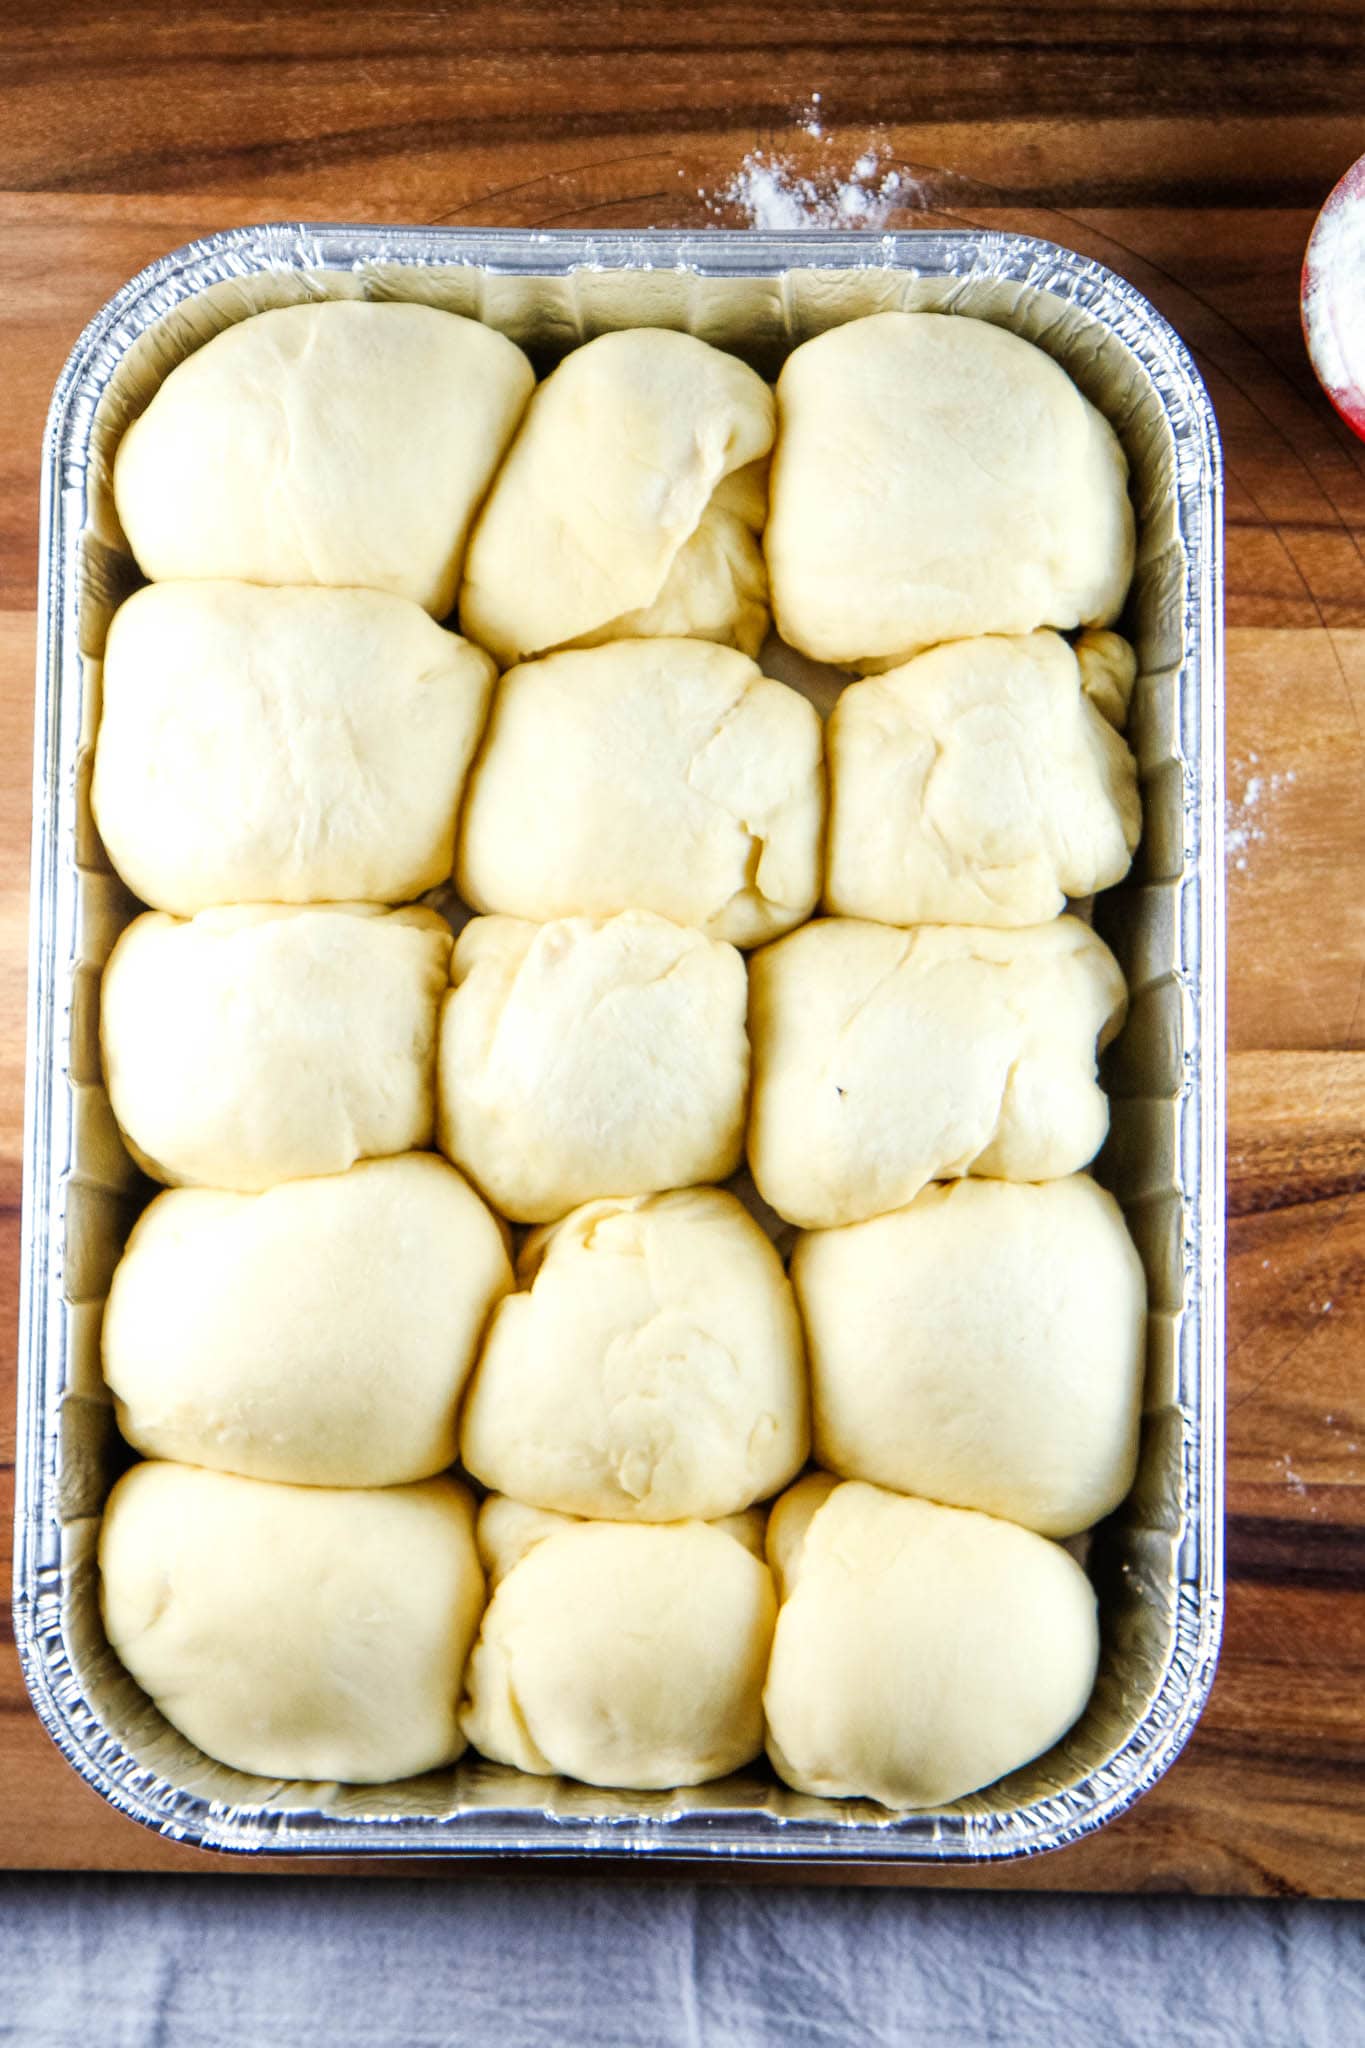
  4. Shape into balls of dough and place in a greased baking pan to make the rolls.
  5. Cover and let rise in a warm place for an hour.
  6. If freezing, freeze now (for up to one month).
  7. Before baking, allow rolls to thaw completely and rise overnight.
  8. Preheat oven to 375 degrees F. Bake in a regular oven approximately 20 to 25 minutes or until they are a light golden brown. Remove from oven and let cool slightly. Serve warm or at room temperature.
  9. Brush with butter and favorite blend of seasonings or herbs (optional)
 

These are so beautiful and so delicious. Don’t be surprised if they are the only thing everyone talks about at dinner!


Looking for more Thanksgiving Make-Ahead Dishes? Here are a few of my favorites!


Ultimate Make-Ahead Gravy Recipe from MomAdvice.com make-ahead gravy recipe

Make-Ahead Cranberry Sauce from MomAdvice.com make ahead cranberry sauce

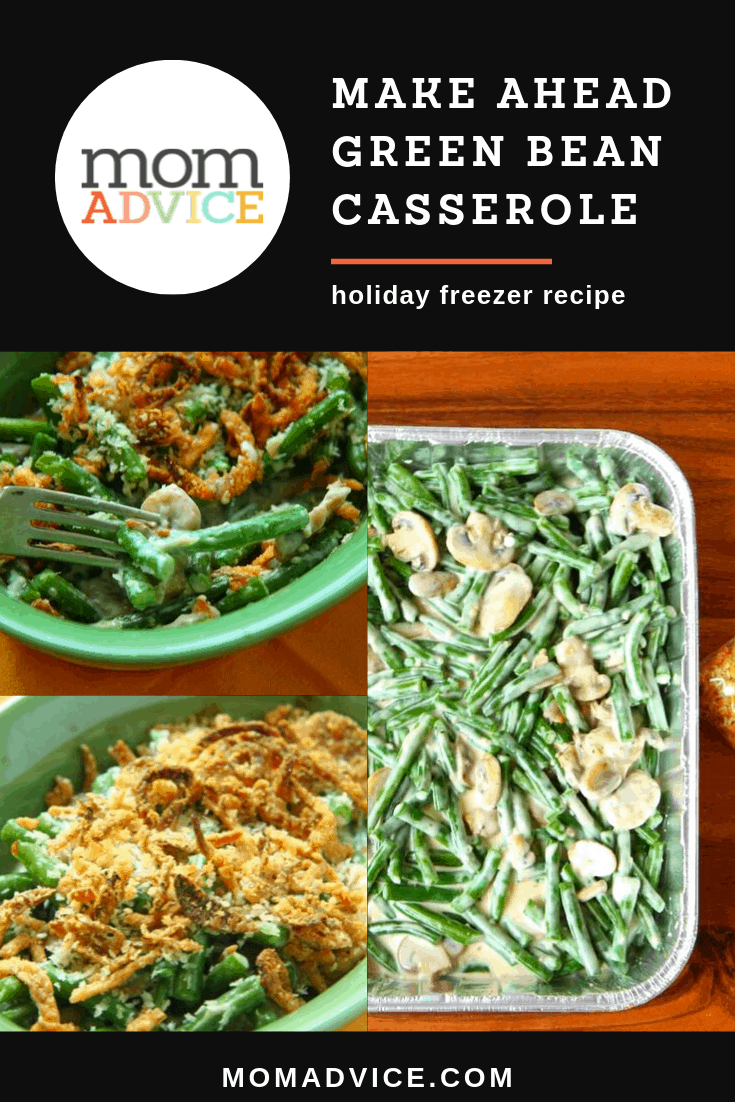
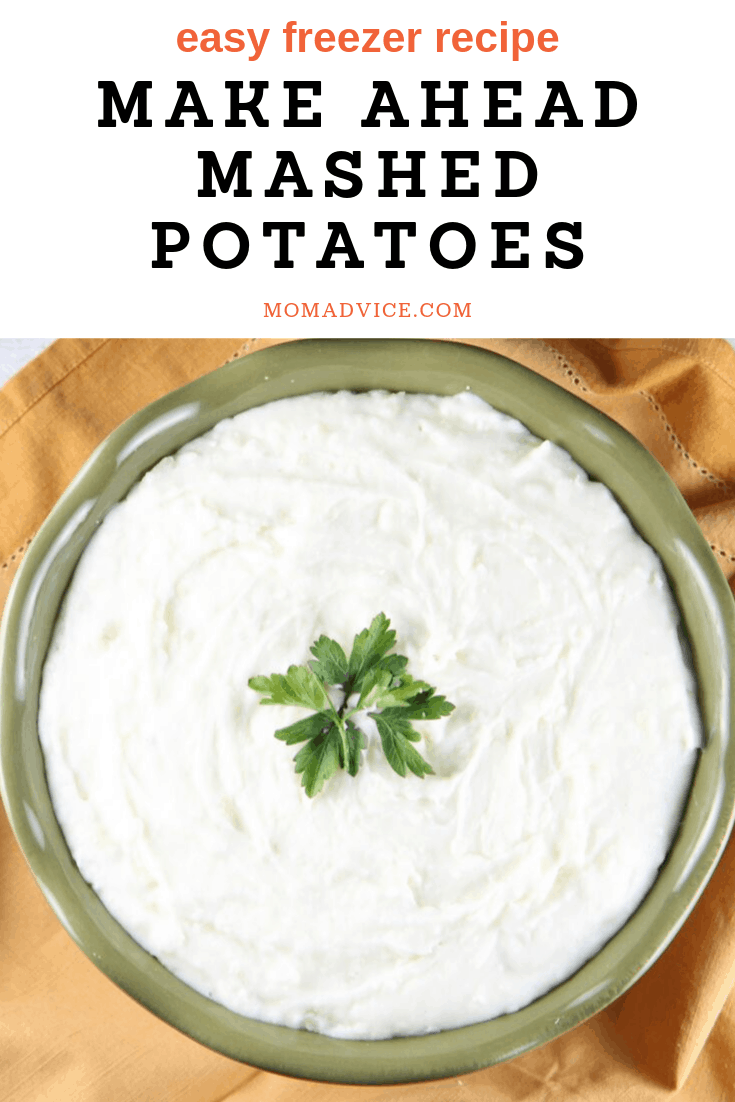
Make-Ahead Green Bean Casserole make-ahead green bean casserole make-ahead mashed potatoes make-ahead mashed potatoes

make-ahead apple, sausage, and sage sourdough stuffing

Bacon, Apple, and Cornbread Stuffing from MomAdvice.com make-ahead bacon, apple, and cornbread gluten-free stuffing

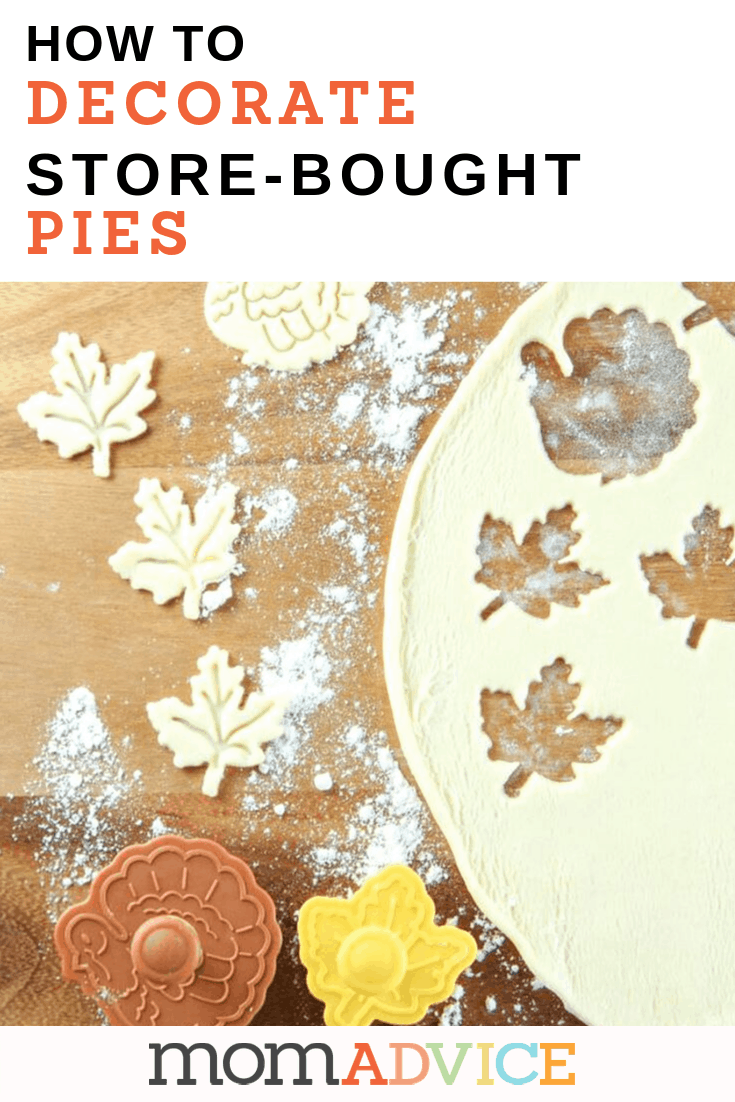
How to Decorate Store-Bought Pies from MomAdvice.com how to decorate store-bought pies for the big day

As an Amazon Associate I earn from qualifying purchases.

This post contains affiliate links.

Buttery Dinner Rolls in the Bread Machine from MomAdvice.com


Pin It
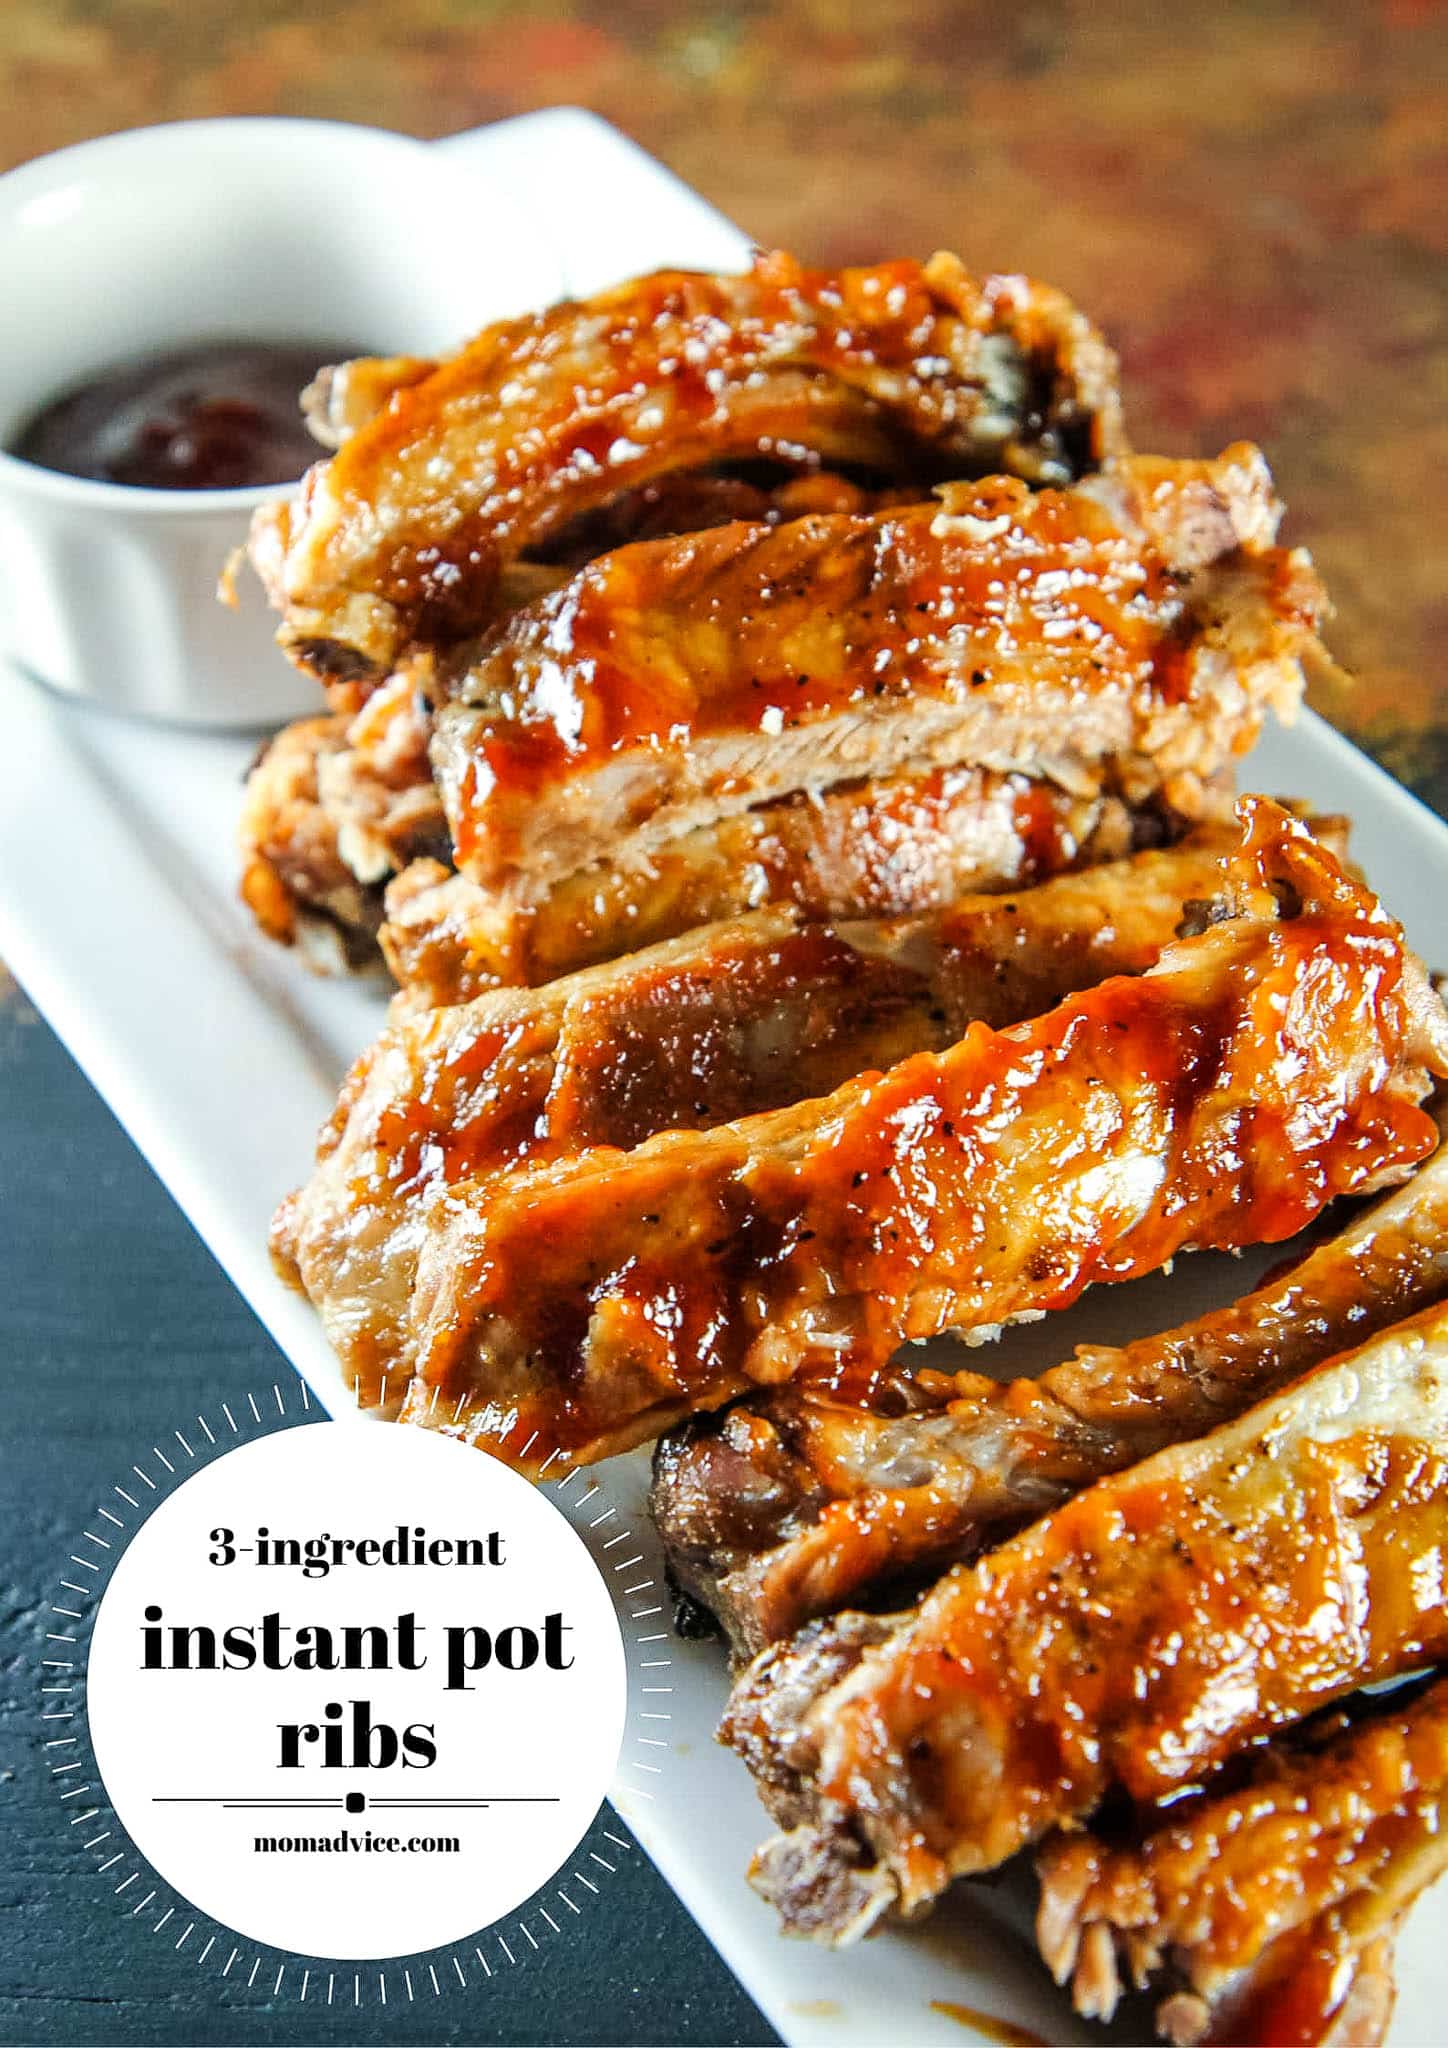
3-Ingredient Instant Pot Ribs Recipe

Tuesday, November 5th, 2019

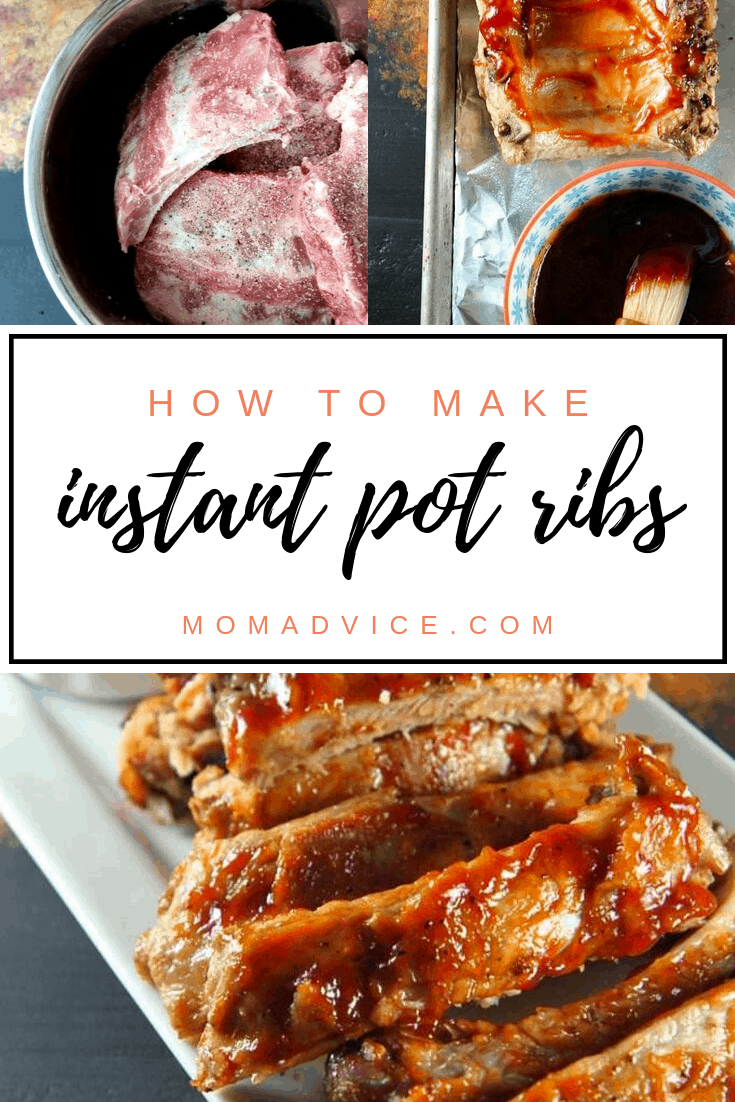
3-Ingredient Instant Pot Ribs Recipe from MomAdvice.com

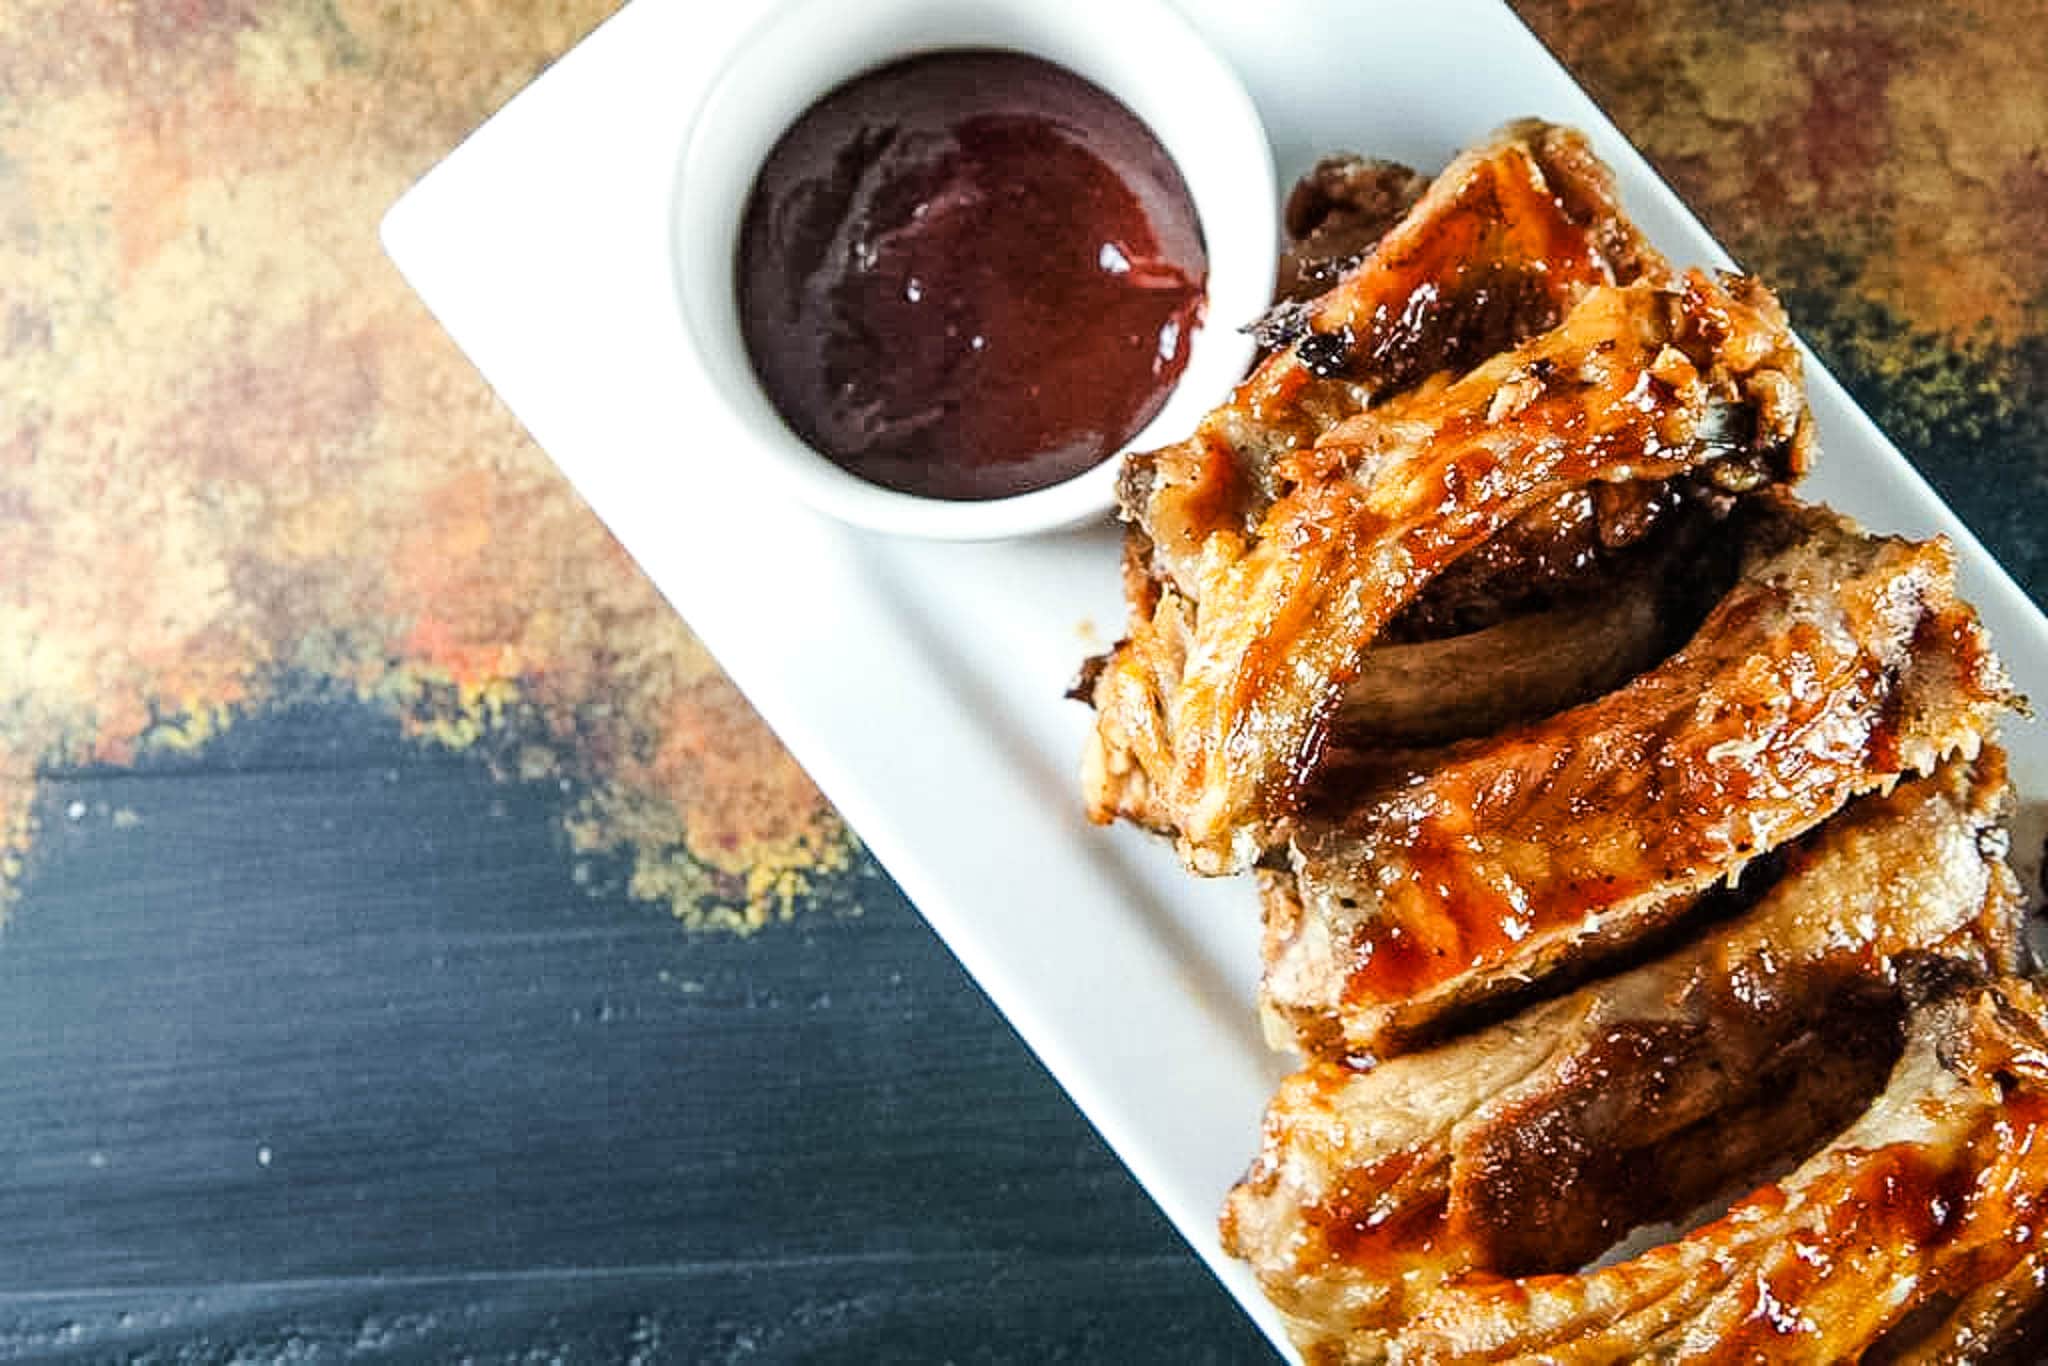
With just 3-ingredients, you can have fall-off-the-bone ribs in minutes using your pressure cooker. 

Sign up for my free weekly newsletter for loads more dinner ideas!

I remember feeling the same way when I got mine and now that I’ve been enjoying it for the last few months, I can honestly say that it has saved us a bundle on dining out thanks to its speedy cooking.

In fact, it has helped me feel more confident taking on dishes that I normally would never try, whether it is because of time constraints or complete intimidation, allowing for a lot more variety in our rather tired menu plan that had I had been executing month after month.

Of all the dishes that we have made in our pressure cooker, I must say that the biggest hit has been these easy 3-ingredient ribs that you can make in your Instant Pot.

That’s right, you can cook pork ribs right in your Instant Pot.

Can you believe it?

Ribs are something I have often thought of adding to our menu plan, but I just didn’t think they could ever taste as good as what we would get out in restaurants especially on a busy weeknight.

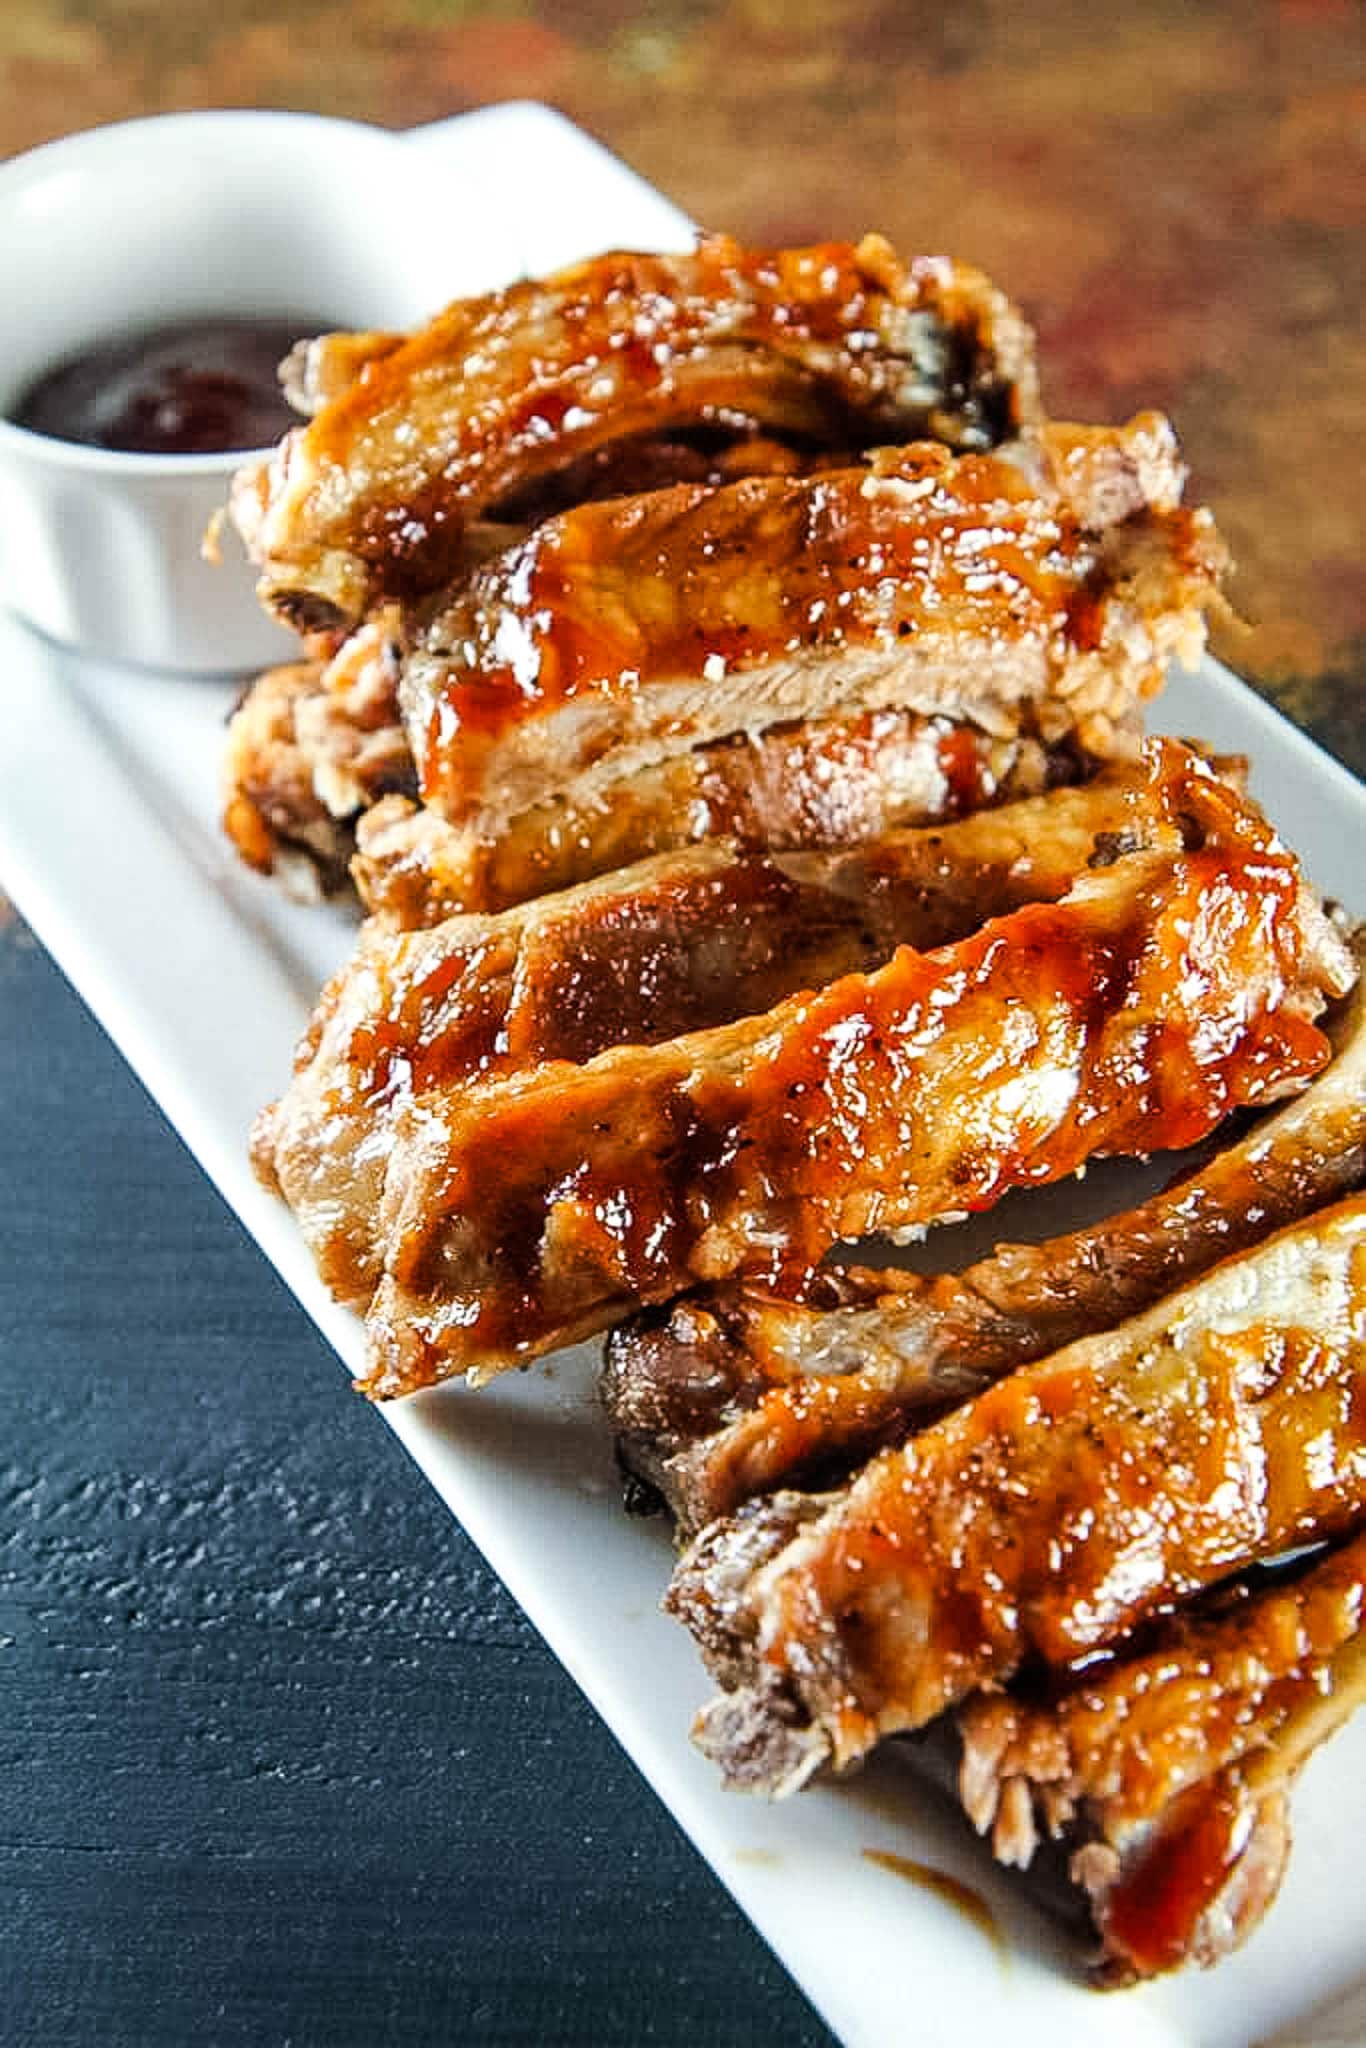
I must say though,  these ribs are BETTER than many restaurants we have been to and are fall-off-the-bone tender every single time.

3-Ingredient Instant Pot Ribs from MomAdvice.com

3-Ingredient Instant Pot Ribs from MomAdvice.com

I have done a rack of Baby Back Ribs in my 6-quart Instant Pot and I have even been able to fit up to two racks in this size cooker without any trouble, although it is a much tighter squeeze than a single rack.


3-Ingredient Instant Pot Ribs Recipe

First, remove the membrane (or the silverskin, as the fancy folks like to call it!)  from the meat. 

Here are a few answers to some frequently asked questions about cooking ribs in your pressure cooker.

How do I Remove the Membrane From Pork Ribs?

Haven’t done this before?

Well, I hadn’t either.

I actually had NO IDEA that you were supposed to do this. 

At some point, I will go back and fix the error of my ways, on these images, but for now you can imagine the pork without this on it.

Looking for a tutorial on this? 

You weren’t the only one!

Here is a great tutorial to help you learn how to do this, easily and safely.

How Can I Fit a Rack of Pork Ribs in My Instant Pot?

Cut your ribs into thirds so you can fit them in comfortably. 

Add a cup of beef broth in your cooker and put your steaming rack inside (that little rack that came with your cooker!).

Can I Fit Two Racks of Pork Ribs in My Instant Pot?

I have only attempted this one time and had no issues adding two racks of ribs in my pressure cooker. Some people say you can fit three racks of ribs in the Instant Pot, but I find two is challenging enough.

Were you good at Tetris?

Maybe you can pull it off!

How Do I Spice Up Pressure Cooked Ribs?

Season your ribs generously with salt and pepper and place these on top of the steaming rack.

Want to add another layer of flavor to these to spice them up even more? Consider adding your favorite spice rub. You can find a lot of fun dry rubs here.

Of course that would be four ingredients (one more than showcased here!)

3-Ingredient Instant Pot Ribs Recipe from MomAdvice.com

Lock that baby up, press the meat button on the front of the pressure cooker, and adjust the timer to 30 minutes of high pressure.

If you don’t have a Meat button on your pressure cooker, just cook ribs on HIGH Manual Pressure.

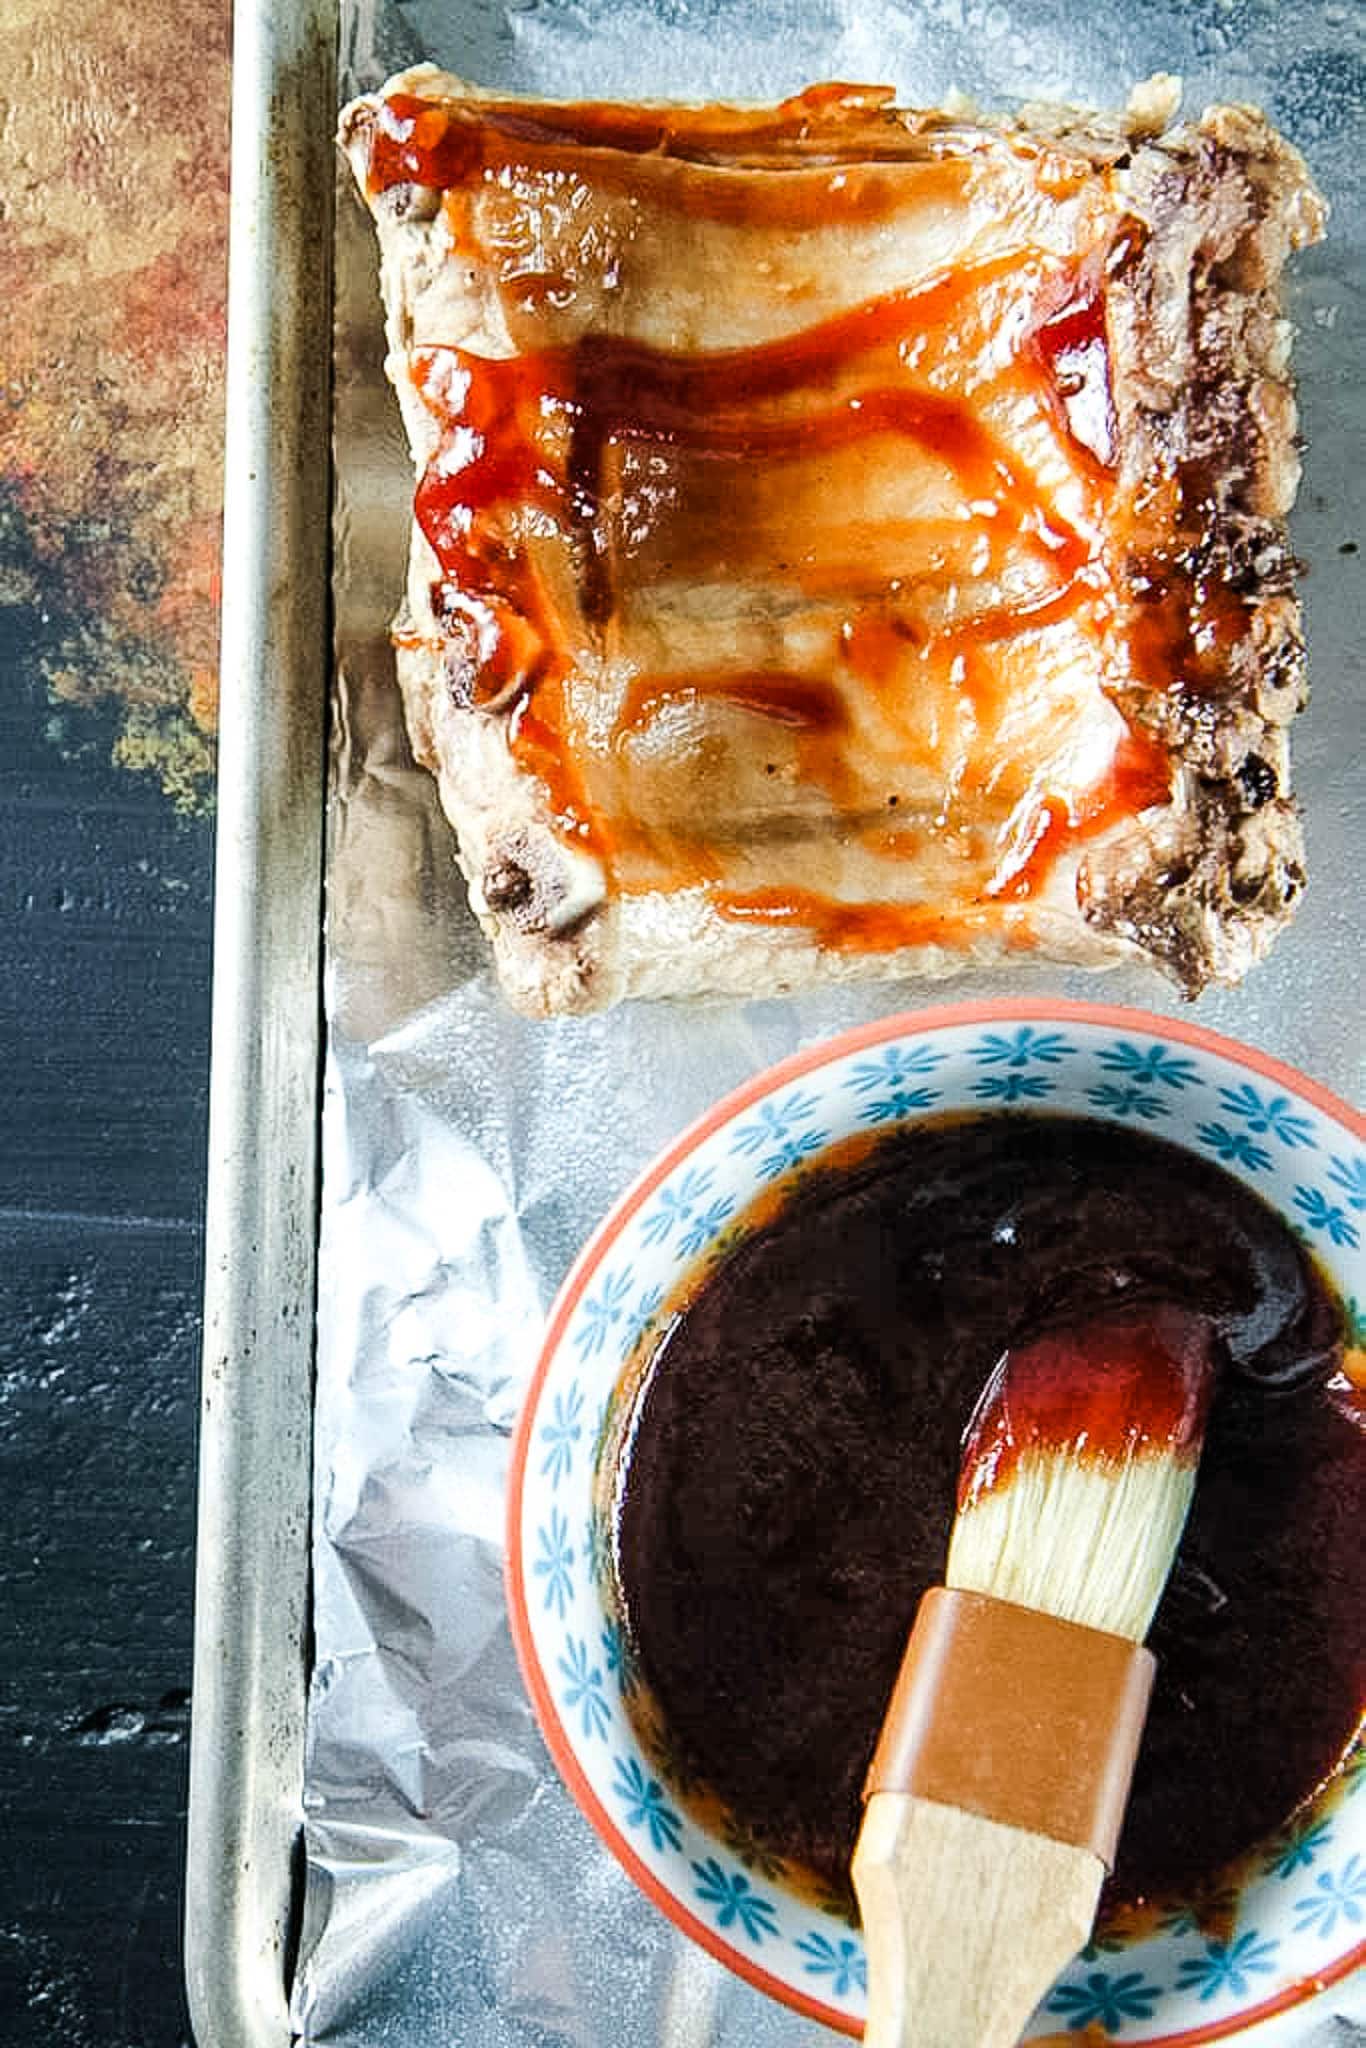
While the ribs are cooking, line a baking sheet with foil and spray with cooking spray.

In a small bowl, pour in your favorite barbecue sauce for brushing.

This barbecue sauce is always a Clark favorite from the supermarket, but I’d love to hear if you think there are any others we should try!

After the Instant Pot beeps, do a quick release on that valve on the top.

Don’t know what a quick release is?

No problem!

This just means that you are going to move your valve from Sealed to Venting and allow all that steam to come out quickly instead of letting it release pressure on its own.

It is going to REALLY steam so make sure you are prepared for that and keep it away from your cabinets, face, and hands.

Also don’t scream because you will want to the first time.

It’s terrifying.

Ain't Nobody Got Time For That


Almost all the recipes I do usually say to do this Quick Release pressure cook method, rather than a natural release. 

The big difference between natural and quick release?

Natural Release is when you sit around just waiting and letting that pressure to come down on its own which can take up to 25 minutes!

Ain’t nobody got time for that.

We already had to wait for the pressure to build, people, we can’t sit around waiting for the pressure in this gadget to subside.

We are BUSY!

After the pressure has released, remove the lid and carefully take out those ribs with a pair of tongs and place them on your lined cookie sheet.

Starting with the back of the rib, brush them each generously with sauce.

Turn on your broiler on your oven and slide the ribs in for 3-4 minutes, watching them carefully so they don’t burn.

Flip them over, and repeat with the other side of the ribs.

Finish by cutting them into sections and serving with additional barbecue sauce.

3-Ingredient Instant Pot Ribs Recipe from MomAdvice.com

HELLO, HEAVEN! These are SUCH A HIT at our house and I’m guessing they will be a hit at yours too.

Keep in mind, if you are new to the Instant Pot cult (totally a thing!), that it takes awhile for these to come to pressure so give yourself a 20-25 minute allowance before that stated 30-minute cooking time I’m sharing.

We have loved these so much that they have become the new birthday request and we even took a couple of racks of these and my Instant Pot on vacation so we could enjoy this yummy treat while we were renting our beach house on break.

I now make it a regular habit to keep my eyes peeled in our grocery flier for any sales on racks of ribs to keep stocked in our freezer.

I hope to share many more recipes in the upcoming weeks with you! If you are on the hunt for great cookbooks to make the most of your Instant Pot this one, this one, and this one are all excellent books for a newbie Instant Pot cult member (totally a thing- I’m serious!).

I can’t wait to hear what you think of these 3-ingredient Instant Pot Ribs!

Be sure to SCROLL DOWN for more Instant Pot recipes. I have you covered!!


3-Ingredient Instant Pot Ribs Recipe from MomAdvice.com

3-Ingredient Instant Pot Ribs
 
Recipe Type: Instant Pot
Prep time:
Cook time:
Total time:
Serves: 4-6 servings
These ribs are fall-off-the-bone tender and can be prepared with your favorite barbecue sauce. These are just one (of many) reasons to get an Instant Pot.
Ingredients
  • 1 or 2 racks of pork baby back ribs
  • 1 cup beef broth
  • Barbecue Sauce
Instructions
  1. Cut the racks of ribs into thirds and season generously with salt and pepper. (Note- if you prefer to add a rub on your ribs, this is where you would do that!)
  2. Pour beef broth in the bottom of the pot, place the steaming rack inside, and put the seasoned ribs on top.
  3. Lock the lid, select the Meat function, and set timer for 30 minutes.
  4. Quick release your valve after the timer beeps and remove the ribs from the cooker. Place on a foil-lined cookie sheet (prepared with cooking spray) and brush on your barbecue sauce on the back side of the ribs.
  5. Broil the ribs for 3-4 minutes (watching carefully to prevent charring), flip the ribs over and brush the other side with barbecue sauce. Broil that side again for 3-4 minutes. Place on platter and serve with additional barbecue sauce on the side.
 

As an Amazon Associate I earn from qualifying purchases.

This post contains affiliate links! 

Looking for more Instant Pot meal ideas? Check these posts out!

Best Instant Pot Wings Recipe from MomAdvice.com best instant pot wings recipe

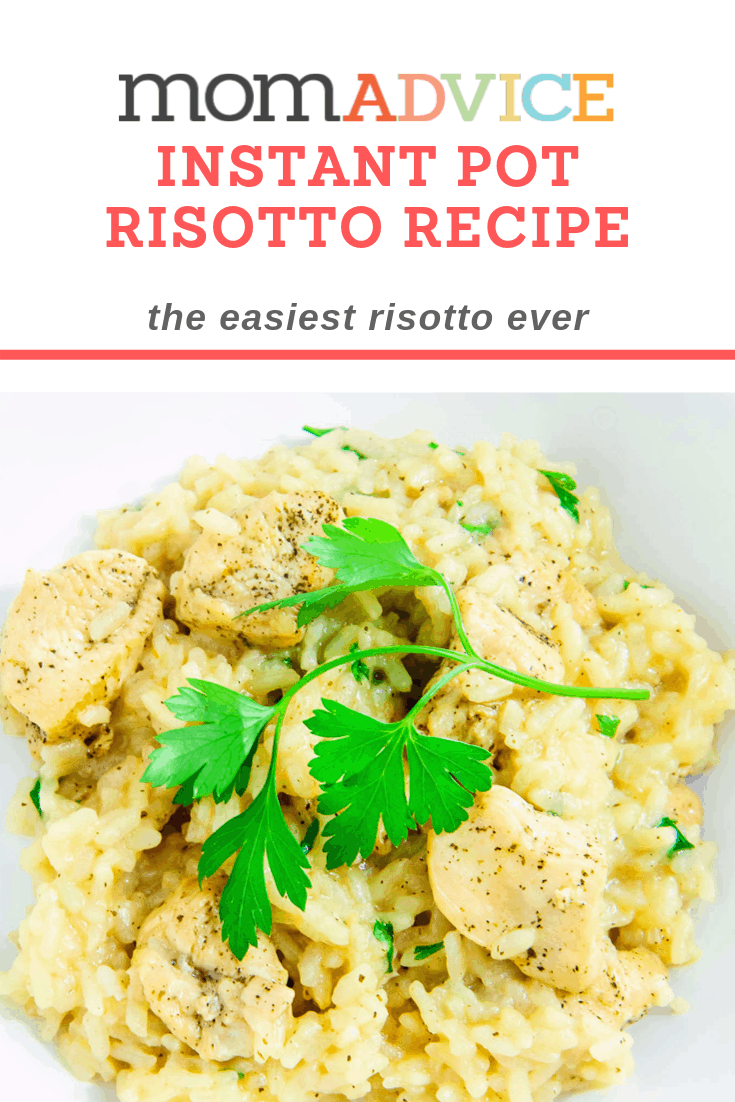
The Best Instant Pot Risotto Step By Step the best instant pot risotto recipe (step-by-step)


Instant Pot Indian Vegetable Rice from MomAdvice.com instant pot indian vegetable rice

pressure cooker korean street tacos instant pot korean street tacos

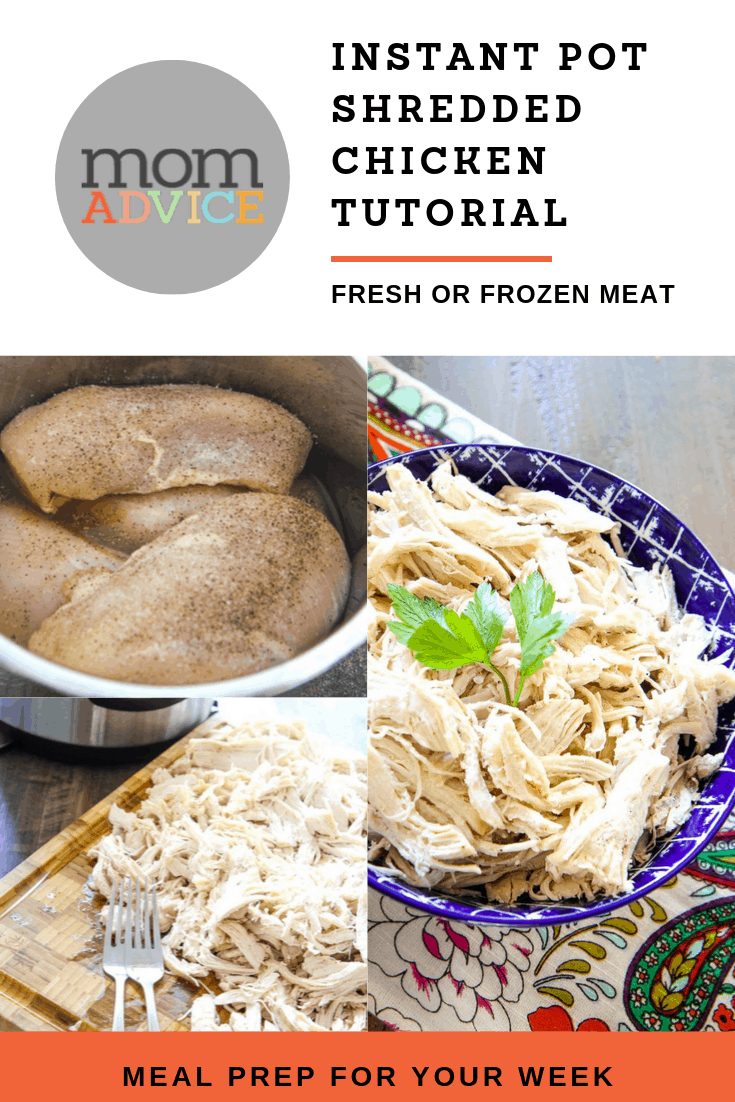
Instant Pot Shredded Chicken instant pot shredded chicken (for meal prep)


 What is your favorite thing to create in your Instant Pot?

*this post may contain affiliate links- I only recommend what I love though.

3-Ingredient Instant Pot Ribs Recipe from MomAdvice.com


Pin It
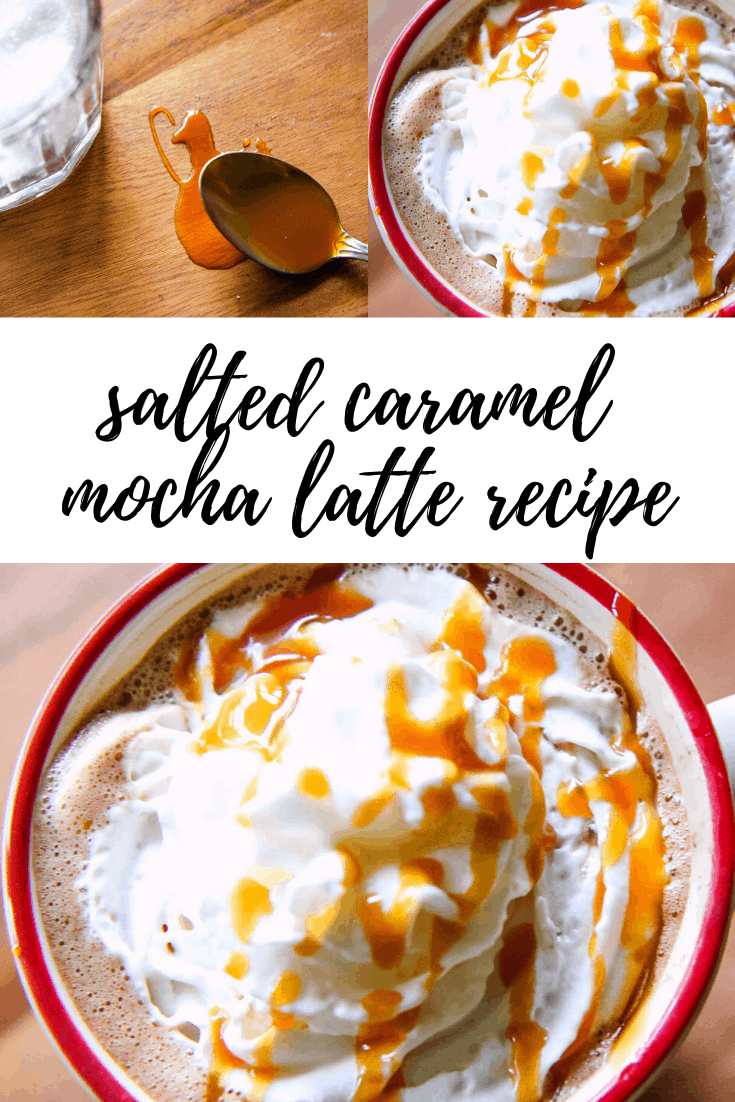
Homemade Salted Caramel Mocha Latte

Tuesday, November 5th, 2019

Salted Caramel Mocha Latte Recipe from MomAdvice.com

I love to create a coffee shop experience at home. That’s why I created this EASY Homemade Salted Caramel Mocha Recipe so you can brew your copycat Starbucks coffee recipe at home. This is one of our most popular recipes on the site and, once you try it, I know you will see why!

My favorite drink at Starbucks is their Salted Caramel Mocha Latte.

One sip of this delicious goodness had me daydreaming about how I could replicate this delicious salty caramel goodness at home.

Coffee drinking is, after all, one of my favorite hobbies, but a girl has to do it on a budget. 

A DIY version of this Salted Caramel Mocha Latte was definitely in order.

Salted Caramel Mocha Latte Recipe from MomAdvice.com

I am no stranger to the sweet and salty combination.

My Dark Chocolate Sea Salt Brownies may have made me a celebrity in very tiny circles of friends.

I am also no stranger to replicating Starbucks treats. My homemade pumpkin spice latte has been shared (and enjoyed) thousands of times, by our readers.

These two things, that I am most proud of,  had to come together for this fun treat.

Salted Caramel Mocha Latte Recipe from MomAdvice.com

Lattes are an easy creation to make at home. Each fall and winter, I put my French Press to work by creating the strong brewed coffee needed for a delicious latte at home.

In the summer, my cold brewed coffees are made with this little gadget and over the years it has paid for itself over and over again.

One rainy day, I decided to replicate my new favorite Starbucks treat.

I sipped lattes, tested combinations, whipped, brewed, drizzled, sipped, whipped, brewed, drizzled, and sipped.

As I tried to hold my camera steady to take pictures of my coffee glory, I realized I had a horrible case of the shakes.

I also realized I may have overdone it with the sipping part of things.

When I came to get my children at their bus stop still wearing my pajamas (complete with rubber boots), bearing crazy caffeinated eyes, and shaky hands… I had to wonder what the bus driver thought of this crazy woman who hadn’t even brushed her hair that day.

Hey, it is better than the times I come with crazy eyes and spray paint all over me- hahaha!

In the end, I think it was all worth it though.

I hope you will think so too.

Save your $5 and make this little treat at home whenever you want.

Just take my advice and try to do it in moderation.

Trying to save calories?

Skip the toppings and just enjoy a skinny salted caramel latte at home.

How to Make a Homemade Salted Caramel Mocha Latte at Home

What Supplies Do I Need to Make a Salted Caramel Mocha Latte at Home?

The tools I would recommend are an immersion blender (or small individual blender for drinks or a simple whisk), a saucepan, and a french press or espresso pot (depending on how strong you like to make it).

How Can I Make a Salted Caramel Mocha Latte At Home if I Have a Keurig?

I don’t, personally, have a Keurig, but two of my amazing readers shared their tricks to get that coffee shop taste at home with your Keurig.

Lora said, “Try one of the dark, strong coffee K-Cups they offer! Jet fuel is one. They do make some nice strong ones you just have to look!”

What a great idea! Take a peek at some of the k-cup options for a diy latte at home.

Another reader, Kim, shared this super smart idea to brew coffee with a completely different type of k-cup.

Kim said, “If you buy the iced coffee blends for Keurig (I have Nantucket Iced Coffee) and just brew it like a normal cup (not over ice) – it is super strong and works great for these type recipes!”

Another fantastic suggestion! You can shop for iced coffee k-cup options here.


What Ingredient Could I Purchase if I Wanted to Drink an Exact Copycat Starbucks Salted Caramel Mocha Latte At Home?

My readers are always so generous with their commentary and we had a couple of replies, from Starbucks employees to set the recipe straight. In the Starbucks version, the Starbucks Salted Caramel Mocha Latte doesn’t actually have…well, caramel.

They actually use a toffee nut syrup instead.

That is what gives it that rich buttery flavor that makes it such a fun treat.

Does Starbucks Sell the Toffee Nut Syrup?

Did you know that you can purchase coffee syrups directly from your local Starbucks.

With seasonal drinks in high demand, if you are thinking about buying a syrup, contact a manager to see if they can order you a bottle. When they place their order, they can tack on an extra bottle just for you.

Just replace the two tablespoons of caramel syrup with two tablespoons of the toffee nut syrup (or less- experiment with this one!!).

What Type of Salt Does Starbucks Use in Their Salted Caramel Mocha Lattes?

Starbucks uses a blend of turbinado sugar and smoked sea salt. I visited a lot of boards to see if I could figure out the exact combo.  Just mix together 2/3 turbinado cane sugar and 1/3 smoked sea salt.

Mix them together in a shaker for your future lattes!

Why Does This Recipe Have Kosher Salt and Caramel Sauce Instead?

Here’s the honest truth…because that is what was accessible to me.

I always have kosher salt in my house and caramel sauce is an easy addition from the supermarket.

MomAdvice is all about good living for less so I try to keep this in mind with our readers.

If you prefer a fancier experience, you now know how to level up!!

If you want to keep it accessible, cheap, or live in an area where fancy salts and coffee additions aren’t accessible…then this recipe is for you!

Salted Caramel Mocha Latte Recipe from MomAdvice.com

Homemade Salted Caramel Mocha Latte
 
Recipe Type: Drink
Author: Amy Allen Clark
Prep time:
Cook time:
Total time:
Serves: 1
An easy DIY Homemade Salted Caramel Mocha Latte you can enjoy and create at home.
Ingredients
  • 1 cup milk, steamed
  • 1 cup very strong coffee (4 tablespoons coffee grounds to 1 cup of hot water, prepared in a French Press)
  • 1 tablespoon cocoa powder
  • 2 tablespoons of sugar
  • 2 tablespoons caramel coffee syrup (I bought mine at our local superstore in the coffee aisle or you can pick them up at your wholesale club for cheap. I accidentally bought sugar-free and it worked like a charm. Feel free to use either variety and adjust to your taste)
  • Whipped cream
  • Caramel Sauce
  • 1/8 teaspoon sea salt or kosher salt
Instructions
  1. Prepare your hot water in a kettle. Add four tablespoons of your favorite coffee grounds to your French Press. Pour 1 cup of hot water over them and allow the coffee to steep for four minutes while you prepare the other ingredients.
  2. In a pot, heat up one cup of milk until it is steaming. Froth the milk with a wire whisk or an immersion blender until it is nice and foamy.
  3. In your coffee cup, mix together the prepared coffee, cocoa powder, sugar, and caramel coffee syrup until the sugar and cocoa powder are dissolved and there are no lumps. Pour the milk foam over the top of the coffee/mocha mixture and stir to incorporate. Top with whipped cream, a generous drizzle of caramel sauce, and your pinch of salt.
 

As an Amazon Associate I earn from qualifying purchases.

Looking for more great drink recipes? Here are a few others we think you will love this fall!

How to Make a Pumpkin Spice Latte from MomAdvice.com homemade pumpkin spice latte

How to Make a Peppermint Mocha from MomAdvice.com how to make a peppermint mocha

DIY Your Own Chai Tea Mix from MomAdvice.com homemade vanilla chai mix recipe (an easy diy for the pantry!)

How to Make a Gingerbread Latte from MomAdvice.com how to make a gingerbread latte

How to Cold Brew Coffee from MomAdvice.com how to cold brew coffee at home

Amy's Famous Cocoa Mix Amy’s Famous Hot Cocoa Mix

Peppermint Cocoa Recipe from MomAdvice.com peppermint cocoa recipe

Homemade Peppermint Marshmallows from MomAdvice.com homemade peppermint marshmallows

Chocolate Coffee Spoons from MomAdvice.com chocolate coffee spoons (perfect for upping that mocha taste with a chocolate sauce!!)

Do you have any suggestions to improve on this DIY Salted Caramel Mocha Latte?

Be sure to leave them in the comments below!

Homemade Salted Caramel Mocha Latte Recipe from MomAdvice.com


Pin It
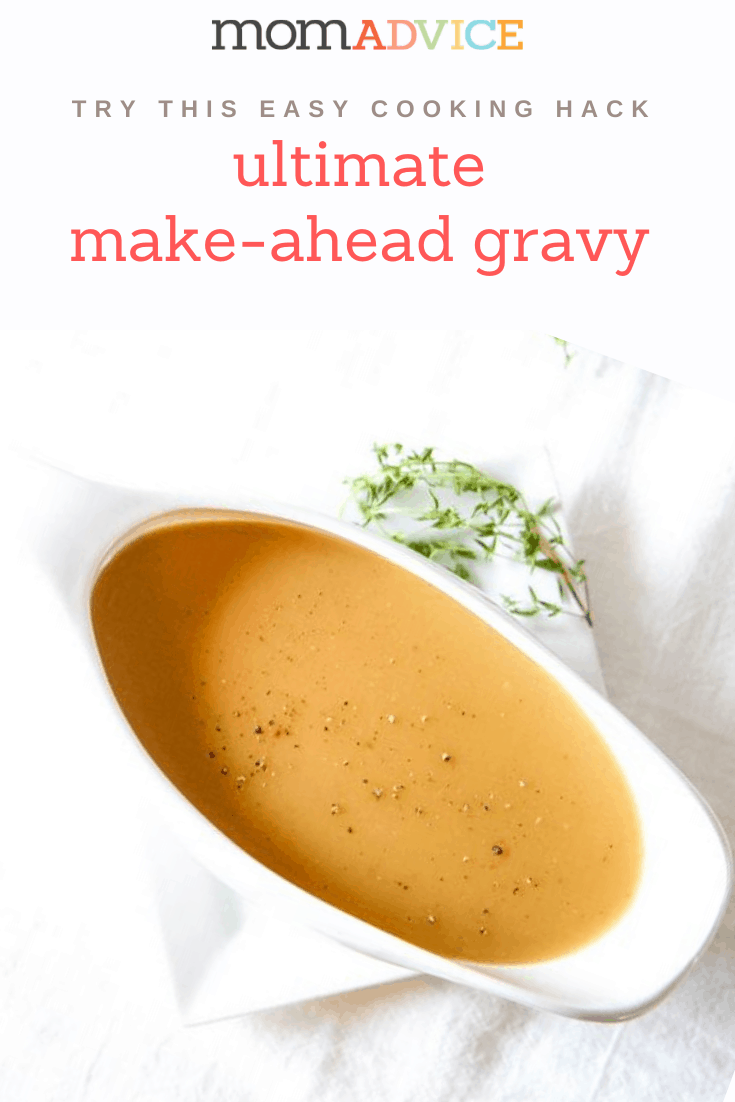
Ultimate Make-Ahead Gravy (With VIDEO)

Tuesday, November 5th, 2019


Ultimate Make-Ahead Gravy Recipe from MomAdvice.com

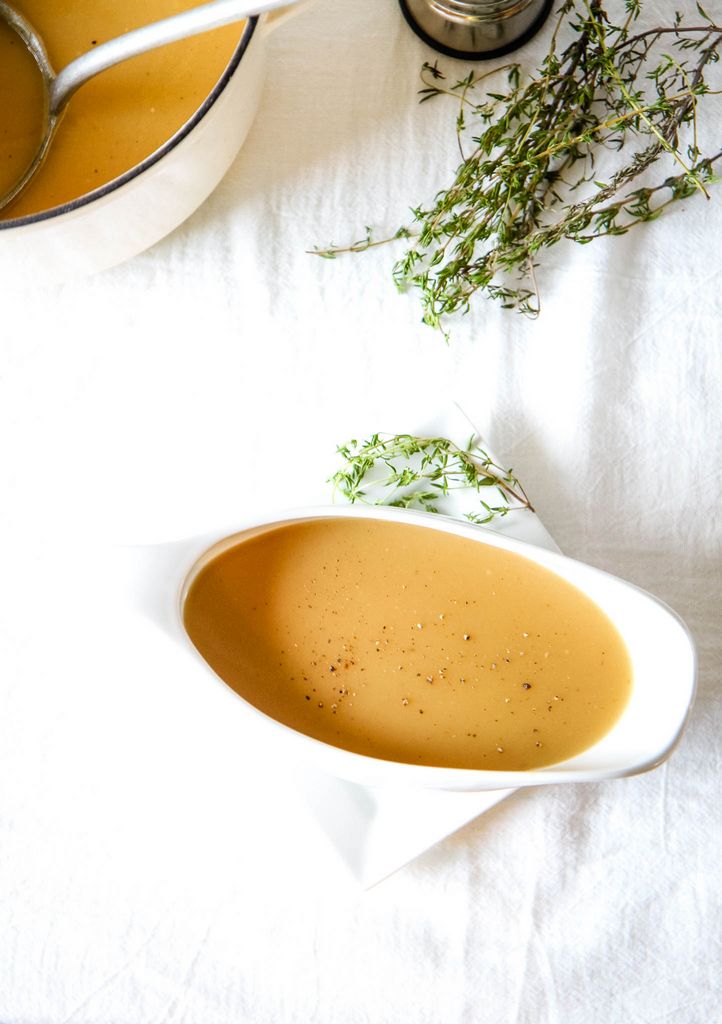
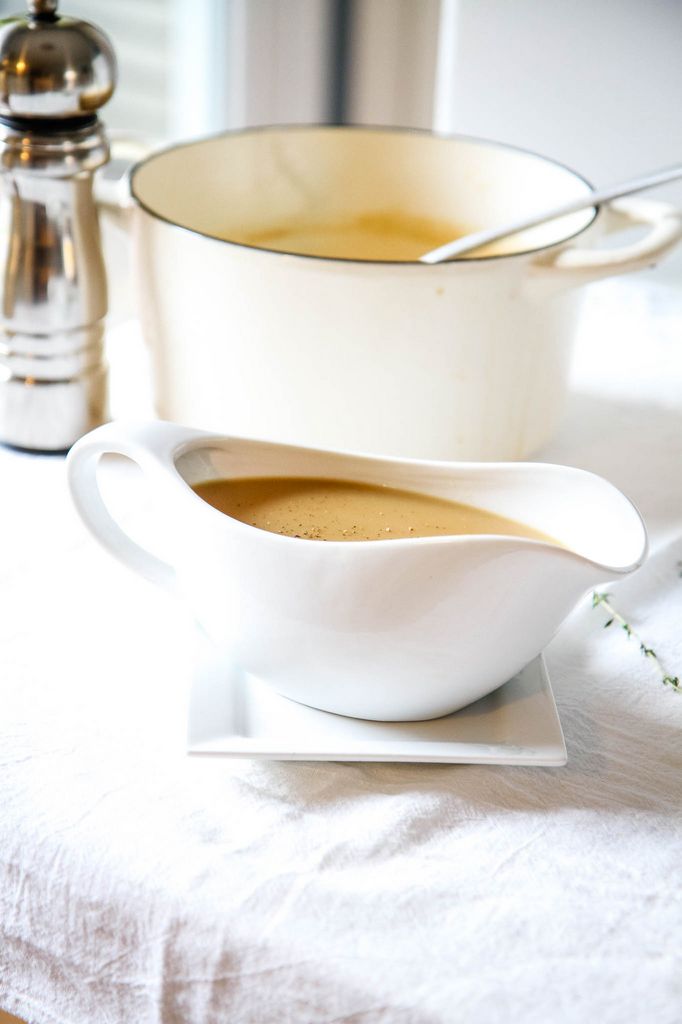
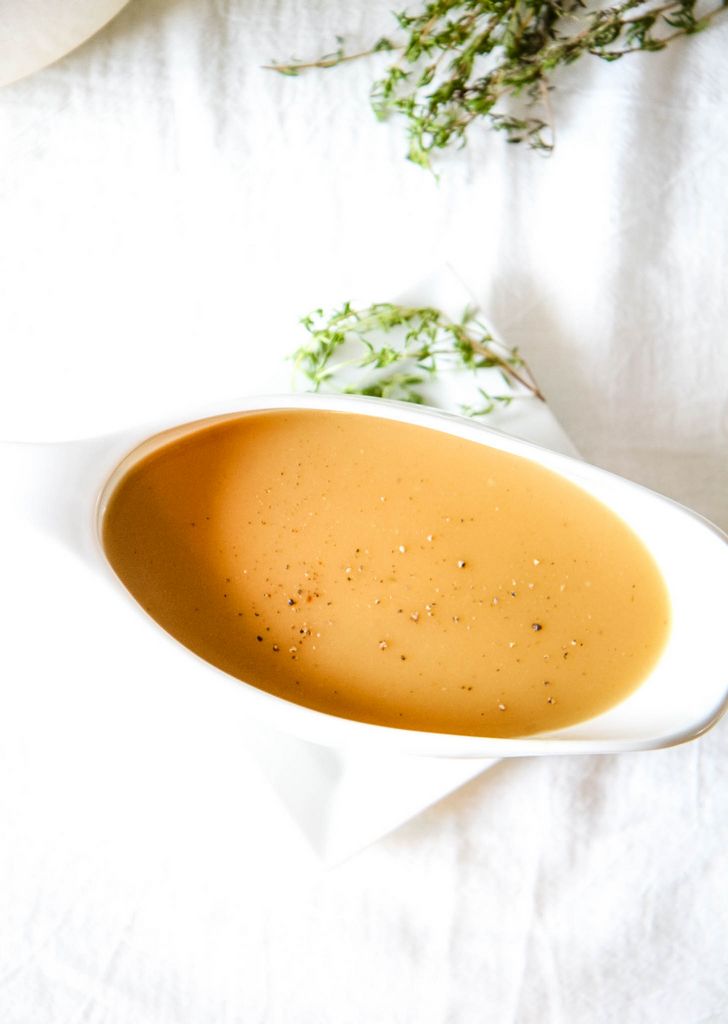
Did you know that is possible to make your gravy recipe early and freeze it for the holidays. This gravy hack can be done by using turkey (or chicken) wings for your base. You won’t believe how delicious this recipe!

I’m back with another make-ahead recipe for Thanksgiving Day today.

This week I am sharing a fantastic Make-Ahead Gravy recipe that you can have waiting in your freezer for the big day.

I am excited about this recipe because it provides, yet again, one more dish that you can create to make your day as stress-free as possible.

Ultimate Make-Ahead Gravy Recipe from MomAdvice.com

Ultimate Make-Ahead Gravy Recipe from MomAdvice.com

Ultimate Make-Ahead Gravy Recipe from MomAdvice.com Ultimate Make-Ahead Gravy Recipe from MomAdvice.com


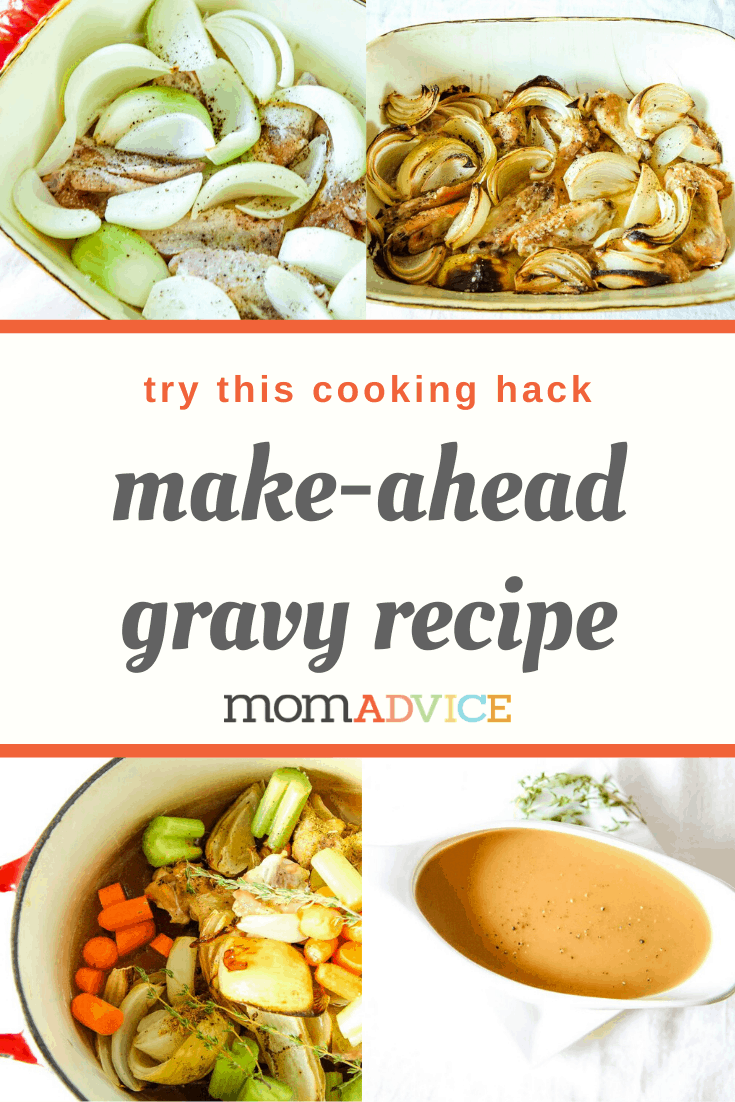
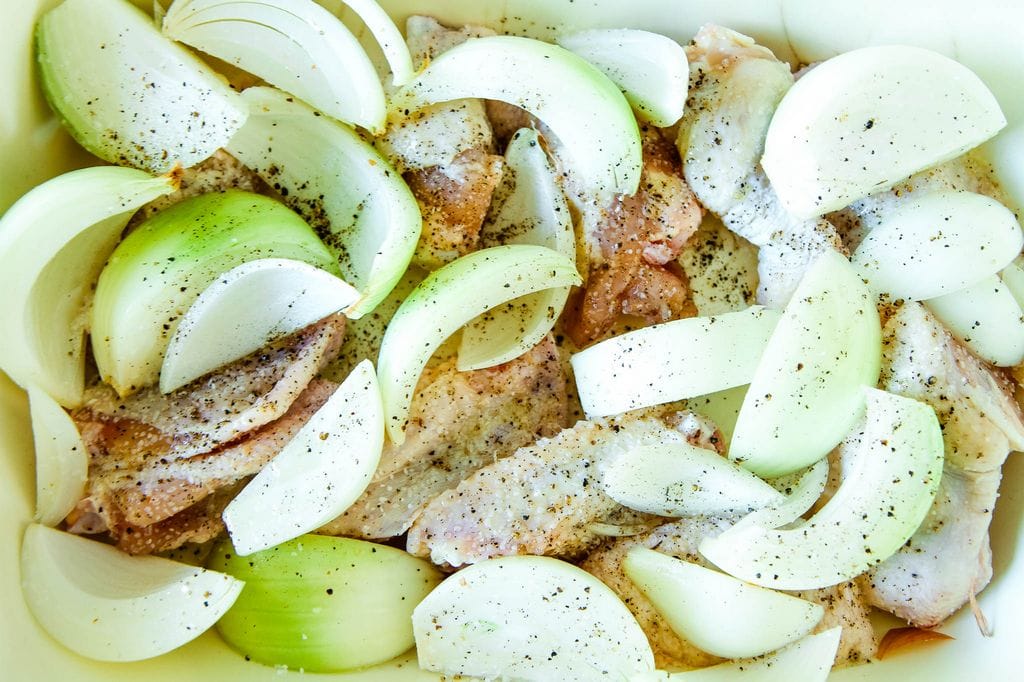
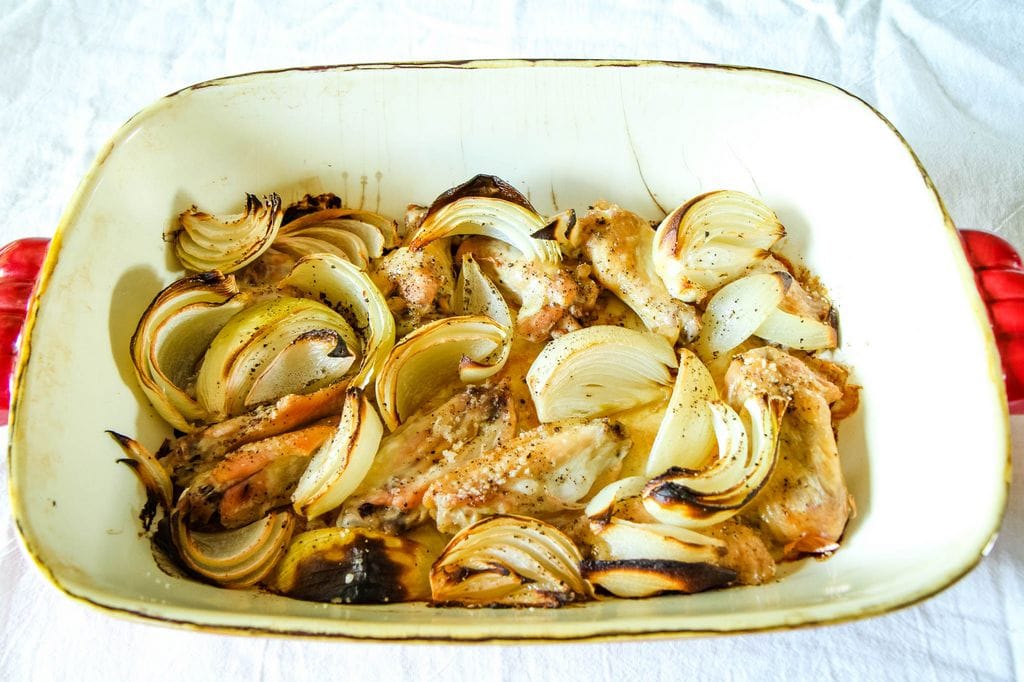
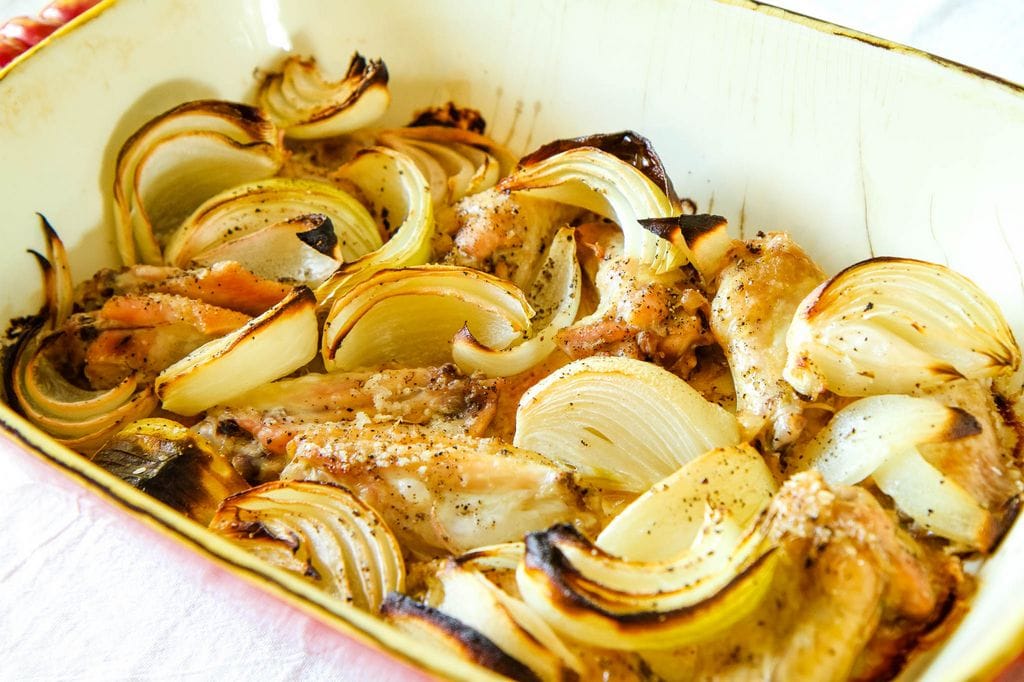
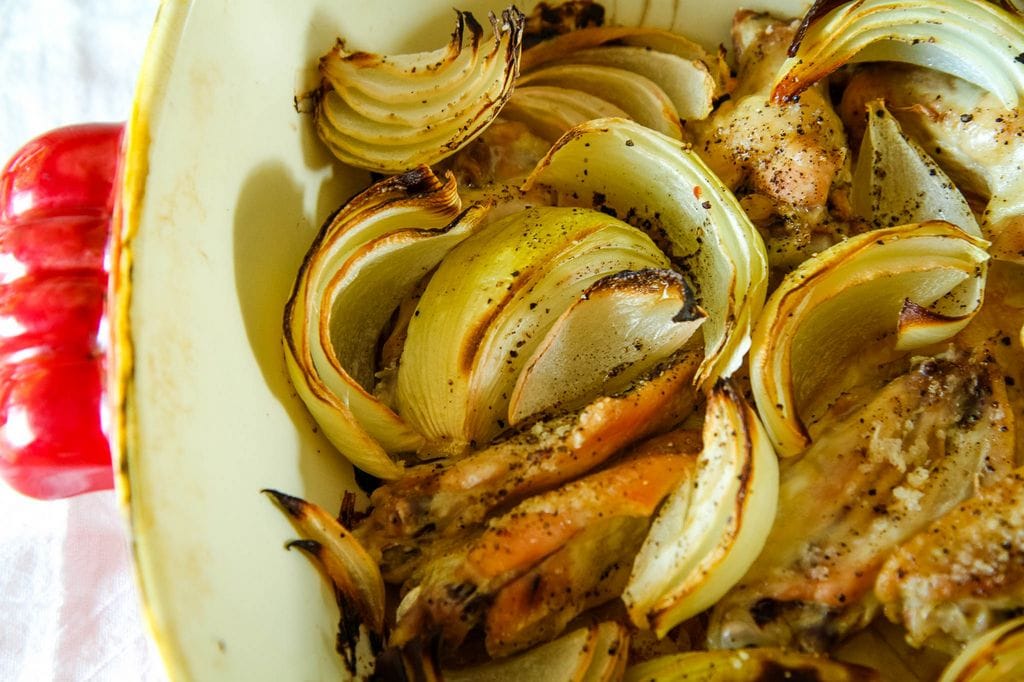
To begin this recipe and create the base, without the turkey, you can use chicken or turkey wings and add onions that you roast in your oven to make those magical drippings that you need to create the base of this gravy recipe.

I was not able to locate turkey wings at our market so I substituted with the always available chicken wings.

Don’t be surprised if your kitchen already smells like Thanksgiving with just the base of this recipe!


Be sure to scrap those delicious pan drippings up from your dutch oven or roasting pan. These stuck on bits are what make your dressing so rich and flavorful. They also add a rich golden brown hue to your gravy.

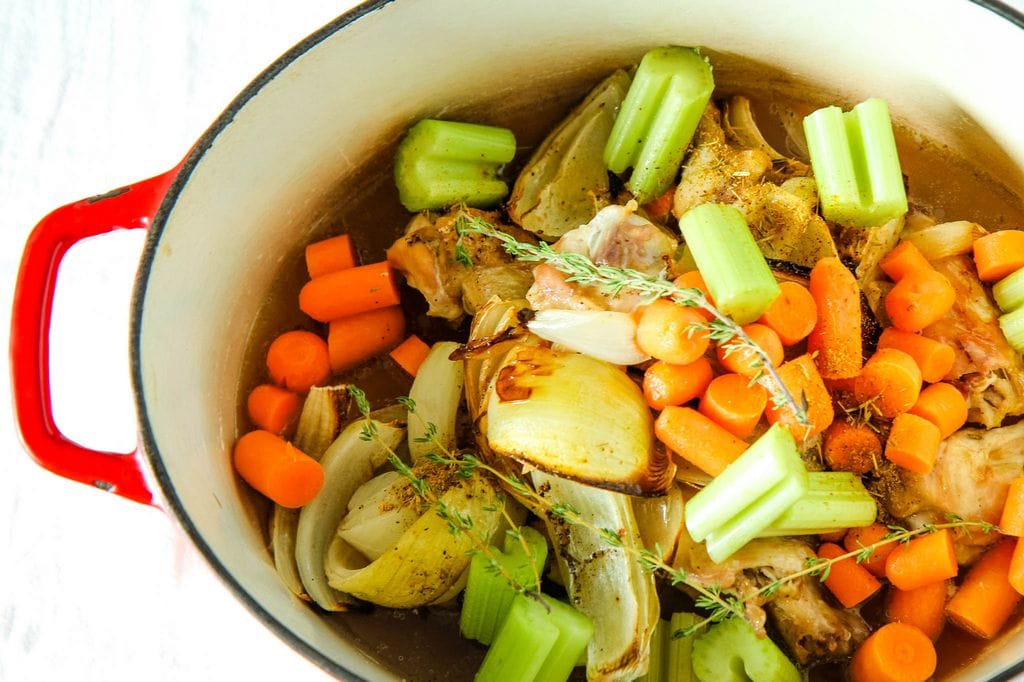
Add chopped carrots, celery, fresh herbs, turkey or chicken stock, and a little poultry seasoning, salt, and ground pepper. All these additions really help to round out the flavorings in this make-ahead dish.

Allow this to simmer, stirring occasionally, for one-and-a-half hours. Add the flour mixture to the gravy to thicken. After straining, you can whisk in the flour and cook whisking constantly.

When reheating, simply warm in a saucepan over medium heat, stirring occasionally until warmed. I like to put mine in saucepan over medium high heat.

There you have it, an easy make-ahead gravy that makes eight cups of delicious gravy for the big day!

Note: This should yield approximately five cups of gravy!

Ultimate Make-Ahead Gravy Recipe from MomAdvice.com

Ultimate Make-Ahead Gravy Recipe from MomAdvice.com


Make-Ahead Gravy
 
Recipe Type: Side
Author: Adapted Slightly from AllRecipes
Prep time:
Cook time:
Total time:
Serves: 15-20
Don’t panic about the gravy this year! Try this easy make-ahead gravy recipe that makes eight cups of gravy for your Thanksgiving feast.
Ingredients
  • 6 turkey or chicken wings
  • 2 medium onions, peeled and quartered
  • 2 tablespooons olive oil
  • 1 cup water
  • 2 quarts chicken broth, divided
  • 3/4 cup chopped carrot
  • 1-2 stalks of celery, chopped
  • 3 sprigs fresh thyme (leave on the stem and add to the pot)
  • 1 teaspoon poultry seasoning
  • 3/4 cup all-purpose flour
  • 2 tablespoons butter
  • 1/4 teaspoon ground black pepper
Instructions
  1. Preheat oven to 400 degrees F. Arrange a single layer of turkey or chicken wings in a large roasting pan. Scatter the onions over the top of the wings. Drizzle with olive oil and season with salt and pepper. Roast in the preheated oven for 1-1/4 hours or until wings are browned.
  2. Place browned wings and onions in a 5 quart stockpot. Add water to roasting pan and stir, scraping up any brown bits on the bottom of the pan. Pour the the water from the pan into the stockpot. Stir in 6 cups broth, carrot, thyme, poultry seasoning, salt, and pepper (to taste). Bring to a boil. Reduce heat to medium-low and simmer uncovered for 1-1/2 hours.
  3. Remove wings from the pot and place on a cutting board. When the wings are cool, pull off the skin and meat. Discard the skin and save the meat for another use. Strain contents of stockpot through a large strainer into a 3 quart saucepan. Press on the vegetables to extract any remaining liquid. Discard the vegetables and skim the fat off the liquid. Bring the contents of the pot to a gentle boil.
  4. In a medium bowl, whisk flour into the remaining 2 cups chicken broth until smooth. Gradually whisk the flour mixture into the simmering turkey broth; simmer 3-4 minutes or until the gravy has thickened. Stir in the butter and pepper. Serve immediately or pour into containers and refrigerate or freeze.


Looking for more Thanksgiving Make-Ahead Dishes? Here are a few of my favorites!

Make-Ahead Cranberry Sauce from MomAdvice.com make ahead cranberry sauce

Make-Ahead Green Bean Casserole make-ahead green bean casserole make-ahead mashed potatoes make-ahead mashed potatoes


make-ahead apple, sausage, and sage sourdough stuffing

Bacon, Apple, and Cornbread Stuffing from MomAdvice.com make-ahead bacon, apple, and cornbread gluten-free stuffing

How to Decorate Store-Bought Pies from MomAdvice.com how to decorate store-bought pies for the big day

As an Amazon Associate I earn from qualifying purchases.

This post contains affiliate links.

Ultimate Make-Ahead Gravy Recipe from MomAdvice.com

Pin It

Gluten-Free Cake Mix Sugar Cookies Recipe

Monday, November 4th, 2019

Gluten-Free Cake Mix Sugar Cookies Recipe from MomAdvice.com

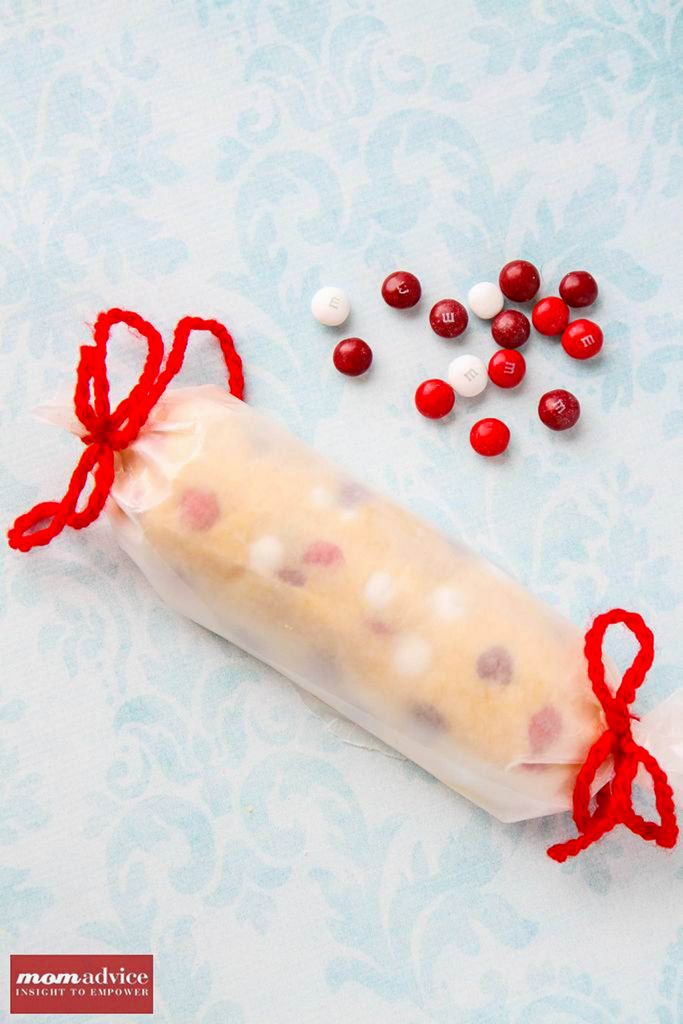
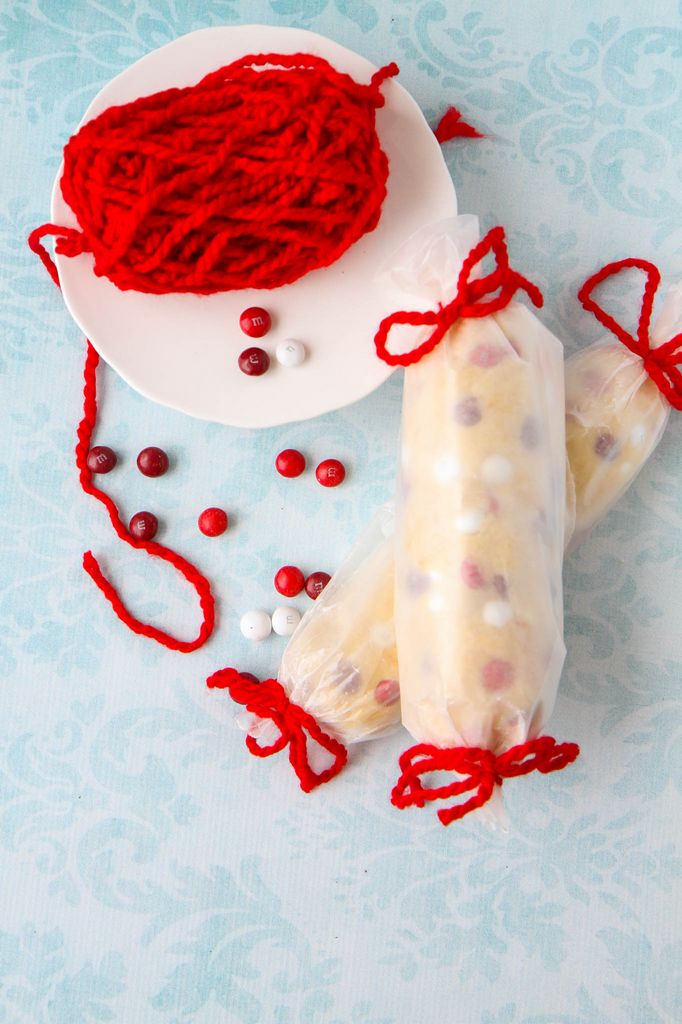
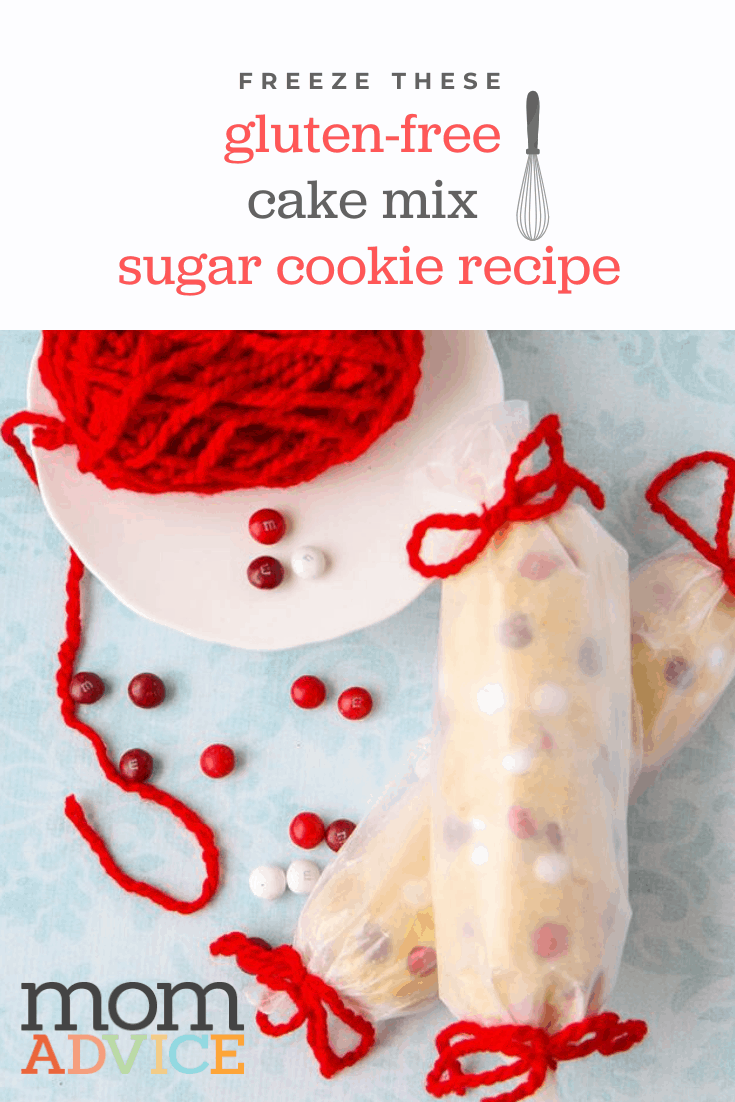
 Gluten-Free Cake Mix Sugar Cookie recipe can be made into beautiful sugar cookie rolls with just a few simple ingredients. This easy freezer recipe for gluten-free cookies is such a great item to keep stocked for the perfect hostess gift or for a friend in need. Tied with ribbon, you have the perfect gift for any occasion!

Gluten-Free Cake Mix Sugar Cookies Recipe from MomAdvice.com

Gluten-Free Cake Mix Sugar Cookies Recipe from MomAdvice.com

Gluten-Free Cake Mix Sugar Cookies Recipe from MomAdvice.com

Do you ever have a really hard time with a recipe and then later wonder if it had ever been tested?

That was the case with this project from start to finish.

These cookies were supposed to be simple and straightforward, but the recipe ended up being written completely wrong.

Thankfully for you, I spent a whole day figuring out what went wrong with this one and how we can fix it so that you can have an awesome baking day!

Please read this post carefully, I am offering you a load of tips for a successful baking day!

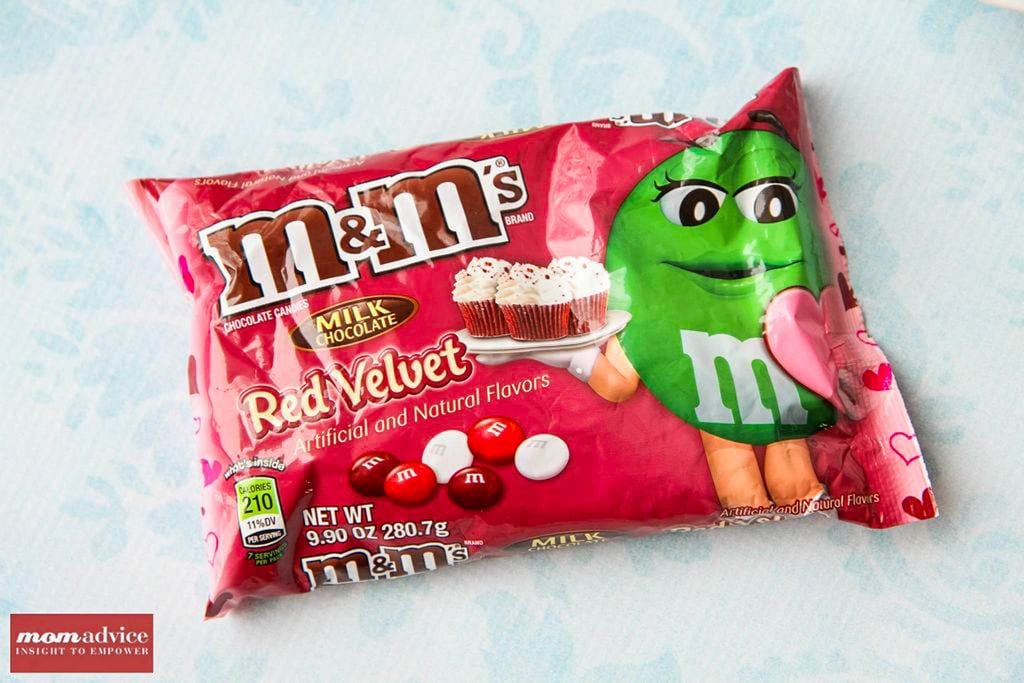
Are M&M’s Gluten-Free?

Let’s begin with the question, are M&M’s gluten-free?

The answer is that most M&M’s are gluten-free.

In fact, most of the varieties they typically carry, other than their pretzel variety, are gluten-free.

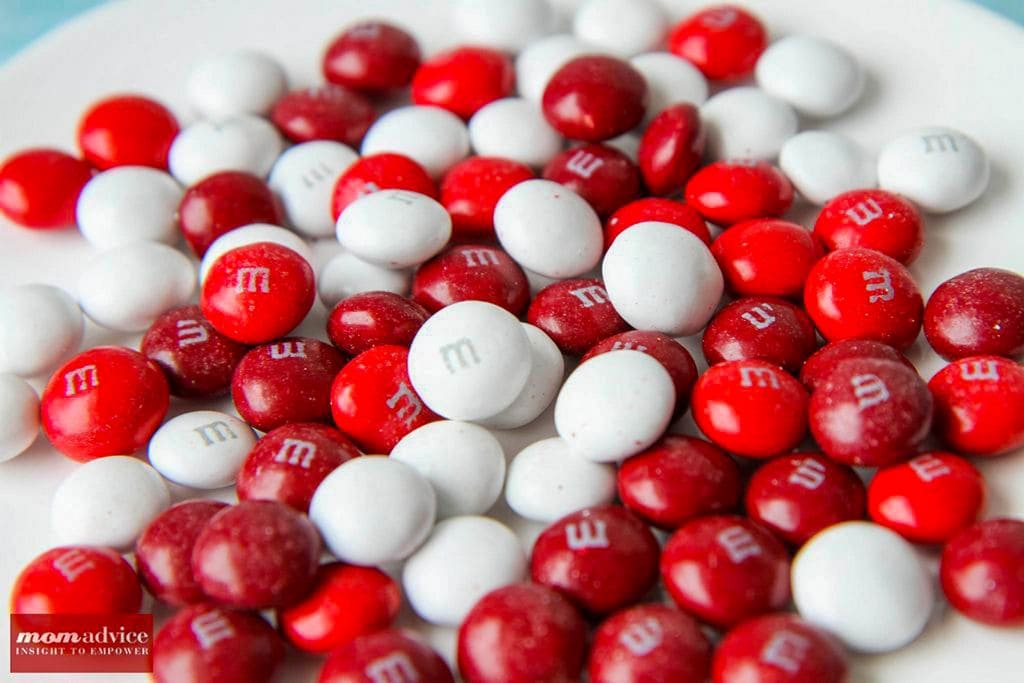
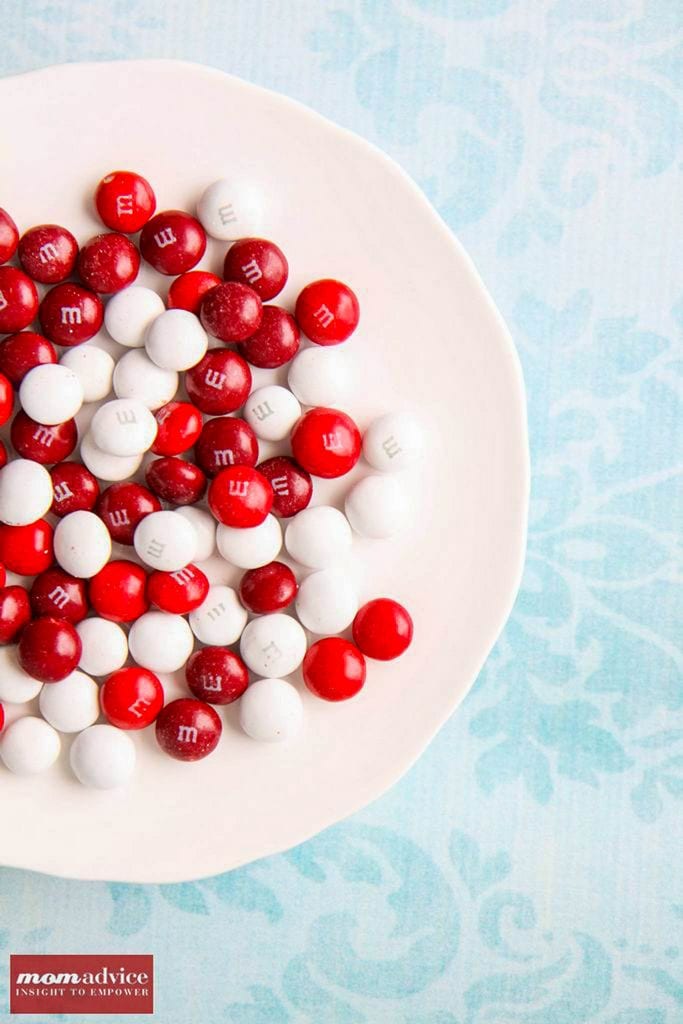
What I found with the Red Velvet M&M’s though are that they are gluten-free, but in high times of production, like Halloween & Valentine’s Day, Mars uses alternative facilities to make its candy and some of those may introduce cross-contamination risks.

These Red Velvet M&M’s are ones that could have been cross-contaminated.

If this is of high concern, look for the plain M&M’s, preferably mini-M&M’s to help your dough hold up better. 

It is always important to read your labels carefully and know that Mars Chocolate always promises to call out any wheat, barley, and rye ingredients by name, as well as any cross-contamination risks on their labels.

I recommend this information page for finding which candies are safe to eat.

Gluten-Free Cake Mix Sugar Cookies Recipe from MomAdvice.com

Gluten-Free Cake Mix Sugar Cookies Recipe from MomAdvice.com

Tips for a Successful Dough

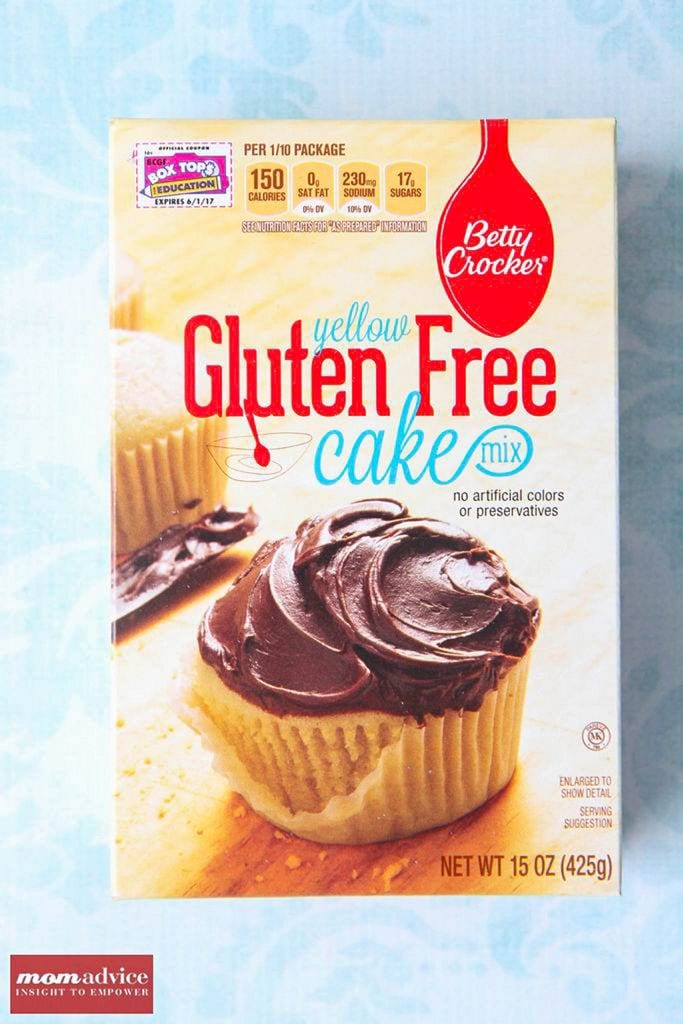
As, I am a big fan of the Betty Crocker cake mixes, I used this mix to create my cookies.

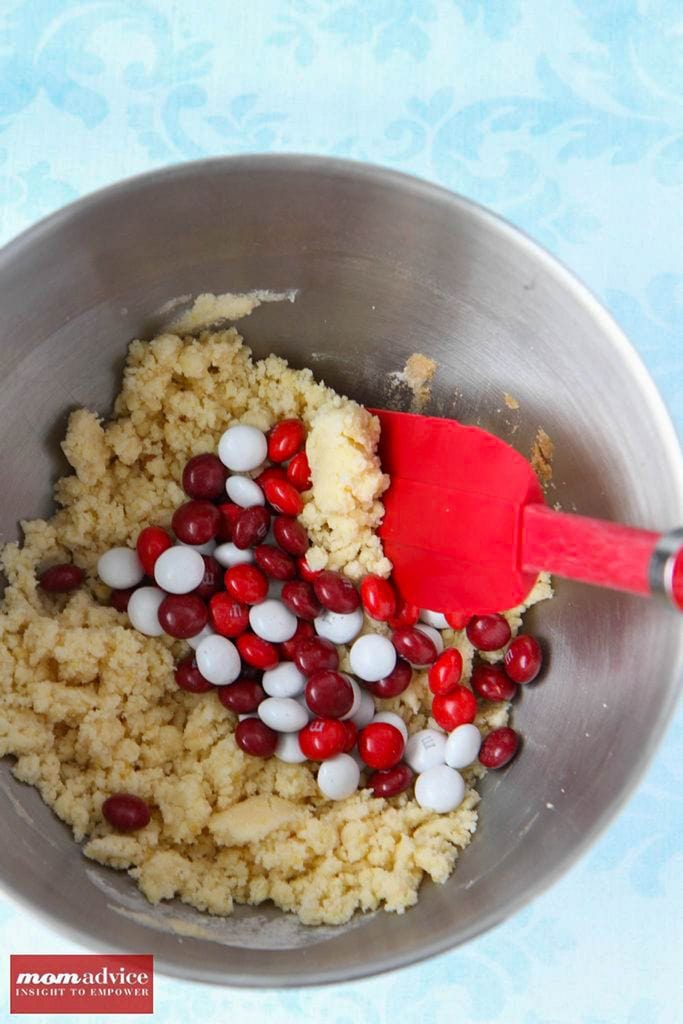
As you can see when I mixed the ingredients together, this dough is very crumbly.

To help make this dough really hold and stick together, add 3-4 teaspoons of water to the dough, until it really comes together. This will help when slicing your sugar cookie rolls.

The recipe that was written did not add this to the dough and so when I sliced them, the cookie dough crumbled. I had to add my water later and chill them again for another three hours.

Once I sliced with the liquid addition, the dough held much better.

If you need these cookies to be dairy-free as well as gluten-free, please read the notes in the recipe on how you can create these without the butter.

Gluten-Free Cake Mix Sugar Cookies Recipe from MomAdvice.com


Tips for a Successful Sugar Cookie Log

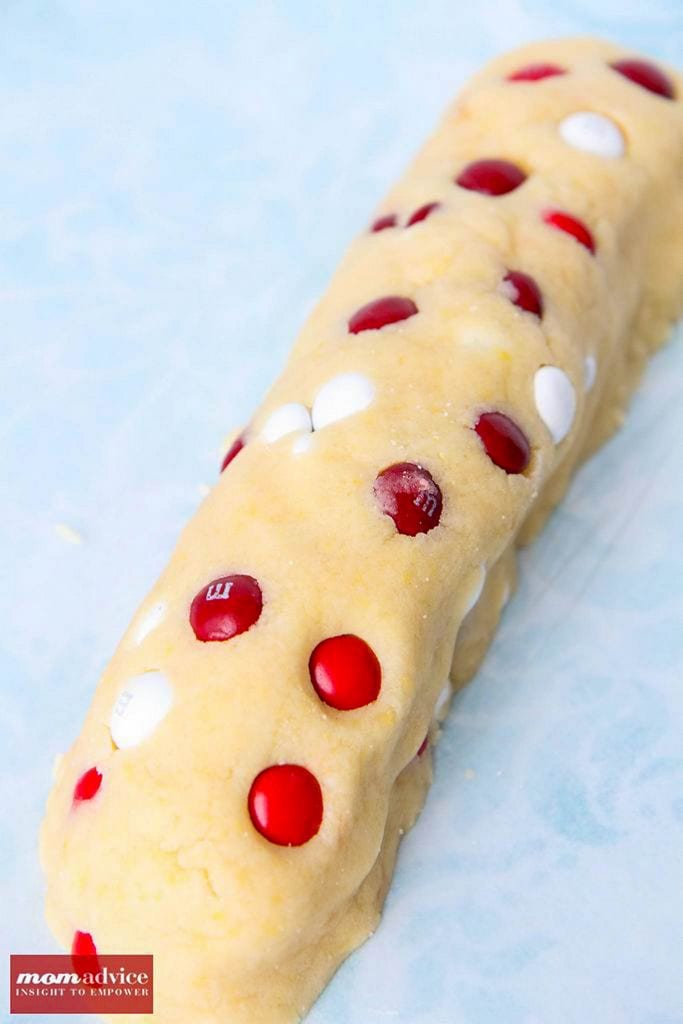
One more thing, I learned while creating this cookies is that it is better to make your sugar cookie roll WITHOUT the M&M’s in it and then add them to your cookies after so you can get beautifully clean slices.

Trying to cut through these Red Velvet M&M’s was a real challenge so I would encourage adding them after or just doing these cookies as a drop cookie.

To do a sugar cookie roll, as pictured above with M&M’s, seek the mini varieties.

Again, read the packaging carefully to insure that they are safe for eating.

Gluten-Free Cake Mix Sugar Cookies Recipe from MomAdvice.com

Wrap your sugar cookie roll in wax paper and chill for three hours or more.

Once you are ready to bake off your cookies, preheat your oven to 350 degrees and then slice them and place on a parchment-lined cookie sheet or a well-greased cookie sheet.

I prefer parchment paper squares (like these), both for the ease of clean-up and how beautifully these cookies will set up.

Allow these to cool and then transfer.

These cookies are very delicate in texture so you will want to give them plenty of time to set up. 

Gluten-Free Cake Mix Sugar Cookies Recipe from MomAdvice.com

What Do They Taste Like?

These cookies are so delicious that you will NEVER know that they are gluten-free.

The dough is so flavorful and the healthy dose of vanilla in the batter makes these taste like a cookie dough that you truly slaved over.

The addition of the candies adds that yummy chocolate flavor that I think every good cookie should have.

With these helpful tips, I hope you will have a successful baking day and hope that this easy treat idea will help as you plan your own holiday treats this year!

Can I Freeze These?

Cookies can be frozen!

It is recommended that you wrap them in aluminum foil or in a resealable plastic bag for up to one month.
Let the cookies thaw on the kitchen counters overnight before serving.

What Other Ways Can I Spice Up These Cookies?

If you can’t have chocolate, there are many other ways you can spice these easy cookies up.

Add Sprinkles– Lightly beat one egg white and brush the tops of your cookies with it, then sprinkle with gluten-free sugar sprinkles.

Add Zest– Add 1 teaspoon of grated lemon, orange, or key lime zest

Switch Your Extract– Try a different extract in your dough like almond or butter

Make It Spicy– Add a pinch of nutmeg, cinnamon, or dust the tops with the egg white & a cinnamon & sugar combo.

Check out the recipe below! Love this project? Here are a few other gift ideas I think you will like!

diy your own chai tea mix

diy vanilla chai mix

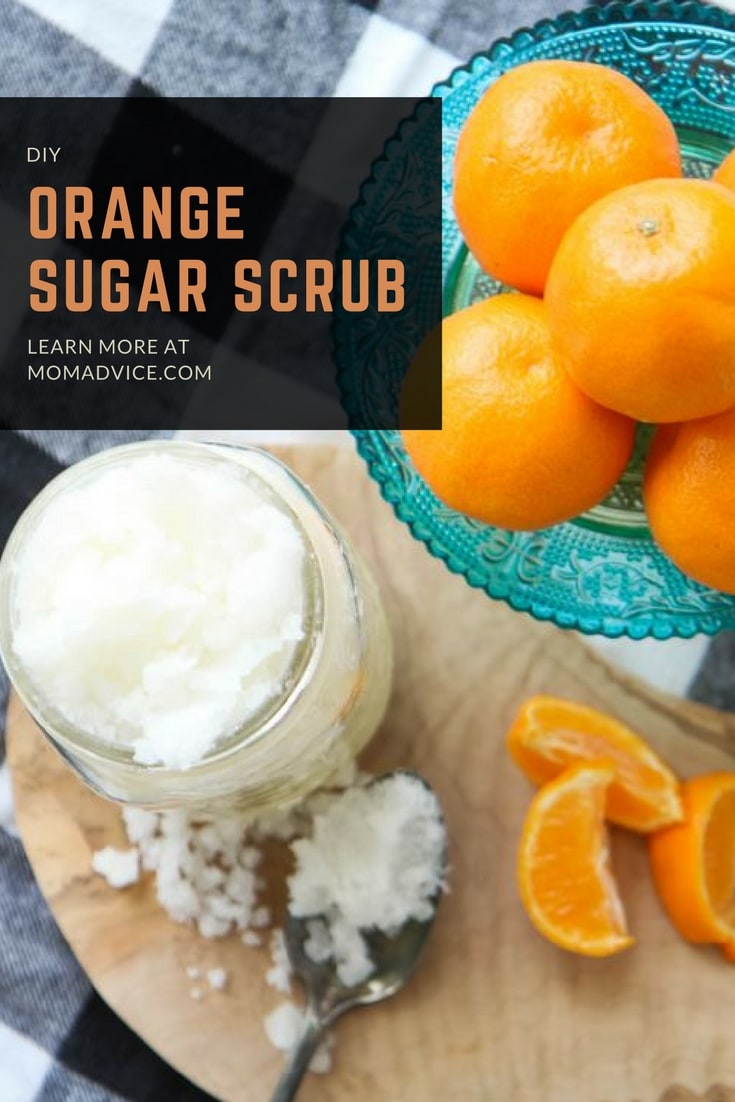
diy orange sugar scrub

how to make knitted wine hats and scarves diy knitted wine hats & scarves

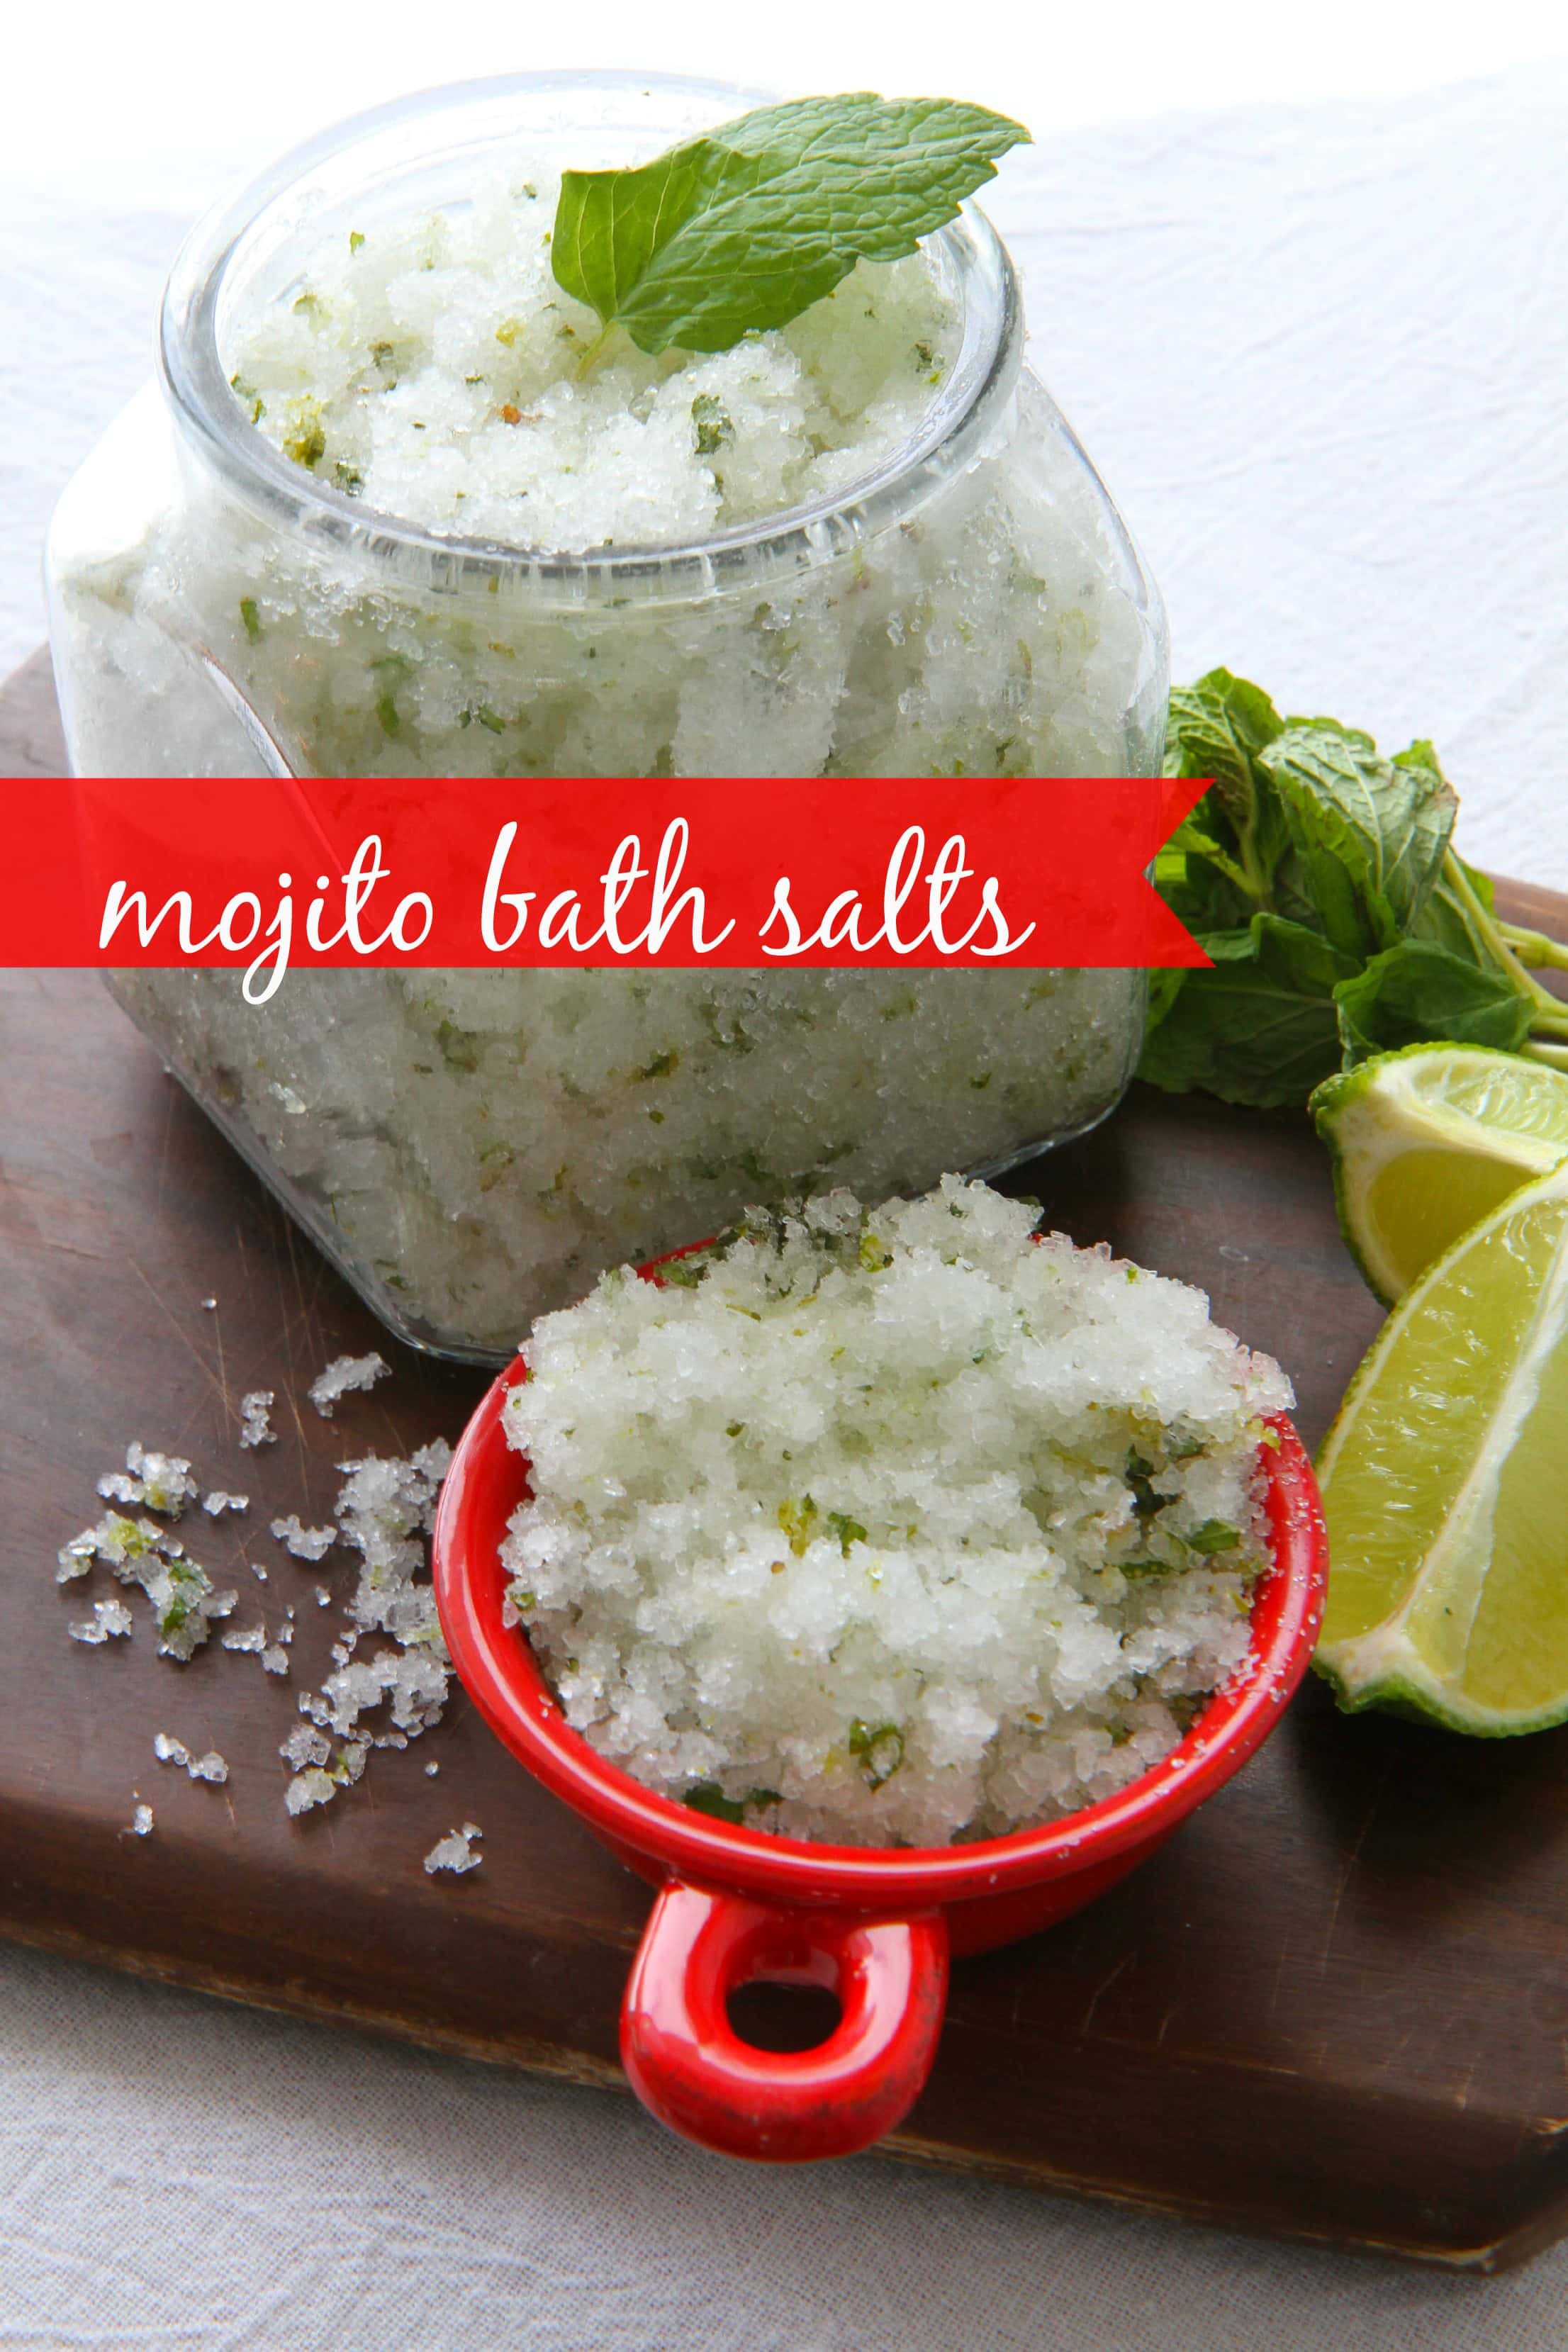
diy mojito bath salts

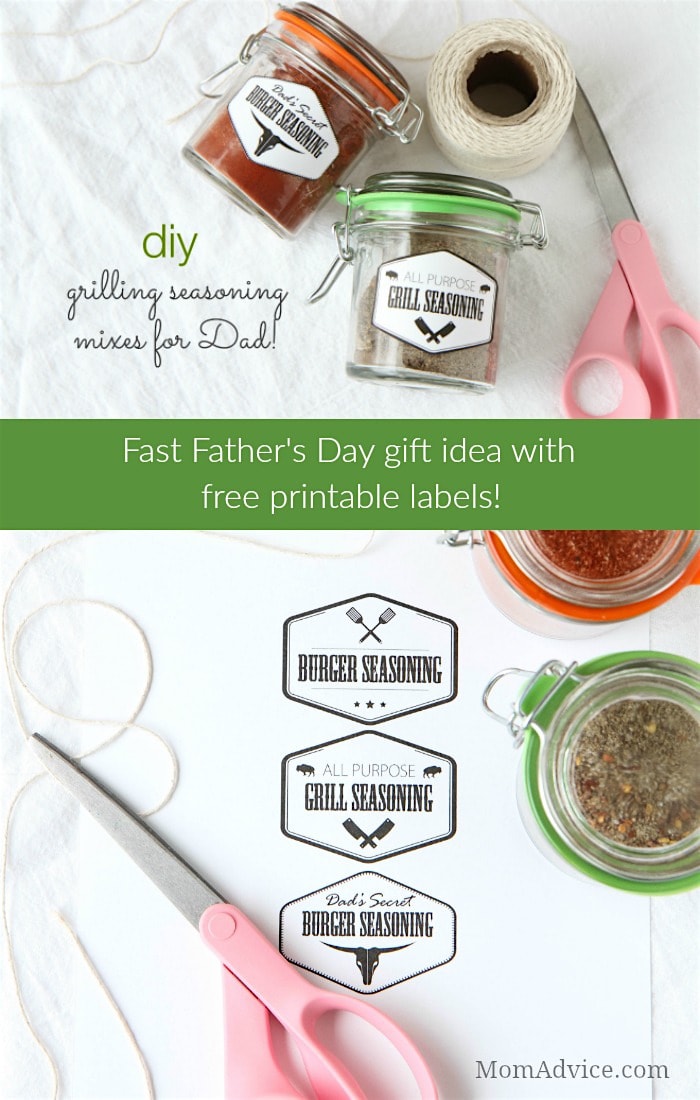
DIY Grilling Seasoning Mixes for Father's Day with printable labels diy grilling seasoning mixes

How to Make a Knitted Coffee Sweater

knitted coffee cozies


Gluten-Free Cake Mix Cookies
 
Author: Amy Clark
Prep time:
Cook time:
Total time:
Serves: 3 dozen
Cake mix cookies that can be gluten-free and dairy-free for a fun treat to share for any holiday.
Ingredients
  • 1 package (15 ounces) yellow gluten-free cake mix
  • 8 tablespoons (1 stick) unsalted butter- if dairy-free replace with vegetable shortening, MELTED
  • 1 large egg
  • 3-4 teaspoons warm water, just until you see your dough pull together
  • 1 tablespoon pure vanilla extract
  • 3/4 cup M&M’s or read the post for other ways to spice up these cookies
Instructions
  1. Place the cake mix, butter (or vegetable shortening), egg, water, and vanilla in your mixing bowl and beat on low speed until well-combined.
  2. Using a spatula fold in the M&M’s (if mini-sized) or reserve to press these into each cookie after they have been cut (if large-sized)
  3. Place the cookie dough on a sheet of wax paper and then press with your hands to form a long,approximately 12 inches long and 2 inches in diameter. Tightly roll the dough and chill it in the refrigerator for at least three hours or overnight.
  4. Preheat your oven to 350 degrees. Grease two cookie sheets well or cover these in parchment paper.
  5. Unwrap the dough and transfer to a cutting board and slice them in 1/4-3/8″ slices.
  6. Place the baking sheets in the oven and bake until the cookies are lightly browned on the edges,7-10 minutes.
  7. Let the cookies fully cool before transferring.


Have you ever made gluten-free cake mix sugar cookies? Do you have any tips for beginning gluten-free bakers on ways to increase success with cake mix cookies?

As an Amazon Associate I earn from qualifying purchases. 

This post contains affiliate links.

Gluten-Free Cake Mix Sugar Cookies Recipe from MomAdvice.com

Gluten-Free Cake Mix Sugar Cookies Recipe from MomAdvice.com

Gluten-Free Cake Mix Sugar Cookies Recipe from MomAdvice.com


Pin It
The Hidden Secrets to Perfect Cut-Out Sugar Cookies

Monday, November 4th, 2019

The Hidden Secrets to Perfect Cut-Out Sugar Cookies from MomAdvice.com

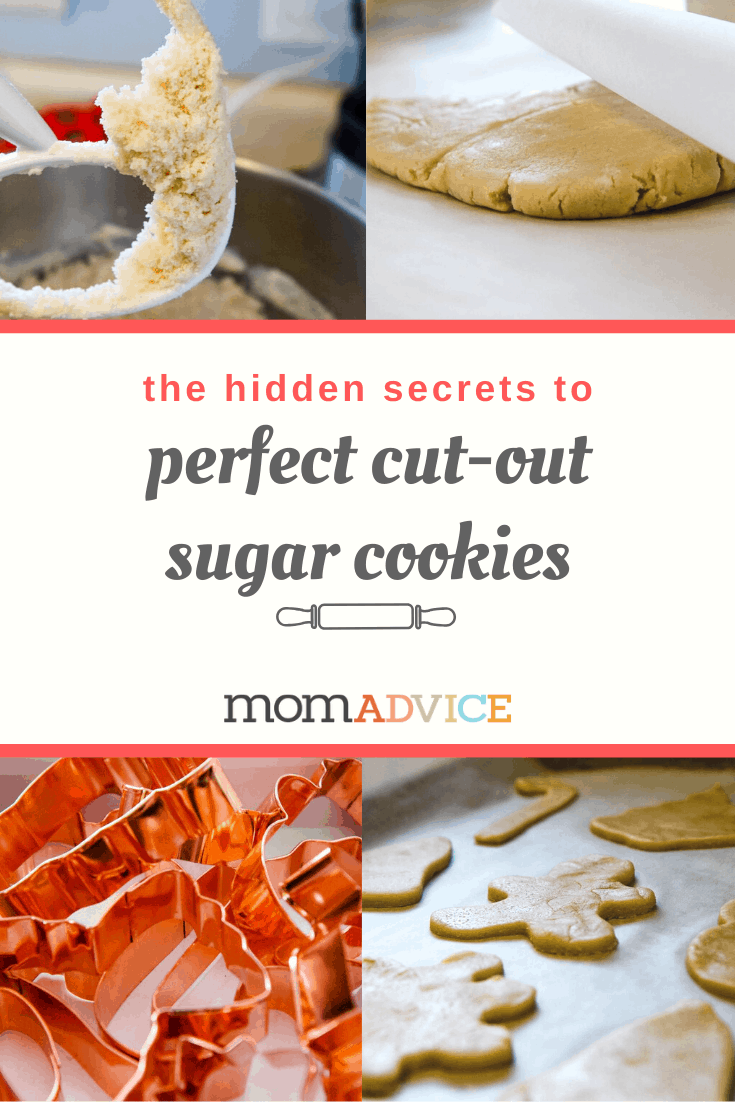
Do you know the hidden secrets to the perfect cut-out sugar cookies? Put your stand mixer to work and blend up this incredible sugar cookie dough. You will learn how to make rolling and cutting sugar cookies easier. These tricks yield cookies that stay soft- bookmark this perfect cut-out cookie recipe today!

I love, love, love to cook.

Baking bread, whipping up fancy dinners, making stacks of gourmet waffles…those are my favorite thing to do!

Baking cookies?

Total fail.

I don’t know what it is, but making great cookies is not something I am good at.

To be honest, I just don’t think I have the patience for it.

More than that, I haven’t had the time.

I rely on bar cookies, quick breads, and other easy snacks to get us by.

Of all of the fails, cut-out sugar cookies have been the biggest fail for me.

They are misshapen, taste like cardboard, and are far too time-consuming.

I tried so many recipes with the same results and had determined that cut-out cookies were just NOT my thing.

I decided this year though that I would find a good recipe that would look nice and yield a tasty result.

Where do I turn when I don’t have time to run a full-fledged test kitchen out of my home?

My America’s Test Kitchen Family Cookbook.

Don’t they have such great recipes?

The recipe was entirely unique and promised fantastic results.

Crisp cookies, full flavor, and step-by-step tutorials that would be worth eating and sharing.

The Hidden Secrets to Perfect Cut-Out Sugar Cookies from MomAdvice.com

The Hidden Secrets to Perfect Cut-Out Sugar Cookies

Trick #1: Use a Superfine Sugar

The first step towards a great sugar cookie was to use superfine sugar.

According to the cookbook, superfine sugar gives the cookies a finer crumb and crisper texture.

What is Superfine Sugar?

Superfine sugar s simply granulated sugar that’s been ground more finely. It’s often called for in recipes where a faster dissolving granule is needed.

This ingredient can be purchased at your local grocery store over by the other sugar options.

Don’t want to buy superfine sugar for one recipe?

Yeah, me either!

How Can I Make My Own Superfine Sugar?

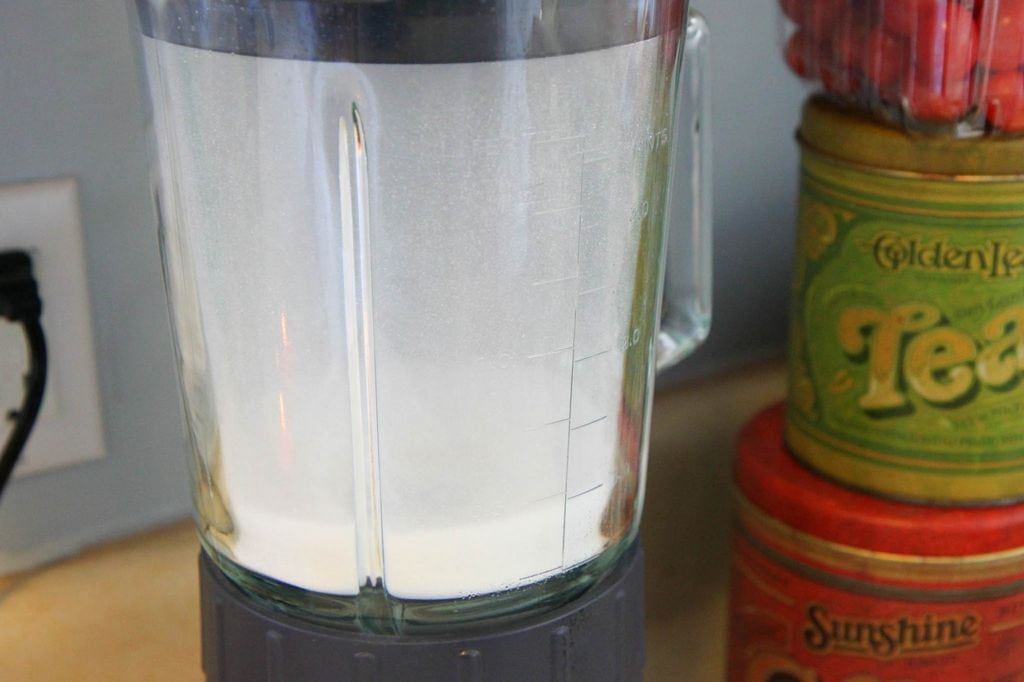
Instead of purchasing a specialty sugar, process one cup of your granulated sugar in a food processor or blender.

Once the sugar is to a fine consistency (approximately 30 seconds), you can measure out 3/4 cup for your recipe.

Easy enough!

You know me, I chose the cheaper option for this recipe and put my blender to work.

Hidden Secrets to the Perfect Sugar Cookie from MomAdvice.com

Hidden Secrets to the Perfect Sugar Cookie from MomAdvice.com

Trick #2: The “Reverse Mixing Method

The second step to their perfect cookie was a “reverse” mixing method.

In traditional recipes, we would cream the room temperature butter and sugar together. They took a reverse mixing method approach instead.

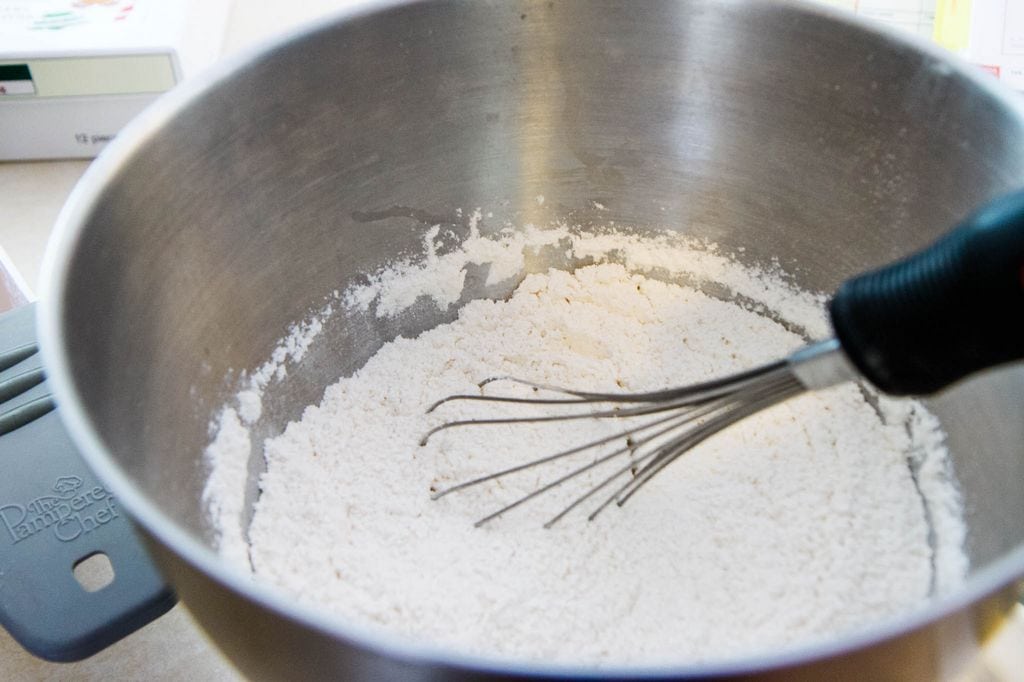
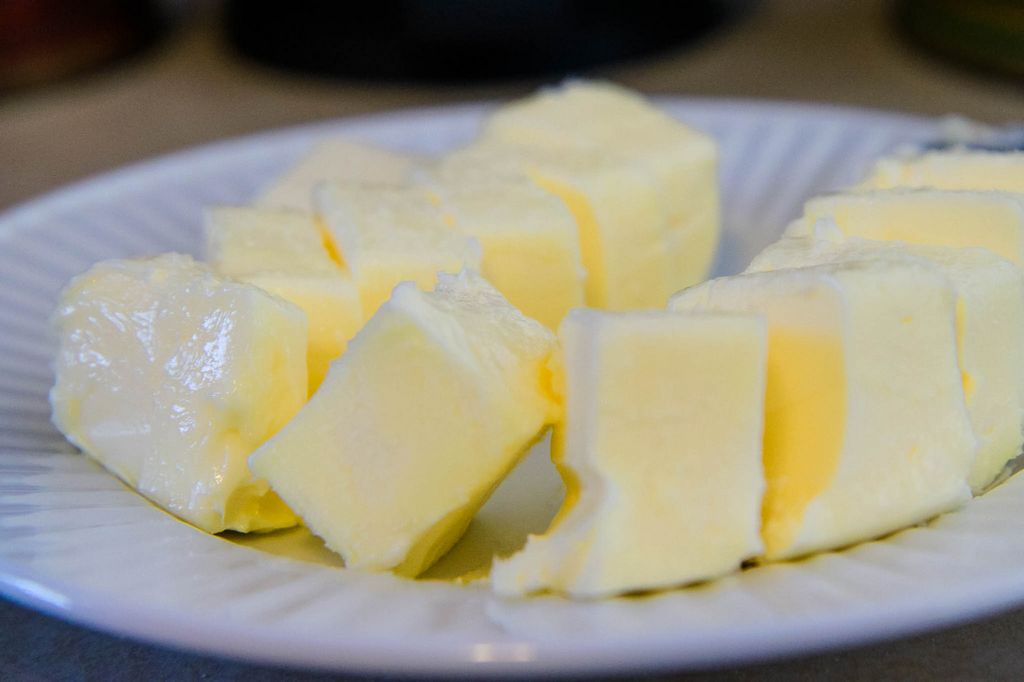
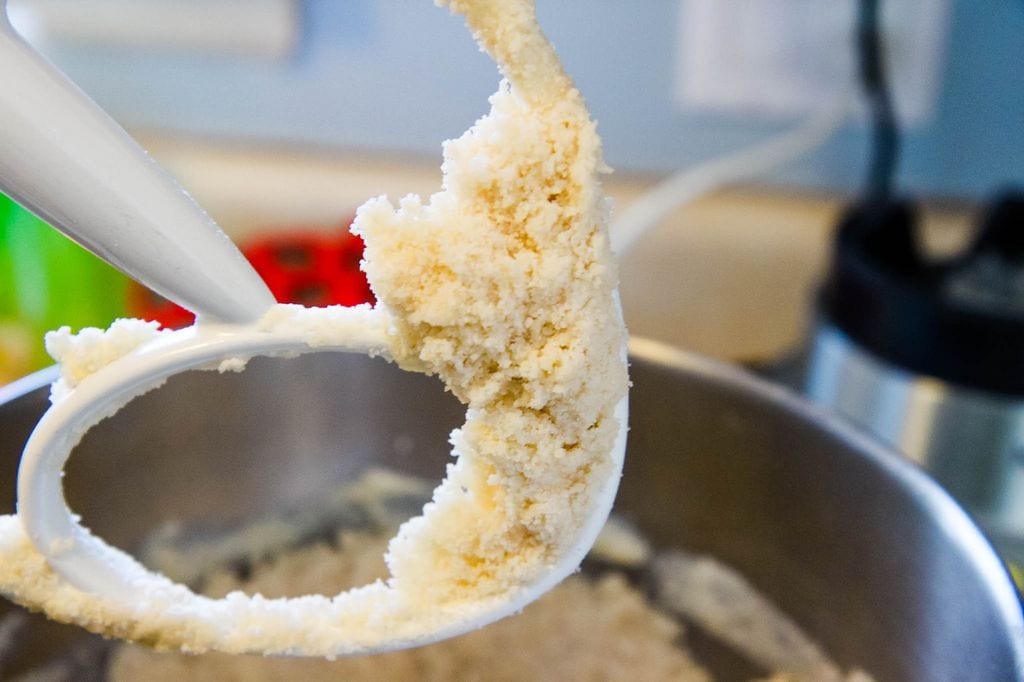
With this method, you mix together all of the dry ingredients first and then add butter tablespoon by tablespoon.

The dough mixture is finished with cream cheese, another unusual addition to a cut-out sugar cookie recipe. This ingredient really pulls everything together and makes the dough workable. Once it has pulled together, finish with a little vanilla extract for flavor!

Hidden Secrets to the Perfect Sugar Cookie from MomAdvice.com


The dough looked like this. It looked crumbly and not very wet. You were instructed to pull the dough together with your hands and form it into a ball. I wasn’t too sure how this was going to work out. It just did not seem sticky enough to me.

The dough looked like this. It looked crumbly and not very wet.

You were instructed to pull the dough together with your hands and form it into a ball.

I wasn’t too sure how this was going to work out. It just did not seem sticky enough to me.

After a couple of minutes of kneading, this is what my dough looked like. I don’t think my dough has ever looked this good.

Hidden Secrets to the Perfect Sugar Cookie from MomAdvice.com

Hidden Secrets to the Perfect Sugar Cookie from MomAdvice.com

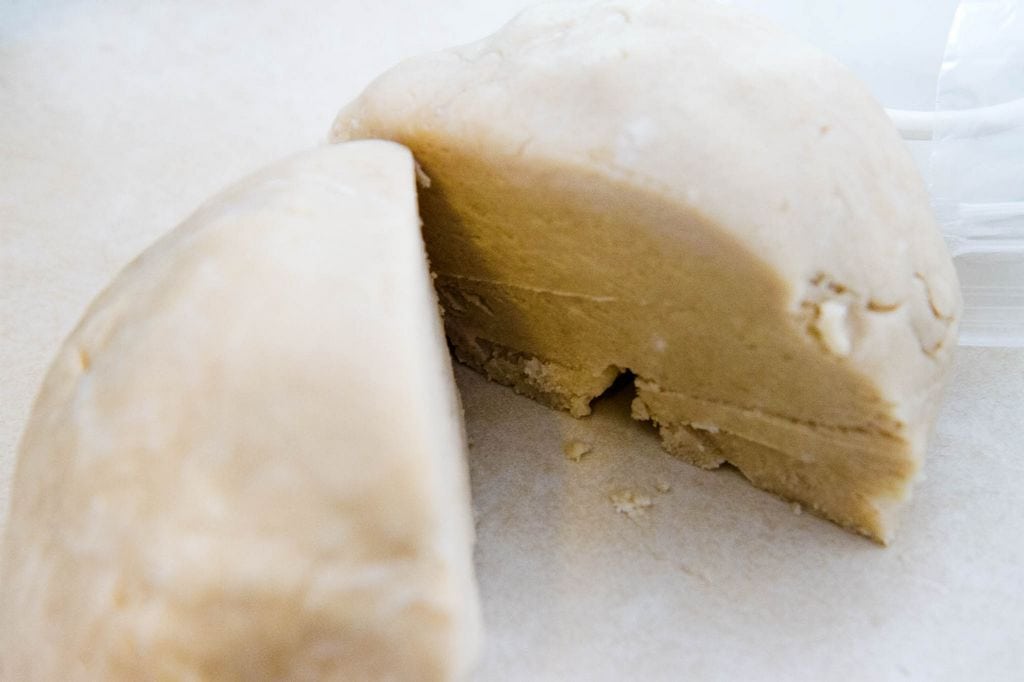
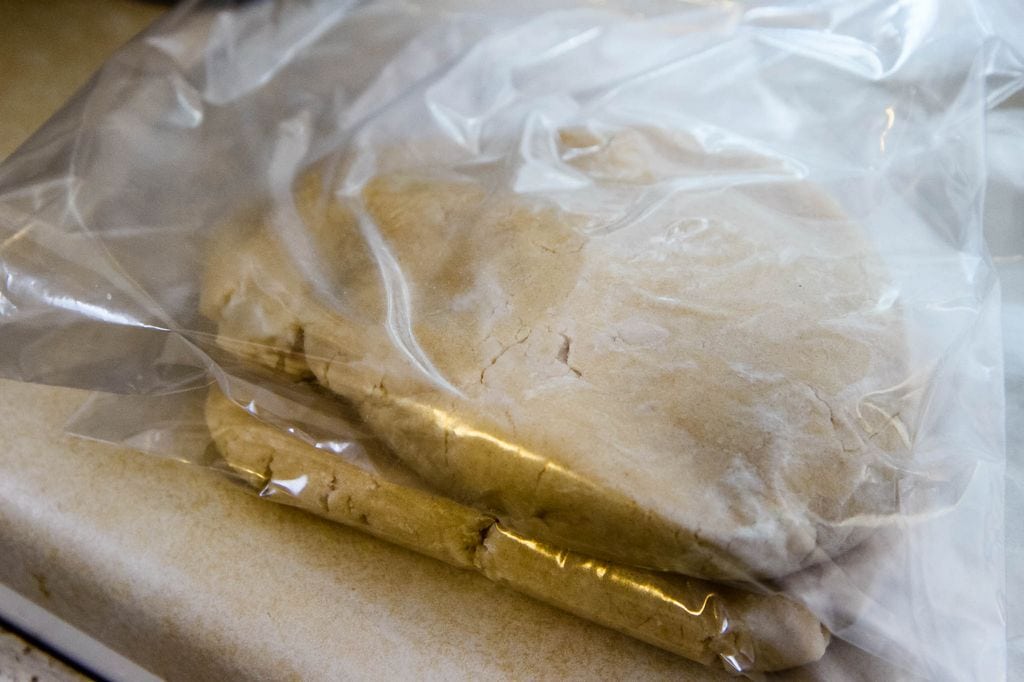
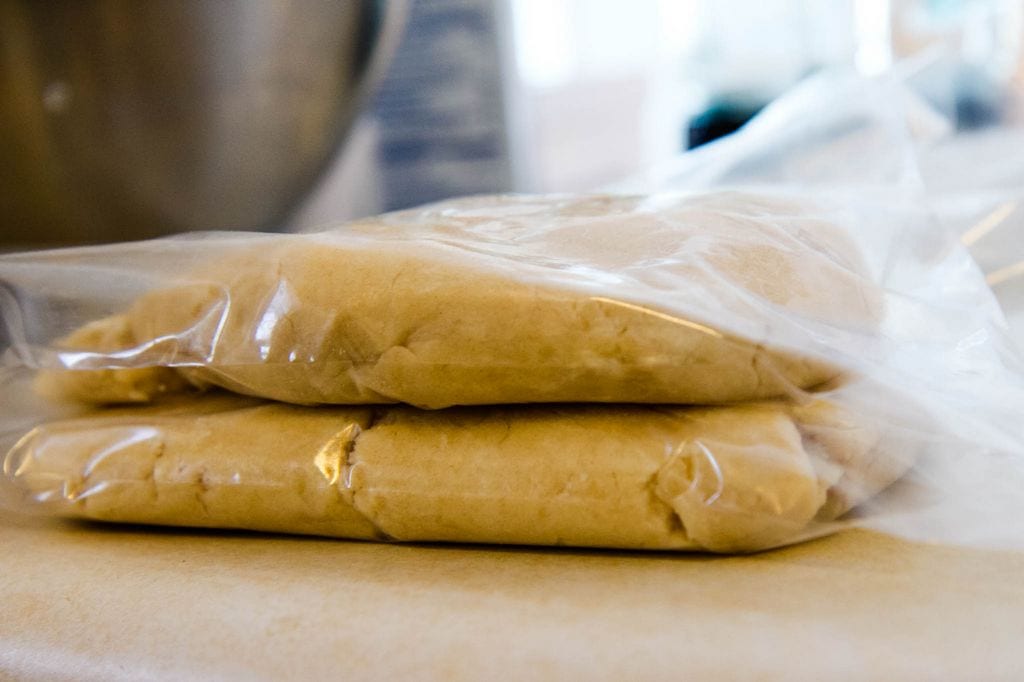
Trick #3: Chill Your Cut-Out Sugar Cookie Dough

Have you ever had a sugar cookie that looks misshapen?

Chances are that the cook didn’t chill the dough. This look step helps these cut-out cookies to turn out great.

Divide the dough and place them in your refrigerator to chill. It is recommended to flatten them into two 4″ disks, and leave them there for 20-30 minutes.


Hidden Secrets to the Perfect Sugar Cookie from MomAdvice.com

Hidden Secrets to the Perfect Sugar Cookie from MomAdvice.com

Hidden Secrets to the Perfect Sugar Cookie from MomAdvice.com


While the dough is chilling, you can tidy up the kitchen and then get everything else ready to go.

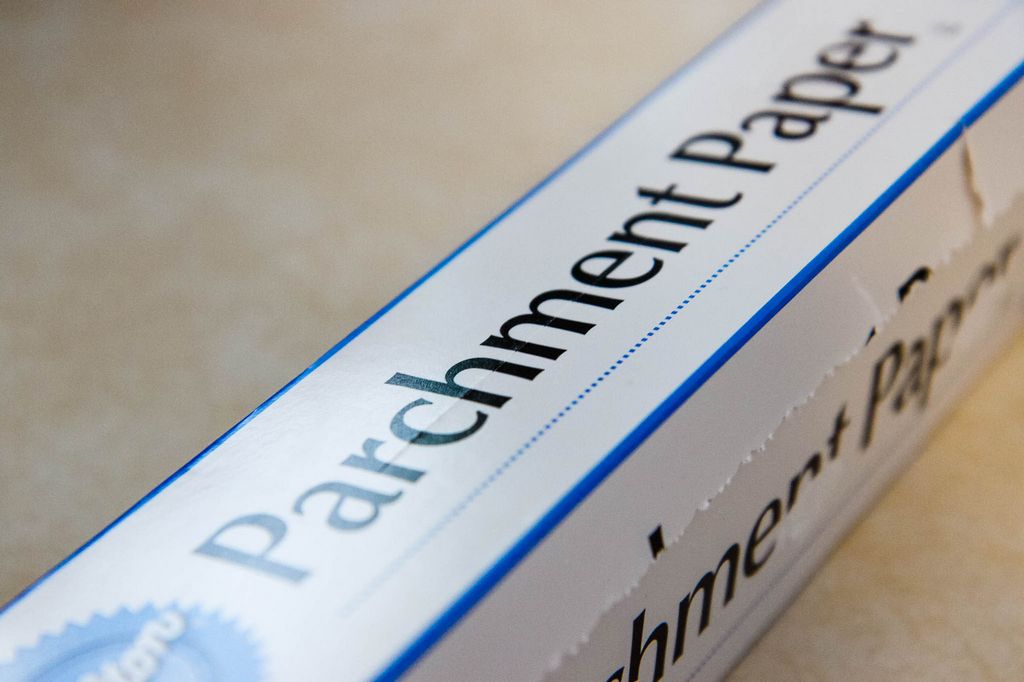
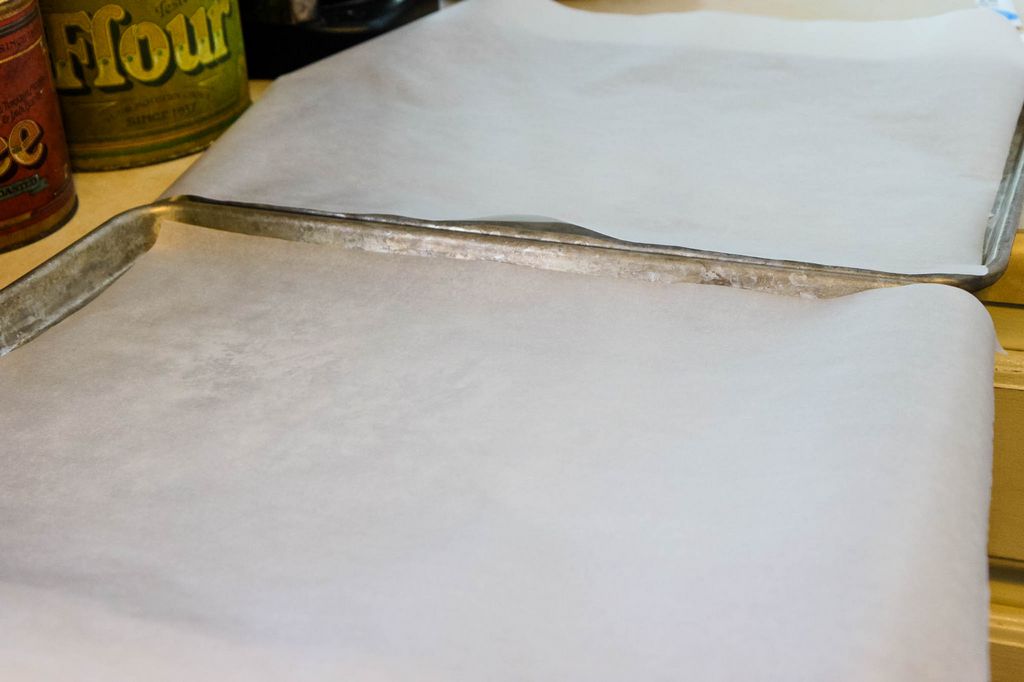
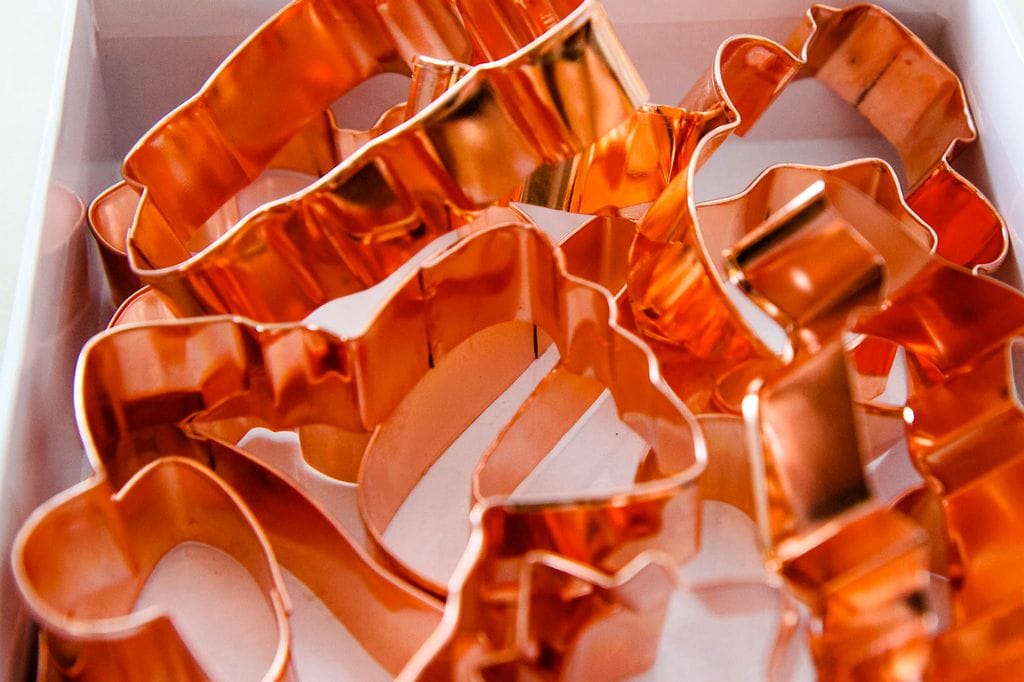
Line your cookie sheets with parchment paper and lay out your cookie cutters.

Next, tear off two additional sheets of parchment paper per dough disk to roll out your cookie dough.

That’s right, no floured counters which will save on clean-up time!

Hidden Secrets to the Perfect Sugar Cookie from MomAdvice.com

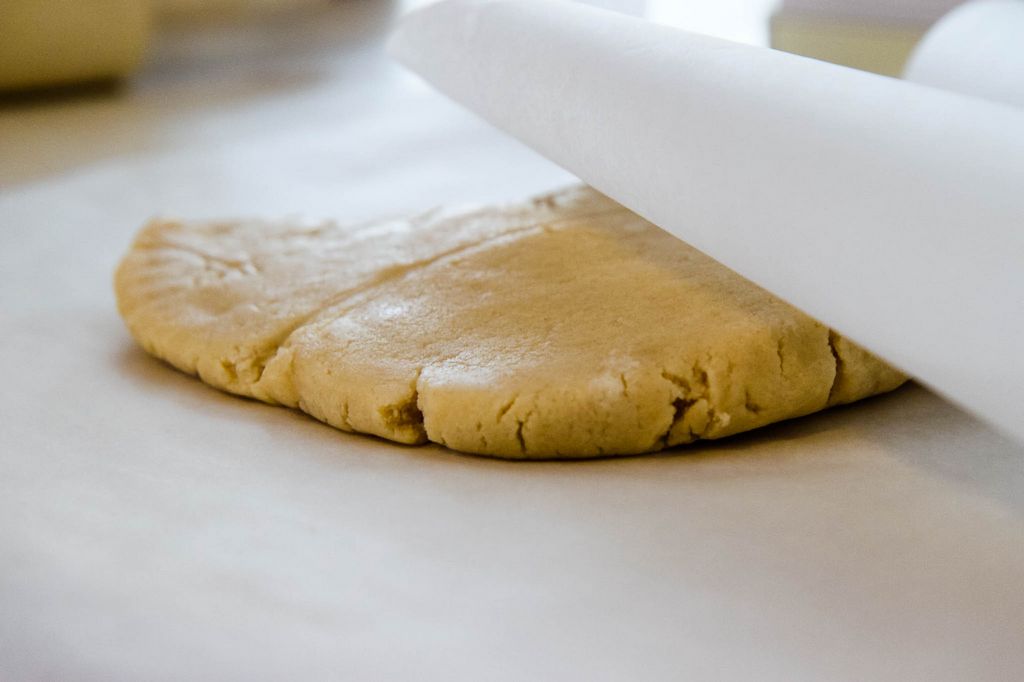
Tip #4: Roll Your Cut-Out Sugar Cookie Dough Between Two Sheets of Parchment Paper

Put your disk between the parchment paper and roll the dough out.

I secured one set of corners between me and the counter to hold the paper in place.

Tip #5: After You Roll Out Your Sugar Cookie Dough, chill it AGAIN!

Now pop the dough back in the refrigerator for ten more minutes or until the dough is firm for cutting.

I know waiting for the dough to chill again feels like a waste of time.

Trust me, you will be glad you did it.

This will yield a cookie with sharp edges and that hold their shape.

I promise that this will be worth the wait.

At this point, I was already patting myself on the back.

Aren’t you glad you weren’t in the kitchen with me for this annoying moment?

Hidden Secrets to the Perfect Sugar Cookie from MomAdvice.com

Hidden Secrets to the Perfect Sugar Cookie from MomAdvice.com

Hidden Secrets to the Perfect Sugar Cookie from MomAdvice.com

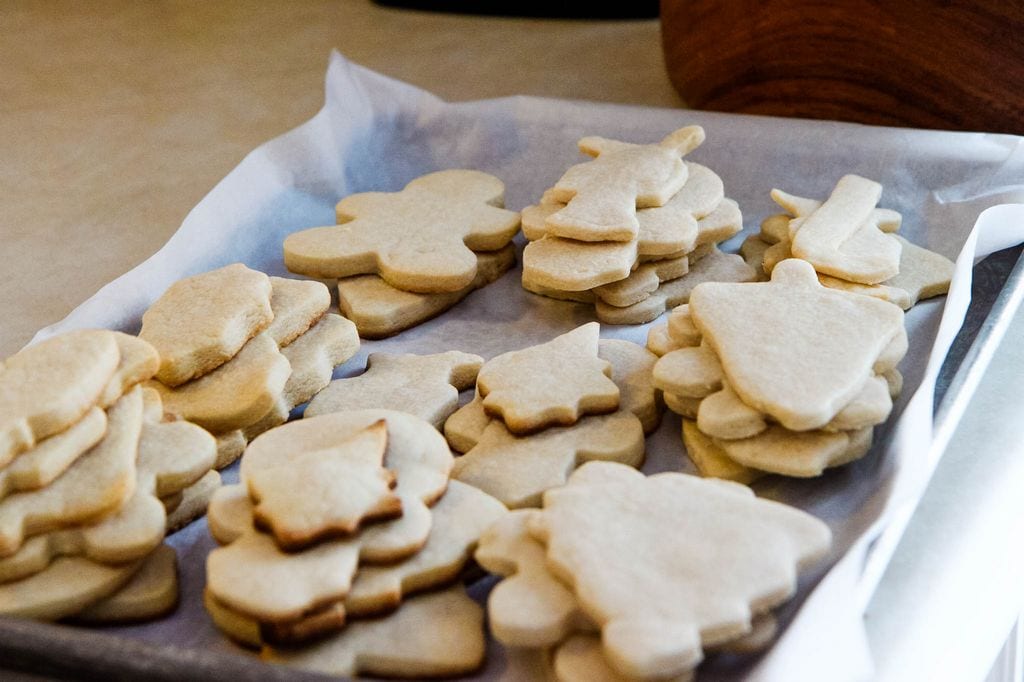
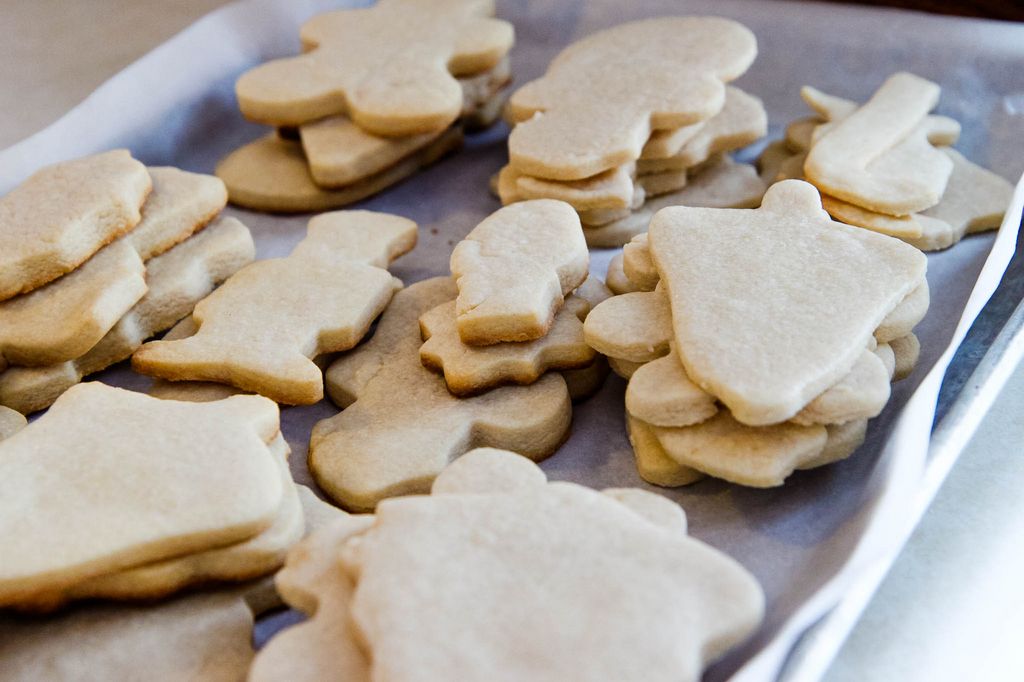
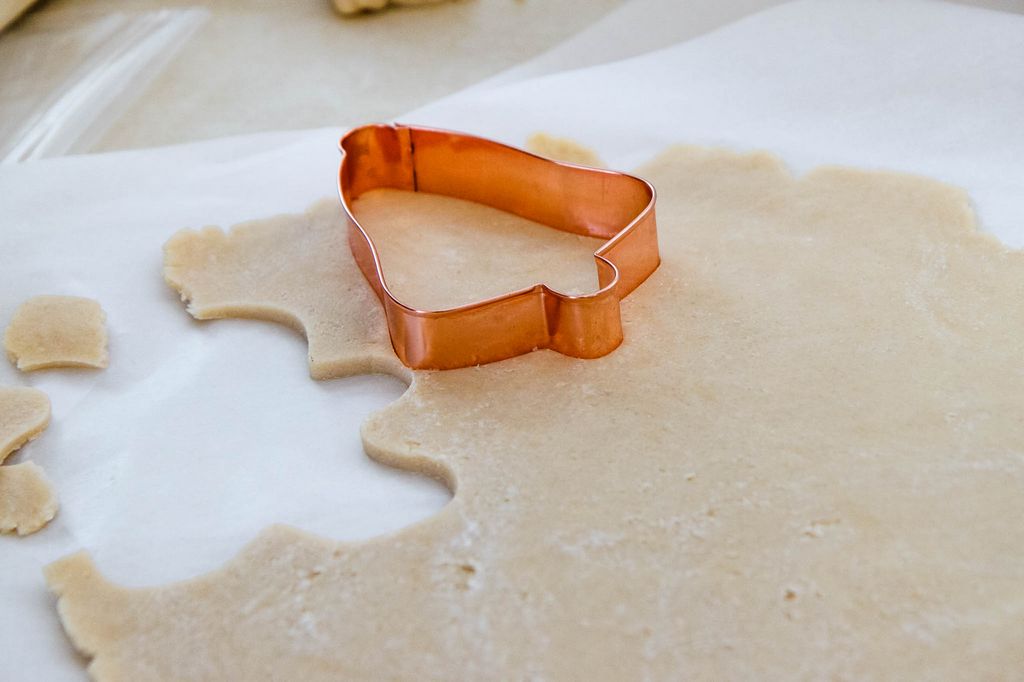
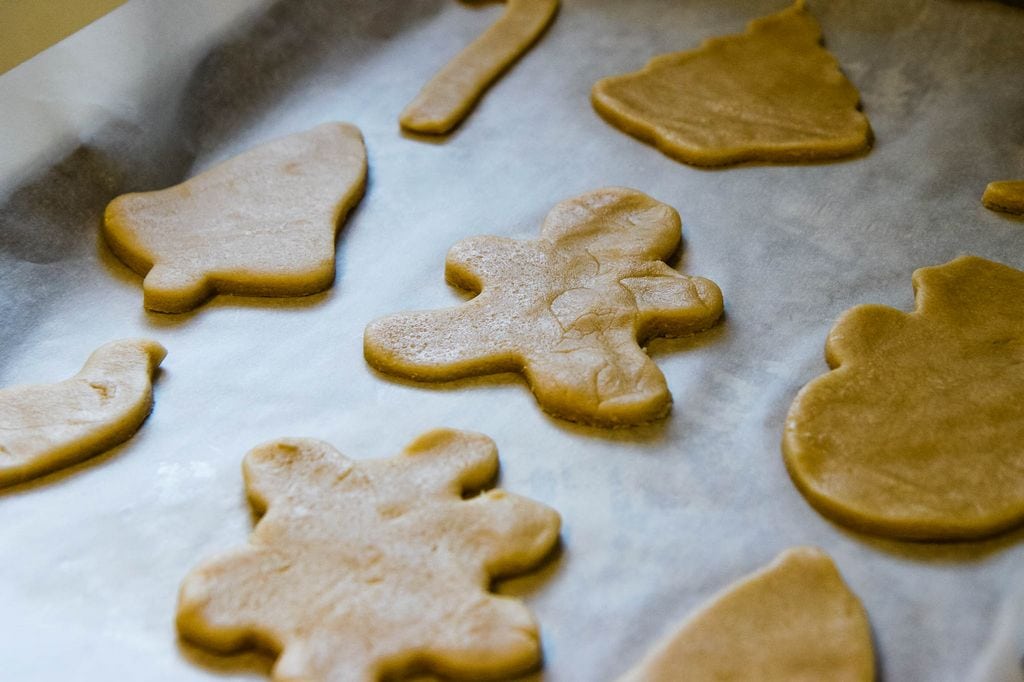
The cookies cut out beautifully and were firm enough that I could easily transfer them over to the parchment paper.

How crazy that we won’t be losing snowman feet and arms or the poor wings off of our bird cookies!

I bet you are glad you never saw my past cookies (*ahem*)!

Put your cookie sheets in the oven and watch them through the glass.

Be sure to continue, annoyingly, patting yourself on the back.

Tip #6: Rotate Your Cookie Sheets For Even Heating

Instead of letting one rack stay doughy and one rack get burnt, they have you rotate the cookie sheets halfway through.

What a novel idea!

Hidden Secrets to the Perfect Sugar Cookie from MomAdvice.com

Hidden Secrets to the Perfect Sugar Cookie from MomAdvice.com

These are my cookies after baking!

I KNOW!

Keep in mind, these cookies remain a pale color so don’t worry that they haven’t cooked long enough. Ten minutes is just the amount of time you need for these cookies to

They didn’t look done to me, but they were so don’t overcook them.

I had one batch that got out in the nick of time after I added two minutes to the cooking time.

They will harden up for you without any additional cooking.

Hidden Secrets to the Perfect Sugar Cookie from MomAdvice.com

Hidden Secrets to the Perfect Sugar Cookie from MomAdvice.com

Hidden Secrets to the Perfect Sugar Cookie from MomAdvice.com

Hidden Secrets to the Perfect Sugar Cookie from MomAdvice.com

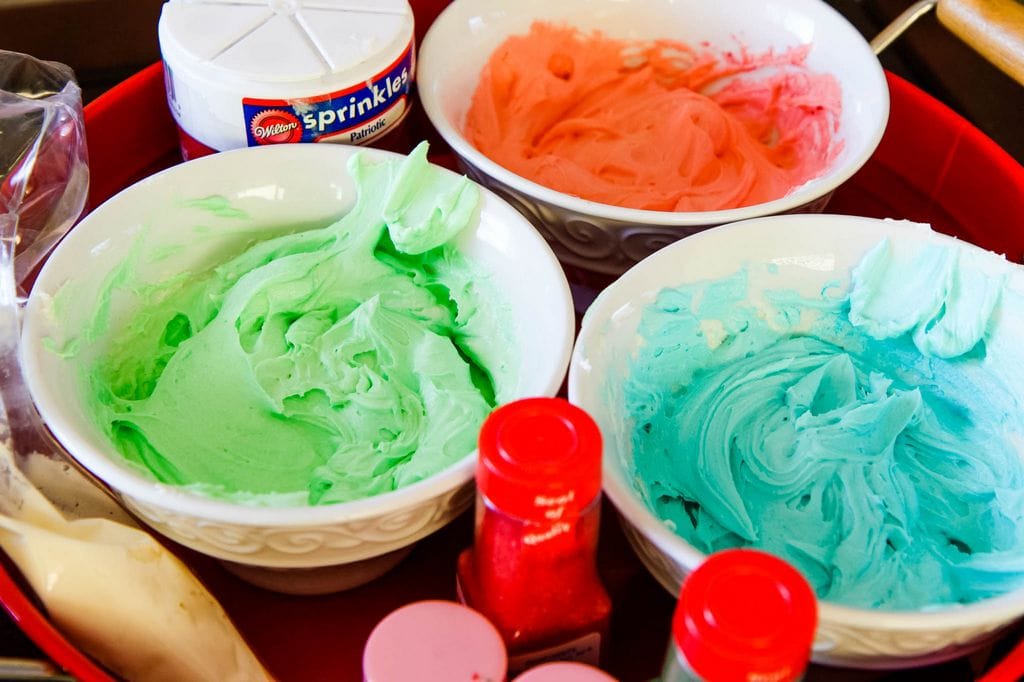
Tip #7: Ice Your Cookies With America’s Test Kitchen Royal Icing (OR NOT)

They recommend decorating with a royal icing glaze.

I am not a fan of how those royal icing recipes turn out.

I stick to a traditional frosting recipe that requires a little more time to harden, but has a thicker tasting frosting.

What If I Want the America’s Test Kitchen Royal Icing Recipe?

Blend together 2 cups (8 ounces) confectioners’ sugar, 3 tablespoons milk, 1 ounce cream cheese, softened, and food coloring to make the America’s Test Kitchen Glaze.

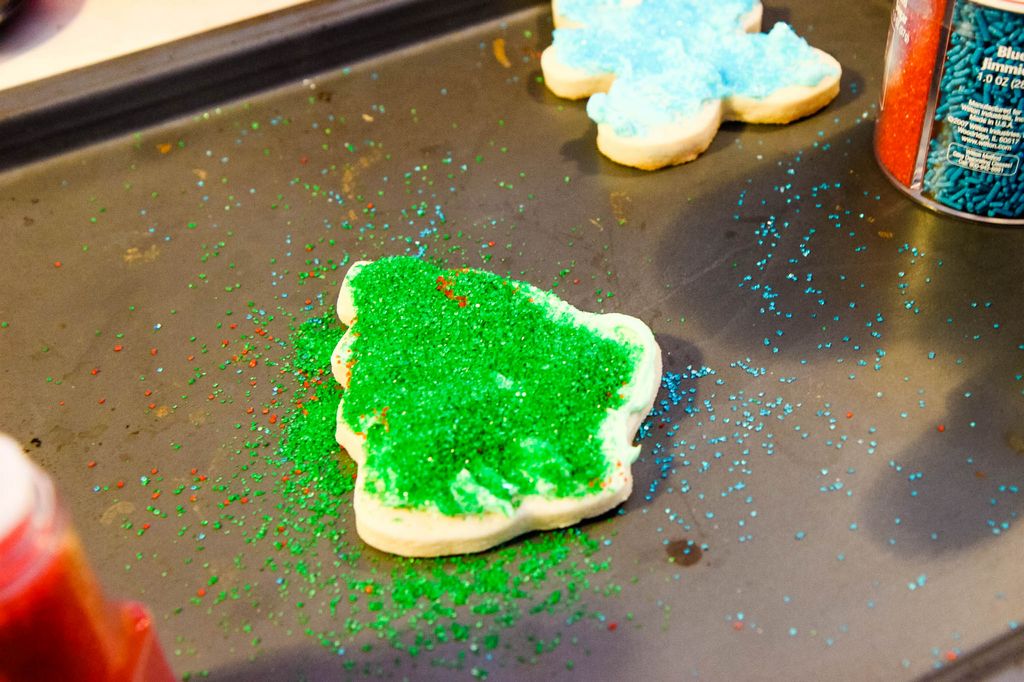
Since our cookie sheets were lined with parchment paper, I reused these sheets for decorating.

This caught any runaway sprinkles or the sprinkle dumping that seems to occur every year (see above for examples).

The cookies looked good, but the real question is did they taste good? I asked our very official taste-testing and decorating crew to give me their honest opinions.

Sometimes a picture is all you need! They were perfect, not crumbly, sturdy, but not thick, tangy, but buttery. Basically, perfection!

The cookies looked good, but the real question is did they taste good? I asked our very official taste-testing and decorating crew to give me their honest opinions.

Hidden Secrets to the Perfect Sugar Cookie from MomAdvice.com

Hidden Secrets to the Perfect Sugar Cookie from MomAdvice.com

Sometimes a picture is all you need! They were perfect, not crumbly, sturdy, but not thick, tangy, but buttery. Basically, perfection!

The Hidden Secrets to Perfect Cu-Out Sugar Cookies from MomAdvice.com

The Perfect Cut-Out Sugar Cookie Recipe
 
Recipe Type: Desserts
Author: Adapted from America’s Test Kitchen Family Cookbook
Prep time:
Cook time:
Total time:
Serves: approximately 3 dozen
Do you know the hidden secrets to the perfect cut-out sugar cookies? Put your stand mixer to work and blend up this incredible sugar cookie dough. You will learn how to make rolling and cutting sugar cookies easier. These tricks yield cookies that stay soft- bookmark this perfect cut-out cookie recipe today!
Ingredients
  • 2 1/2 cups all-purpose flour
  • 3/4 cup superfine sugar (purchased or diy this flour with my instructions above)
  • 1/4 teaspoon salt
  • 16 tablespoons (2 sticks) unsalted butter, cut into 1/2″ pieces & softened
  • 2 tablespoons cream cheese, softened
  • 2 teaspoons vanilla extract
  • Rolling pin, cookie cutters, and sprinkles
  • Sugar Cookie Frosting:
  • 1/2 cup shortening
  • 4 cups confectioners sugar (powdered sugar)
  • 5 tablespoons milk
  • 1 teaspoon vanilla extract
  • Food coloring
Instructions
  1. Whisk the flour, sugar, & salt together in a large bowl.
  2. Beat the butter pieces (into the flour mixture) one piece at a time. I suggest using an electric mixer on medium-low speed, and beating until the mixture looks crumbly and slightly wet. This should take about 1 to 2 minutes.
  3. Beat in the cream cheese & vanilla until he dough just begins to form large clumps, about thirty seconds.
  4. Knead the dough in the large bowl by hand a few times until it forms a large, cohesive mass.
  5. Turn the dough out onto a clean counter, divide it in half, and apt into a two four inch disks.
  6. Wrap the disks tightly in plastic wrap and refrigerate until they begin to firm up, 20 to 30 minutes.
  7. Adjust an oven rack to the middle position and heat the oven to 375.
  8. Work with one disk at a time, roll out the dough to a 1/8″ thickness between two sheets of parchment paper.
  9. Slide the rolled dough and parchment onto a baking sheet & refrigerate again until firm.
  10. Working with one sheet of cookie dough at a time, cut out shapes using your cookie cutters.
  11. Next, lay them on two parchment-lined baking sheets, spaced about 1″ apart.
  12. Bake the cookies until light golden brown, about ten minutes, rotating the baking sheet halfway through baking.
  13. Let the cookies cool on the baking sheet for two minutes before transferring them to a wire rack.
  14. Be sure to allow them to cool completely (approximately 30 minutes)
  15. When cooled, the cookies can be decorated as desired.
  16. For frosting: In a large bowl, cream together confectioners sugar and shortening until smooth.
  17. Gradually mix in milk and vanilla with an electric mixer until smooth and stiff, about five minutes.
  18. Color with food coloring if desired.
 

I would highly recommend adding this cookbook to your holiday wish list. That same recipe can be adapted for many different types of cookies! It has definitely earned its keep on my bookshelf.

Do you have a favorite holiday cookie recipe? Please share your recipes or links here!

As an Amazon Associate I earn from qualifying purchases.

This post contains affiliate links.

Love this post? Here are a few other baking tutorials that might help you in the kitchen!

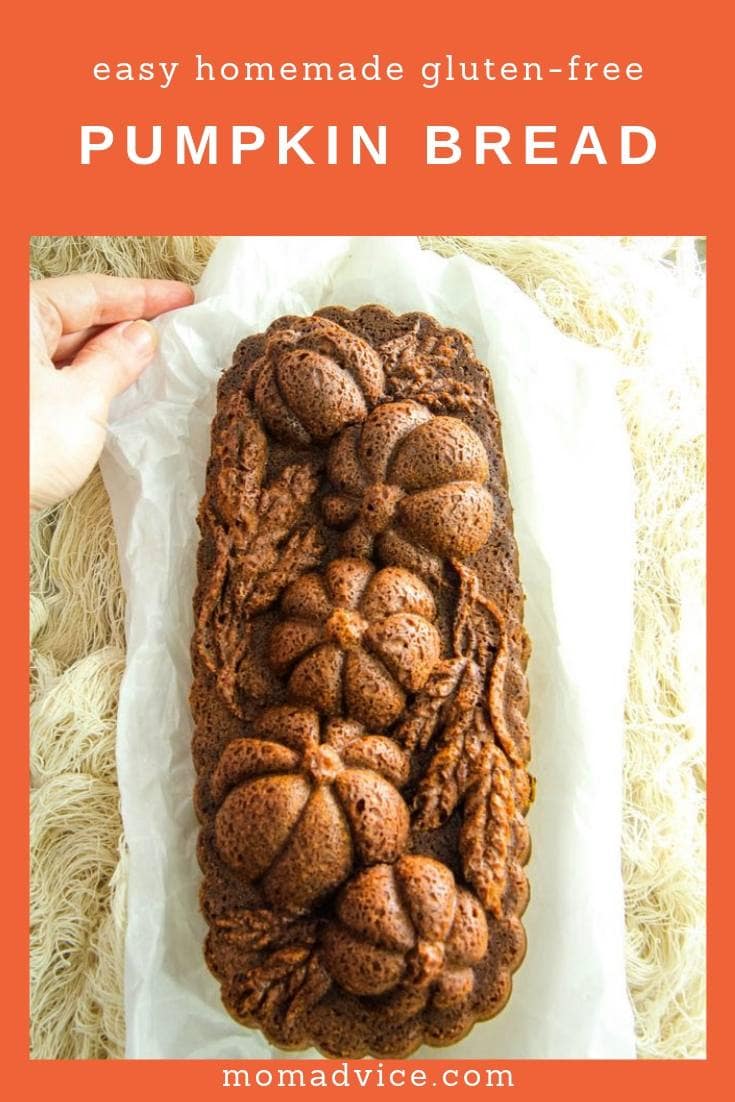
Easy Homemade Gluten-Free Pumpkin Bread easy gluten-free homemade pumpkin bread

Gluten-Free Cake Mix Sugar Cookies Recipe from MomAdvice.com gluten-free cake mix sugar cookies (great for freezing!)

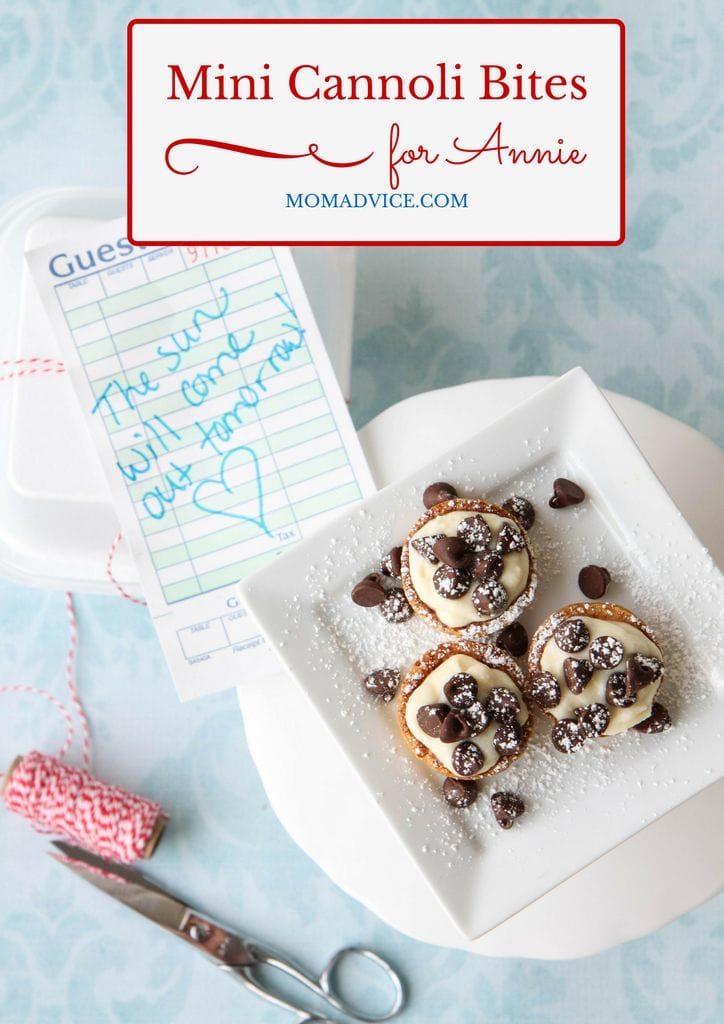
Mini Cannoli Cream Pastry Bites mini cannoli bites (pair with the Annie film for a fun family night idea!)

3-ingredient-star-cakes 3-ingredient star cakes

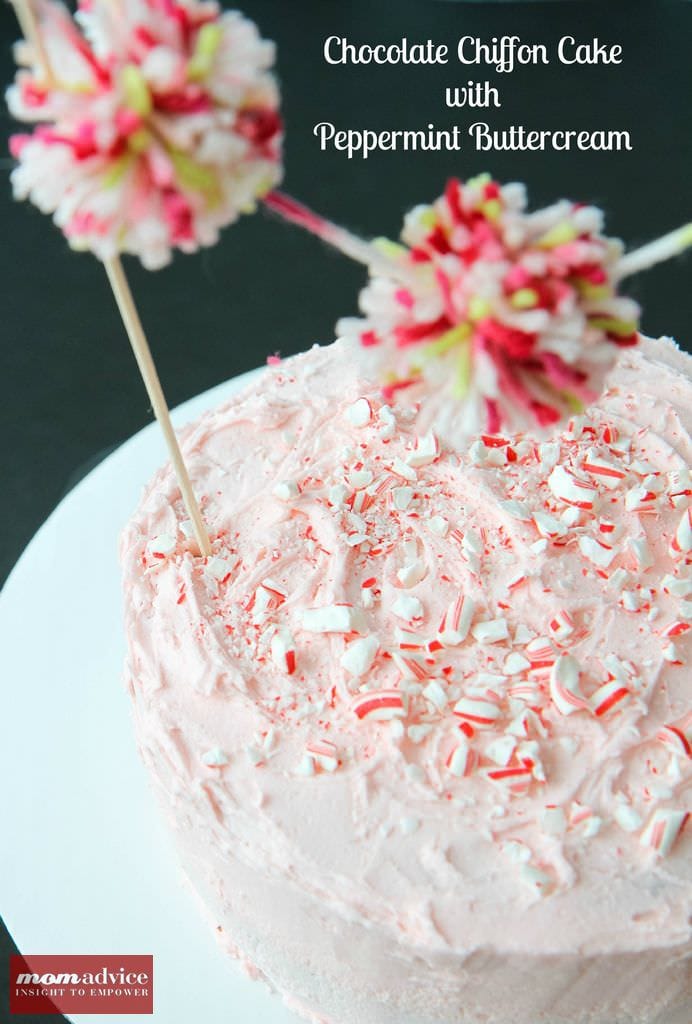
Chocolate Chiffon Cake with Peppermint Frosting chocolate chiffon cake with peppermint frosting

The Hidden Secrets to Perfect Cut-Out Sugar Cookies from MomAdvice.com

Happy baking!

Pin It
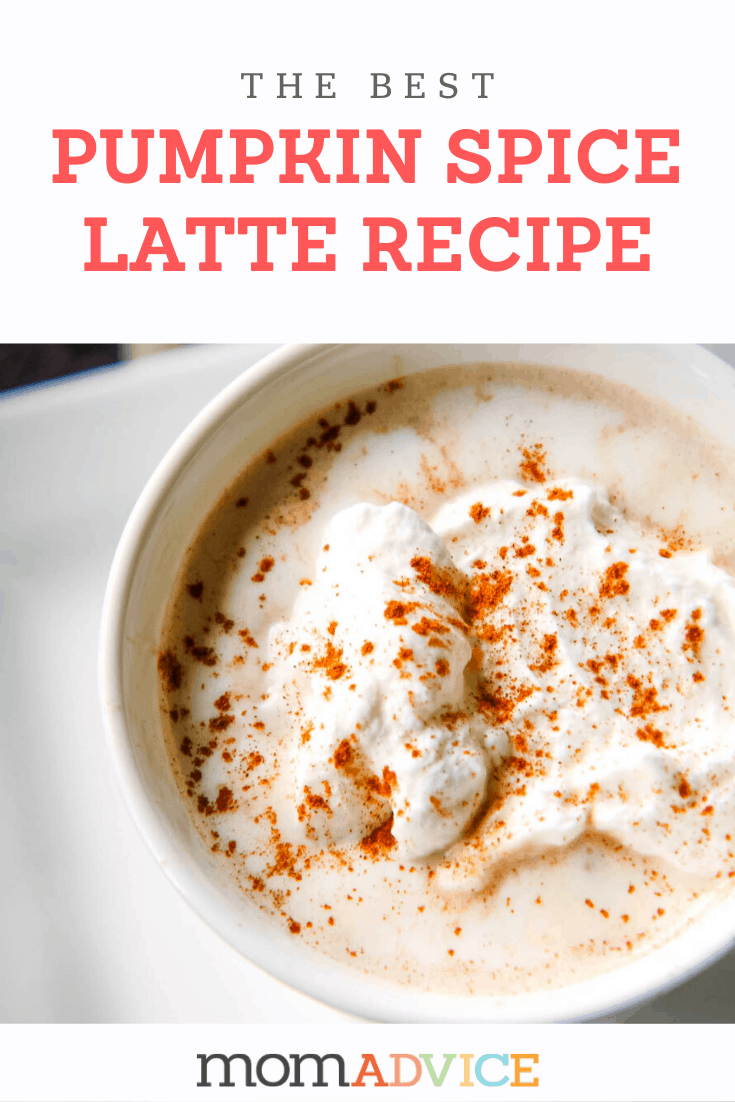
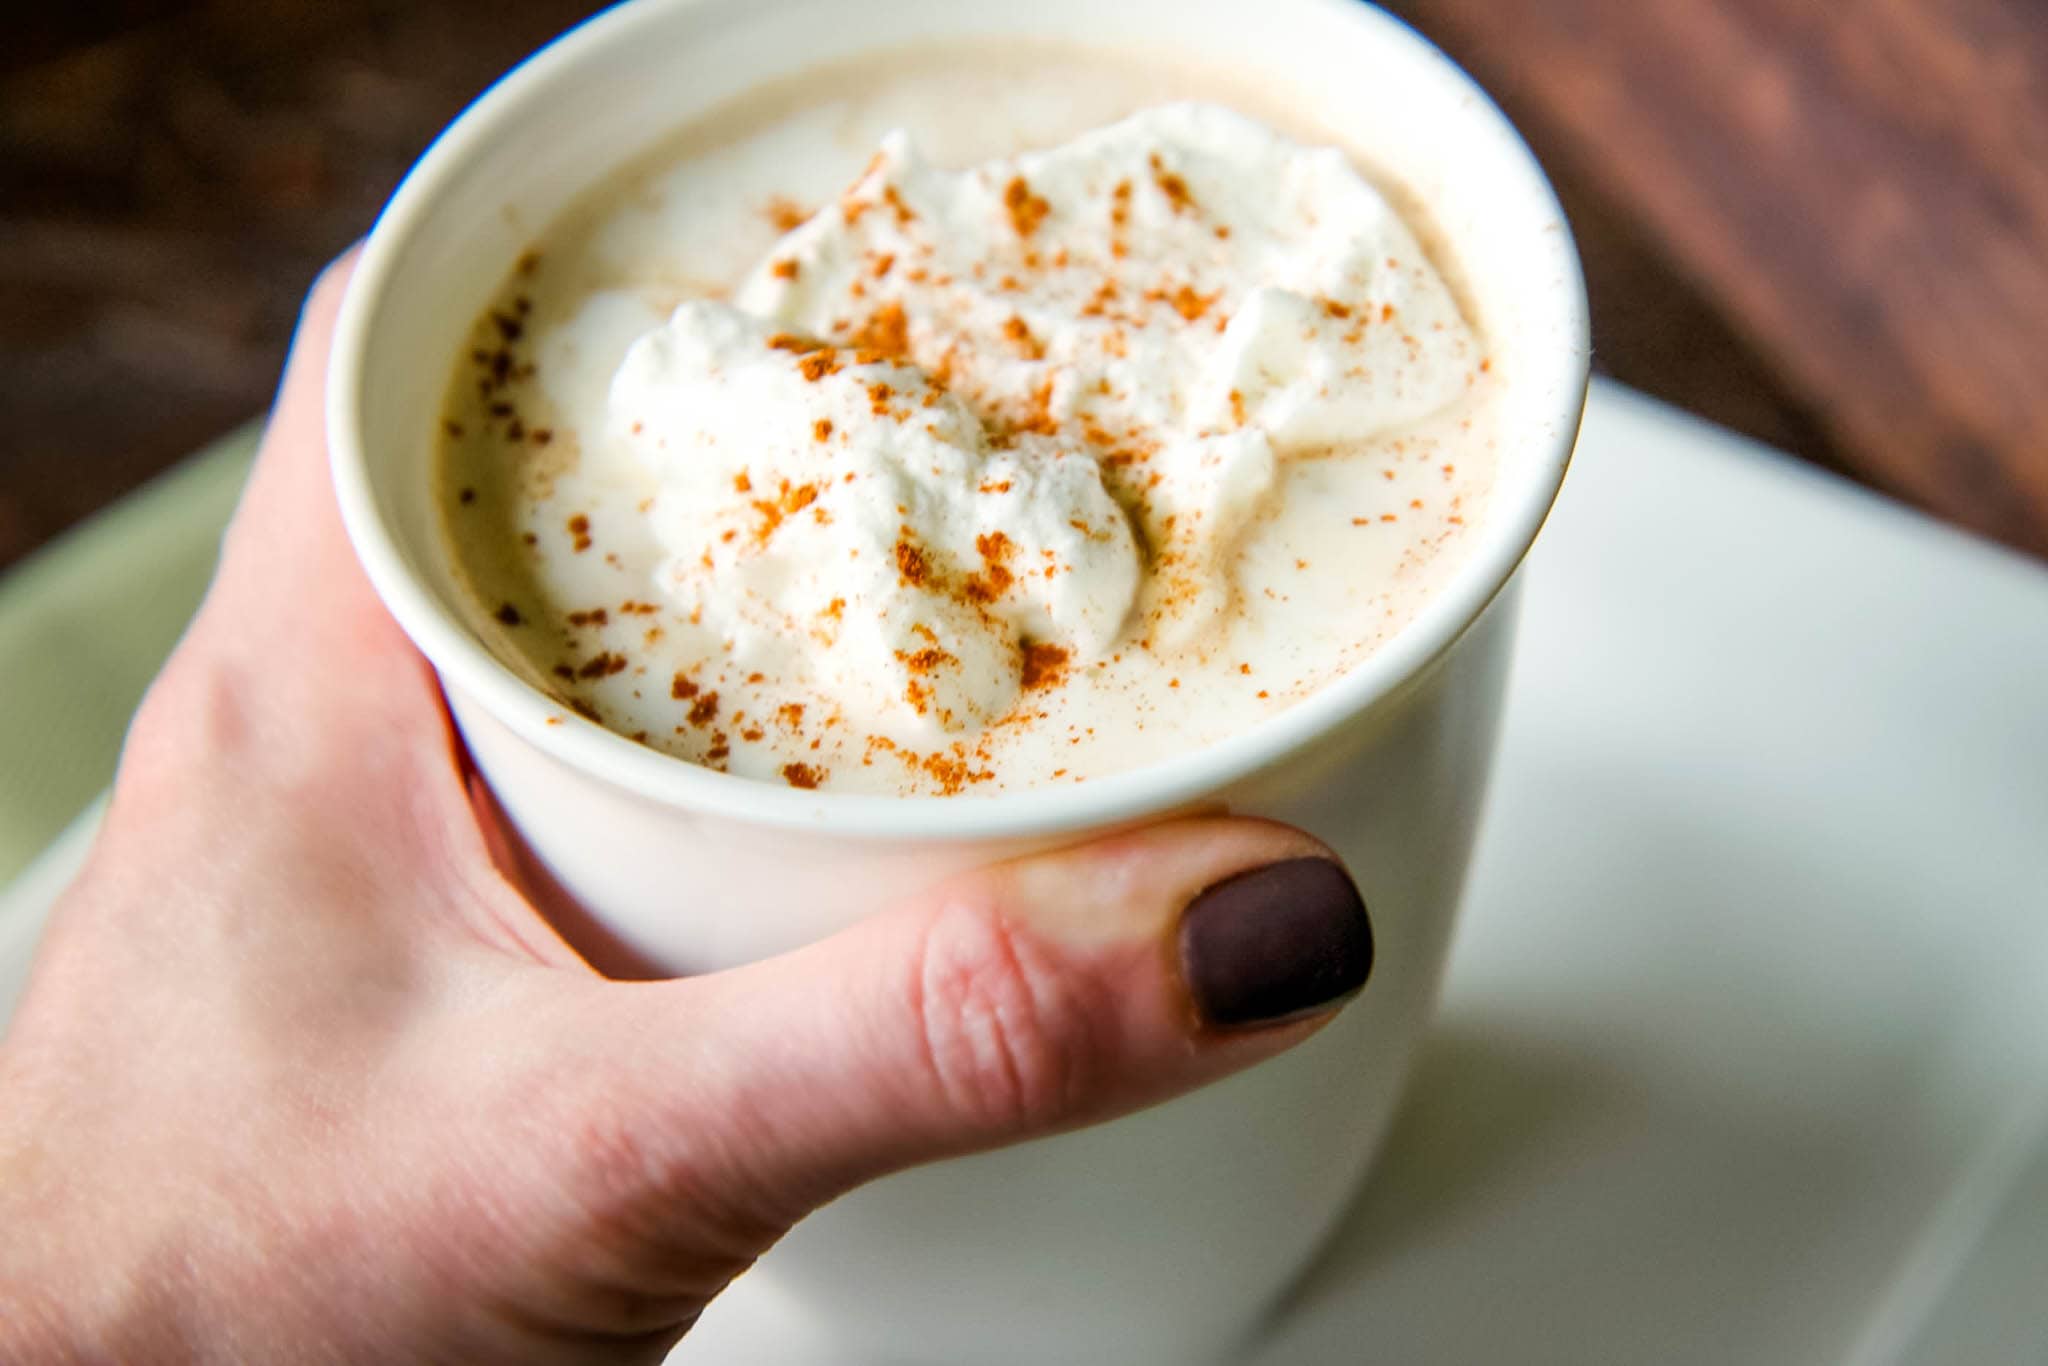
How to Make a Pumpkin Spice Latte

Monday, October 28th, 2019

How to Make a Pumpkin Spice Latte from MomAdvice.com

It is so easy to make your pumpkin spice lattes at home. Today’s coffee drink is made with real pumpkin purée, your favorite milk, with a sprinkle of pumpkin pie spice, and coffee. You won’t believe how easy it is to diy this expensive treat at home. Check out this pumpkin spice latte recipe today and SO many more diy Starbucks drink recipes.

Fall, for me, is Pumpkin Spice Latte season and that’s why I love sharing my favorite DIY Pumpkin Spice Latte recipe with you. Not only do you get to have full control over the sugar and fat content, you also get to save a few dollars in your pocket too.

Have you ever thought about what might actually be going into your pumpkin spice latte? Here is what I discovered, when researching for this recipe…

For a long time, Starbucks did not have pumpkin in their pumpkin spice lattes!

Say what?

Don’t worry, you get your pumpkin spice latte full of real pumpkin now, but it was one of those interesting facts that I stumbled on while preparing today’s post.

How Does Starbucks Get the Pumpkin Flavor In Your Lattes?

Did you know that up until about 2015, the PSL didn’t have any actual pumpkin in it?

Originally, they relied upon an artificial caramel coloring and a mix of spices to create these drinks. 

That’s why it was such a big deal when Starbucks announced that they were getting rid of the caramel syrup and relying on a little pumpkin instead.

It is good to know that when you order this treat that you can look forward to these delicious real ingredients in your cup.

How to Make a Pumpkin Spice Latte from MomAdvice.com

Why Should I Make a Starbucks Drink at Home if It Doesn’t Contain Artificial Ingredients Anymore?

Honestly, for the cost-savings.  As we all know, the cost to buy drinks from Starbucks REALLY adds up.

Have you heard of the latte factor?

This outlines PERFECTLY how these tiny expenses multiply over time.

Let’s look at the cost on a Starbucks Pumpkin Spice Latte!

Price will vary by location, but hovers in the $4.45- $5.45 range for a tall.

Even if you only buy a tall latte once a week (as a treat yo’self day!!), this will cost you $17.80 a month or $213.60 a year.

This also doesn’t factor in the tip for the barista, which is SUPER important (just ask my brother who worked there!) or if you need to use an alternative milk, like coconut or almond.

I don’t know about you, but I’d rather put $213 to work by investing it in women-owned businesses and saving it up for my retirement fund.

In addition to the cost factor, there is also the huge difference in  fat and sugar in each of these of these delicious beverages.

A grande is 380 calories (120 of these are fat calories) and an unbelievable 50 grams of sugar.

This is why it is so great to make this treat at home. When you make these Starbucks copycat drinks at home, you have more control over the sugar, the milk mixture used, and the strength of the espresso or coffee. 

Heck, who even said that these need to be caffeinated? Try a decaffeinated pumpkin spice latte so you can enjoy it later in the day because YOU CAN AFFORD IT NOW.

This is why I developed my own recipe to share with you today. 

This Pumpkin Spice Latte relies on strongly brewed coffee, canned pumpkin, pumpkin pie spice, milk (I love almond!), vanilla, and a fraction of the sugar.

What Type of Pumpkin Do I Use For My Pumpkin Spice Latte- I Get Confused at the Grocery Store?

One of the biggest mistakes I made, when first starting to cook with pumpkin, is picking up the wrong type of pumpkin at the grocery store. If you see a can that says, “Pumpkin Pie Mix,” (it looks like this), you do not want this type of pumpkin for your pumpkin spice latte.

Pumpkin Pie Mix is intended to just be mixed with milk and eggs to create pumpkin pies really fast. Lucky for you, you don’t need anything like that because you have this recipe in your back pocket.

Instead, you are looking for canned pumpkin (that will look like this) because it is ONLY pumpkin and allows you to add in your own sugar and spices to create your dishes. 

As you can see, the labels are almost identical and this can really throw people off when they are shopping for their recipes. 

How to Make a Pumpkin Spice Latte from MomAdvice.com

What Supplies Do I Need to Make a Pumpkin Spice Latte at Home?

The tools I would recommend are an immersion blender (or small individual blender for drinks or a simple whisk), a saucepan, and a french press or espresso pot (depending on how strong you like to make it).


I like to use a French Press for my lattes, but I also embrace my little stovetop espresso maker when I need that extra bit of caffeine.

How Can I Make a Pumpkin Spice Latte At Home if I Have a Keurig?

I don’t, personally, have a Keurig, but two of my amazing readers shared their tricks to get that coffee shop taste at home with your Keurig.

Lora said, “Try one of the dark, strong coffee K-Cups they offer! Jet fuel is one. They do make some nice strong ones you just have to look!”

What a great idea! Take a peek at some of the k-cup options for a diy latte at home.

Another reader, Kim, shared this super smart idea to brew coffee with a completely different type of k-cup.

Kim said, “If you buy the iced coffee blends for Keurig (I have Nantucket Iced Coffee) and just brew it like a normal cup (not over ice) – it is super strong and works great for these type recipes!”

Another fantastic suggestion! You can shop for iced coffee k-cup options here.

Do You Have Any Pumpkin Spice Latte Topping Suggestions?

I try to skip these (because of the sugar and calories), but I would HIGHLY recommend this fun spiced whipped cream as a finisher and an extra dusting of cinnamon.

How to Make a Pumpkin Spice Latte

What Other Ways Can I Spice Up My Latte Routine?

Here are the best suggestions from our reader comments!

“Something that I have been doing for the past week that creates a DELICIOUS cinnamon flavor is to make cinnamon water to brew your coffee with. Take a large jar or container. Fill it with filtered water and throw in a cinnamon stick or 2 (depending on size). Let it sit for a whole day. The next morning use that water to make your coffee and it is to die for! Would be a great addition to this drink, especially those who have texture issues! Cheers!”- Liz

“I’ve made this at least a half dozen times now…YUM!! Thanks for sharing. I reduced the sugar and with the last two I’ve made, I’ve cut the cinnamon stick in half to make ’em stretch a little, but those are the only changes I’ve made. Thanks again! LOVE the recipe and all the money I’m saving”- Sara

I love hearing how much you enjoy these homemade Starbucks treats! I also REALLY love that this is a great way to put a partial can of pumpkin to work!

A batch of this simmering away on your stove will bring the scent of the Fall season right into the room.

This milky coffee treat tastes just like a little pumpkin pie with a hint of warm spices throughout. Top it with whipped cream and a sprinkle of cinnamon to round out these beautiful flavors.

By making this at home, it is one homemade treat you can enjoy guilt-free as often as you like!

Be sure to scroll down after the recipe to get even more warm drink ideas and good old Starbucks Knock-Off Recipes.

Remember, this is just a base recipe that can be played with to your own tastes and preferences. It is meant to be personalized depending on how you like your latte!

Thank you all for trying and sharing this recipe!

The response has been overwhelming on this one and I love it.

I can’t wait to hear what you think of today’s recipe!

How to Make a Pumpkin Spice Latte

How to Make a Pumpkin Spice Latte
 
Recipe Type: Drinks
Author: MomAdvice.com
Prep time:
Cook time:
Total time:
Serves: 2 servings
It is so easy to make your pumpkin spice lattes at home. Today’s coffee drink is made with real pumpkin purée, your favorite milk, with a sprinkle of pumpkin pie spice, and coffee. You won’t believe how easy it is to diy this expensive treat at home. Check out this pumpkin spice latte recipe today!
Ingredients
  • 2 cups milk of your choice (almond, rice, coconut, whole, skim, 2%)
  • 1 cup very strong coffee (4 tablespoons coffee grounds to 1 cup of hot water)
  • 2 tablespoons vanilla
  • 4 teaspoons sugar
  • 1/2 teaspoon pumpkin pie spice or cinnamon spice
  • 2 heaping spoonfuls of pumpkin
Instructions
  1. Pour the milk, pumpkin puree, sugar, strong coffee, vanilla extract, and spiced pumpkin seasonings into a saucepan.
  2. Heat saucepan over medium heat until the coffee is steaming hot, whisking with a wire whisk until the ingredients are incorporated and a little frothy. If you have an immersion blender or single-serve blender, you would just blend these until your homemade pumpkin spice latte is frothy.
  3. Pour into mugs and top with fresh whipped cream & cinnamon. Enjoy!
  4. Note- If you are not a fan of the cinnamon texture, add a cinnamon stick to the coffee mixture while heating instead. This way you get all of the cinnamon taste, but none of the grit! Visit our reader suggestions for more great ideas!


Love this recipe? Here are a few more that I think you should check out!

How to Make a Salted Caramel Latte from MomAdvie.com how to make a salted caramel latte

How to Make a Peppermint Mocha from MomAdvice.com how to make a peppermint mocha

DIY Your Own Chai Tea Mix from MomAdvice.com homemade vanilla chai mix recipe (an easy diy for the pantry!)

How to Make a Gingerbread Latte from MomAdvice.com how to make a gingerbread latte

How to Cold Brew Coffee from MomAdvice.com how to cold brew coffee at home

Amy's Famous Cocoa Mix Amy’s Famous Hot Cocoa Mix

Peppermint Cocoa Recipe from MomAdvice.com peppermint cocoa recipe

Homemade Peppermint Marshmallows from MomAdvice.com homemade peppermint marshmallows

Chocolate Coffee Spoons from MomAdvice.com chocolate coffee spoons

Do you have any suggestions to improve on this DIY Pumpkin Spice Latte recipe? Be sure to leave them in the comments below!

This post contains affiliate links

How to Make a Pumpkin Spice Latte from MomAdvice.com

Pin It

How to Make Glow in the Dark JELL-O

Tuesday, October 22nd, 2019

Glow in the Dark Jello from MomAdvice.com

This easy recipe for Glow-in-the-Dark Jell-O is perfect for kids to make for Halloween! Mix science and spookiness for an edible experiment any budding (mad) scientist will love!


Halloween is just around the corner and today we wanted to showcase a fun and easy craft you could do with your kids.

Today’s recipe offering is how to make glow in the dark JELL-O in jars for a spooktacular Halloween dessert.

Glow in the Dark JELL-O is a recipe that your kids can easily mix up and gives you a fun opportunity to talk a little bit about the science behind it in the process.


Glow in the Dark Jello from MomAdvice.com


How Does it Glow?

Did you know that tonic water can glow under a black light?

My kids were in awe of this bubbly drink and how it could glow under the black light.

The glowing comes from the fluorescence of the quinine in the tonic water.

Quinine also gives tonic water a distinctive bitter flavor which is why it is best mixed with other sweeter ingredients.

As you can see, the quinine glows blue-white when placed under a black light which makes it the perfect ingredient for a spooky JELL-O treat.


Glow in the Dark Jello from MomAdvice.com


Do All Colors of JELL-O Glow the Same?

Hypothesis…yes.

Answer…no!

All of the colors of JELL-O will definitely not glow the same.

We tested two colors (green and orange) and found brilliant results with the green JELL-O and dull results with the orange JELL-O.

Although our tutorial below shows the orange, we recommend the green variety for a truly great glow!

Here is the light we used to achieve our glow with great success (affiliate link).  

Other readers have stated that a black bulb does not achieve the glowing results so please keep that in mind when purchasing your bulb. 


Glow in the Dark Jello from MomAdvice.com


So It Glows…How Does it Taste?
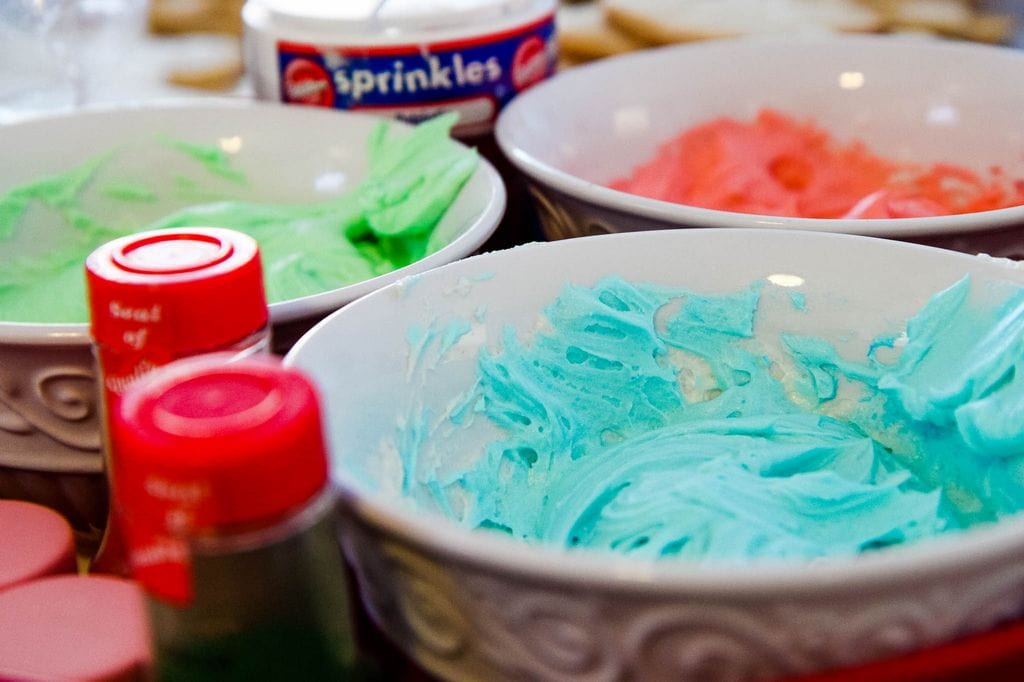

As we mentioned before, the quinine in the tonic water makes the tonic water glow, but it also yields a bitter taste.

We tried to cut the bitterness by using half water and half tonic water.

I also topped each jar of JELL-O with whipped cream and sprinkles which would add another layer of sweetness.

Try adding more sugar to the concoction to help cut some of the bitterness.

The kids loved the glow, but said they were, “spicy,” which is what they say about all sodas and bubbly drinks.

If your kids have a sensitive palate like mine, they might not love them, but they still ate the whipped cream and loved doing the experiment.

I still call this experiment a win for creativity, cool science factoids, and fun.


Glow in the Dark Jello from MomAdvice.com


I had a great helper in the kitchen for this project.

Emily was excited to show you all just how easy it is to make this JELL-O and you can find the recipe below along with her picture tutorial on how to recreate this fun experiment in your kitchen.

You can totally steal the experiment, but I am keeping my sous chef for myself!

  Glow in the Dark Jello from MomAdvice.com

Glow in the Dark JELL-O
 
Author: Inspired by American Girl Magazine
Prep time:
Cook time:
Total time:
Serves: 4
Glow in the dark JELL-O is not only a fun science project, but a super fun Halloween treat. Pick up a black light at your local Halloween shop to show off it’s glow!
Ingredients
  • 1 cup boiling water
  • 1 cup tonic water
  • 1 package of JELL-O
  • Whipped Cream and Sprinkles for topping (optional)
  • Additional Sugar (to help cut the bitterness)
  • Jars
  • Black Light
Instructions
  1. Bring one cup of water to a boil.
  2. Pour JELL-O packet into a large bowl.
  3. Have a grown-up help you add your boiling water.
  4. Stir for two minutes with a wire whisk.
  5. Have a grown-up pour one cup of tonic water into a measuring cup.
  6. Slowly whisk while adding the tonic water. The mixture will be very bubbly. Give it a couple of minutes to rest.
  7. Pour it into four clean jars.
  8. Place in the refrigerator for two to three hours to set.
  9. Top with whipped cream and sprinkles.
  10. Place under a black light and watch it glow. Happy Halloween! EDITORS NOTE: See notes above for taste and ideas for improving flavor.


Glow in the Dark Jello from MomAdvice.com


Glow in the Dark Jello from MomAdvice.com


Glow in the Dark Jello from MomAdvice.com


Love this idea for Halloween? Can I make a few other fun fall recommendations?


doughnut hole ghost cake (no baking necessary!!)


pumpkin chili (perfect for Halloween night)


diy blanket scarf (perfect for bundling up on Halloween night)


dollar store thumbtack pumpkins


diy minecraft costume ideas


DIY_Halloween_Costumes diy halloween costume ideas


autumn burlap wreath tutorial


candy apple martini recipe


caramel apple sangria recipe


painted pumpkins tutorial


This post contains affiliate links


Sign up for our free newsletter!

Pin It