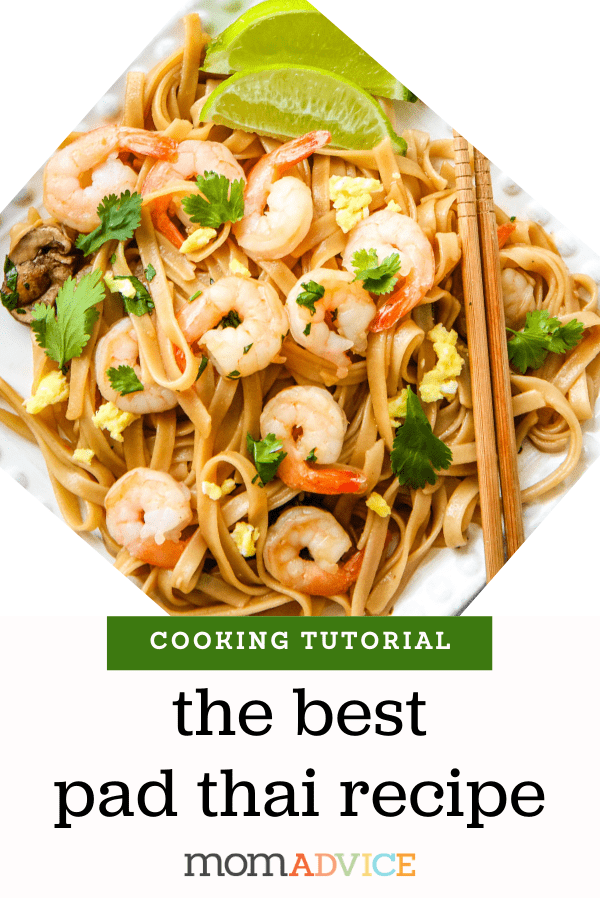
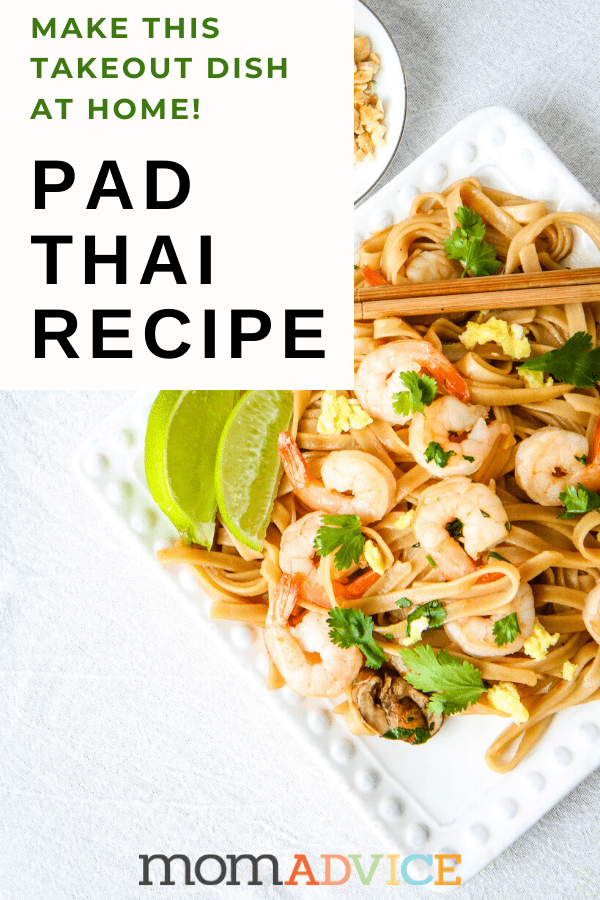
Did you know you can make this takeout favorite at home? Try my gluten-free pad thai recipe for an easy weeknight dinner at home that your whole family will love!
When I went gluten-free I never realized how exciting it would be to recreate some of my favorite gluten-filled dishes at home.
Today I am sharing a Gluten-Free Pad Thai with Shrimp recipe that you can create in your own kitchen. The best part is that your guests will never guess that this delicious dish is gluten-free!
Have you ever had Pad Thai? It is one of my favorite dishes to order at thai restaurants.
If you haven’t, you are in for a delicious treat. Pad Thai, according to Wikipedia, is a stir-fried rice noodle dish commonly served as a street food and at casual local eateries in Thailand.
It is made with soaked dried rice noodles which are stir-fried with eggs and chopped firm tofu, fish sauce, dried shrimp, garlic or shallots, red chili pepper and palm sugar. It is then served up with with lime wedges and often chopped roasted peanuts.
Pad Thai Recipe (Gluten Free)
If you have made fried rice at home, you will understand the concept of adding veggies and then scrambling eggs to your dish.
If you lack the coordination to scramble the eggs on one side of the pan and keeping your cooked veggies on the other, you can simply remove the veggies and scramble them separately.
While I love the delicateness of the rice noodle, I prefer a more linguine-style noodle in this dish to balance the lightness of the shrimp and because these hold up well to a lot of reheating.
I rely on Tinkyada noodles to create this dish because their texture happens to be my favorite in the gluten-free pasta world. You are looking for the Fettucini Style Pad Thai Noodles at your grocery store.
Here are a few commonly asked questions about this dish!
Are soy sauce and fish sauce gluten-free?
Be sure that you are using a gluten-free soy sauce and fish sauce.
Personally, I rely upon the La Choy Lite Soy Sauce as my soy sauce substitute, but there are reports that some people have a reaction to this. I have not, but be sure to do your own research on what product will fit your gluten-free needs best.
If I don’t want to make the sauce, do they sell prepared pad thai sauce?
You can definitely purchase a prepared sauce, but be sure to read the label if you need a gluten-free pad thai sauce.
I don’t like shrimp, what other options can I put in my pad thai?
You definitely don’t need to put shrimp in your pad thai.
This is one of those recipes that you can customize with what’s leftover in your fridge (proteins or veggies) and what sounds good to you.
Feel free to switch it with chicken, tofu, bell peppers, carrots, extra garlic, chives, or anything else that you need to use up or are craving.
I prefer a peanut sauce. Do you have any recommendations?
The addition of peanut butter always makes everything better, doesn’t it? Check out this sauce for another fun option.
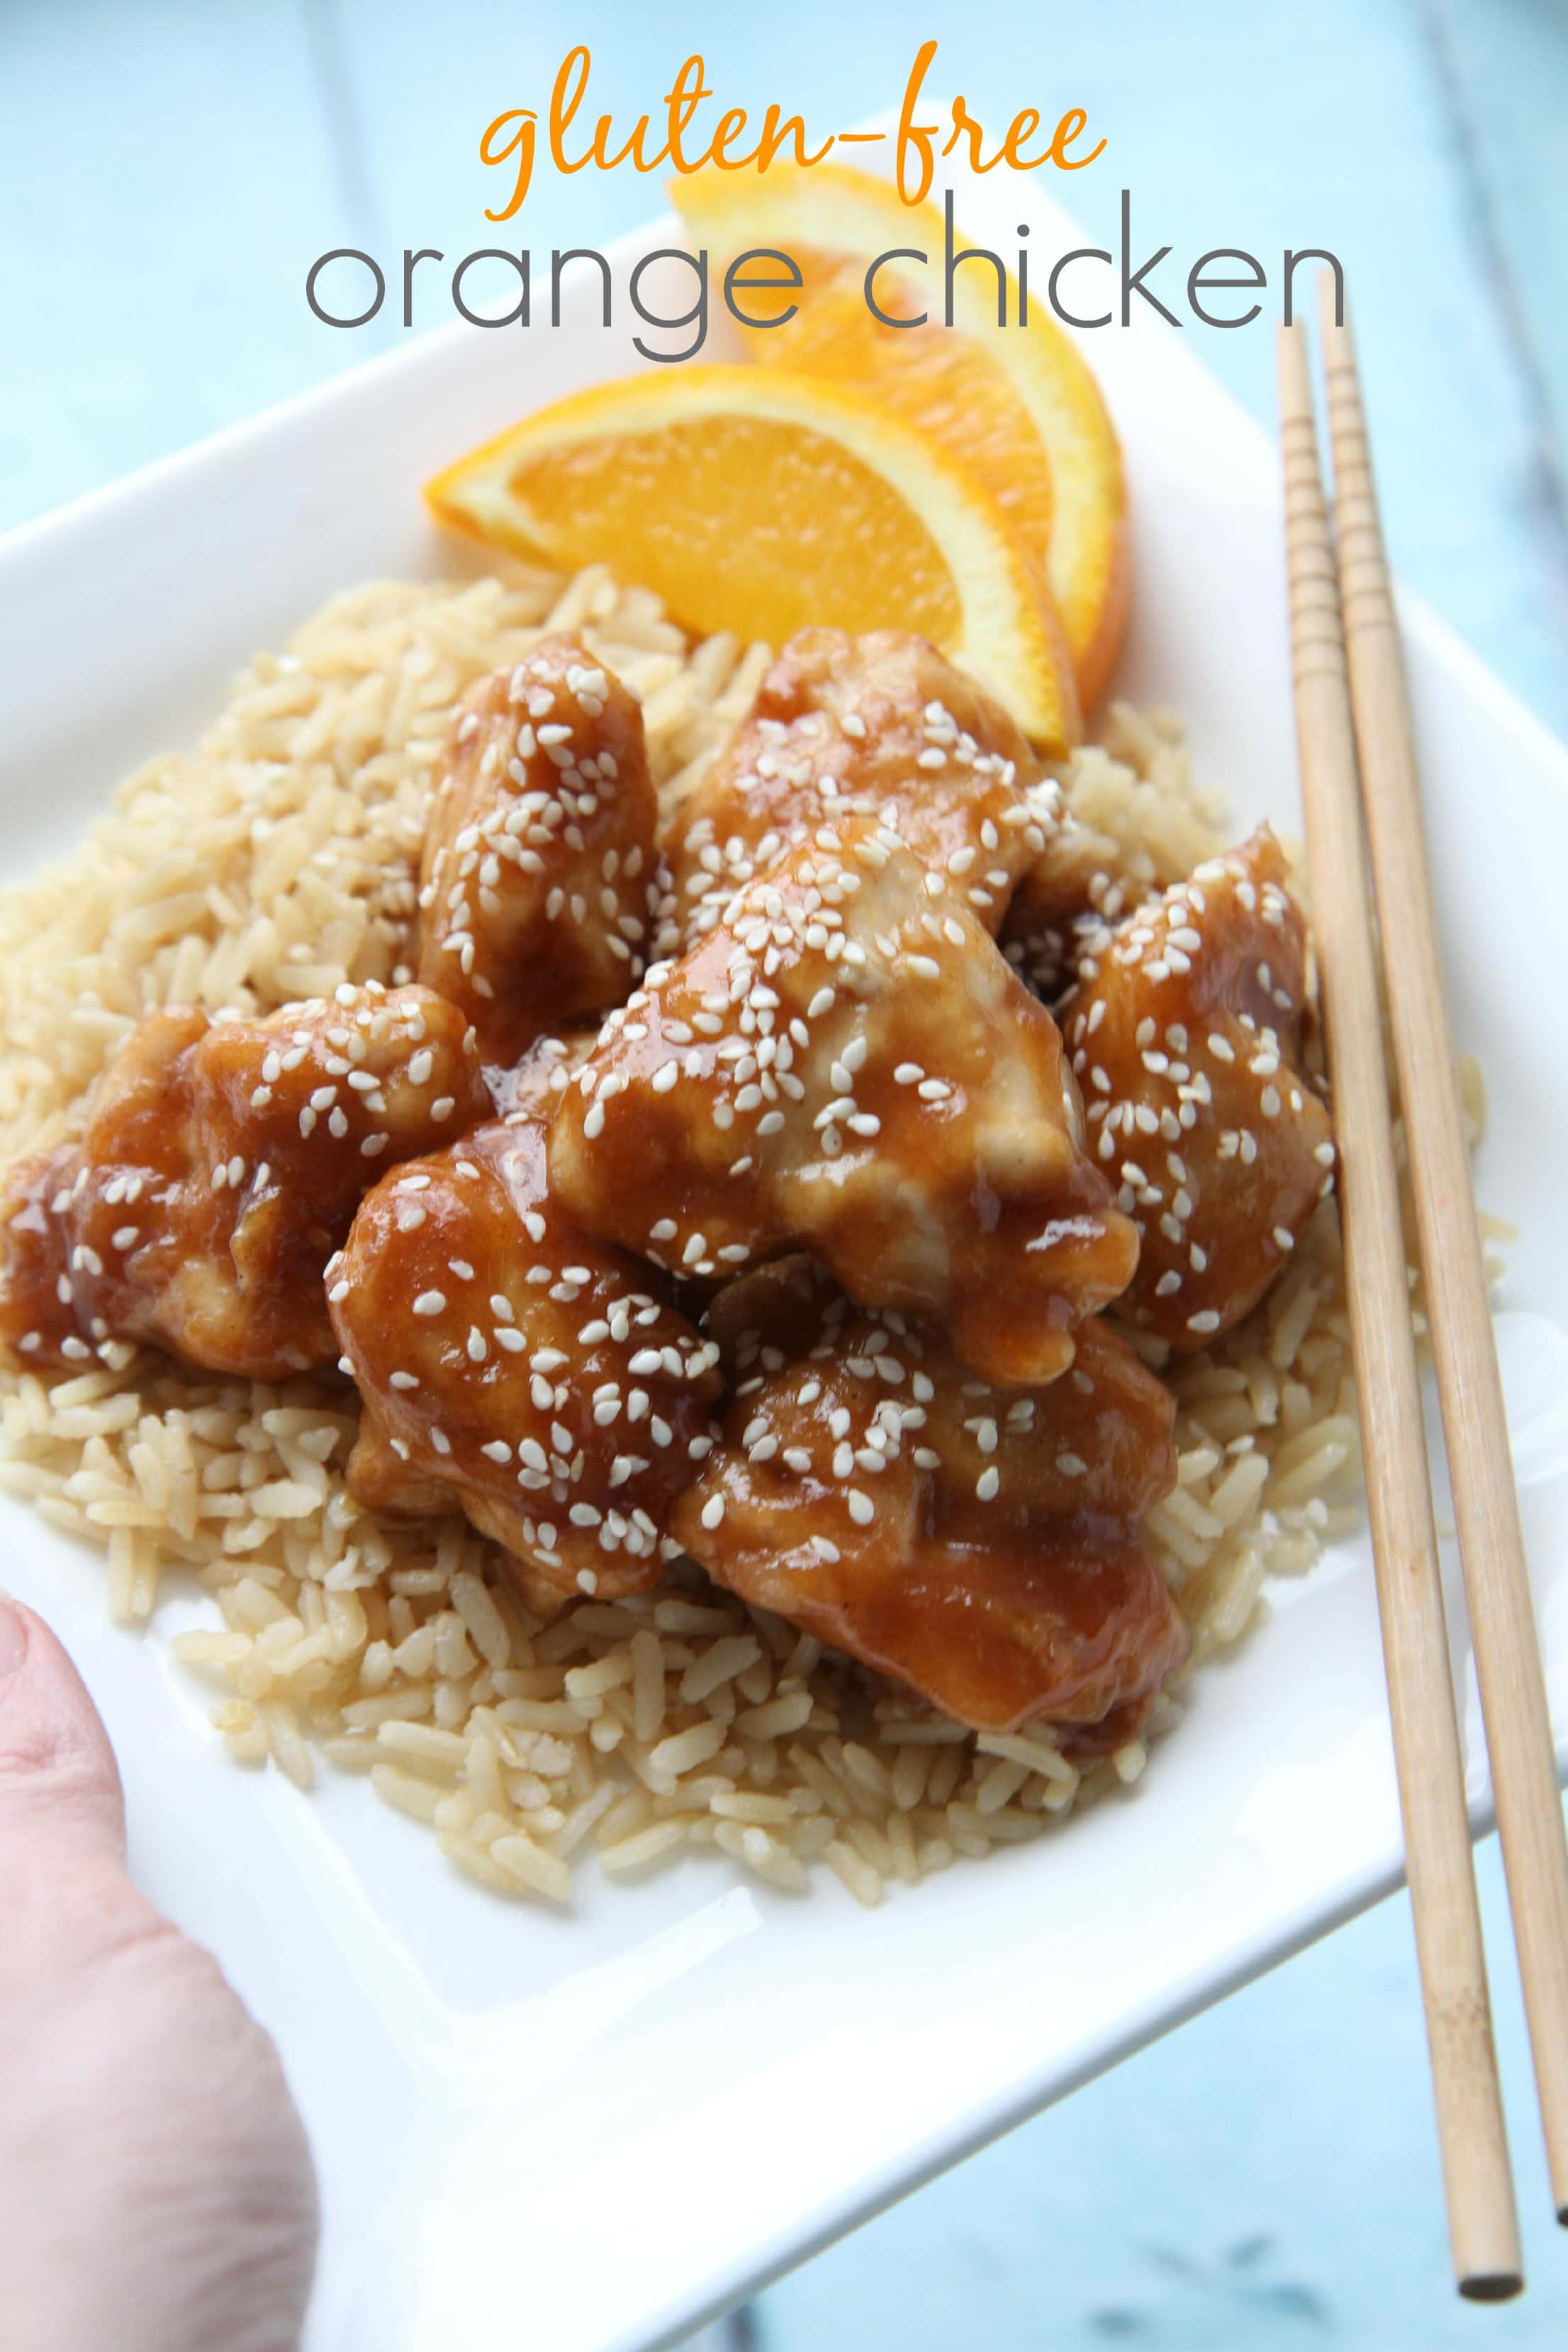
I love these peanut ginger chicken noodles for a different spin on an asian noodle recipe.
The best part about that recipe is that they are delicious hot, cold, or room temperature.
What are some fun toppings for pad thai?
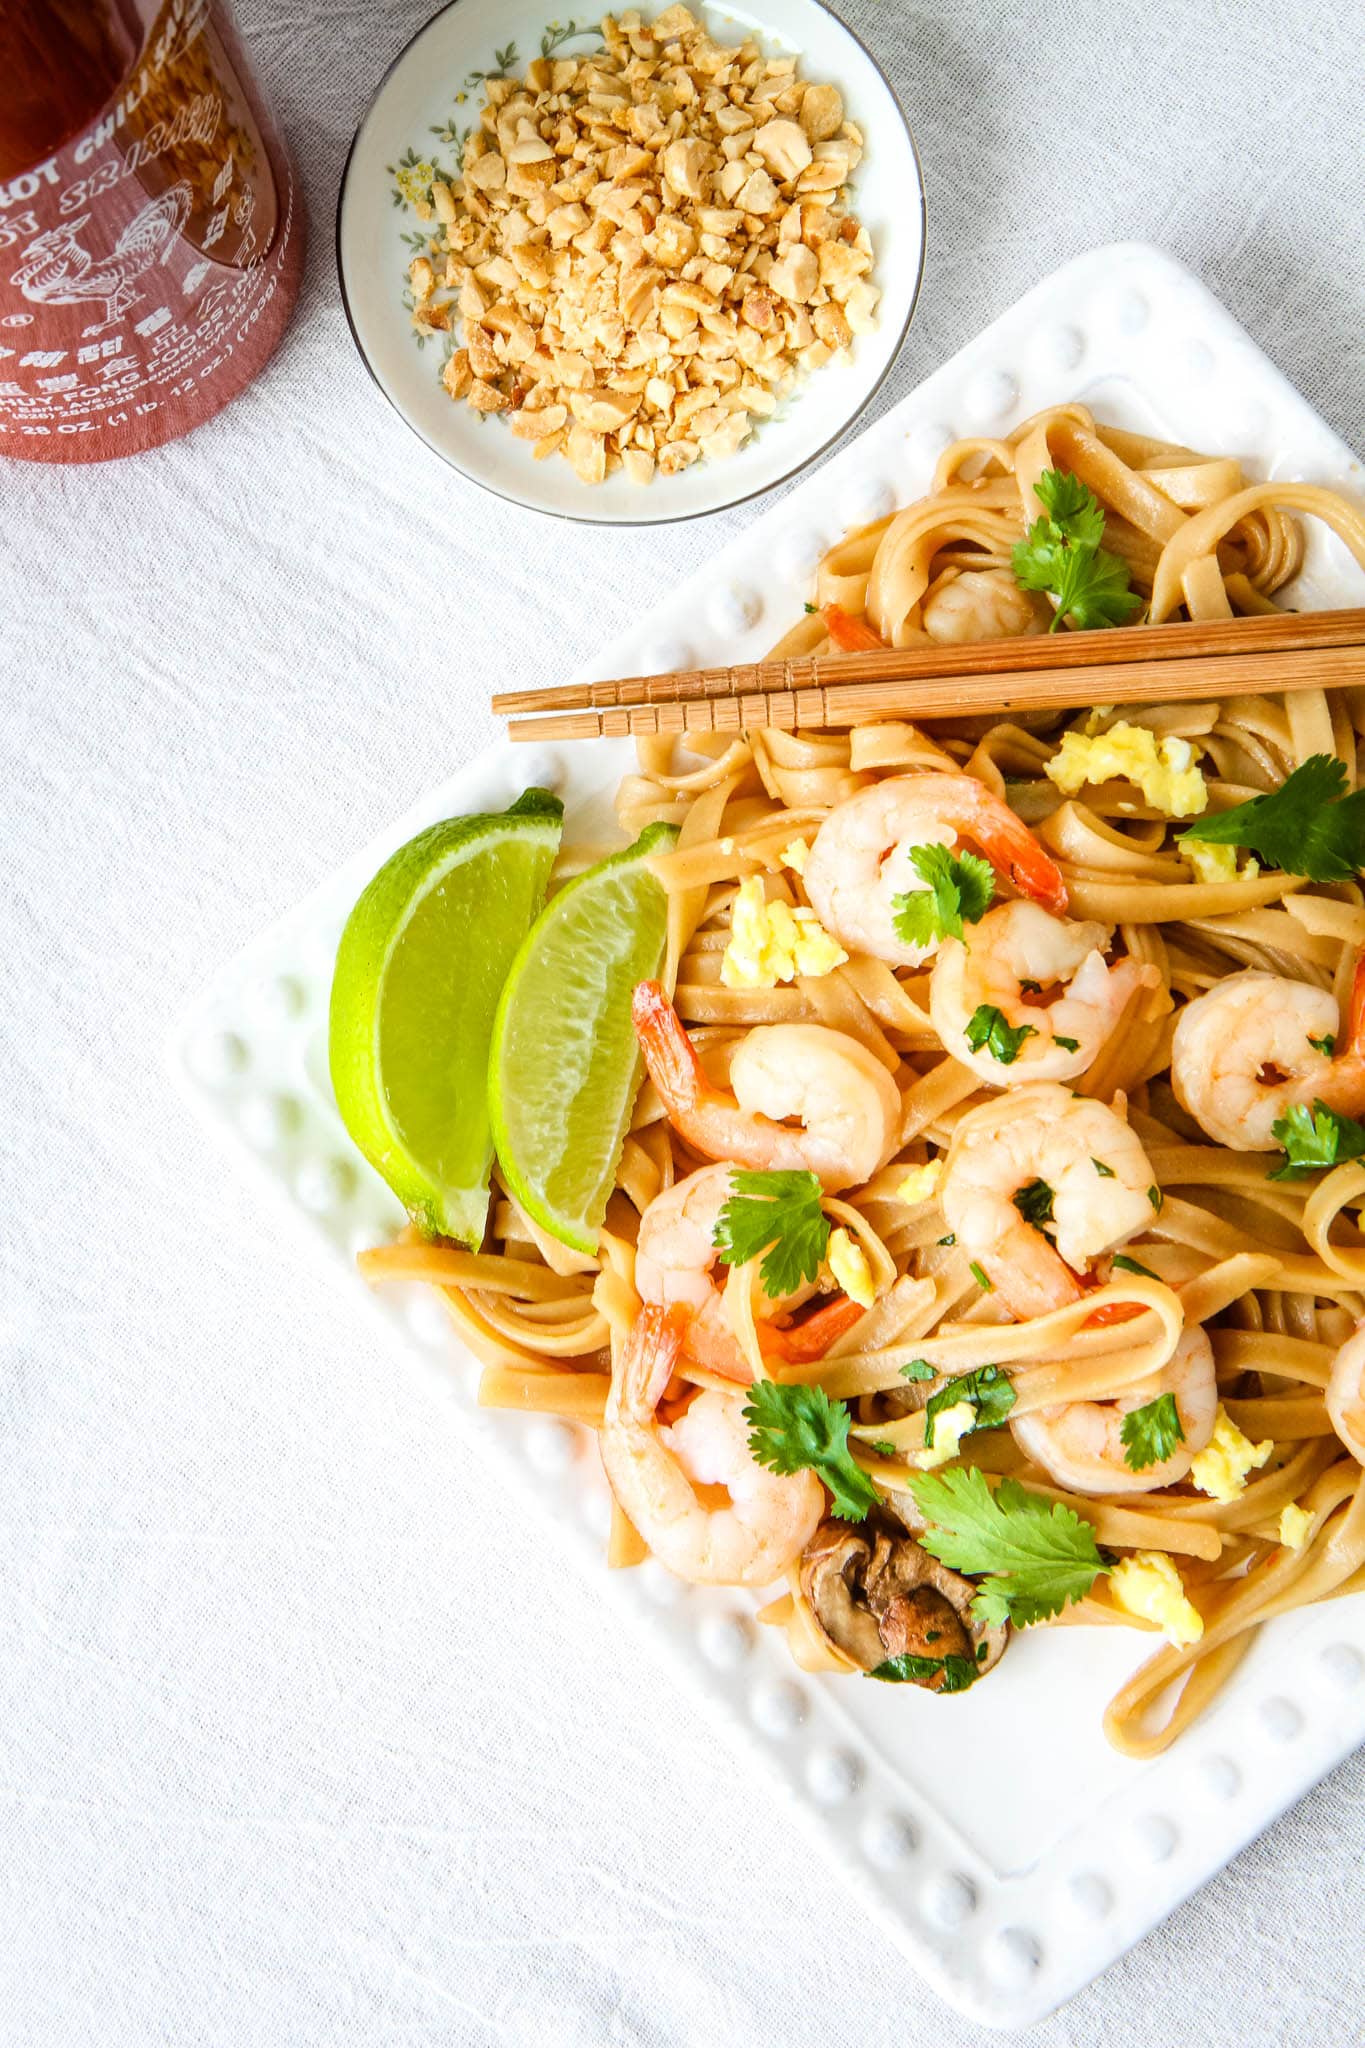
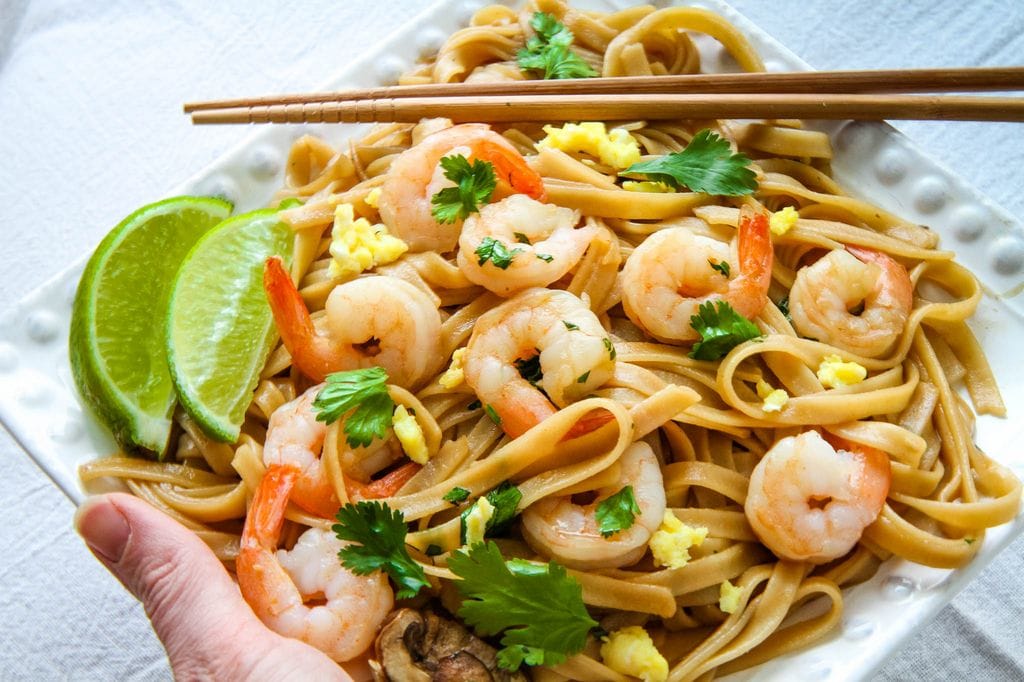
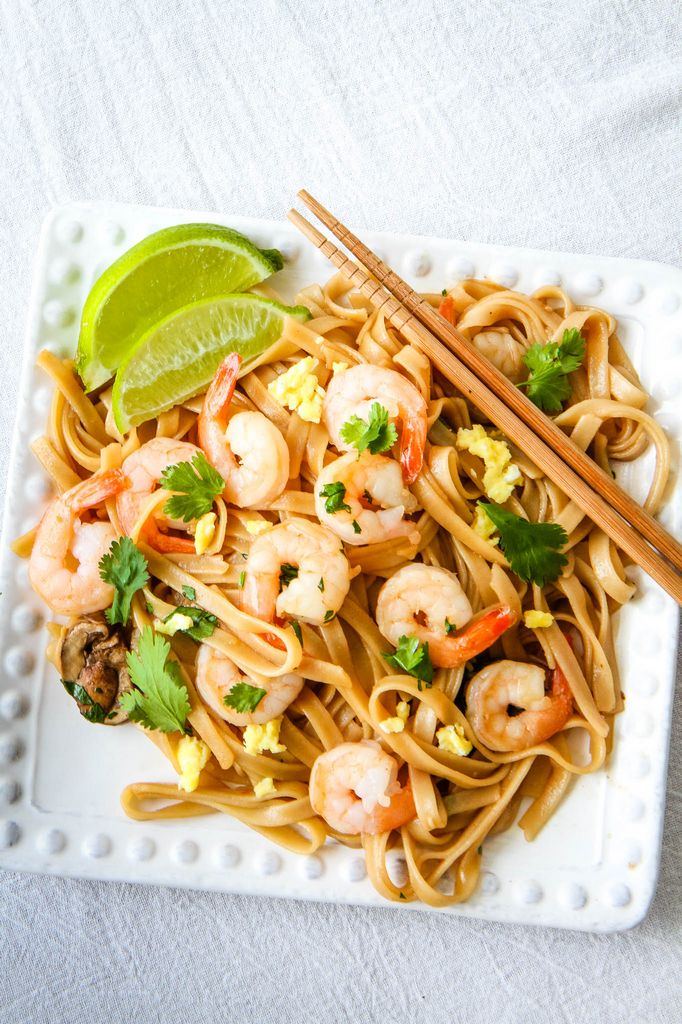
The fun part about sharing this with your family and friends is that you can also create a variety of toppings so everyone can personalize their dish. I love roasted chopped peanuts, sriracha, fresh limes, and cilantro on mine.
I hope you love this dish as much as we did and can enjoy this during the Lent season…or any season, really! We polished this dish off in no time at all and I can’t wait to make it again. Thanks to these sturdy noodles, the dish reheats beautifully and can be eaten for your lunches or a late night snack!
- 1 package (14 ounces) Tinkyada Brown Rice Pad Thai Noodles⅓ cup fresh lime juice
- ⅓ cup water
- 3 tablespoons packed brown sugar
- 3 tablespoons gluten-free fish sauce
- 3 tablespoons gluten-free soy sauce
- 1 tablespoon rice vinegar or white vinegar
- 3 tablespoons vegetable oil
- 3 cloves garlic, finely chopped
- 8 ounces mushrooms
- 2 eggs, beaten
- 12 oz frozen peeled deveined medium shrimp, thawed (raw not cooked)
- Sriracha Sauce (to taste)
- ¼ cup finely chopped dry-roasted peanuts
- ¼ cup firmly packed cilantro leaves
- Lime wedges and chopped green onions for garnish (optional)
- Bring a large pot of water to boil.
- Cook the noodles, in boiling water, as directed on package.
- After they are done cooking, drain and rinse with cool water; set aside.
- Meanwhile, in small bowl, stir lime juice, ⅓ cup water, the brown sugar, fish sauce, soy sauce, vinegar, and 1 tablespoon of the oil until well mixed; set aside.
- In nonstick wok or 12-inch nonstick skillet, heat remaining 2 tablespoons vegetable oil over medium high heat. Cook shrimp for approximately three minutes and remove from pan; set aside.
- Next cook mushrooms and then set aside.
- Using the same oil, cook garlic for about 30 seconds, stirring constantly, until starting to brown. Add eggs. Cook about 2 minutes, stirring gently and constantly, until scrambled but still moist.
- Stir in noodles and lime juice mixture. Increase heat to high. Cook about 1 minute, tossing constantly with 2 wooden spoons, until sauce begins to thicken.
- Add remaining ingredients except cilantro. Cook 2 to 3 minutes, tossing with 2 wooden spoons, until noodles are tender.
- Place on serving platter. Sprinkle with cilantro and garnish with additional chopped dry-roasted peanuts, and lime wedges.
Recipe Adapted from Betty Crocker
As an Amazon Associate I earn from qualifying purchases.
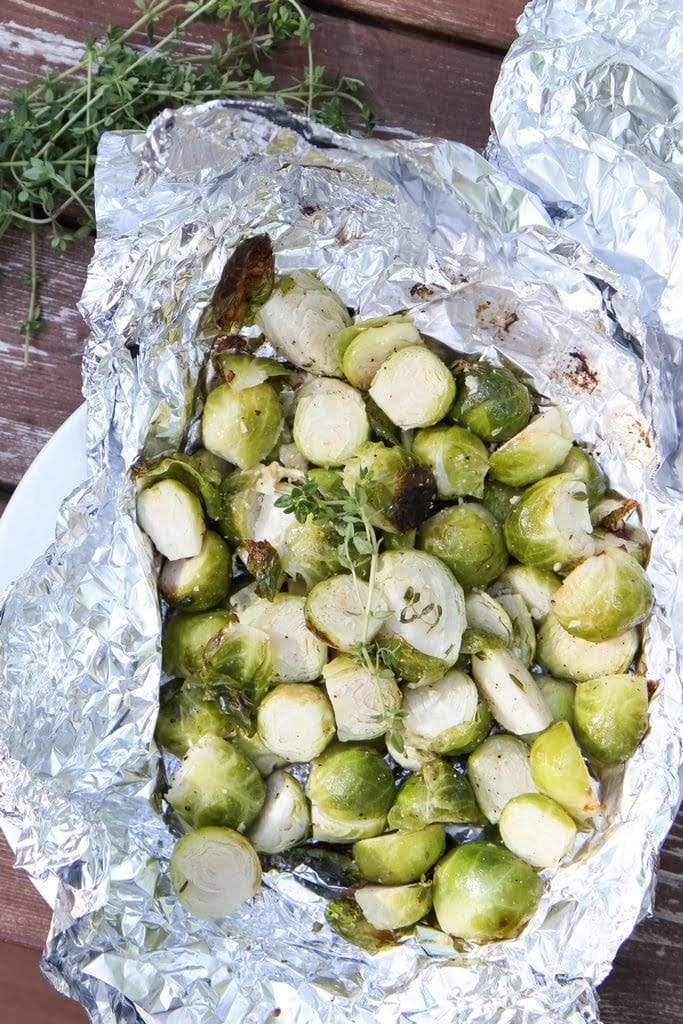
Love this recipe? Check out our other favorite meat-free and seafood dinner ideas!
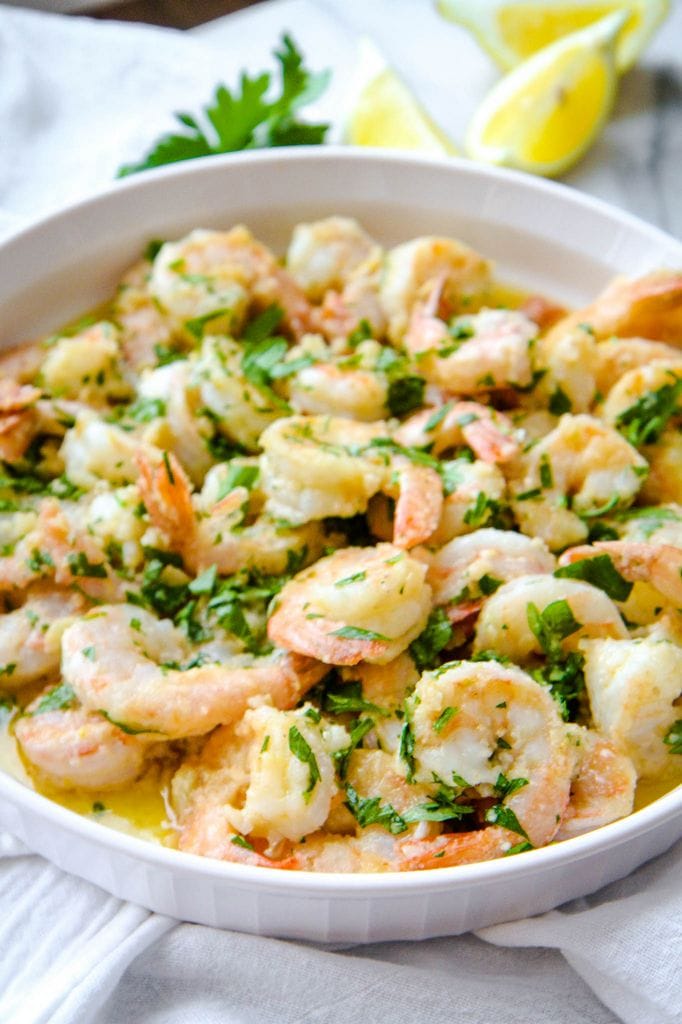
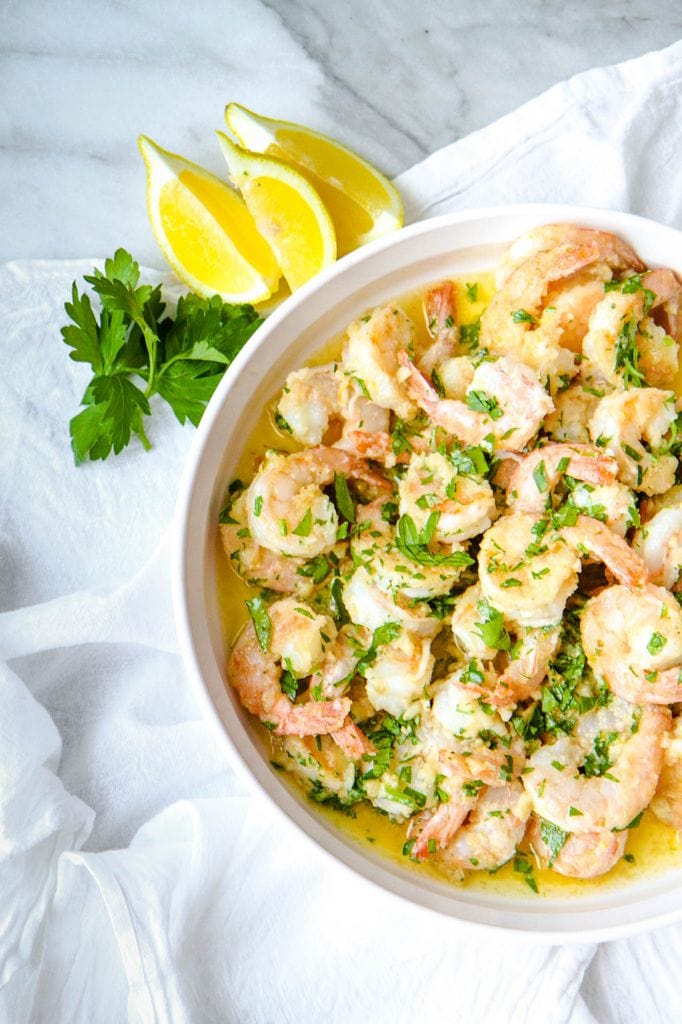
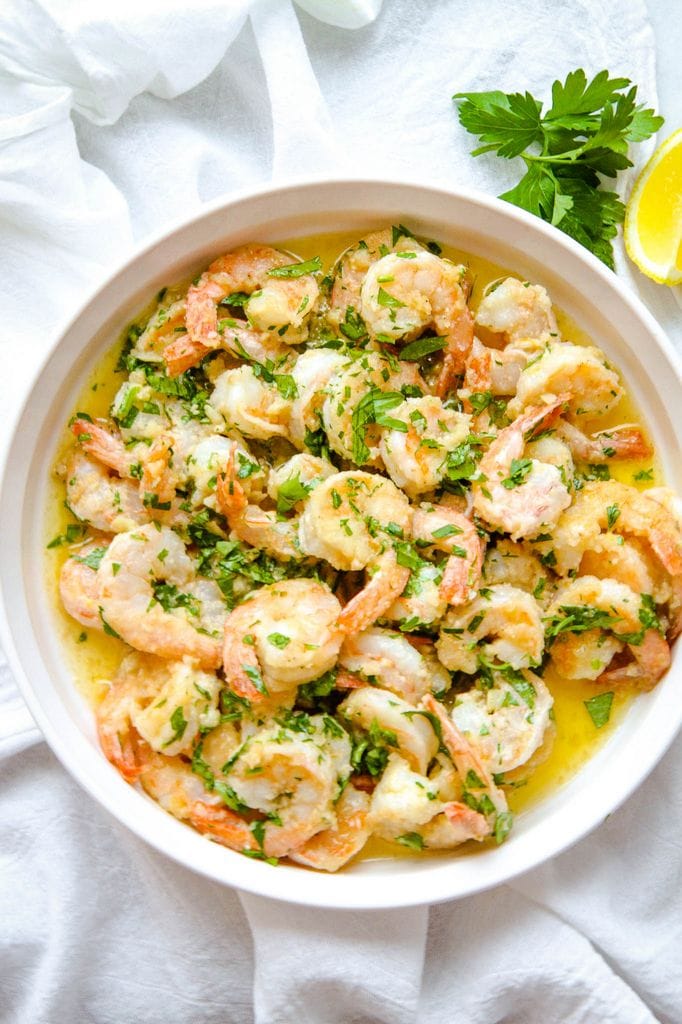
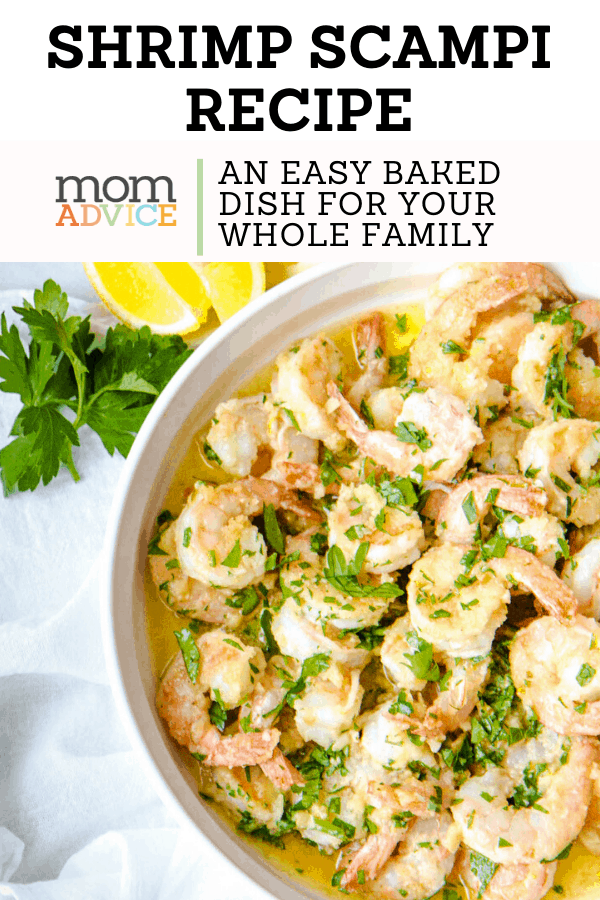
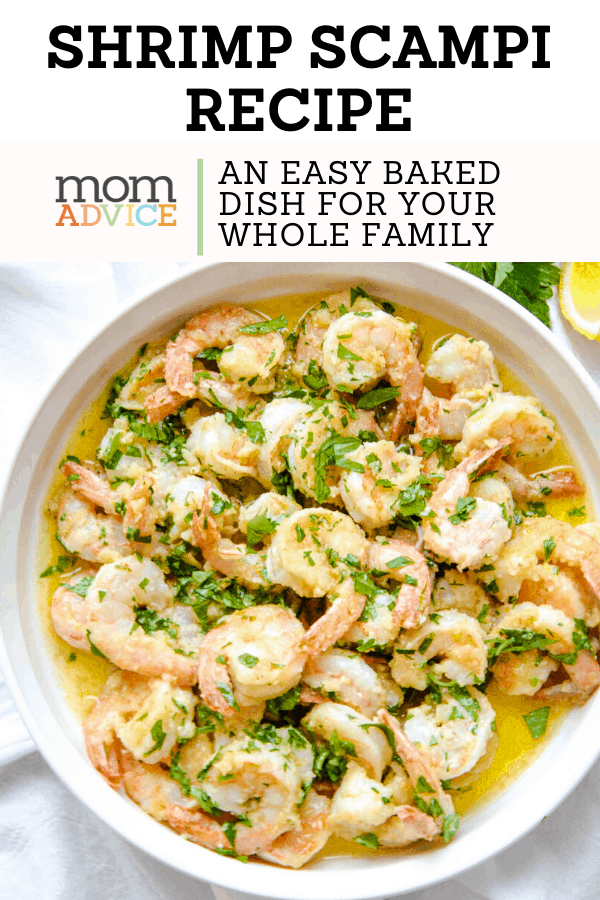 gluten-free shrimp scampi
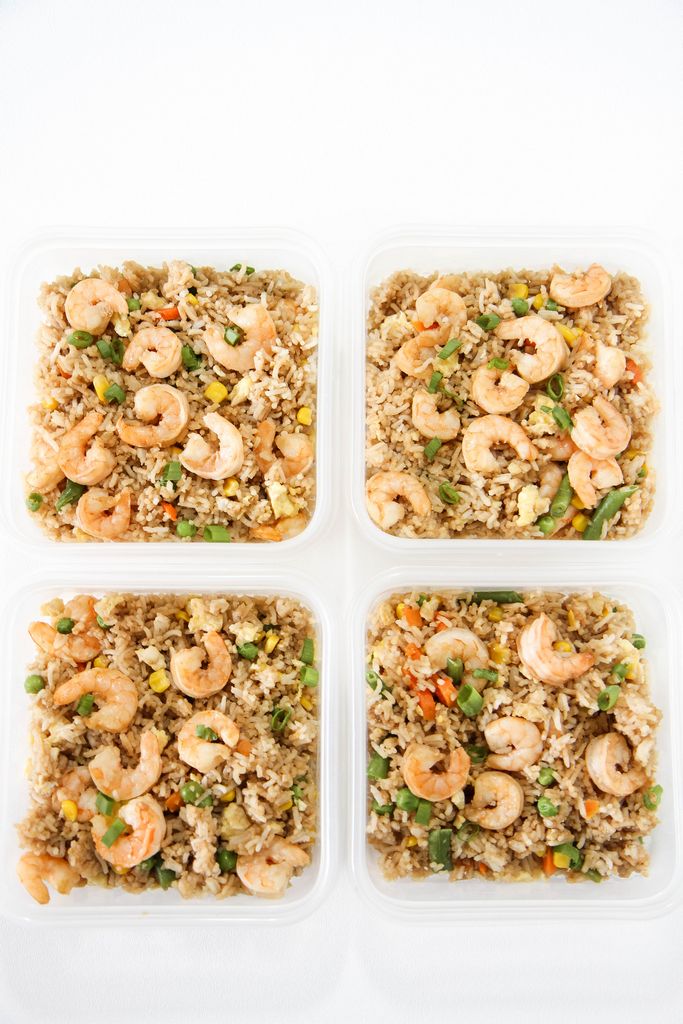
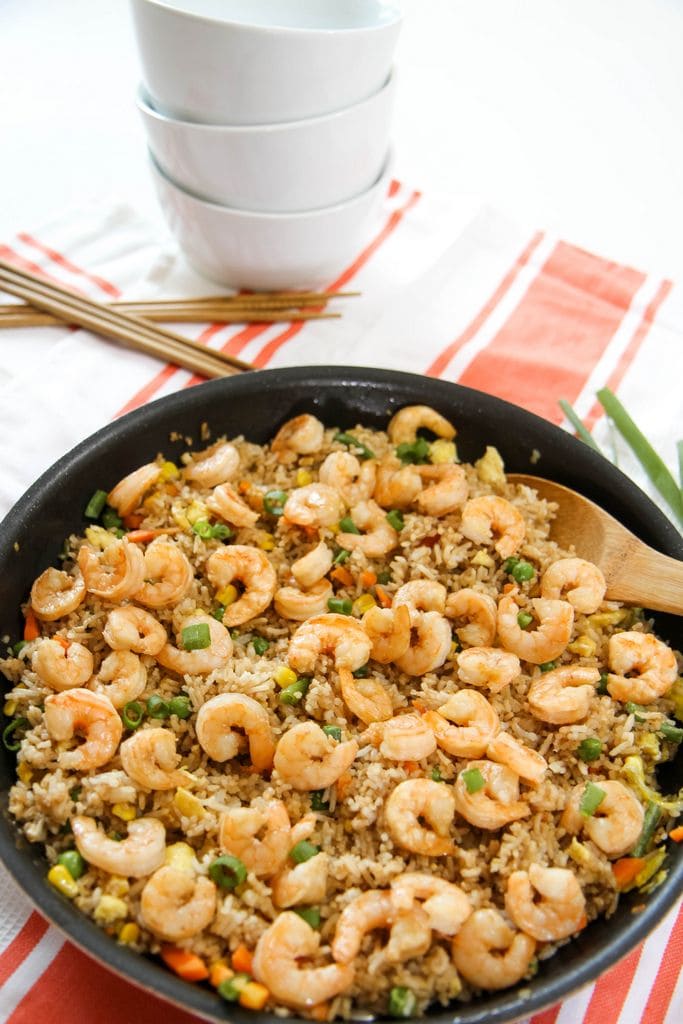 shrimp fried rice
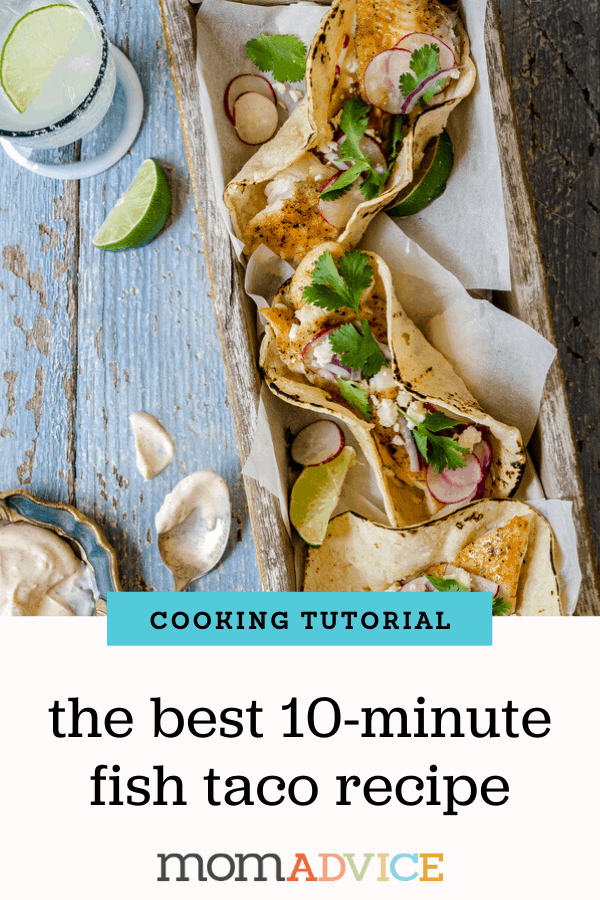
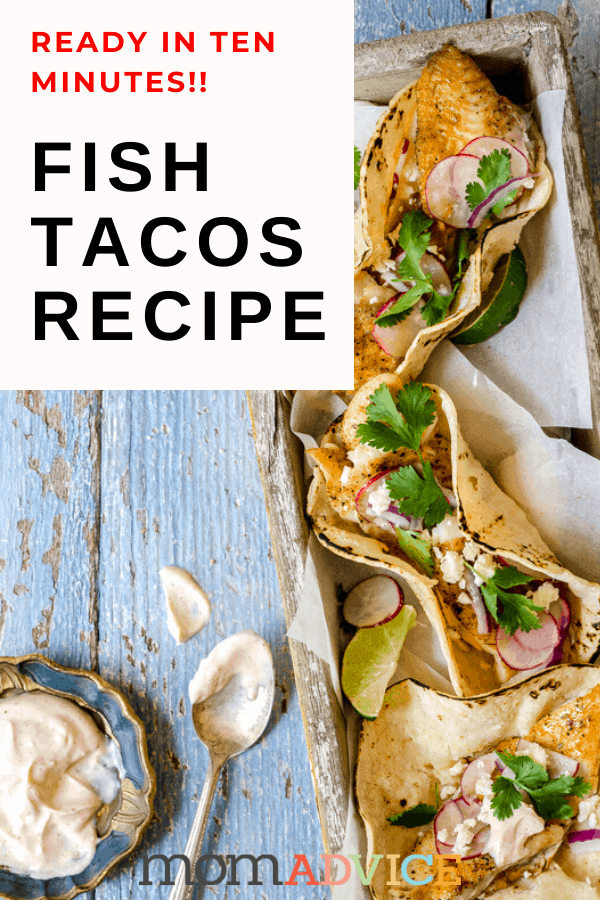
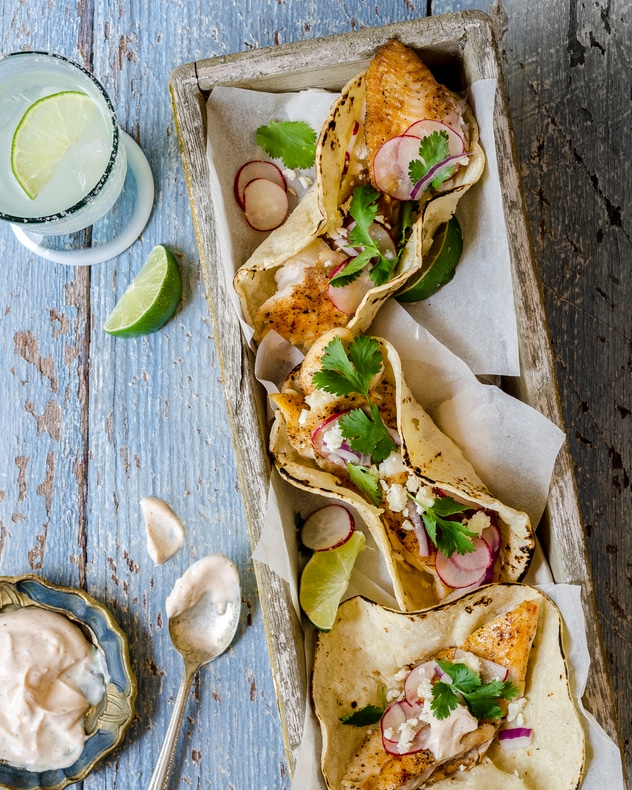
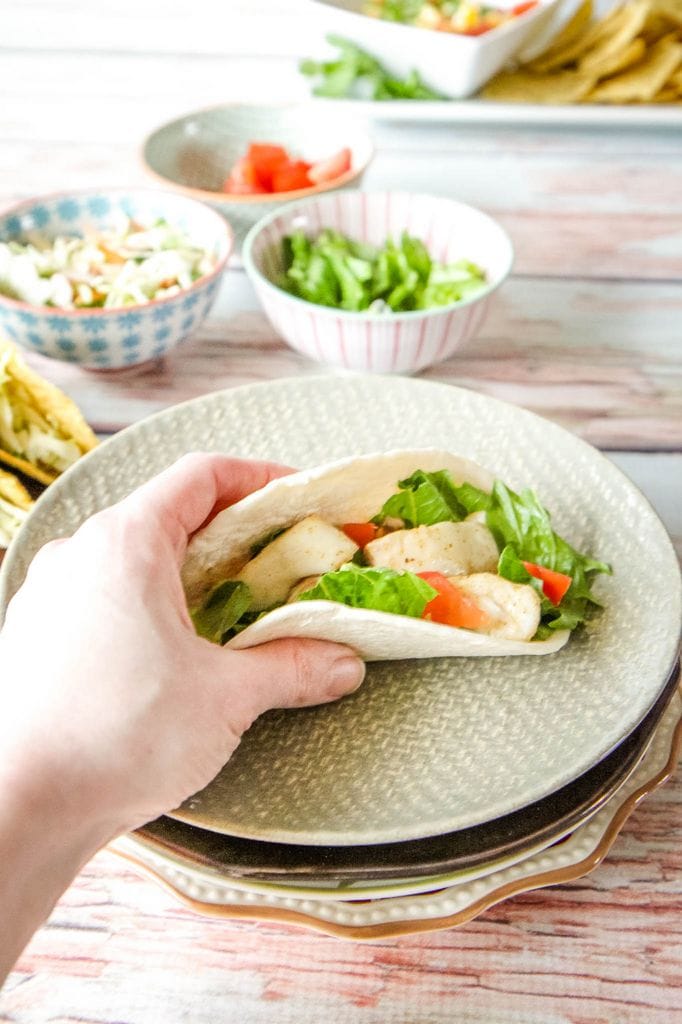
10 minute fish tacos
Happy cooking!


