Archive for the ‘Kid Eats’ Category

Simplifying Your Holiday Gatherings

Thursday, November 1st, 2018

You will love these strategies for hosting memorable gatherings without the stress.

I’ve got everything from cooking shortcuts to decorations that transition through the seasons to your perfect playlist! 

This post is sponsored by Honeysuckle White. All thoughts and opinions are my own! 

Now that Halloween is behind us, it is time to start thinking about all of those upcoming holiday gatherings. Hostess duties can often feel stressful and overwhelming, don’t they? That is why I’m excited to be partnering today with Honeysuckle White to share some fresh ideas for hosting your next gathering without the stress.

I learned that if I wanted to connect with my friends and family that I often had to be the one to step up to bat and offer to host. I have discovered, over the years, that so many people feel intimidated by hosting and are often self-conscious of things like undone house projects, their limited cooking abilities, or not feeling like they have that perfectly sized space for the ideal gathering.

The thing is, our own intimidations rob us of precious moments with those we love and the people that REALLY and GENUINELY love us will always, always be thankful to you for creating space in your home and day for them.

That is, truly, why I am excited to share that Honeysuckle White recognizes how precious our time is and wanted to take out that intimidation factor by providing a brilliantly easy turkey product that will make gatherings so much easier on busy moms.

Even better?

You can order it right through Amazon.

And, ladies, I KNOW we all have Amazon ordering down pat! (*ahem*)
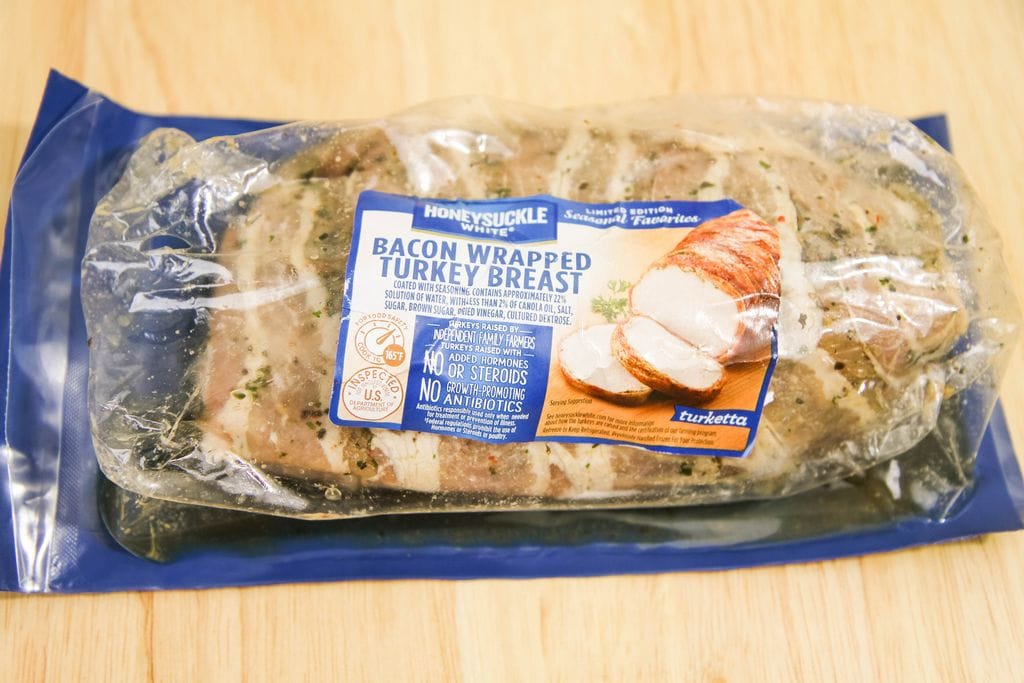
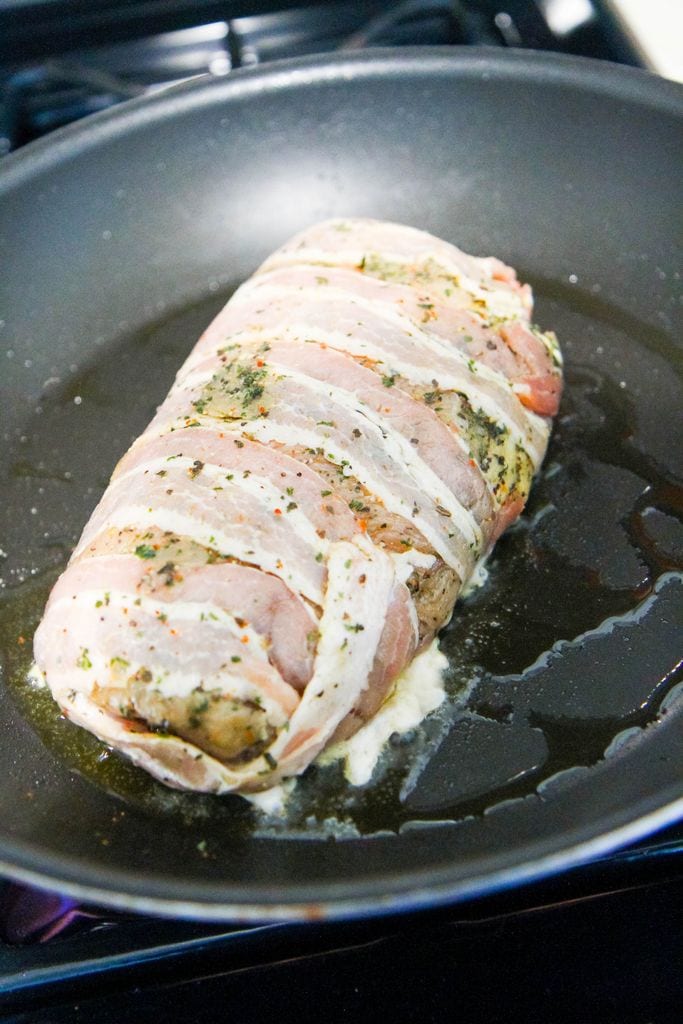
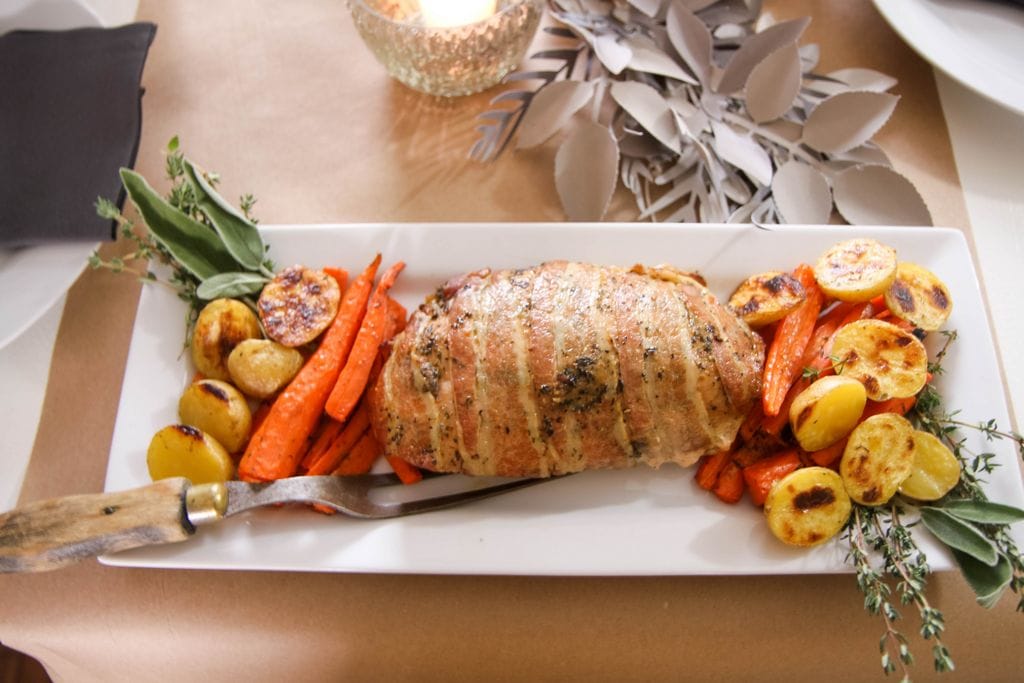
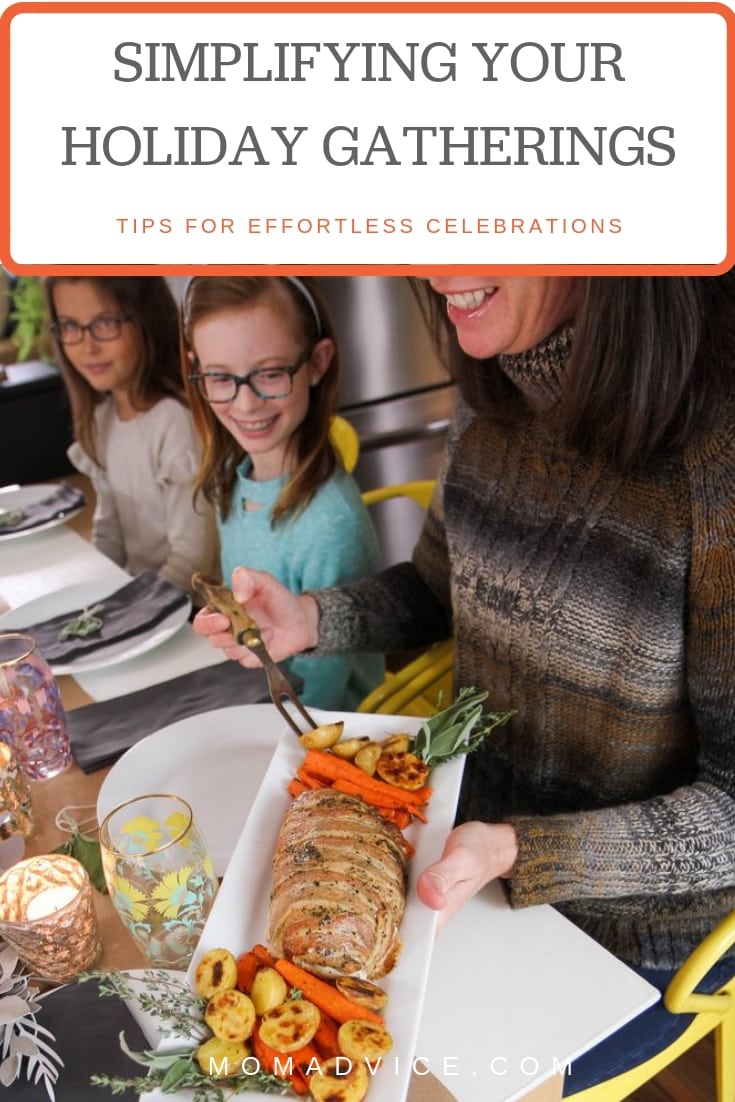
Say hello to the world’s easiest holiday dish, the NEWS Honeysuckle White Bacon Wrapped Turkey Breast “Turketta”, inspired by the flavor profile of porchetta!

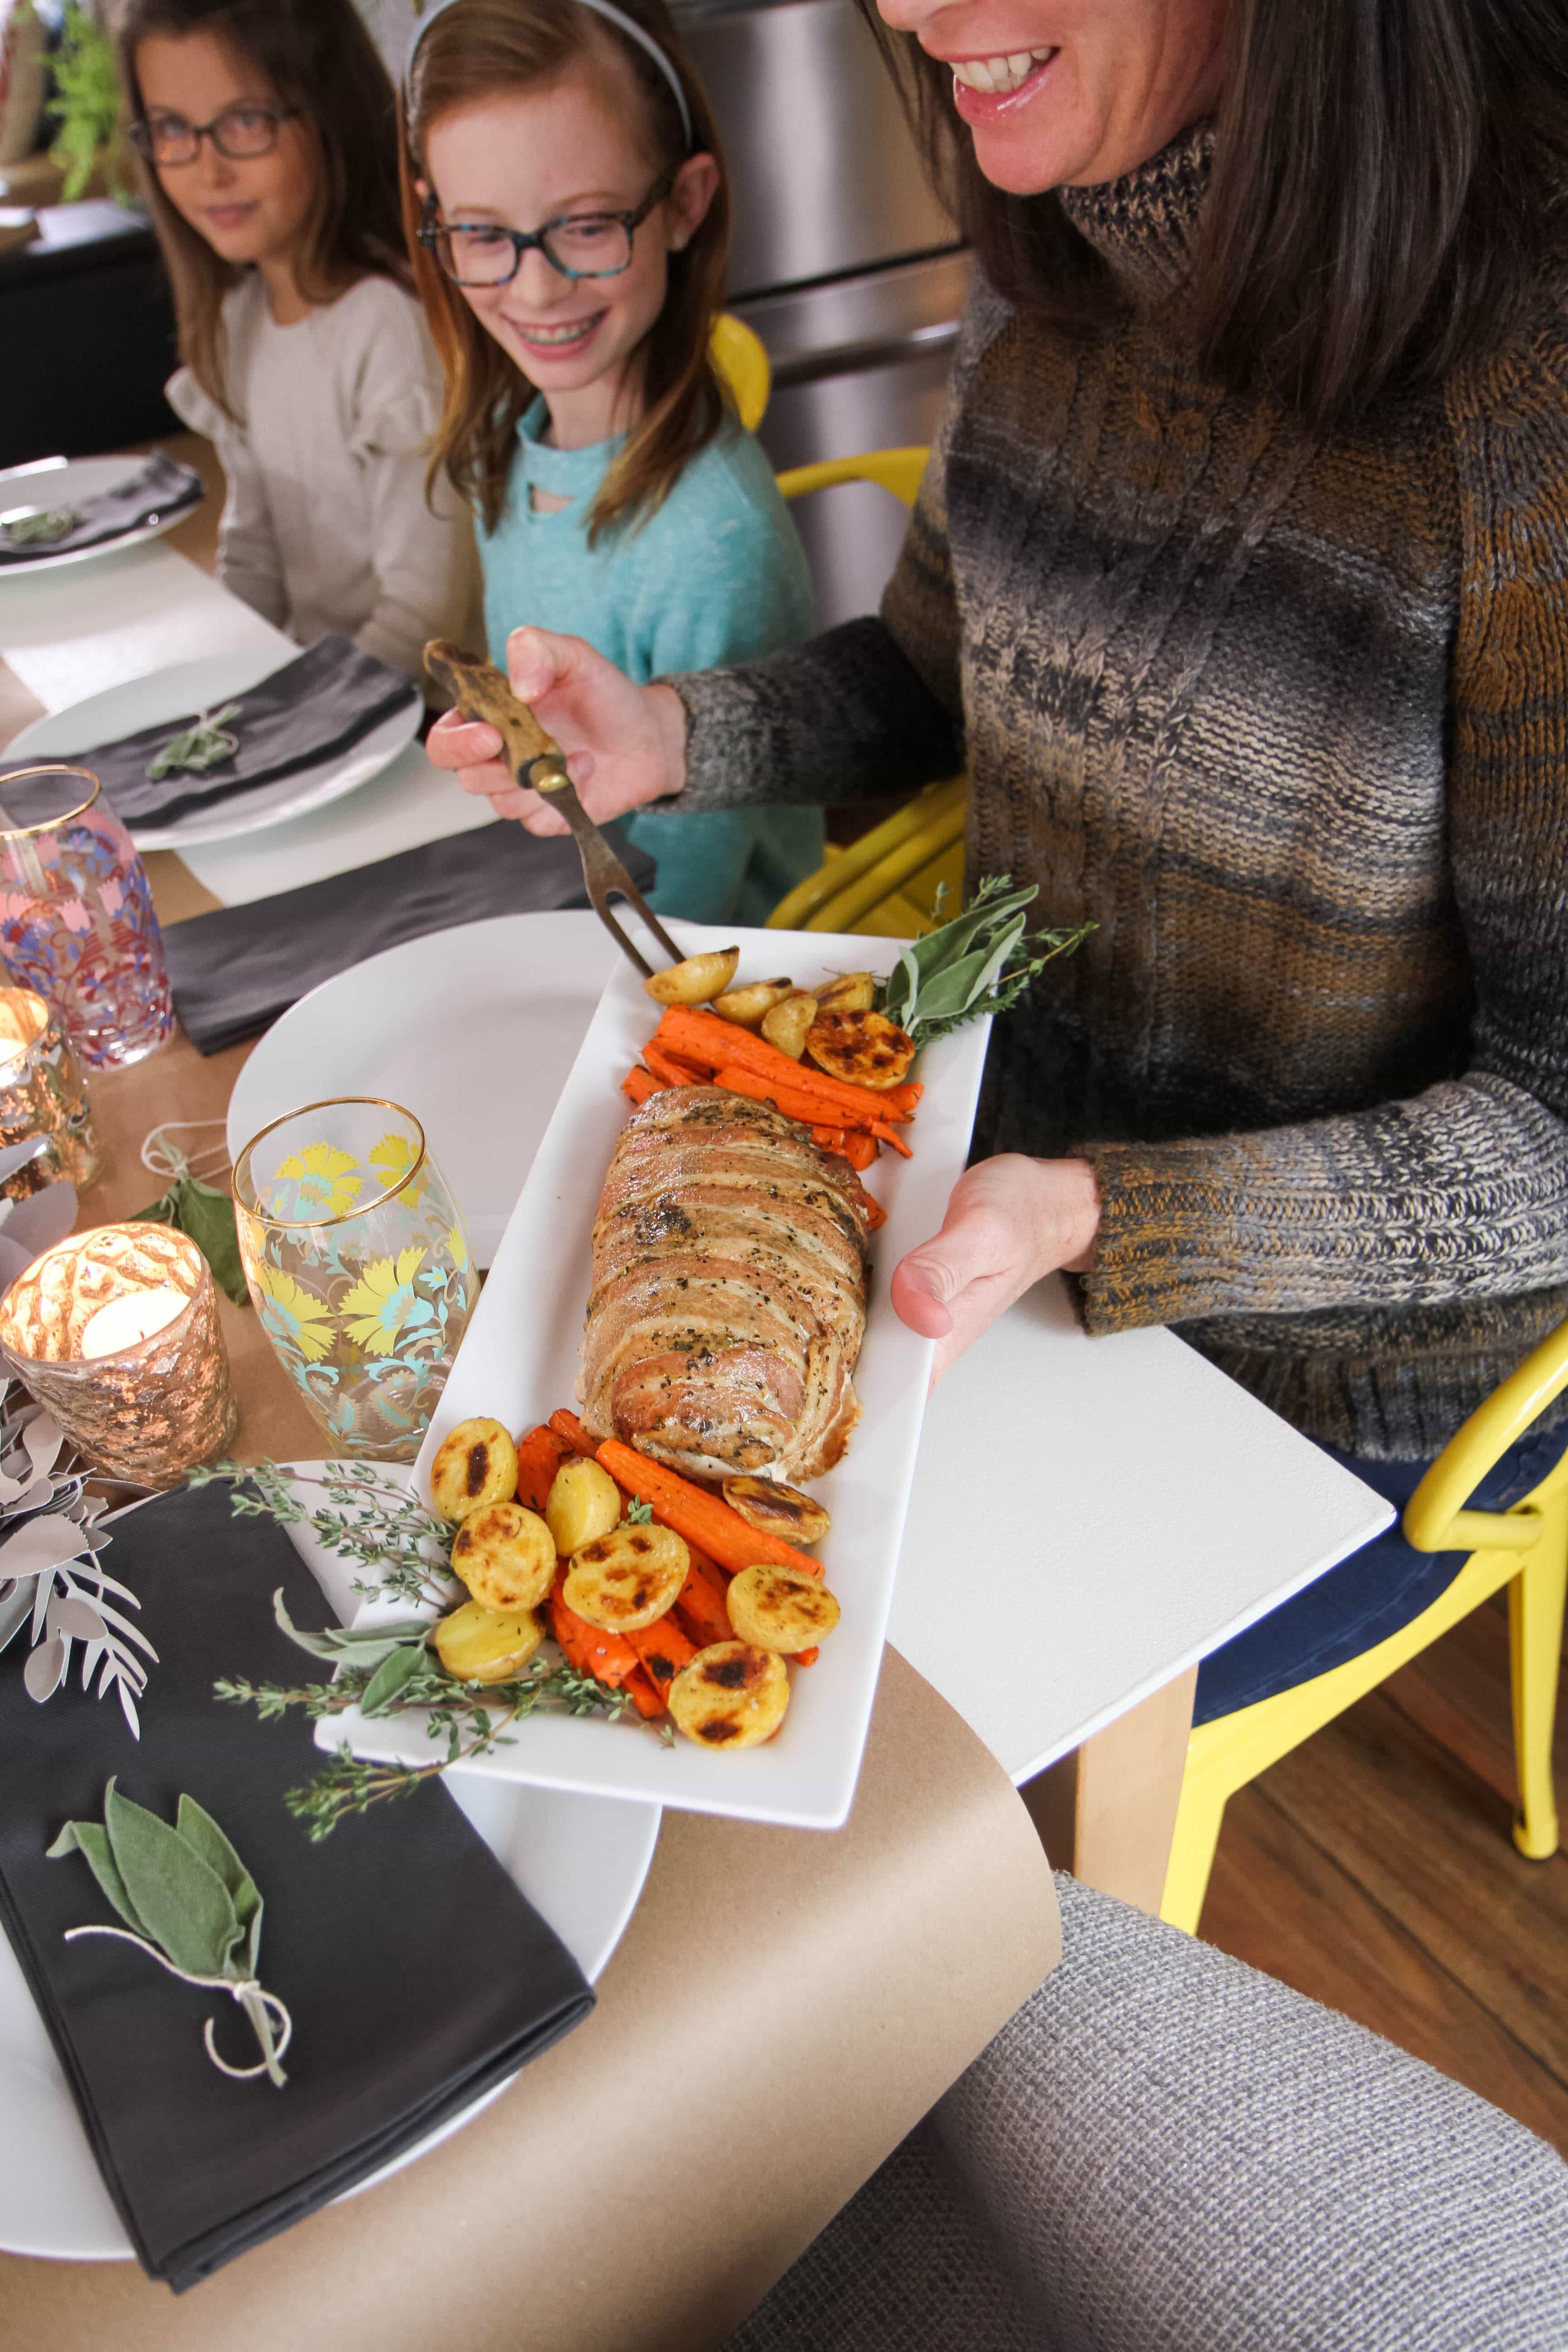
I gave ordering one of these a spin and really was surprised how well-seasoned and easy this was to execute for my Friendsgiving gathering this week.

In your package (that arrives right on your doorstep!)  you will get one of these beautiful roasts that serve approximately 4-6 people.  The packages arrive frozen and you can thaw it for an ASAP gathering or you can tuck this in the freezer for a future meal.

The bird is perfectly seasoned, boneless (no carving- woot, woot!), and requires just a simple quick sear on the bottom and baking.

This isn’t the only option you can have delivered. They also are offering Hickory Smoked Turkey Breast, a Honeysuckle White Fresh Traceable Whole Bird Turkey, & the Honest Turkey Whole Turkey.

Even better, for a limited time offer, MomAdvice readers can get 15% off using my coupon code 15MOMADVICE.

I can really get behind this company and the work they do with farmers, especially after having the opportunity to tour one of the farms.

The company is committed to raising their turkeys without growth-promoting antibiotics and no added hormones or steroids.

They also are committed to supporting independent family farmers to provide family farm-raised turkeys.

I don’t know if you know this, but my great-grandpa was a farmer and that is why that commitment and their true love for these families really warms my heart.

Now that you have the turkey covered, here are a few other ideas for a simple gathering of great friends and great food!
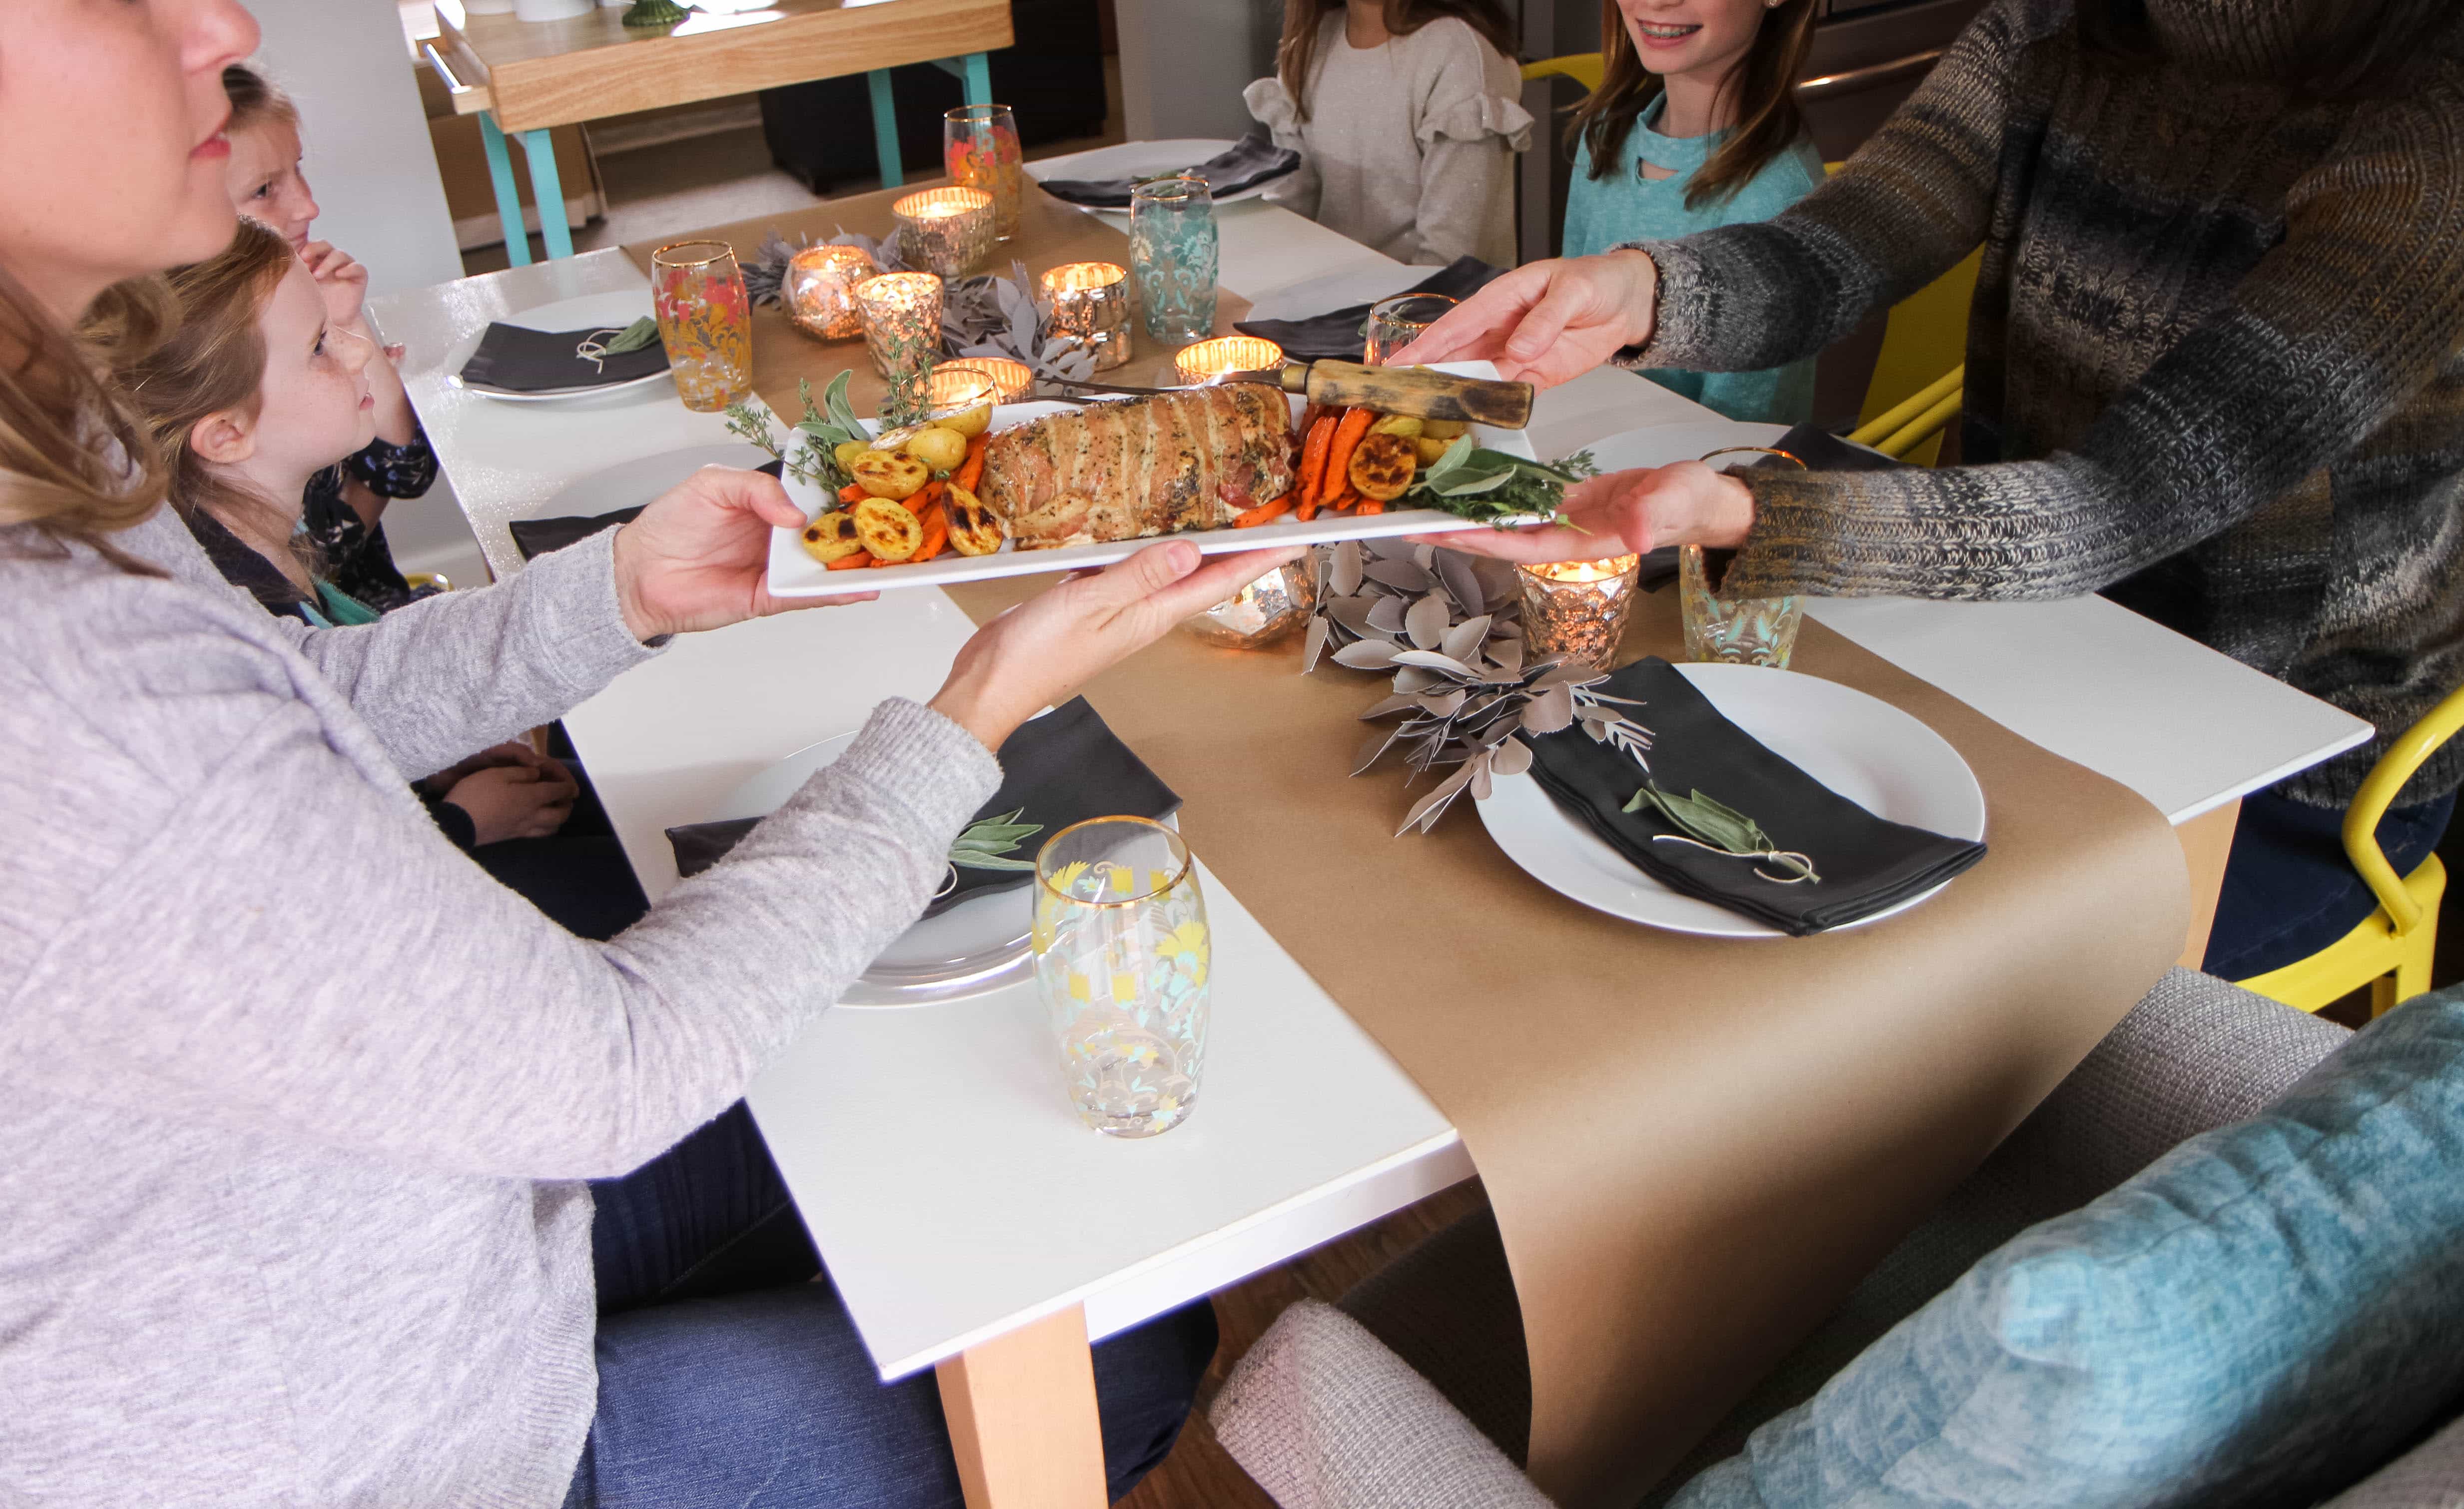
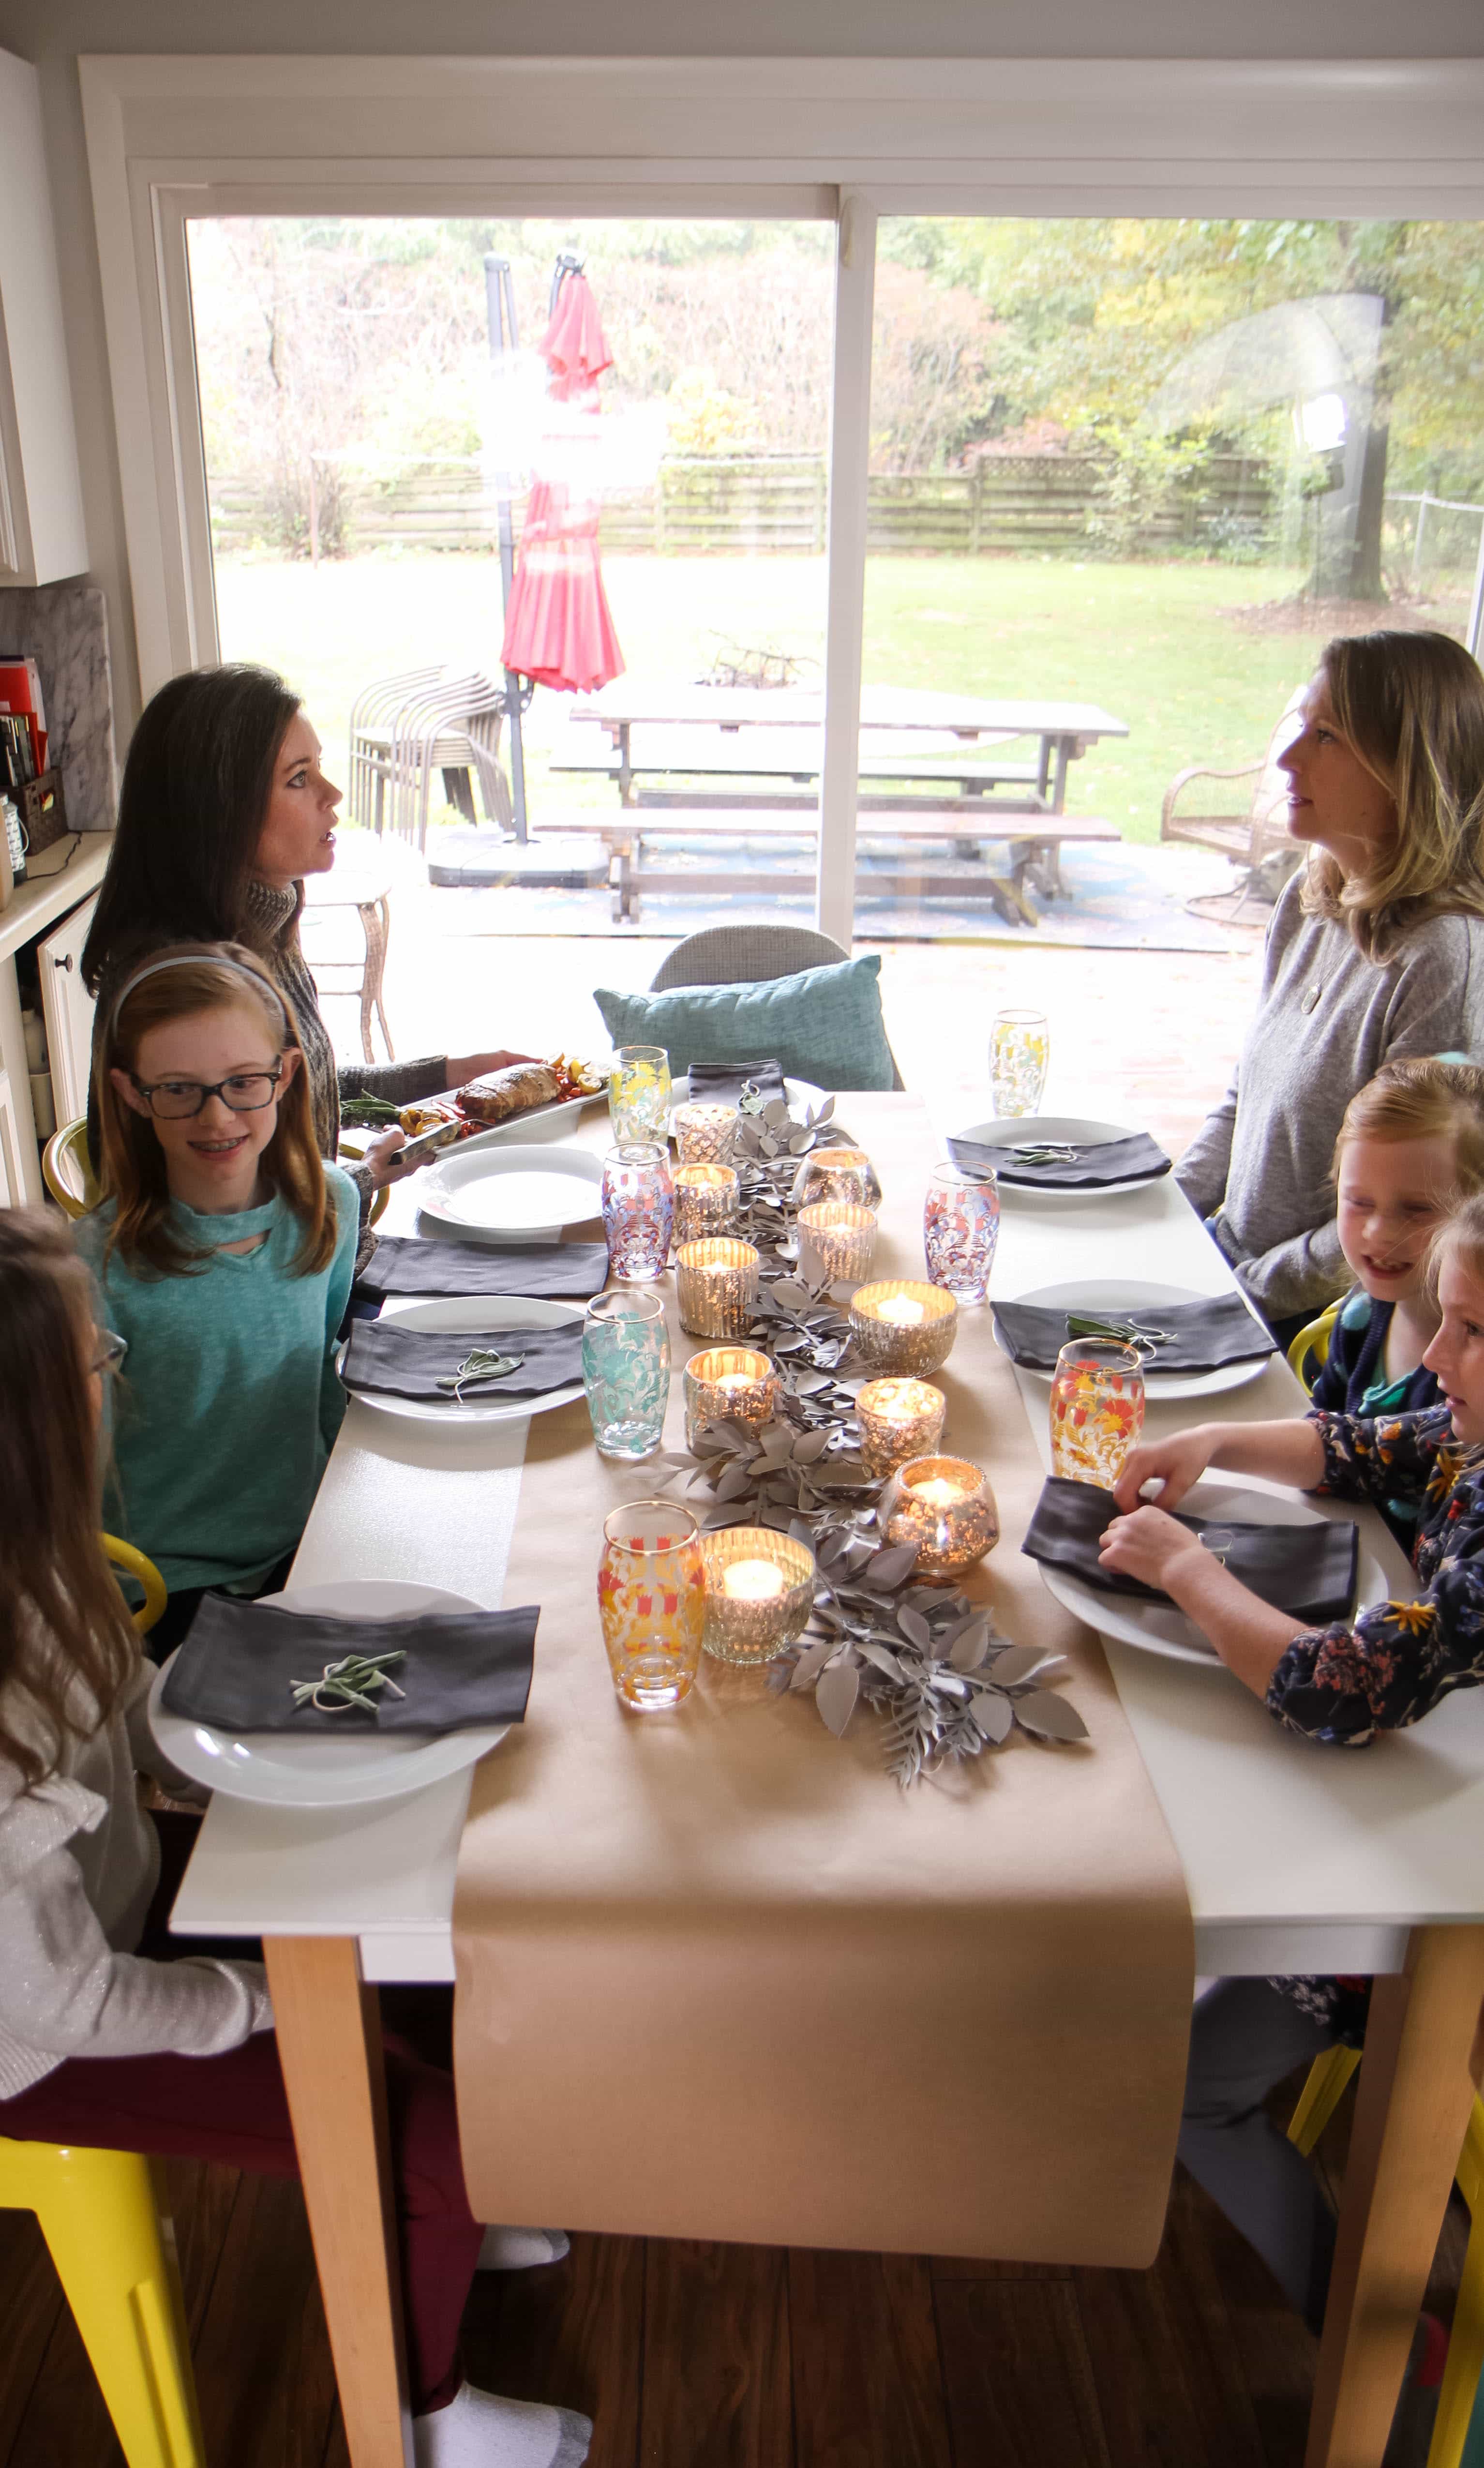
Send Out a Small Invite

I have done loads of large gatherings, but I find the best gatherings are often the intimate ones with just a couple of close friends so you can really catch up.

A friendsgiving need not be a large gathering and the invitation does not need to be a formal one.

Text invitations are perfectly acceptable, especially during such a busy season.

Also, allowing mamas to bring kids is a blessing to the mom (who won’t have to cook) and to you (to get to love on your friend’s beautiful kiddos especially since your kids are tweens/teens and you now have to FORCE YOUR LOVE on them).
 

Keep the Sides Simple

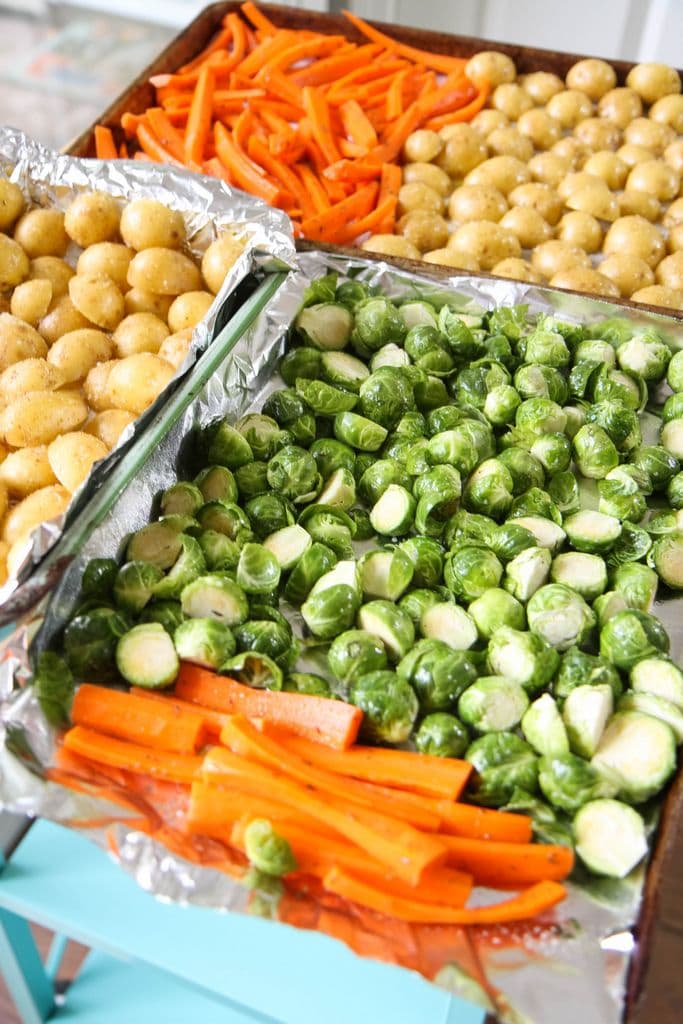
Roasted vegetables are an easy side that can be prepared a day in advance.

In fact, storing your carrots and potatoes in water overnight will yield a much crisper roast than if you cut them up immediately.

Toss your prepared vegetables in olive oil, kosher salt, and your favorite dried seasoning (I’m a thyme girl!) and roast them at 450 degrees for 25 minutes.

Love perfectly roasted potatoes?

Cut baby potatoes in half and put the cut side down on a cookie sheet that’s been lined with aluminum foil and is lightly greased. You will get a perfect roast every time AND they are so good that my kids call them mom’s french fries.

It goes without saying, but lining the cookie sheets with tin foil or parchment paper squares is also an excellent way to cut down on dishes!

Skip the Baking

Thankfully, there is no need to bake since we have so many delicious options for desserts that are already made and available for purchase at our local markets.

You can still make these purchased desserts feel really special though with quick homemade touches.

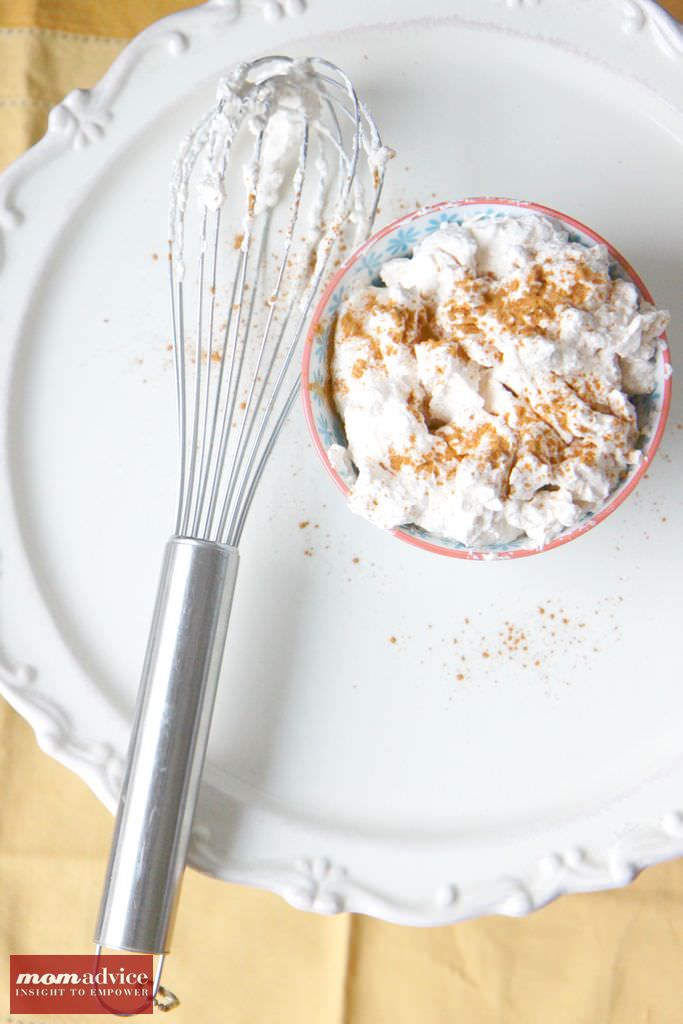
Spicing up your whipped cream, adding crunchy toppings, or adding details with pie cutters or an embossing rolling pin (made from refrigerated pie dough) are all fun ways to make pies feel special and more homemade.

This post offers 5 strategies for making store-bought pies feel special that I think you will find REALLY helpful for the holidays and even an idea for packaging up mini pies as a parting gift at the end of the night.
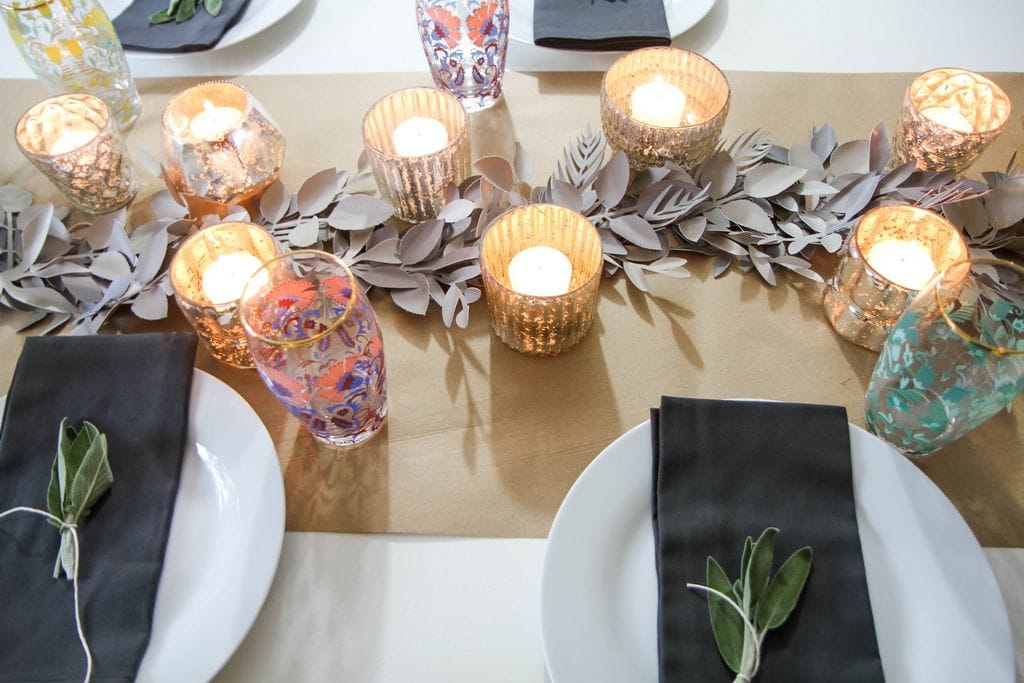
replicate my table with this easy tutorial

Think Evergreen When It Comes to Home Decorating

In the blog world, evergreen content is king. It means that we really focus on creating timeless pieces that can be shared over and over again and always feel relevant.

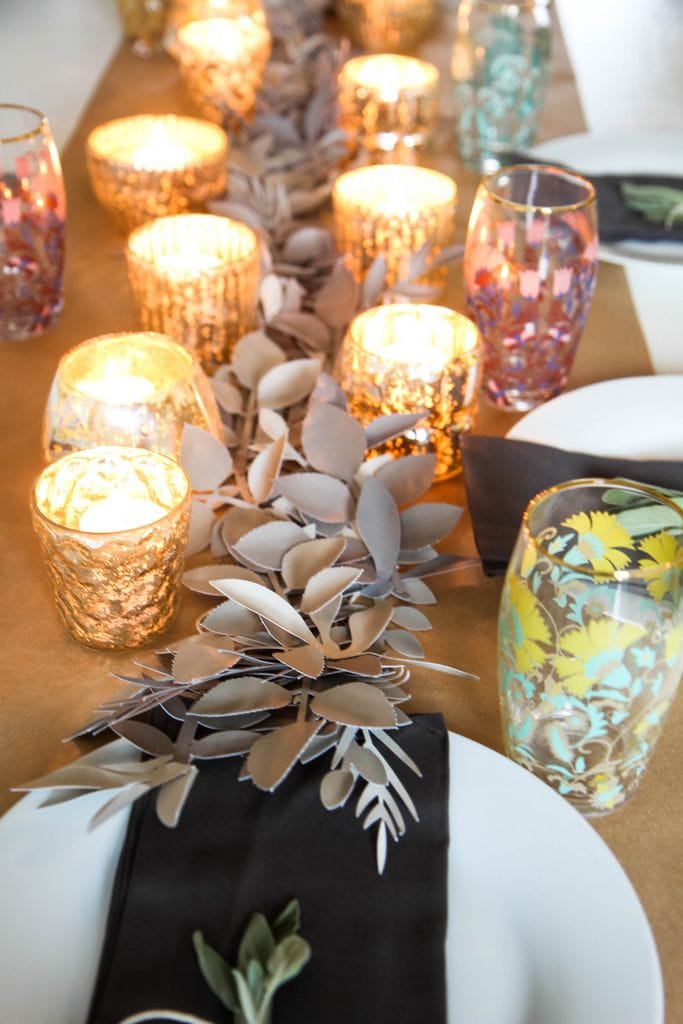
This is the SAME WAY we can approach our decorating. Purchase or DIY things that are neutral and can be used over and over again throughout the seasons. A bit of faux greenery, a roll of kraft paper (DO buy this– it’s such a affordable investment for decorating and gift wrapping), white plates, and loads of candles are perfect for ANY occasion.

Adding simple seasonal touches, like the small bundles of sage I gathered with cotton twine feel very Martha-y, but cost only a couple of bucks to pull off.

Stop pulling out and storing seasonal bins and buy a few items that you can use over and over and over again.

You can’t imagine the stress you will relieve yourself of!
Set the Mood

Before I go, I have one more fun fact for you…I used to be a glorified D.J. for my college’s radio station.

Music is essential to me like breathing and food.

Growing up, I played the violin, sang in the choir, did musical theater, and had parents who were crazy about music too.

I am also the one that hogs the microphone if you karaoke with me.

To me, a solid playlist for special occasions is oh-so-necessary.
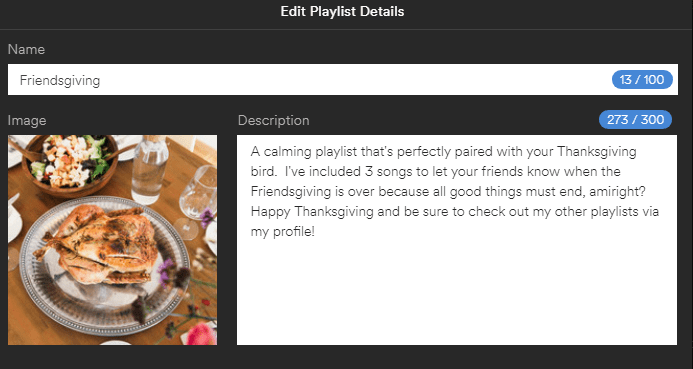
Don’t have time to make one?

How about if I shared mine with you!

Also, as a thoughtful introvert, I have included three goodbye songs at the end that you can feel free to boot those up after the meal when you just need to retreat to your Snuggie and Netflix.

Hopefully they catch on..I know, “CLOSING TIME,” is a very, very subtle exit song!

I have embedded it here for you so be sure to bookmark this awesome post and give me a follow for more fabulous dinner music.
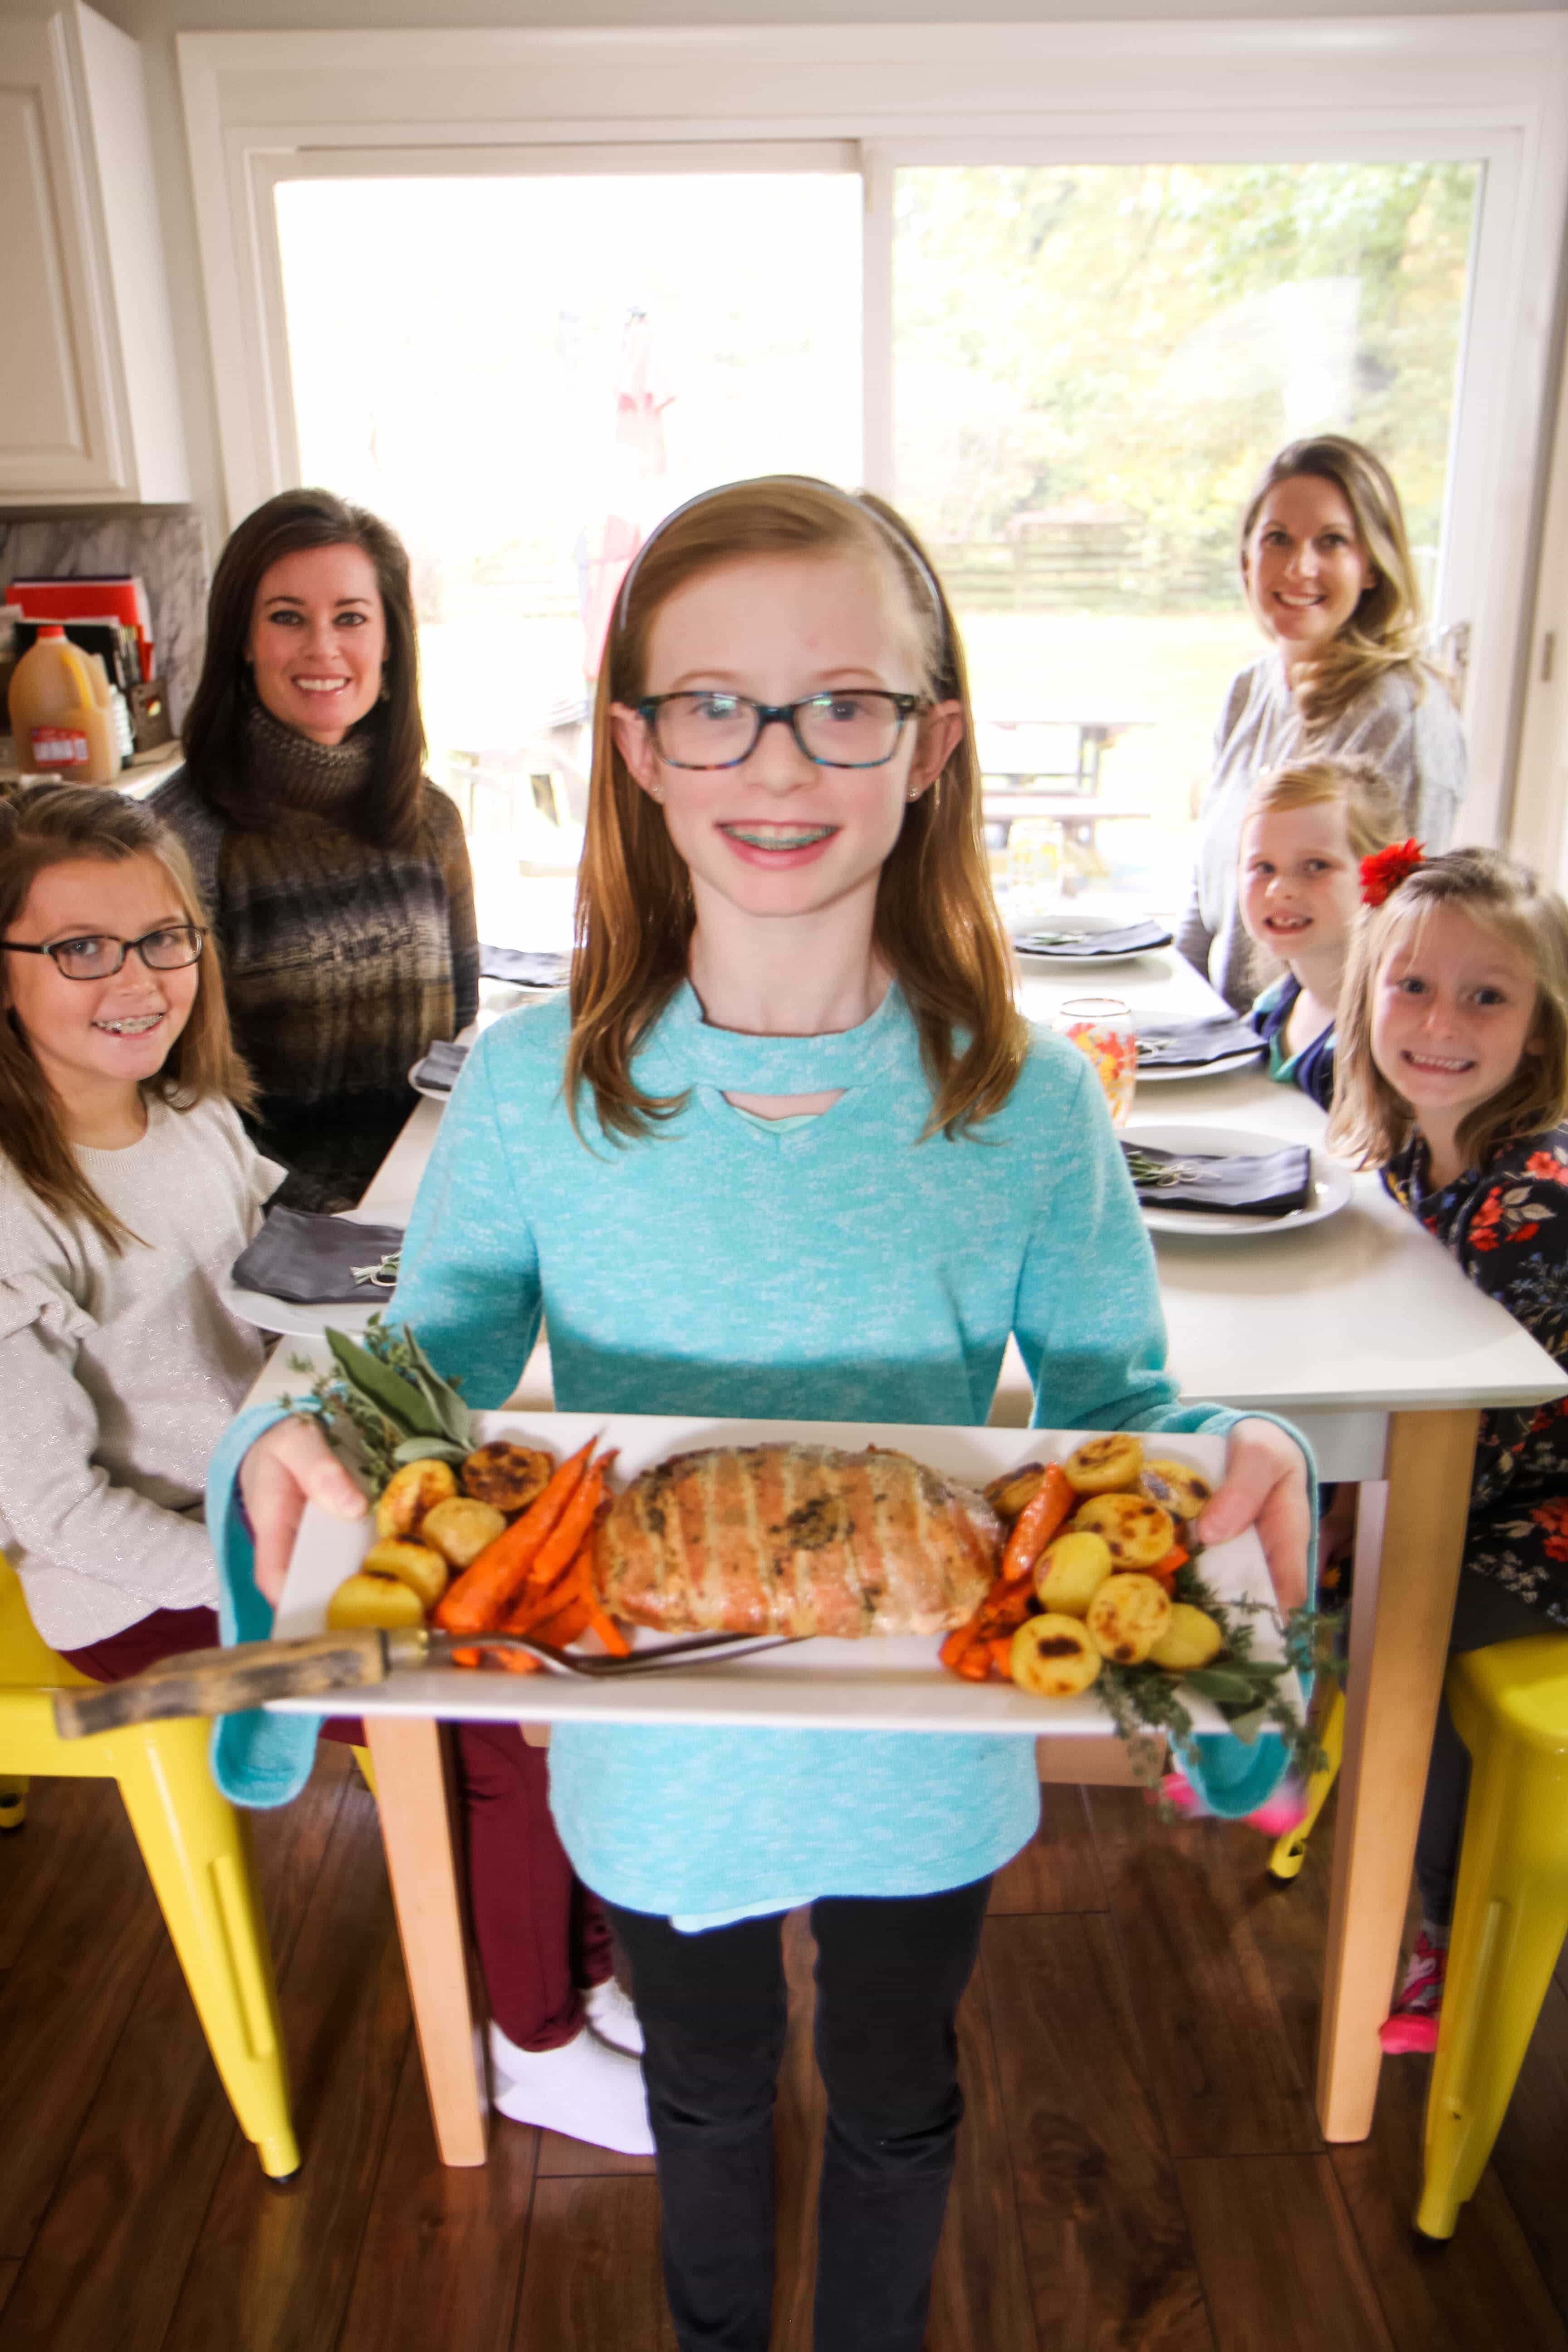
Now hurry on over to order your turkey and don’t forget to use my coupon code 15MOMADVICE to snag your 15% off!

this post contains affiliate links

This post is sponsored by Honeysuckle White. All thoughts and opinions are my own!
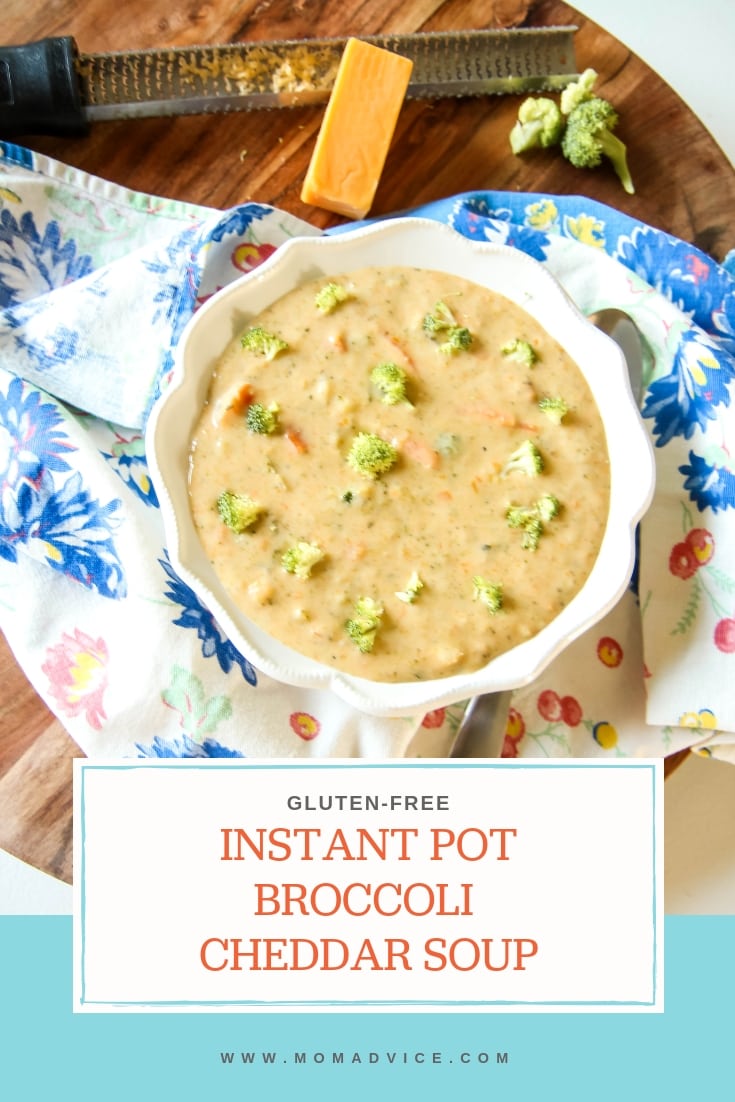
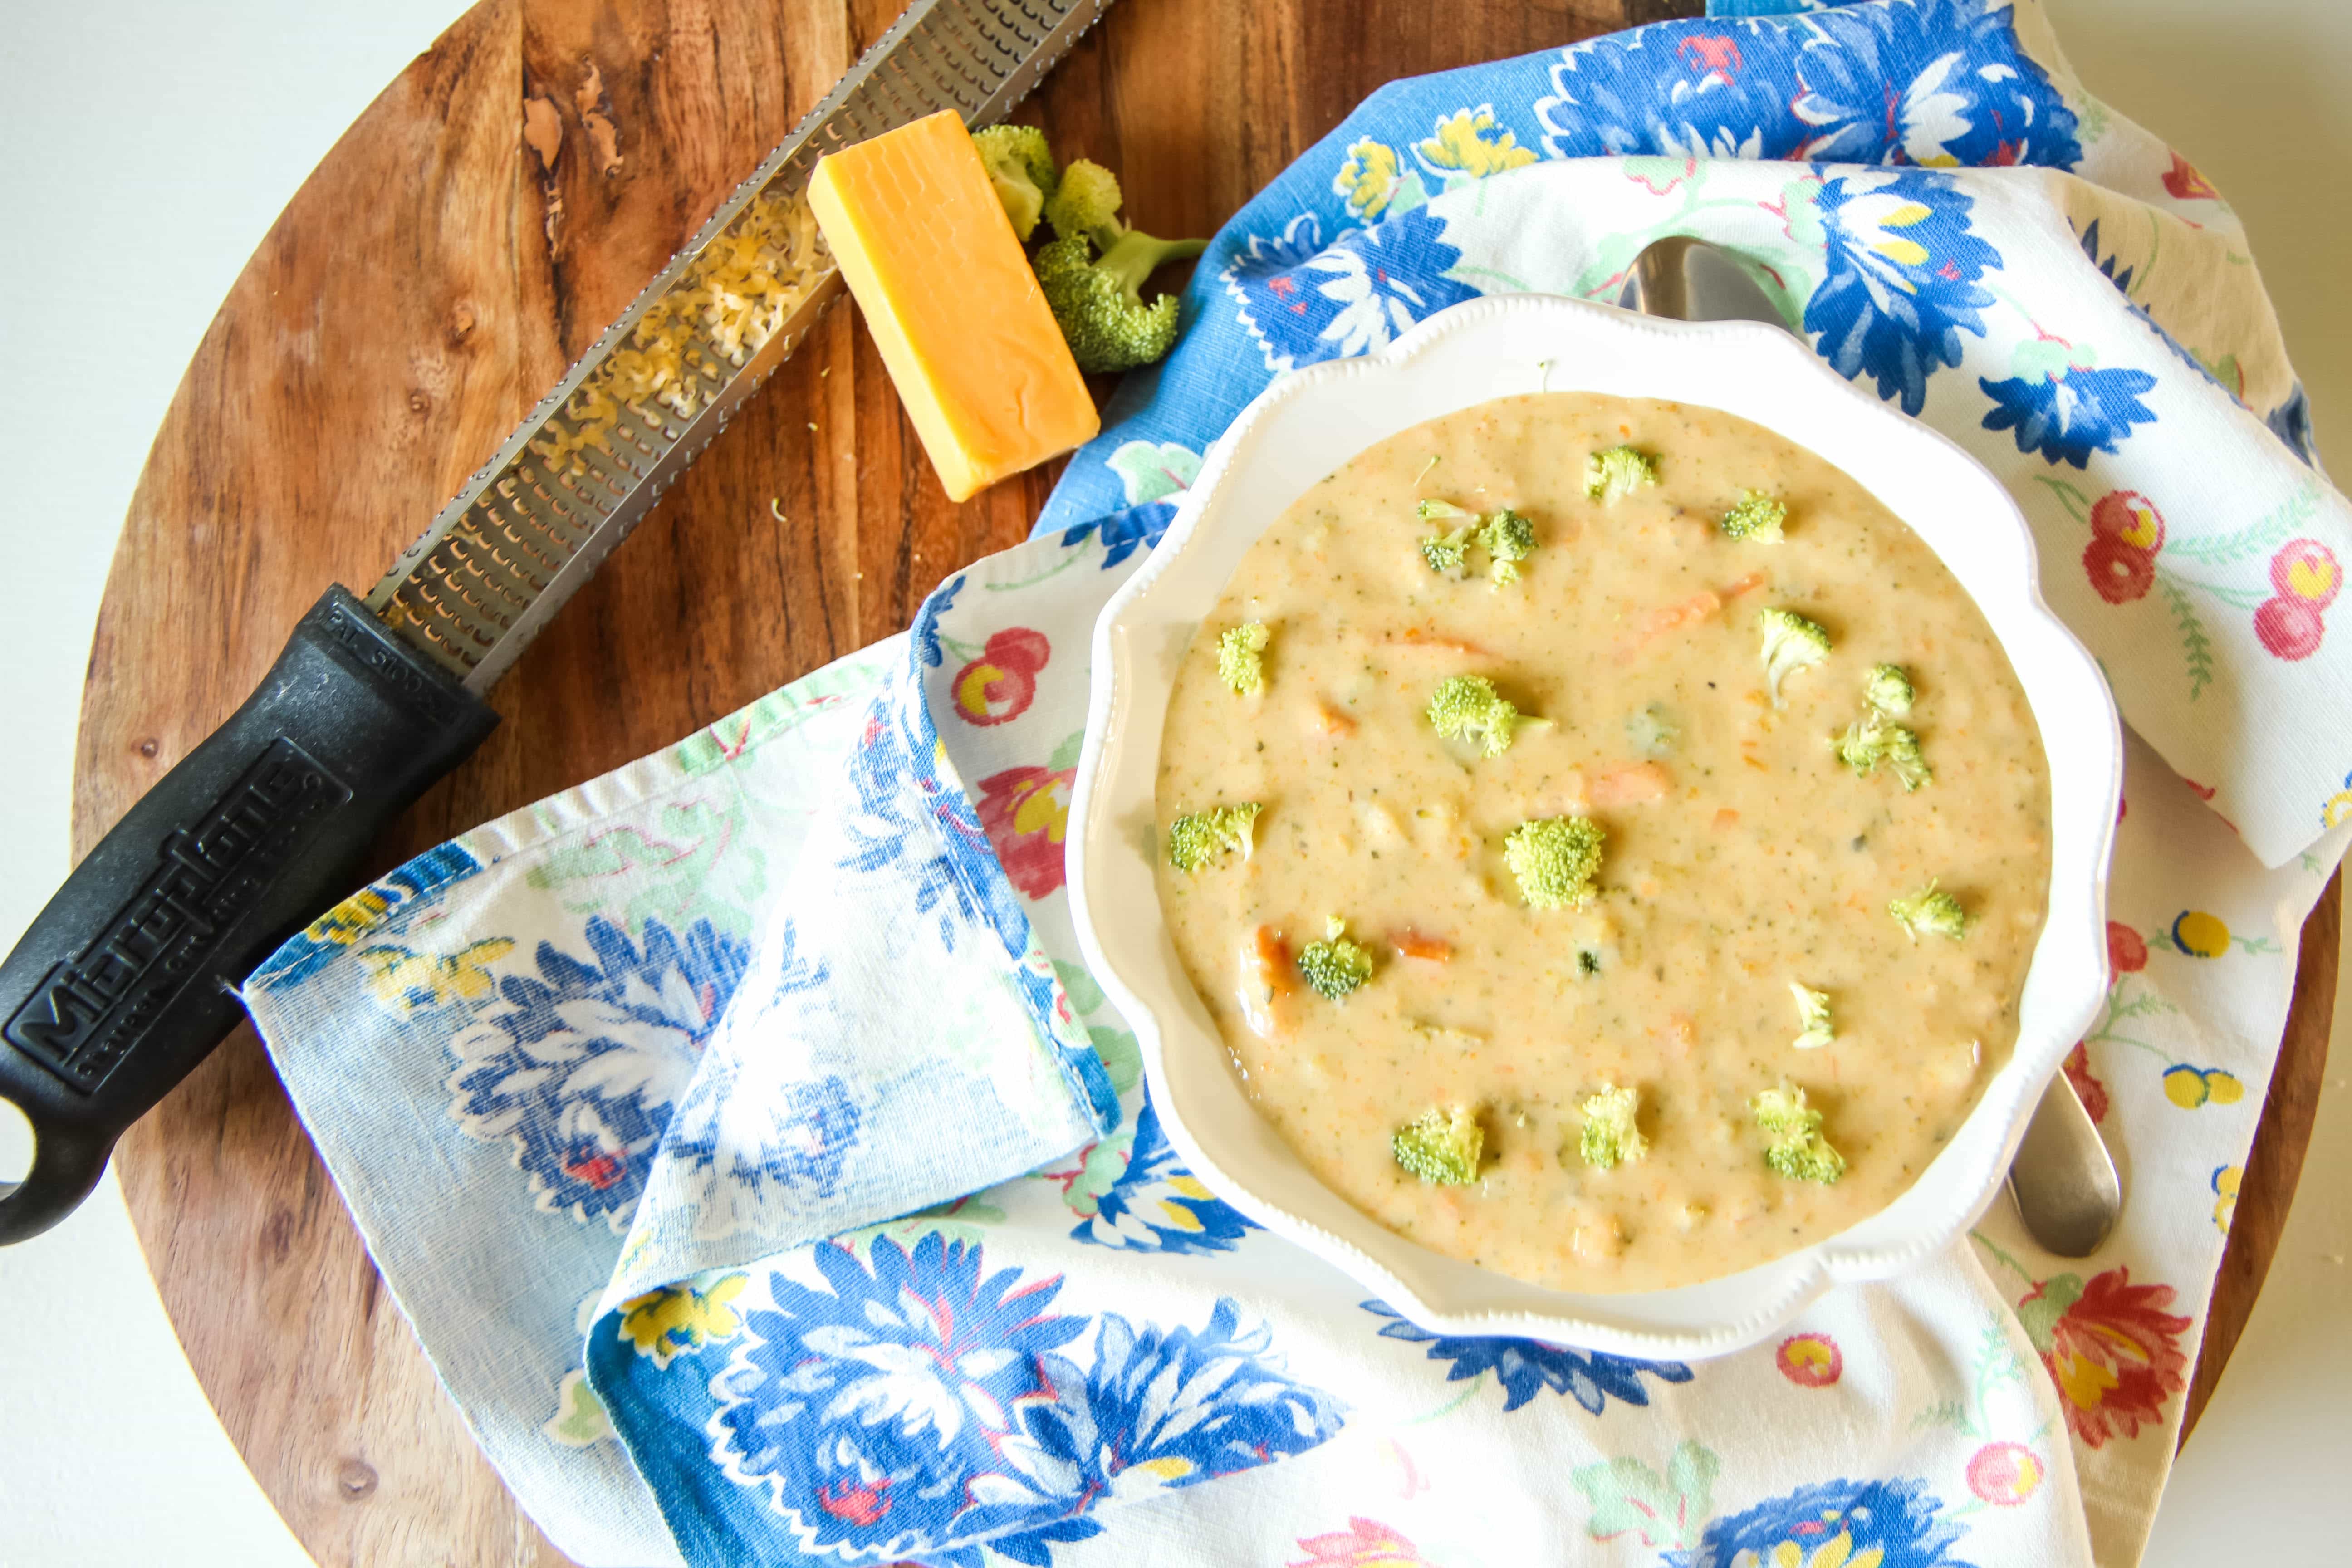
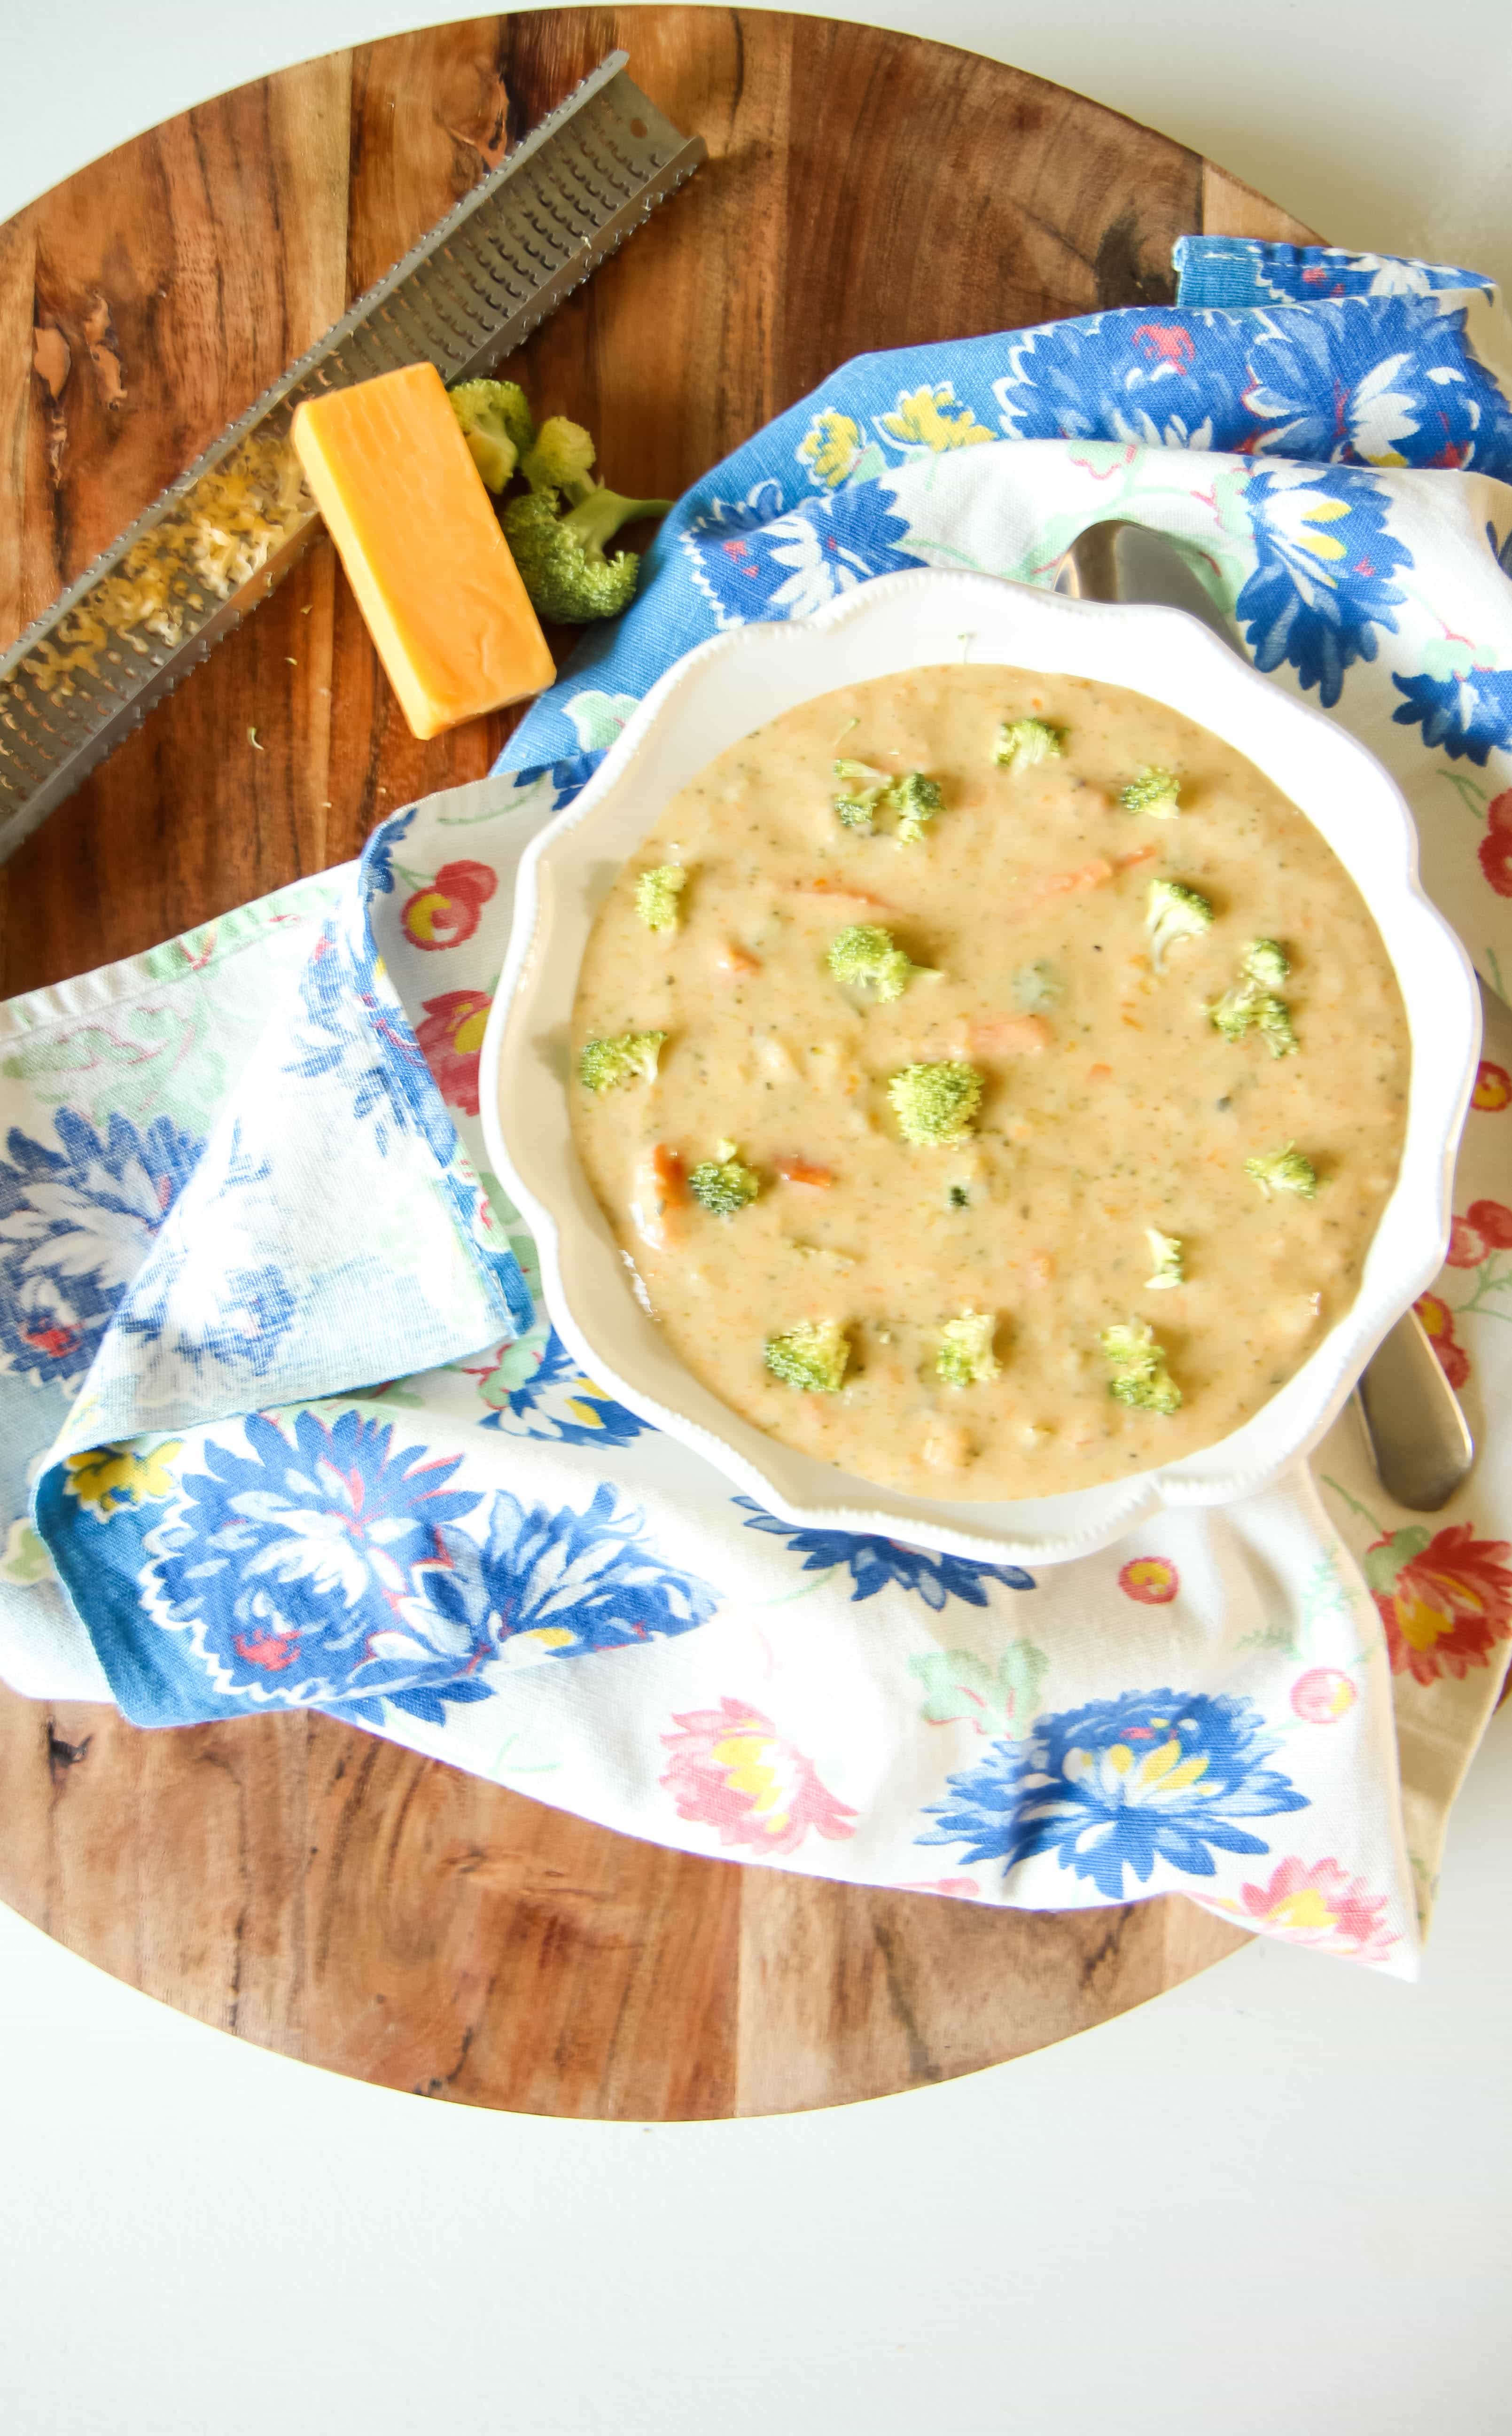
Instant Pot Gluten-Free Broccoli Cheddar Soup

Tuesday, October 9th, 2018

This Instant Pot Broccoli Cheddar Soup will fulfill all those Panera cravings MINUS the gluten!

One of my absolute favorite soups is Broccoli Cheddar Soup and it is my ultimate Panera weakness. Unfortunately, their version isn’t gluten-free so this week I decided to break out my Instant Pot and do a little recipe-testing.  Broccoli cheddar soup is one of those cheesy comfort foods that a gluten-free girl can REALLY get behind.

Oh, I should say, if you haven’t hopped on the Instant Pot game yet, I encourage you to JUST GO FOR IT.

Seriously.

It is the best gadget ever and is relied heavily on throughout our week to make fast work of soups, sauces, and tender meat.

If soups are going to be in your Instant Pot rotation too, I highly recommend two tools that will REALLY improve your enjoyment HIGHLY of this gadget.

The first is this type of lid that will make it easier to serve and reheat your soups for family meals.

There is nothing more awkward than trying to open and shut the sealing lid, amiright?

The other thing I absolutely love is this gadget that allows you to store your soup right in the pot in your fridge without any messes or spills.

If you can’t wait to get your pot back for the next meal though, many people also purchase additional inserts so that they can store a soup for their week as well as continue keeping the Instant Pot dishes in their rotation.

You can bet that an additional insert is on MY Christmas list this year.

And while we are on the topic of gadgets, if you haven’t bought one of these yet, it is a workhorse in our kitchen.

I, honestly, can’t imagine making soups or sauces without it…not to mention all that frothing of milk for my lattes at home.

I promise, I only recommend what I really love and TRULY use in our kitchen.


Making gluten-free soups that are thick and creamy can be a challenge. If I can offer any advice, adding this flour to our pantry has replaced a lot of my difficulties with modifying recipes to make them gluten-free. It’s an affordable solution that doesn’t require any master mixing or extra effort. Who couldn’t get behind that?

You will want to take your time though, once you add the flour to your pot, and really work hard to keep stirring and adding that liquid gradually to prevent your soup from being riddled with clumps.  It helps to take your time with this element and, remember, you will get that time back thanks to how quickly this cooks in your pressure cooker.

I’m sure it goes without saying that freshly grated cheese will always yield a better dish, but I also live in that whole “ain’t nobody got time for that” mindset on most weeknights.

GUYS.

It’s survival mode over here most days.

Can I get an amen?

I hope you love this recipe as much as our family did! We paired it with my easy make-ahead chicken in bulk recipe in gluten-free wraps with a drizzle of ranch.

If you are trying to do more meat-free nights, it also goes great with a little bread for dipping and some apple slices to round out this satisfying bowl of soup.

Be sure to scroll down for some more of our family favorites after the soup recipe!

Instant Pot Gluten-Free Broccoli Cheddar Soup
Recipe Type: Soup
Prep time:
Cook time:
Total time:
Serves: 6 servings
Break out that Instant Pot for this satisfyingly filling Instant Pot Gluten-Free Broccoli Cheddar Soup. Not gluten-free? No problem! Replace the gluten-free flour with your gluten-y version.
Ingredients
  • 3 tbsp butter
  • 2 cups diced carrots
  • 2 cloves garlic minced
  • 1/4 cup gluten-free flour ([url href=”https://rstyle.me/n/c9y996wky6″ target=”_blank”]this is the brand our family prefers[/url])
  • 3 cups vegetable stock
  • 6 cups broccoli florets
  • 1 tsp paprika
  • pinch of nutmeg
  • salt to taste
  • 1 1/2 cups shredded monterey jack cheese
  • 1 1/2 cups shredded sharp cheddar cheese
  • 1/2 cup milk
  • 1/2 cup heavy cream
  • salt and pepper to taste
Instructions
  1. Plug in and turn on your Instant Pot. Press the Sauté button on the Instant Pot (you want to make sure it is set to Normal) and give it a few minutes to warm up. Add the butter. Once melted, add diced carrots and cook three minutes.
  2. Stir in the garlic and flour. Allow the flour to cook for a minute or so, stirring constantly. Next add a small amount of your vegetable stock, incorporating this in bit by bit while stirring constantly and eliminating any lumps in your soup base.
  3. Hit cancel on your Instant Pot to turn off Sauté function. Add your broccoli in the pot, seal with the lid, and set your Instant Pot to HIGH pressure for 8 minutes.
  4. At the end of your cooking time, do a quick release of pressure and open the lid. Add in your paprika, pinch of nutmeg, and salt to taste.
  5. Stir in cheeses and mix well until it has melted. Add in milk and cream. Taste again to double check your final seasonings.
  6. If you have [url href=”https://amzn.to/2ymYuiC” target=”_blank”]an immersion blender[/url], you can use it to blend the soup or you can carefully pour half of the soup in a blender and blend it well and add it back to the soup pot.
  7. Serve immediately.
  8. When reheating, you can add additional vegetable stock or milk to thin the soup back out.
  9. [url href=”undefined”][img src=”https://www.momadvice.com/blog/wp-content/uploads/2018/10/instant-pot-gluten-free-broccoli-cheese-soup-3.jpg” width=”5184″ height=”3456″ class=”aligncenter size-full” title=”Instant Pot Gluten-Free Broccoli Cheese Soup from MomAdvice.com”][/url]


Looking for more great dinner recipes? Here are a few others that are a big hit with our family (AND READERS!) You can also visit our RECIPE section of the site!

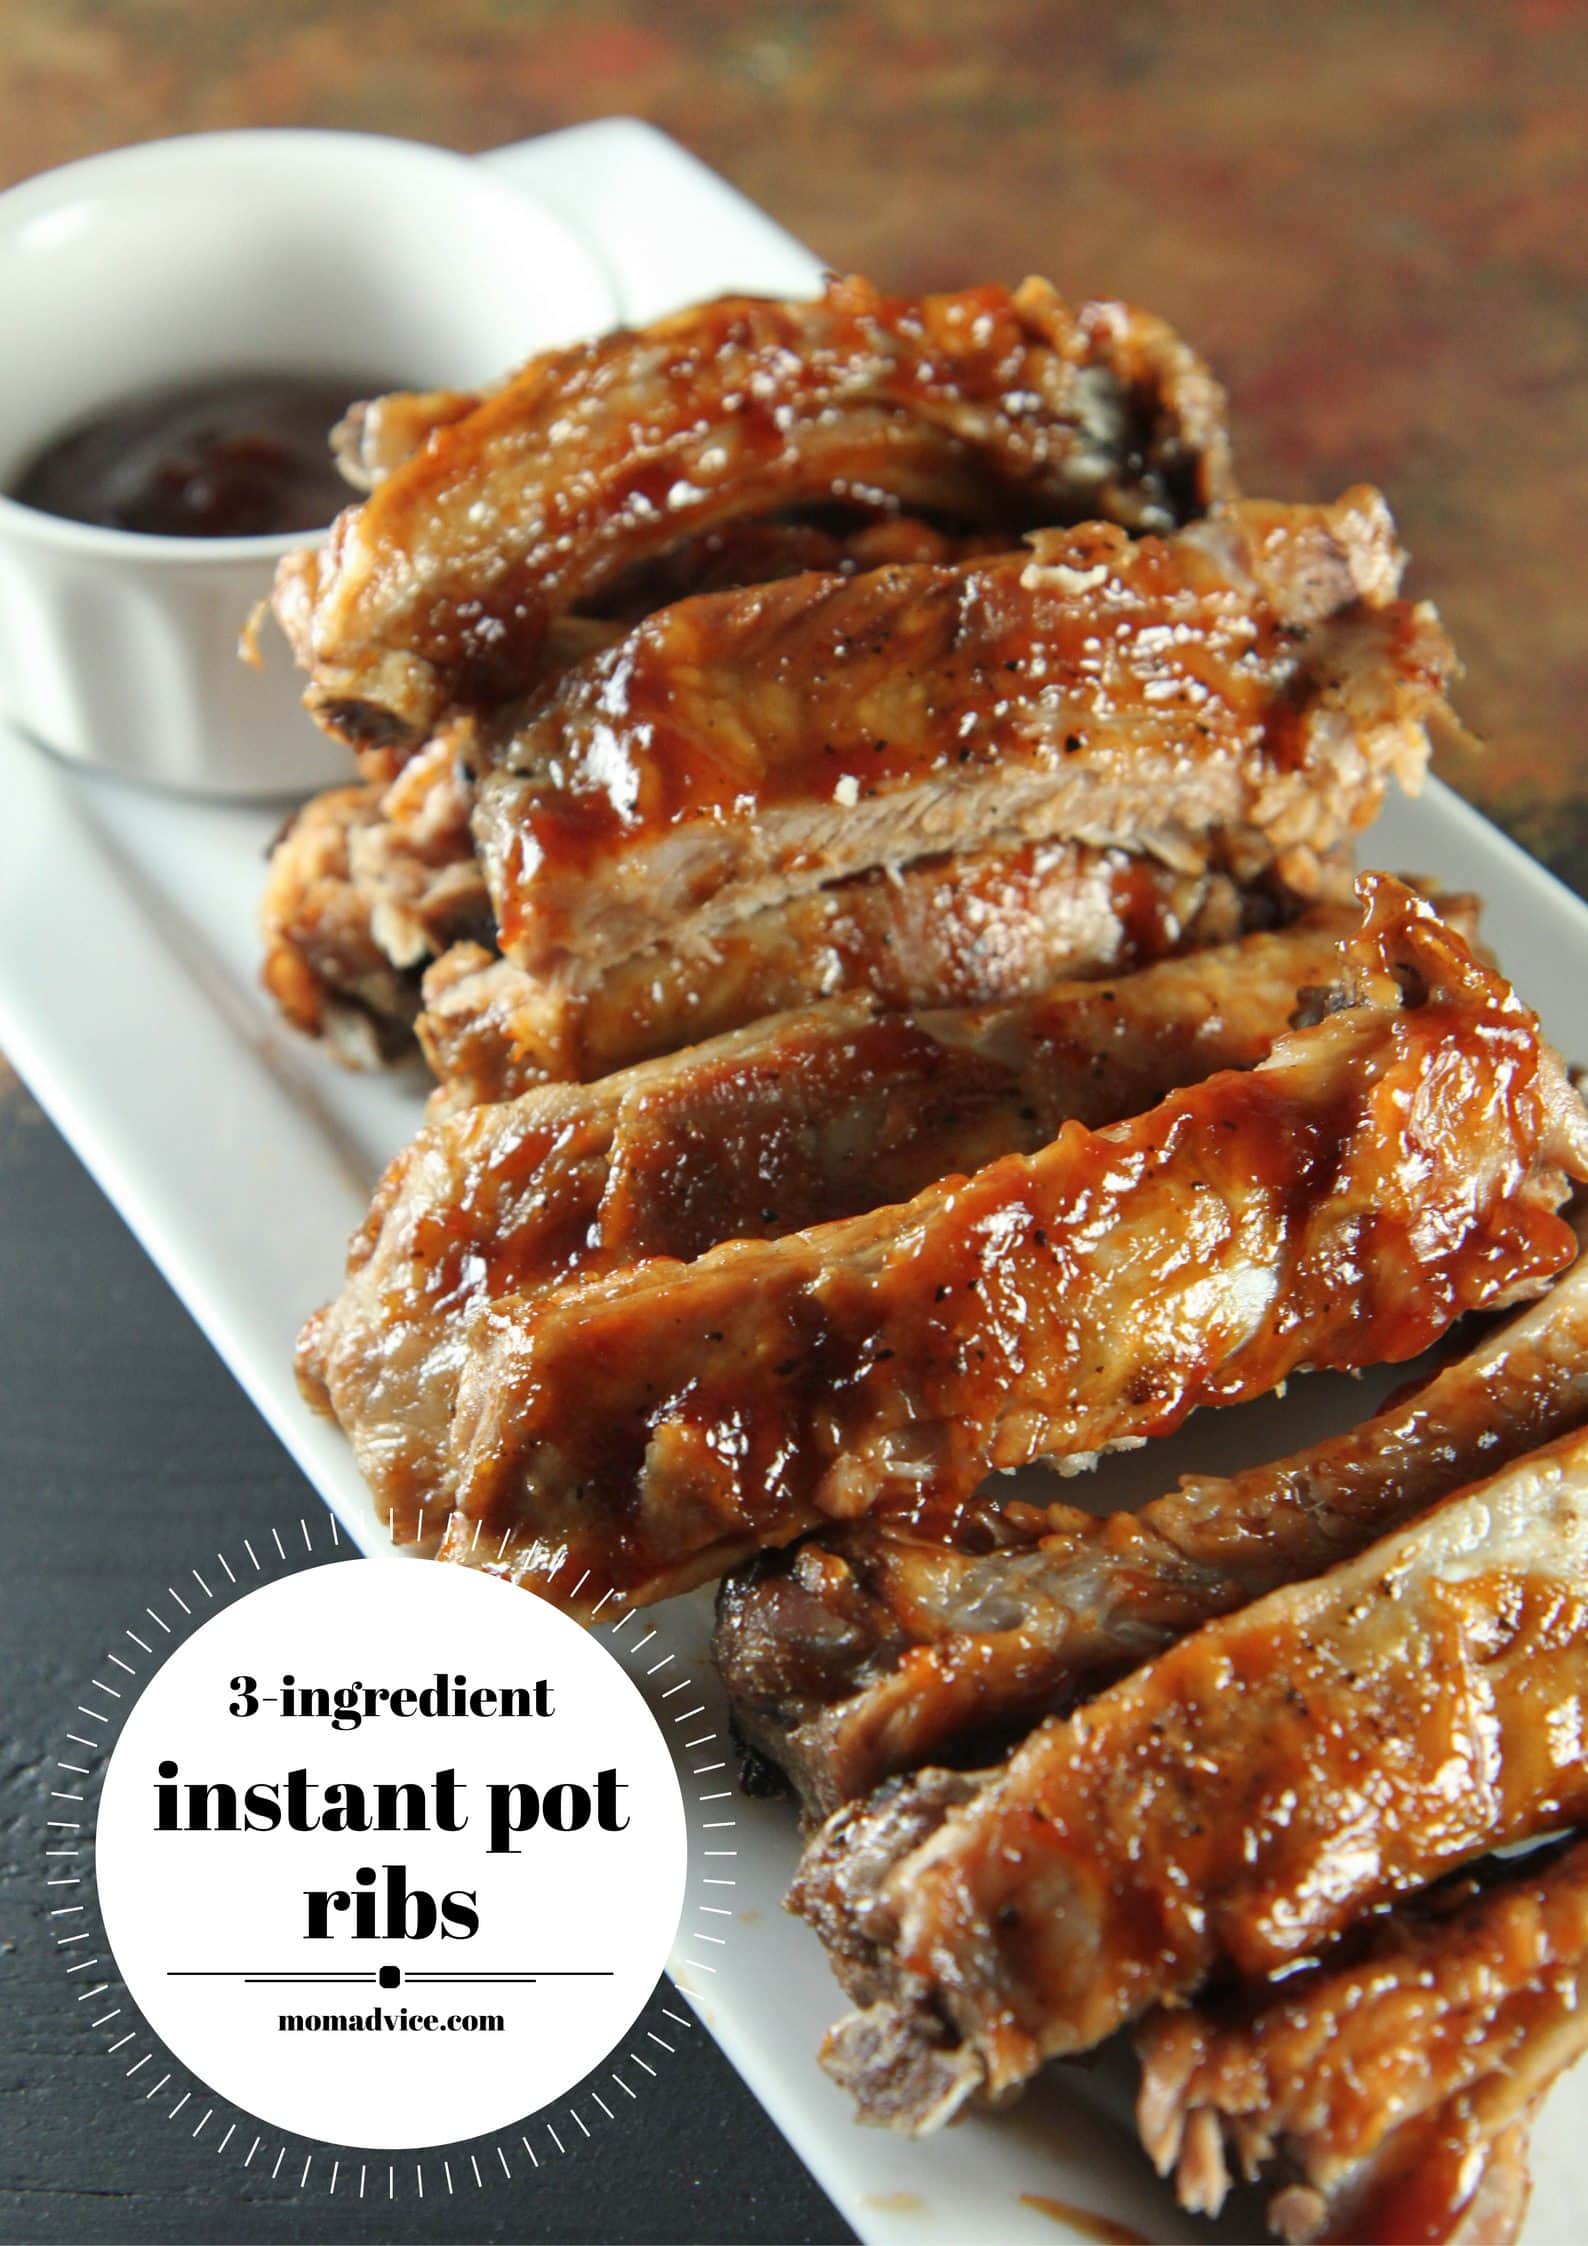
3-ingredient instant pot ribs

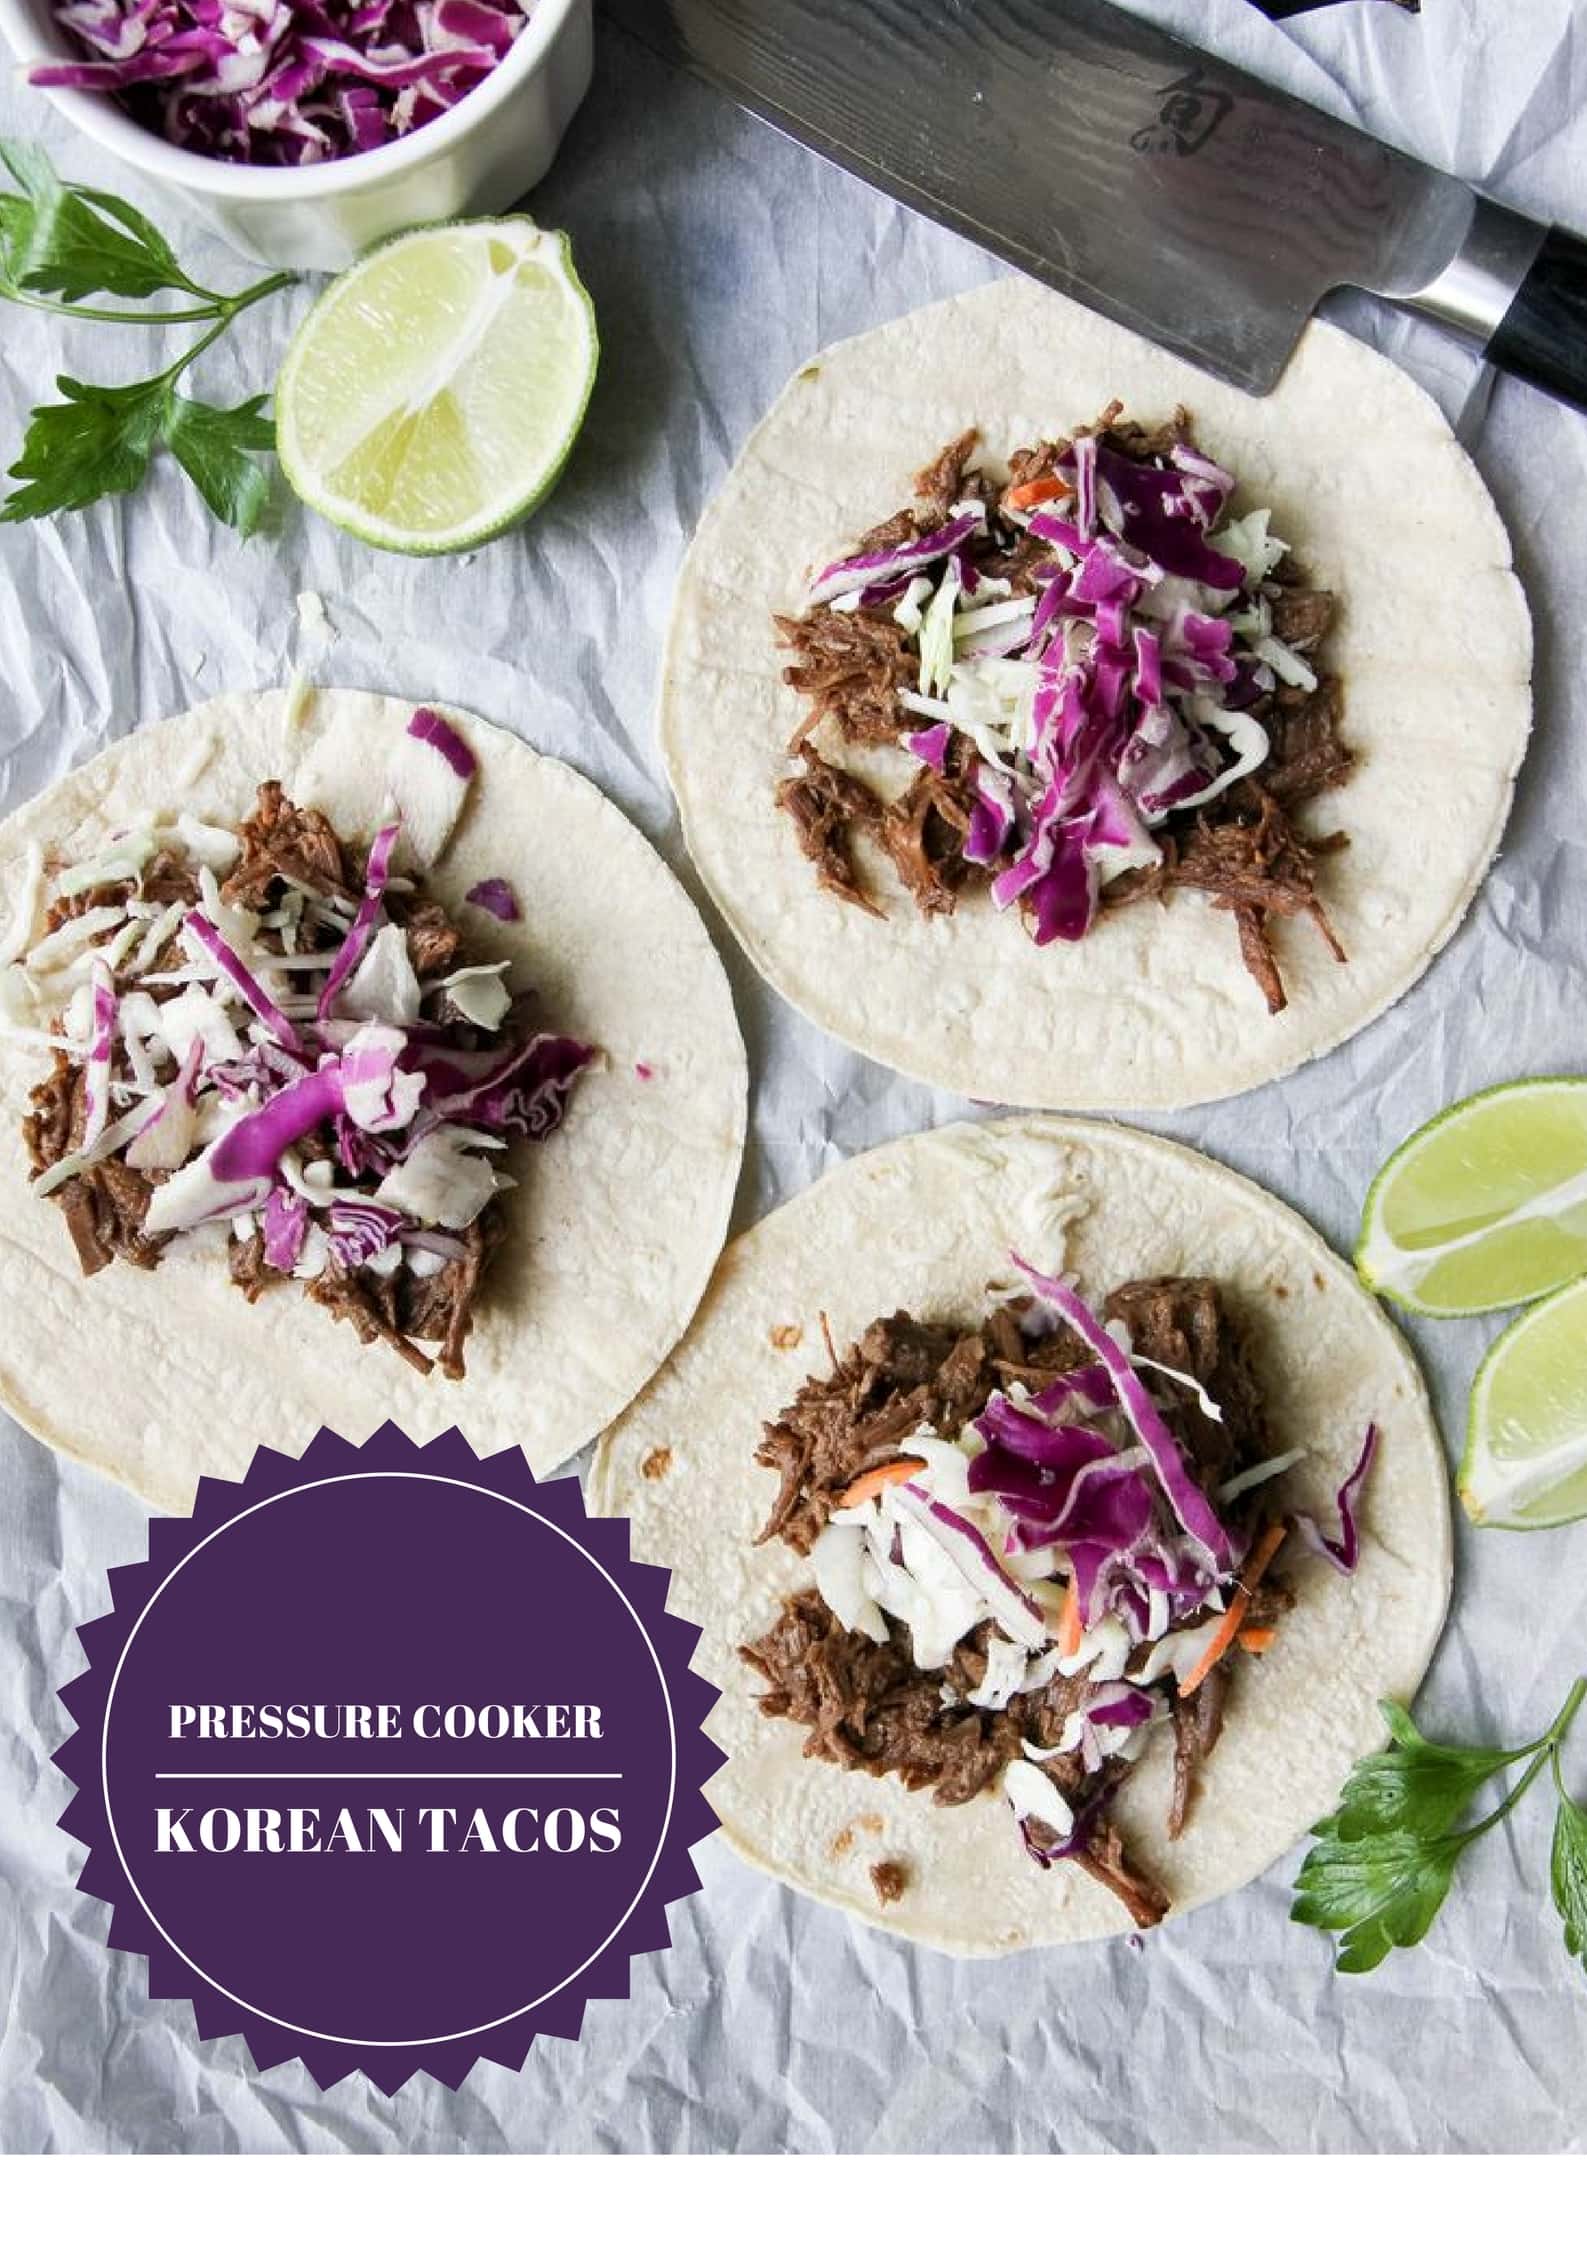
instant pot korean tacos

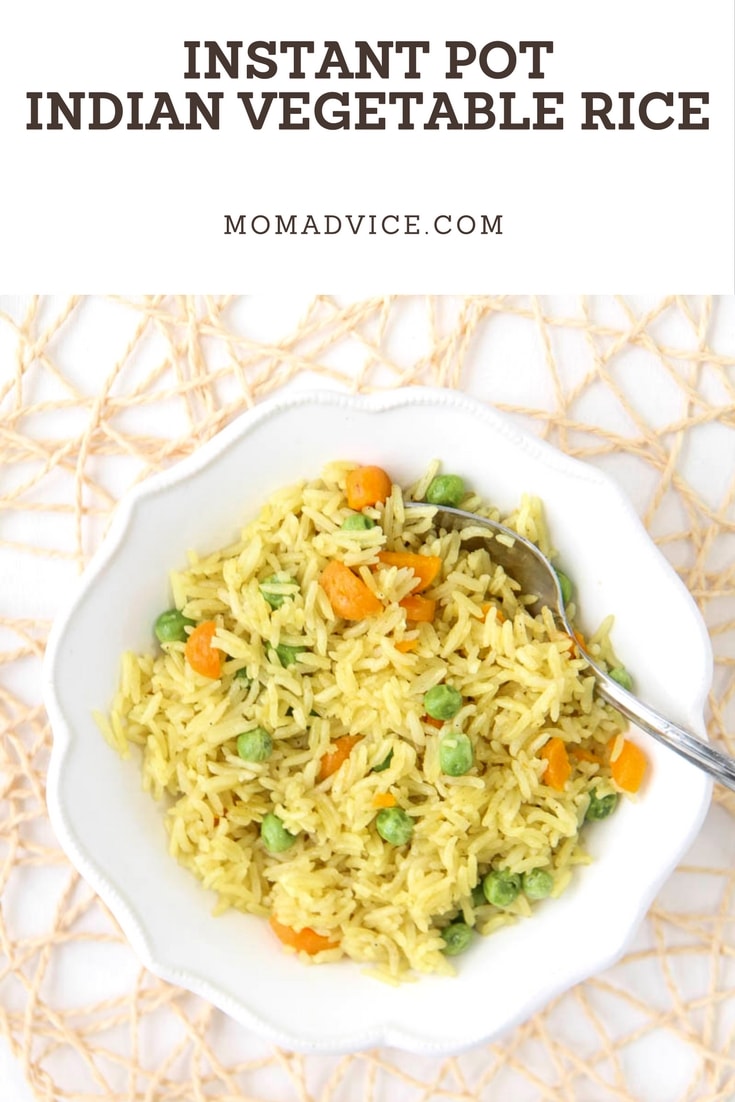
instant pot indian vegetable rice

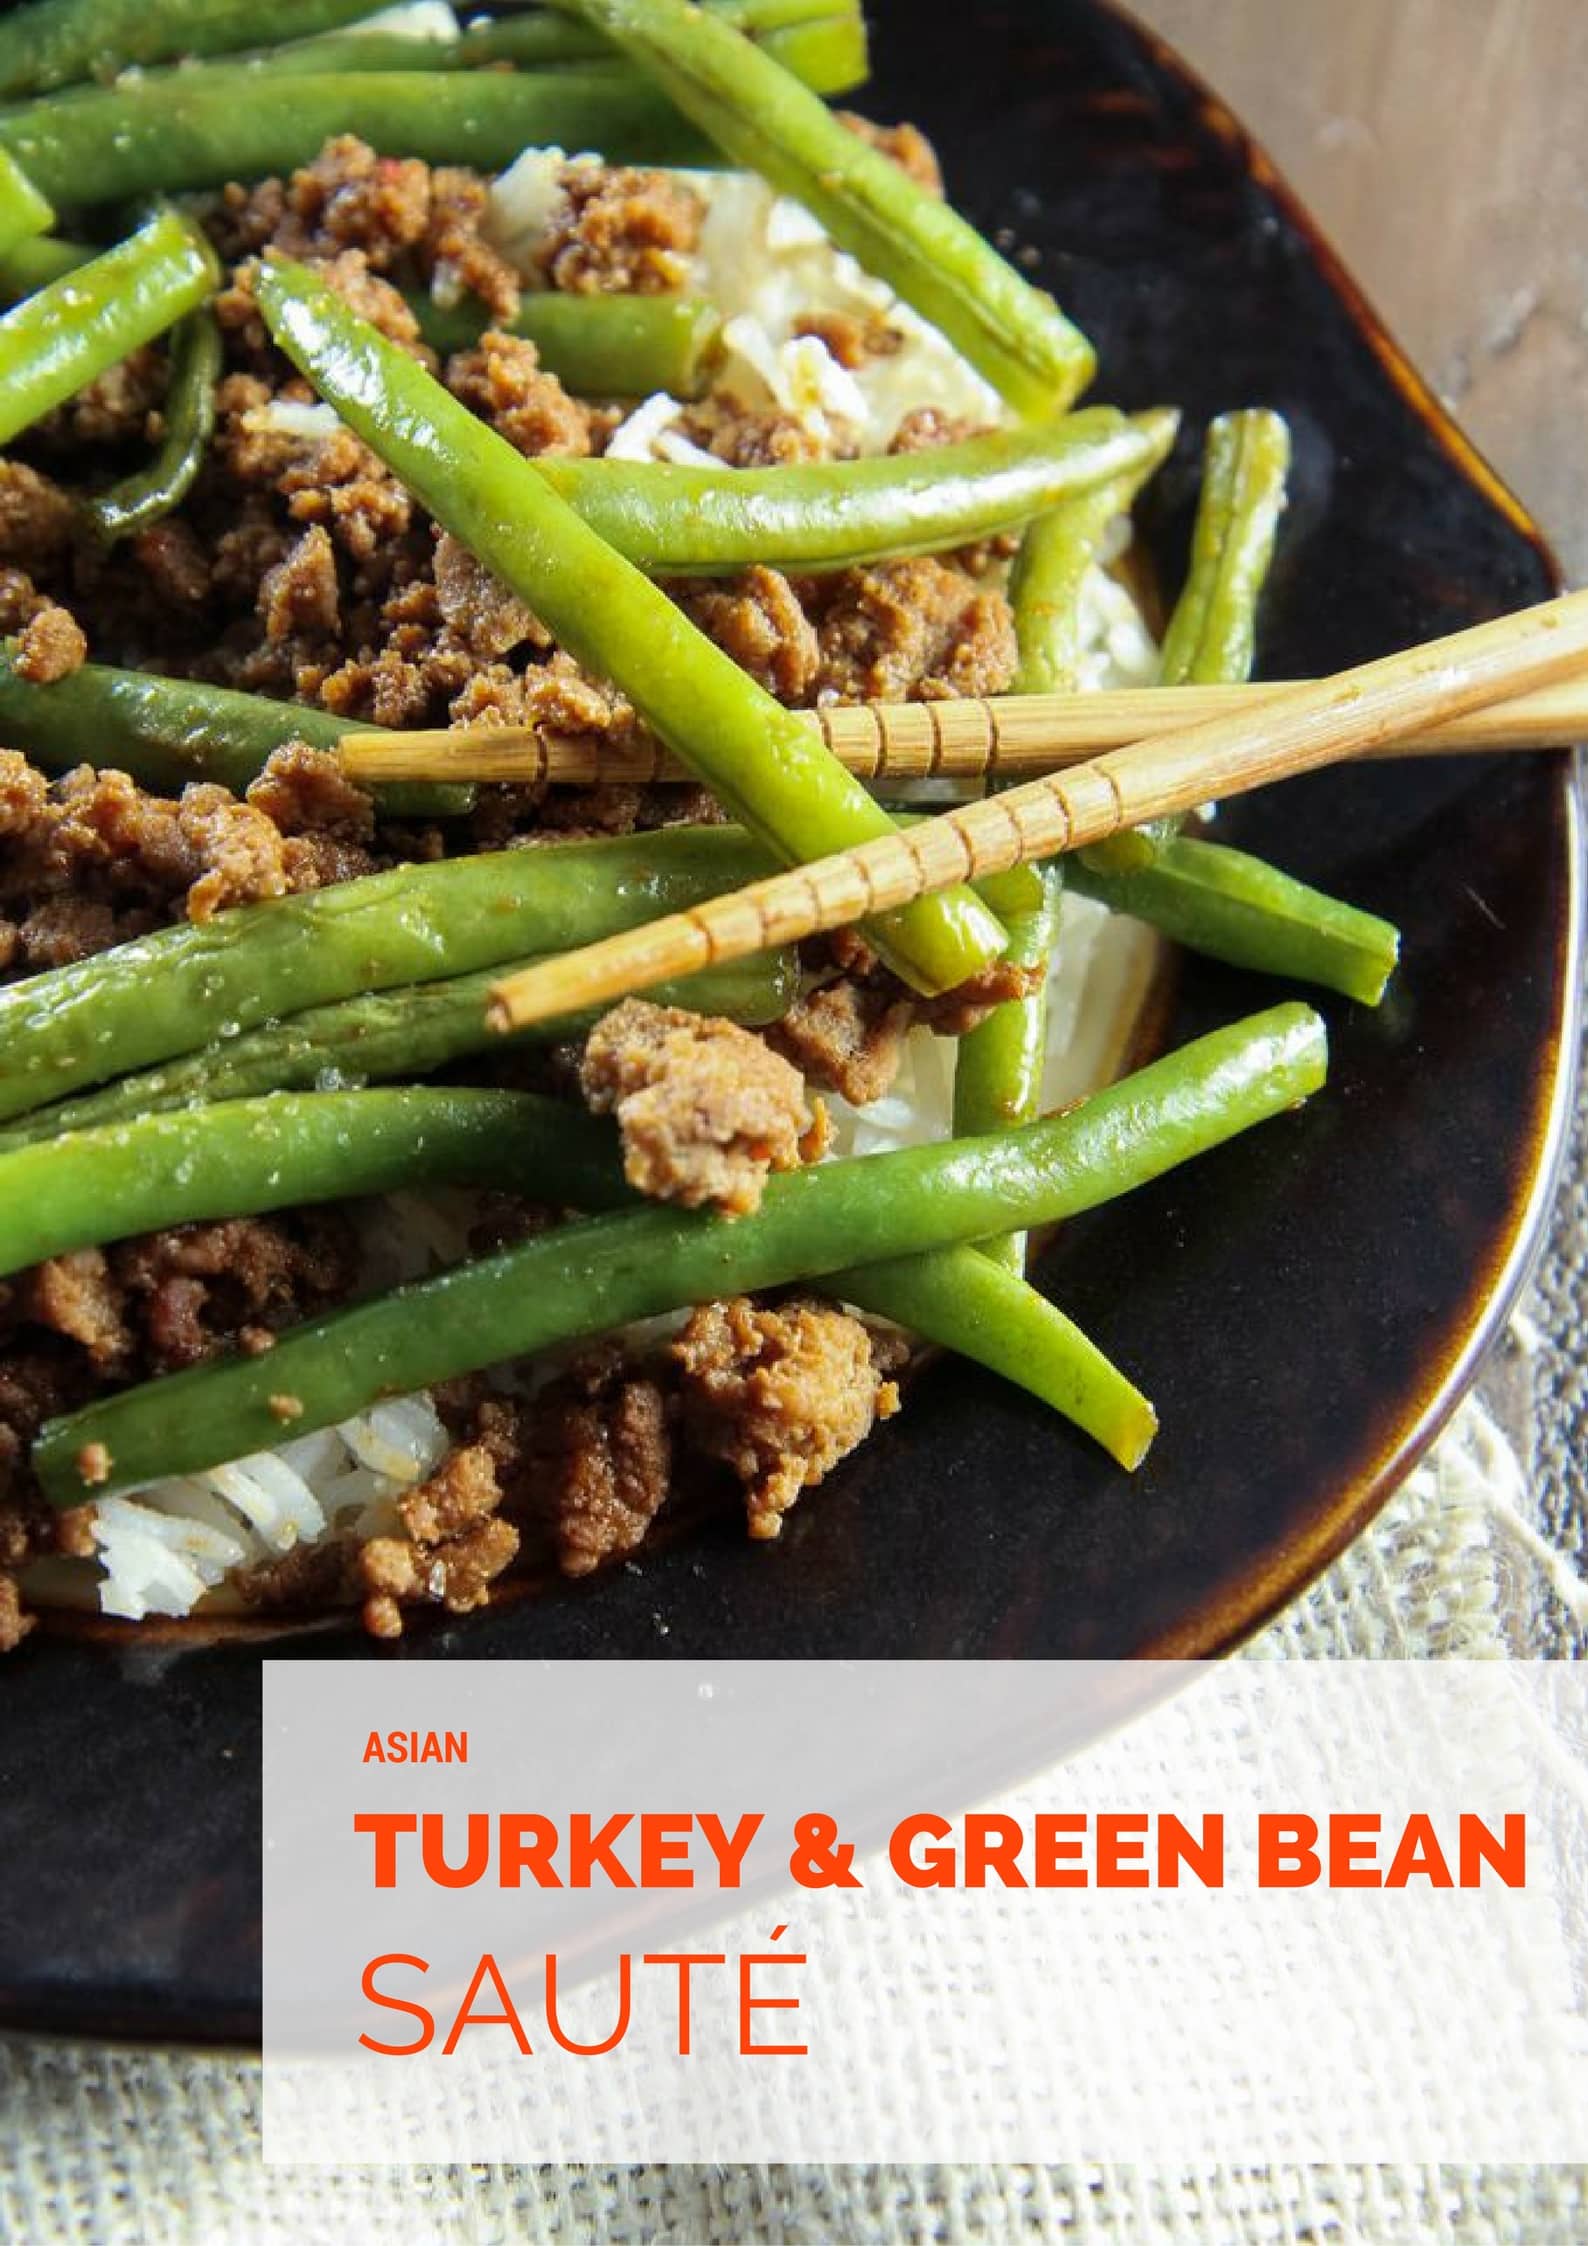
asian turkey and green bean saute

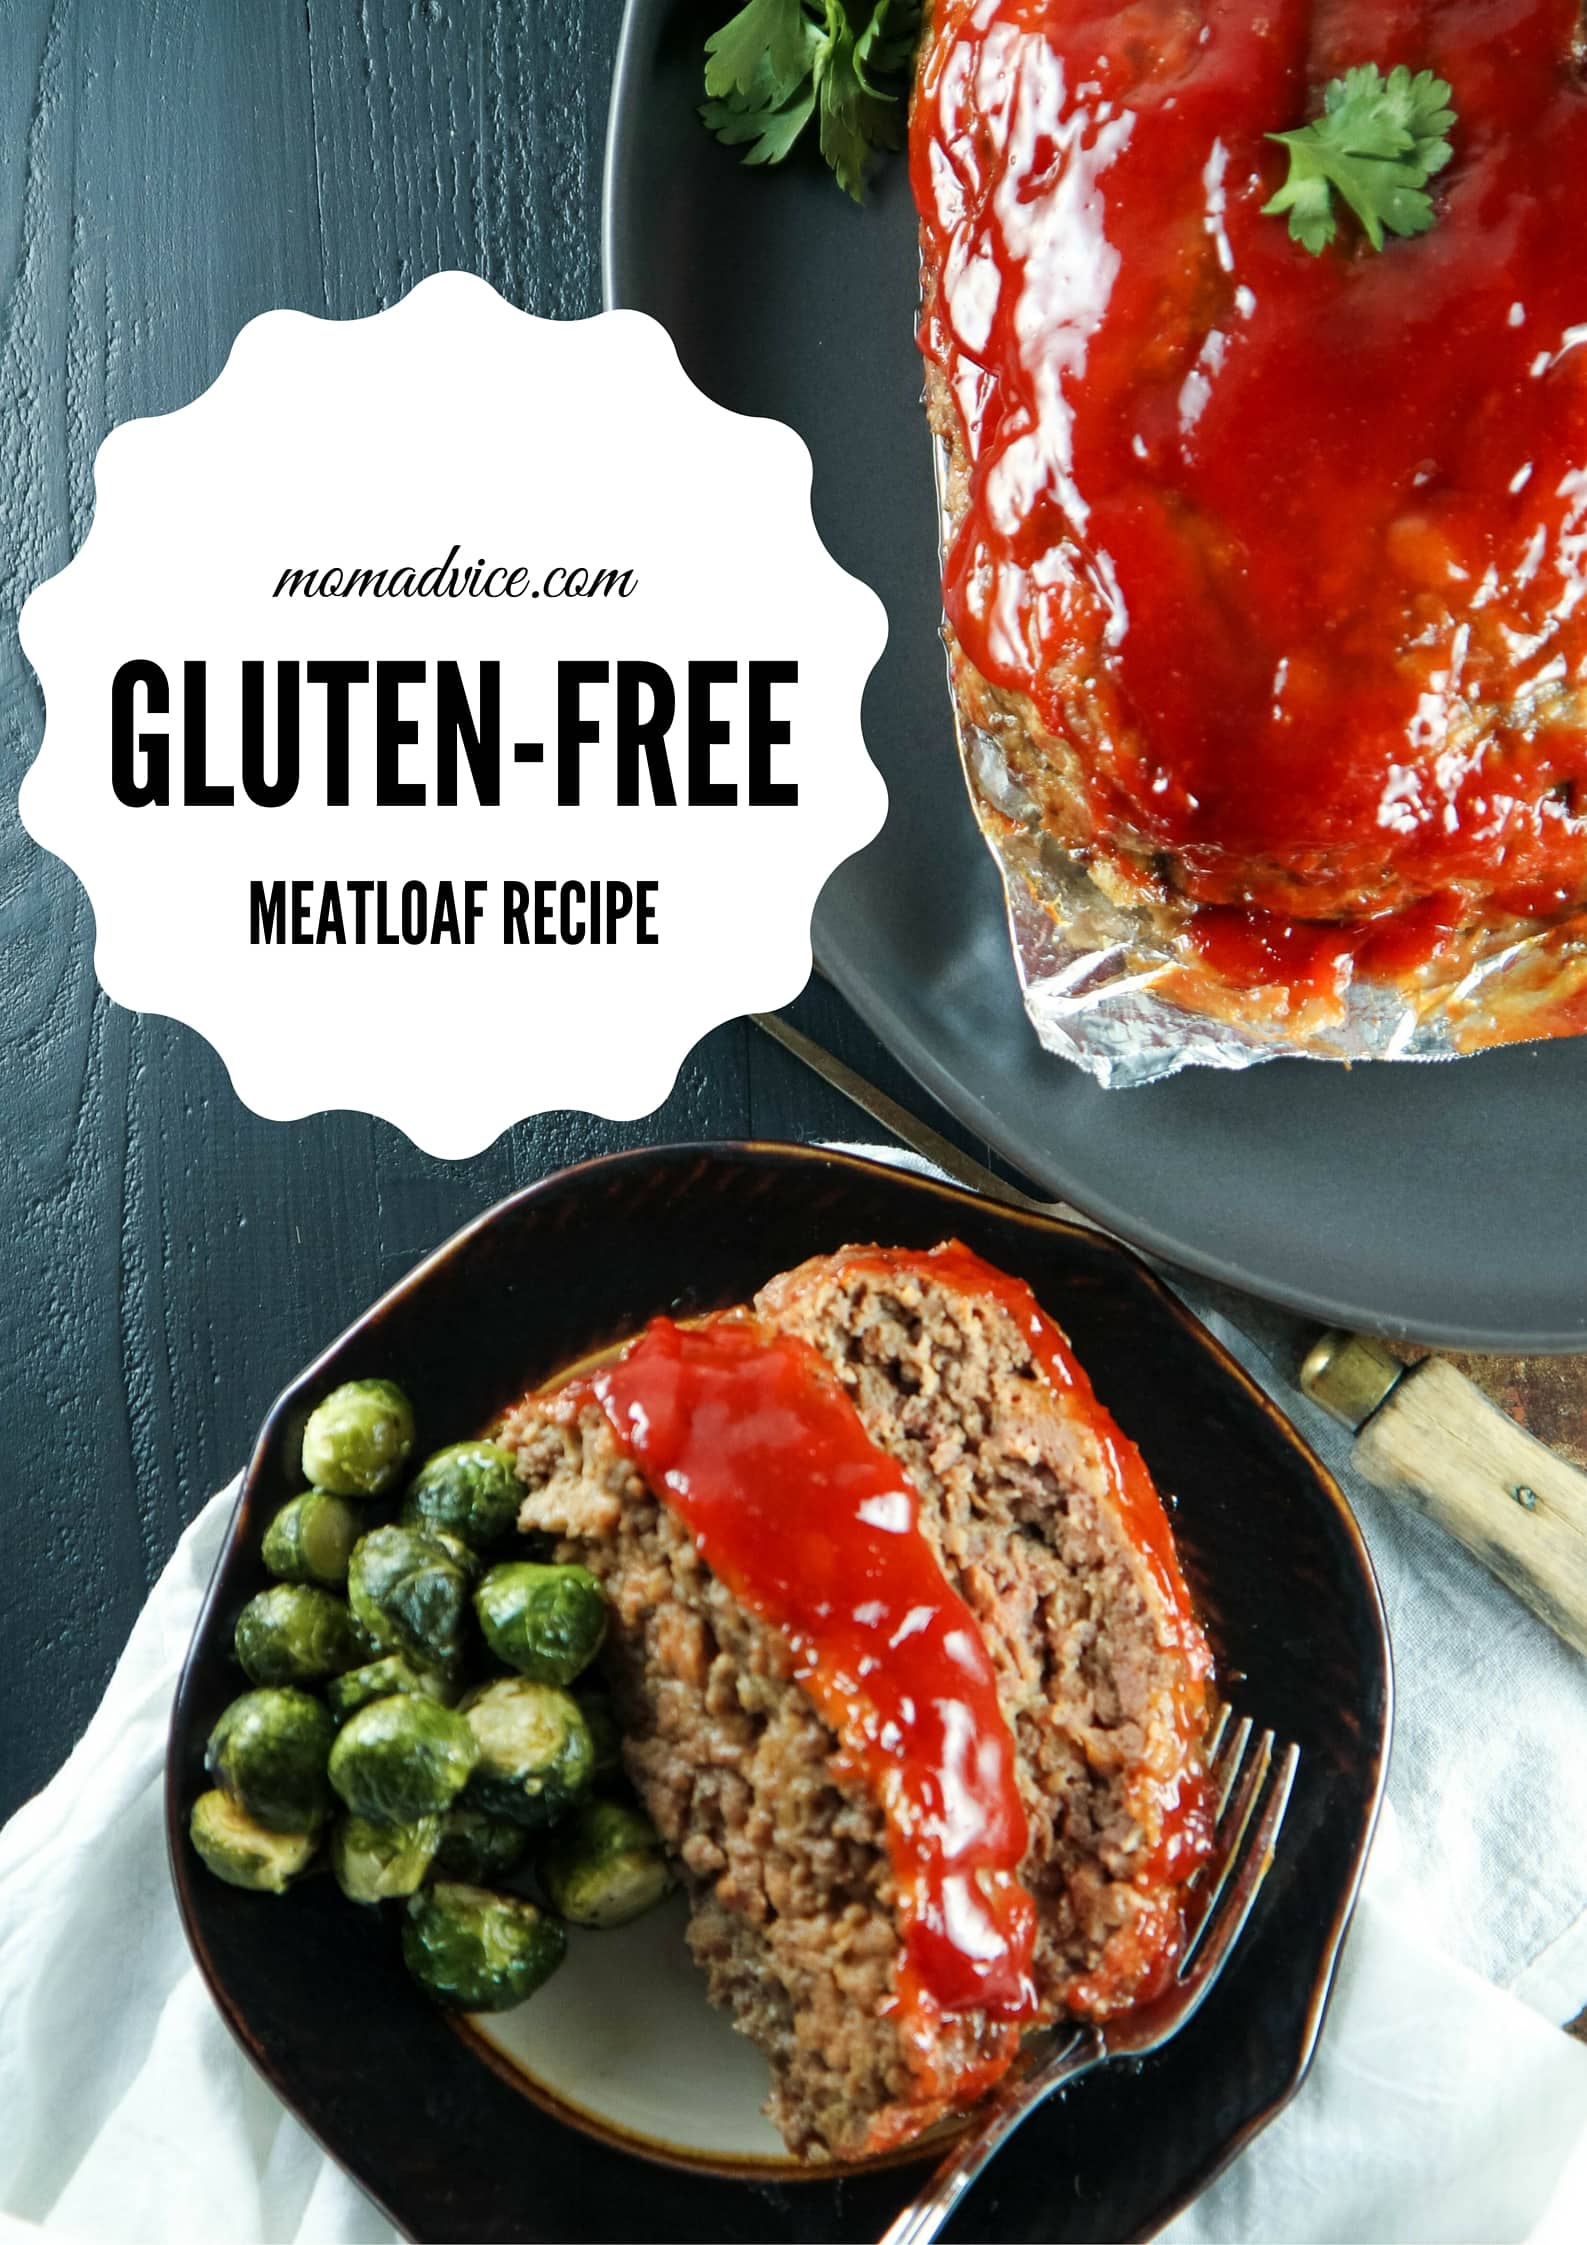
gluten-free meatloaf recipe


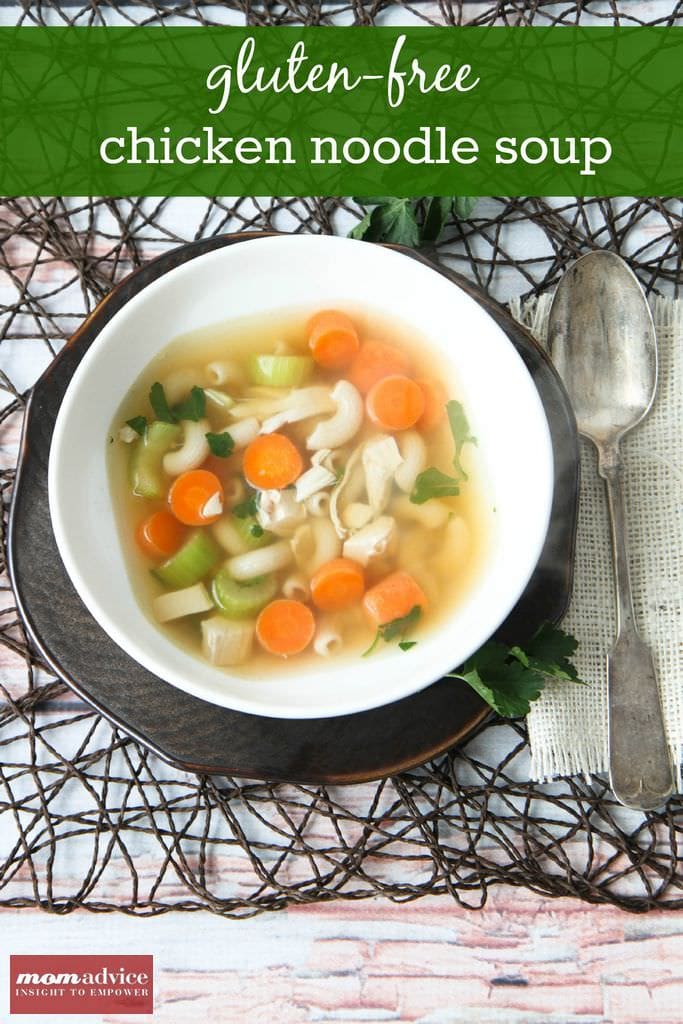
gluten-free chicken noodle soup

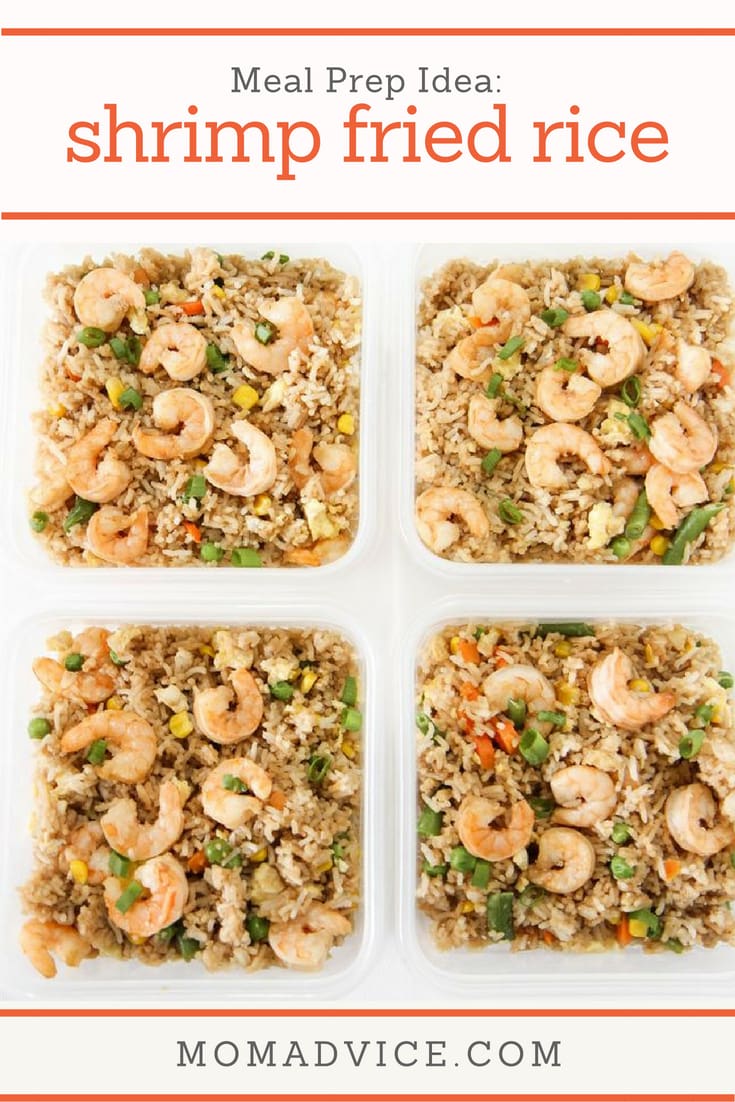
shrimp fried rice

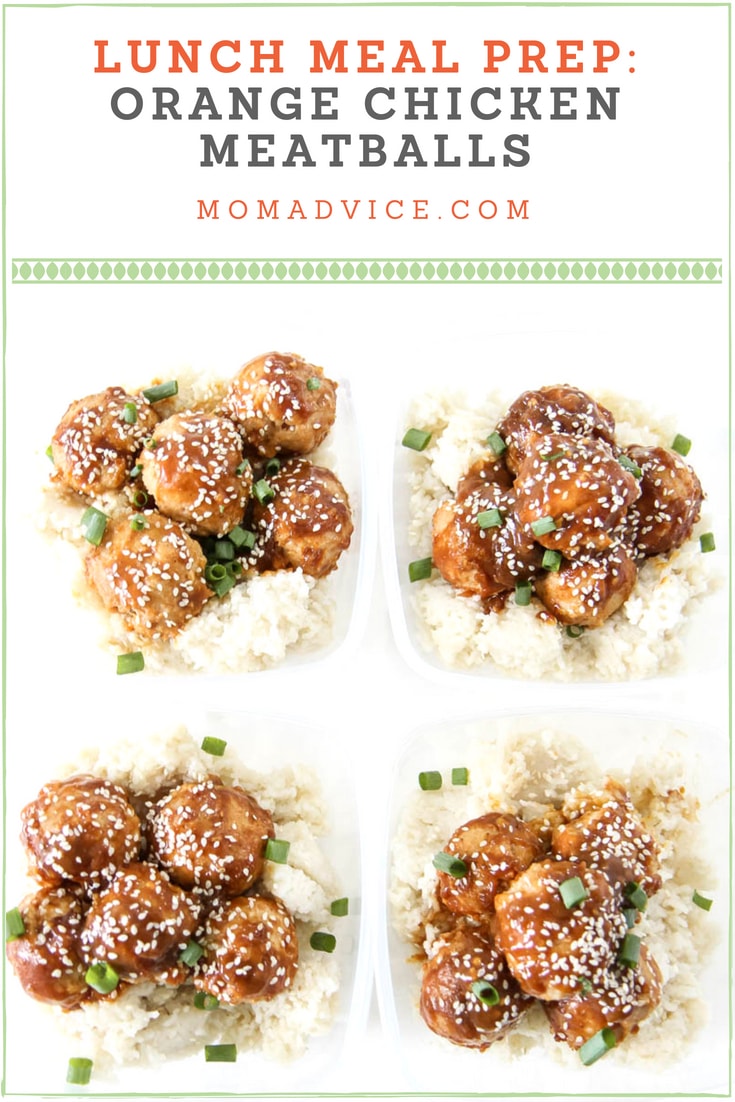
baked orange chicken meatballs

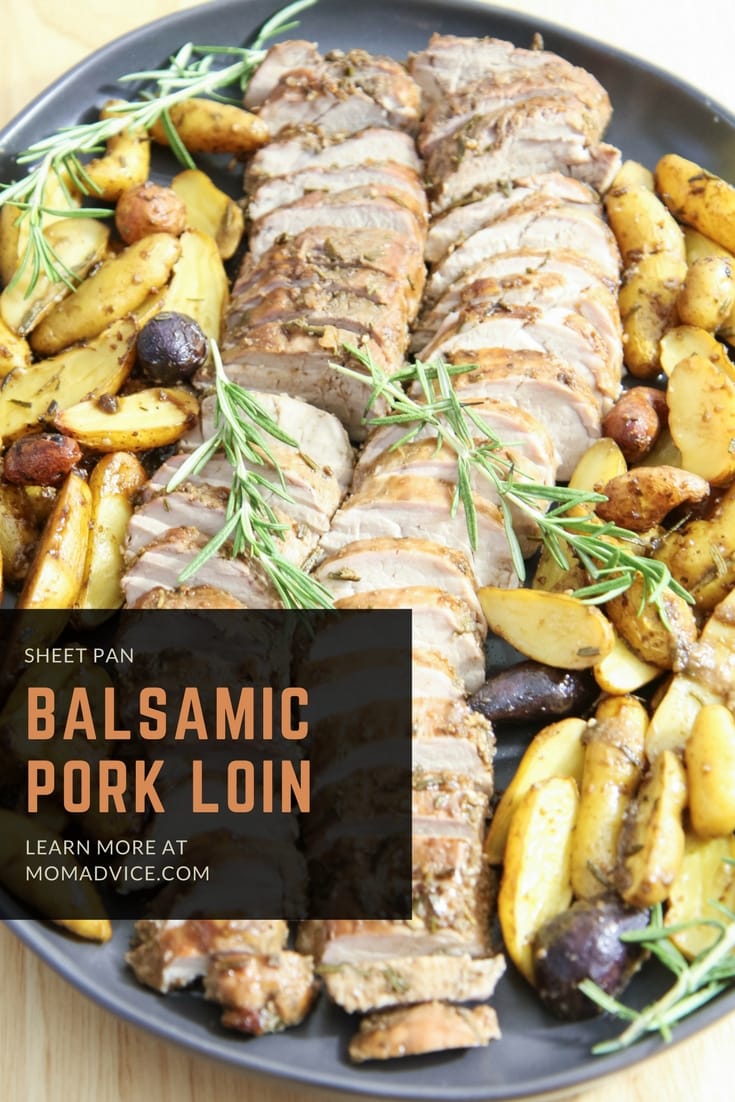
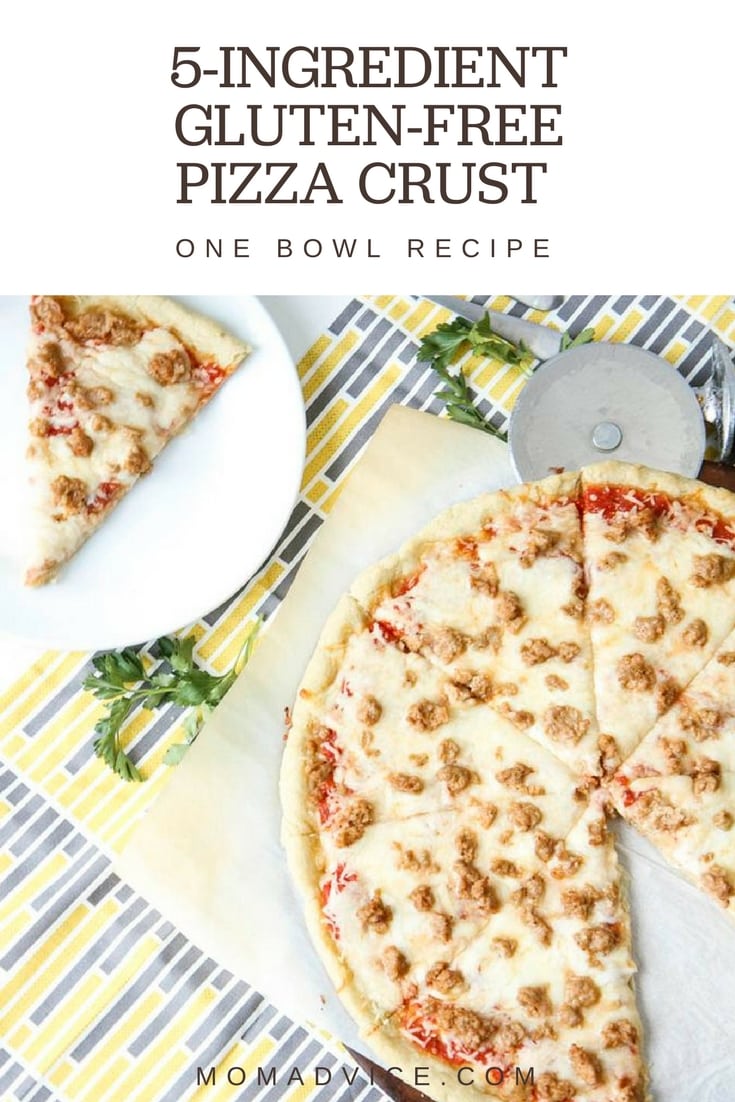
balsamic pork loin sheet pan meal 5-ingredient gluten-free pizza dough

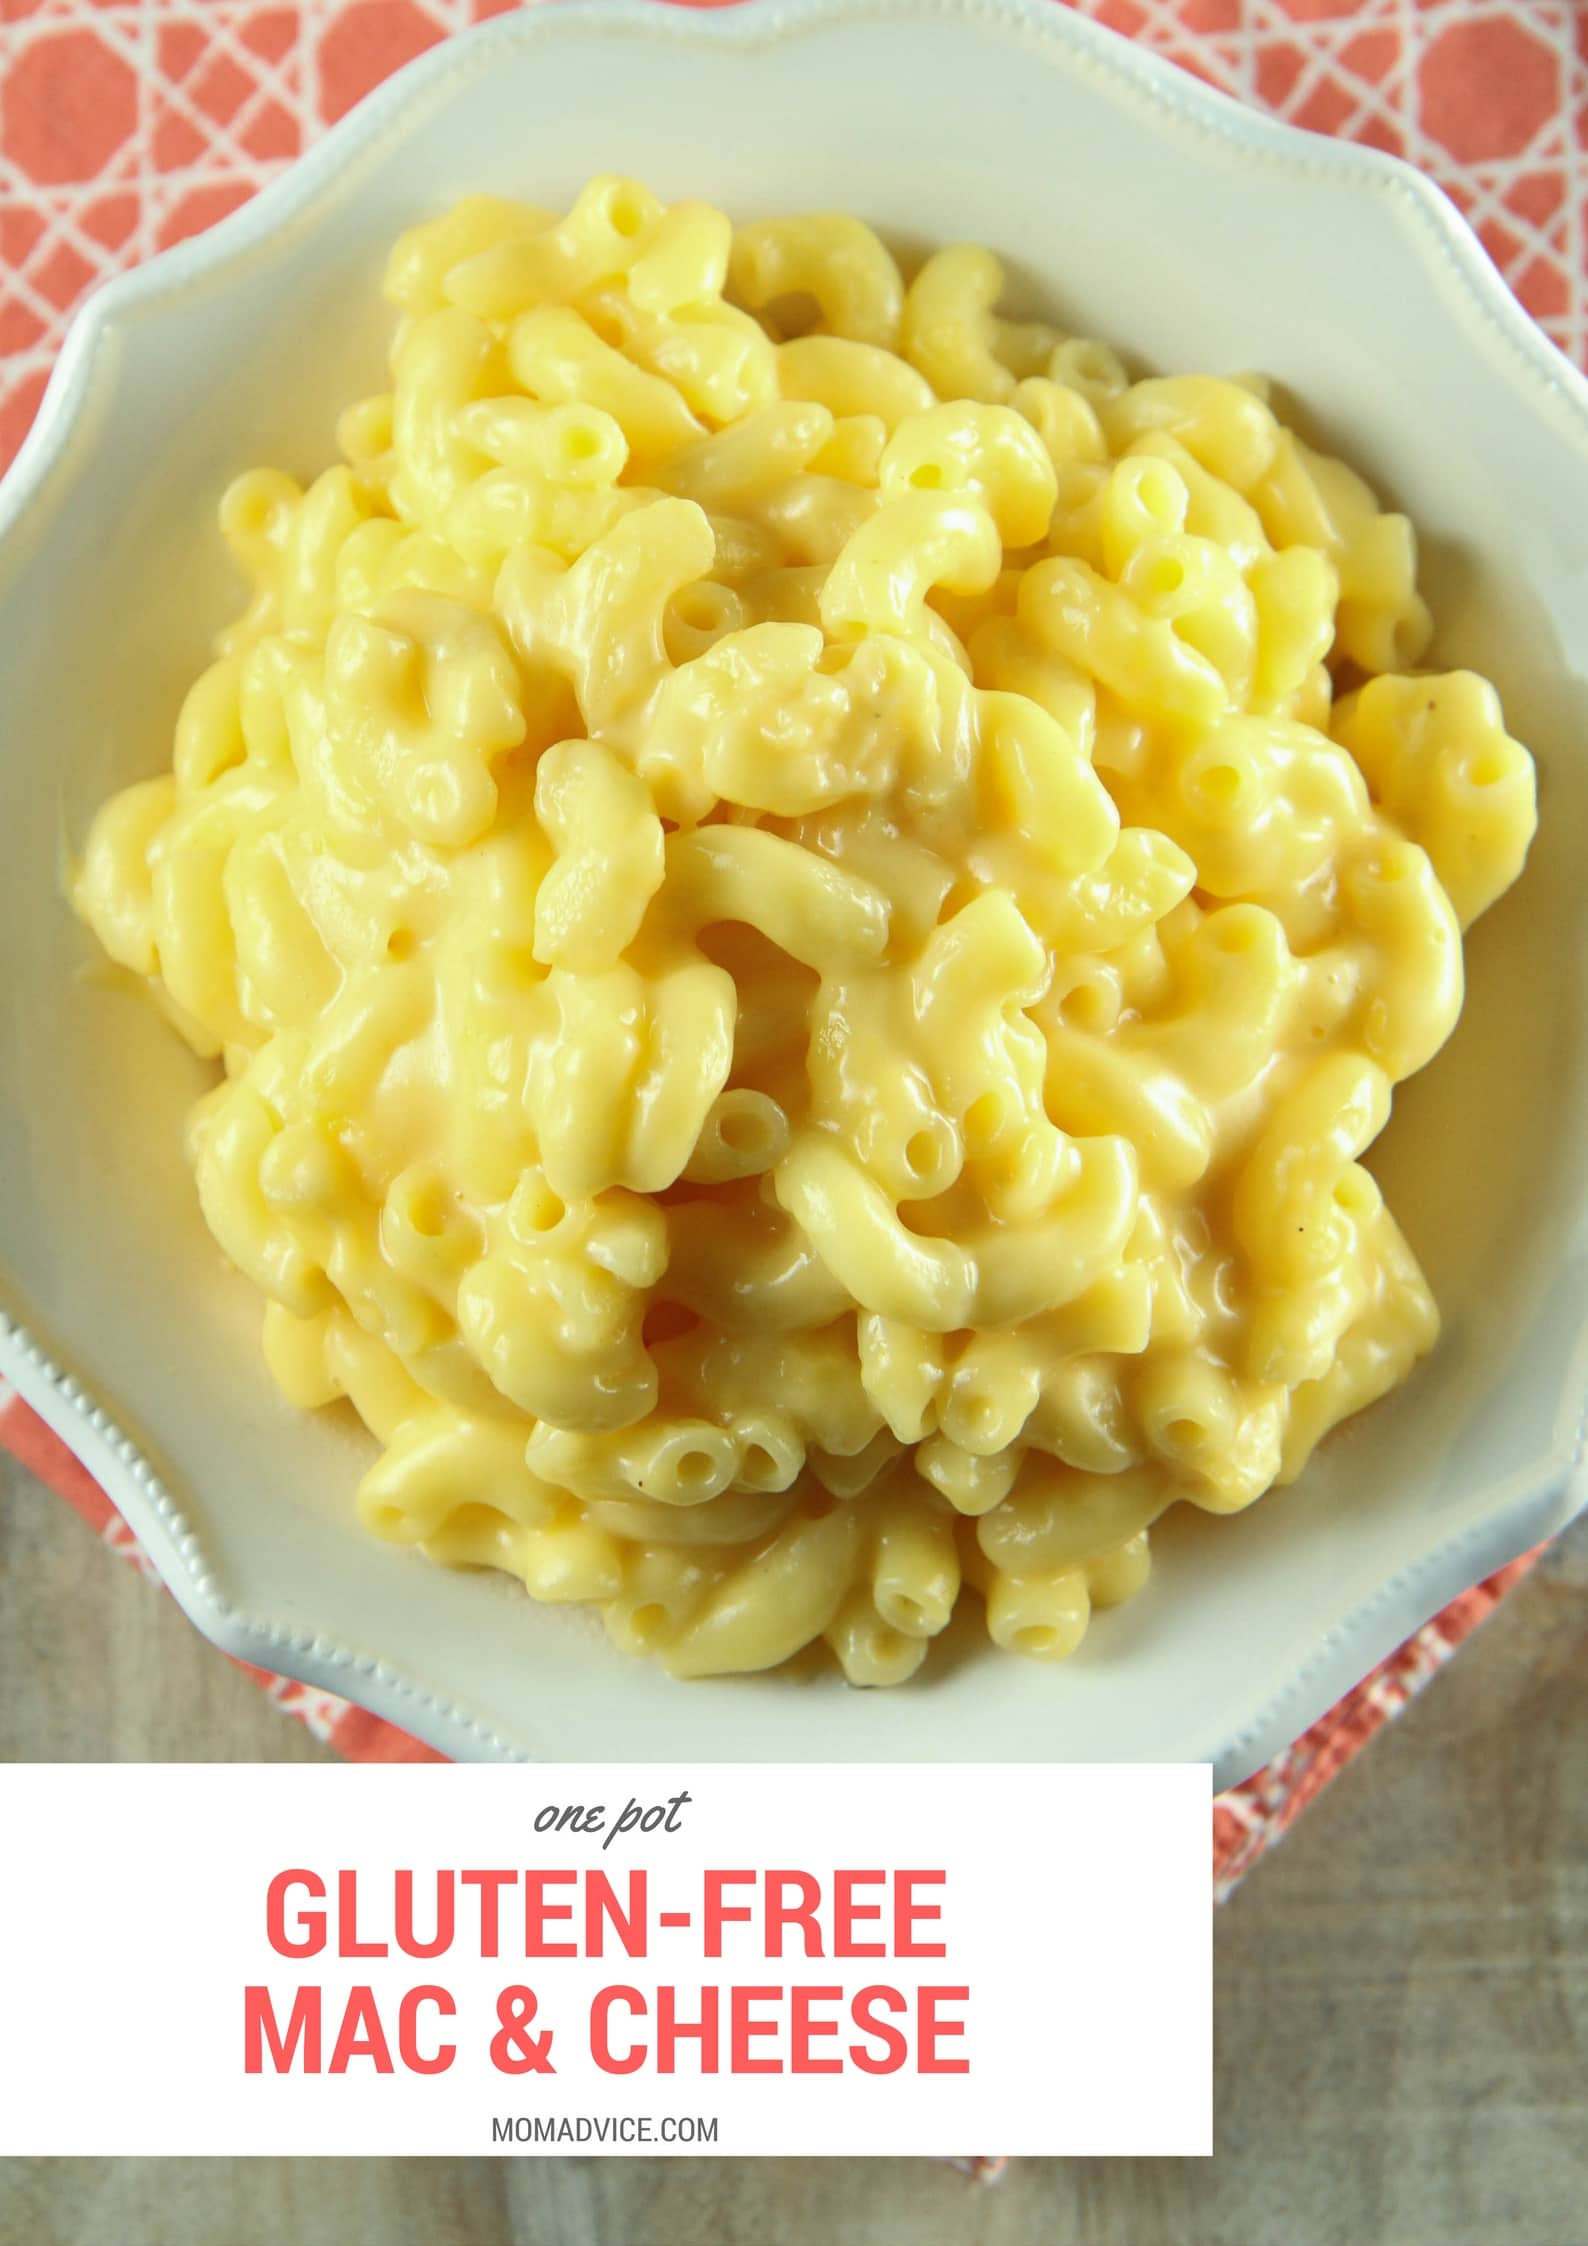
one pot gluten-free mac & cheese

What is your favorite way to use your Instant Pot? Have any questions about this gadget? Leave them below and I will answer them in a future post!

this post contains affiliate links

How to Make Pumpkin Hand Pies

Monday, October 8th, 2018

When I was a kid one of my favorite treats in the world was an apple pie that they served at a fast food restaurant in town.

The flaky crust in a pocket filled with the warm apple filling was the perfect comfort food to me and it always seemed to be the perfect amount to satisfy my sweet tooth craving.

Clearly, I am no food snob when it comes to the humble pie whether it is from a box in the grocery store or a local diner.

Just give me ALL THE PIE.

It should come as no surprise that my children adore pie like their mother so I wanted to create a treat for them that would be deemed one of the coolest after school snacks I have made to date.

Of course, we are creating the only pie worth making, at least according to our household.

For us, it is the incredible pumpkin pie that truly brings together the flavors of fall in every delicious bite and makes it feel like Thanksgiving… even if it really is just another boring Monday.

Of course, I have a little secret in the refrigerator now that I am a busy mom.

These little treats couldn’t be easier to prepare thanks to store-bought pie crust that saves me a lot of time on treats (and dishes).

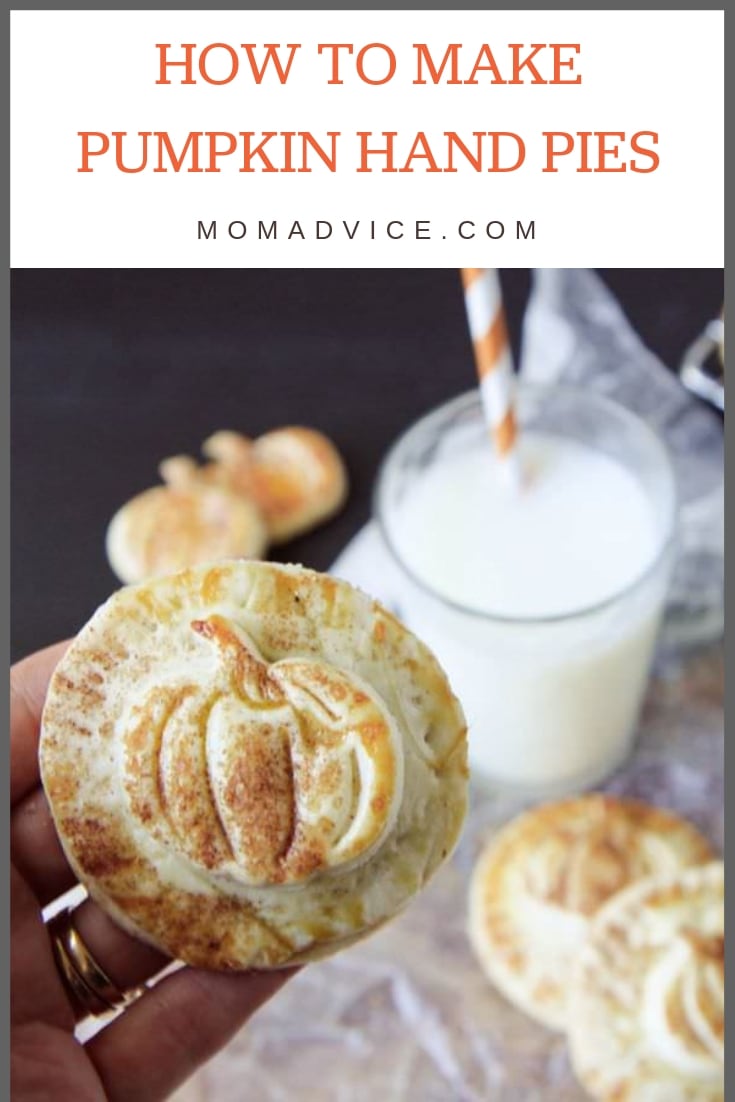
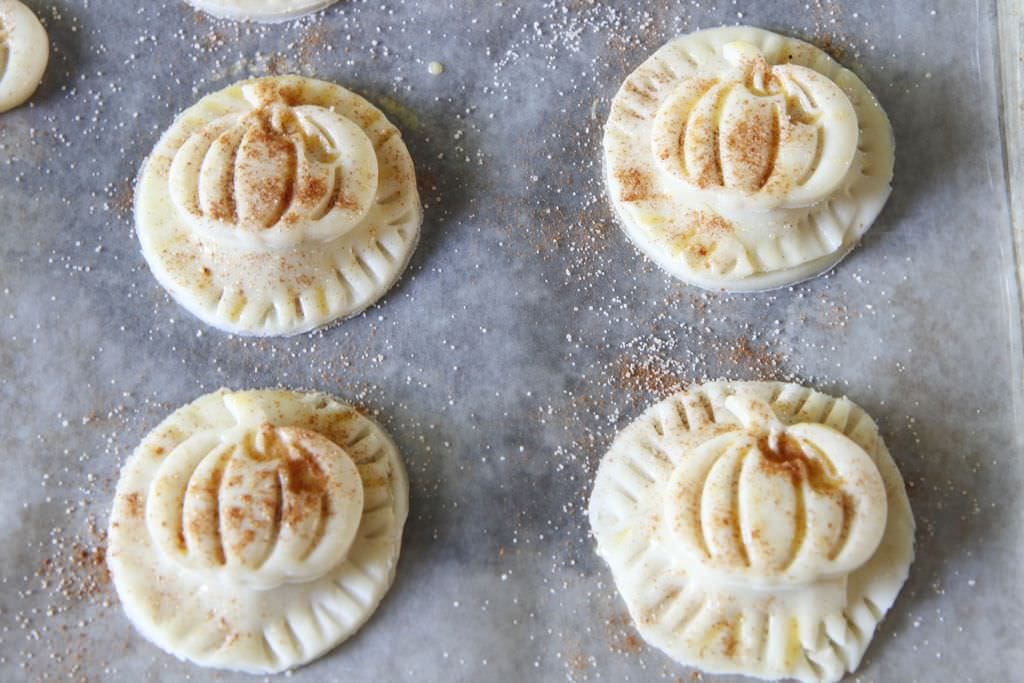
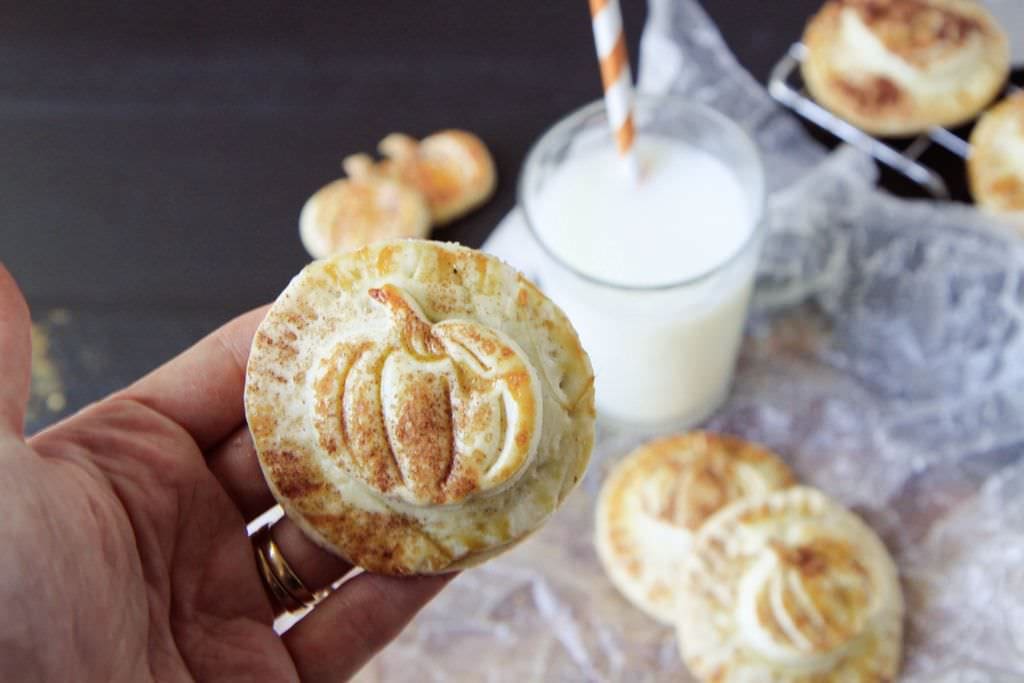
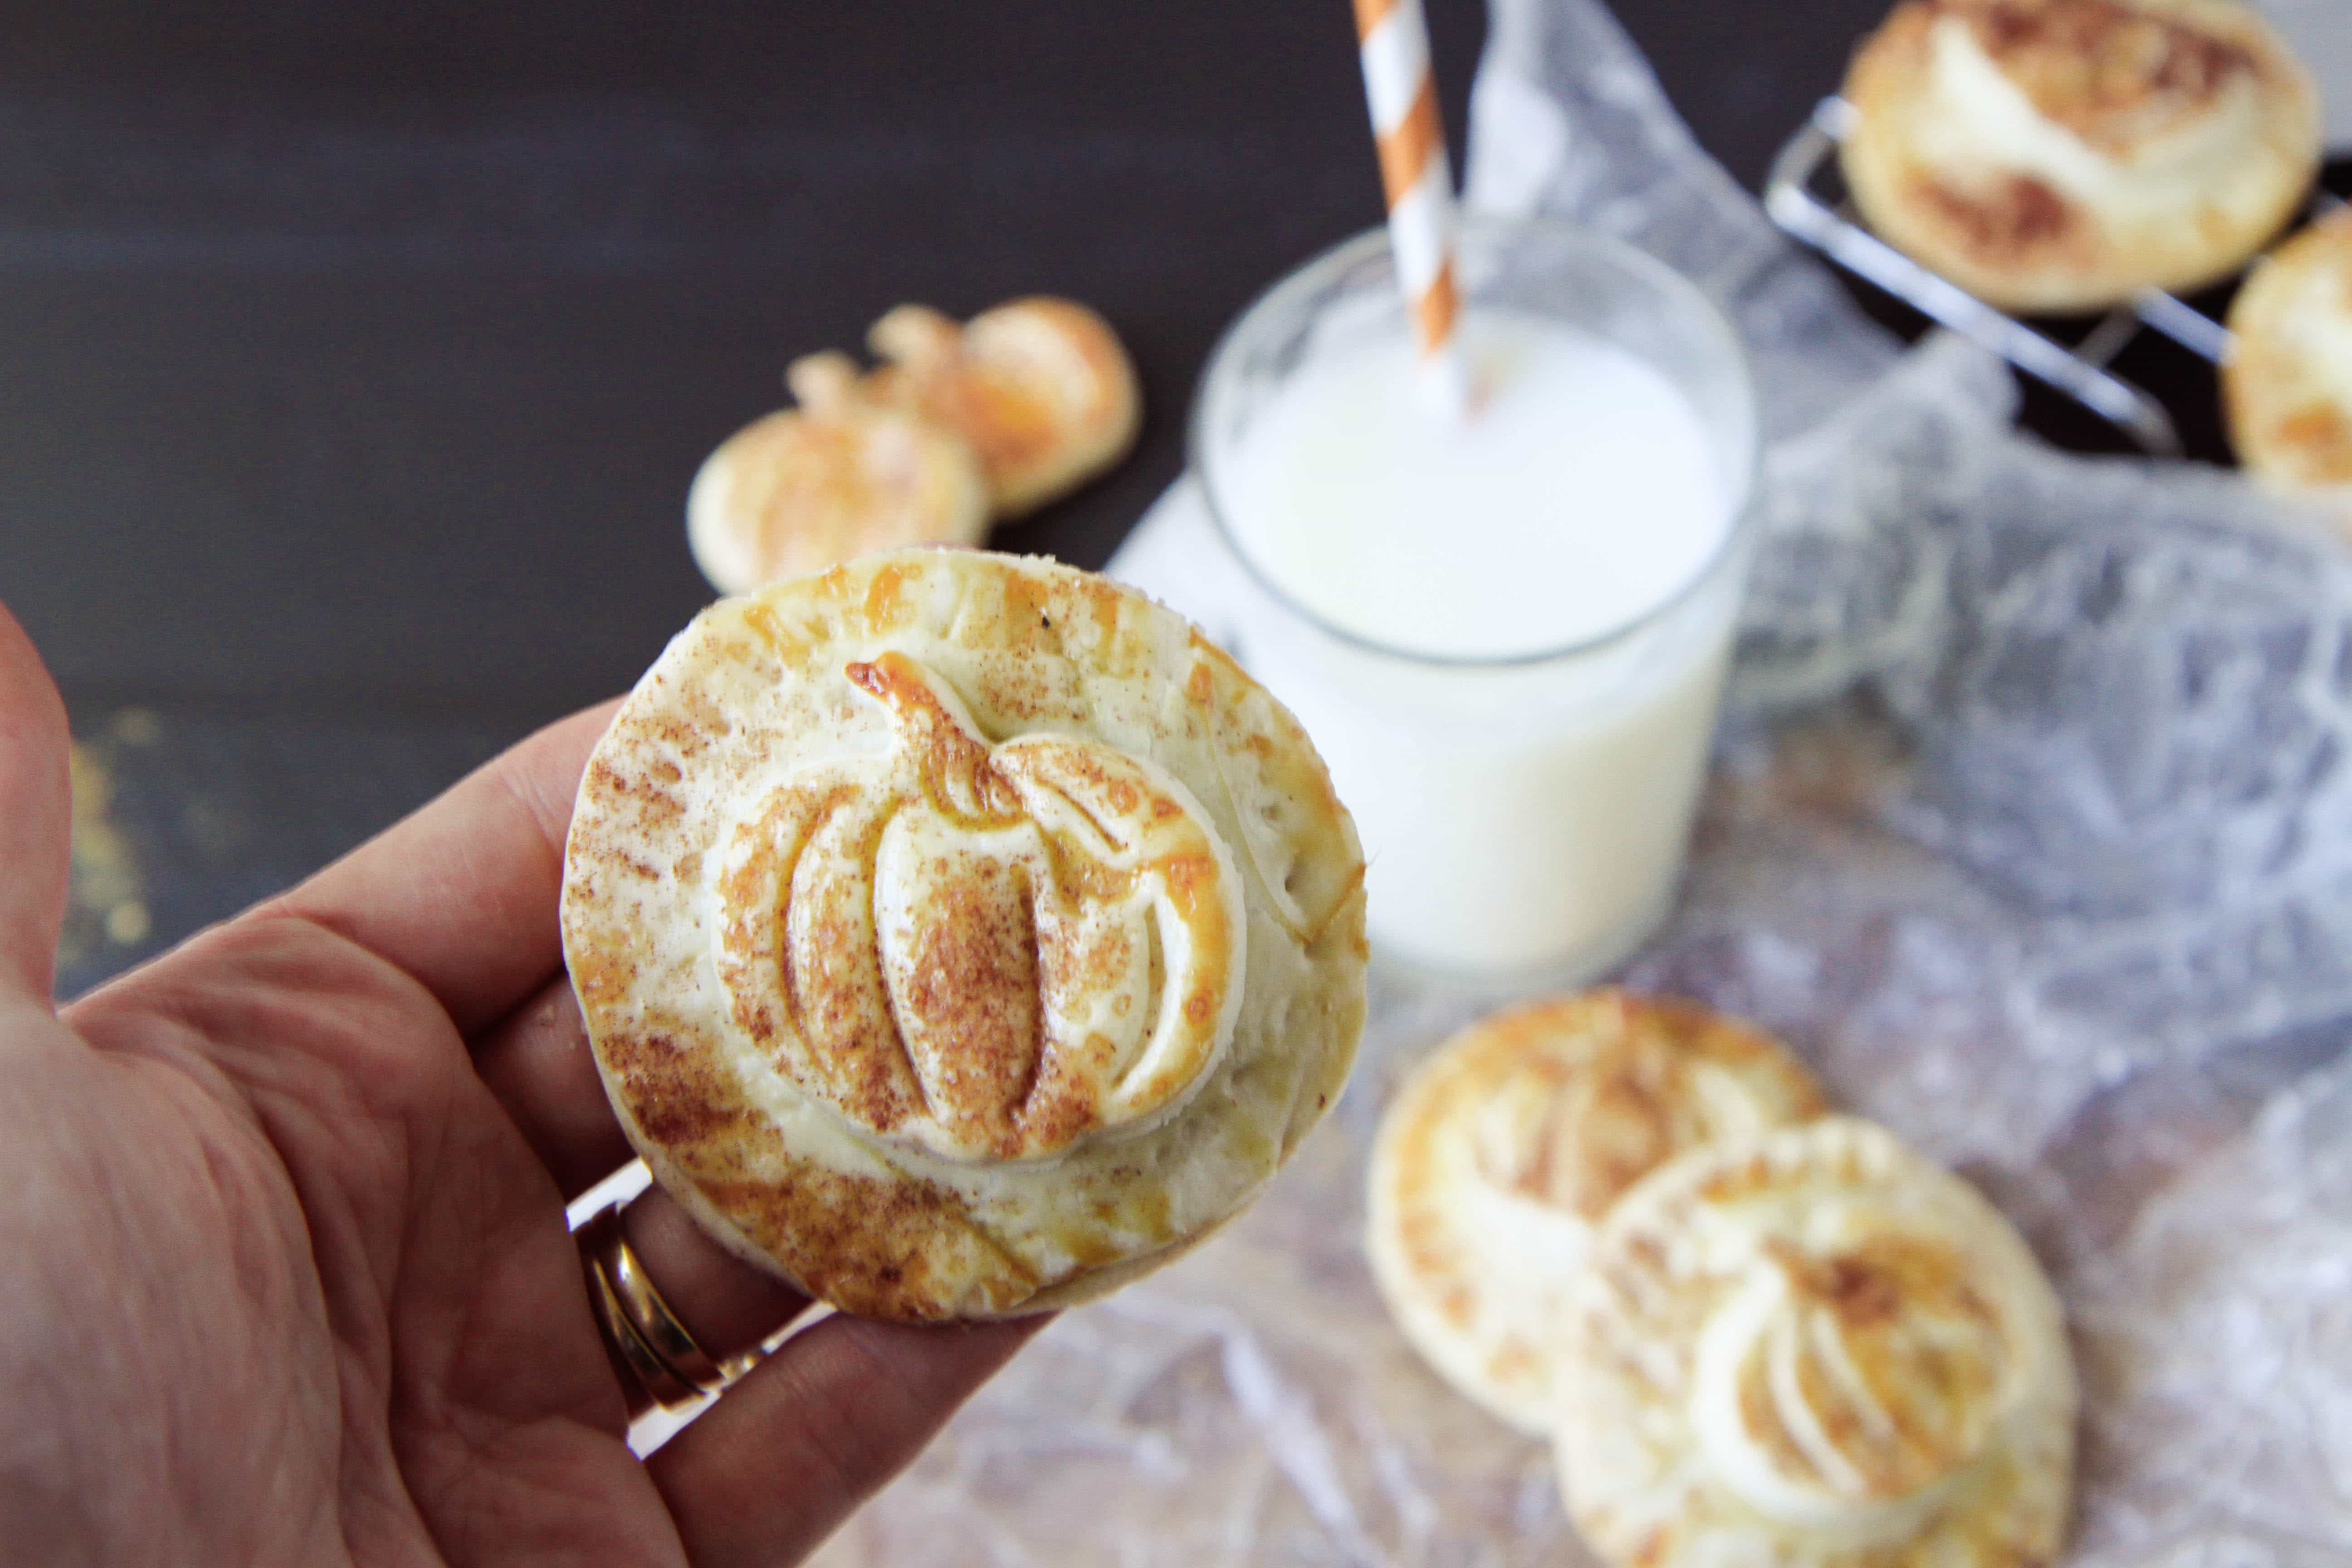
With a little pumpkin shape placed on top of each delicate pie and dusted with cinnamon and sugar, this treat looks impressive, but can be pulled together in a matter of minutes.

These would be just perfect for a fun Halloween lunchbox treat or to celebrate the season any other day of the week! Best of all, since the filling calls for just a cup of pumpkin puree, it is the perfect way to use up a leftover can that might be taking up space in your refrigerator.

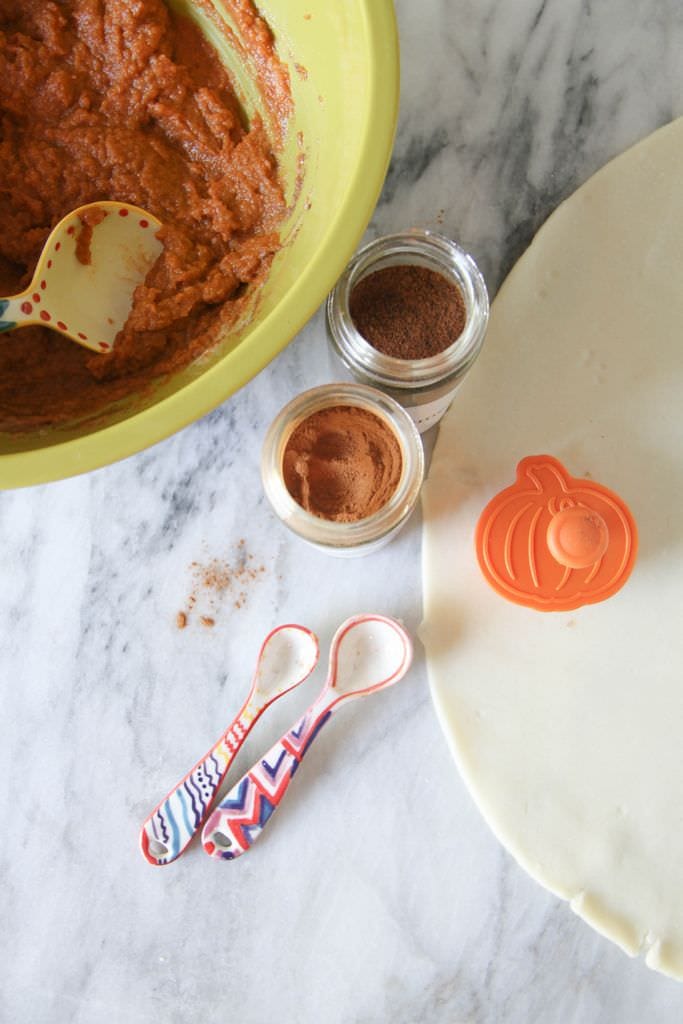
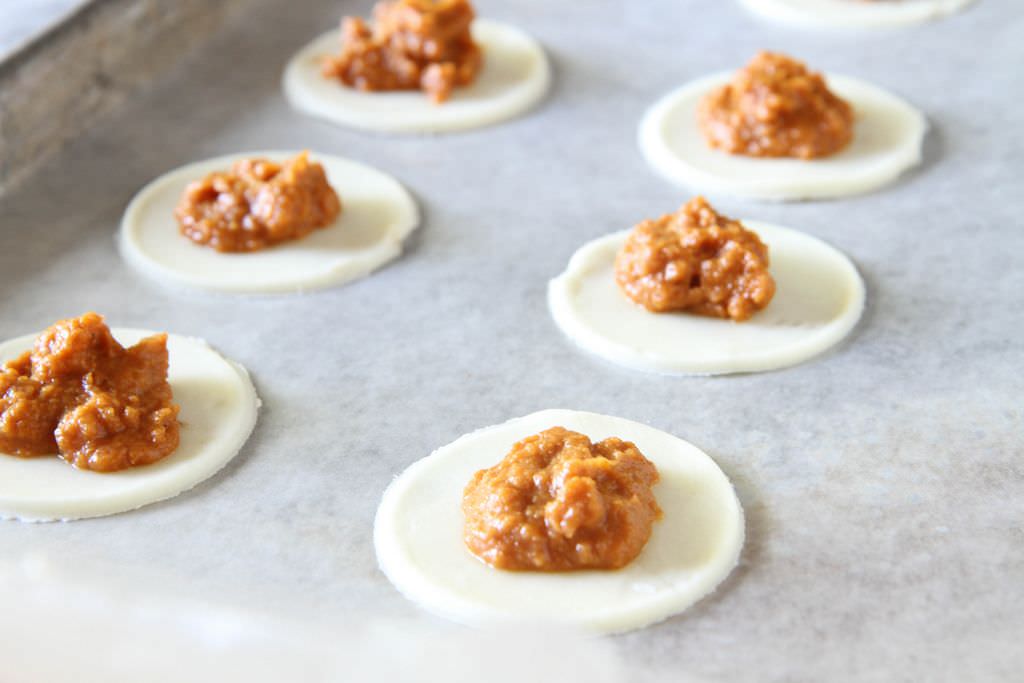
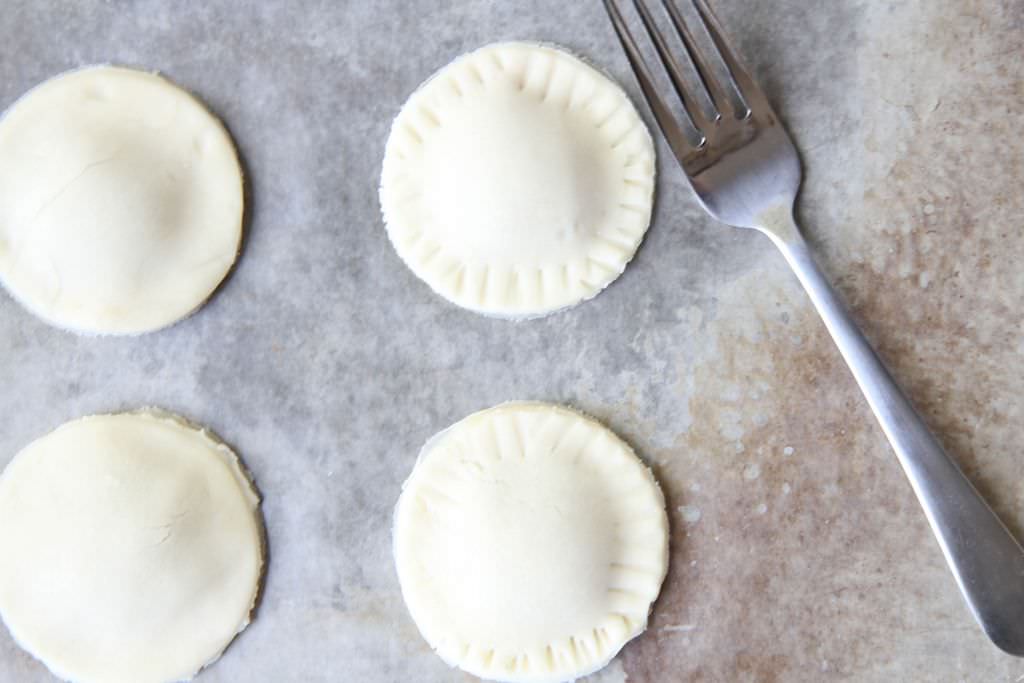
If you haven’t made a hand pie before, it couldn’t be easier. You can use a floured cup as a circle cutter or a biscuit cutter to cut out your circles. Add a tablespoon of your filling to the tops of each of your circles and then add an identical circle on top to pull the pie together. To make sure everything is secure, I seal and add pretty scores with a fork.

Want to make it even easier? Can I recommend this handy gadget?

It’s amazing for making lunchbox sandwiches too! I promise, you will get a lot out of it!


shop seasonal pie cutters HERE (SO many fun ones!!)

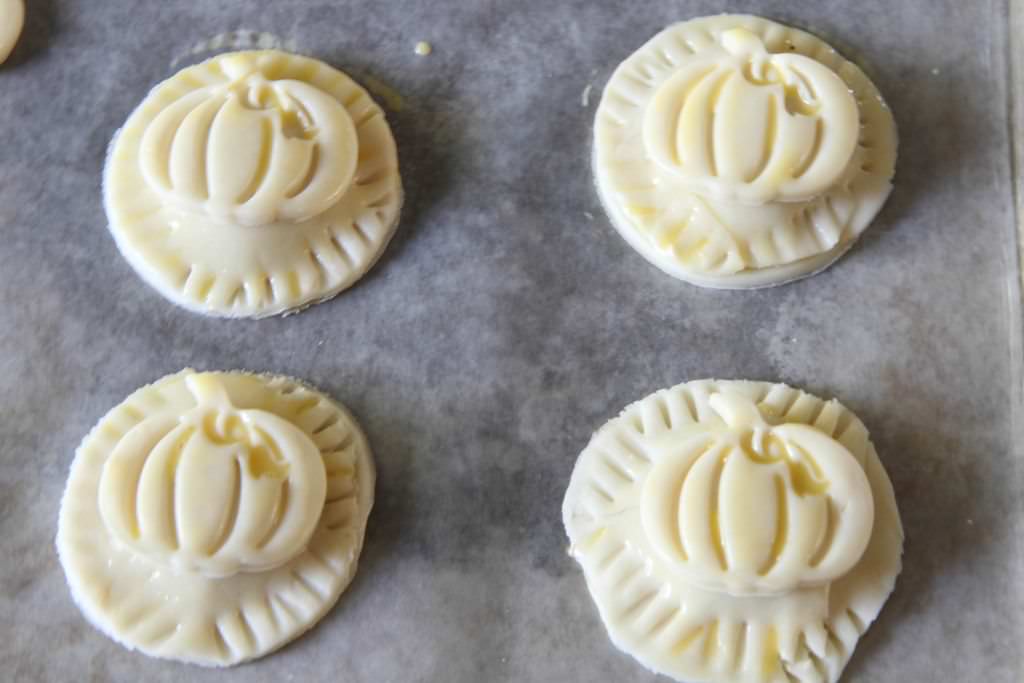
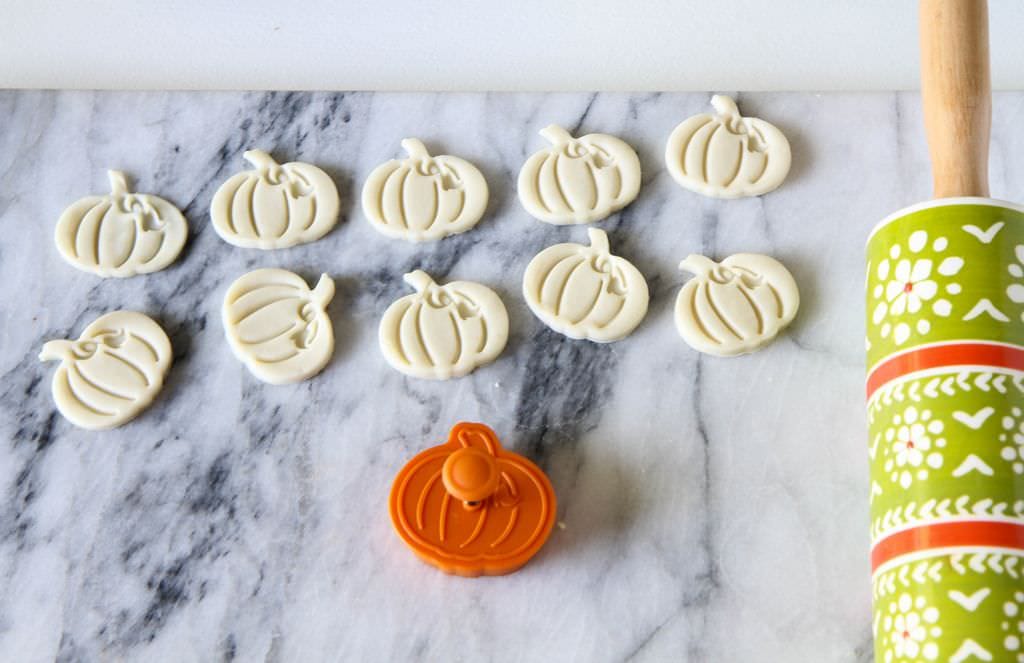
To add a little decoration, I love to buy seasonal decorative pie cutters that add a little detail to the edge of my pies, decorative edible touches to a dessert table for the holidays, and happen to add the perfect detail to these hand pies.

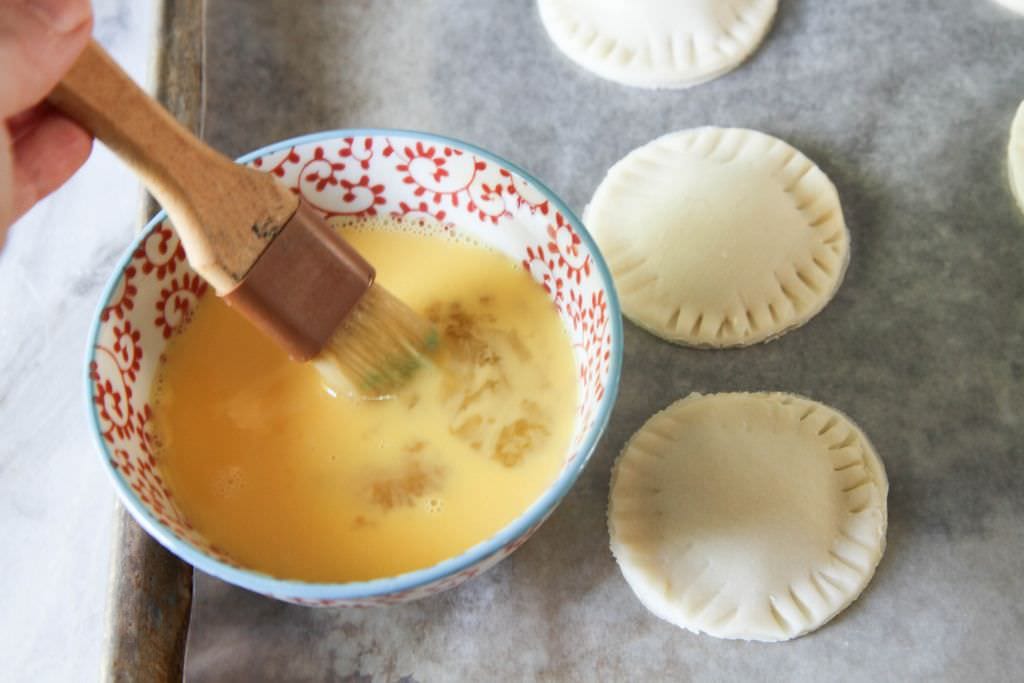
To secure these adorable pumpkins, I brushed the pies with an egg wash and then rested this on top, brushing again lightly with the egg wash.

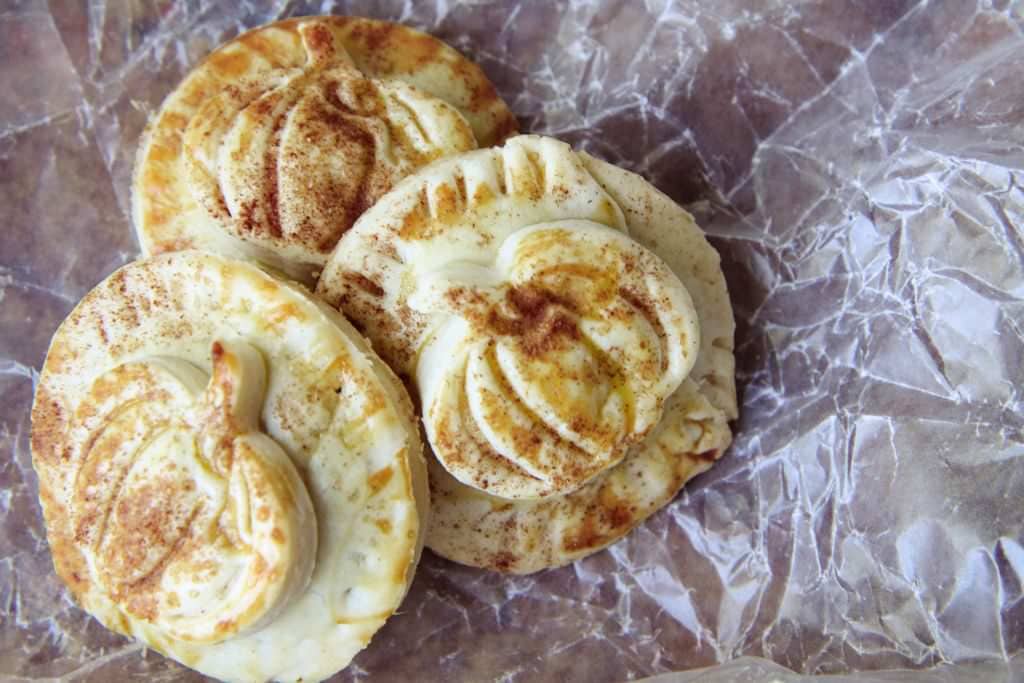
It adds a beautiful touch and shine to the crust and makes these pretty pies into a little work of art.

I hope you can share these treats with someone you love this month and I look forward to sharing more fun fall ideas with you on the blog. Looking for a traditional pumpkin pie for the whole gang? I can’t recommend this tried-and-true recipe enough!

Don’t want to make pie at all?

I feel you.

Check out these ideas for decorating those store-bought pies!

Speaking of more fun fall projects, scroll below the recipe for a few of my ABSOLUTE FAVES!!

Pumpkin Hand Pies Recipe
Prep time:
Cook time:
Total time:
This fun semi-homemade treat has all of your favorite pumpkin pie flavors in a single size version. Be sure to snag [url href=”https://rstyle.me/n/c9yyh2wky6″ target=”_blank”]some fun pie cutters[/url] to really make these festive! Need to make these gluten-free? No problem! Simply switch your prepared pie crust to a gluten-free version!
Ingredients
  • 1 cup pumpkin puree
  • 3/8 cup brown sugar
  • 1/2 teaspoon cinnamon
  • 1/4 teaspoon nutmeg
  • 1 tablespoon heavy cream
  • 2 packages prepared pie crust (make sure to bring this to room temperature)
  • 1 egg
  • Cinnamon and sugar to garnish
  • Optional: [url href=”https://amzn.to/2pOSbRj” target=”_blank”]This handy tool[/url] and [url href=”https://rstyle.me/n/c9yyh2wky6″ target=”_blank”]decorative pie cutters[/url]
Instructions
  1. Preheat the oven to 350°F.
  2. In a mixing bowl, mix together the pumpkin, brown sugar, spices and heavy cream. Set aside. Unroll your room temperature pie crusts. Using a 2 1/2 inch biscuit cutter or the opening of a drinking glass as your guide, cut out your circles. Remember, however many you can cut out of your first pie crust, you will want to try to do the same amount on the next pie crust to create your toppers. The amount you can get will depend on your circle size that you are punching out.
  3. Place your first half of your circles on a parchment paper lined cookie sheet.
  4. Add in about a tablespoon pie filling, then place a dough circle on top. Press together with your fingers to seal them. Then use your fork to seal and create a pretty edge to the pie.
  5. Whisk one egg in a small bowl and then brush on top of the dough.
  6. Finish with a sprinkle of cinnamon and sugar. Bake for about 20 minutes or until golden brown. Serve with a big glass of milk or a dollop of whipped cream for a sweet treat!

here are a few of our most popular fall projects on the site right now!

autumn burlap wreath tutorial

doughnut hole ghost cake (no baking necessary!)

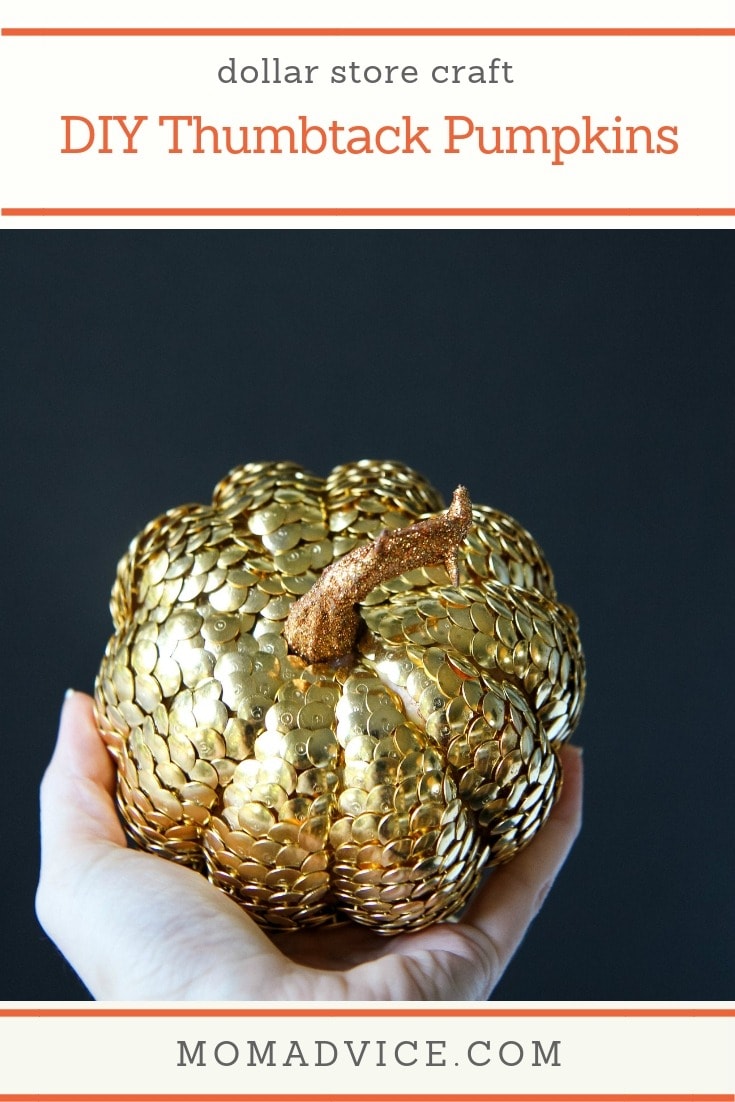
dollar store thumbtack pumpkins

how to make glow in the dark jell-o

19 thrillers to keep you up all night

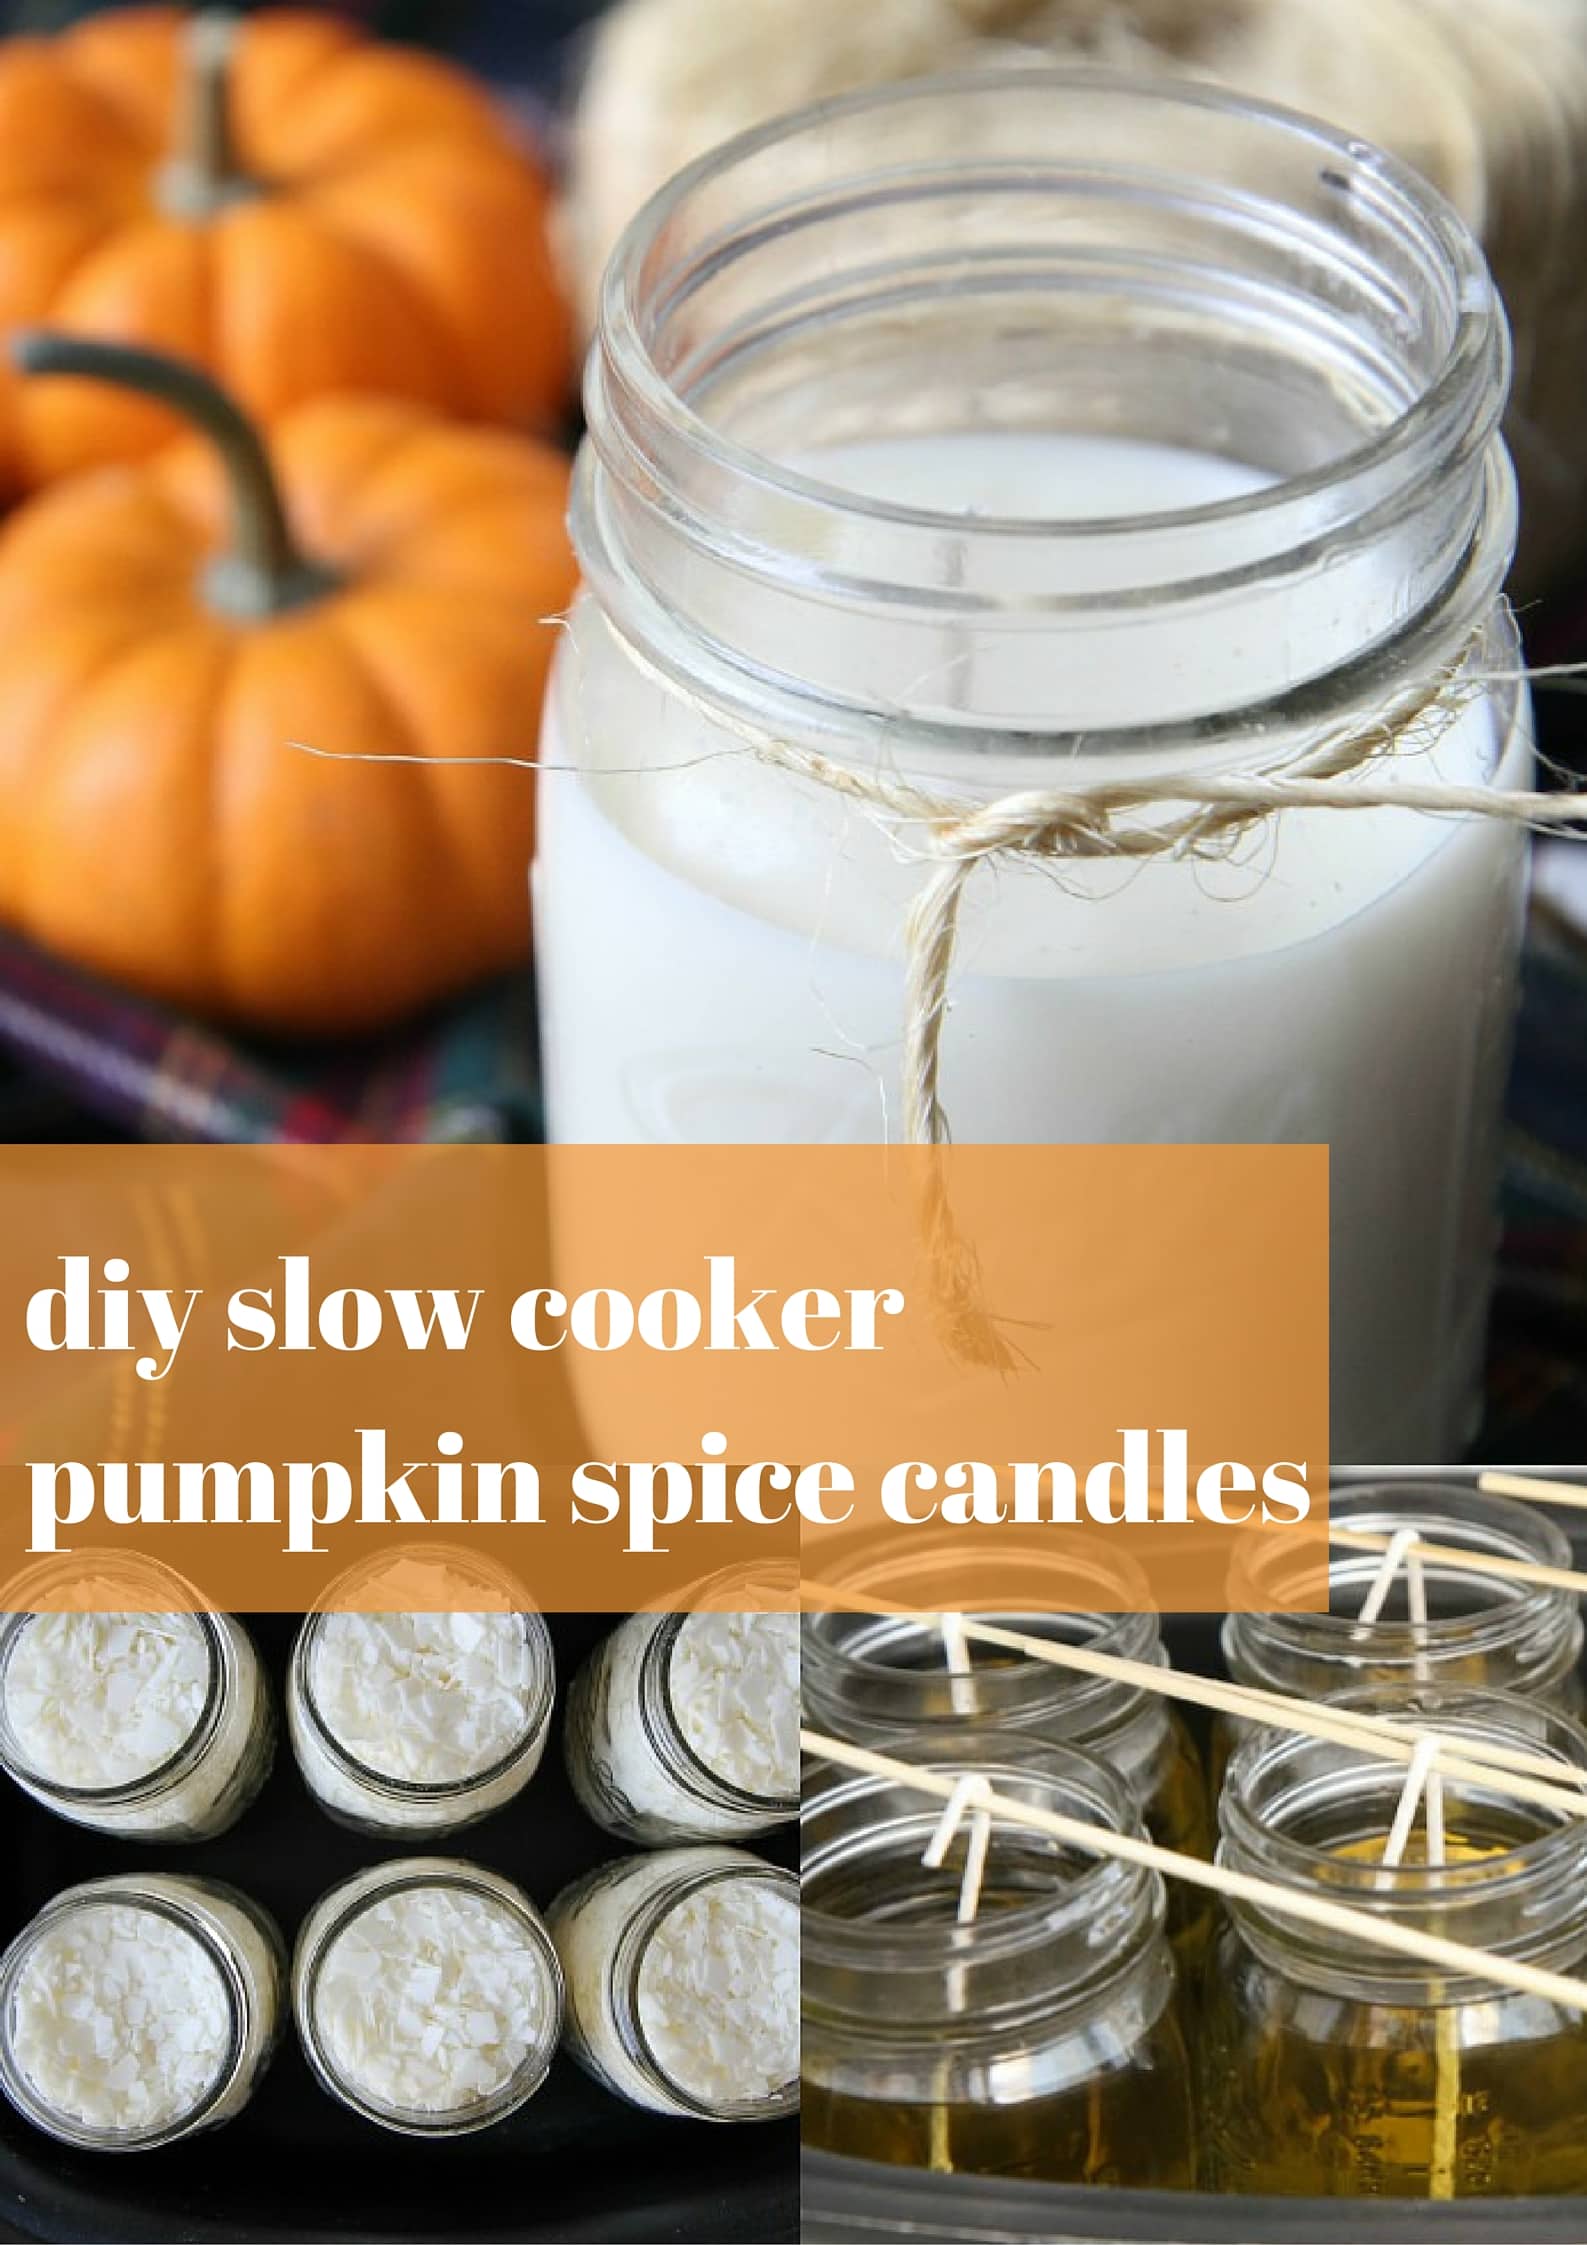
slow cooker pumpkin spice candles

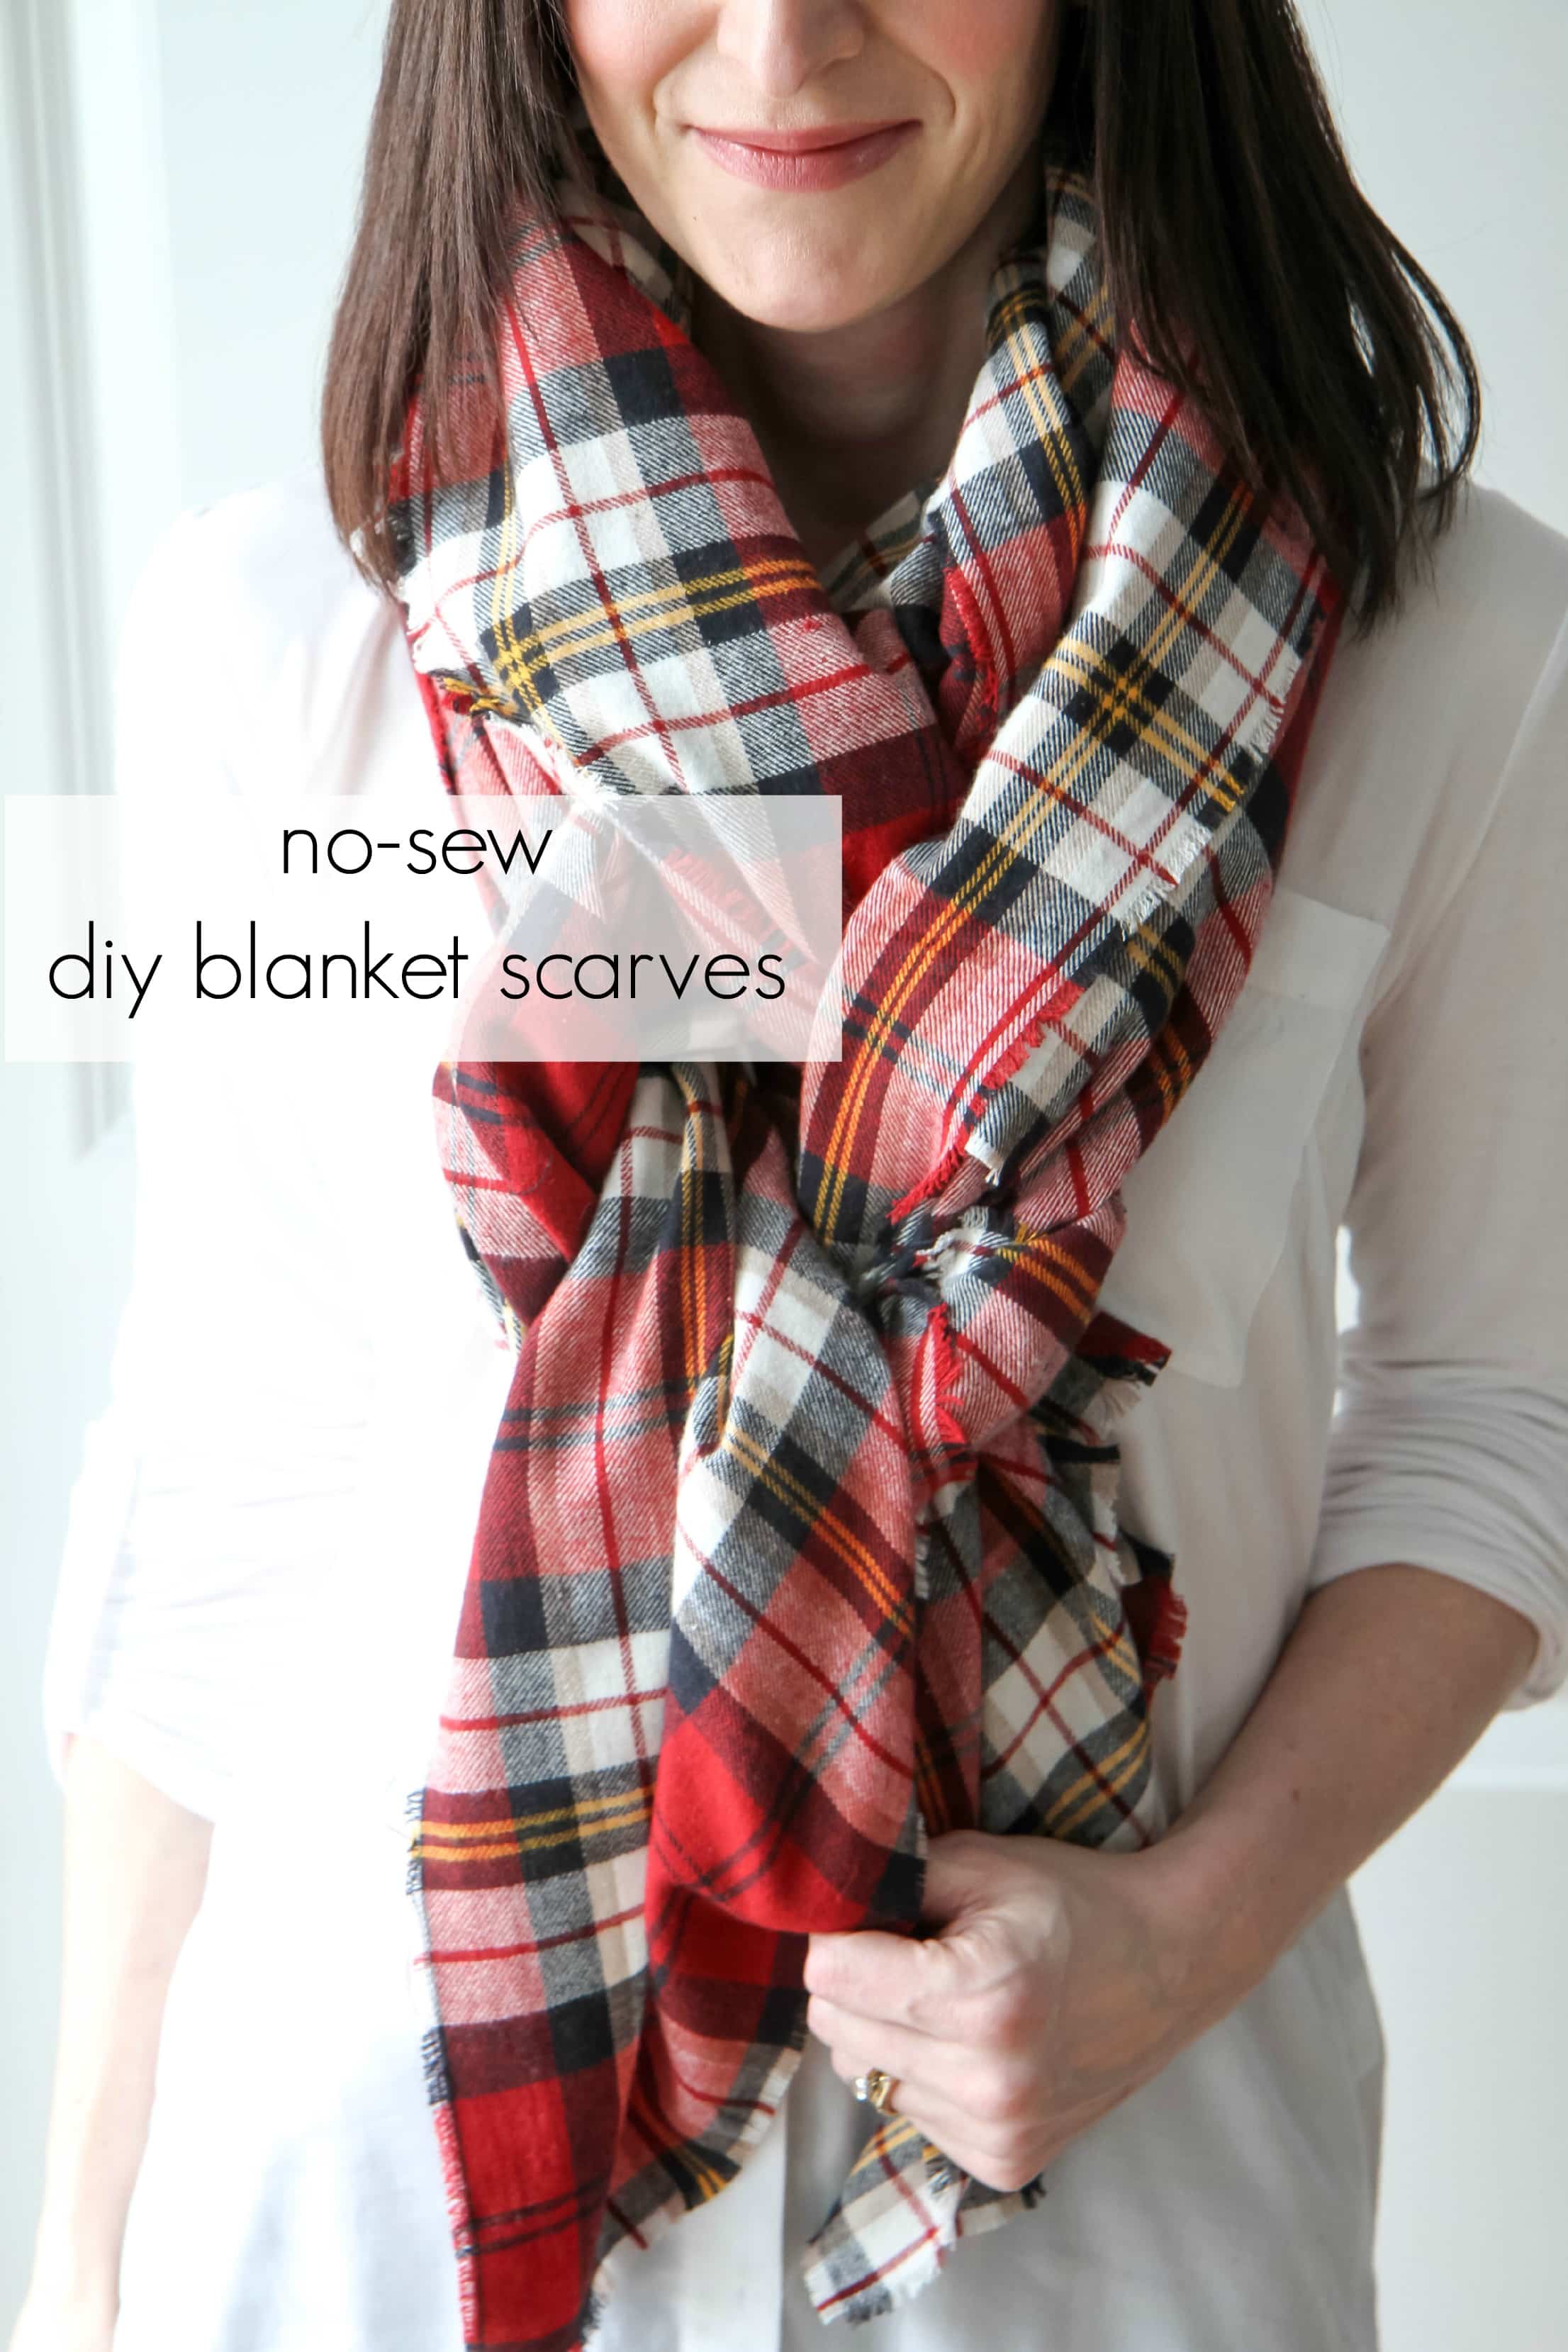
no-sew blanket scarf tutorial

this post contains affiliate links!

How to Make Pumpkin Hand Pies from MomAdvice.com

Pin It

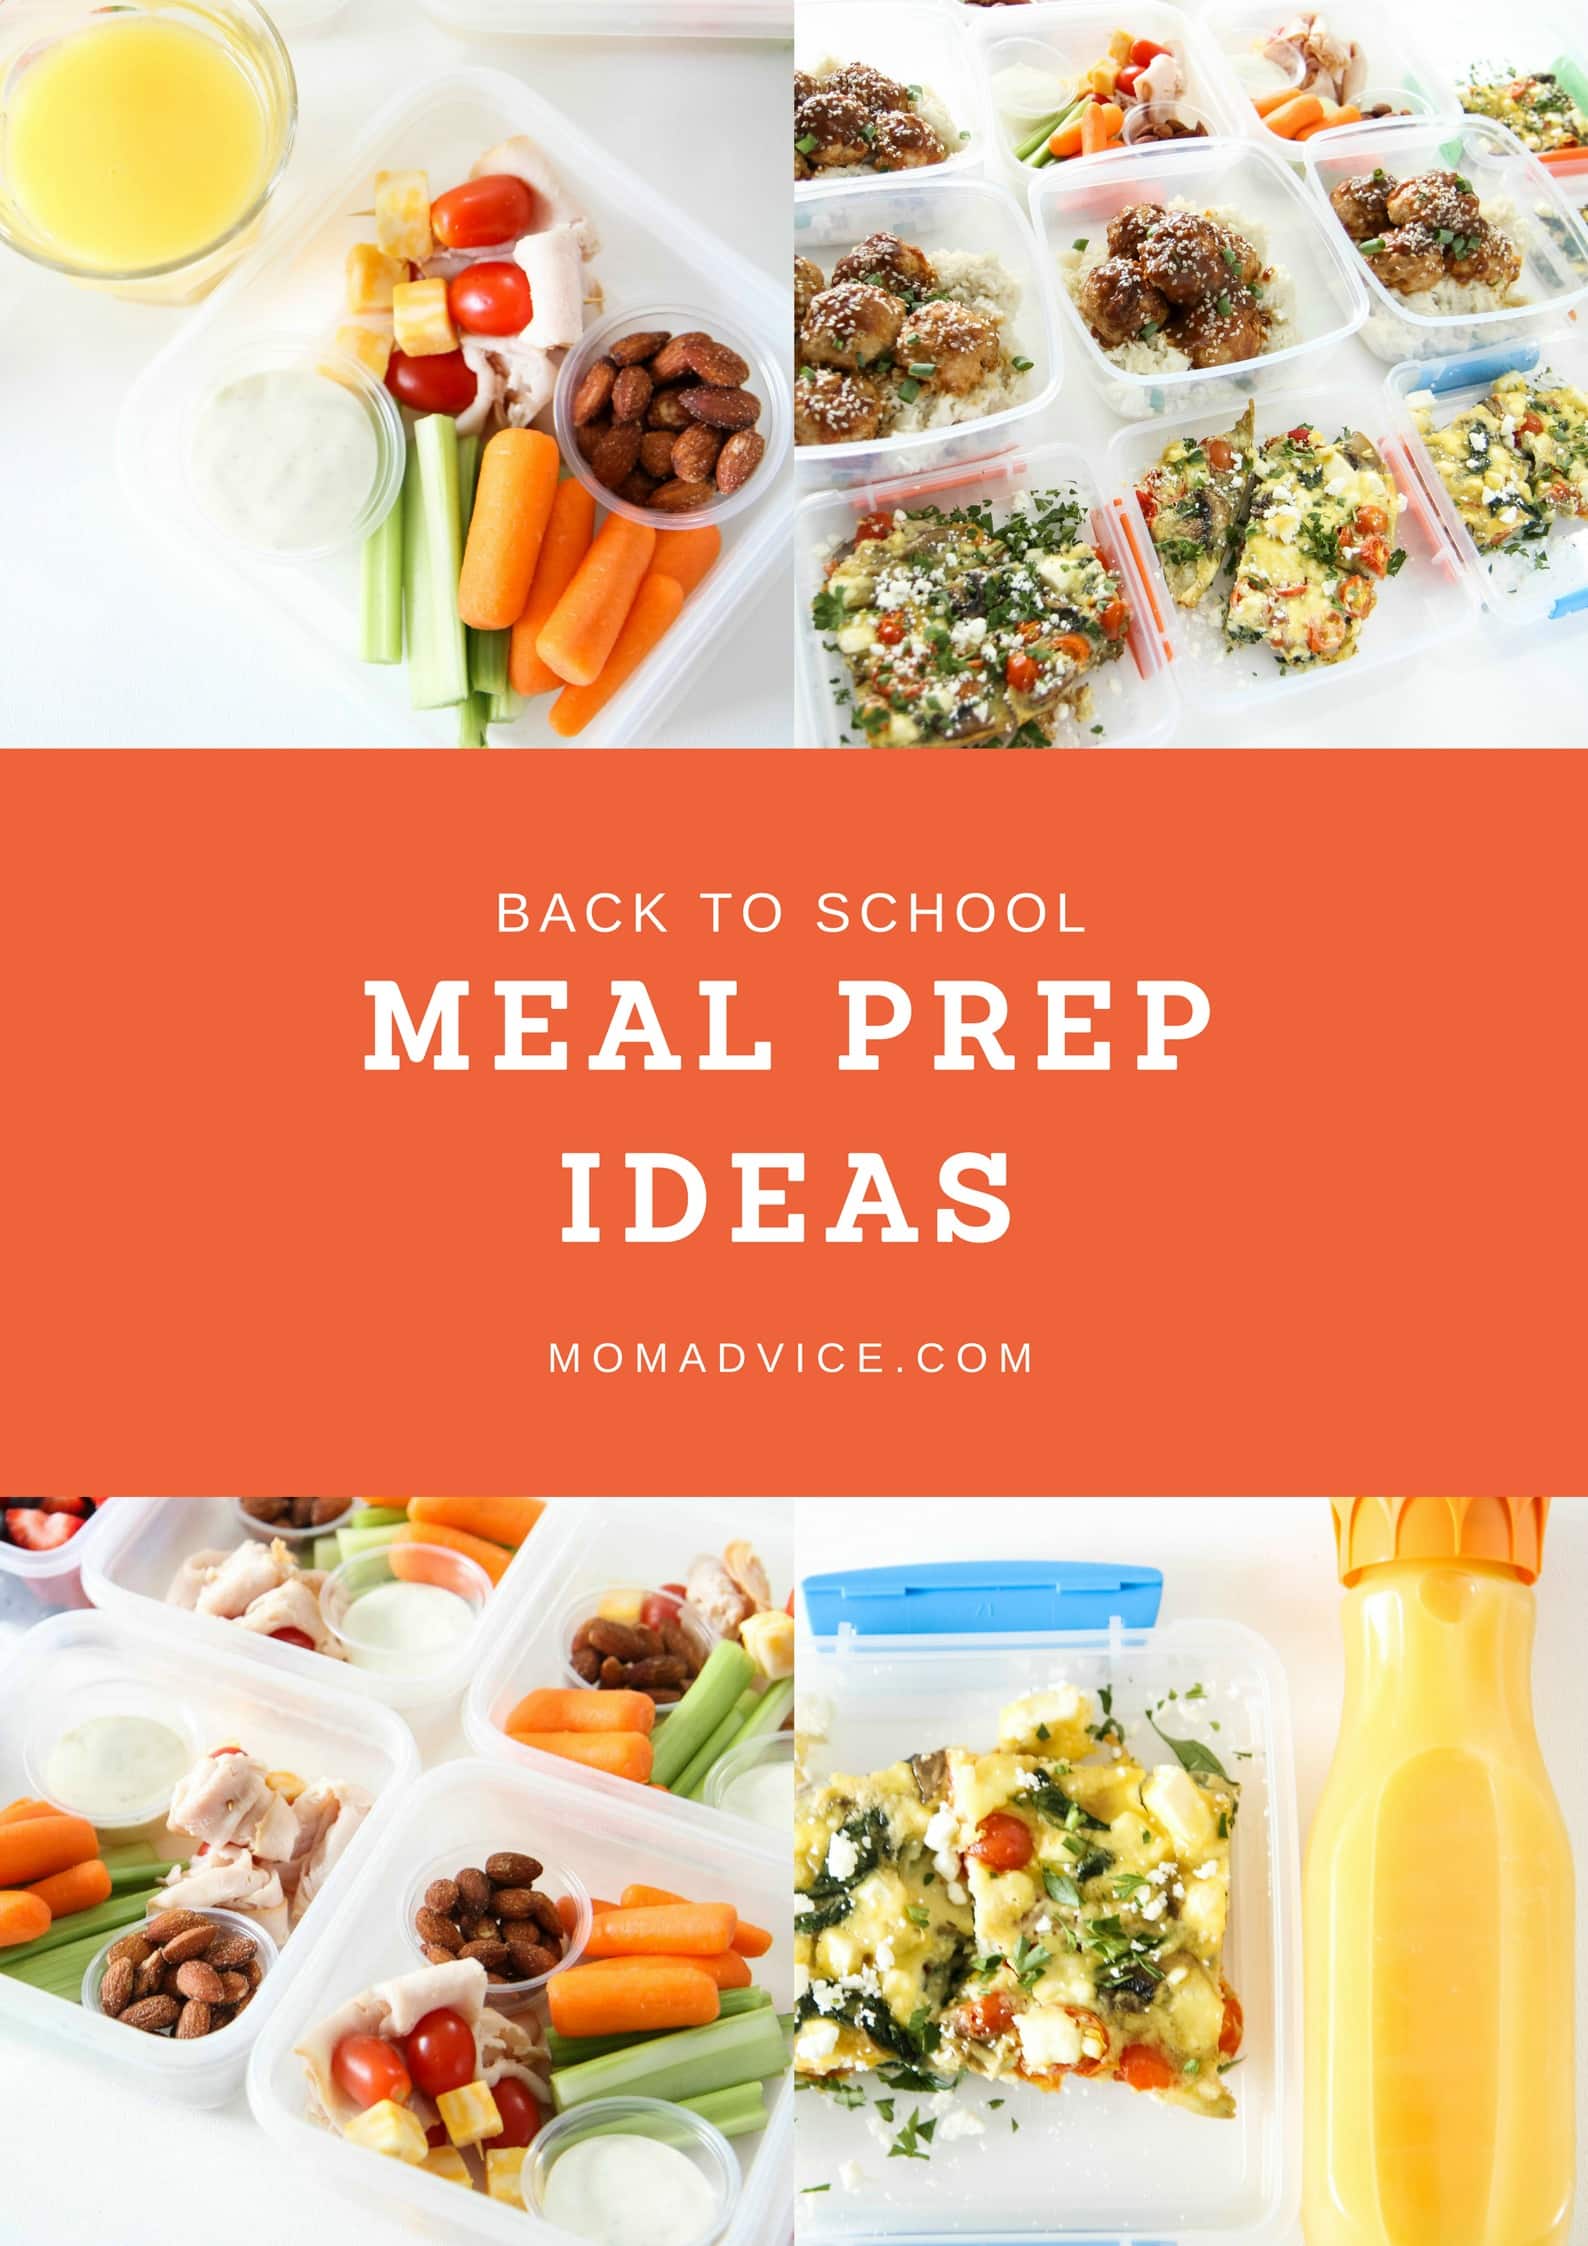
Back-to-School Meal Prep Ideas

Tuesday, August 14th, 2018

Back to School Meal Prep Ideas from MomAdvice.com

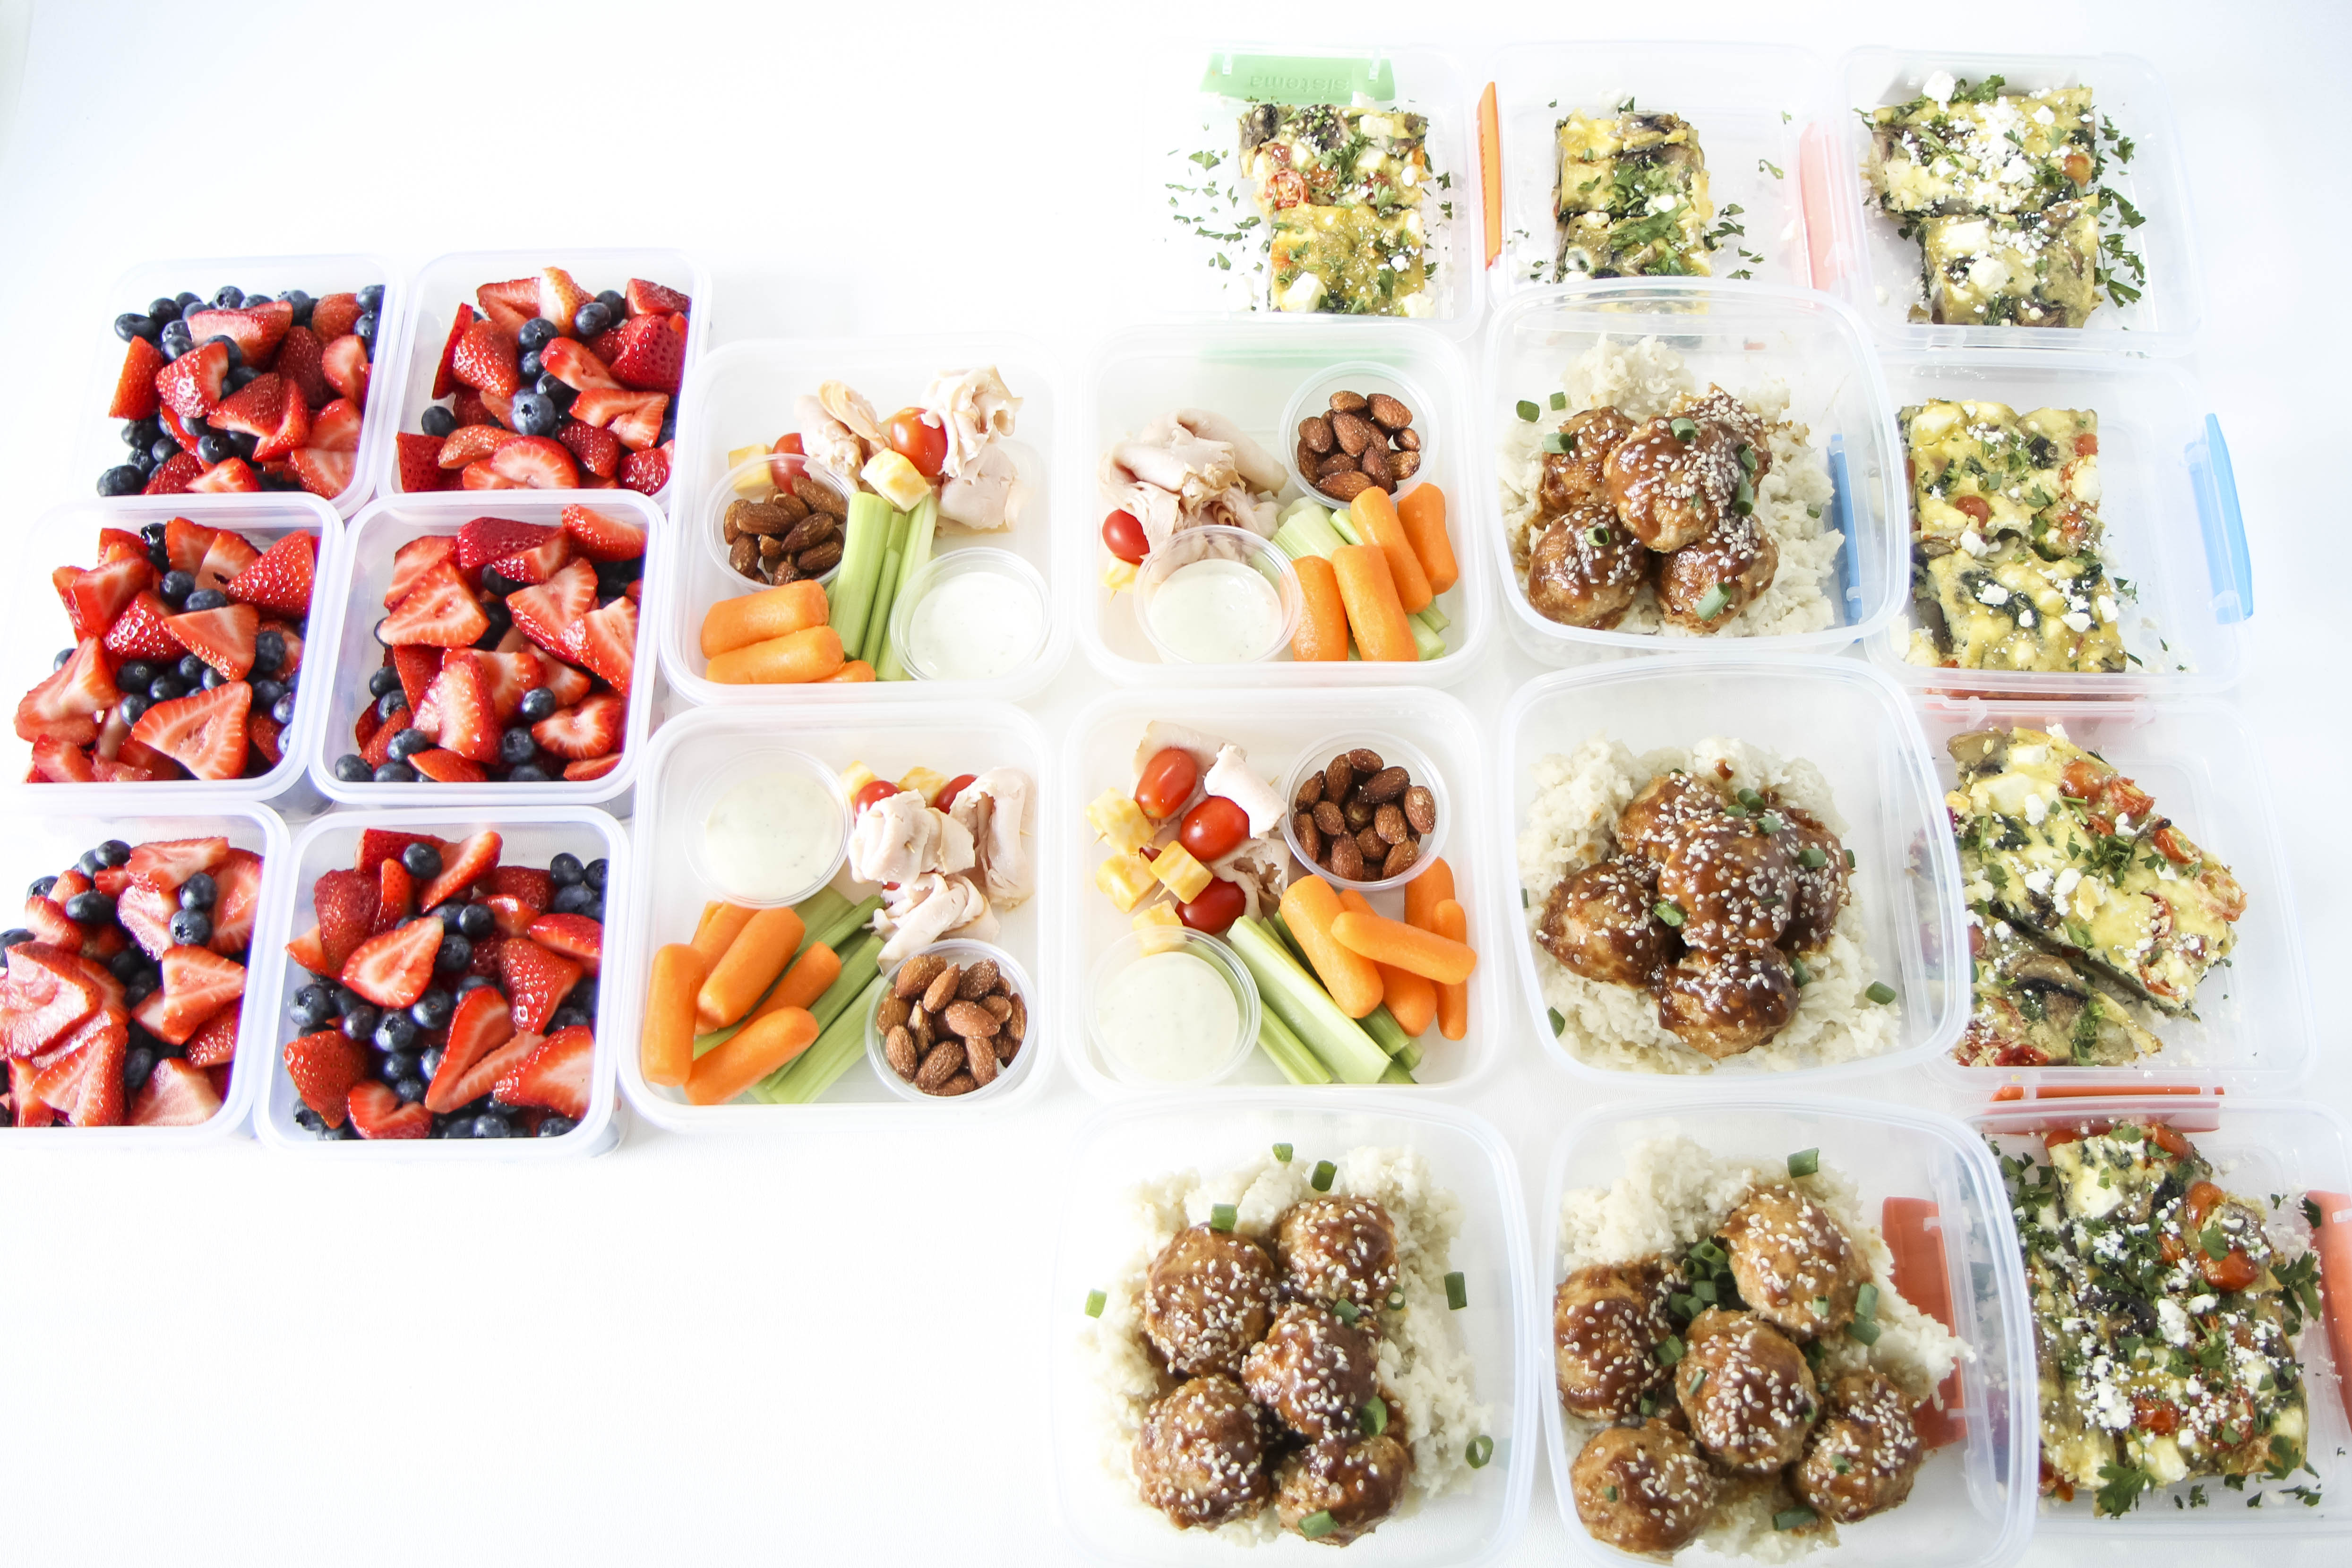
It’s time to bring on those meal prep ideas for packing lunches for back-to-school. I’m sharing 7 tips to nail your meal prep game for your kids and YOU. I’m excited to be partnering again with the Florida Department of Citrus for the back-to-school season and showing you some fun new strategies for lunch preparation.

It seems surreal to me that we are already talking about back-to-school, but we are just one week away from sending our kids off to school again. It is with this big occasion in mind that I look forward to getting back into our healthy eating routines and finding new ways to minimize stress during our busy weeks.

One of the ways I do that is through our meal prep routines.

back-to-school lunch meal prep ideas from momadvice.com

back-to-school lunch meal prep ideas from momadvice.com

Let’s talk about 5 really great strategies for meal prepping that can help you this year.

back-to-school lunch prep ideas from momadvice.com

back-to-school lunch prep ideas from momadvice.com


back-to-school lunch prep ideas from momadvice.com

Find New Ways to Use Up What’s Already in Your Fridge

Meal planning can save you tons of money at the grocery store, but I have the tendency to get excited about new meals without using up what we already have in our fridge.

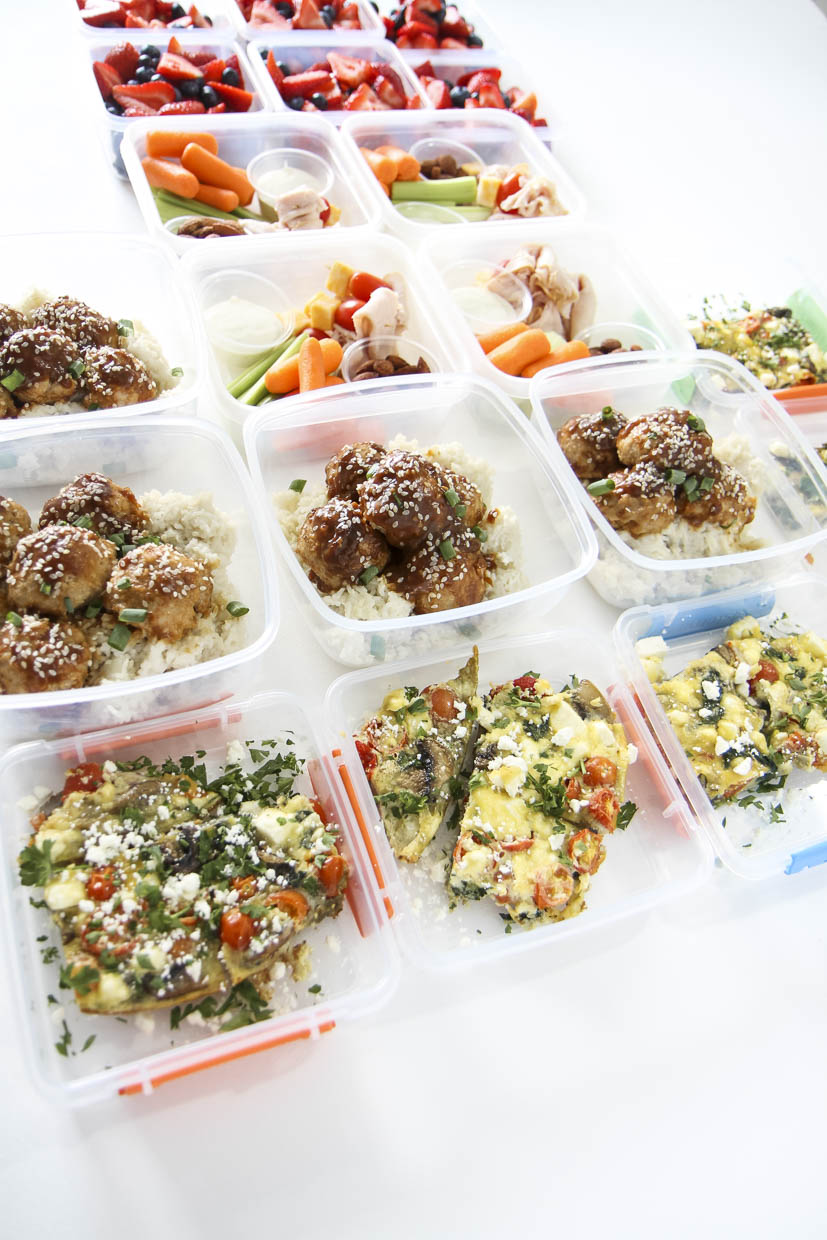
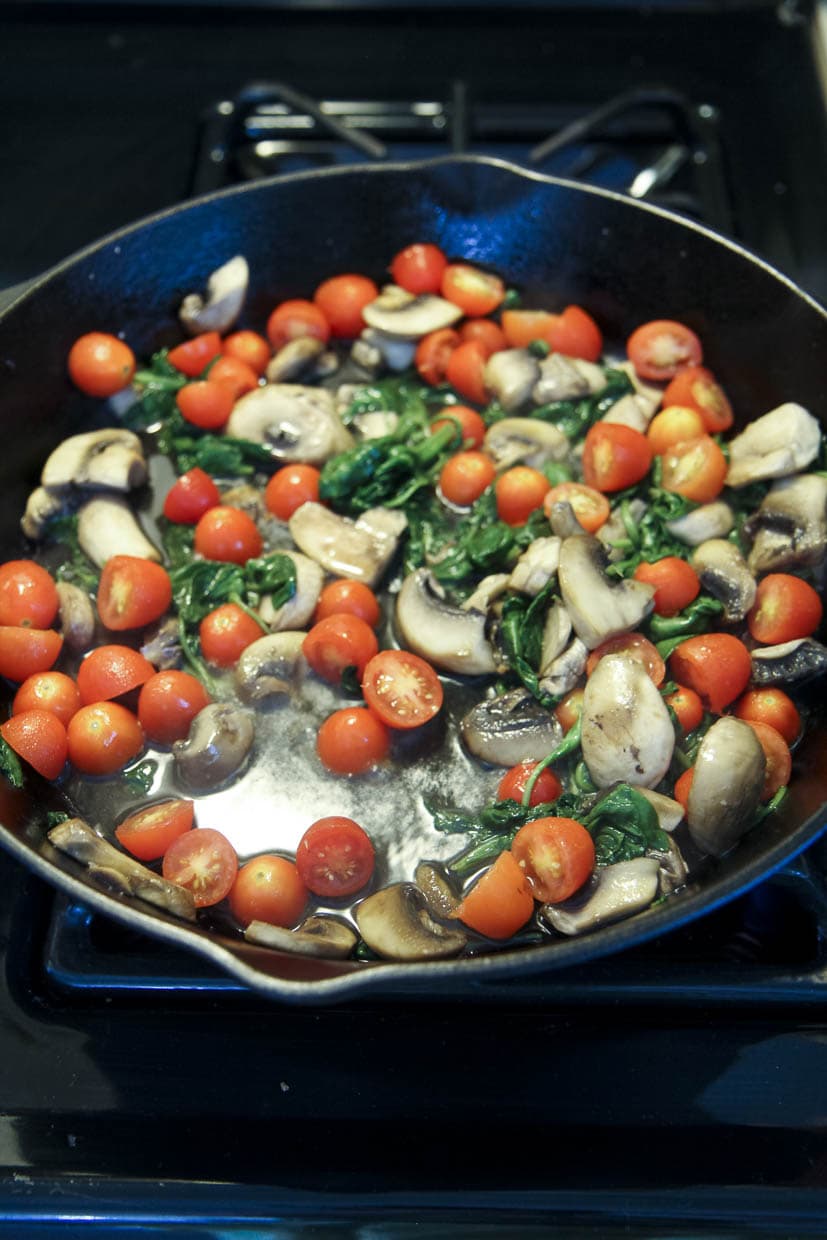
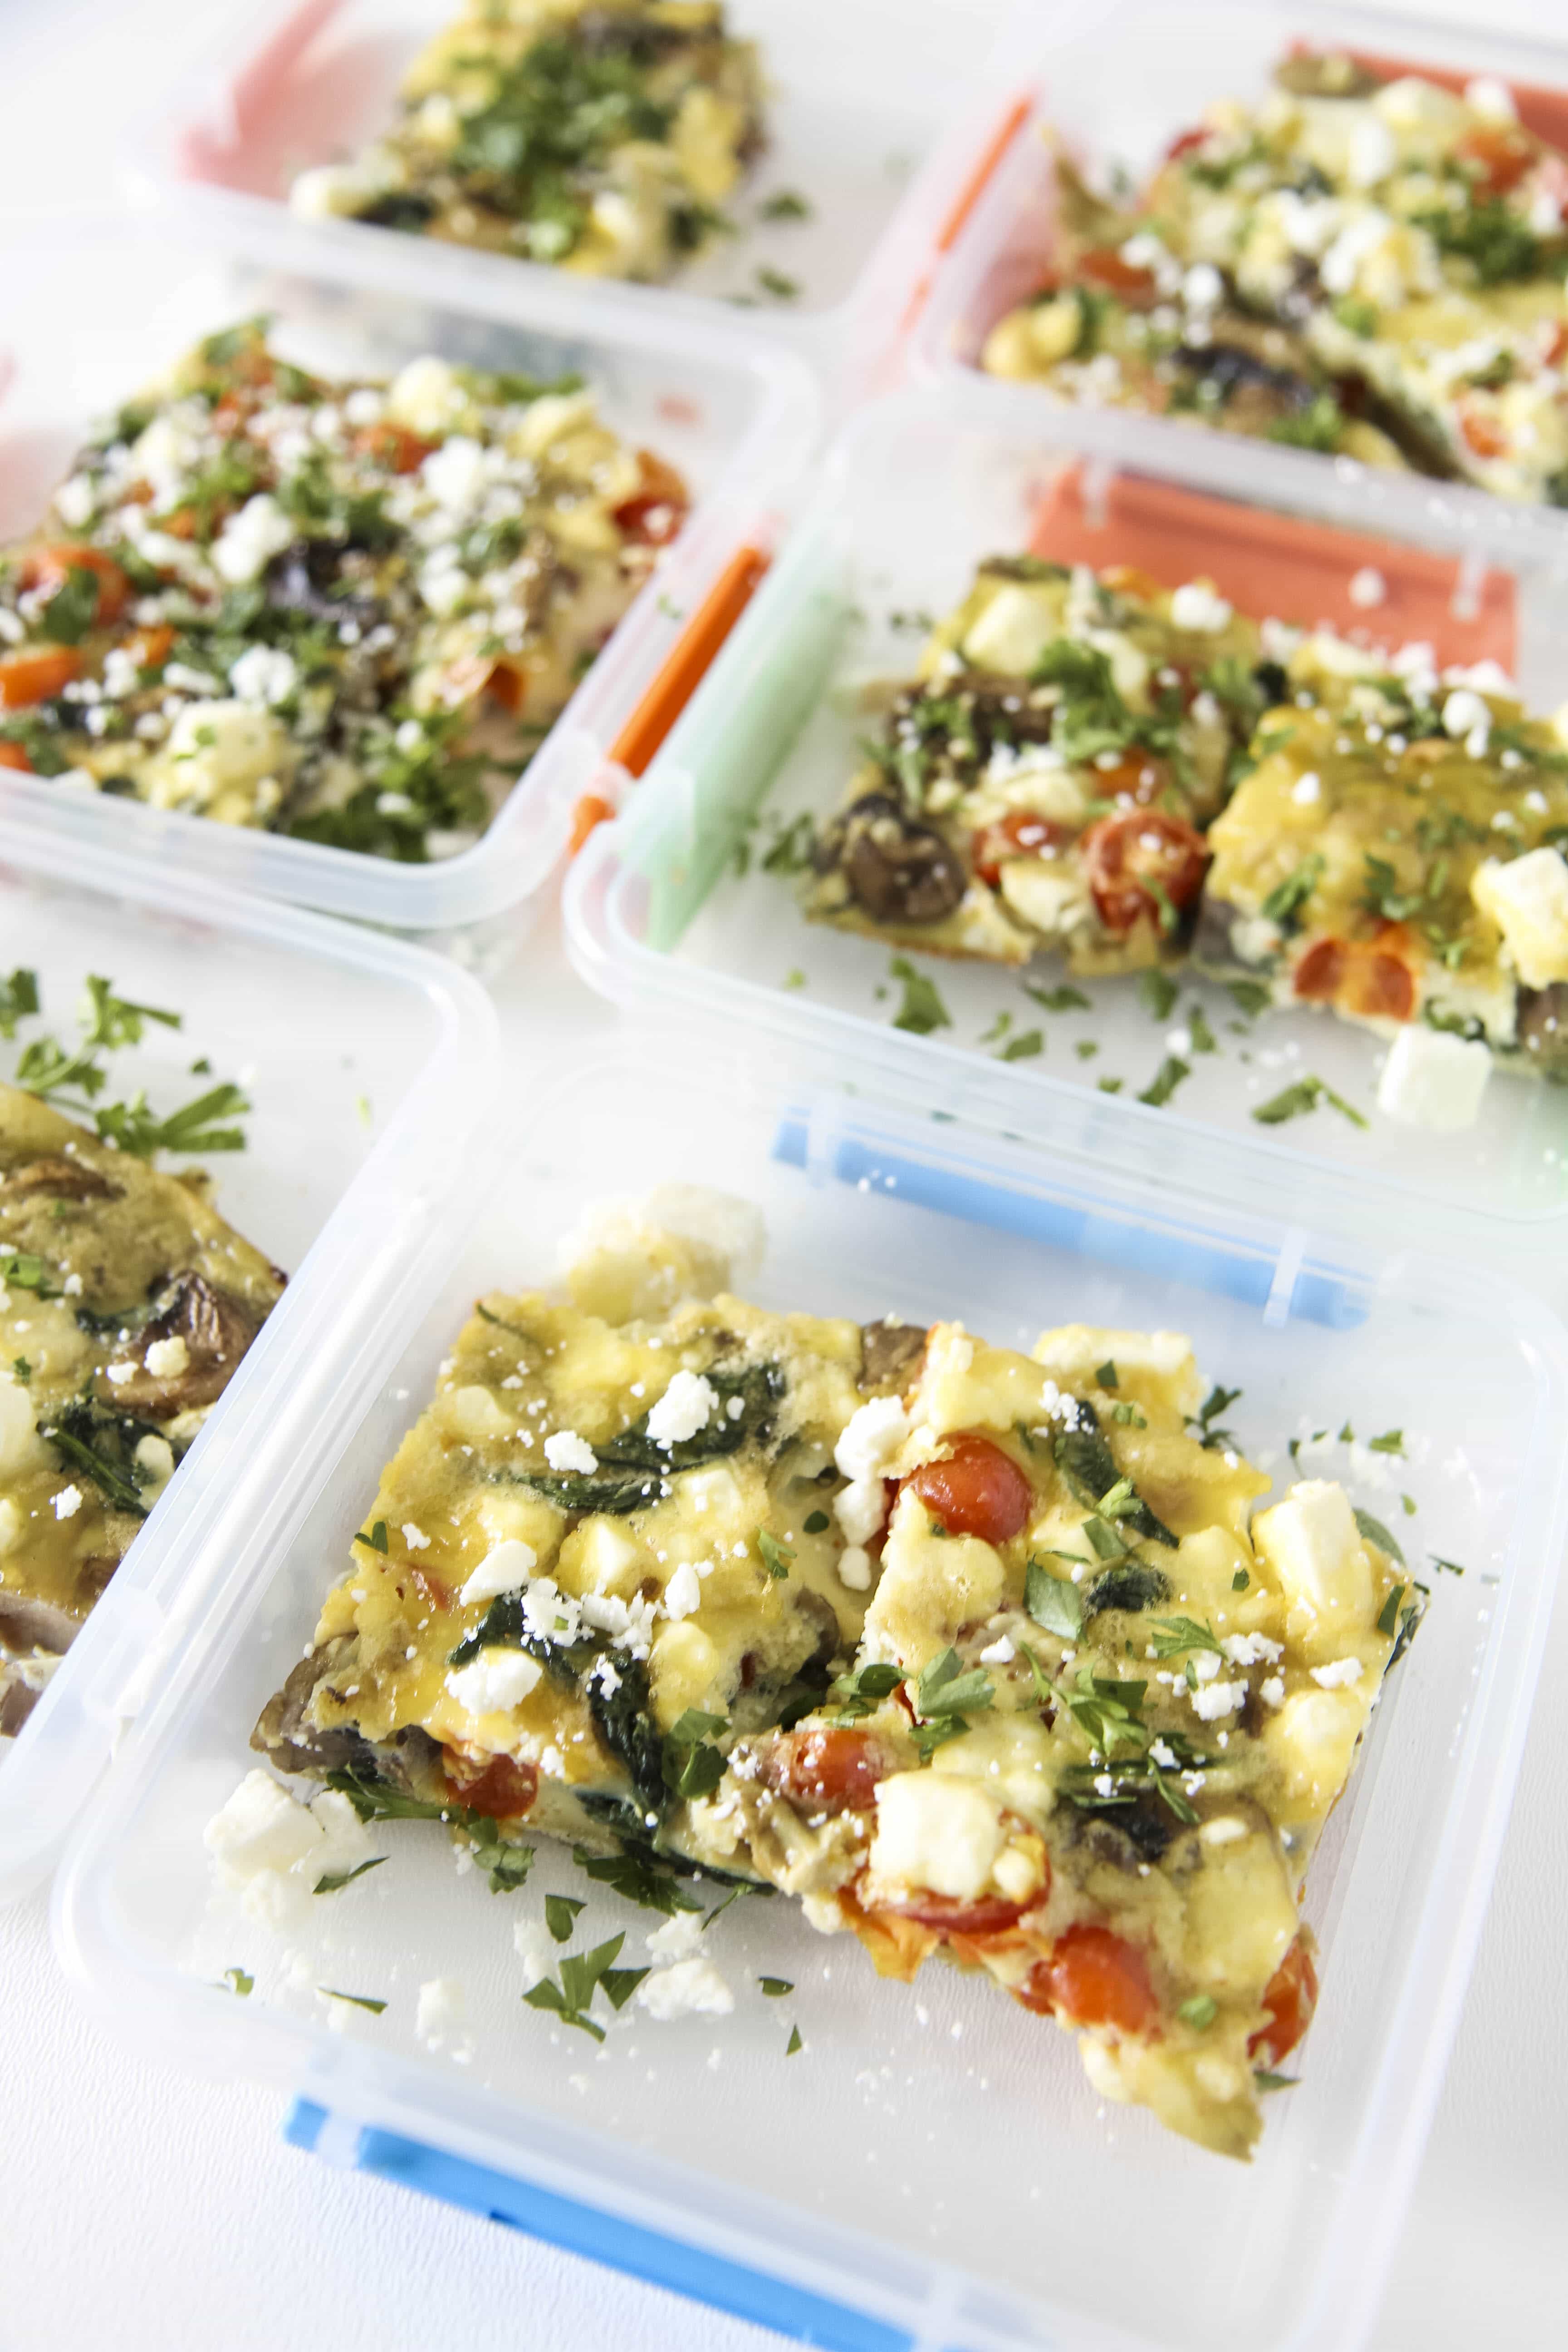
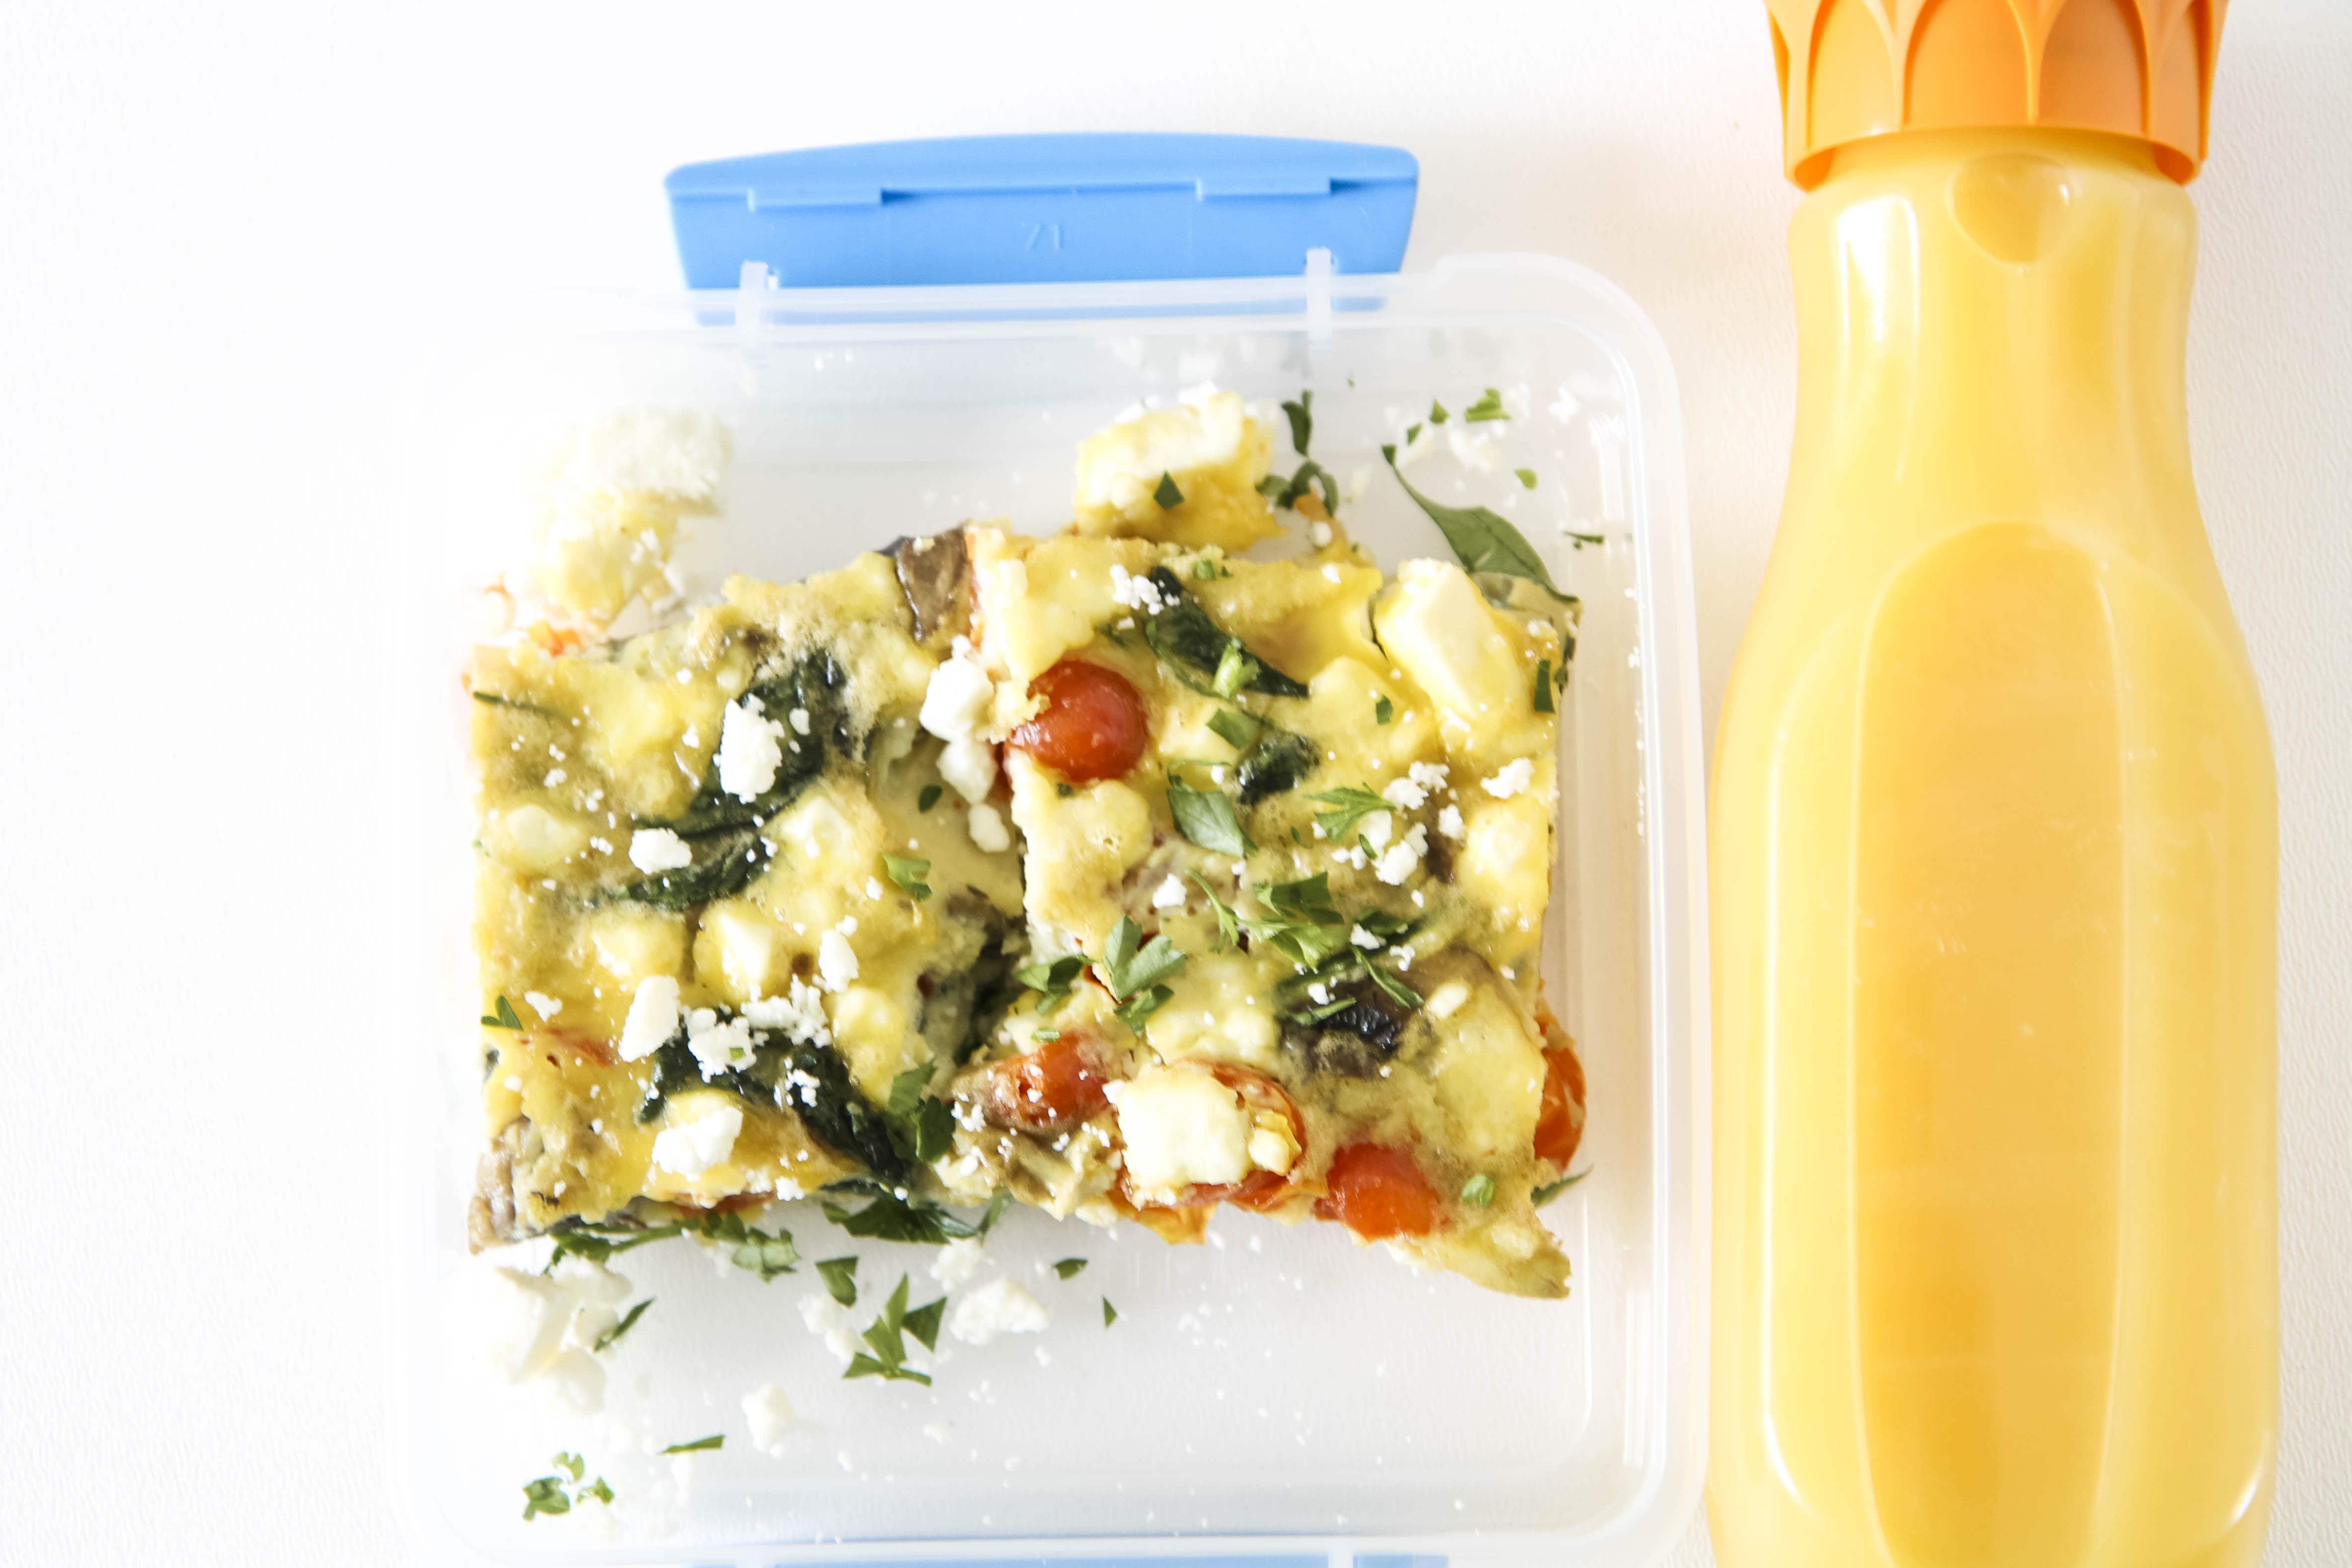
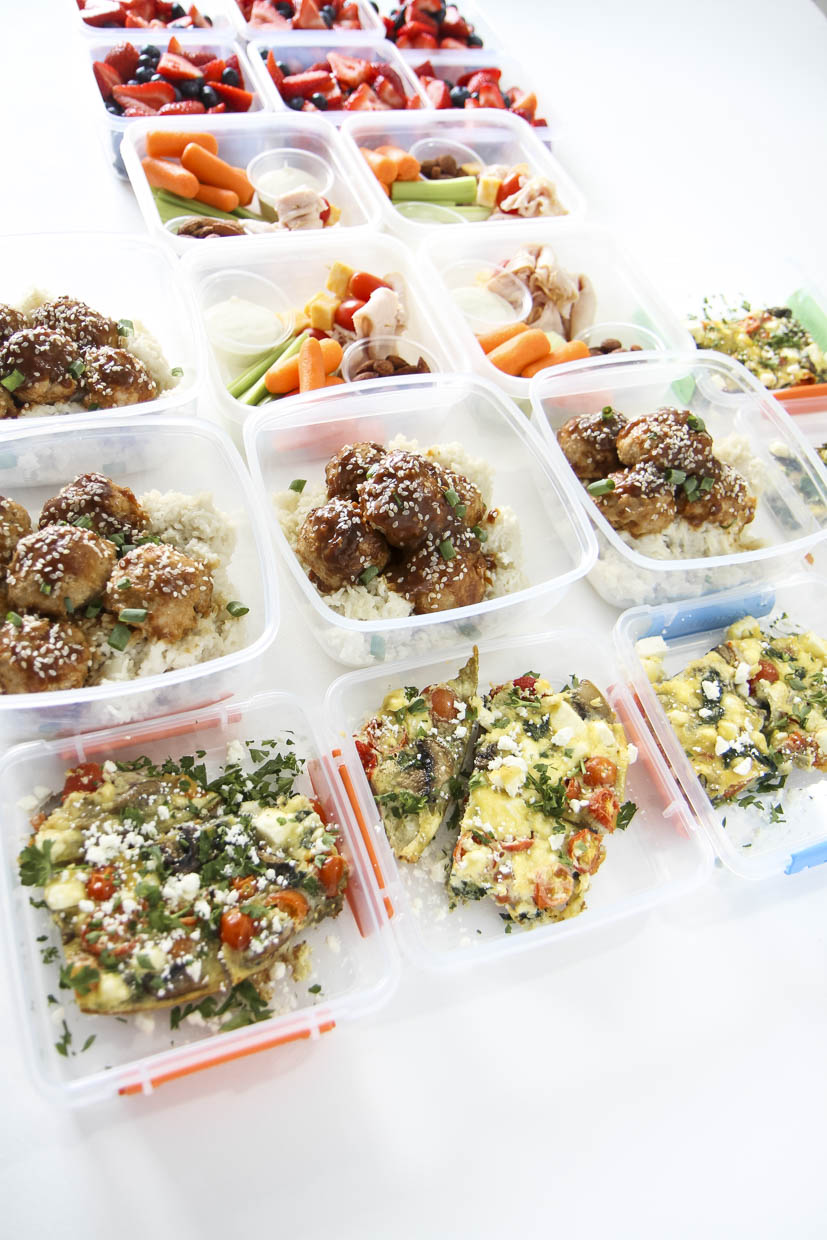
Make a plan, but acknowledge ways that you can use up items that may be nearing their expiration date. I love frittatas, for example, because they can be whipped up from whatever you have lurking in your crisper drawer and from your weeknight meal leftovers. Today’s frittata, for example, was made from cherry tomatoes, spinach, mushrooms, and feta…all items leftover our salad nights this week. Ask your kids to help you come up with combos and give them the opportunity to brunch it up at school.

If you are looking for a great recipe, check out my Chicken Pesto Frittata or my Dairy-Free Sausage & Vegetable Frittata for two great options. Either of these can omit the meat for a fun vegetarian option too.

I paired this frittata with orange juice to round out the meal. Keep in mind that the recommended daily intake of Florida OJ is eight ounces for adults and four to six ounces for kids! The best part is that every glass of Florida Orange Juice provides the amazing 5. In fact, you have taste, vitamin C, folate, potassium and no added sugar in just one glass.

back-to-school meal prep ideas from momadvice.com

back-to-school lunch prep ideas from momadvice.com Consider the Snack Pack Trend

We caught a commercial for, “protein packs,” that you could purchase for your lunches that had meat, cheese, and nuts in them.  Even though my husband can’t cook, even he was laughing at how ridiculous it was that people couldn’t put these together themselves.

Snacks packs aren’t a new concept, but they ARE a perfect concept if you have a kid that is a snacker or if you happen to be a snacker yourself.

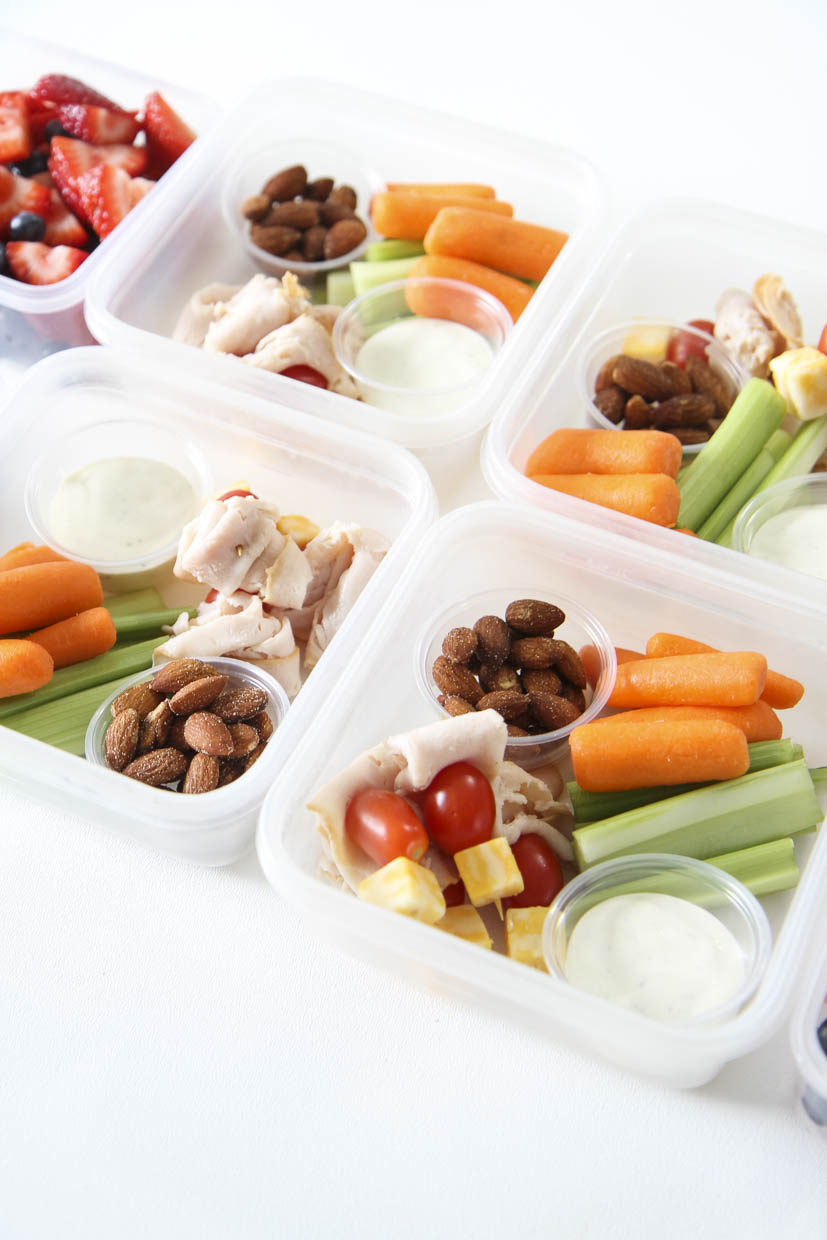
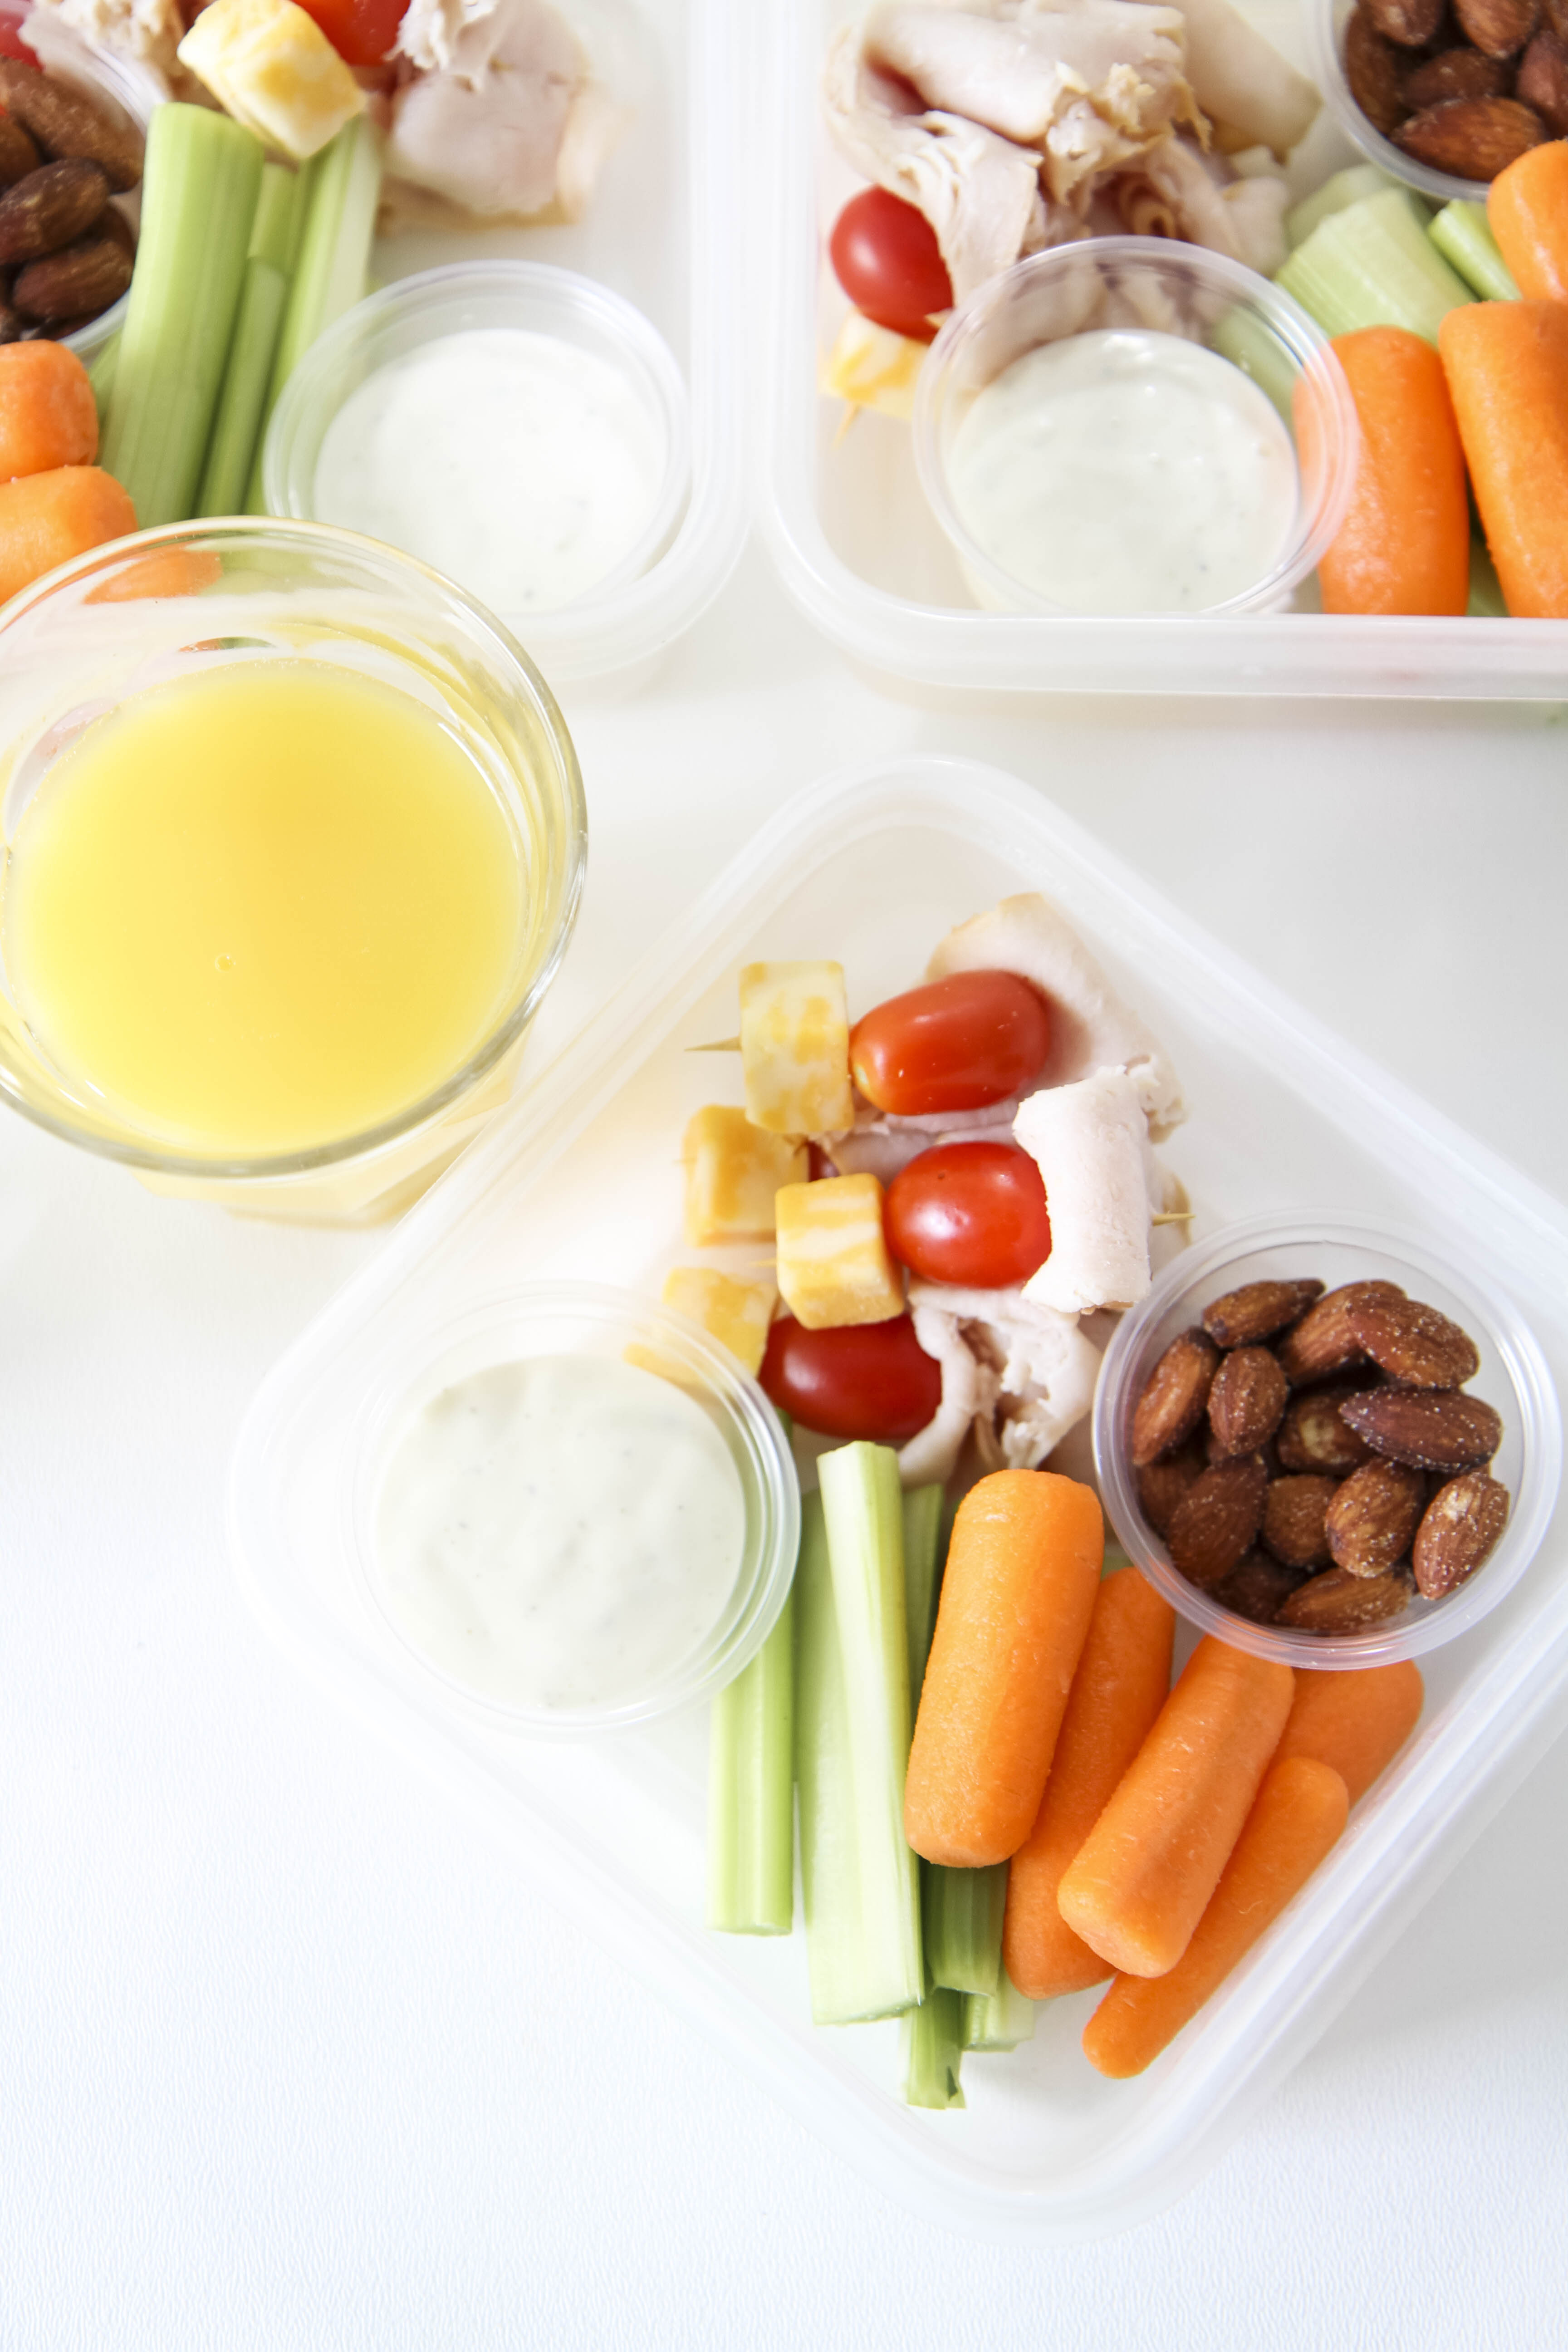
Utilizing toothpicks, stack a slice of lunch meat, a grape tomato, and a cube of cheese for a delicious bite that is easy enough that your kids can do it (and make their own dang lunch!)

I paired these with fresh veggies, a little ranch, and roasted salted almonds.

Want to add some fruit? Consider an apple! Using an apple slicer like this, slice the apples and then pull them back together in their original shape around the core with a rubber band.

Did you know that for additional insurance you can brush the apple with some orange juice to really help your apple retain its crisp appearance and cut down on browning? Now that’s a #lunchhack

prep peanut butter & jelly

Kids Keeping it Basic? Prep That Too!

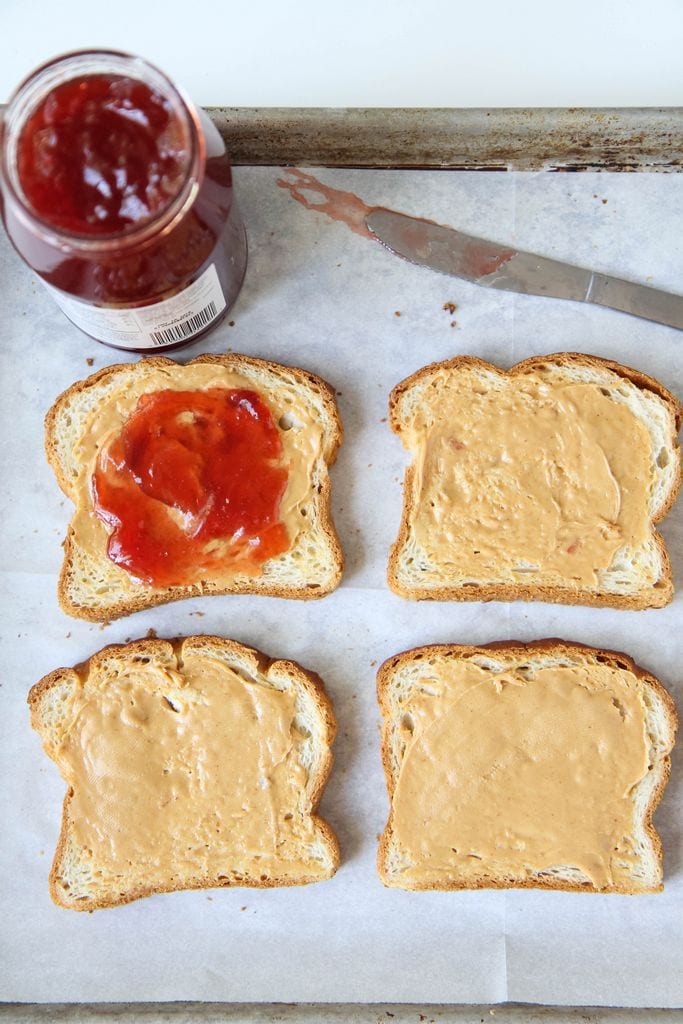
I had one child who refused to eat anything except a good old-fashioned PB&J. I admired that she knew what she liked and that she kept it simple for her mom. That said, even those simple tasks rob us of precious time to get ready in the morning so I started meal prepping even these simple sandwiches.

If your child’s favorite is this sandwich too, simply spread peanut butter on both slices of bread to create a wall to prevent the jelly from making your bread soggy. Smear your jelly on in the center of one slice of bread and then put the two slices together. By creating an assembly line of sandwiches for your week you only dirty up the kitchen once and get back a little more time to enjoy your morning cup of coffee.

back to school meal prep ideas from momadvice.com


orange chicken meatballs recipe from momadvice.com

Plan Around Your Own Guilty Pleasures

Have you thought about packing yourself a lunch? I have the tendency to get out of the habit of caring for myself when the back-to-school rush happens and find myself grabbing takeout or “forgetting to eat,” when I don’t have something convenient to grab.

Jot down what your takeout weaknesses are and start searching Pinterest for some great alternatives for your meal prep day.

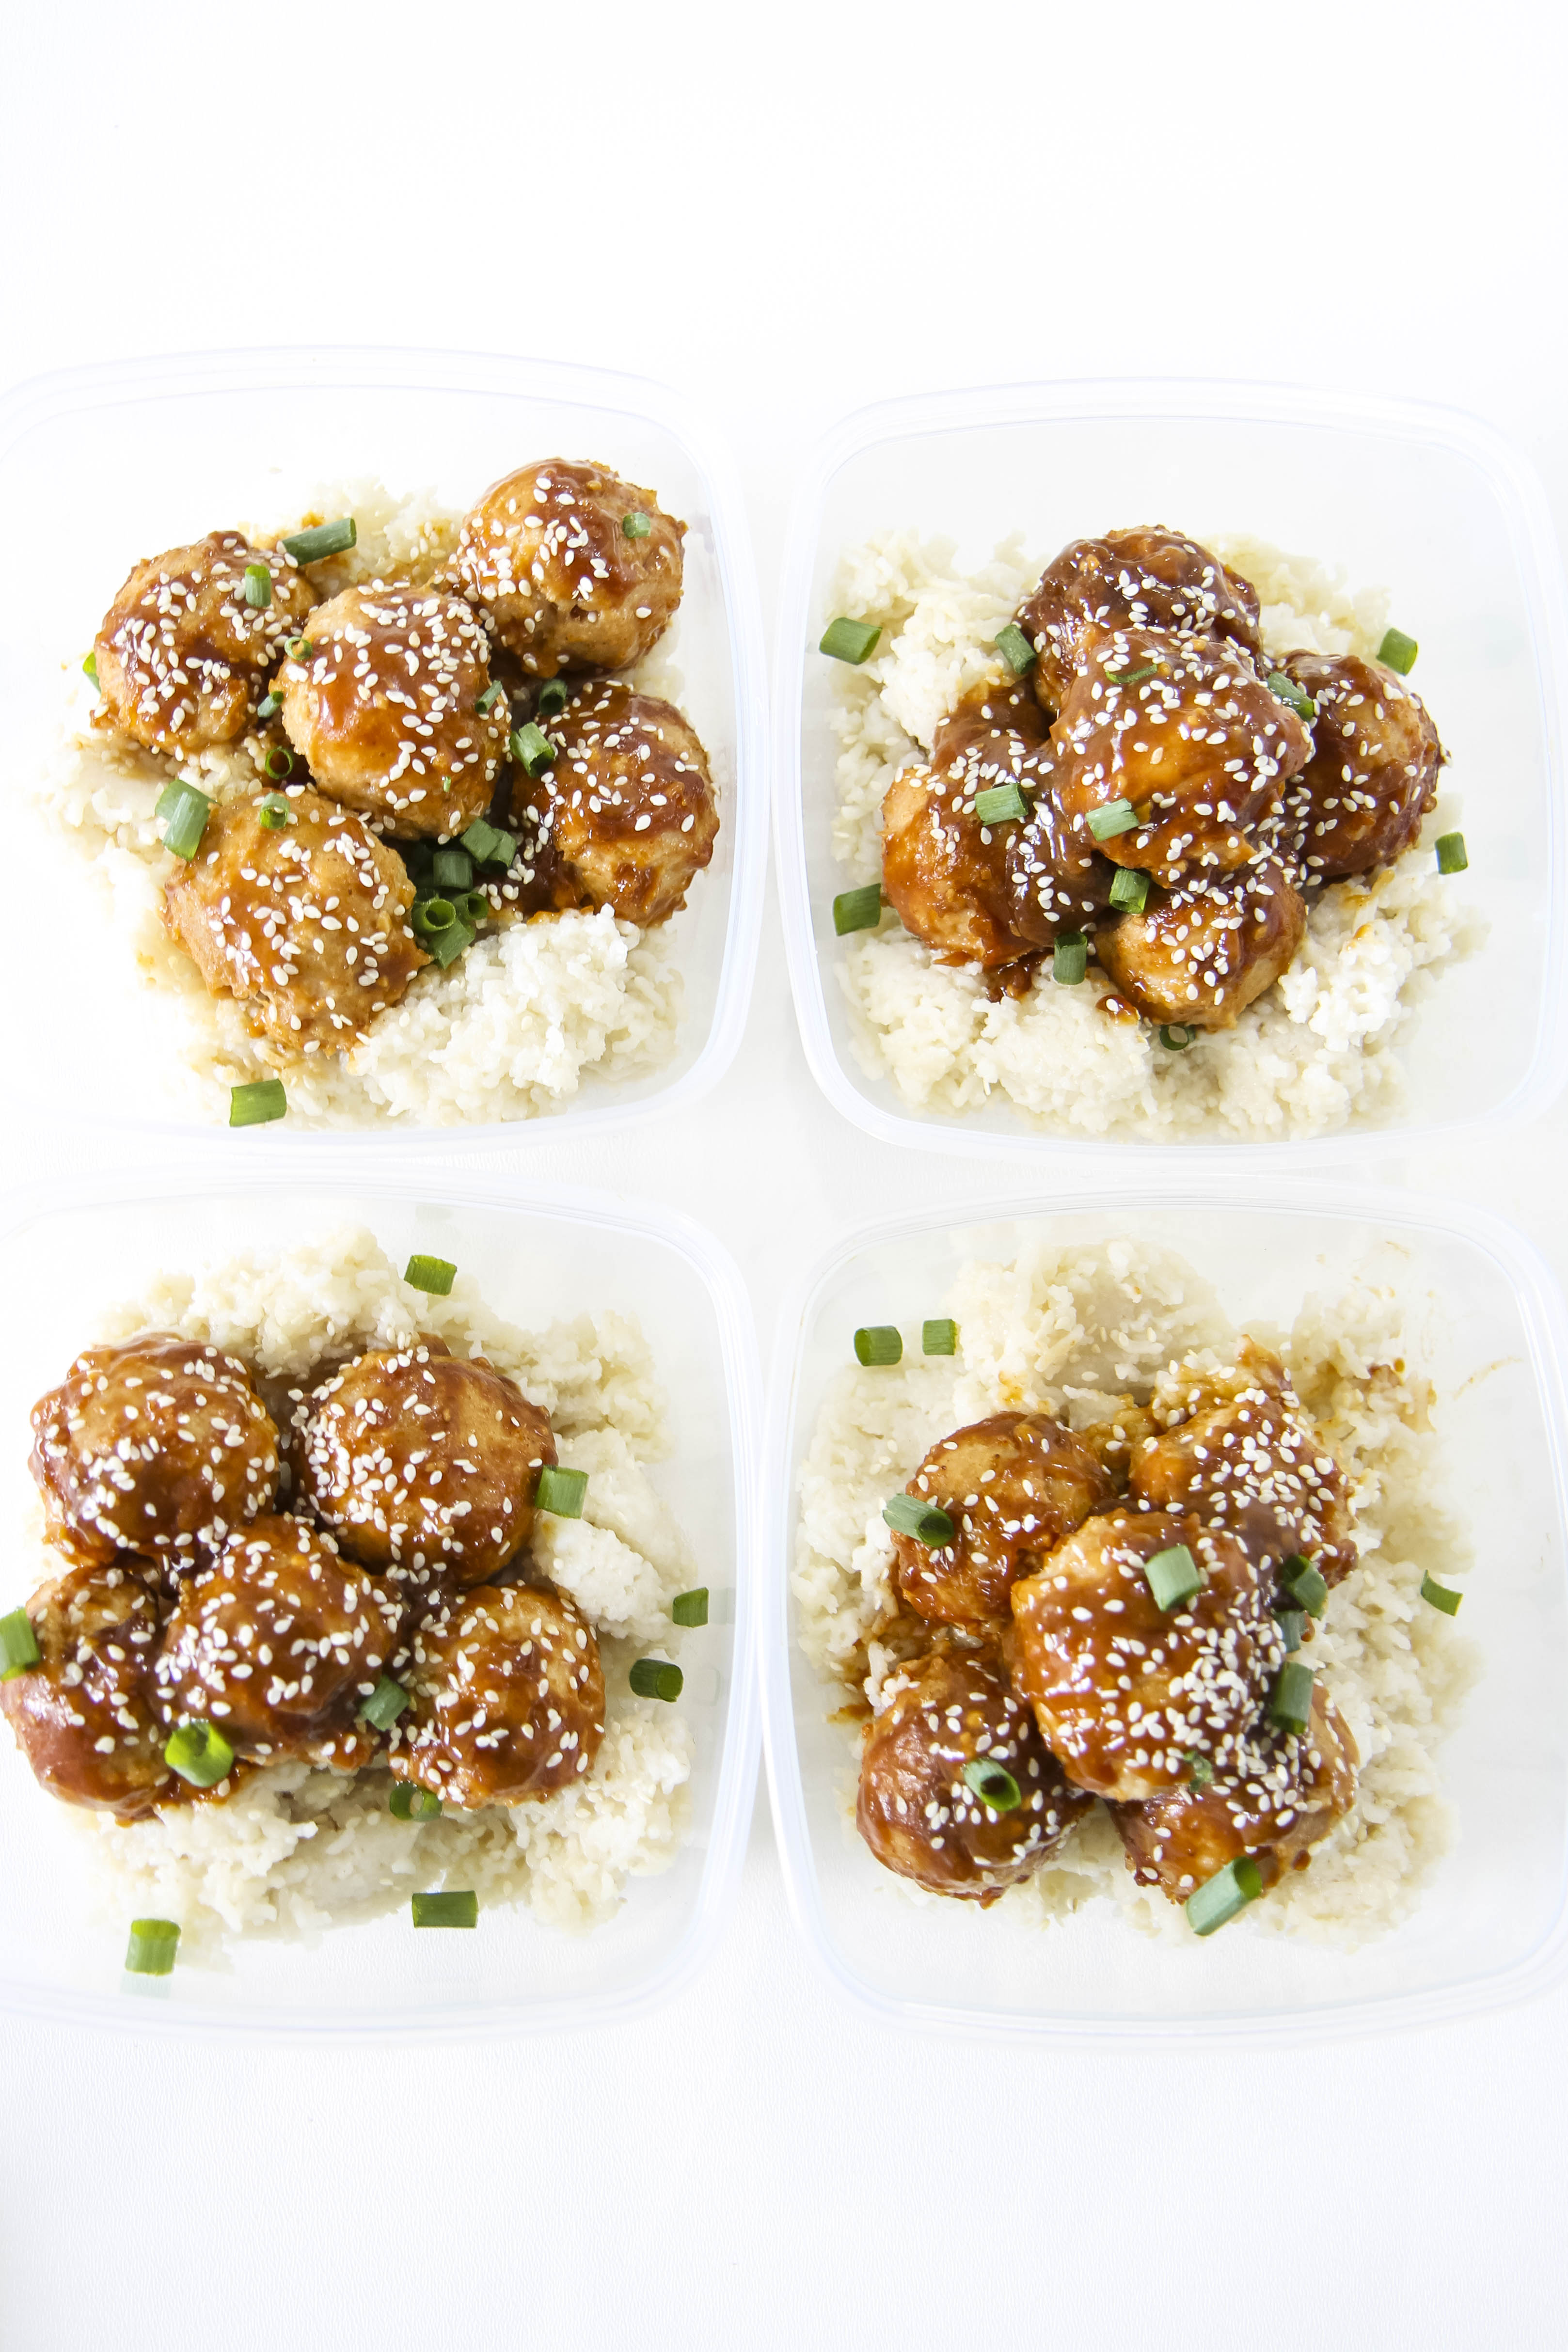
For me, Chinese is my weakness so these Make-Ahead Baked Orange Chicken Meatballs were just the ticket for my meal prep day. The sauce, of course, gets all of its orange goodness from a little Florida OJ!

Don’t Have Time To Make Separate Lunches? Double Up on Those Dinners!

Life gets chaotic this time of year so if you can’t devote a day to making lunches, consider doubling up on dinner ideas instead. For some great cold options, here are a few of my own recommendations!

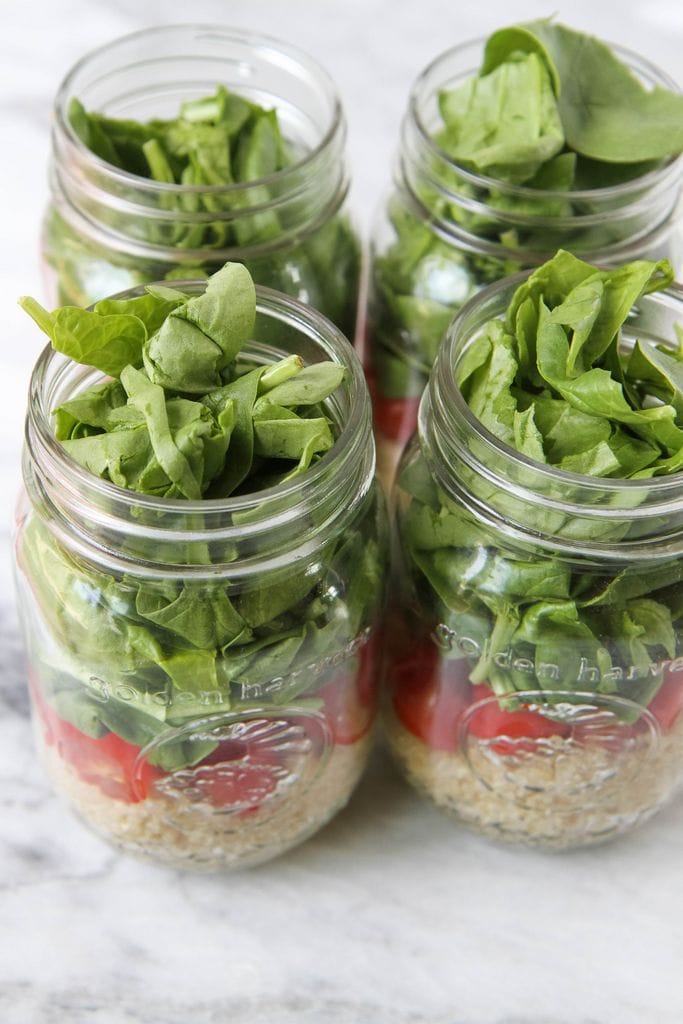
Quinoa-Salad-In-A-Jar-7 quinoa salad in a jar with spinach & tomatoes

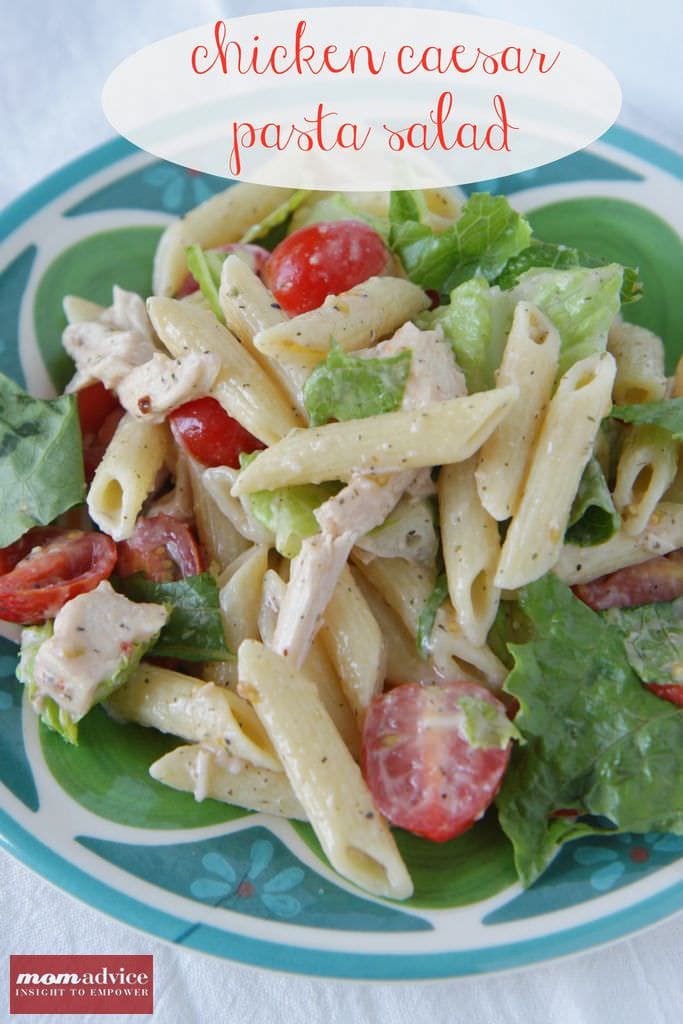
chicken caesar pasta salad chicken caesar pasta salad

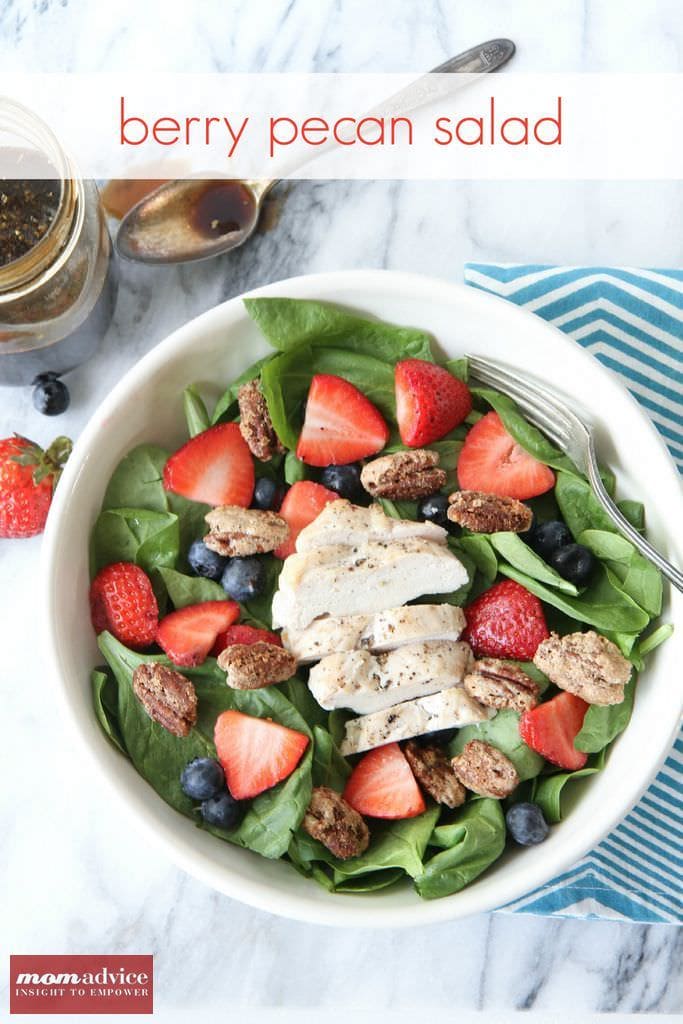
Berry Pecan Salad

berry & candied pecan salad with a homemade raspberry vinaigrette (make with or without chicken)

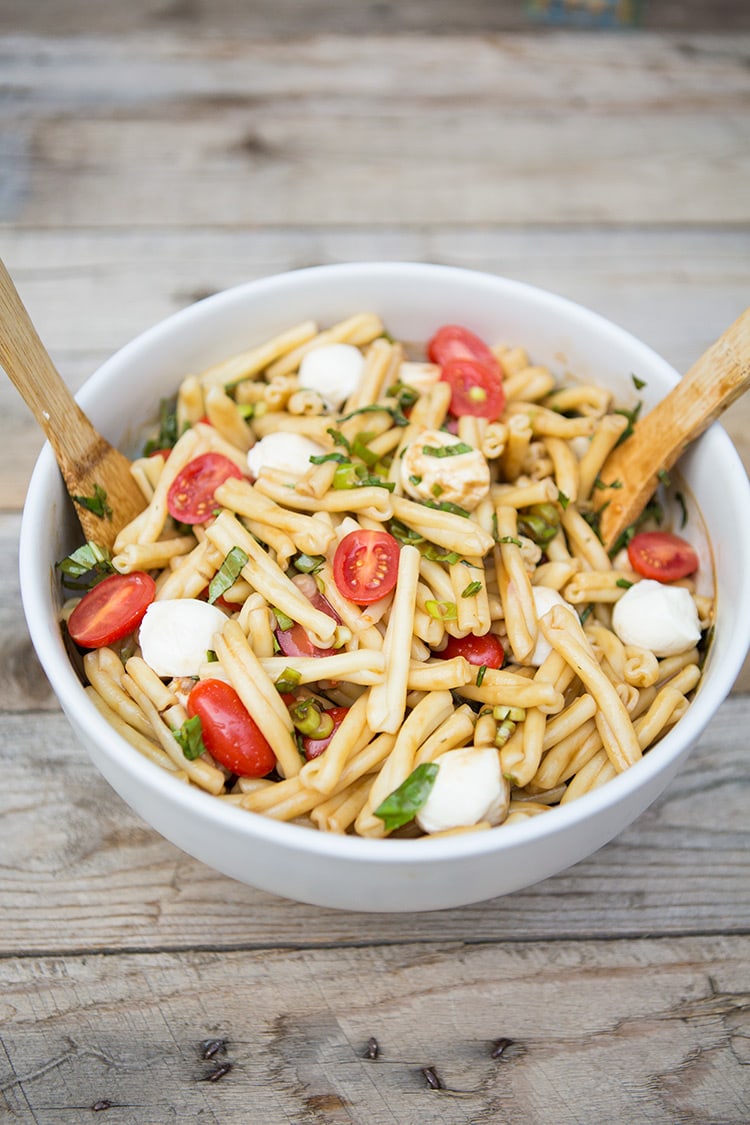
Caprese Pasta Salad #recipe via MomAdvice.com caprese pasta salad

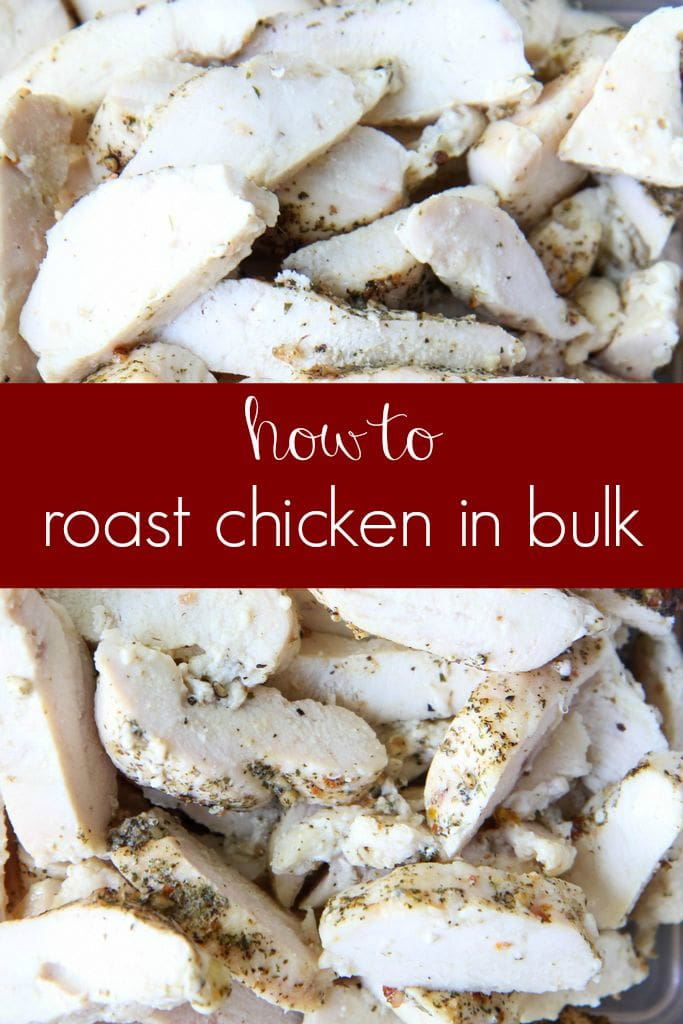
Roast Frozen Chicken in Bulk roasted chicken (perfect for salads & wraps)

Don’t forget those sides!

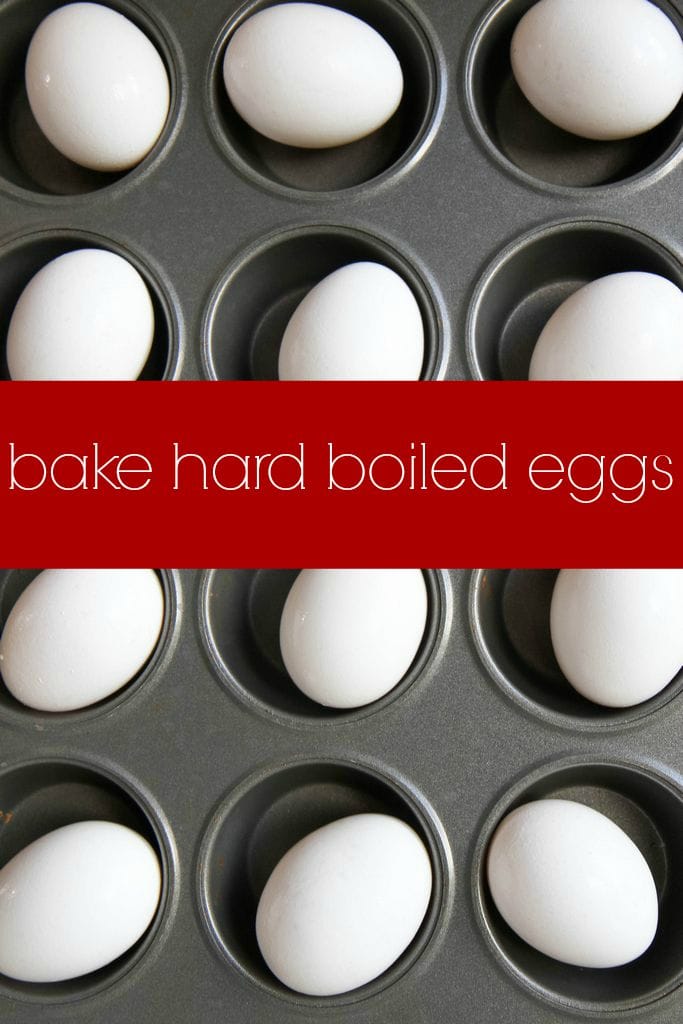
make-ahead hard boiled eggs make-ahead baked hard boiled eggs

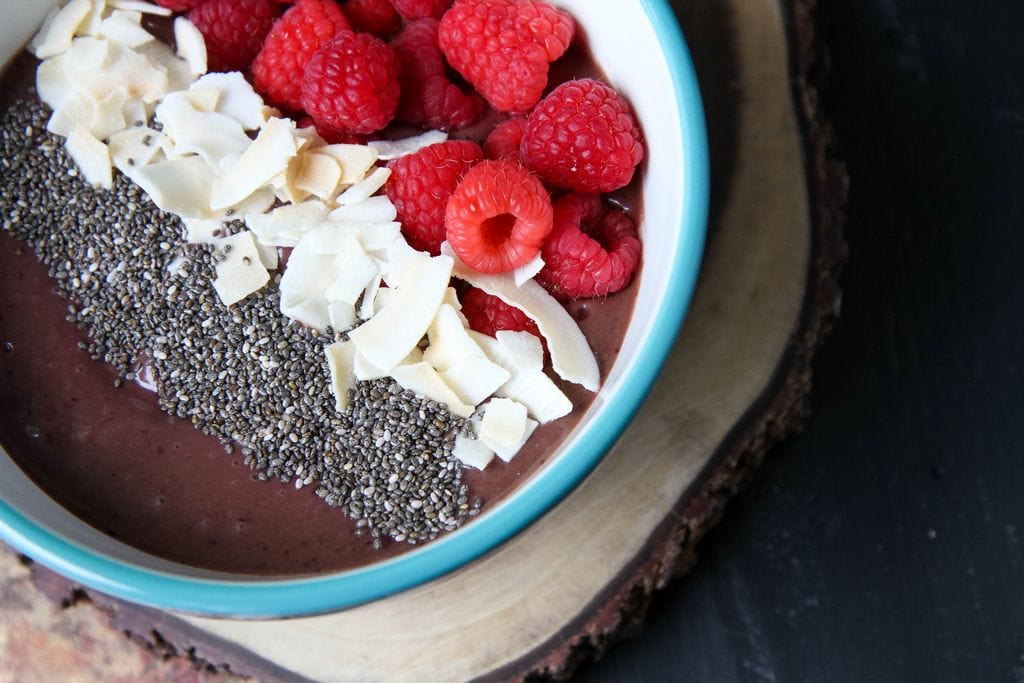
Smoothie Bowl Recipe smoothie bowl recipes

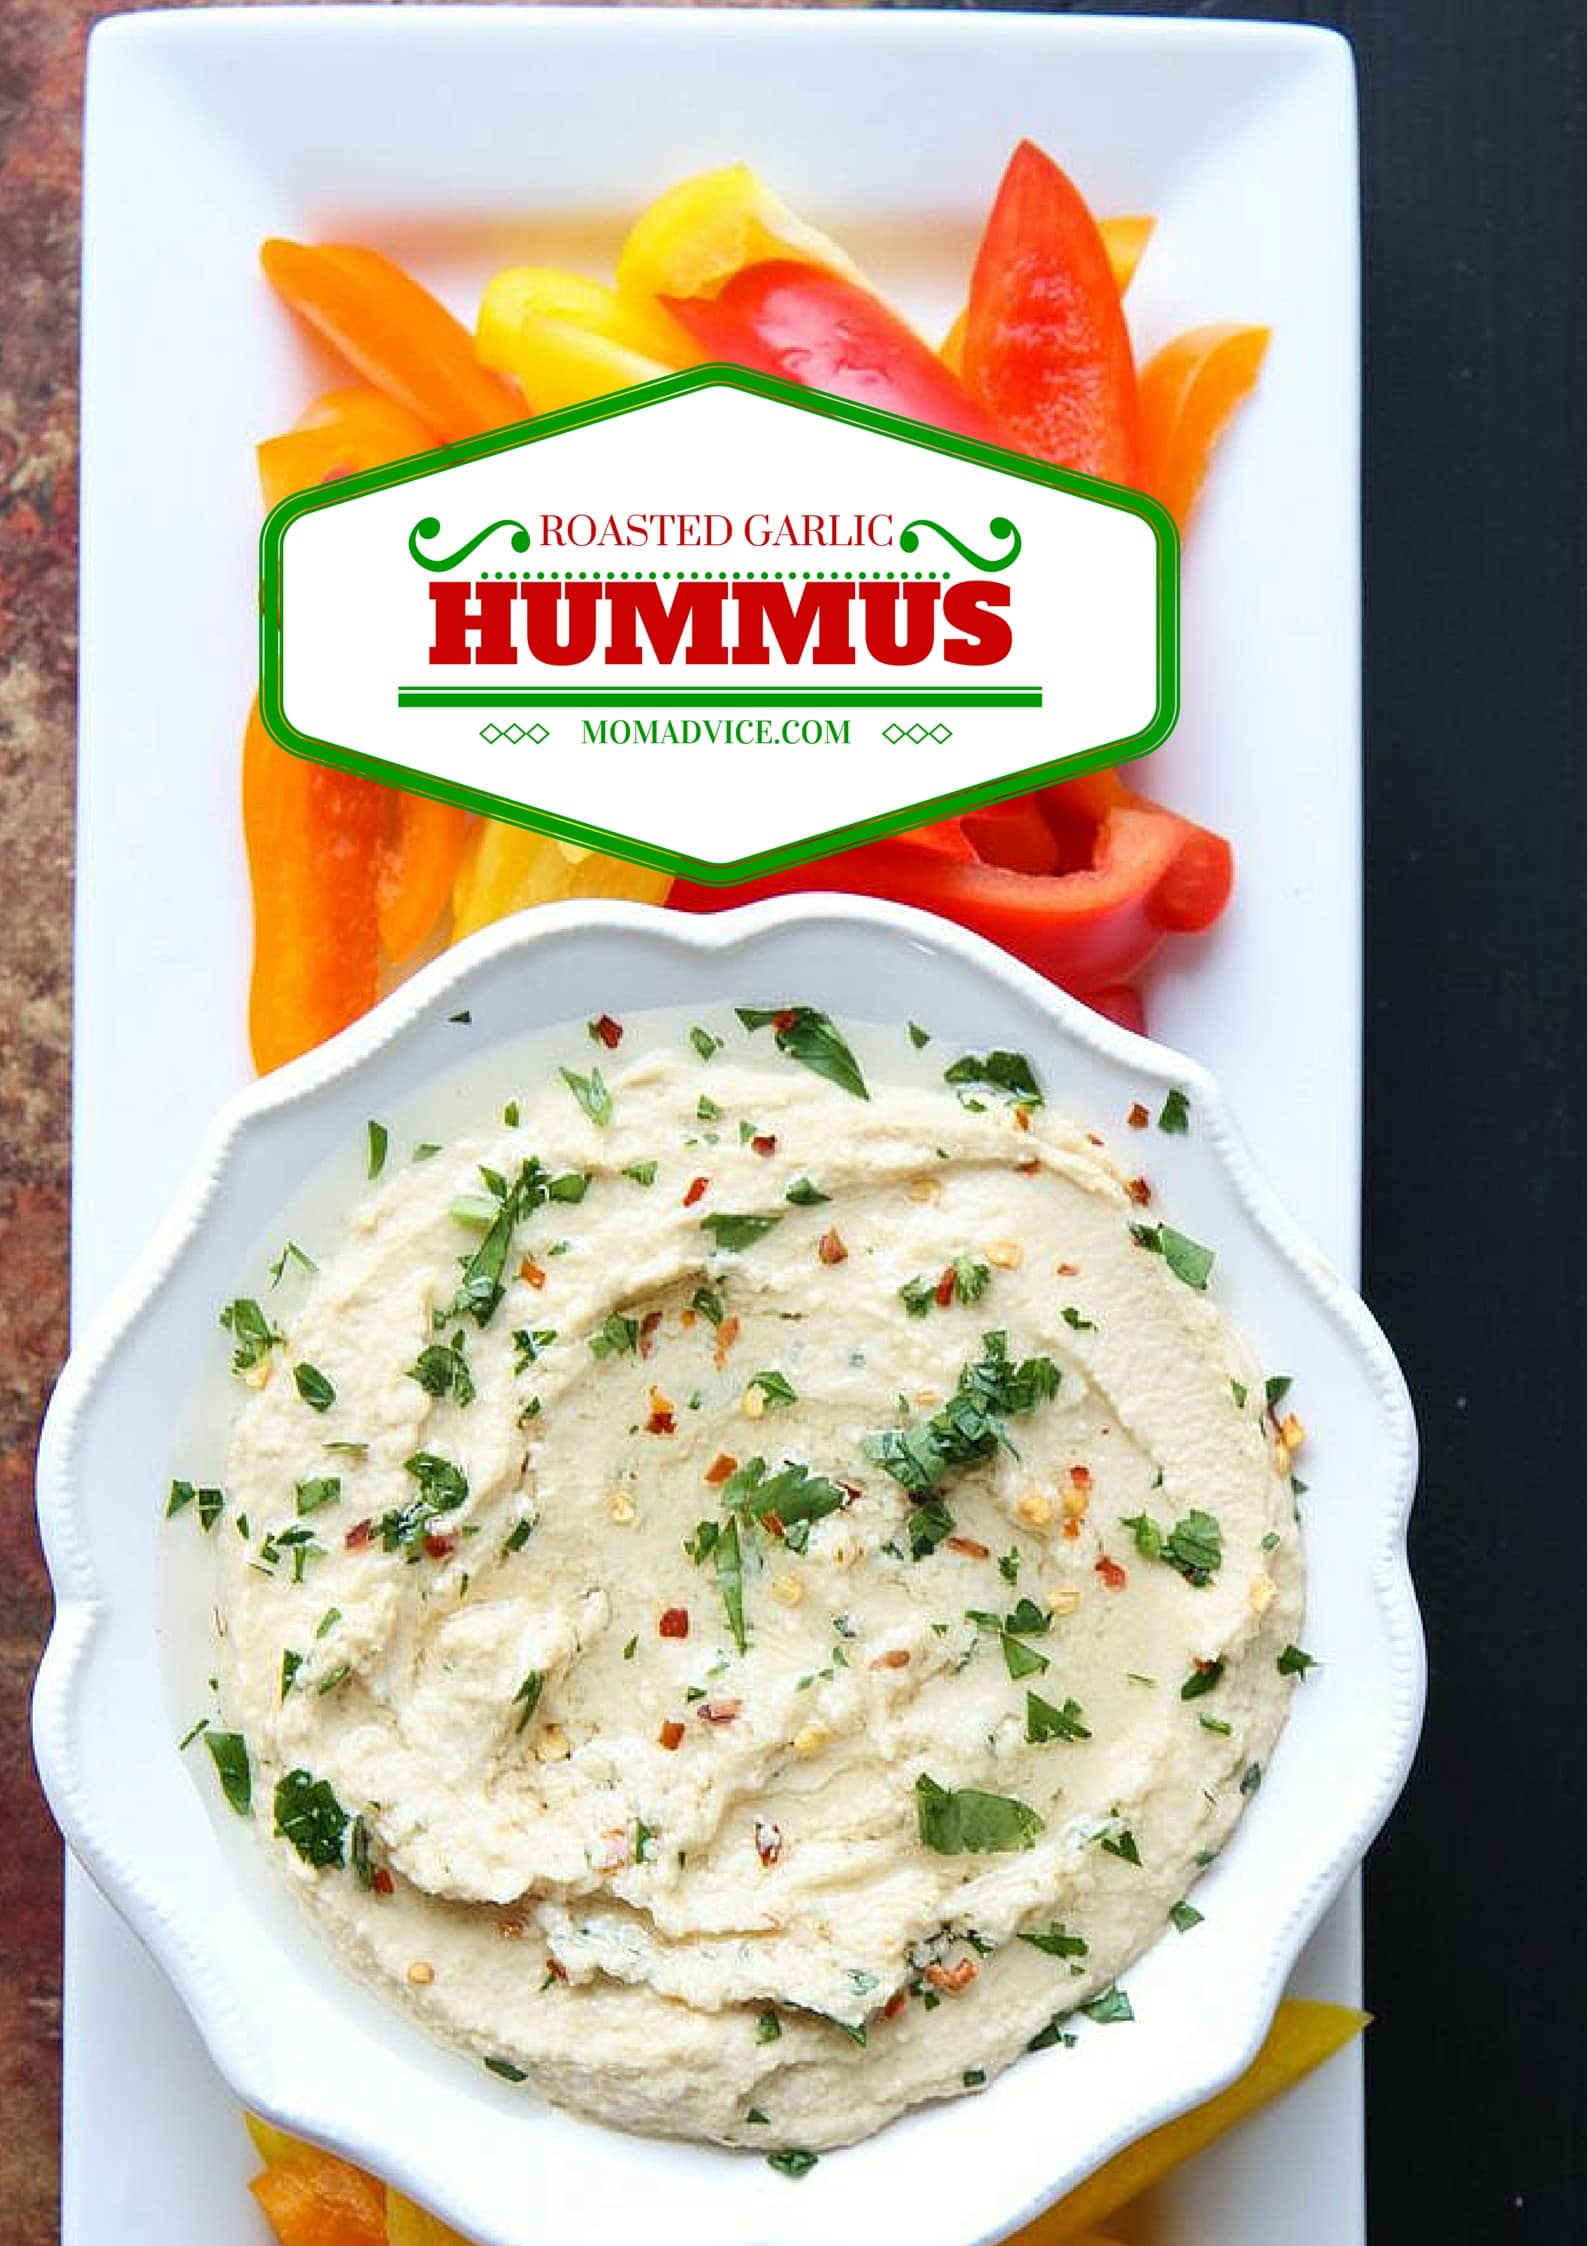
roasted garlic hummus roasted garlic hummus

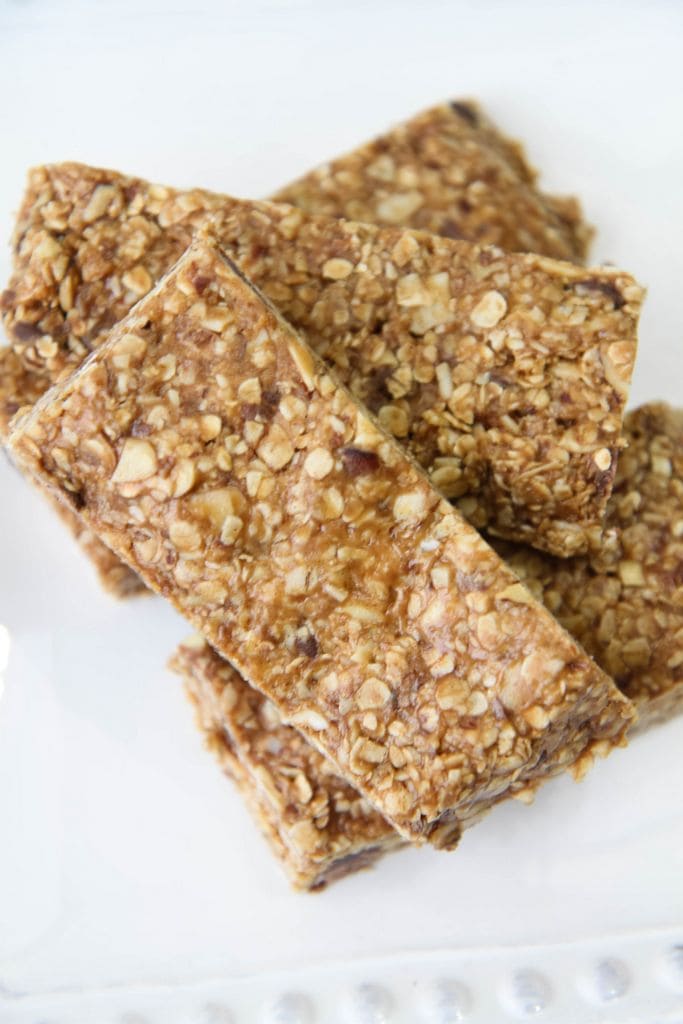
No-Bake Gluten-Free Granola Bars no-bake gluten-free granola bars

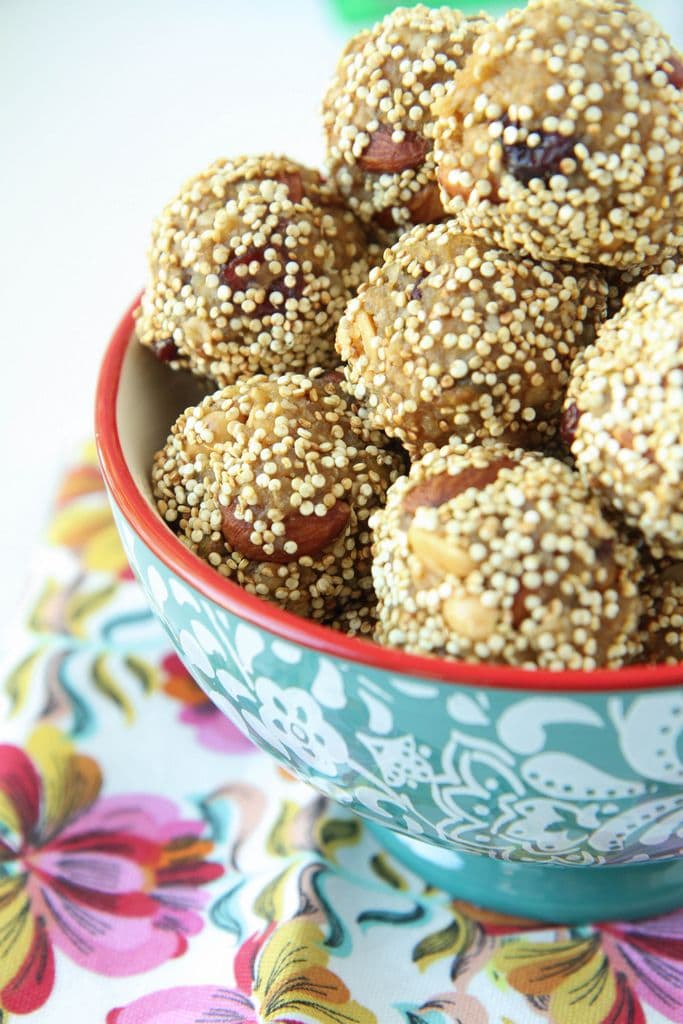
  trail mix energy bites trail mix energy bites

I hope that today’s ideas inspire you to try something new this year with your meal prep. Self-care is just as important so be sure to take some time out for YOU too with a few of my favorite self-care tips. Thank you to the Florida Department of Citrus for letting me share about these tips with you! Be sure to make Florida OJ a part of your daily routines to help boost your immune system during this challenging mom season.

This blog was sponsored by Florida Department of Citrus. Thank you for supporting the companies that support our site!


Pin It

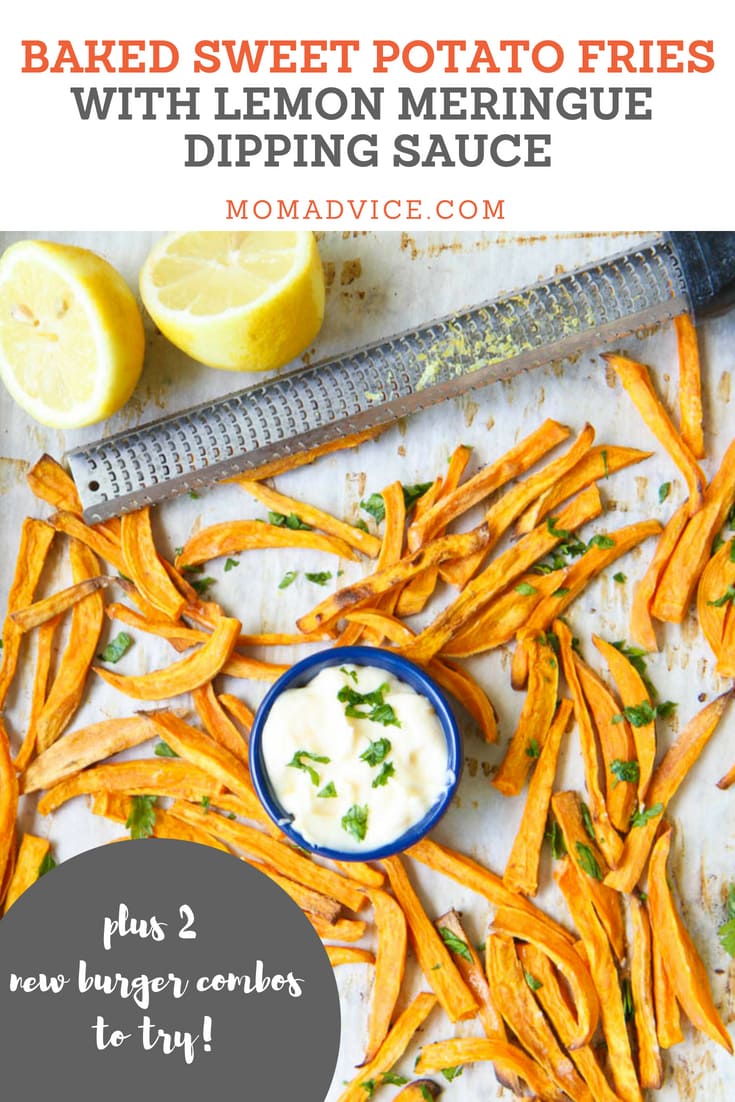
Baked Sweet Potato Fries With Lemon Meringue Dipping Sauce

Tuesday, May 22nd, 2018

Sweet Potato Fries With Lemon Meringue Dipping Sauce from MomAdvice.com

This post is sponsored by Honeysuckle White. All thoughts and opinions are my own!

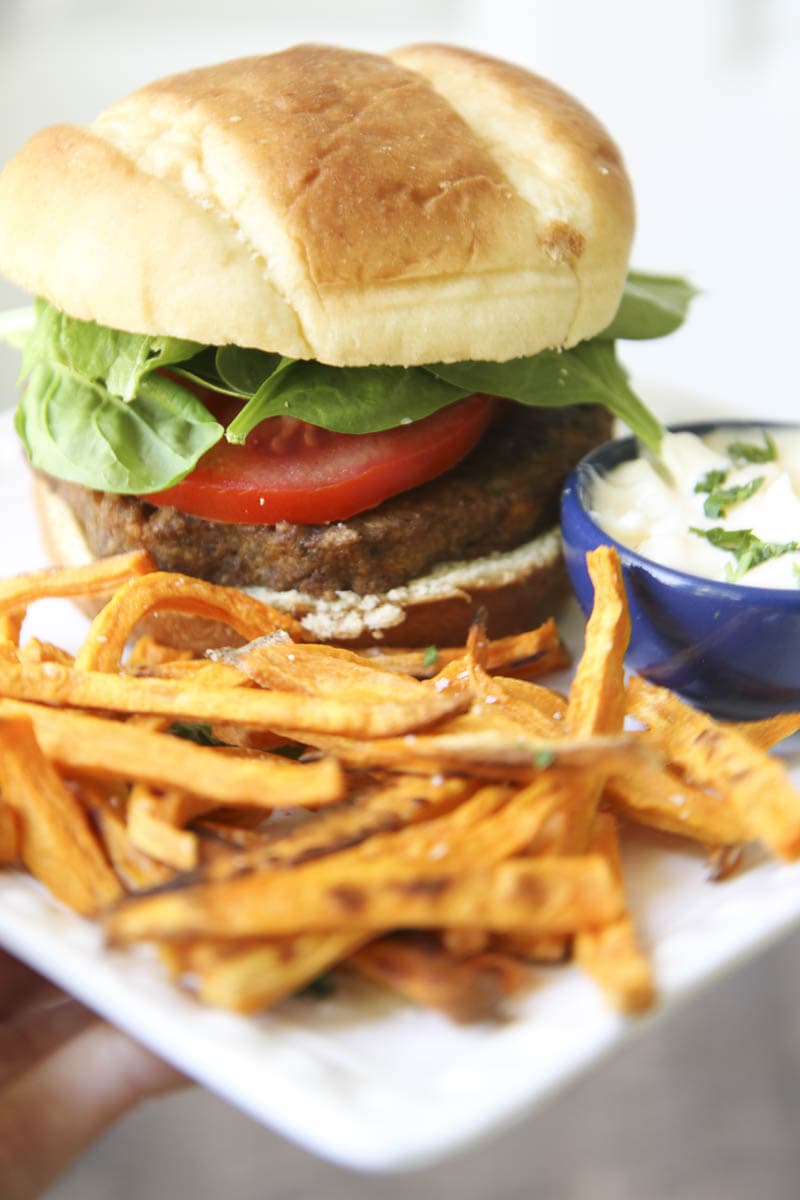
If you want to switch up your burger and fries game, today’s post is one you can’t miss, especially with a weekend of holiday grilling on the horizon.  Today I’m partnering with Honeysuckle White to share their fun new burger combos AND I have a fun baked sweet potato fries recipe with a lemon-filled dipping sauce that I know you will flip for.

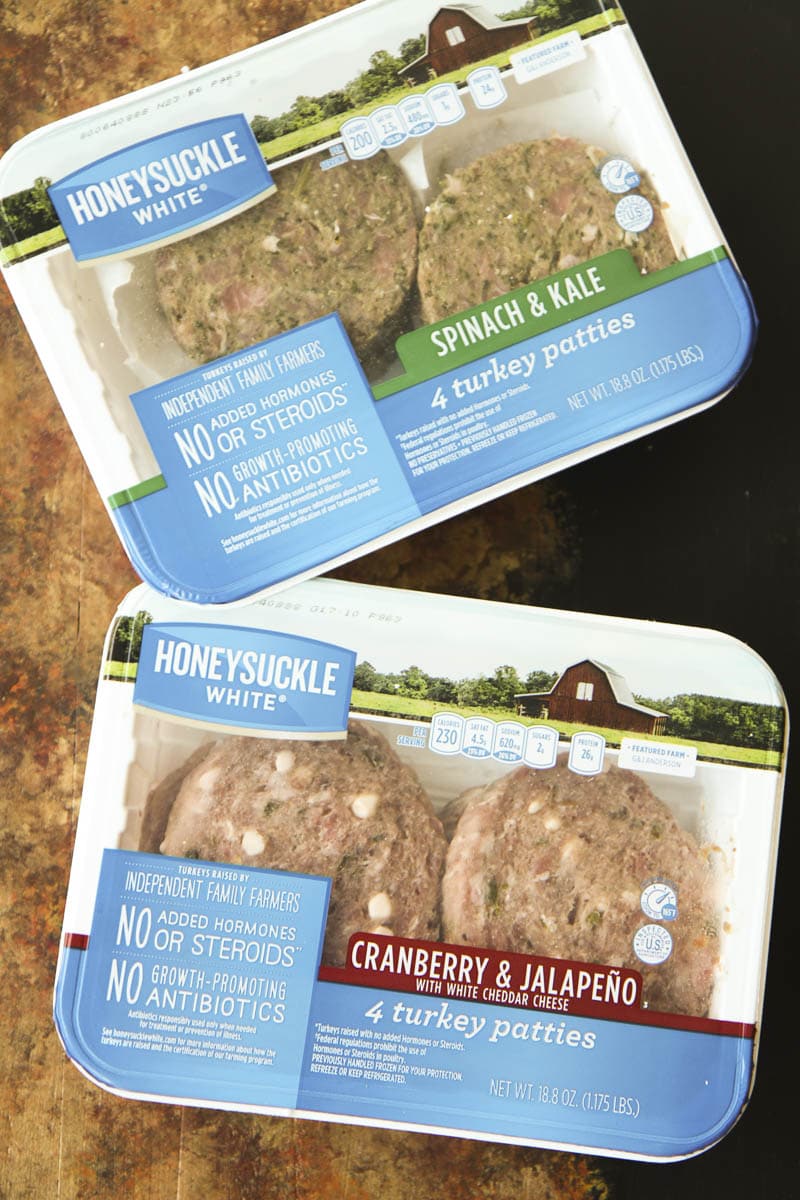
Honeysuckle White Turkey Burger Flavors

Honeysuckle White is now offering two fun and flavorful new turkey burger combos that are already prepared and ready to be thrown on your grill.  Our family sampled them both and absolutely fell in love with them.

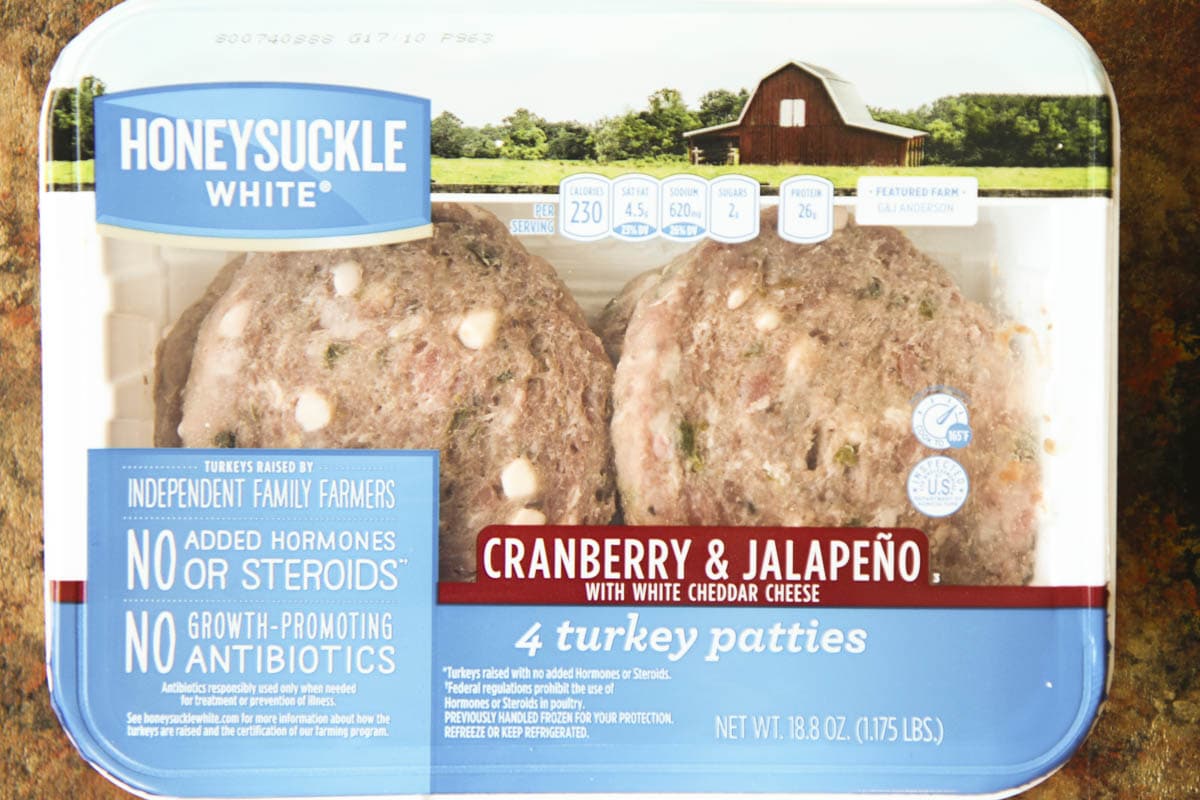
The first one is a Cranberry & Jalapeño that offers a fun combo of sweet and spicy that seem to really balance each other. They have kick to them, but a kick that was mild enough to be called a favorite by my daughter.  The white cheddar cheese sprinkled throughout add a little bit of unexpected creaminess to the patty and helps cut down on the spicy factor.

Honeysuckle White Turkey Burgers

Here is a close-up shot of all that cheese for you- YUM!

The other combo they offer are their Spinach & Kale turkey patties and these also pack another fun flavorful punch, with the greens folded right into the patty. If you struggle to get your kids to eat their veggies, this is the perfect patty for them. Pairing it with today’s sweet potato fries recipe (see below), you are sure to get a couple of servings in your child without them even noticing just how healthy they are eating.

Definitely, swing by your store and pick some of these delicious patties up for your next grilling weekend! I think they would be a fun surprise for your guests and Honeysuckle White has done all the work for you in the preparation of these delicious ingredient combos.

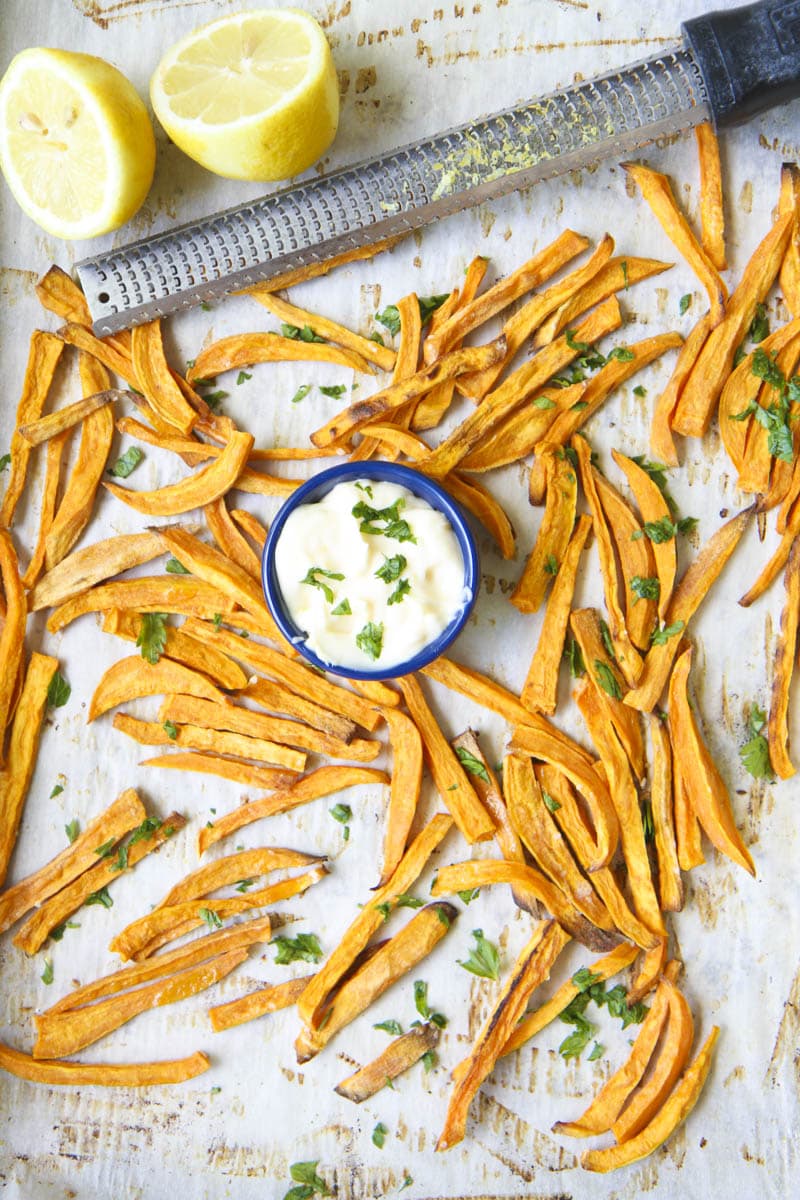
Baked Sweet Potato Fries with Lemon Meringue Sauce from MomAdvice.com

baked-sweet-potato-fries-with-lemon-meringue-dipping-sauce (5 of 7)

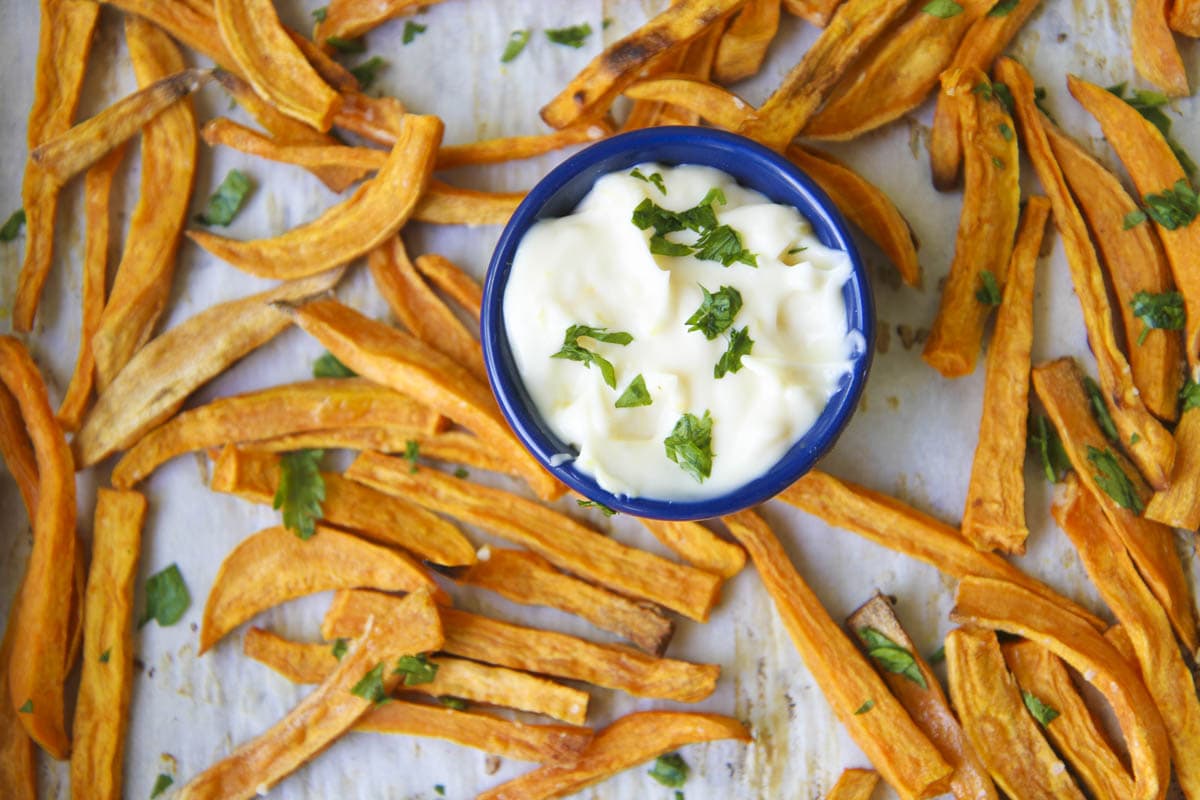
Sweet potato fries are my absolute favorite and one of our local burger joints inspired the dipping sauce to accompany them that I decided to recreate in my kitchen. This creamy lemon dipping sauce is tart and a fun match to the sweetness of the potatoes and is one of my favorite ways to indulge in a little fry dipping.

Not a big sweet potato fan?

I think this would be just as delicious with carrots as it is with the potatoes.

To make these fries ahead, before your guests arrive, peel and cut the potatoes into matchsticks and place in a bowl. Once you have cut all your potatoes, cover them with water and store in the fridge. Placed in a water bath, these cut potatoes can be stored up to twenty-four hours in the water. 

This simple dipping sauce is made out of several pantry staples- mayo, garlic, salt, and the juice and zest from a lemon. I guarantee that this unexpected sauce will be a huge hit at your barbecue just because it is such an unexpected flavor pairing.

Baked Sweet Potato Fries with Lemon Meringue Sauce from MomAdvice.com

I can’t wait until our next cookout so we can share these delicious Cranberry & Jalapeño Turkey Burgers and  Spinach & Kale Turkey Burgers with our guests. With all these new flavor combos, you are sure to wow your guests this year!  Best of all? Although the flavor profile is elevated, the price is quite affordable to have a high-end burger night right in your own backyard.

Baked Sweet Potato Fries With Lemon Meringue Dipping Sauce
Recipe Type: Side
Cuisine: American
Author: MomAdvice.com
Prep time:
Cook time:
Total time:
Serves: 6
These baked sweet potato fries are served with a lemon dip that brings together the sweetness of the potato with the tartness of the lemon.
Ingredients
  • 3 large sweet potatoes cut into matchsticks
  • 2 tablespoons olive oil
  • 1-2 teaspoons kosher salt
  • 3/4 cup mayonnaise
  • 1 clove garlic, finely minced
  • zest from one lemon
  • 1 tablespoon freshly squeezed lemon juice
  • 2 tablespoons flat leaf parsley
Instructions
  1. Preheat oven to 450 degrees and line baking sheet with parchment paper.
  2. Peel sweet potatoes and slice into matchsticks, roughly the same size. Place in a large bowl.
  3. If storing for the next day, fill the bowl with water, cover with plastic wrap, and refrigerate (up to 24-hours).
  4. If preparing immediately, toss with olive oil and salt.
  5. Bake in the oven for 20 minutes, on parchment paper lined cookie sheet, tossing once halfway through to crisp up both sides.
  6. While they are baking, mix together the mayo, garlic, lemon juice, lemon zest, and a pinch of salt.
  7. Once fries are done, garnish with parsley and serve with the lemon meringue dipping sauce.


Looking for more ways to enjoy turkey? Here are a few of my favorites!

Caprese Quinoa & Meatball Casserole

Asian Turkey & Green Bean Saute

Ground Turkey Gyro Burgers

Slow Cooker Thanksgiving Turkey

Instant Pot Indian Vegetable Rice (served with turkey meatloaf)

Spinach & Turkey Bacon Skillet Dish

This post is sponsored by Honeysuckle White. All thoughts and opinions are my own!

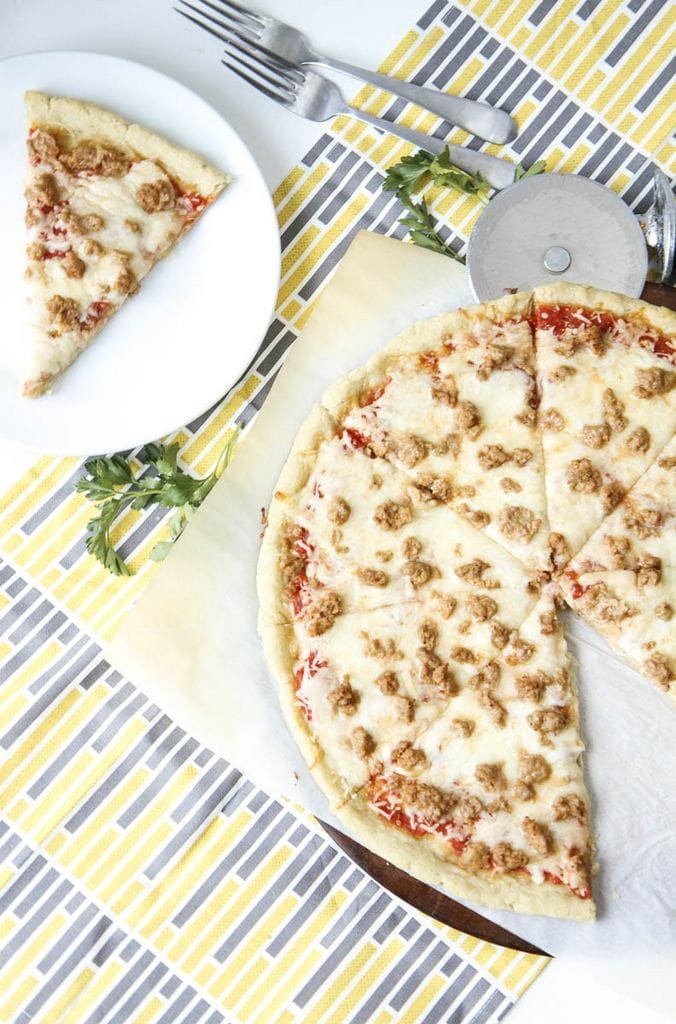
5-Ingredient Gluten-Free Pizza Crust Recipe

Tuesday, March 6th, 2018

5-ingredient gluten-free pizza crust recipe from MomAdvice.com

I have been gluten-free for years, but I have only really jumped into gluten-free baking this year. The one recipe that I just couldn’t seem to master was a delicious gluten-free pizza crust. This week I decided to try to crack the code on a simple, one-bowl dough that could be made from a gluten-free mix and that had simple ingredients that I always keep in my pantry. Does this seem like too steep of a request to make from myself? You bet!

You could say this no-spend month has been quite motivating!

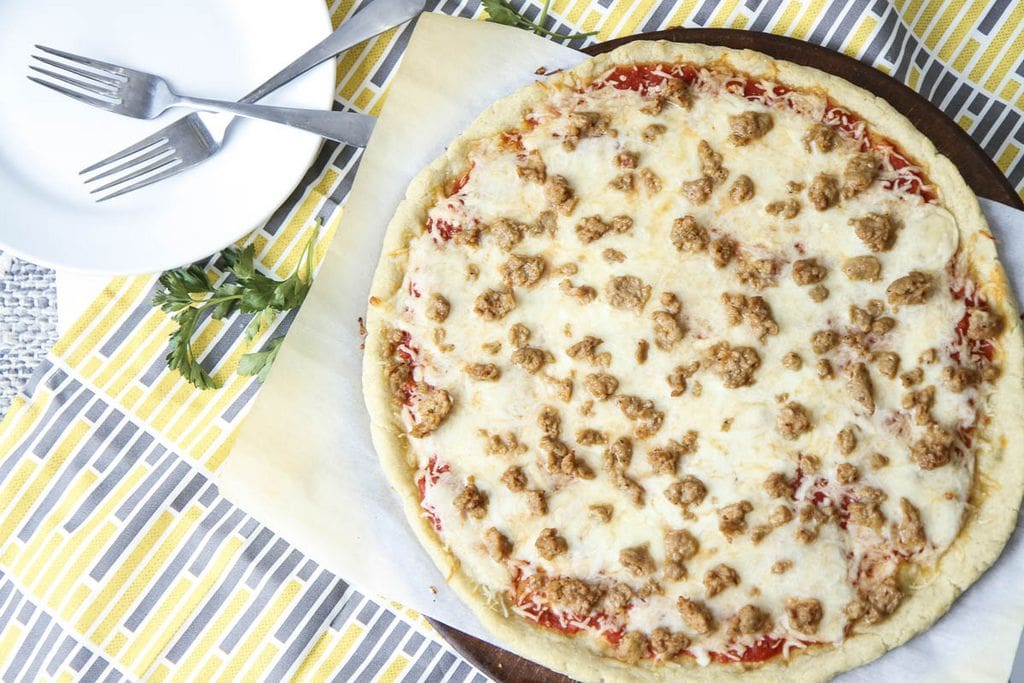
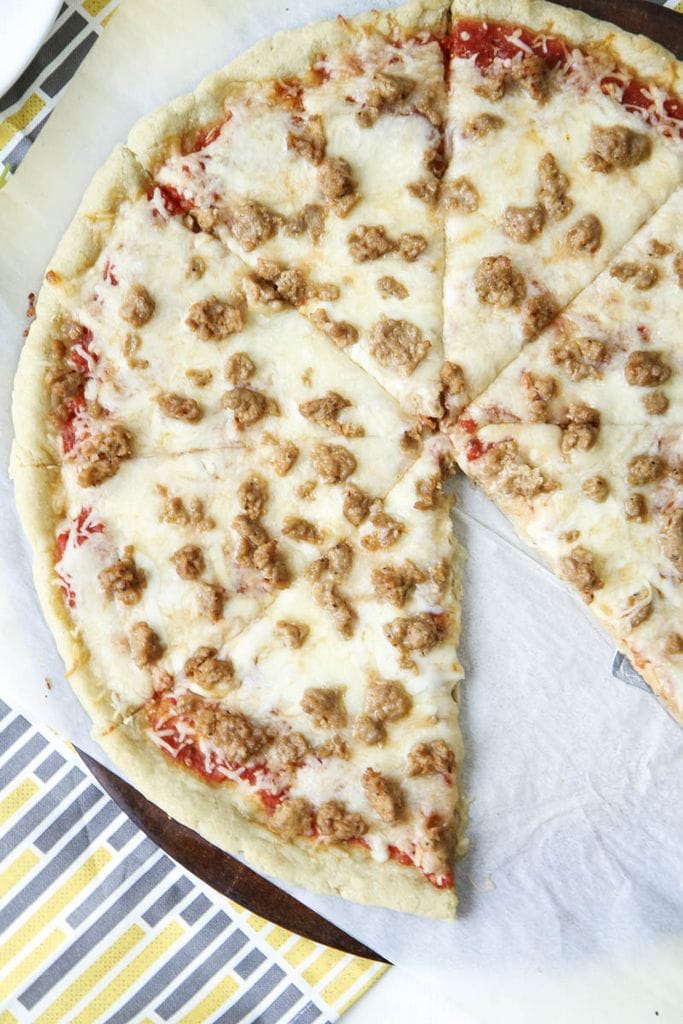
I am SO excited to share with you a foolproof gluten-free pizza crust recipe that is as easy to put together as your standard crust. The thing that I need to stress though is that you MUST, MUST, MUST follow my advice on which flour to purchase and the steps that I have outlined to create it. If you use another flour mix I can’t guarantee these results for the perfect airy crust that will rival any pizzeria you have been to.

It’s worth it to take the time to buy the right product, amiright?

Are you ready for this EASY recipe?

Let’s get baking!

5-ingredient Gluten-Free Pizza Crust from MomAdvice.com

A Few Quick Suggestions for the Perfect Gluten-Free Pizza Crust

The Best Flour Blend for This Recipe

To nail this perfect crust, you MUST use this gluten-free flour mix.

Period.

I’m linking to the best price on this that I’ve found (at least in our area). The cost (currently) is $3.97 and this will yield two large pizza crusts for your family.  It has to be the cup-for-cup so make sure that the label says that since other gluten-free blends exist. Although I am telling you it yields TWO crusts, this recipe below is for ONE crust. Double it if you are wanting to make two pizzas.

And you will want to make two pizzas. I just know it!

Anyone who eats gluten-free knows what a steal this on two large crusts. I can’t tell you how much money I have spent on tiny terrible pizzas that left me hungry.

A little over two bucks per large pizza crust is unreal awesome.

The Yeast Must Be Active

Do you know the best way to check if your yeast is active? Sprinkle your yeast and a pinch of sugar over the top, give it a stir, and let it stand for a few minutes. If the yeast is still active, it will dissolve completely into the water and the liquid will start bubbling. If your yeast isn’t active, it will yield a dense and heavy crust.

I buy a large jar of yeast because it is cheaper than buying the yeast packets. This is the jar that I purchase for our family.

You want to make sure you don’t grab the bread machine yeast, just the regular ol’ active yeast.

Parchment Paper Makes Everything Easier

This crust shouldn’t be too sticky (if it is, add a little additional flour until it comes together without the stickiness factor), but I prefer to press out my crust on a parchment paper lined pizza stone. I buy these squares (awesome stuff for easy clean-up on sheet pan meals) and place it on a diagonal across my stone.

Speaking of pizza stones, they are such a wonderful family investment. I bought mine about twelve years ago and it has paid for itself over and over and over again. This size stone is perfect for all your pizza needs.

5-ingredient gluten-free pizza crust recipe from MomAdvice.com

5-ingredient gluten-free pizza crust recipe from MomAdvice.com

I have a feeling you are going to love this recipe because of its ease.  Mix it up, let it rise, and then pat it out on parchment paper.

Yup, that’s pretty much it.

I like to brush the crust edges with olive oil because it helps the edge to crisp up a bit more.

Once you press the crust out, bake it for a bit, add your toppings, and then finish your baking.

That’s it!

The best part is that you can make a few crusts at the same time and place them in the freezer for your future pizza nights. Simply allow the crust to rise and then place the dough ball in a freezer-safe plastic bag. Once you are ready to use it, let it thaw overnight in the fridge, and then prepare as usual. These crusts can be kept frozen for up to four weeks.

Another make-ahead option is to to mix all the dry ingredients and store them in a bag or jar to make preparation a little easier.

Or, heck, just wing it!

You got this!

5-ingredient-gluten-free-pizza-crust-recipe (7 of 8)

5-Ingredient Gluten-Free Pizza Crust Recipe
Prep time:
Cook time:
Total time:
Serves: 1 large pizza
An easy 5-ingredient one-bowl gluten-free pizza crust recipe. I dare you to say that three times fast.
Ingredients
  • 2 1/4 cups [url href=”https://rstyle.me/n/cy78eqwky6″ target=”_blank”]Bobs Mill Cup-For-Cup Baking Flour[/url] [u]NO SUBSTITUTIONS[/u]
  • 2.25 teaspoons active yeast (if purchasing in packet form, it will be one packet)
  • 1 teaspoon salt
  • 1 tablespoon honey
  • 3 1/2 tablespoons olive oil
  • 1 cup warm water
Instructions
  1. Please Note- This yields enough for ONE crust for ONE large pizza.
  2. In a large mixing bowl mix together flour, yeast, and salt.
  3. Add honey, olive oil, and warm water (you want this warm, but not SO hot that it kills your yeast).
  4. Mix well until the dough pulls away from the bowl. If your dough feels too sticky, you can add a little additional flour to it until it pulls into a ball.
  5. Knead the ball of dough a few times and then cover with plastic wrap.
  6. Let rise for 30 minutes.
  7. Preheat your oven to 450 degrees.
  8. On a parchment paper lined pizza stone, turn out the dough and shape into a pizza.
  9. Once it is patted out, brush with olive oil on the edge of the crust.
  10. Bake for 12 minutes.
  11. Remove and add sauce and toppings. Place back into the oven and finish baking (approximately 7-9 minutes). If you like your cheese bubbly on top, you can finish the process by broiling for a couple of minutes. Be sure to keep your eye on it so your crust doesn’t burn.
  12. Slice and enjoy!


Not gluten-free? I’ve got you covered with this easy Bread Machine Pizza Dough! You can also use my pizza sauce recipe (all the way at the bottom of the post!) for both types of pizzas.

I can’t wait to hear what you think of this recipe and hope it is as big of a hit at your house as it has been at our home!

This post contains affiliate links.


Pin It

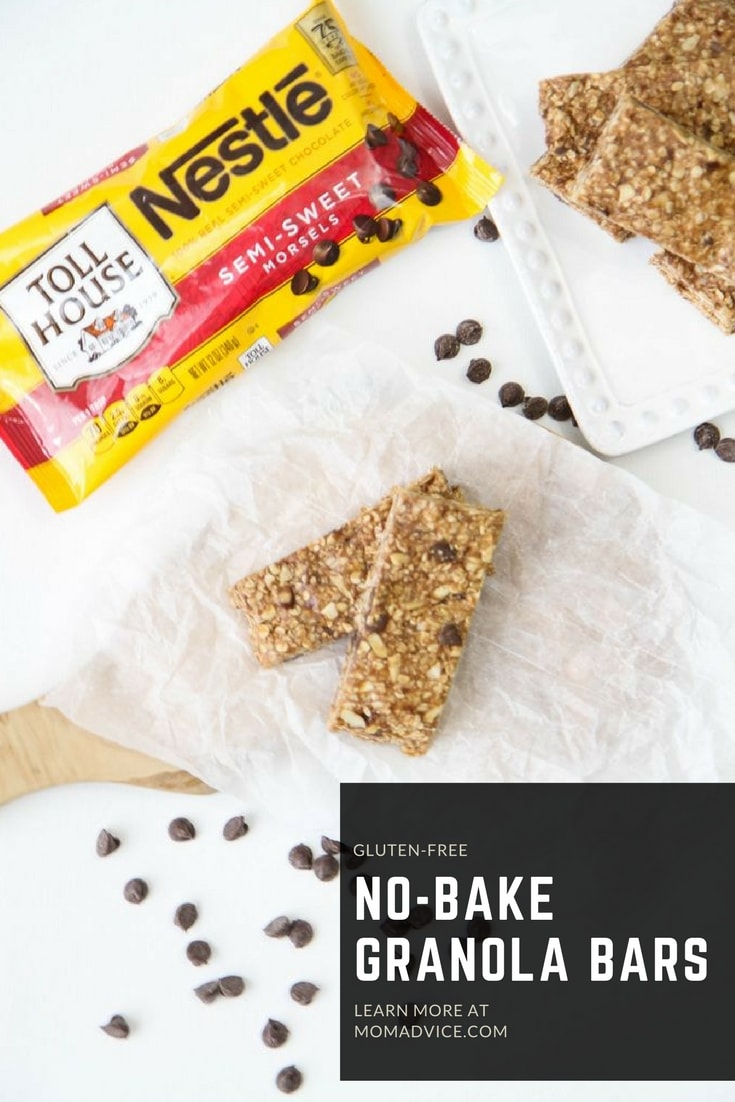
No-Bake Gluten-Free Granola Bars

Thursday, December 21st, 2017

Gluten-Free No-Bake Granola Bars

This post is sponsored by Mirum, but opinions expressed are my own.

This gluten-free mama is excited to share with you a new tool for making sure that you have good meals that your WHOLE family can enjoy!

Not only that, I’m sharing an EASY no-bake granola bar recipe that is our new favorite after school treat!

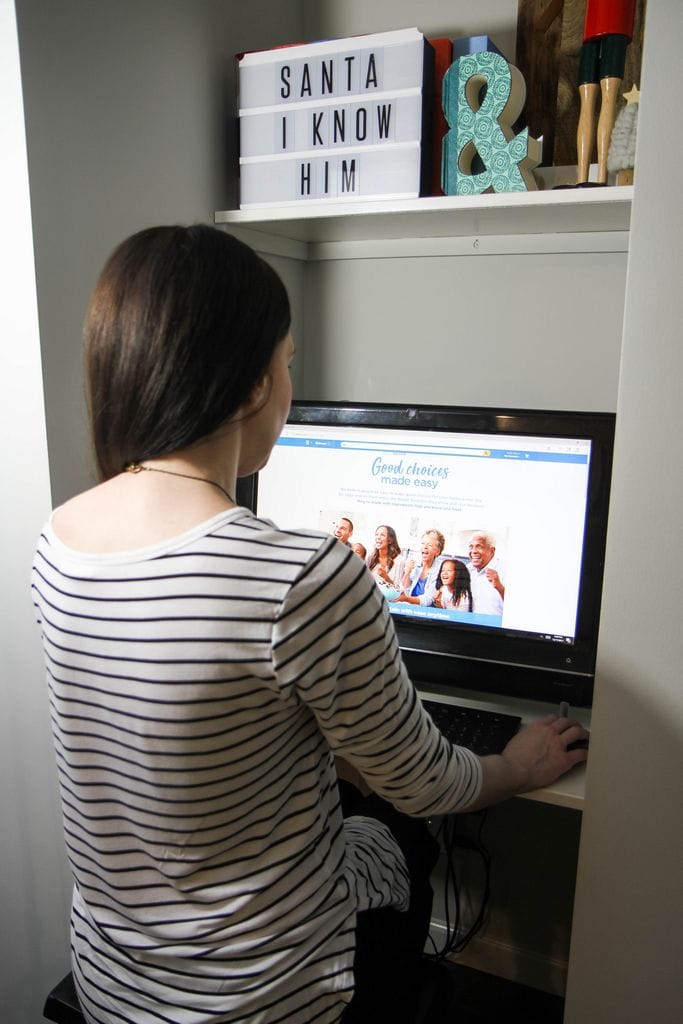
Good Choices Made Easy Tool at Walmart

Nestlé has launched a new tool, in partnership with Walmart called Good Choices Made Easy.  This tool helps recommend different products for your family’s meals and helps you select these products based on your own dietary needs.

They recognize that every meal can’t be homemade (especially during this busy season), but they want you to know and trust that the products they are sharing are made with quality ingredients and save you time in the aisles reading all those labels.

How cool is that?

Combining this tool with the low prices at Walmart, you can feel confident about the ingredients you choose AND the pricing on these items!

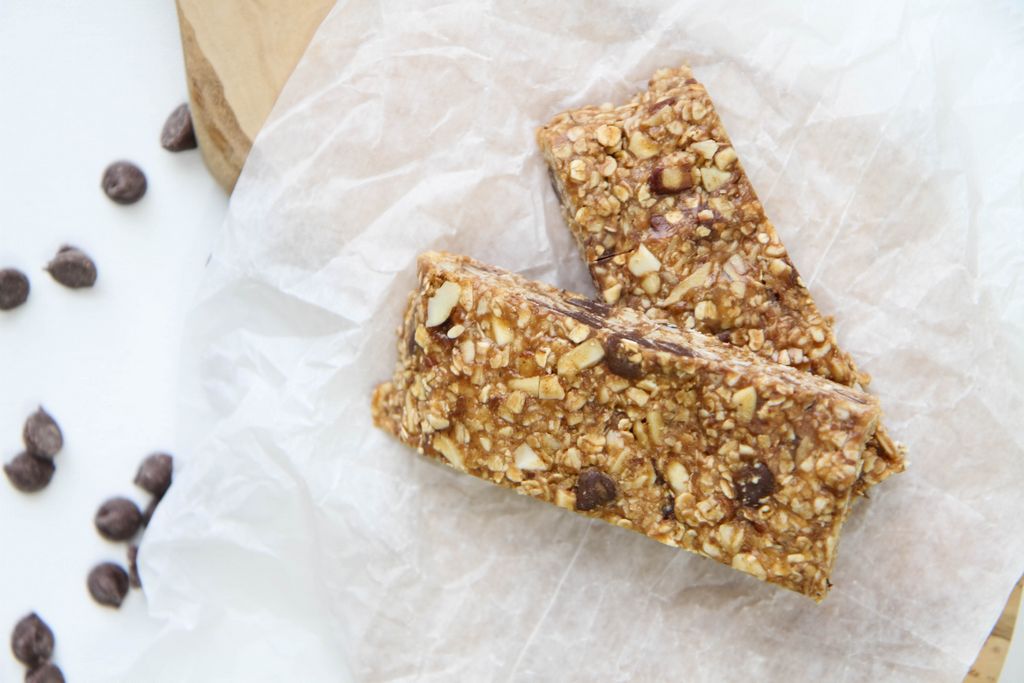
no-bake-gluten-free-granola-bars-recipe-1

No-Bake Gluten-Free Granola Bars from MomAdvice.com

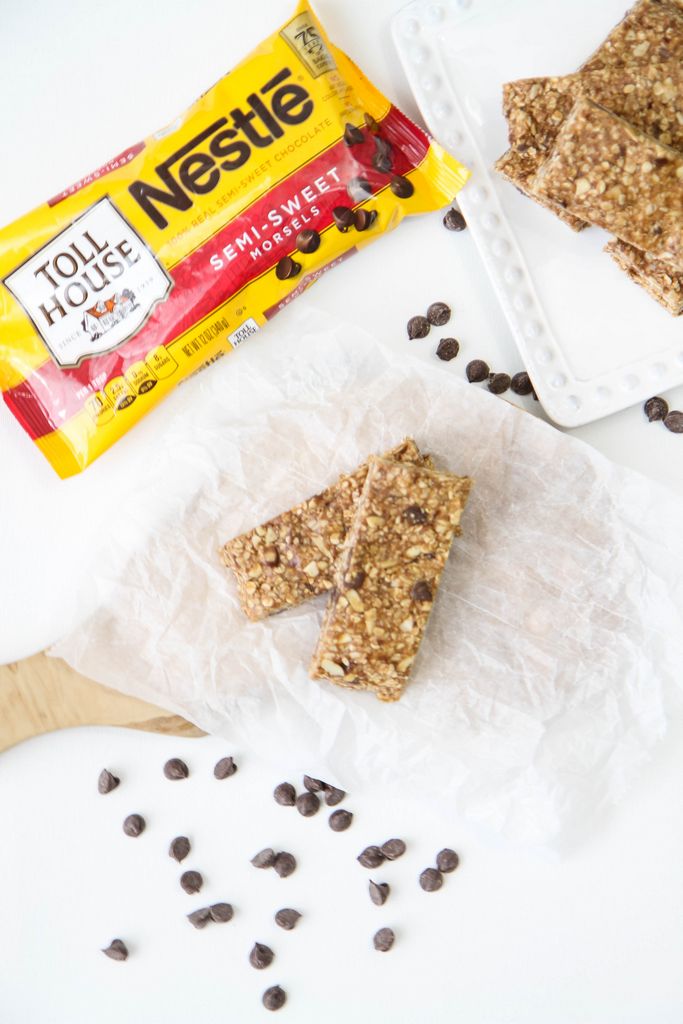
To celebrate the launch of this new tool, I am sharing a recipe for No-Bake Granola Bars using the Nestlé® Toll House® Semi-Sweet Chocolate Morsels.

I have incorporated oats, almonds, honey, and peanut butter in these delicious treats that are perfect for serving up as a snack after a long day of school.

You may recall that I had a baked granola bar on our site, from many years ago. My original recipe relied upon flour and baking so this is a spin on my No-Bake Energy Bites recipe, just in bar form. These days, I’m all about easy!

Mix these delicious ingredients up in a large bowl and line an 8×8″ pan with parchment paper. Pat these down until you have an even surface across your pan. Place these in your refrigerator for about thirty minutes and then cut them into bars for your week.

No-Bake Gluten-Free Granola Bars from MomAdvice.com

As soon as these were sliced, they were devoured by my kids. I love that these are made from ingredients that we always have in our pantry! I bet if you make them, they will go fast in your house too!

No-Bake Gluten-Free Granola Bars
Recipe Type: Snack
Prep time:
Total time:
An easy no-bake gluten-free treat that makes the perfect snack.
Ingredients
  • 1 ¾ cups quick-cooking oats
  • 1 ⅓ cup sliced almonds, coarsely chopped (if making nut-free, substitute with 1 ⅓ additional cups of quick-cooking oats)
  • 1 cup Nestlé® Toll House® Semi-Sweet Chocolate Morsels
  • 1 teaspoon ground cinnamon
  • 1/2 teaspoon salt
  • 1 cup creamy peanut butter (or almond butter or sunbutter)
  • ½ cup honey
  • 2 teaspoons vanilla extract
Instructions
  1. Line an 8×8″ pan with parchment paper. Set aside.
  2. Using a small handheld chopper (or your chef’s knife), give your almonds a coarse chop.
  3. Add the peanut butter and honey to a microwave-safe bowl and microwave for 30 seconds.
  4. In a large bowl, mix together your oatmeal, coarsely chopped almonds, chocolate morsels, ground, cinnamon and salt. Mix well.
  5. Add the peanut butter & honey mixture (make sure it has cooled so you don’t melt your chocolate morsels) and your vanilla extract. Mix well.
  6. Spoon the mixture into the pan and then press these in the pan, until they are pressed evenly throughout. I like to spray a little cooking spray on a little plastic wrap to assist with getting these even.
  7. Place the pan in the refrigerator for a half hour.
  8. Remove and slice into bars. Wrap bars individually in plastic wrap or in baggies for snacks and lunches.

Be sure to check out the Nestlé Good Choices Made Easy Tool at Walmart.com I think you will find it invaluable when doing your grocery shopping!

This post is sponsored by Mirum, but opinions expressed are my own.

Pin It

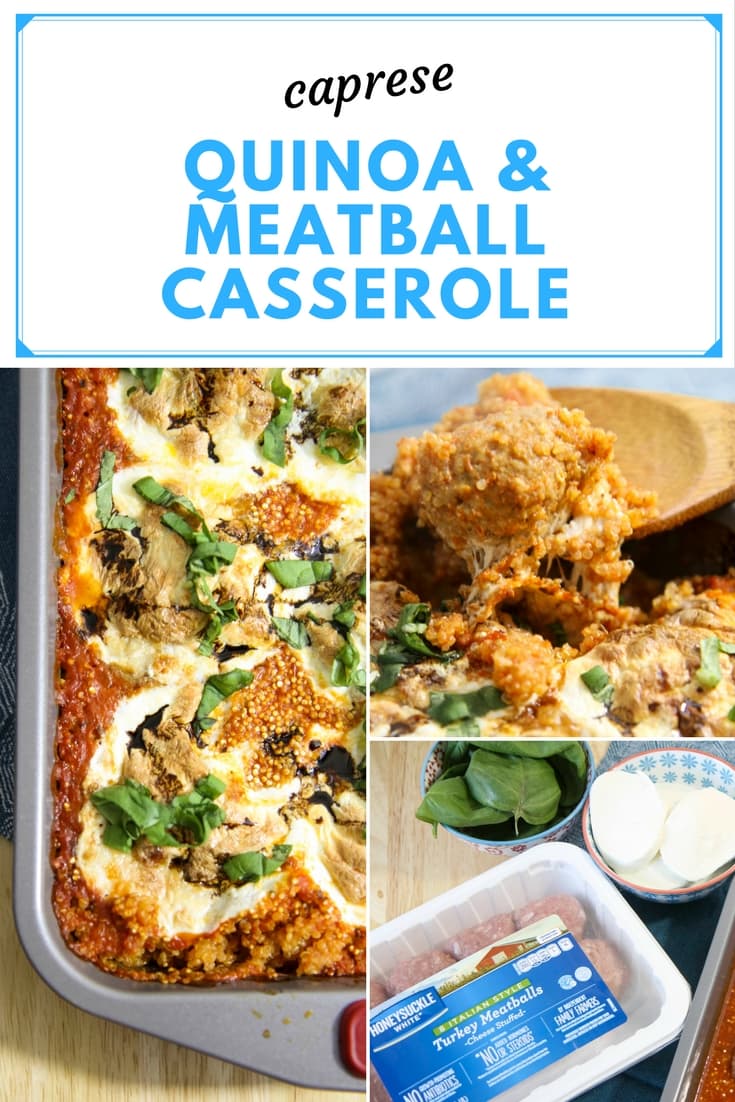
Caprese Quinoa and Meatball Casserole

Tuesday, November 28th, 2017

Caprese Quinoa and Meatball Casserole

This post is sponsored by Honeysuckle White. All thoughts and opinions are my own! 

I hope you all had a wonderful Thanksgiving season with your families!  I don’t know about you, but after hosting a Thanksgiving, I felt a bit uninspired trying to put together meals for these next busy upcoming weeks. There is nothing that makes me feel worse than dining out night after night so I tried to put together an easy dish that our whole family will love.

Did you think turkey season was behind us? The good news is that turkey season doesn’t need to wind down after the holidays thanks to a few new ready-to-go products that are on store shelves now.

The even better news? These items help to eliminate a little of the prep work for your meal so you can spend more time unwinding.

I have gotten the opportunity to partner with Honeysuckle White again this year as they launched a new line of flavored meatballs, burger patties, and cutlets to help make the dinner hour easier and more affordable for busy families.

Did someone say easier AND more affordable?

I’m in!

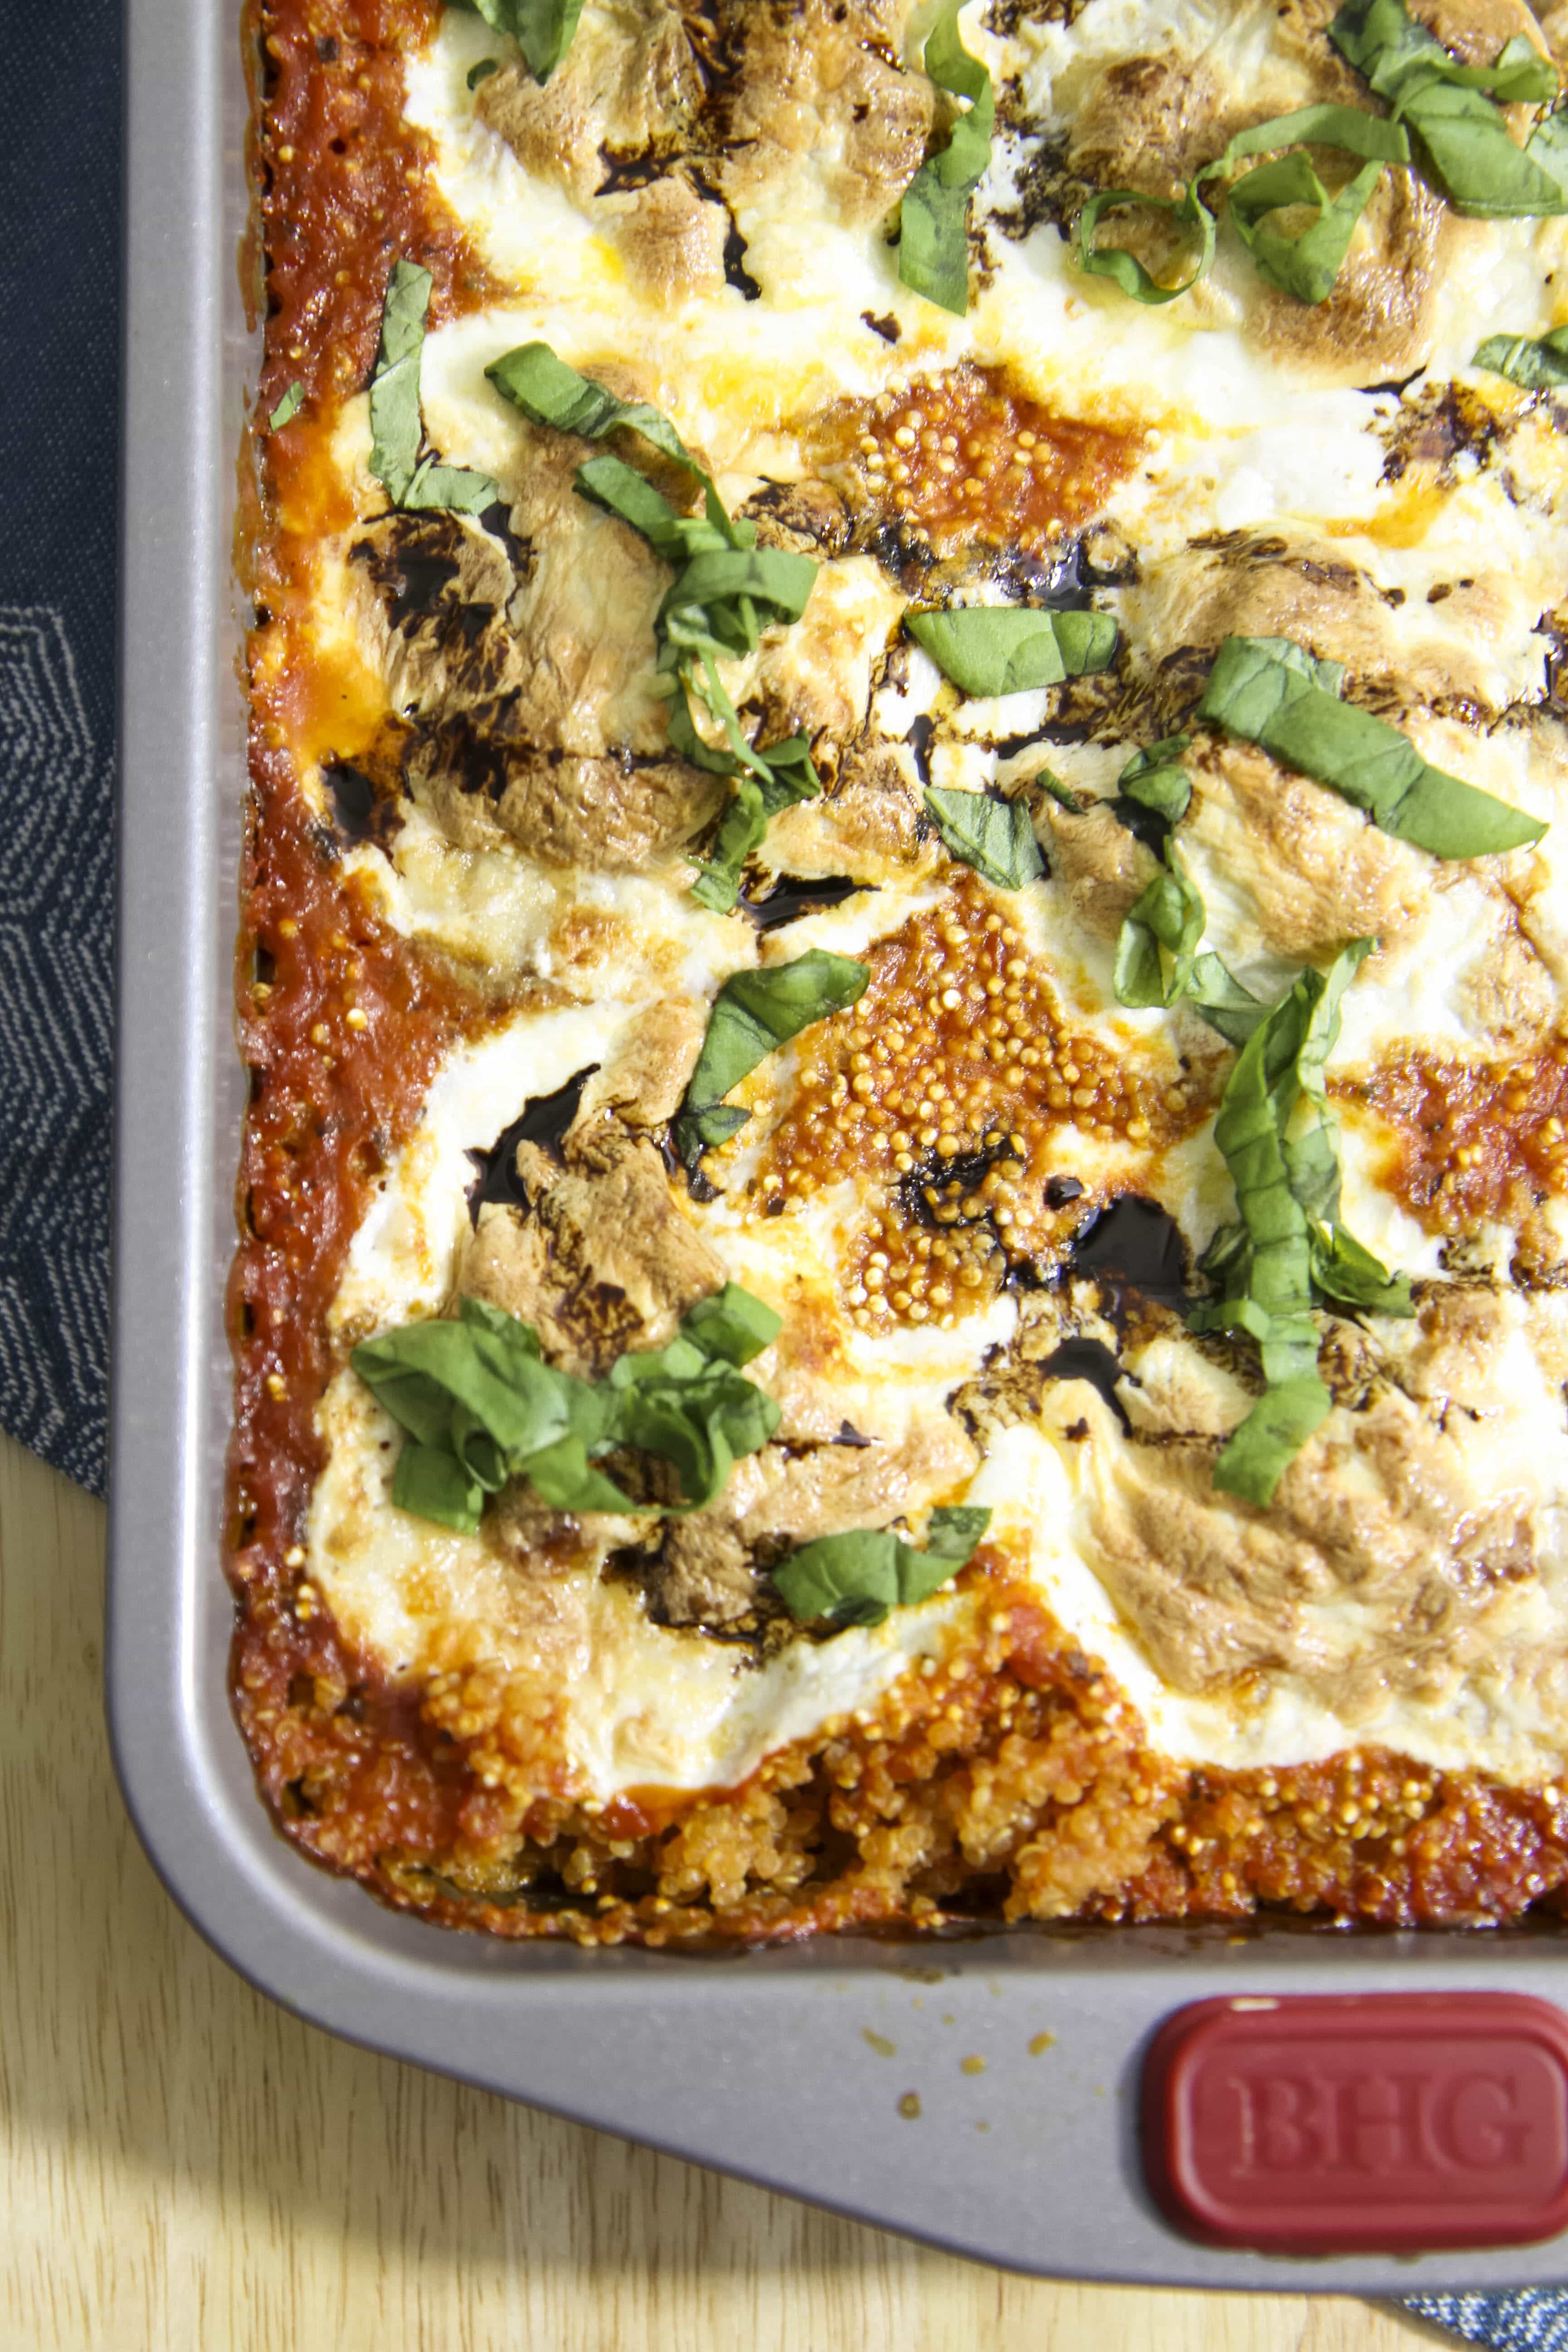
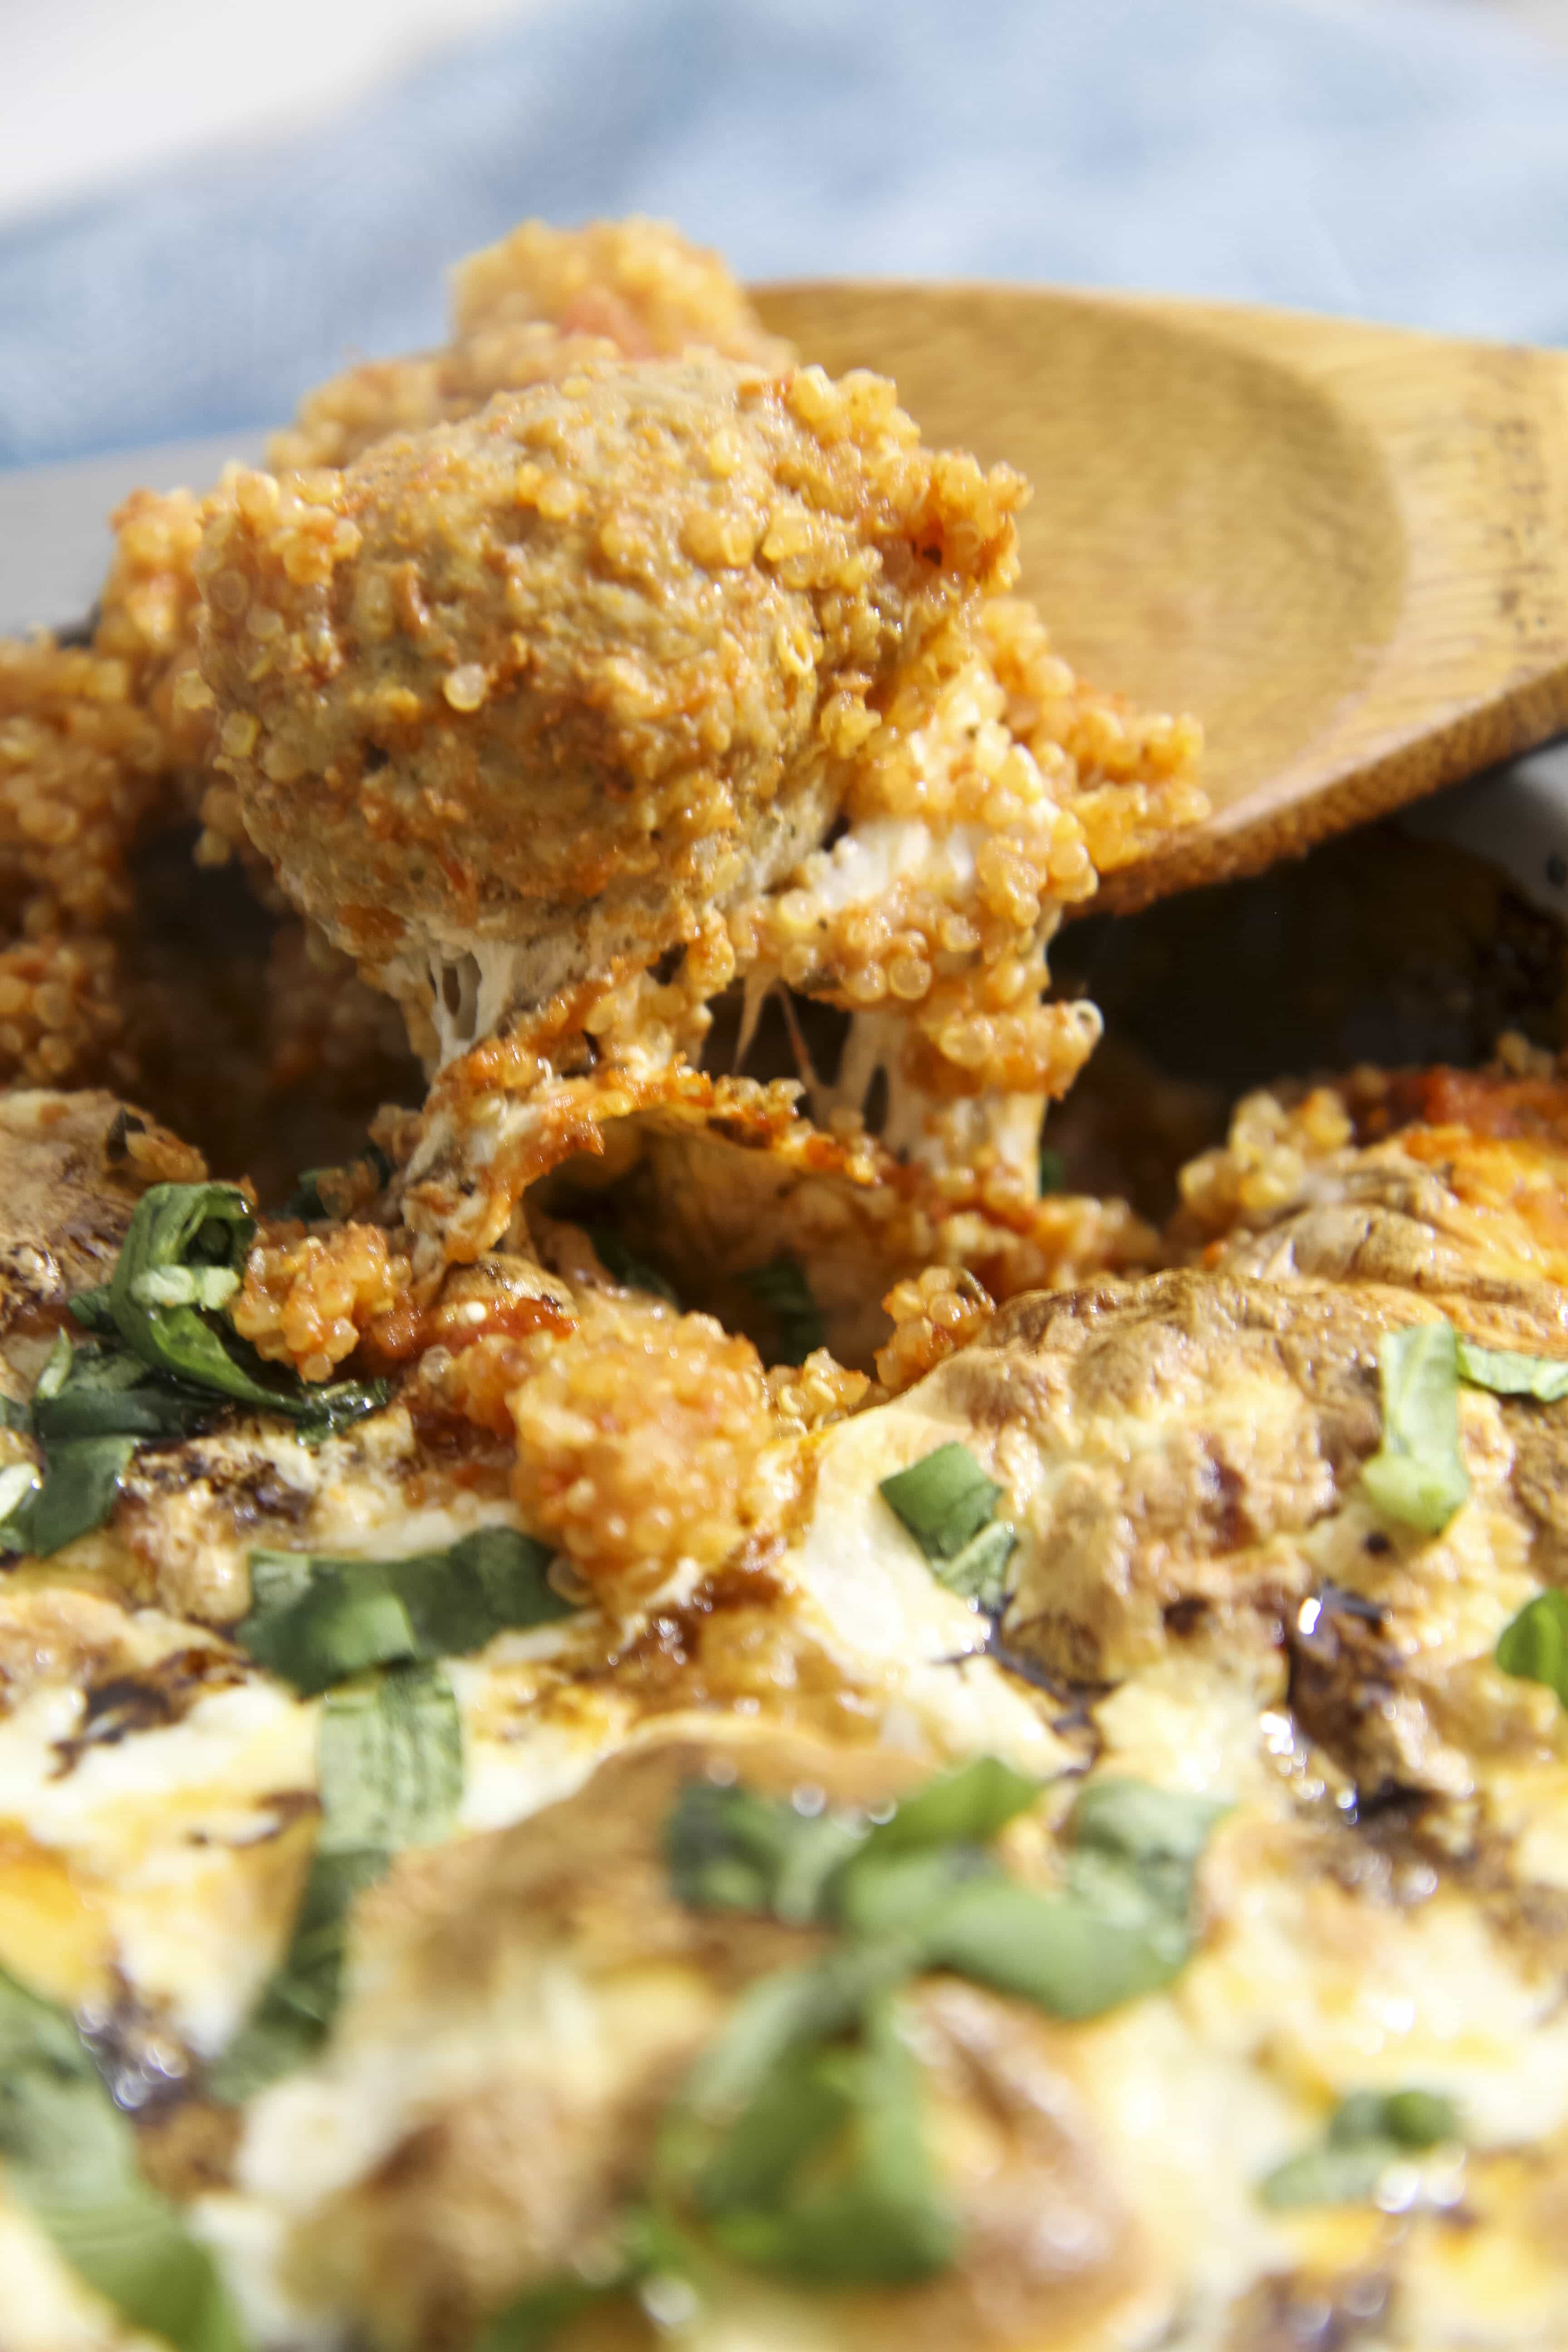
Caprese Quinoa and Meatball Casserole

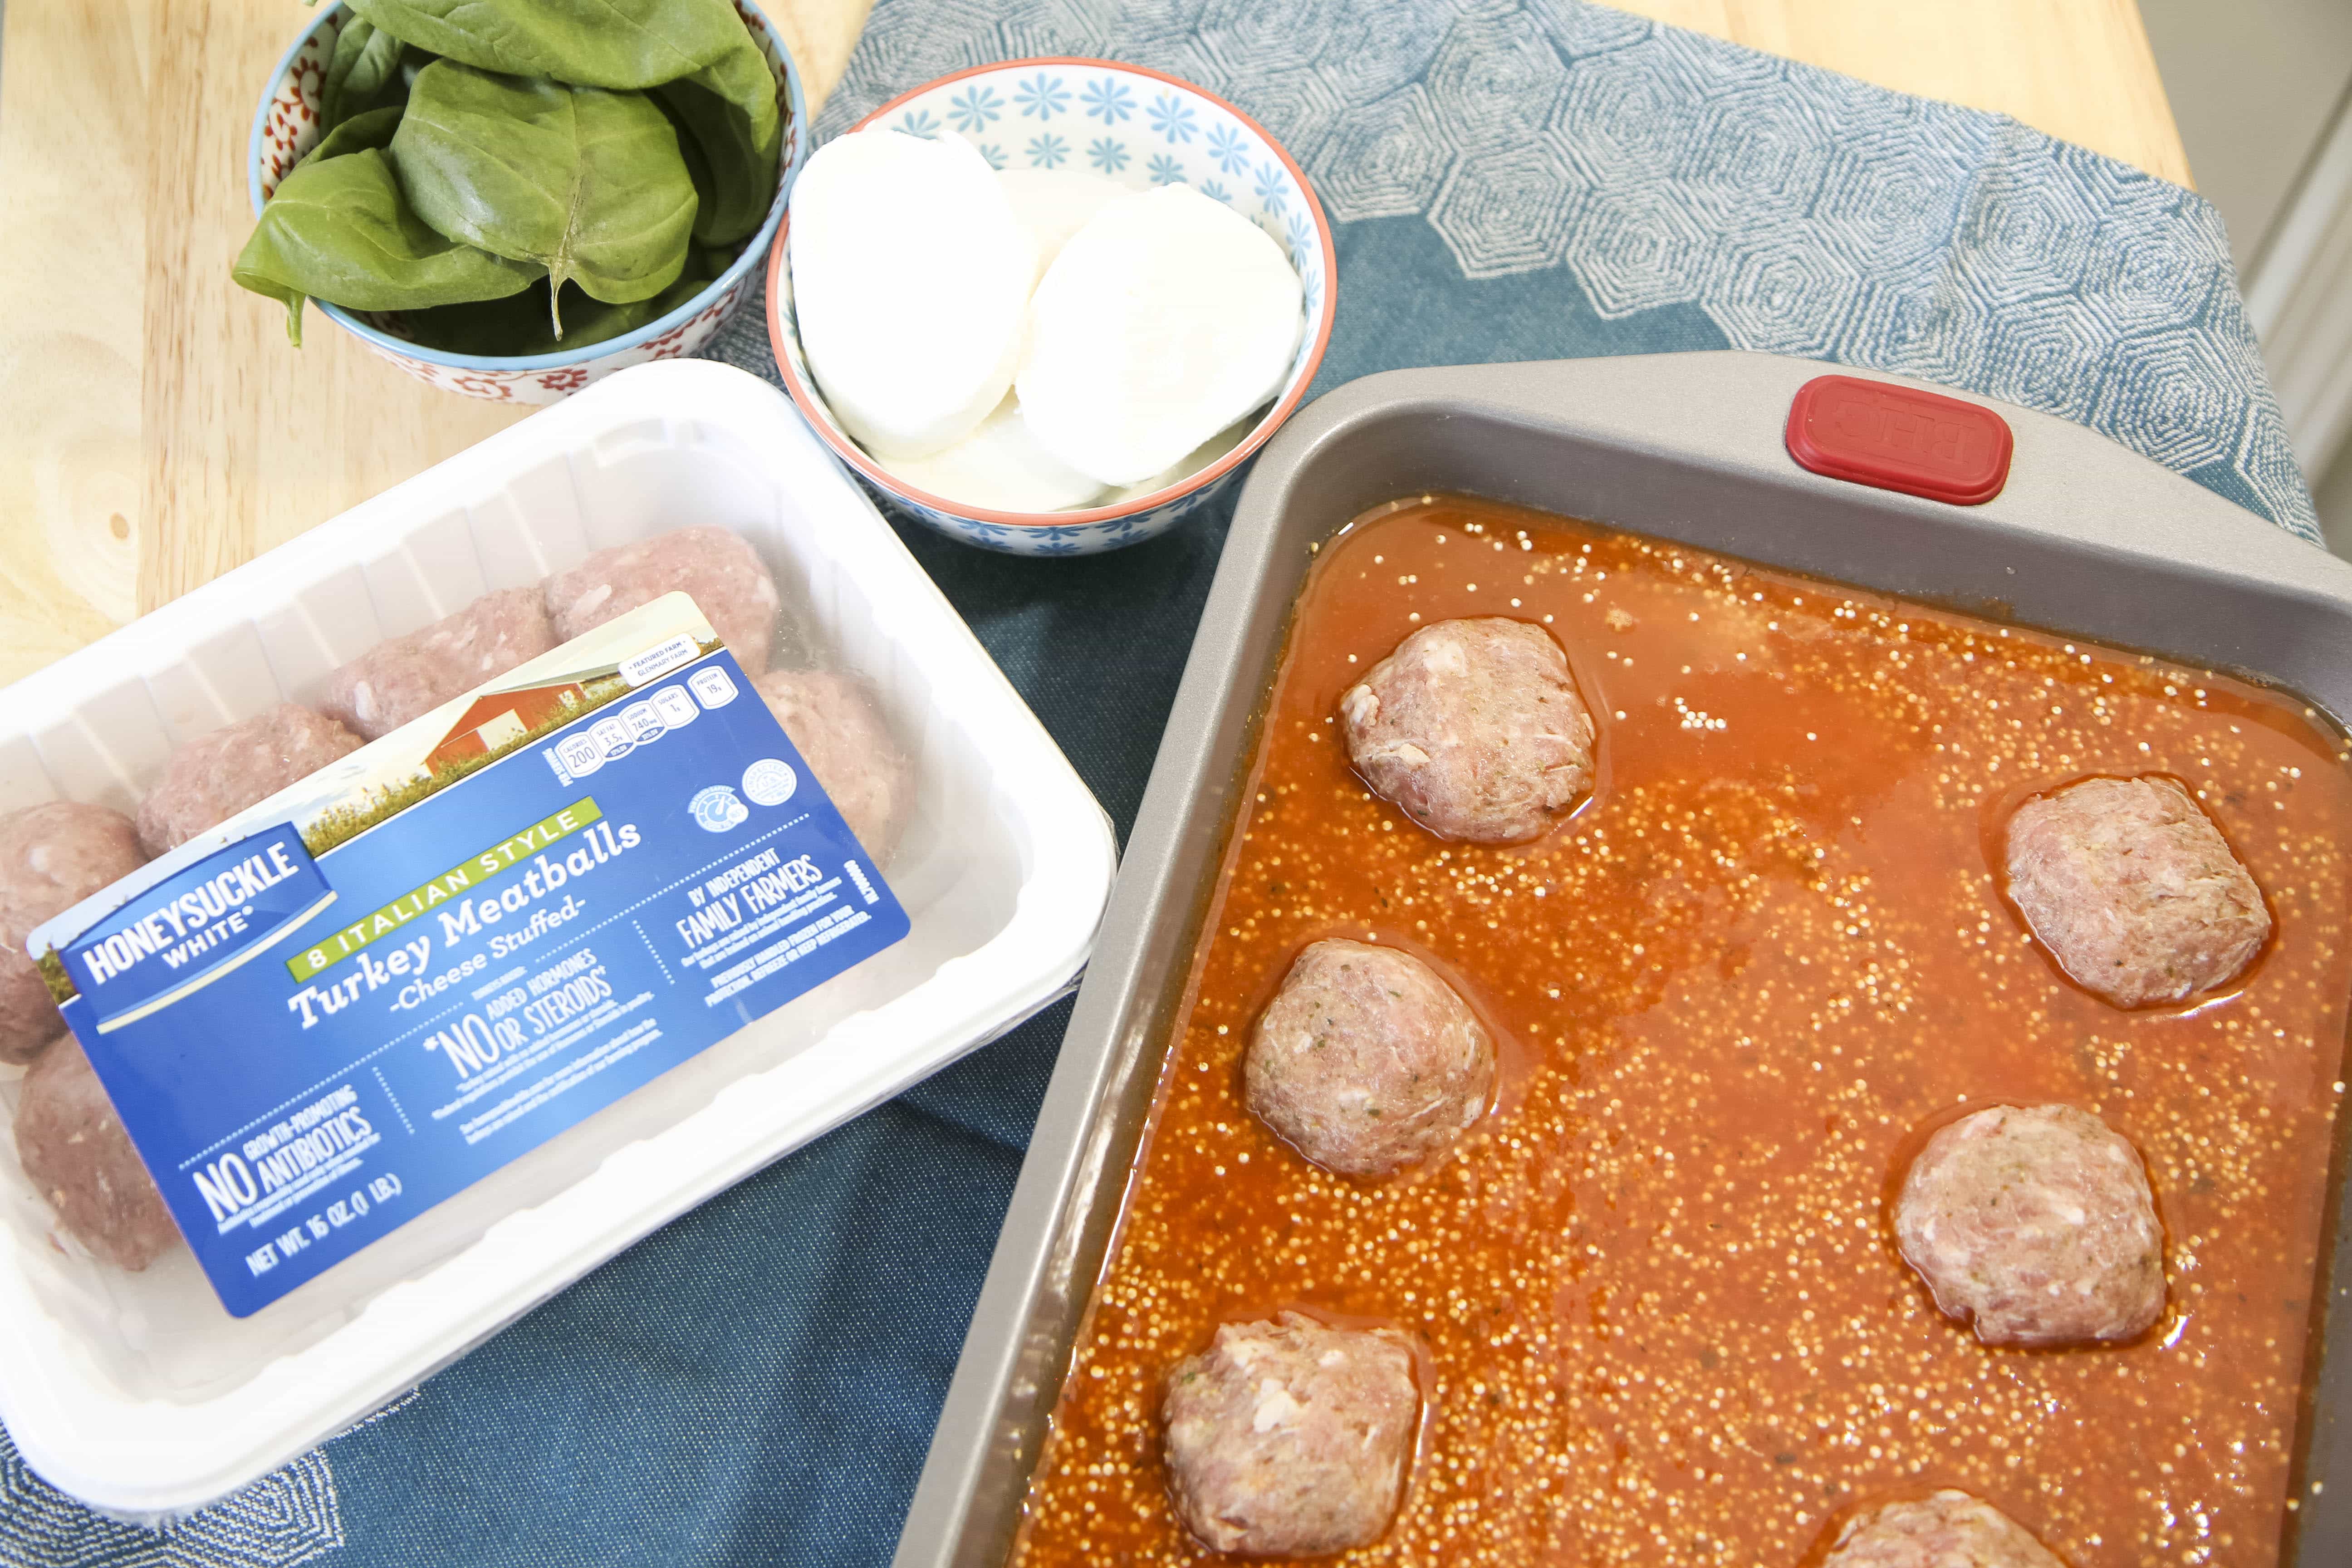
As a gluten-free girl, I’m thrilled that these meatballs are gluten-free and stuffed with one of my favorite foods…cheese! I wanted to create a dish that would really compliment these, while also continuing my gluten-free theme, so I made these into a Caprese Quinoa and Meatball Casserole that can be topped with additional fresh mozzarella cheese and a little fresh basil (and an optional balsamic drizzle), to finish.

If you haven’t tried quinoa, you are in for a treat! It was one of the first foods that I added to my diet, when making my own dietary switches, and it has become something I now eat almost weekly now. It is a fun switch from rice and stands up well to a reheat in the microwave.  Be sure to read this article so you can learn more about this ingredient and how you can prepare quinoa in your rice cooker.

caprese-quinoa-and-meatball-casserole-recipe-6
caprese-quinoa-and-meatball-casserole-recipe-3

Caprese Quinoa and Meatball Casserole

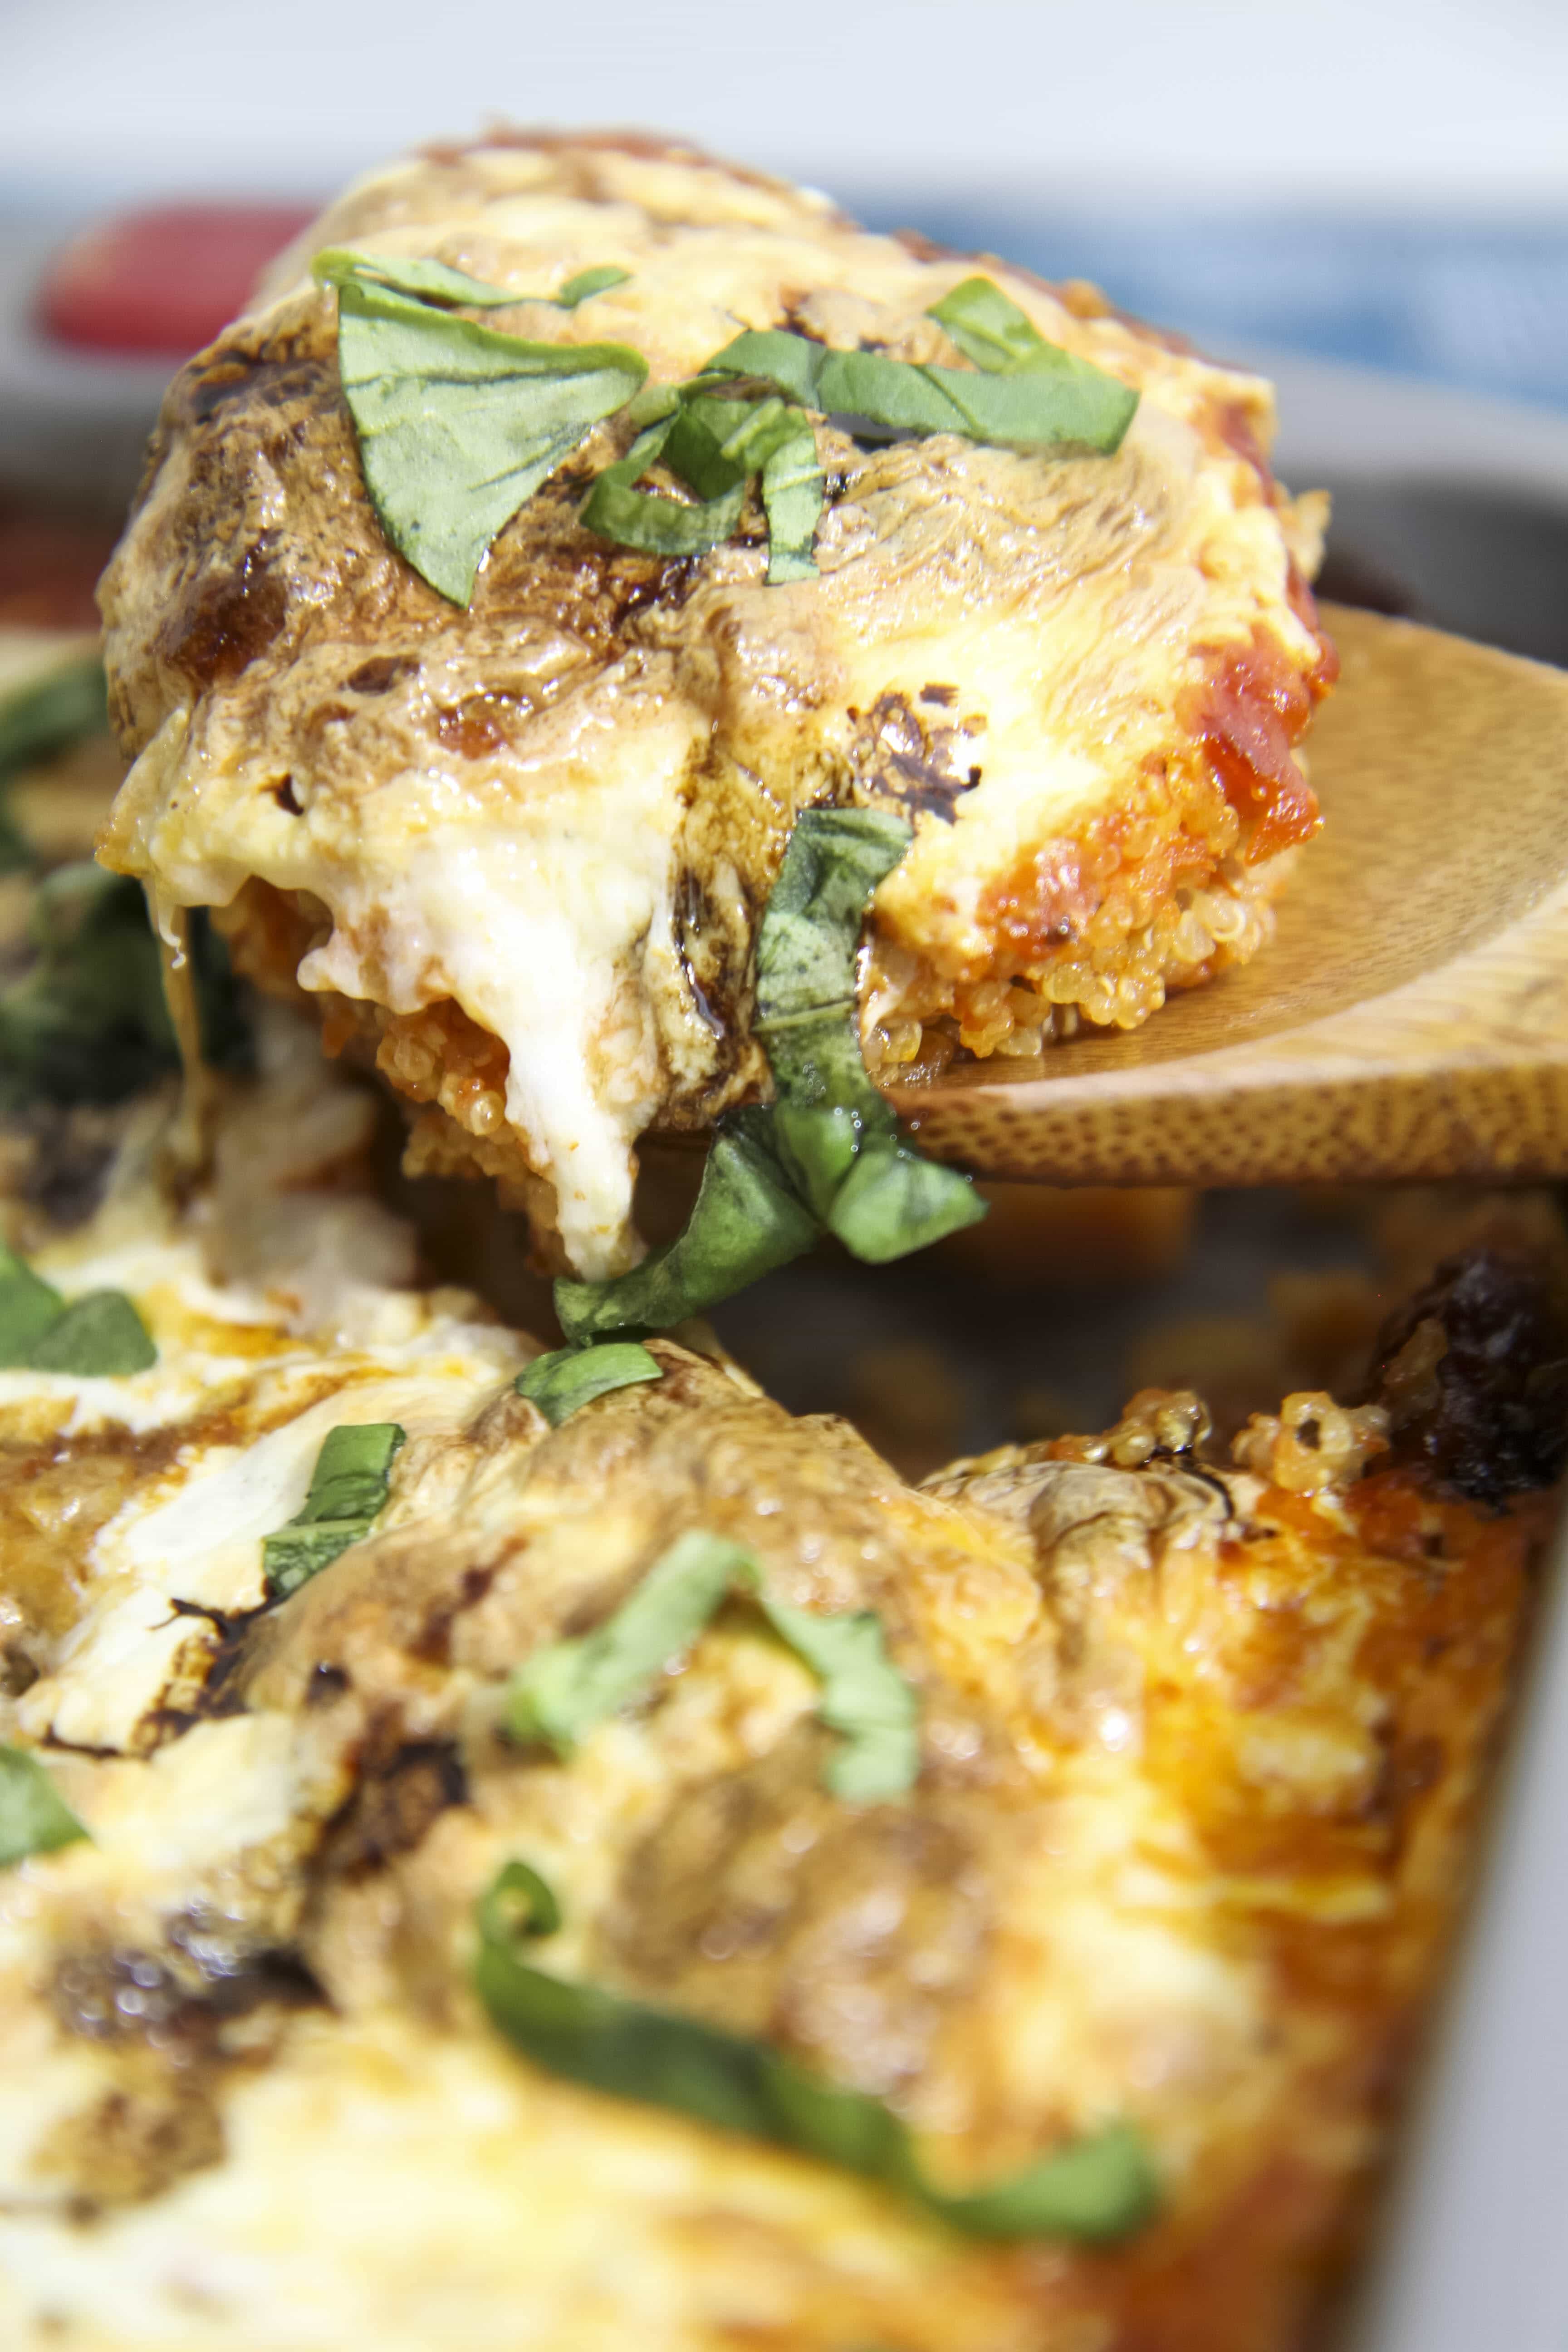
Everyone in our family REALLY enjoyed this casserole and I can see us adding this one into our weekly rotation. The meatballs were light and the topping of mozzarella added a little indulgence to this, otherwise, entirely healthy dish. The quinoa was delicious and cooked in spaghetti sauce and chicken broth, my favorite combo for cooking consistency for quinoa and pasta dishes.

Also, if you haven’t reduced a little balsamic for drizzling, I know you will find this extra step to be worth the flavor it brings to the completed dish. It is something that only takes a couple of minutes, but certainly brings the WOW factor!

The best part about this dish is that it is quick to prepare, will probably leave you some leftovers (if you are lucky), and feels like a rich comfort food dish to this gluten-free eater!

Be sure to give these new dinner options a spin in your house! I hope you love this recipe as much as I do!

Caprese Quinoa and Meatball Casserole
Recipe Type: Gluten-Free
Author: MomAdvice.com
Prep time:
Cook time:
Total time:
Serves: 8
Italian comfort food receives a healthy weeknight spin with prepared meatballs and quinoa for our base. Add a balsamic reduction drizzle and basil for an elegant touch.
Ingredients
  • 2 cups uncooked quinoa (rinse this really well with water- [url href=”http://www.momadvice.com/post/how-to-make-quinoa-in-the-rice-cooker” target=”_blank”]read more here[/url])
  • 1- 16 ounce jar spaghetti sauce
  • 1 cup chicken broth
  • 2 pounds Honeysuckle White Cheese Stuffed Italian Style Meatballs
  • 8 ounces fresh mozzarella, sliced thinly
  • 1/4 cup balsamic vinegar
  • Handful of thinly sliced basil
Instructions
  1. Preheat your oven for 375 degrees.
  2. Begin by rinsing your quinoa thoroughly (read instructions in the ingredient list if you have not prepared quinoa before).
  3. In a greased 9×13 pan, add the rinsed quinoa to the bottom of the pan.
  4. In a sauce pan, heat the spaghetti sauce and chicken broth until hot. Remove from the stovetop and pour the liquid over the quinoa, until it is fully covered.
  5. Sprinkle meatballs on top of the quinoa and finish with thin slices of mozzarella (you can put them over the meatball or just dabble on top of the dish). Cover the dish tightly with foil and bake for 35-40 minutes. During the last 5-10 minutes, remove the foil to melt the cheese fully.
  6. While the dish is baking, our balsamic vinegar into a small saucepan. Turn heat to medium high and bring vinegar to a boil. Once boiling, reduce to simmer and let simmer for about 10 minutes until vinegar has reduced down. Stir occasionally. When it begins to coat the back of a spoon, you will know that it is fully reduced. Set aside to cool while the casserole bakes.
  7. Once your dish is done, finish servings with thinly sliced basil and your balsamic reduction.

Caprese Quinoa and Meatball Casserole

Honeysuckle White turkey products are available in select states. For those on the East Coast (CT, DE, ME, MD, MA, NH, NJ, NY, NC, RI, SC, VT, VA, WV), look for Honeysuckle White’s sister brand, Shady Brook Farms!

This post is sponsored by Honeysuckle White. All thoughts and opinions are my own!

Pin It

DIY Breakfast Caddy

Monday, June 19th, 2017

DIY Breakfast Caddy for Car from MomAdvice.com

This blog was sponsored by Florida Department of Citrus. Thank you for supporting the companies that support our site!

Well, hello there! I hope your summer is off to a lovely start! We are trying to soak in as many carefree and unscheduled days as we can, but it is funny how life gets in the way of this. This week we tackled doctor’s appointments, the dentist, running a kid back and forth to a sleepover, and we are signing up for a couple of fun summer programs and camps that are happening around town.

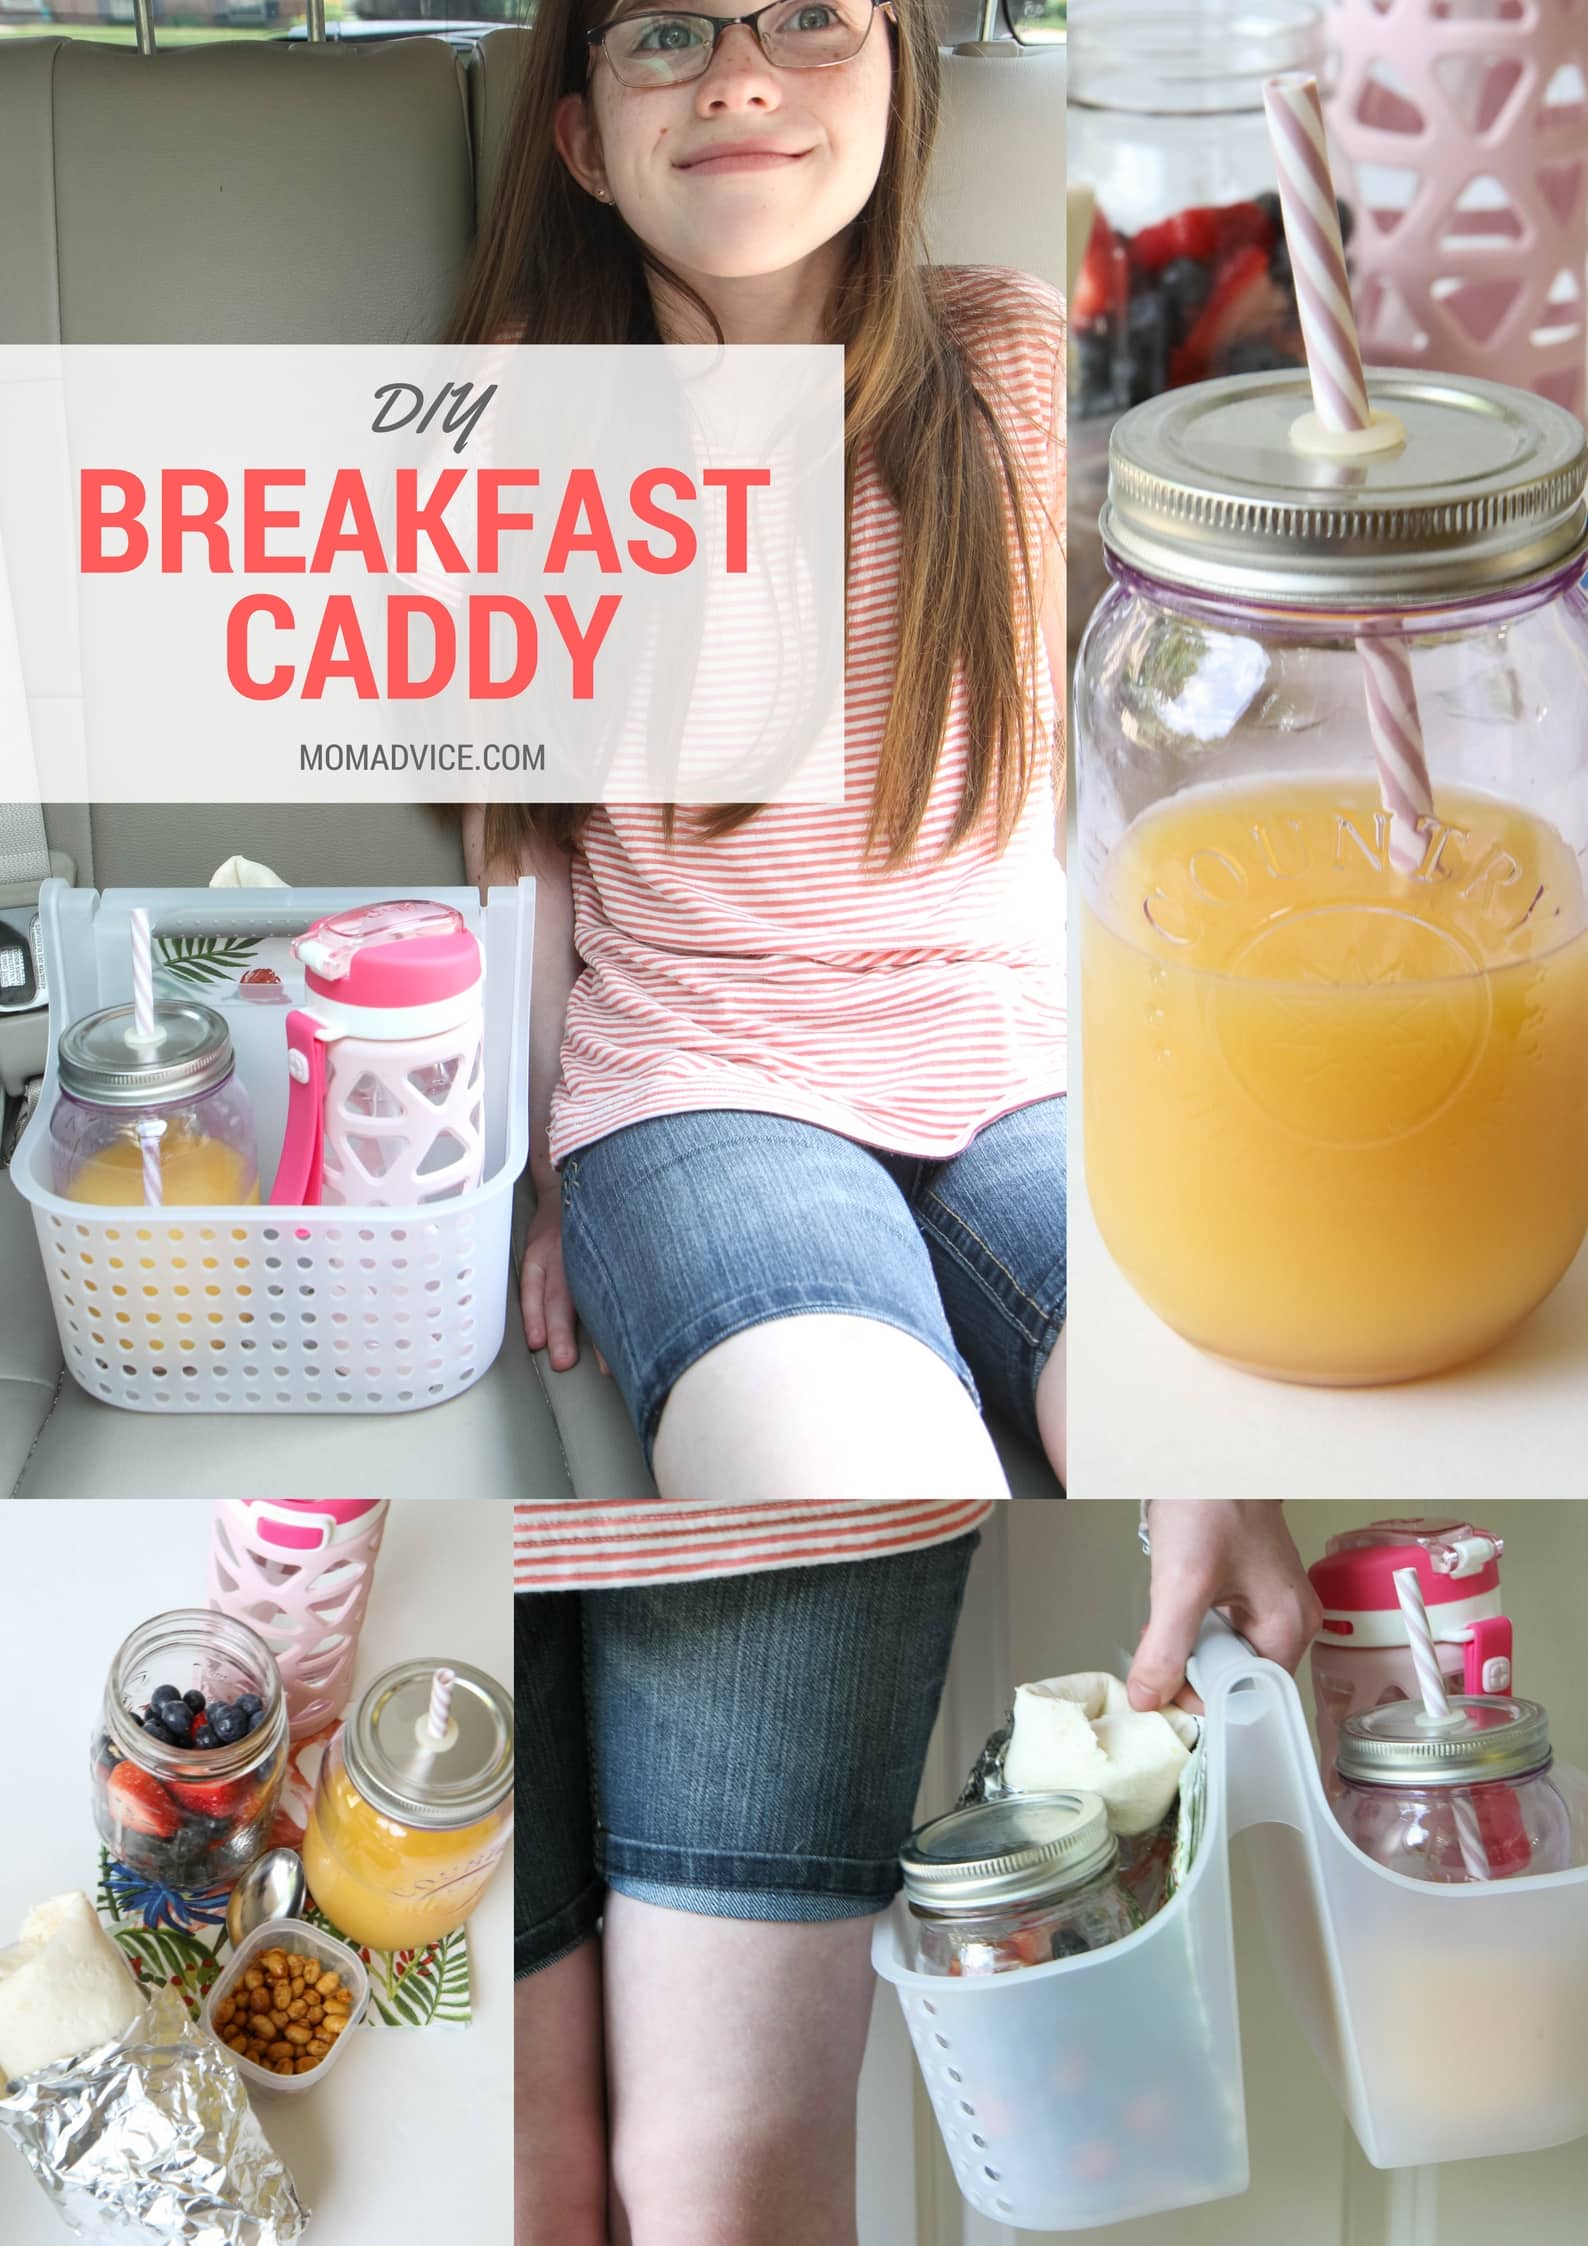
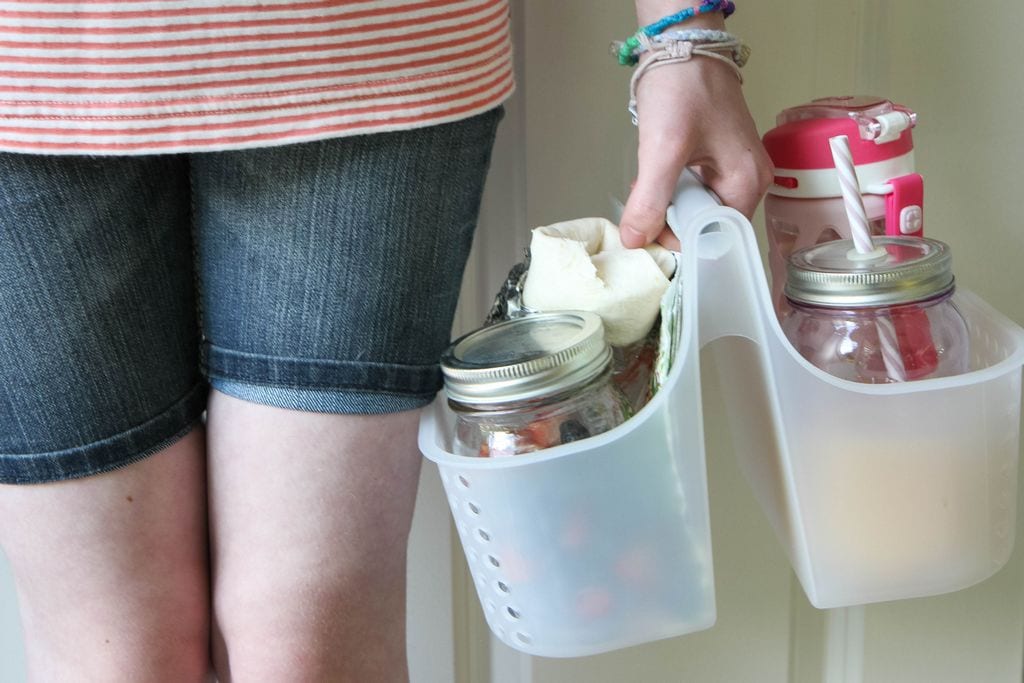
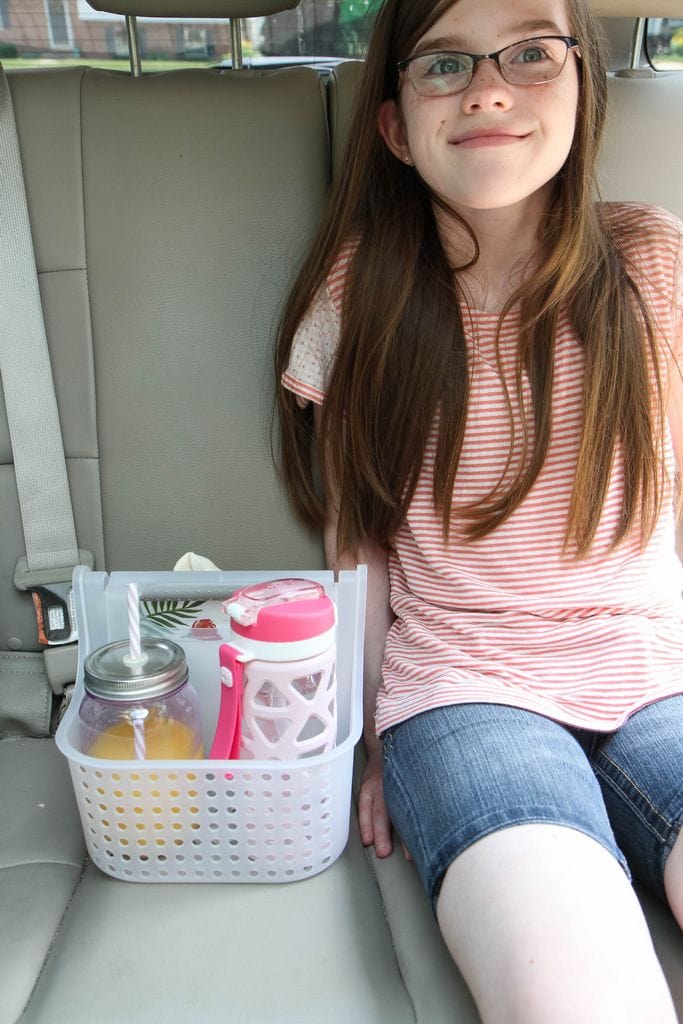
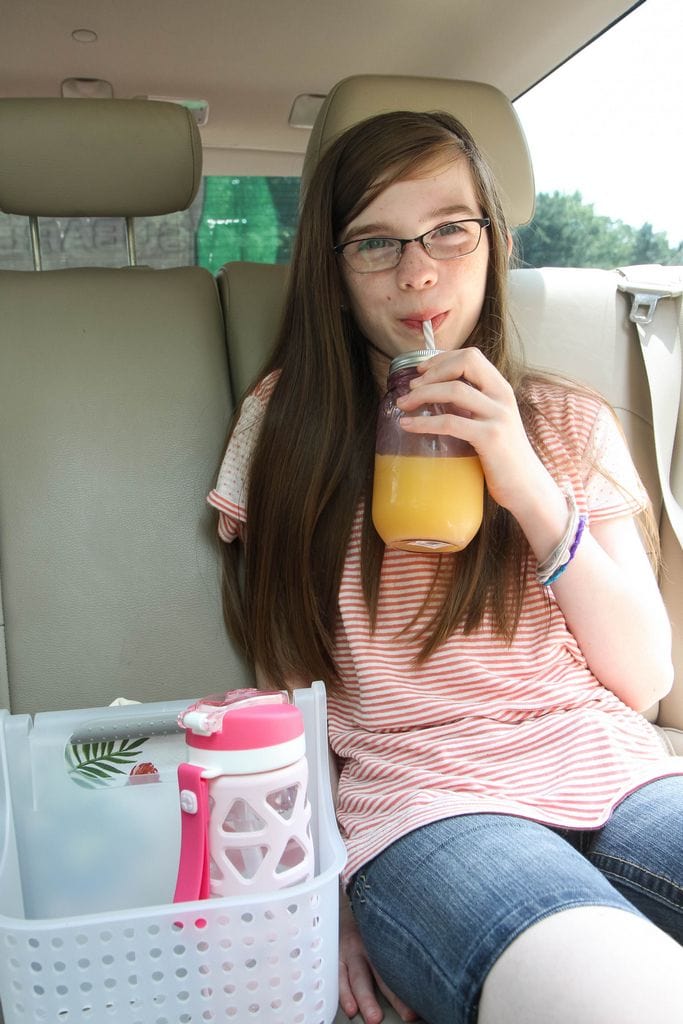
All of that leads to busy mornings so today I am partnering with  Florida Department of Citrus to show you how to enjoy your breakfast on-the-go, complete with a glass of Florida Orange Juice! We are sharing a breakfast caddy idea that you can assemble on the weekends to get your kids off to a great start, no matter what is on the to-do list!

I will admit, I got the inspiration for this from Pinterest where there were numerous pins of fast food meals in totes to make it easier for kids to eat their meals. I wanted to translate that idea into a healthy one that is perfect for busy mornings.

Supplies Needed

Lightweight Plastic Shower Caddy (exact, similar, similar)

Small Plastic Containers or Jars for Food Assembly

Drink Holder

Water Bottle

Food Supplies (as listed below)

DIY Breakfast Caddy for Car from MomAdvice.com

diy-breakfast-caddy-for-car-4

Directions for a DIY Breakfast Caddy

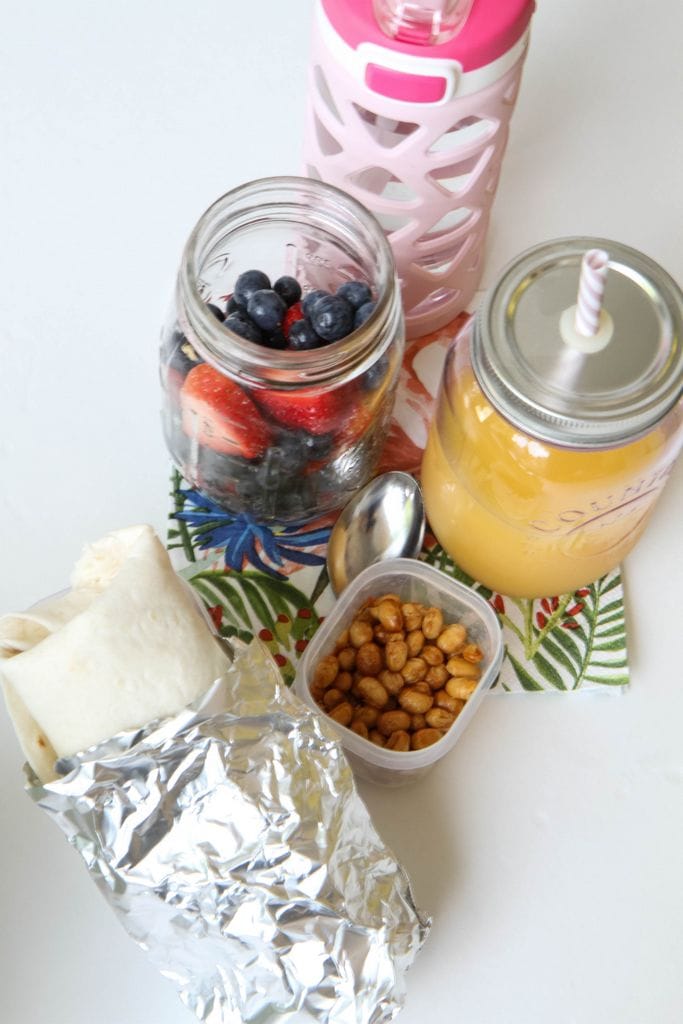
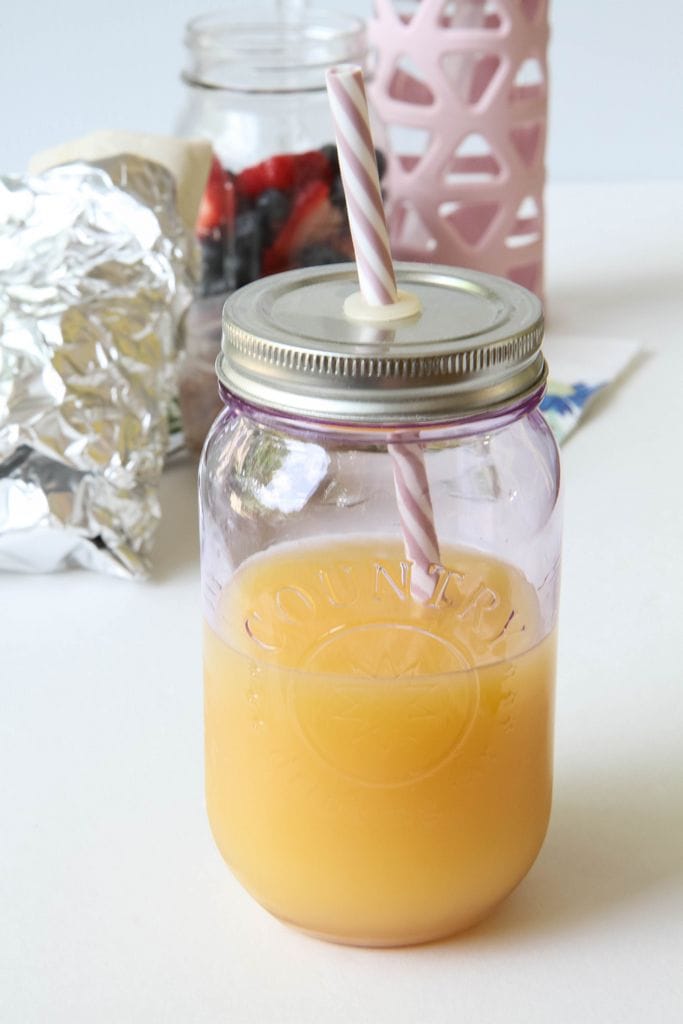
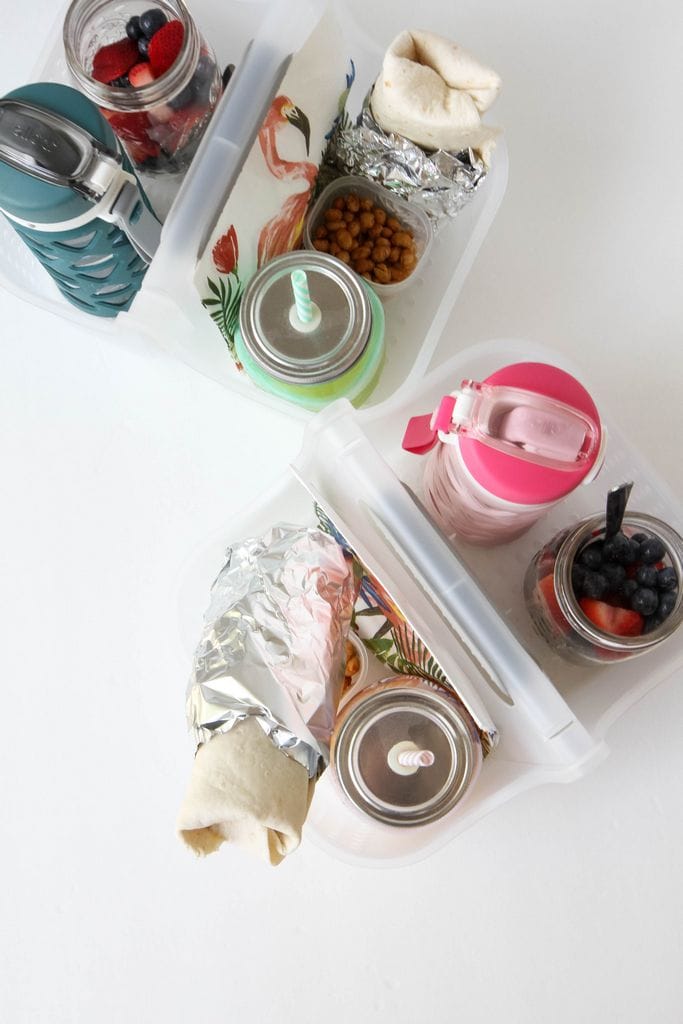
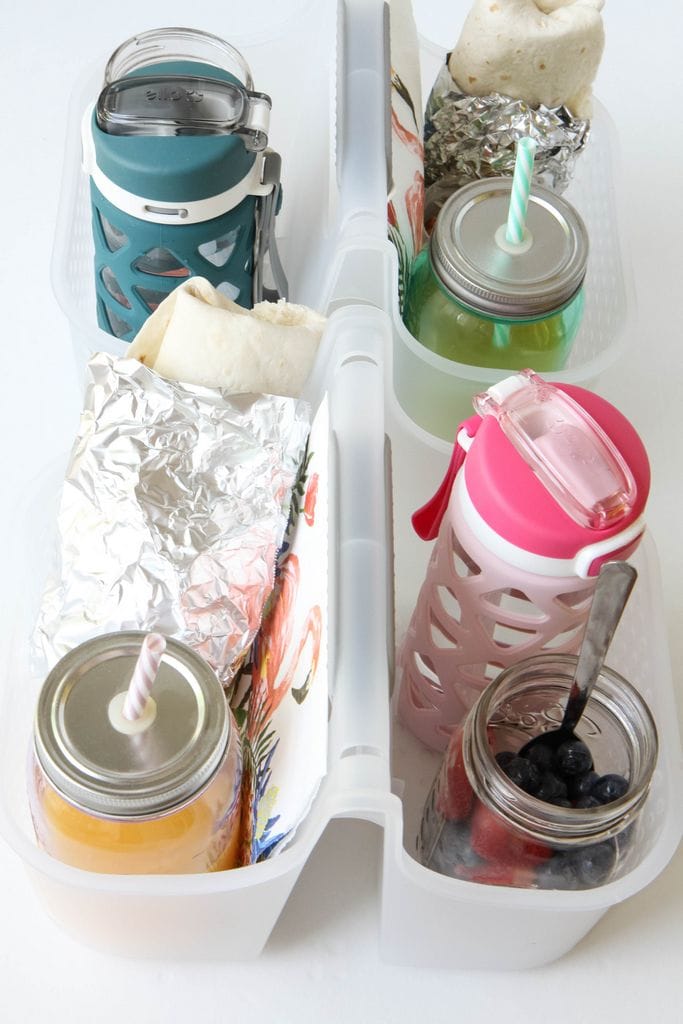
The beauty in this project is that you can fill your tote with whatever you think will help fuel your kids that day.  I can’t stress enough how much I LOVE these make-ahead burritos because they save me on many busy mornings in our house. Once heated, they can be wrapped in tin foil to keep them warm. Of course, if burritos aren’t your thing, a breakfast sandwich made on an English Muffin,  peanut butter on rice cakes (a favorite in our gluten-free home), or even a slice of frittata (try this one, or this one) can be other great options for the main course.

For fruit, I follow the rule that it must be in season and on sale that week to make it in our produce drawer. Today’s fruit selection are blueberries and strawberries in mason jars, but grapes, bananas, cantaloupe, or watermelon also make great options. You could also do a package of easy-to-eat veggies like baby carrots, celery sticks, or red & green peppers if you struggle to get your kiddos to eat fruit.

DIY Breakfast Caddy for the Car from MomAdvice.com

Of course, a surefire way to get your kiddo’s to consume fruit is a little juice, isn’t it? Did you know that an 8 oz. glass of 100% orange juice counts as one of your daily recommended servings of fruit? Pretty cool! Not only that, Florida Orange Juice provides 5 amazing nutrients in every glass: Taste, Vitamin C, Folate, Potassium and No Added Sugar.

Since mornings can be long in the car, I added toasted edamame in a small container for munching before or after our morning activities. You could also do nuts like almonds or cashews to add a healthy crunch to round out the meal or as a great in-between snack once hunger strikes again. You just know it will!

Oh, and don’t forget the water! It has been a scorcher out there so we are trying our best to stay hydrated. It’s also so nice to have a water bottle in case we forget it for the next thing on the agenda.

DIY Breakfast Caddy for the Car from MomAdvice.com

diy-breakfast-caddy-for-car-2

diy-breakfast-caddy-for-car-7

diy-breakfast-caddy-for-car-9

diy-breakfast-caddy-for-car-10

Wouldn’t this be so great for your next family trip too? I have a feeling that our mornings would start out a lot better on trip days if I had a few of these items prepped and ready to go in my fridge for our next adventure.

Well, we are all packed up and off to our next thing probably. I just want time to s-l-o-w down, but I blink and another summer is over. Do you feel that way too?

I hope this idea can be one you can use to fuel the family and maybe squeeze in a good chat with your kids while they are enjoying their breakfast on-the-go. I have, honestly, had some of my best talks with them in the rearview mirror. It is one of those ways that I have found it helps to keep an open dialogue between us as we navigate these new waters of being teens and tweens.

Thank you so much to Florida Department of Citrus for letting us share our fun little diy breakfast caddy with you. We hope you find this idea inspiring.

Cheers, mama, to surviving another summer!

PS- I hope that you made some room for some FLOJ in that mimosa over there!!

Love this idea? Be sure to visit these fun posts too!

Funny Faces Printables

Gluten-Free Orange Creamsicle Pancakes

Make-Ahead Sleepover Breakfast Buffet

Follow the rules below to enter to win a HUGE prize pack from Florida Department of Citrus today!! Follow the rules in the widget below- good luck!

a Rafflecopter giveaway

DIY Breakfast Caddy for Car from MomAdvice.com

This blog was sponsored by Florida Department of Citrus. Thank you for supporting the companies that support our site!

Pin It

Gluten-Free Orange Creamsicle Pancakes (Plus FUN Contest!!)

Thursday, May 4th, 2017

gluten-free-orange-creamsicle-pancakes

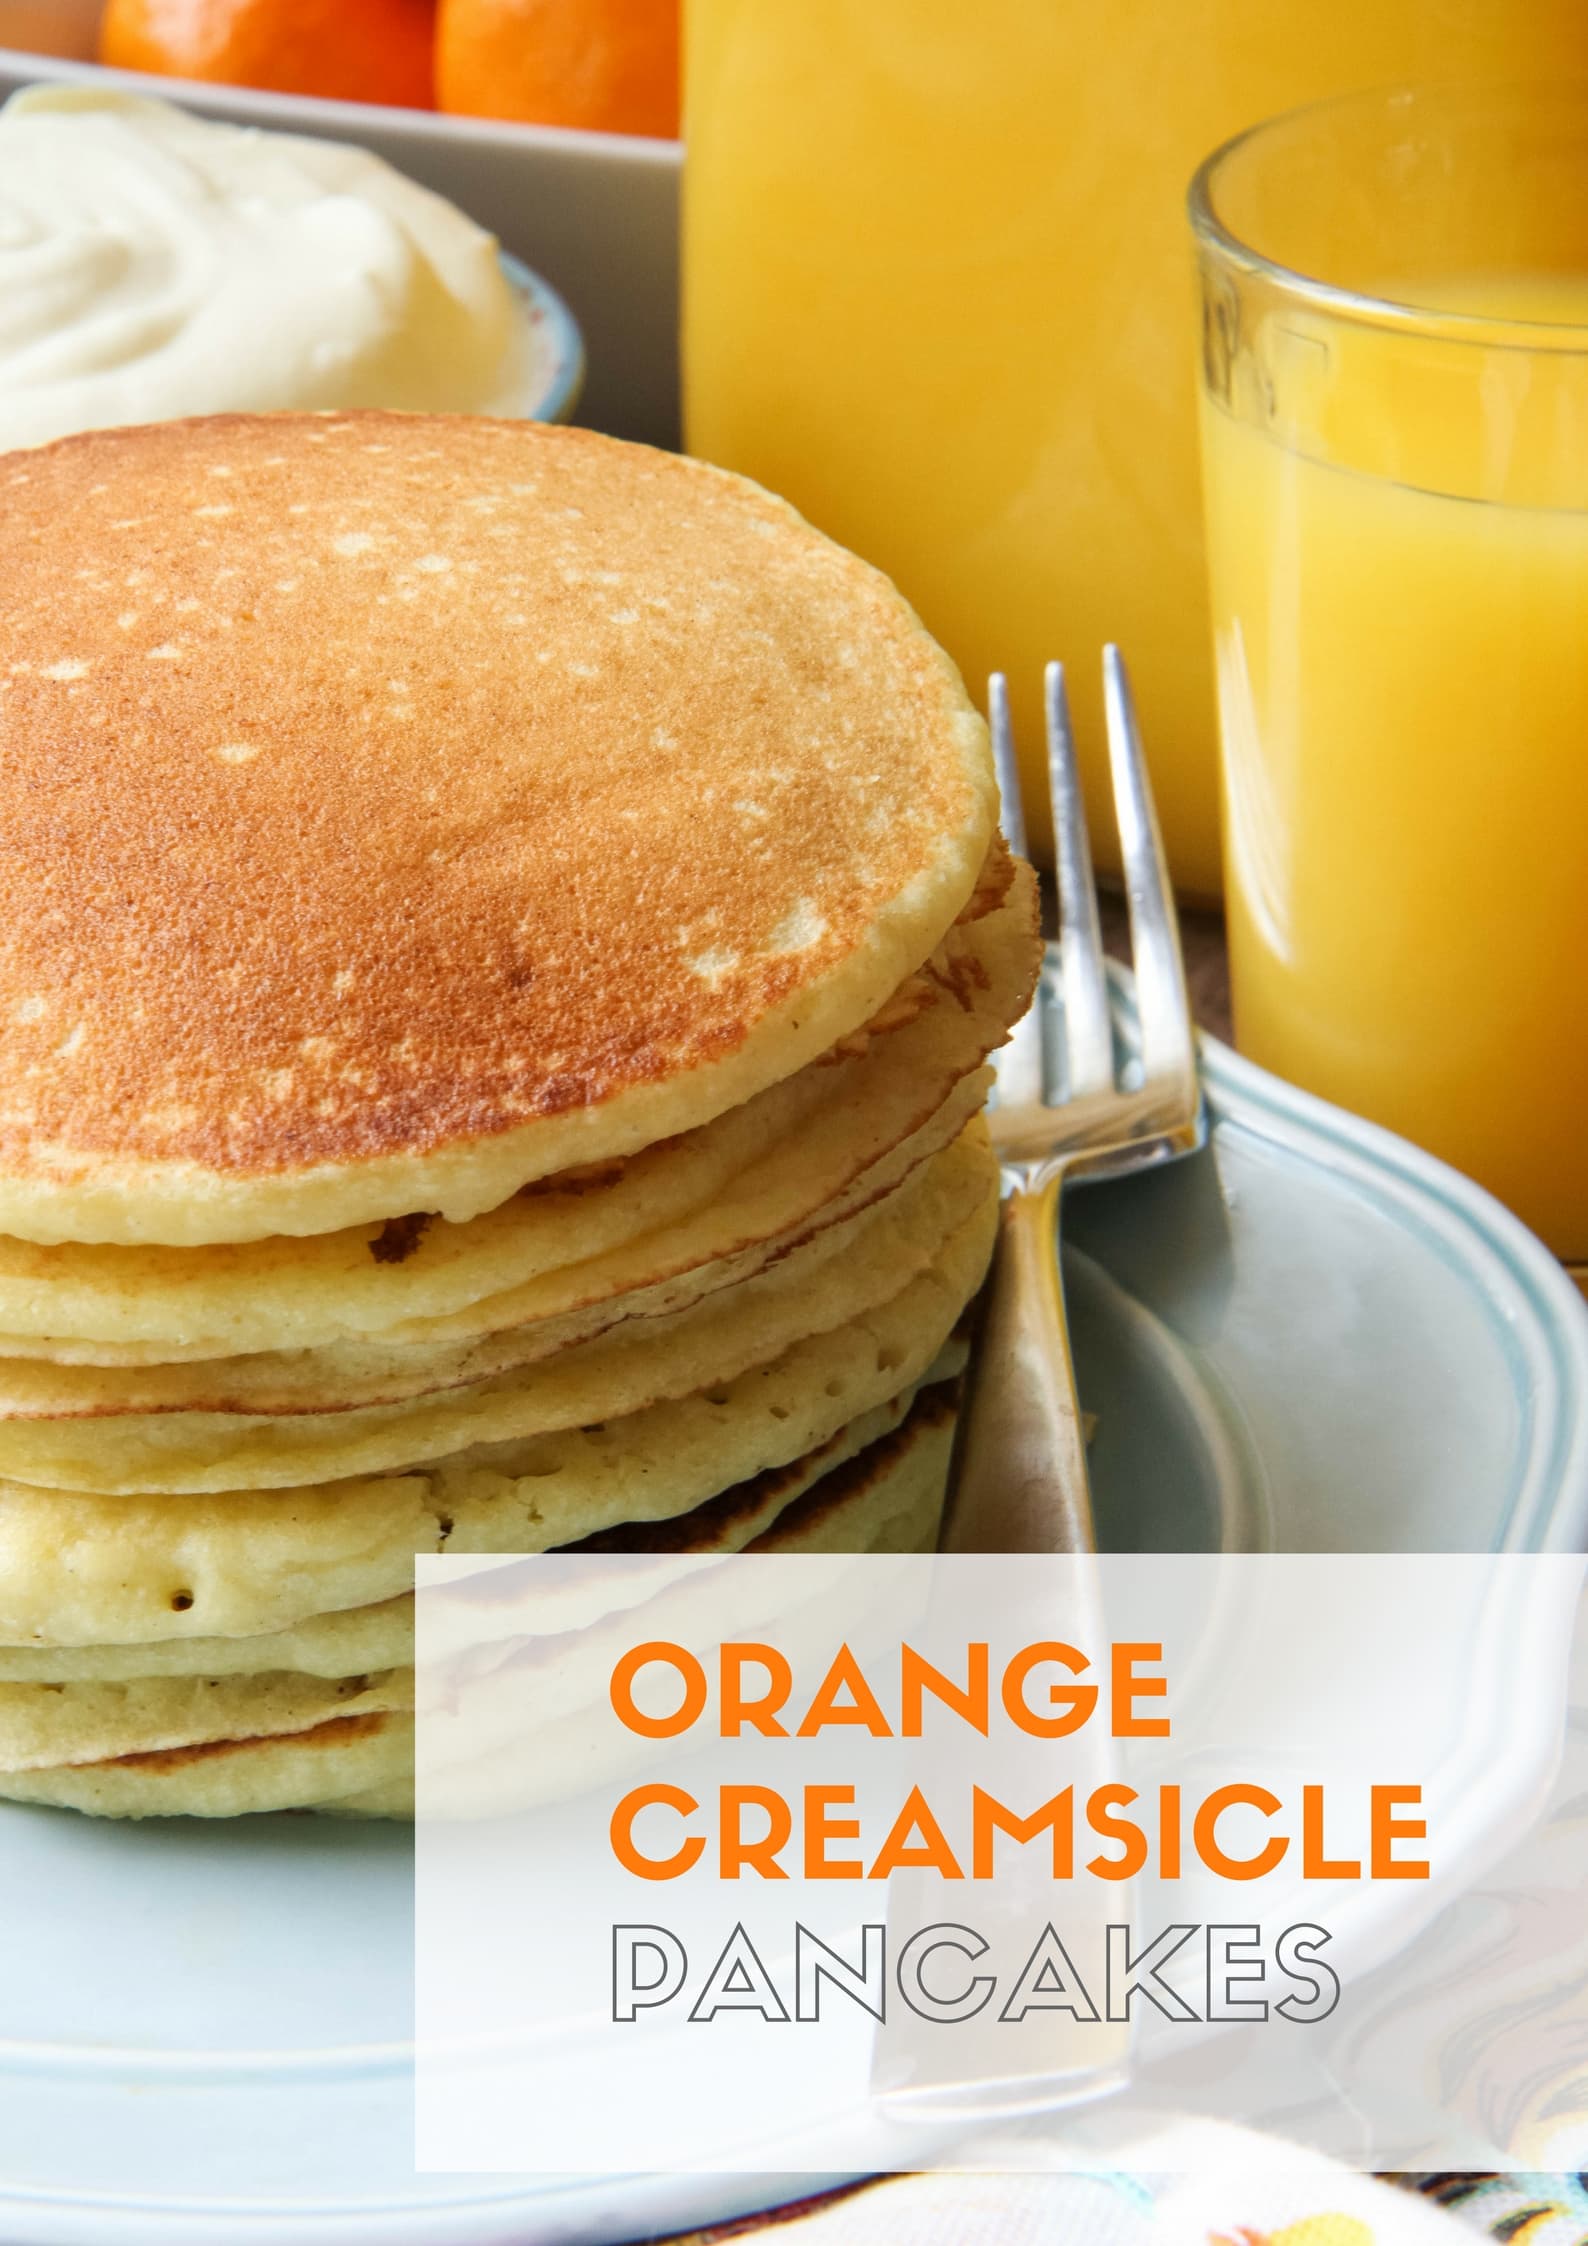
I am so excited to be partnering this year with the Florida Department of Citrus to celebrate National OJ Day today. You may recall that we celebrated last year with these super cute cup printables! Today I am sharing a delicious gluten-free Orange Creamsicle Pancake recipe for a fun breakfast treat and sharing about a fun contest you can enter in TODAY ONLY to celebrate National OJ Day.

gluten-free-orange-dreamsicle-pancakes-4

First up, let’s just talk about these pancakes for a minute!

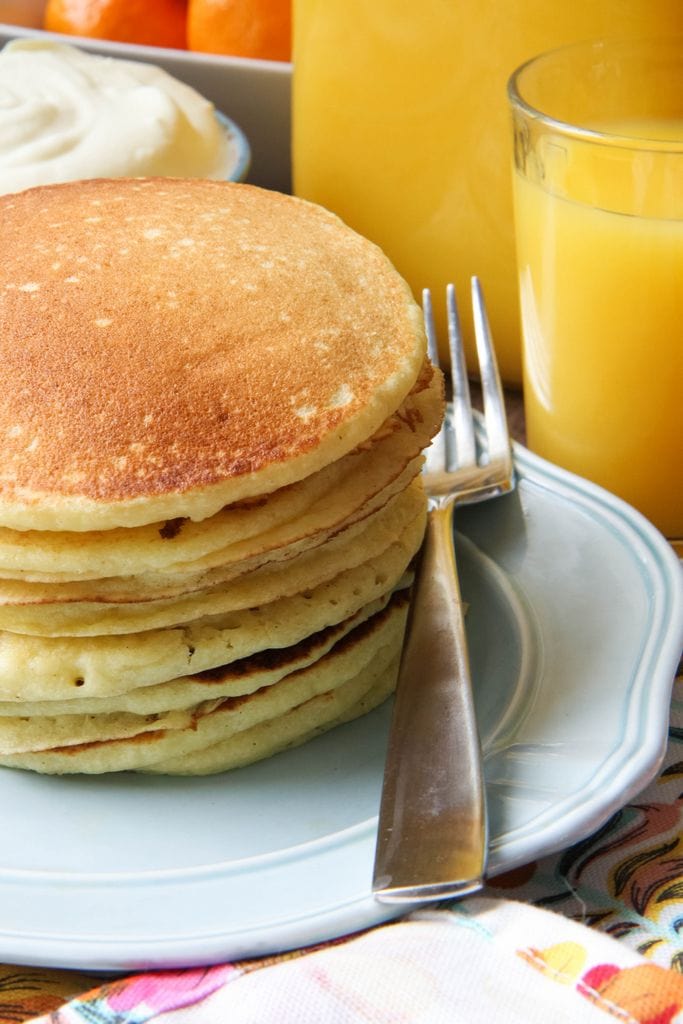
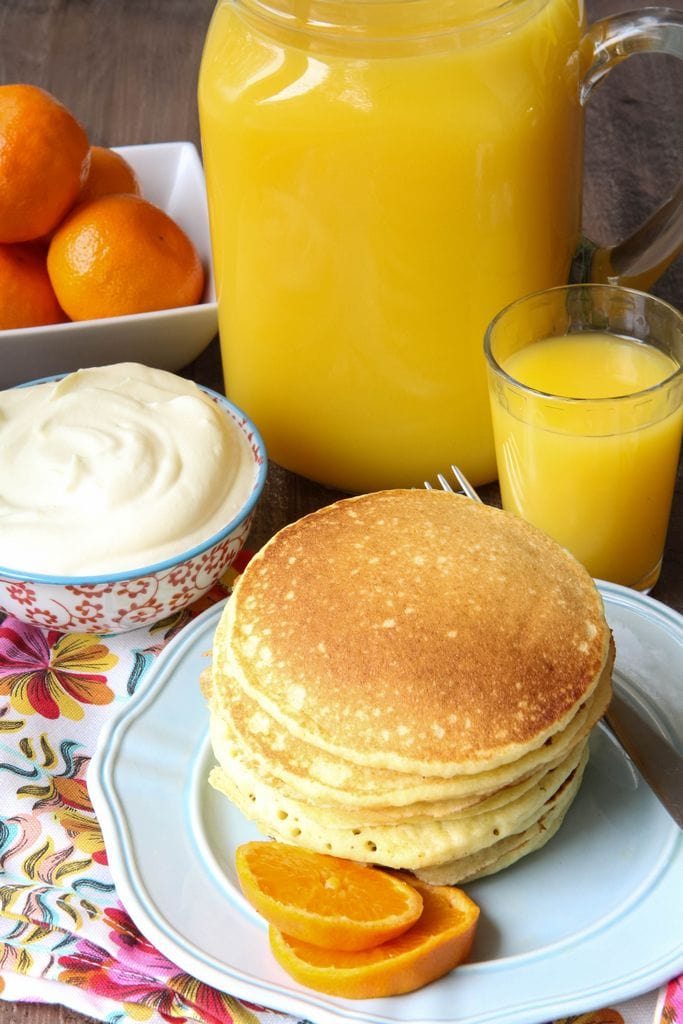
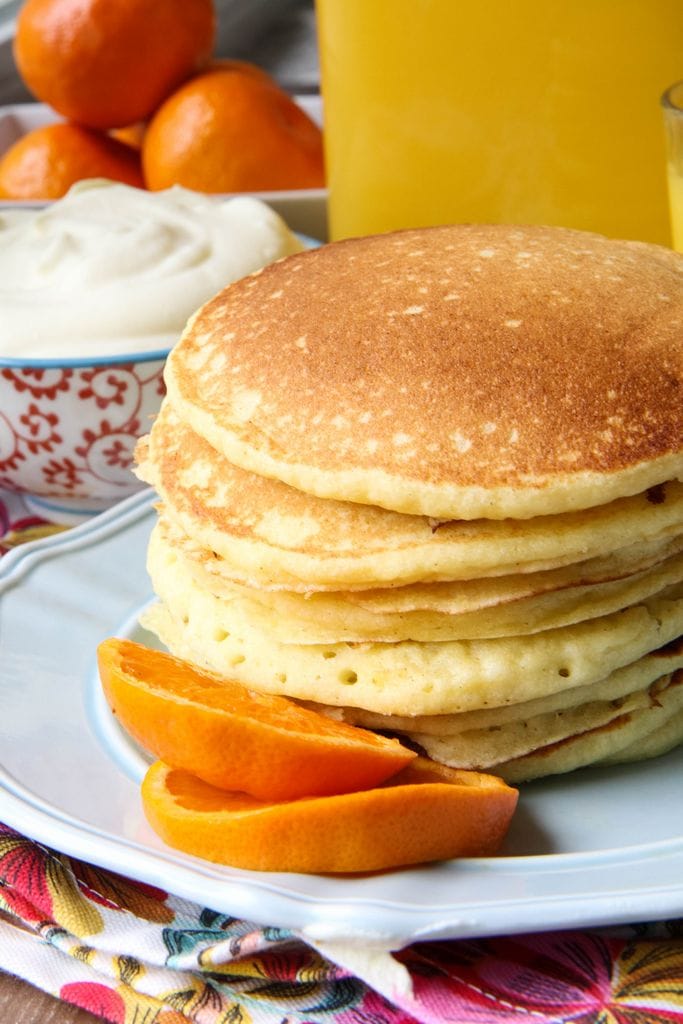
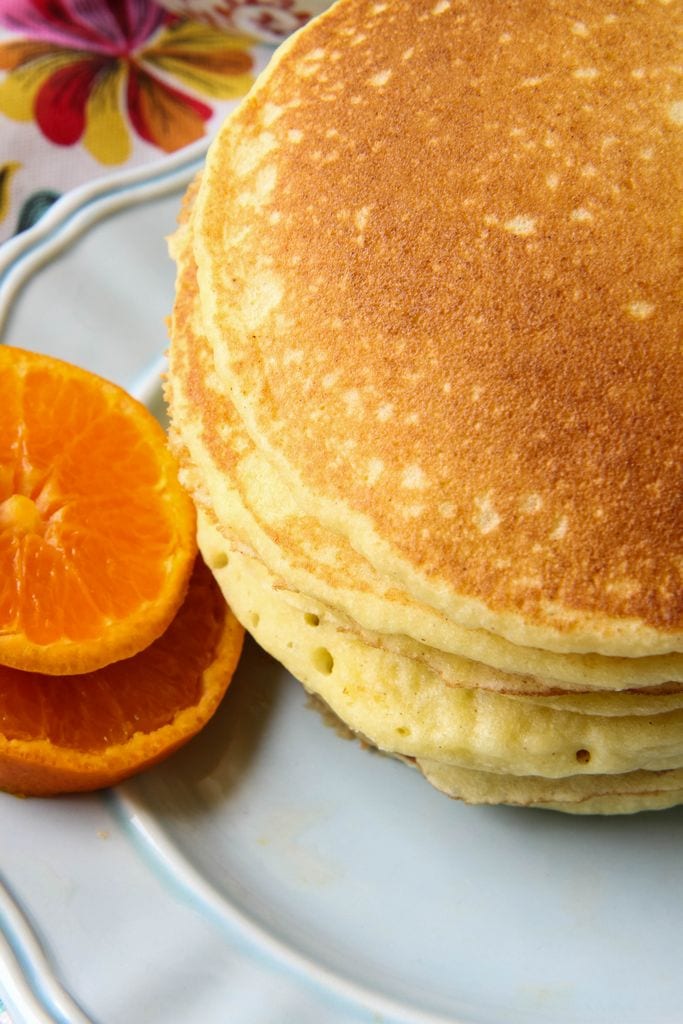
We are big fans of pancakes around here and gluten-free pancakes are surprisingly easy to create when you start with a good premade pancake mix. What makes these special is that we are replacing the milk in these with Florida Orange Juice. I love how small switches like these can yield a completely different pancake flavor, don’t you?

gluten-free-orange-dreamsicle-pancakes-7

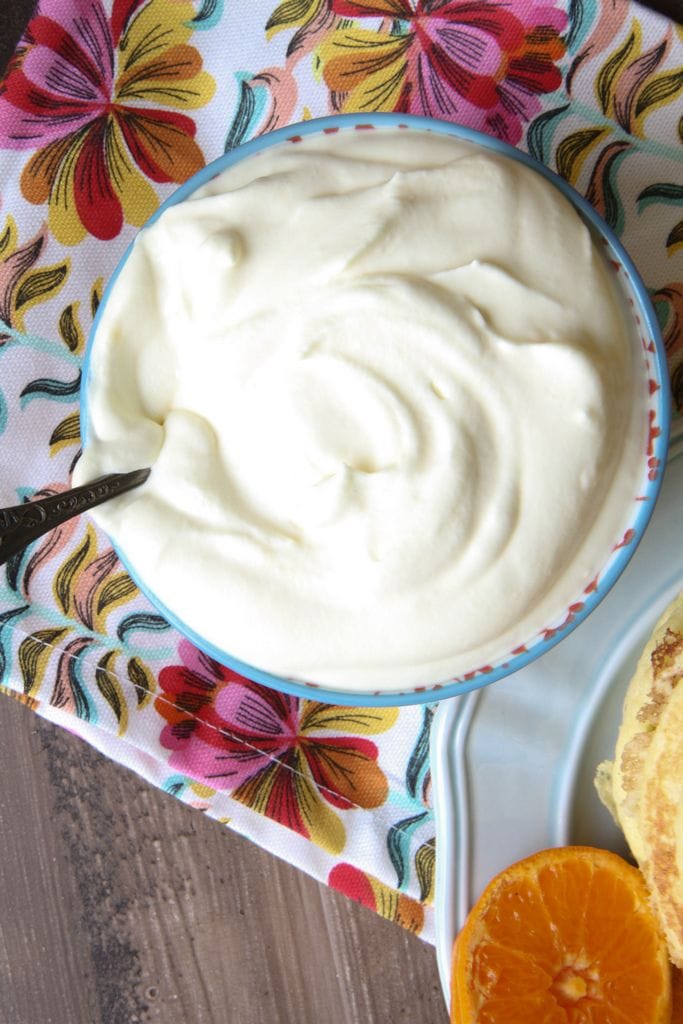
We can’t stop there though! Layered between the pancakes, I have a delicious whipped cream made with heavy cream and vanilla pudding. If you have never mixed a vanilla pudding mix into your whipped cream, you are in for such a delicious treat. The pudding mix elevates these pancake layers and creates that creamy flavoring that we are after.  If you end up having extra cream filling left, it is so good to layer between layers of your favorite fruits for a dessert on another day.

gluten-free-orange-dreamsicle-pancakes-2

gluten-free-orange-dreamsicle-pancakes-3

gluten-free-orange-dreamsicle-pancakes-5

Serve these pancakes sandwich-style for all that Orange Creamsicle flavor. Aren’t these gorgeous? These pancakes only require a little syrup since they are such a sweet treat!

How to Freeze Your Orange Creamsicle Pancakes

If you have extra pancakes, you can freeze the leftovers for your week. If you have the time, you can place your extra pancakes on a cookie sheet (make sure they aren’t touching!) and place them in your freezer for 30 minutes. Once they are frozen, you can place them in a freezer bag for easy grabbing.

Don’t have space in your freezer for a whole cookie sheet? No worries! You can just stack them with wax paper or parchment paper in between them instead and then place them into a freezer bag.

I love to have things like this in my freezer for those chaotic school mornings. I just grab a couple for each kid with a couple of breakfast sausages and zap them in the microwave for 1 minute.

gluten-free-orange-dreamsicle-pancakes-6

gluten-free-orange-dreamsicle-pancakes-8

These can be served with a glass of Florida Orange juice to round it all out. The recommended daily intake of Florida OJ is eight ounces for adults and four to six ounces for kids!

Did you know that one glass of Florida Orange Juice provides a total of 5 amazing nutrients in every glass? In just one glass you have Taste, Vitamin C, Folate, Potassium and No Added Sugar! Pretty darn cool!

gluten-free-orange-dreamsicle-pancakes-1

Enter the National OJ Day Contest TODAY!

I don’t want to just talk about National OJ Day though- how about a fun contest you could enter instead?

To celebrate National OJ Day, you can enter a sweepstakes to win 1 of 5 six-month meal delivery subscriptions! What mom couldn’t use that? To enter, share a picture of your family enjoying Florida Orange Juice on Facebook and Instagram TODAY between 8AM (EST) and 5PM (EST) and be sure to hashtag your picture with #HOWDOYOUFLOJ. If you enter via Instagram, be sure to also use the hashtag #sweepstakes. Just by submitting a picture, you are entered to win one of these six-month delivery subscriptions! For the official contest rules, you can read more here!

Gluten-Free Orange Creamsicle Pancakes (Plus FUN Contest!!)
Author: MomAdvice.com
Prep time:
Cook time:
Total time:
Serves: 4 servings
These gluten-free pancakes taste just like an orange creamsicle! Be sure to read the post for freezing instructions so you can enjoy these all week long!
Ingredients
  • 1 cup Florida Orange Juice
  • 2 eggs
  • 2 tablespoons melted butter
  • 1 ½ cups gluten-free pancake mix (I’m using Bob’s Red Mill mix, other mixes may not require the same liquid ratio so follow the instructions on the back of your mix)
  • 1 pint heavy whipping cream
  • 1 (3 ounce) package instant vanilla pudding
  • 2 tablespoons milk
Instructions
  1. Make your cream filling by beating your heavy cream with your mixer until stiff peaks form. Fold in the vanilla pudding mix and milk. Set aside.
  2. Preheat skillet to medium-high heat.
  3. In a bowl, whisk together Florida Orange Juice, eggs, and melted butter. Add pancake mix and whisk until smooth.
  4. For each pancake, pour ¼ cup batter onto a hot skillet. Cook until the top is bubbly (approximately three minutes). Flip and cook two more minutes.
  5. Place one pancake on each plate, add a dollop of your cream filling and then finish with another pancake on top. Serve with warmed syrup.

gluten-free-orange-dreamsicle-pancakes-4

This blog was sponsored by Florida Department of Citrus. Thank you for supporting the companies that support our site!

Pin It