This post was created in partnership with Waverly Inspirations. Thank you for supporting the companies that support our site!
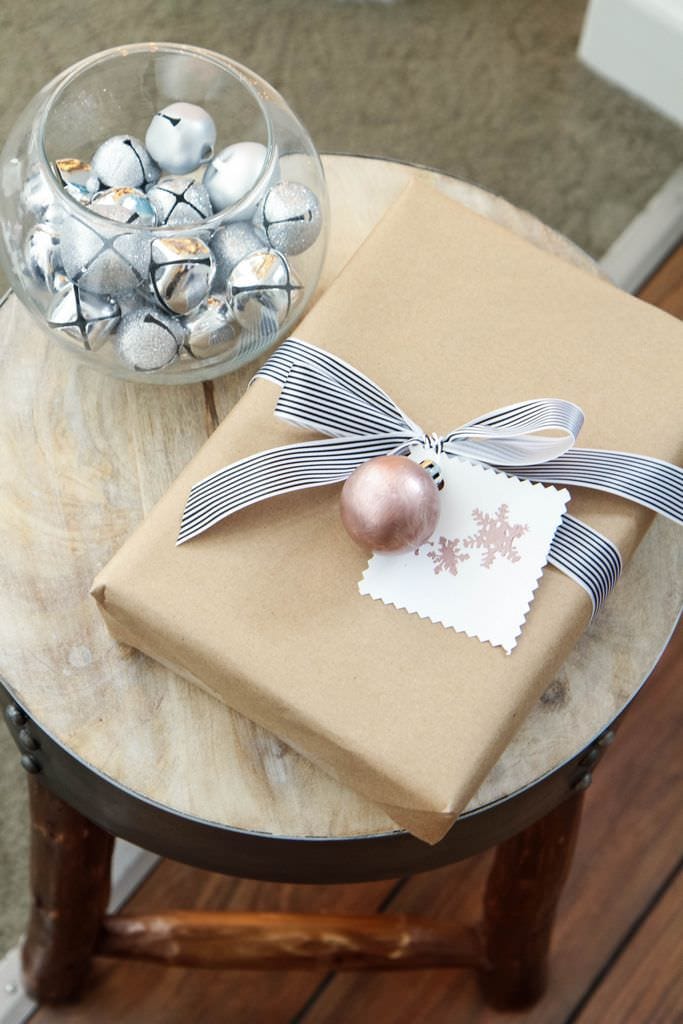
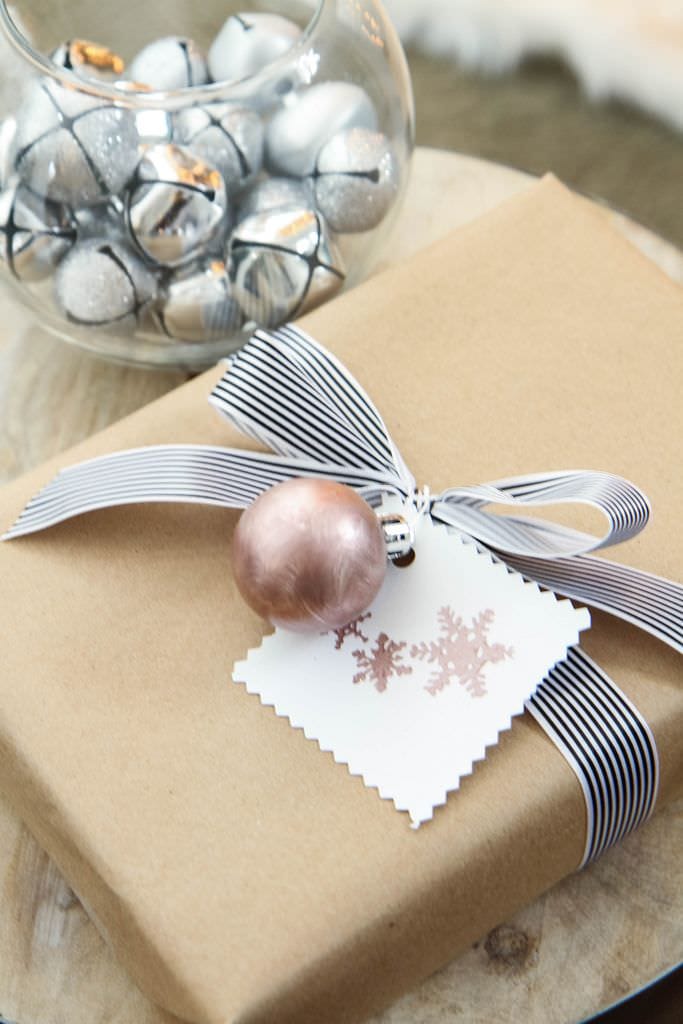
You may recall that last year I decided to buy a lifetime of kraft paper for wrapping our holiday gifts. It should come as no surprise that we are still using this giant roll of gift wrap in our house. I have found it is a useful item to have on hand, for all of life’s occasions, and there is so much that you can do with kraft paper to make your gifts unique.
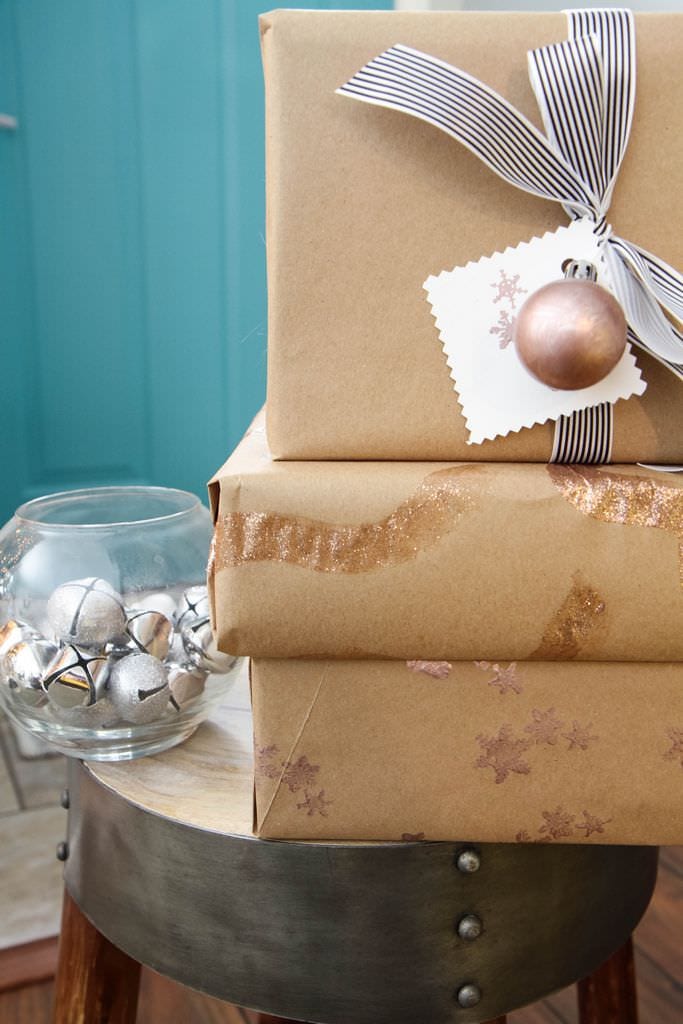
I also consider pretty gifts to be part of the decorating so it thrills me to come up with new ways to use the same paper each year. I love these gorgeous detail under the tree.
As a crafter, I really never got into acrylic paints until this year. It has been so much fun trying new crafts with these fun paints. I love discovering something that I have walked by for years in the craft aisle and finding my own uses for them!
Today I wanted to come up with some creative ideas to get kids on the action of decorating the paper as a fun winter craft. I love screen-free activities with them so I thought this would be a fun one that you could have them create, even after the holiday season.
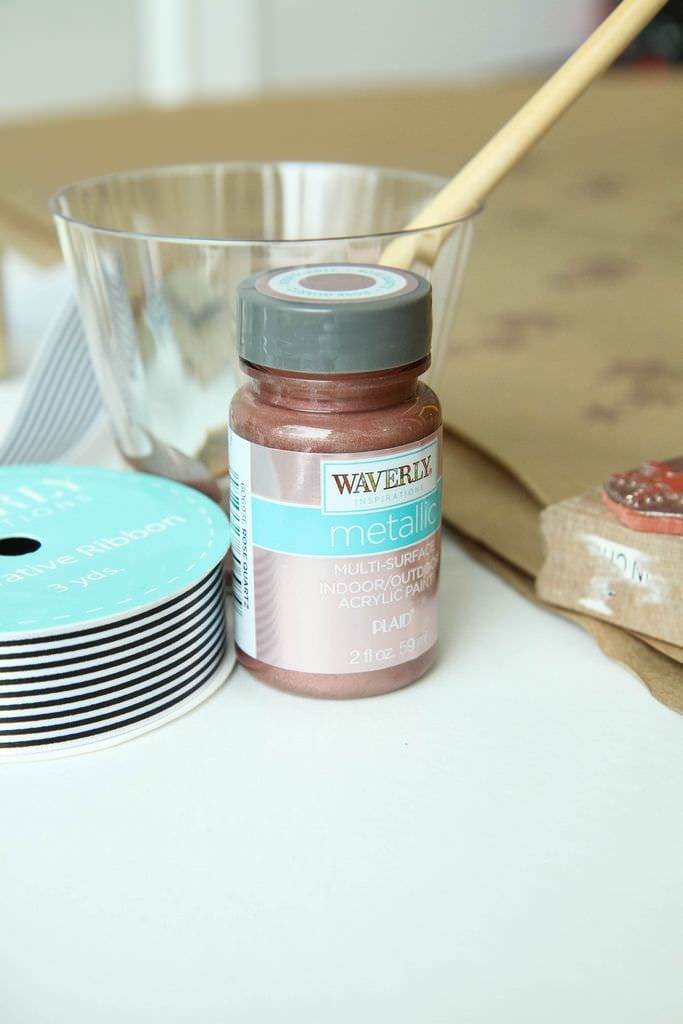
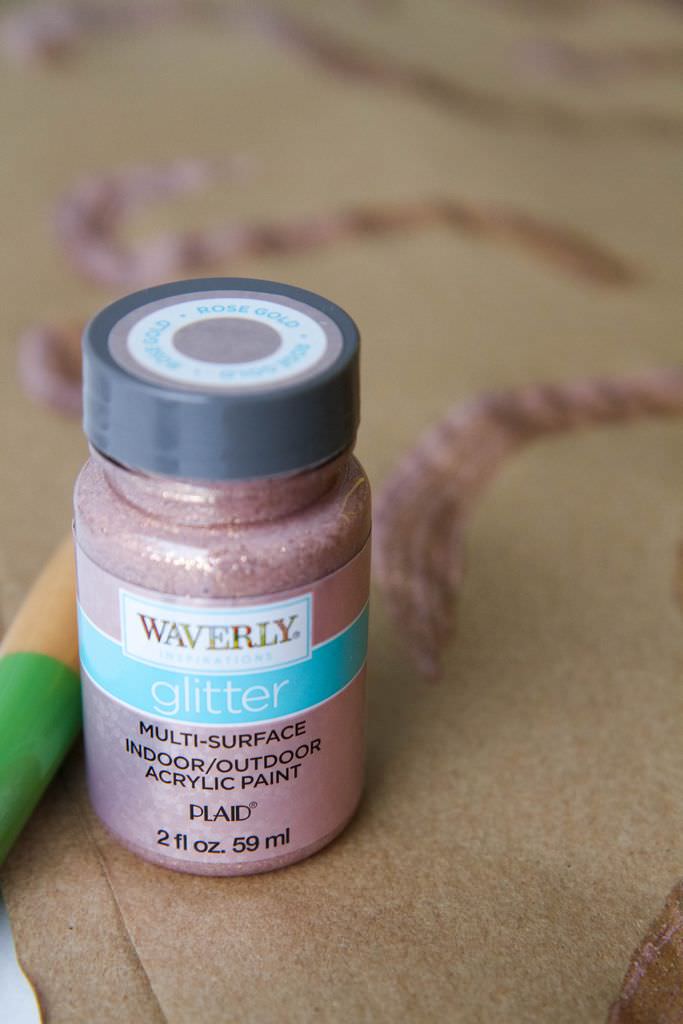
There are so many beautiful hues that you could mix and match any hue that you like. I have a big crush on a metallic Rose this year so I am demonstrating this craft with Waverly Inspirations Metallic & Glitter paint offerings in Rose Quartz (in the Metallic) and Rose Gold (in the Glitter paints!) for a pretty modern look.
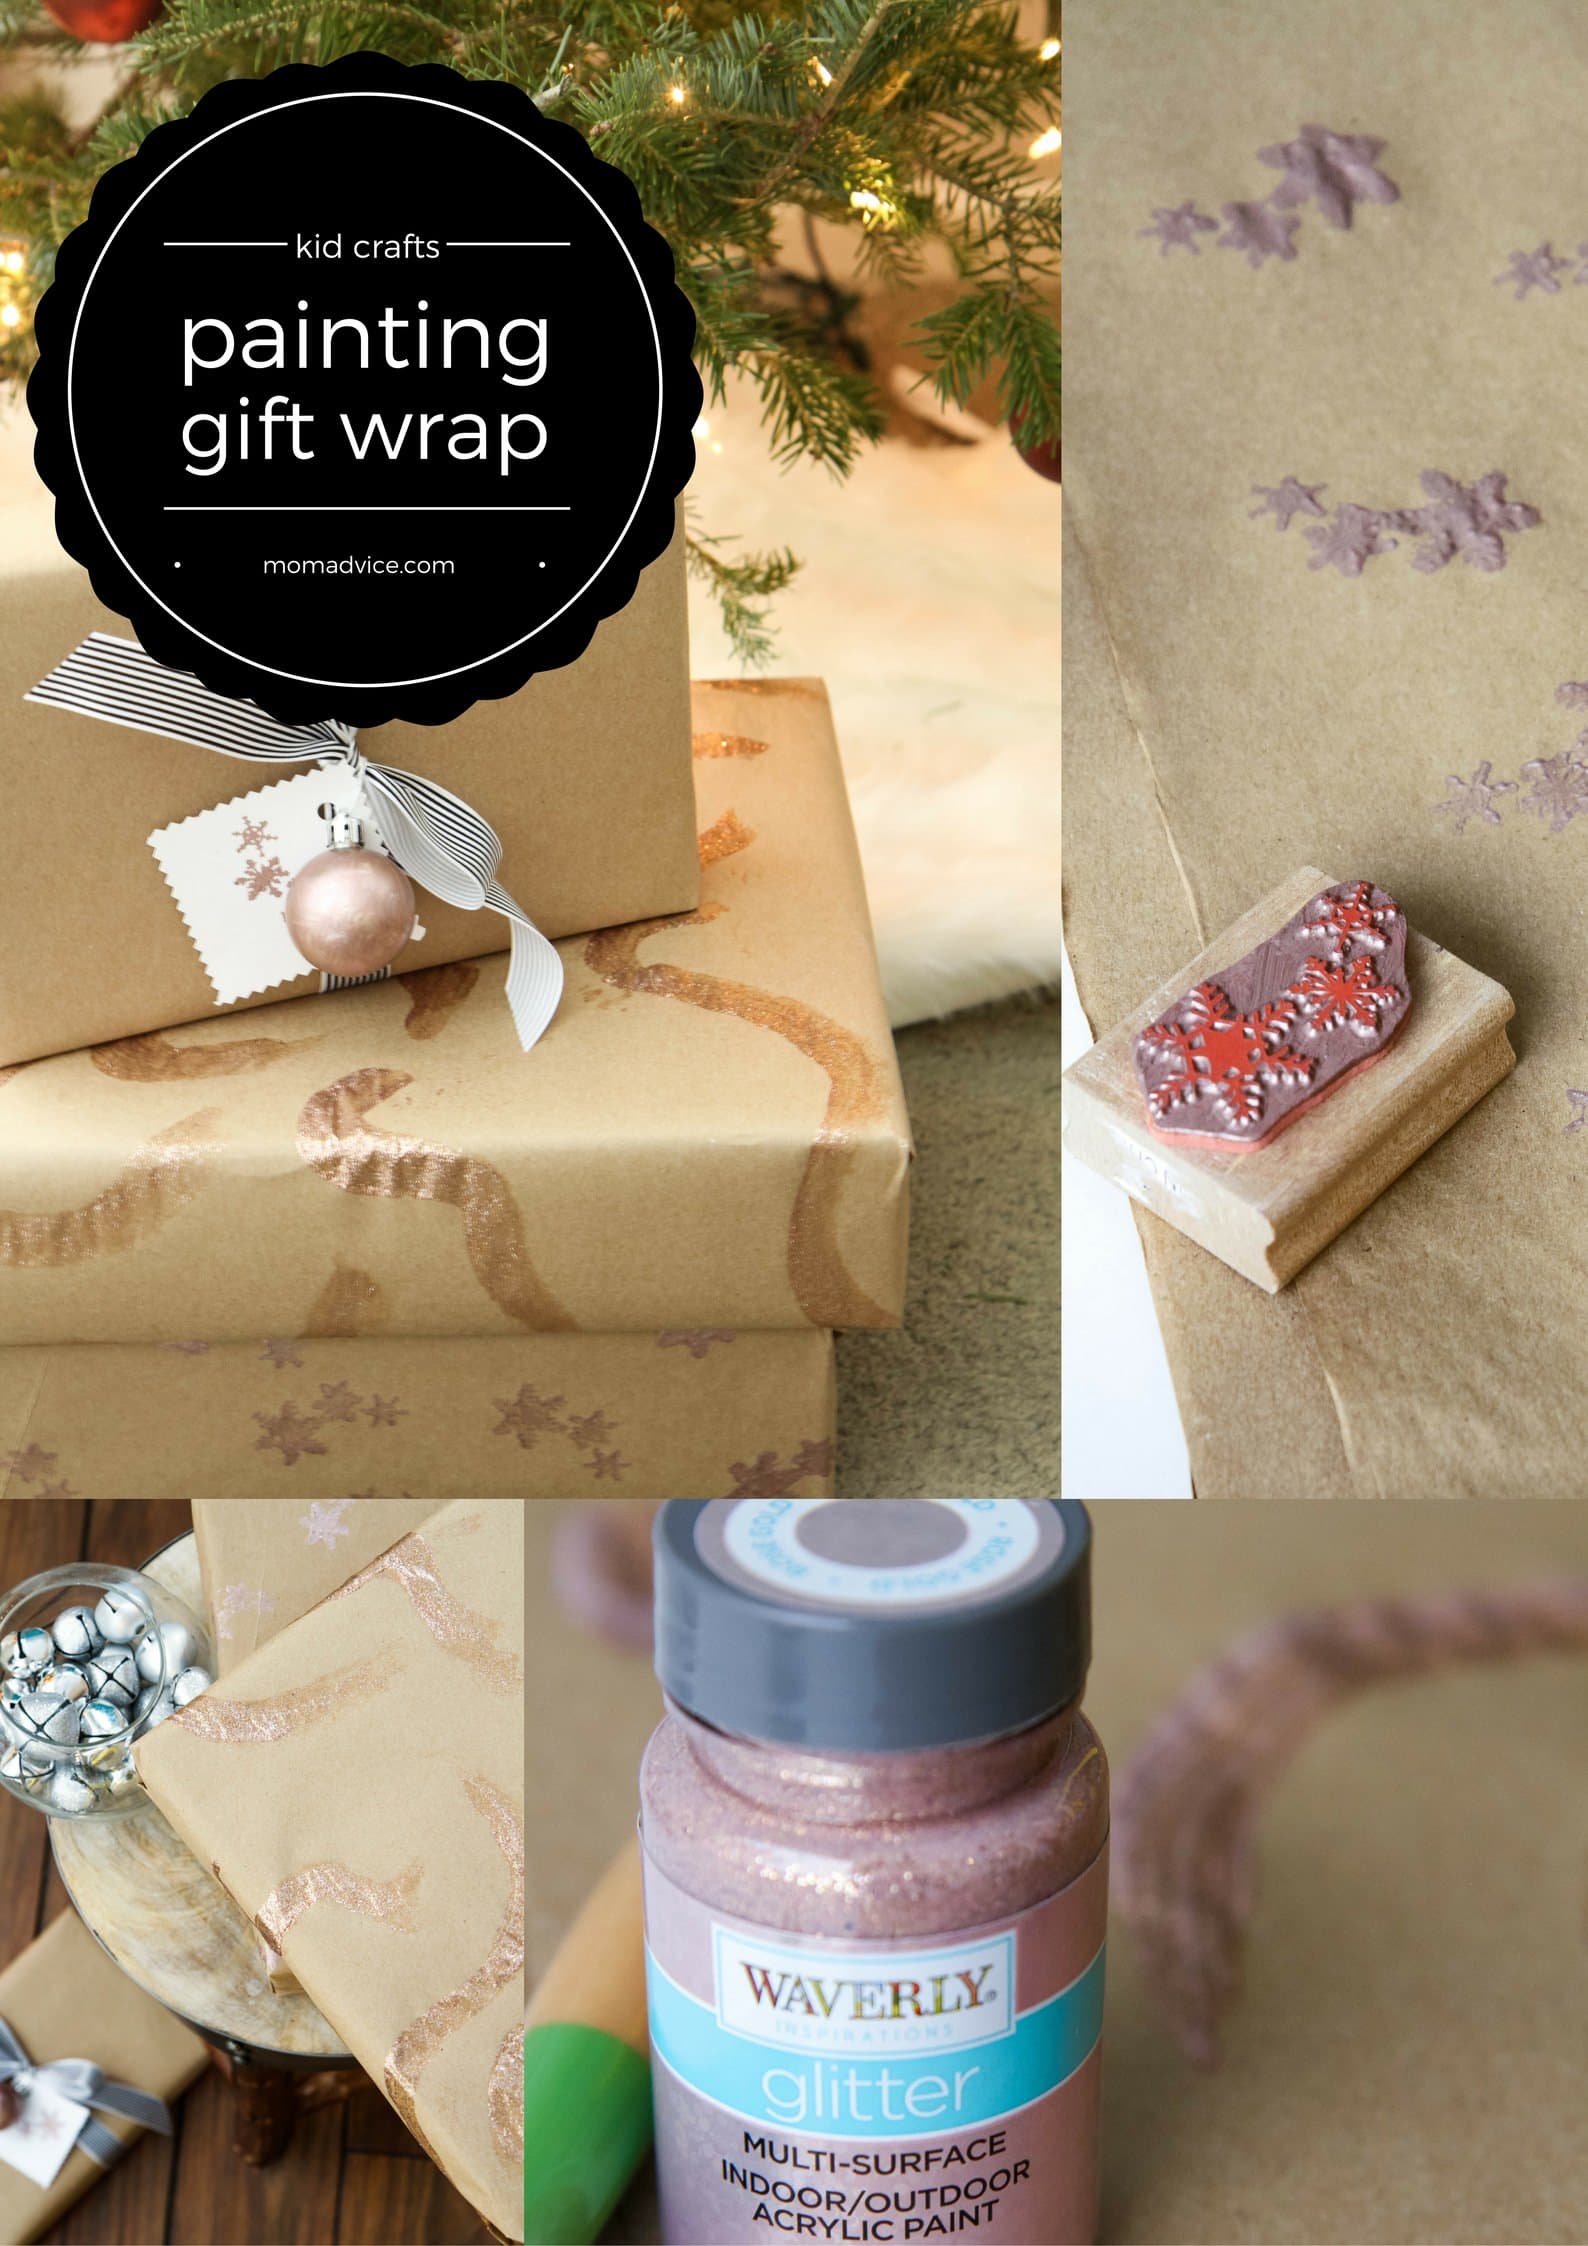
3 Fun Painting Projects for Kids to DIY Your Gift Wrap

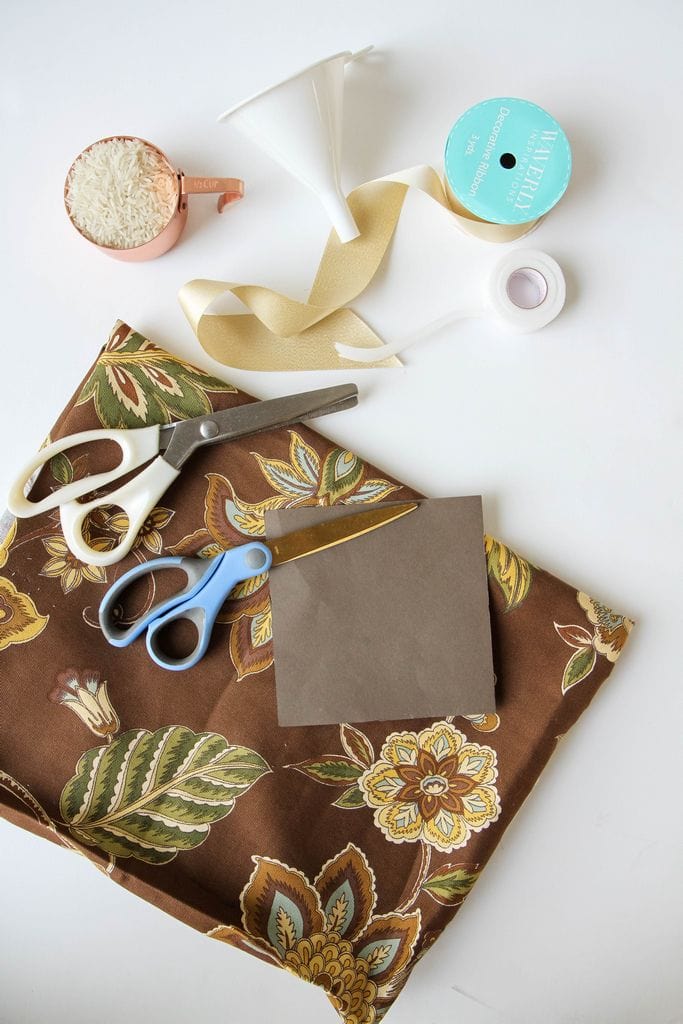
Supplies Needed (all of these supplies can be found at Walmart!)
Small Ornaments (just the inexpensive ones that come in a tube!)
Waverly Glitter & Metallic Paints (in stores)
Plastic Cups, Bowls, or a Plate for Paints
Directions for Fun Painting Techniques
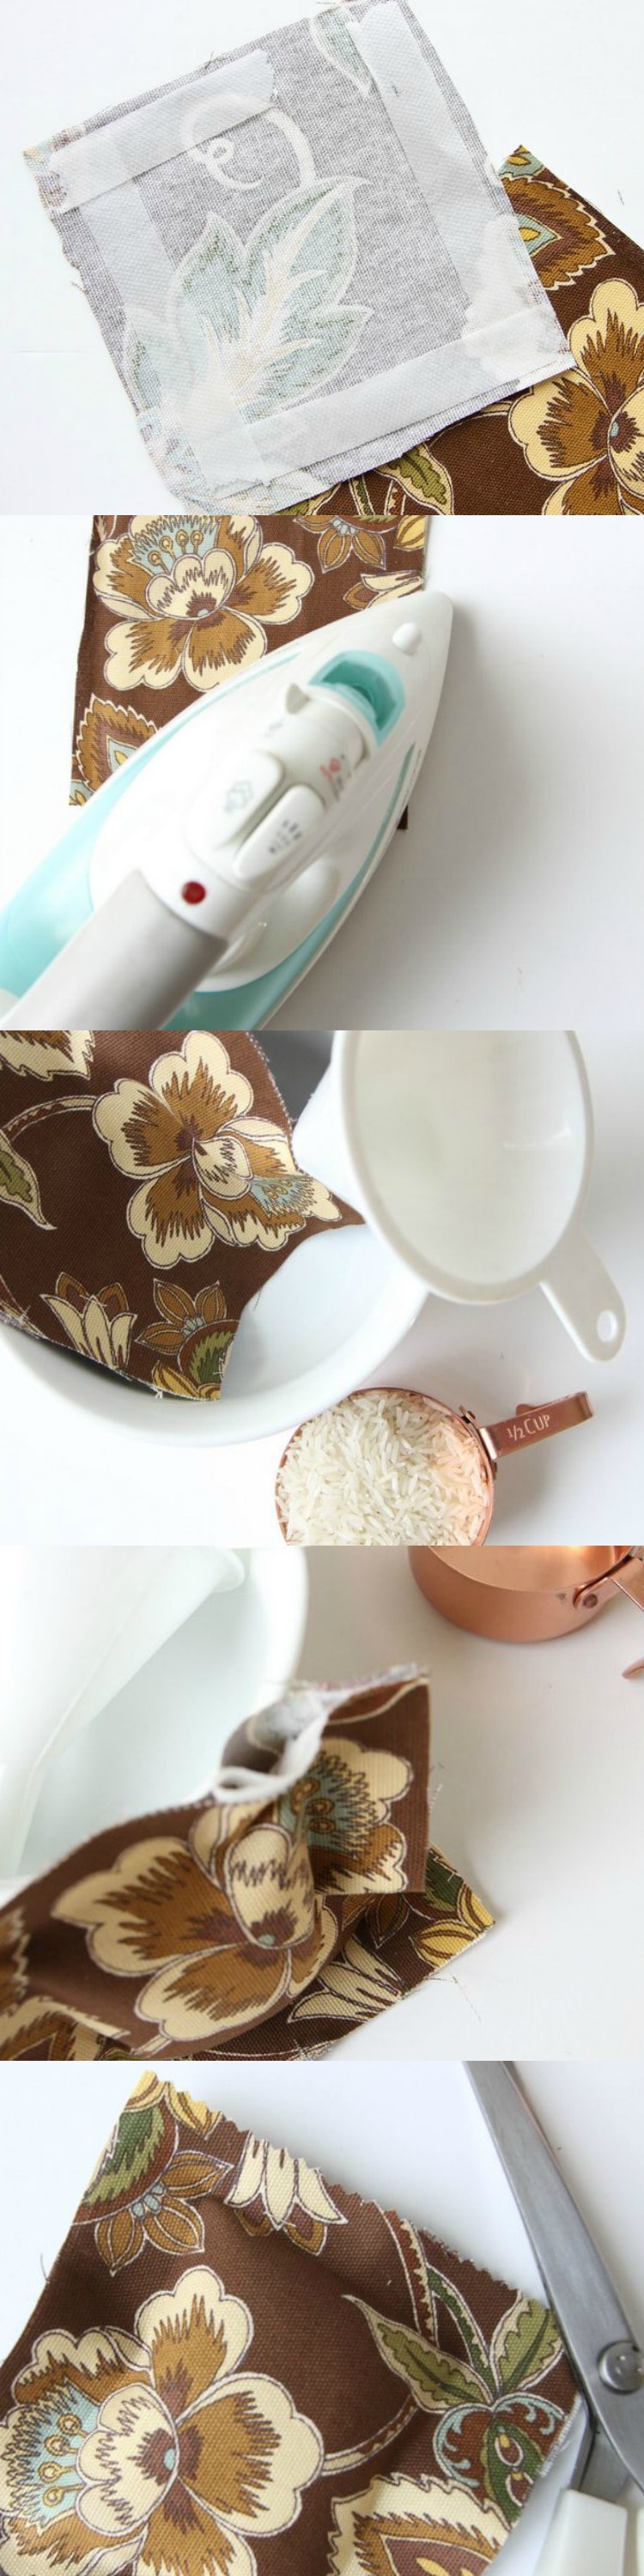
Make sure to cut off a section that will be generous enough to cover at least one gift.
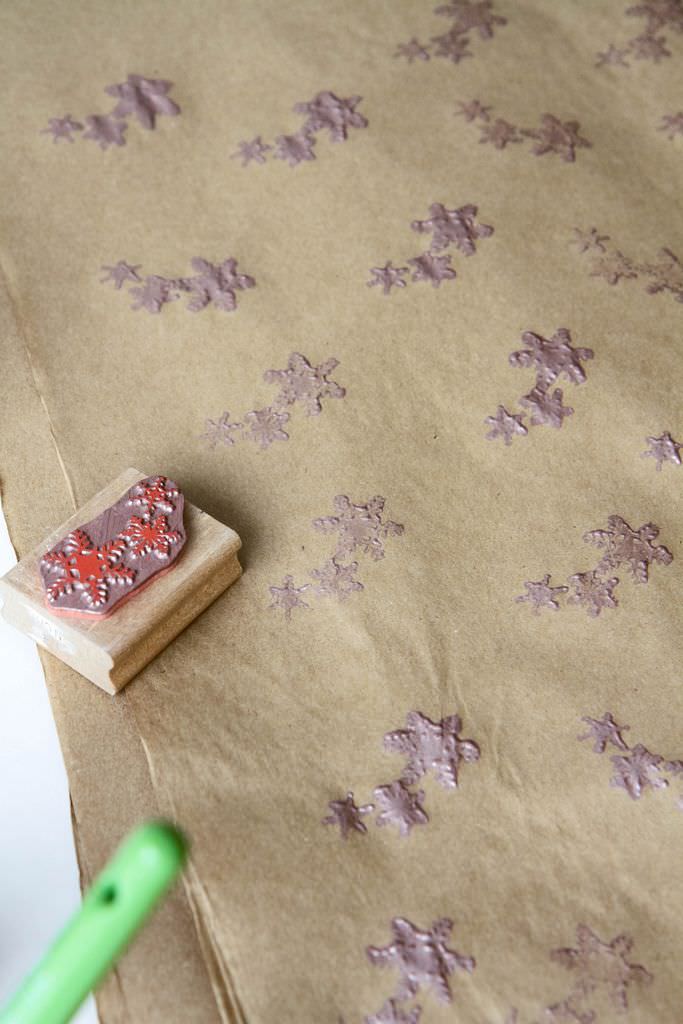
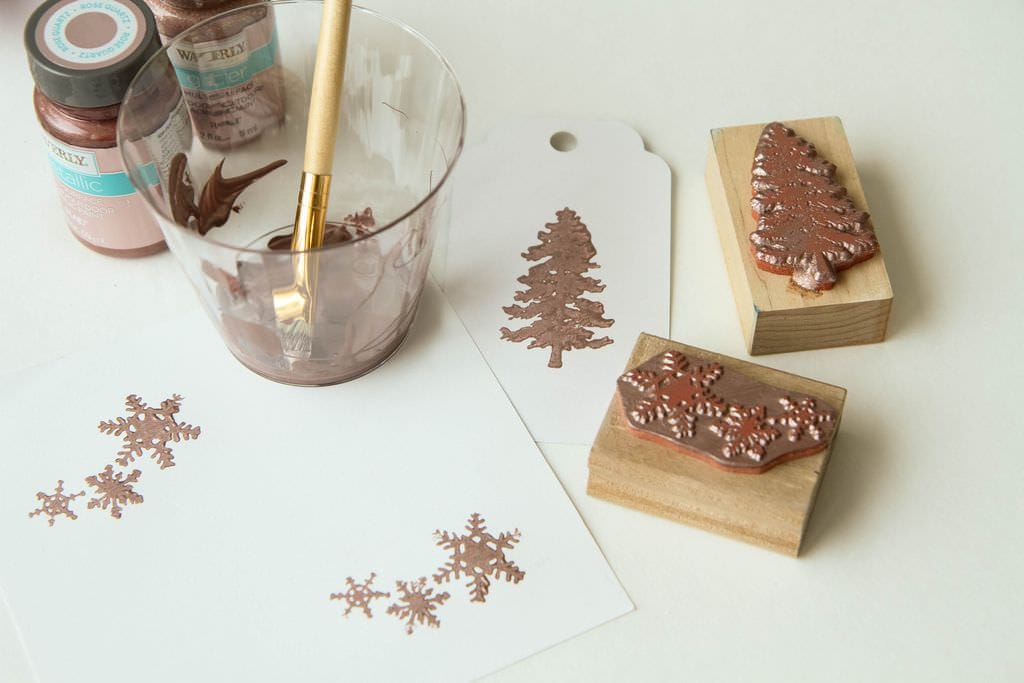
Stamp Your Paper
Pour a small amount of your paint into a disposable cup, plate, or bowl. Using your paintbrush, brush the paint on in an even layer and then place stamp down and pull directly up to try to get as clean of a design as possible. Repeat across the paper or combine this with other designs for more variety. You want to use the Waverly Inspirations Metallic Paints with this technique because the glitter paint doesn’t create that clean image like the metallic paint.
If you don’t have rubber stamps in your craft supplies, you can use odds and ends around your home for stamping. Shapes can be cut into the ends of potatoes, you can cut up sponges into shapes, the eraser end of a pencil can make adorable polka dots, the edge of a disposable cup can create rings, or a cork could create a dotted technique. This is a great opportunity for your child to explore painting in fun ways.
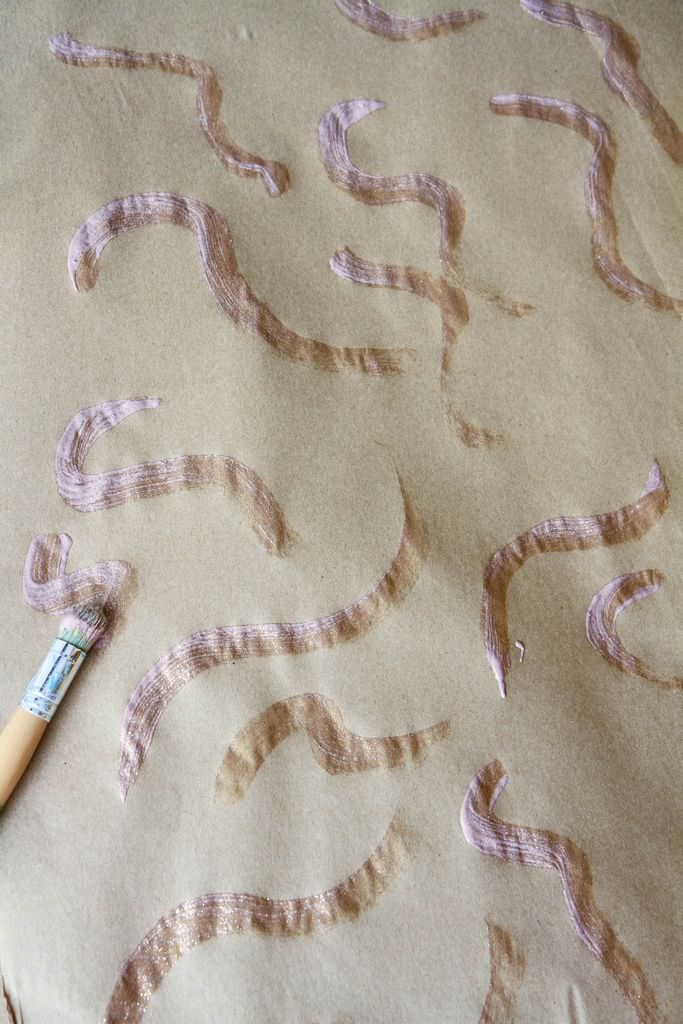
Create Glittered Swirls
If your child lacks the eye-hand coordination for stamping, give them a paintbrush and let them add swirls to the paper. Paint strokes are layered in glitter thanks this fun glitter paint. I found with this one, it was best to have a fully loaded brush to bring out both the color and the glitter. Repeat your swirls throughout the paper or have your child come up with their own abstract design.
Add Painted Embellishments
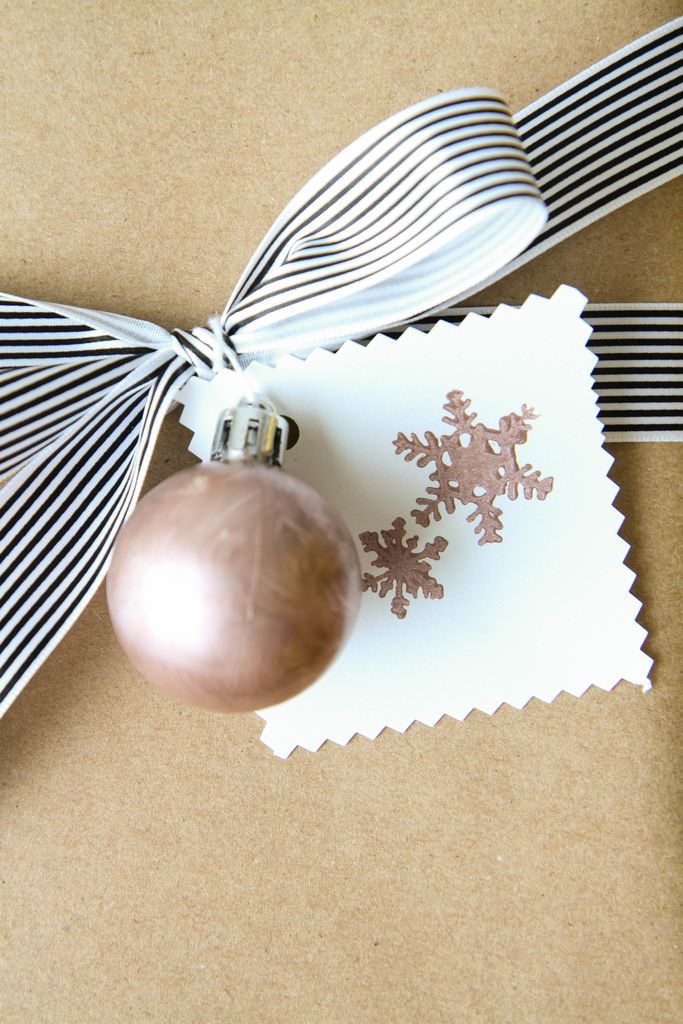
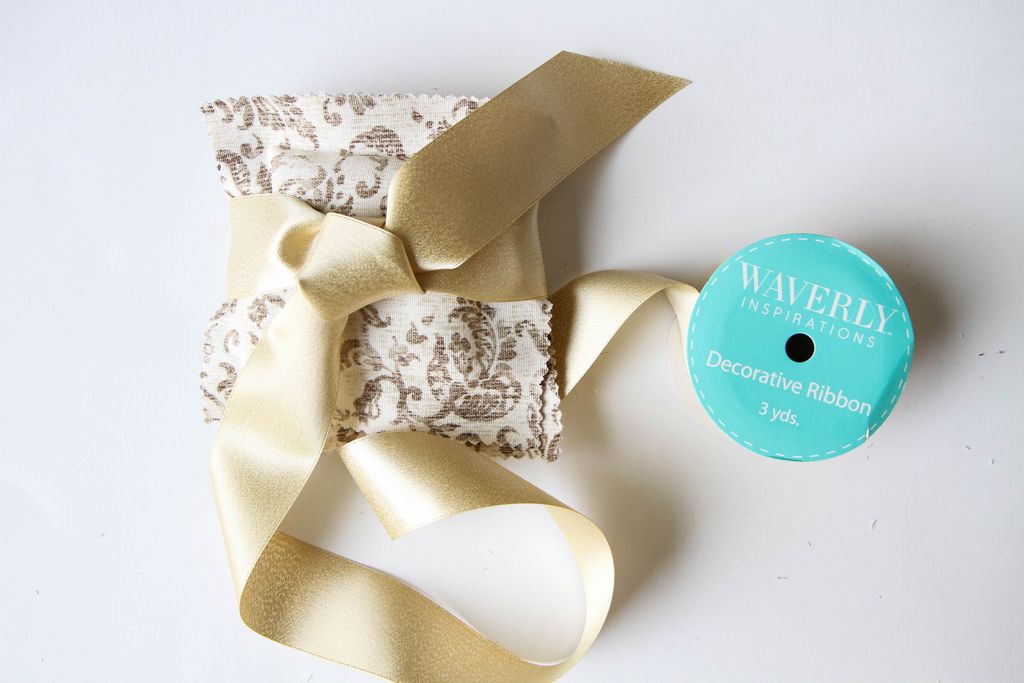
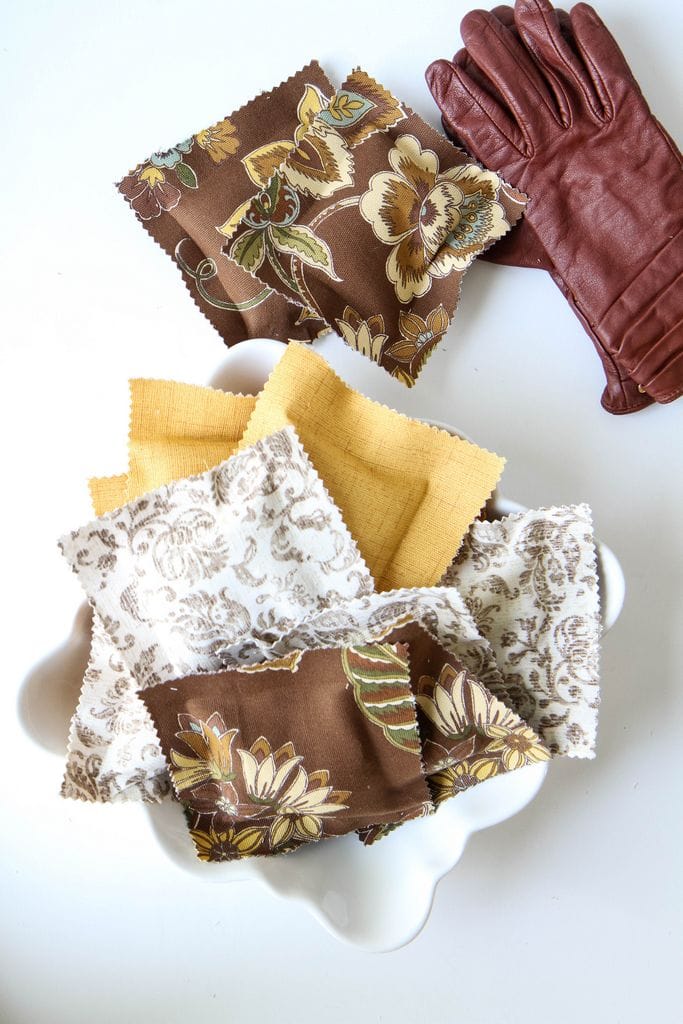
Acrylic paints are so fun and make many inexpensive items look high end with modern color choices. Inexpensive ornaments can be painted in coordinating colors and tied on with string to your package. While the rubber stamps are out, stamp up your own diy gift cards on white cardstock and trim with ric-rac scissors or put your own creative spin on the tags. Finish your gift with a beautiful bow.

I hope your kiddos enjoy this boredom buster! I am the queen of craft stockpiling so I have tons of paints, ornaments, and gift wrap (BOY, DO I HAVE GIFT WRAP!) to keep the kids busy on our next snow day.
Do you want more craft inspiration from Waverly? Try these!
DIY No-Sew Reversible Chair Cushions
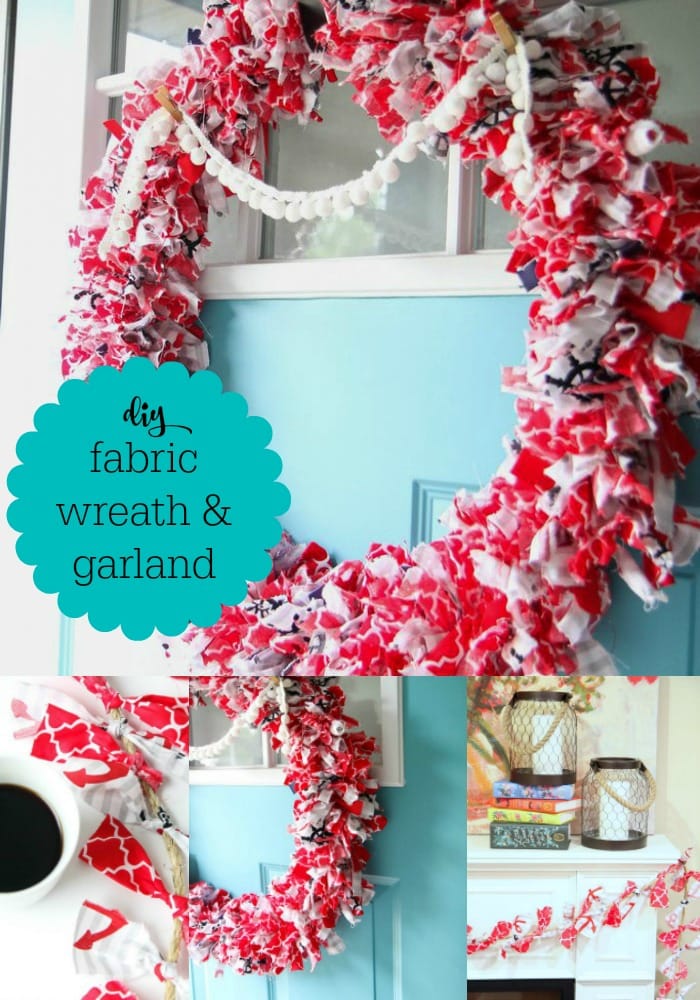
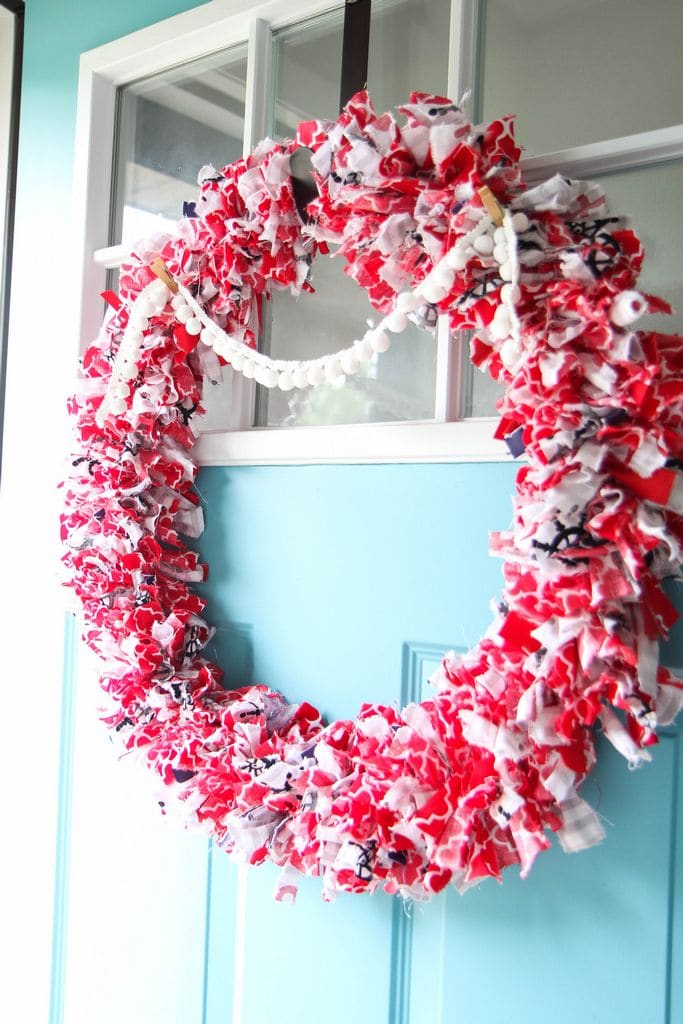
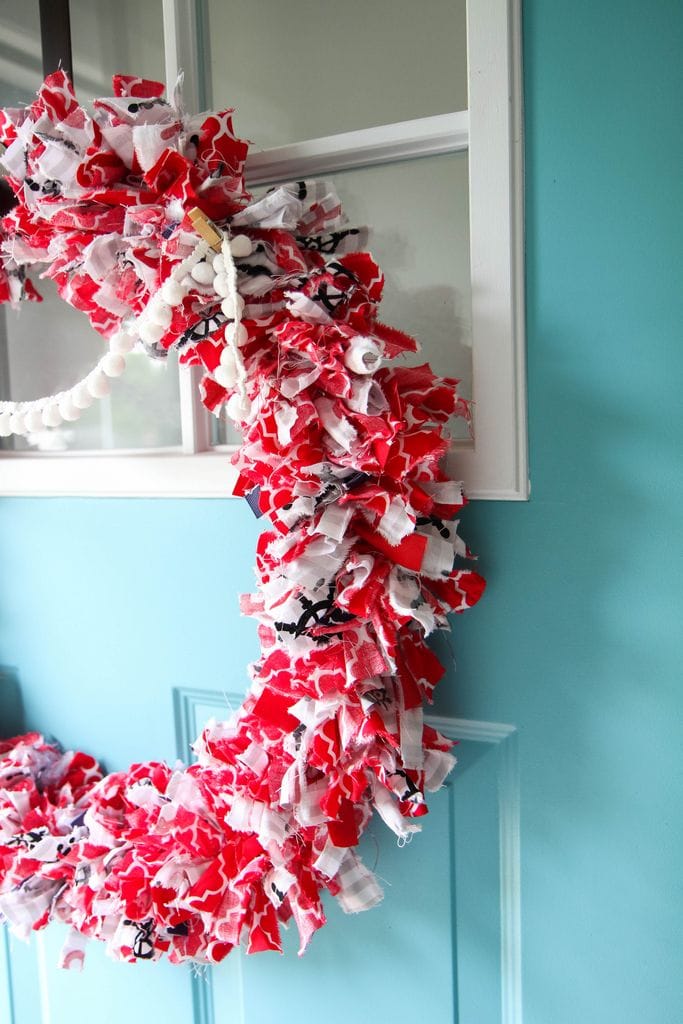
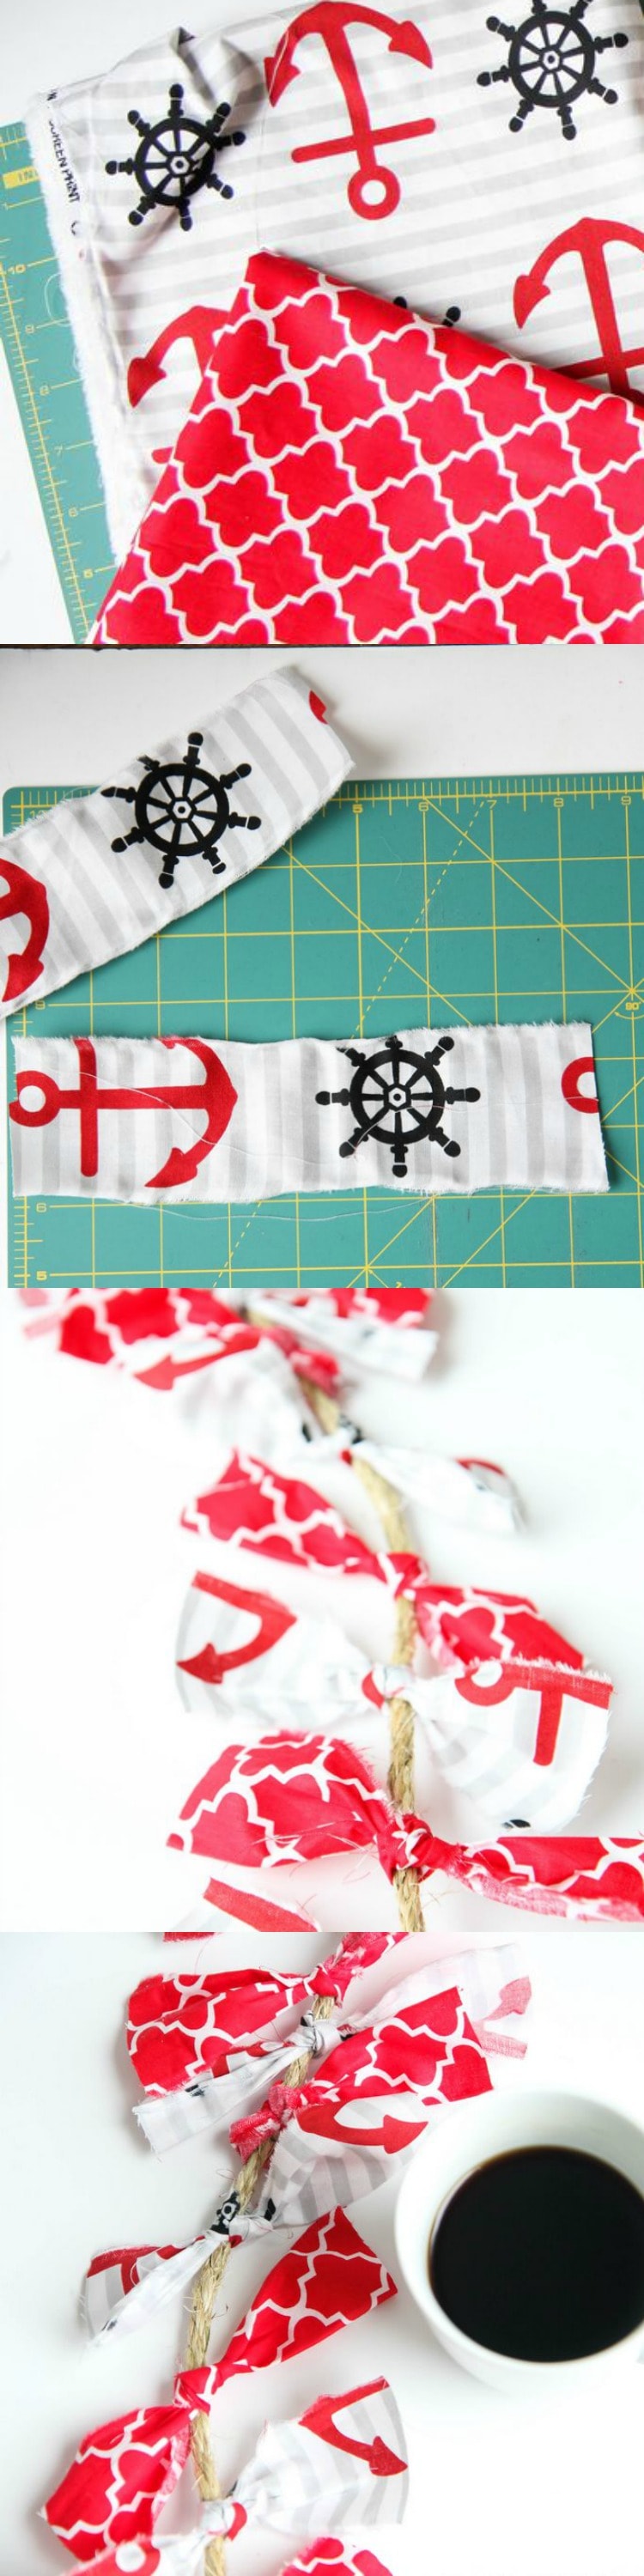
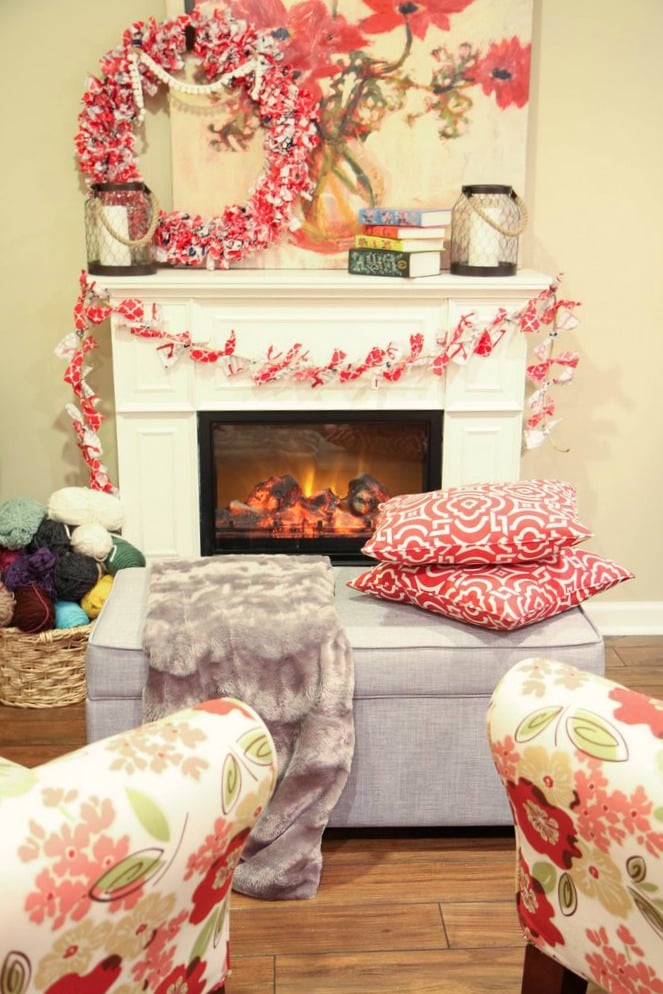
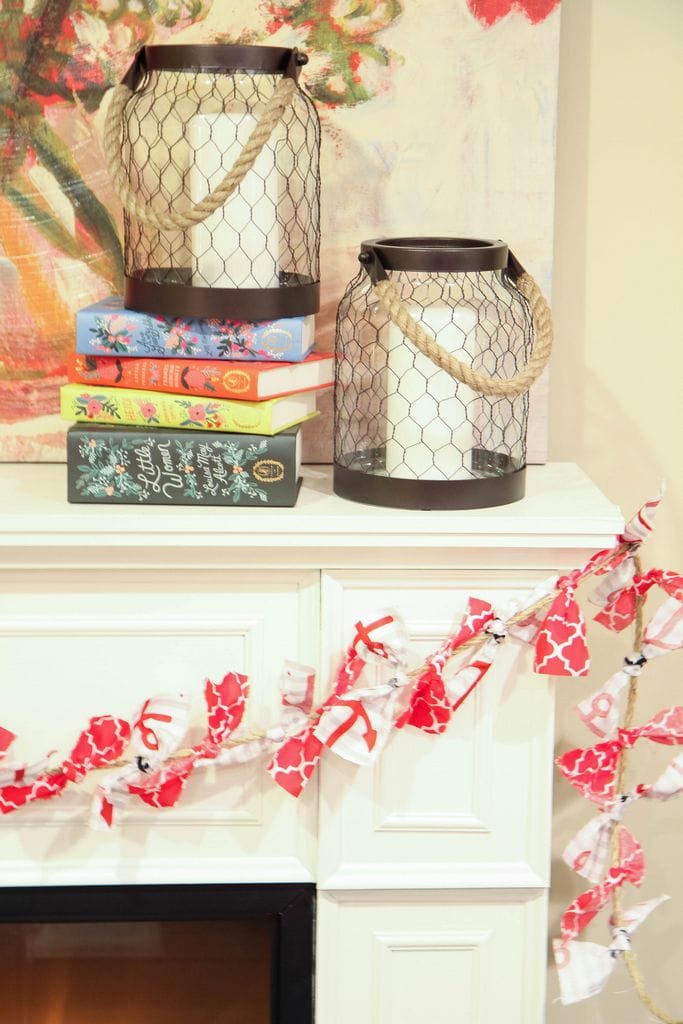
Fabric Wreath & Matching Garland
Fabric Bulletin Board Tutorial
Painting Pumpkins With Acrylic Paints
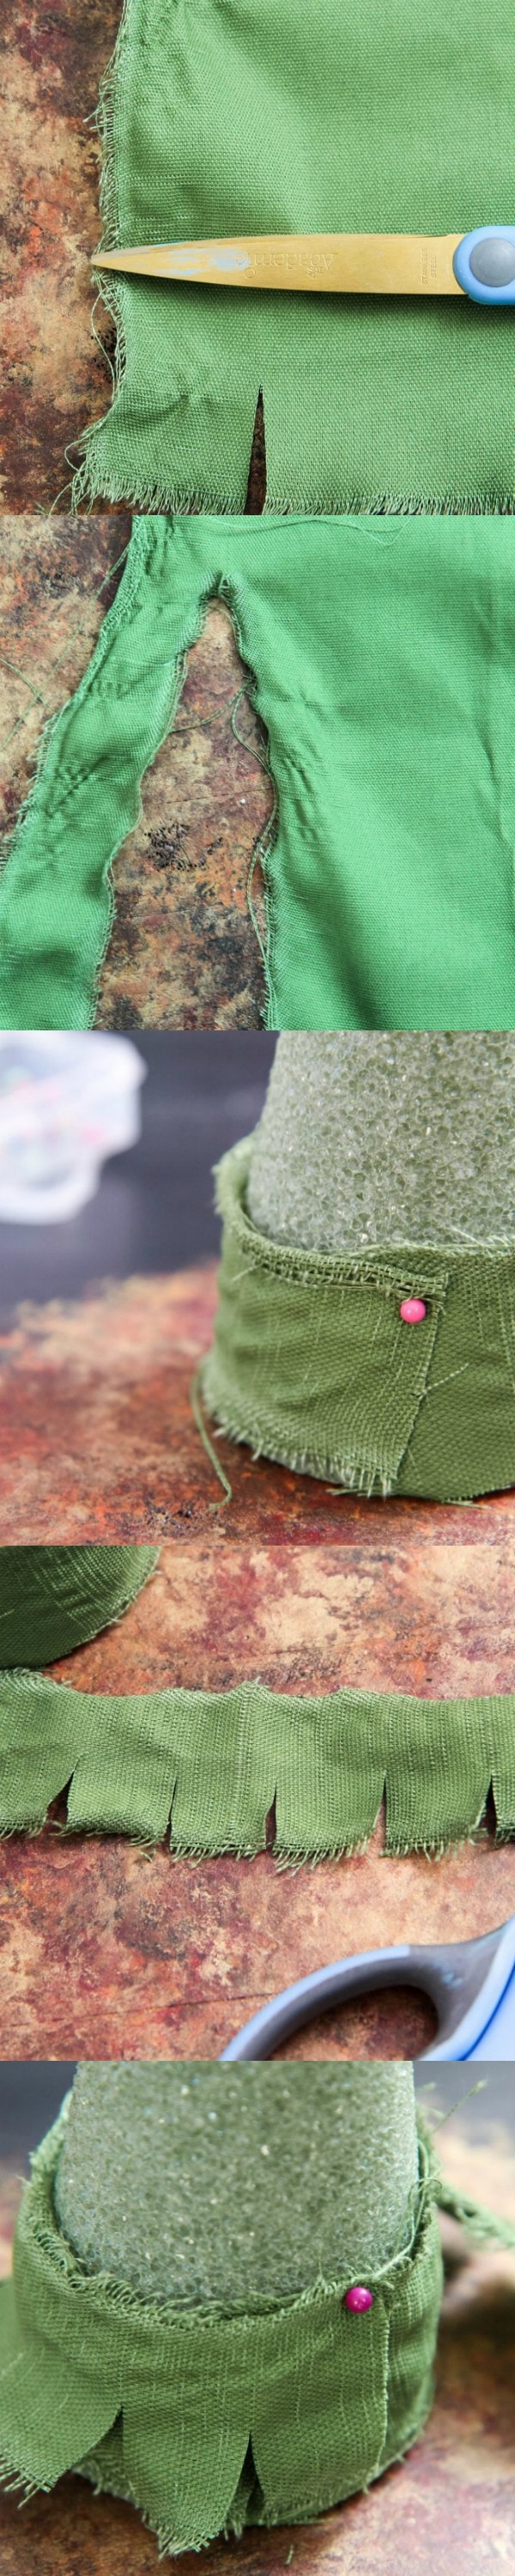
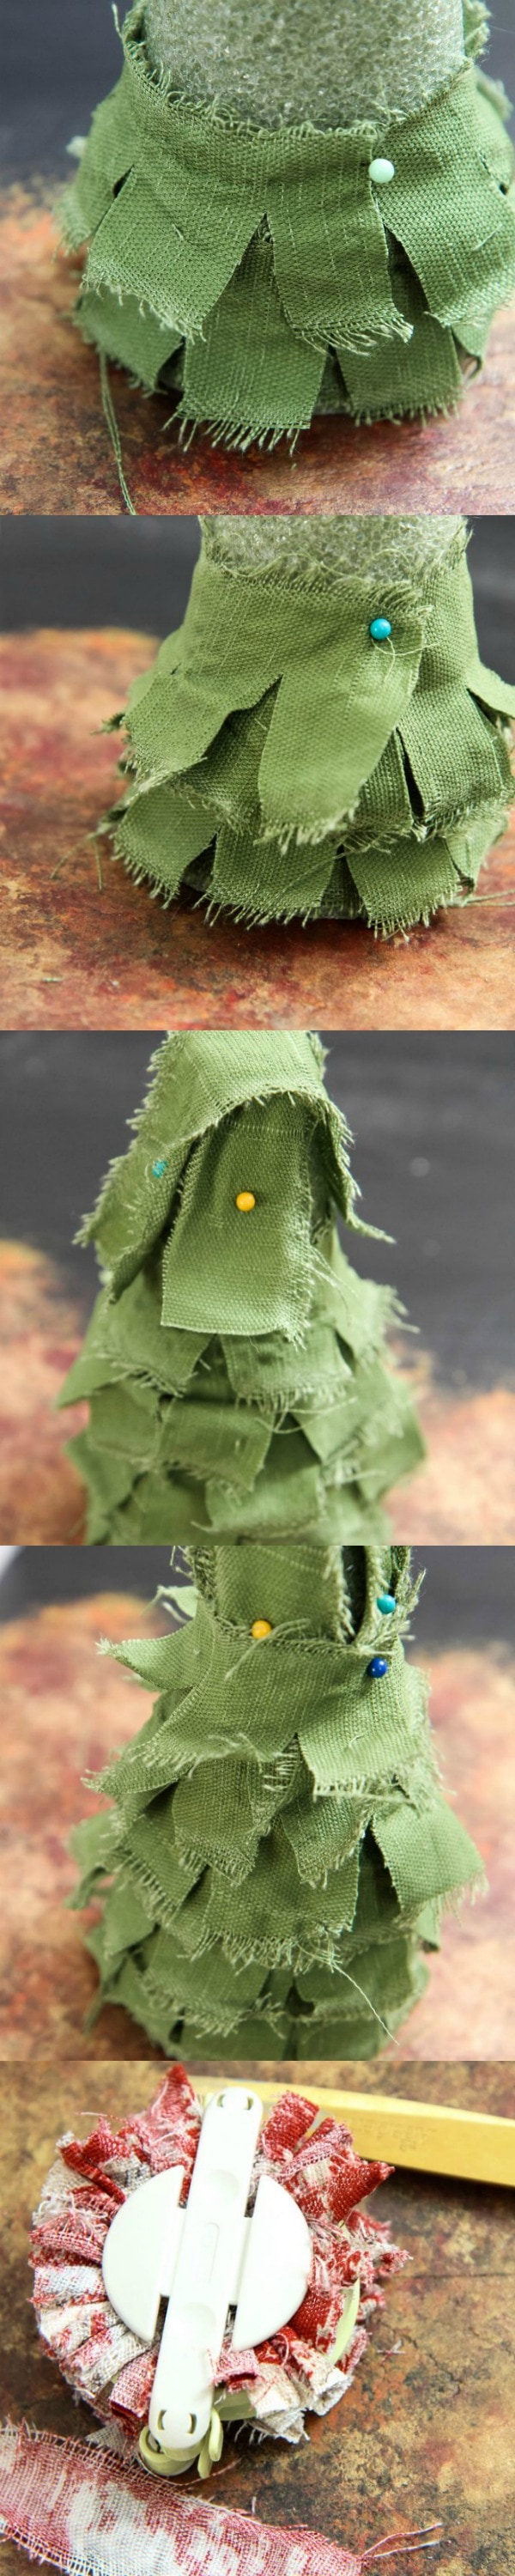
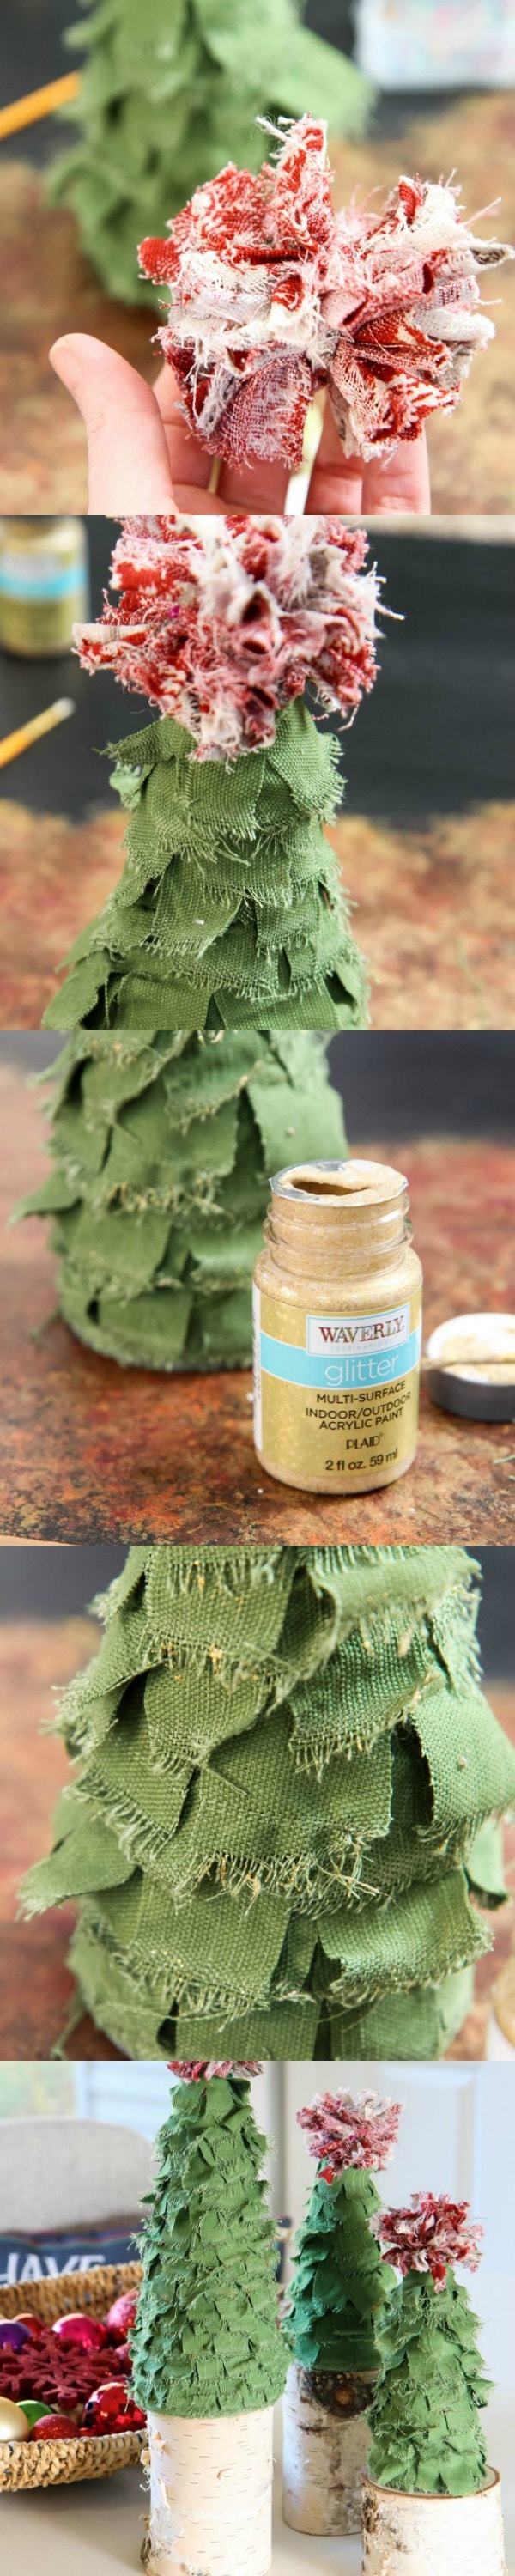
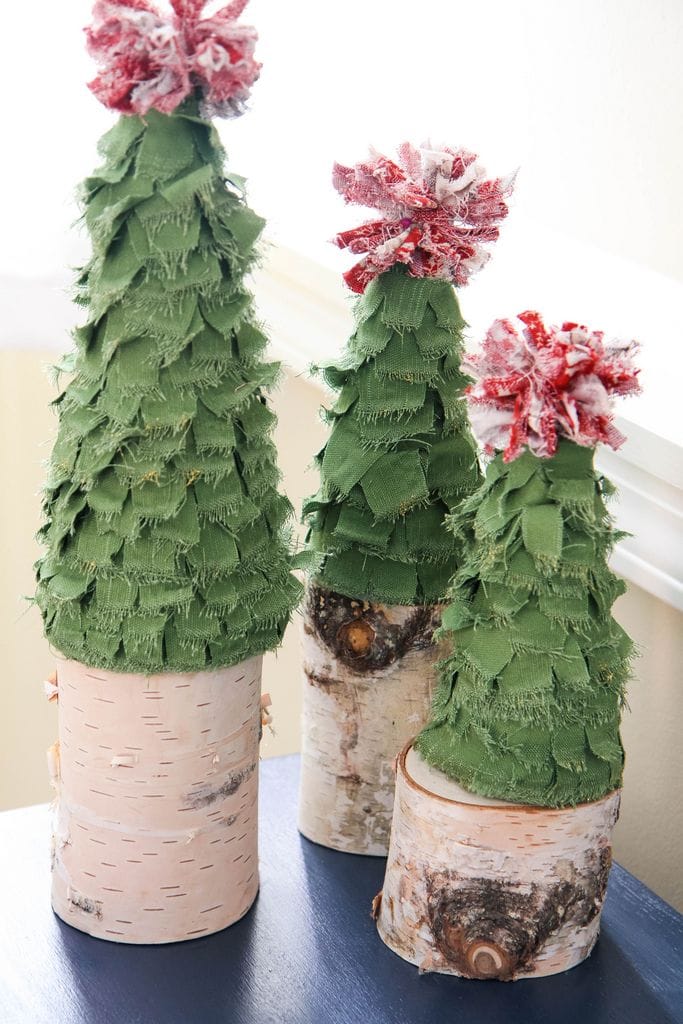
15-Minute Scrappy Fabric Trees
This post was created in partnership with Waverly Inspirations. Thank you for supporting the companies that support our site!
Pin It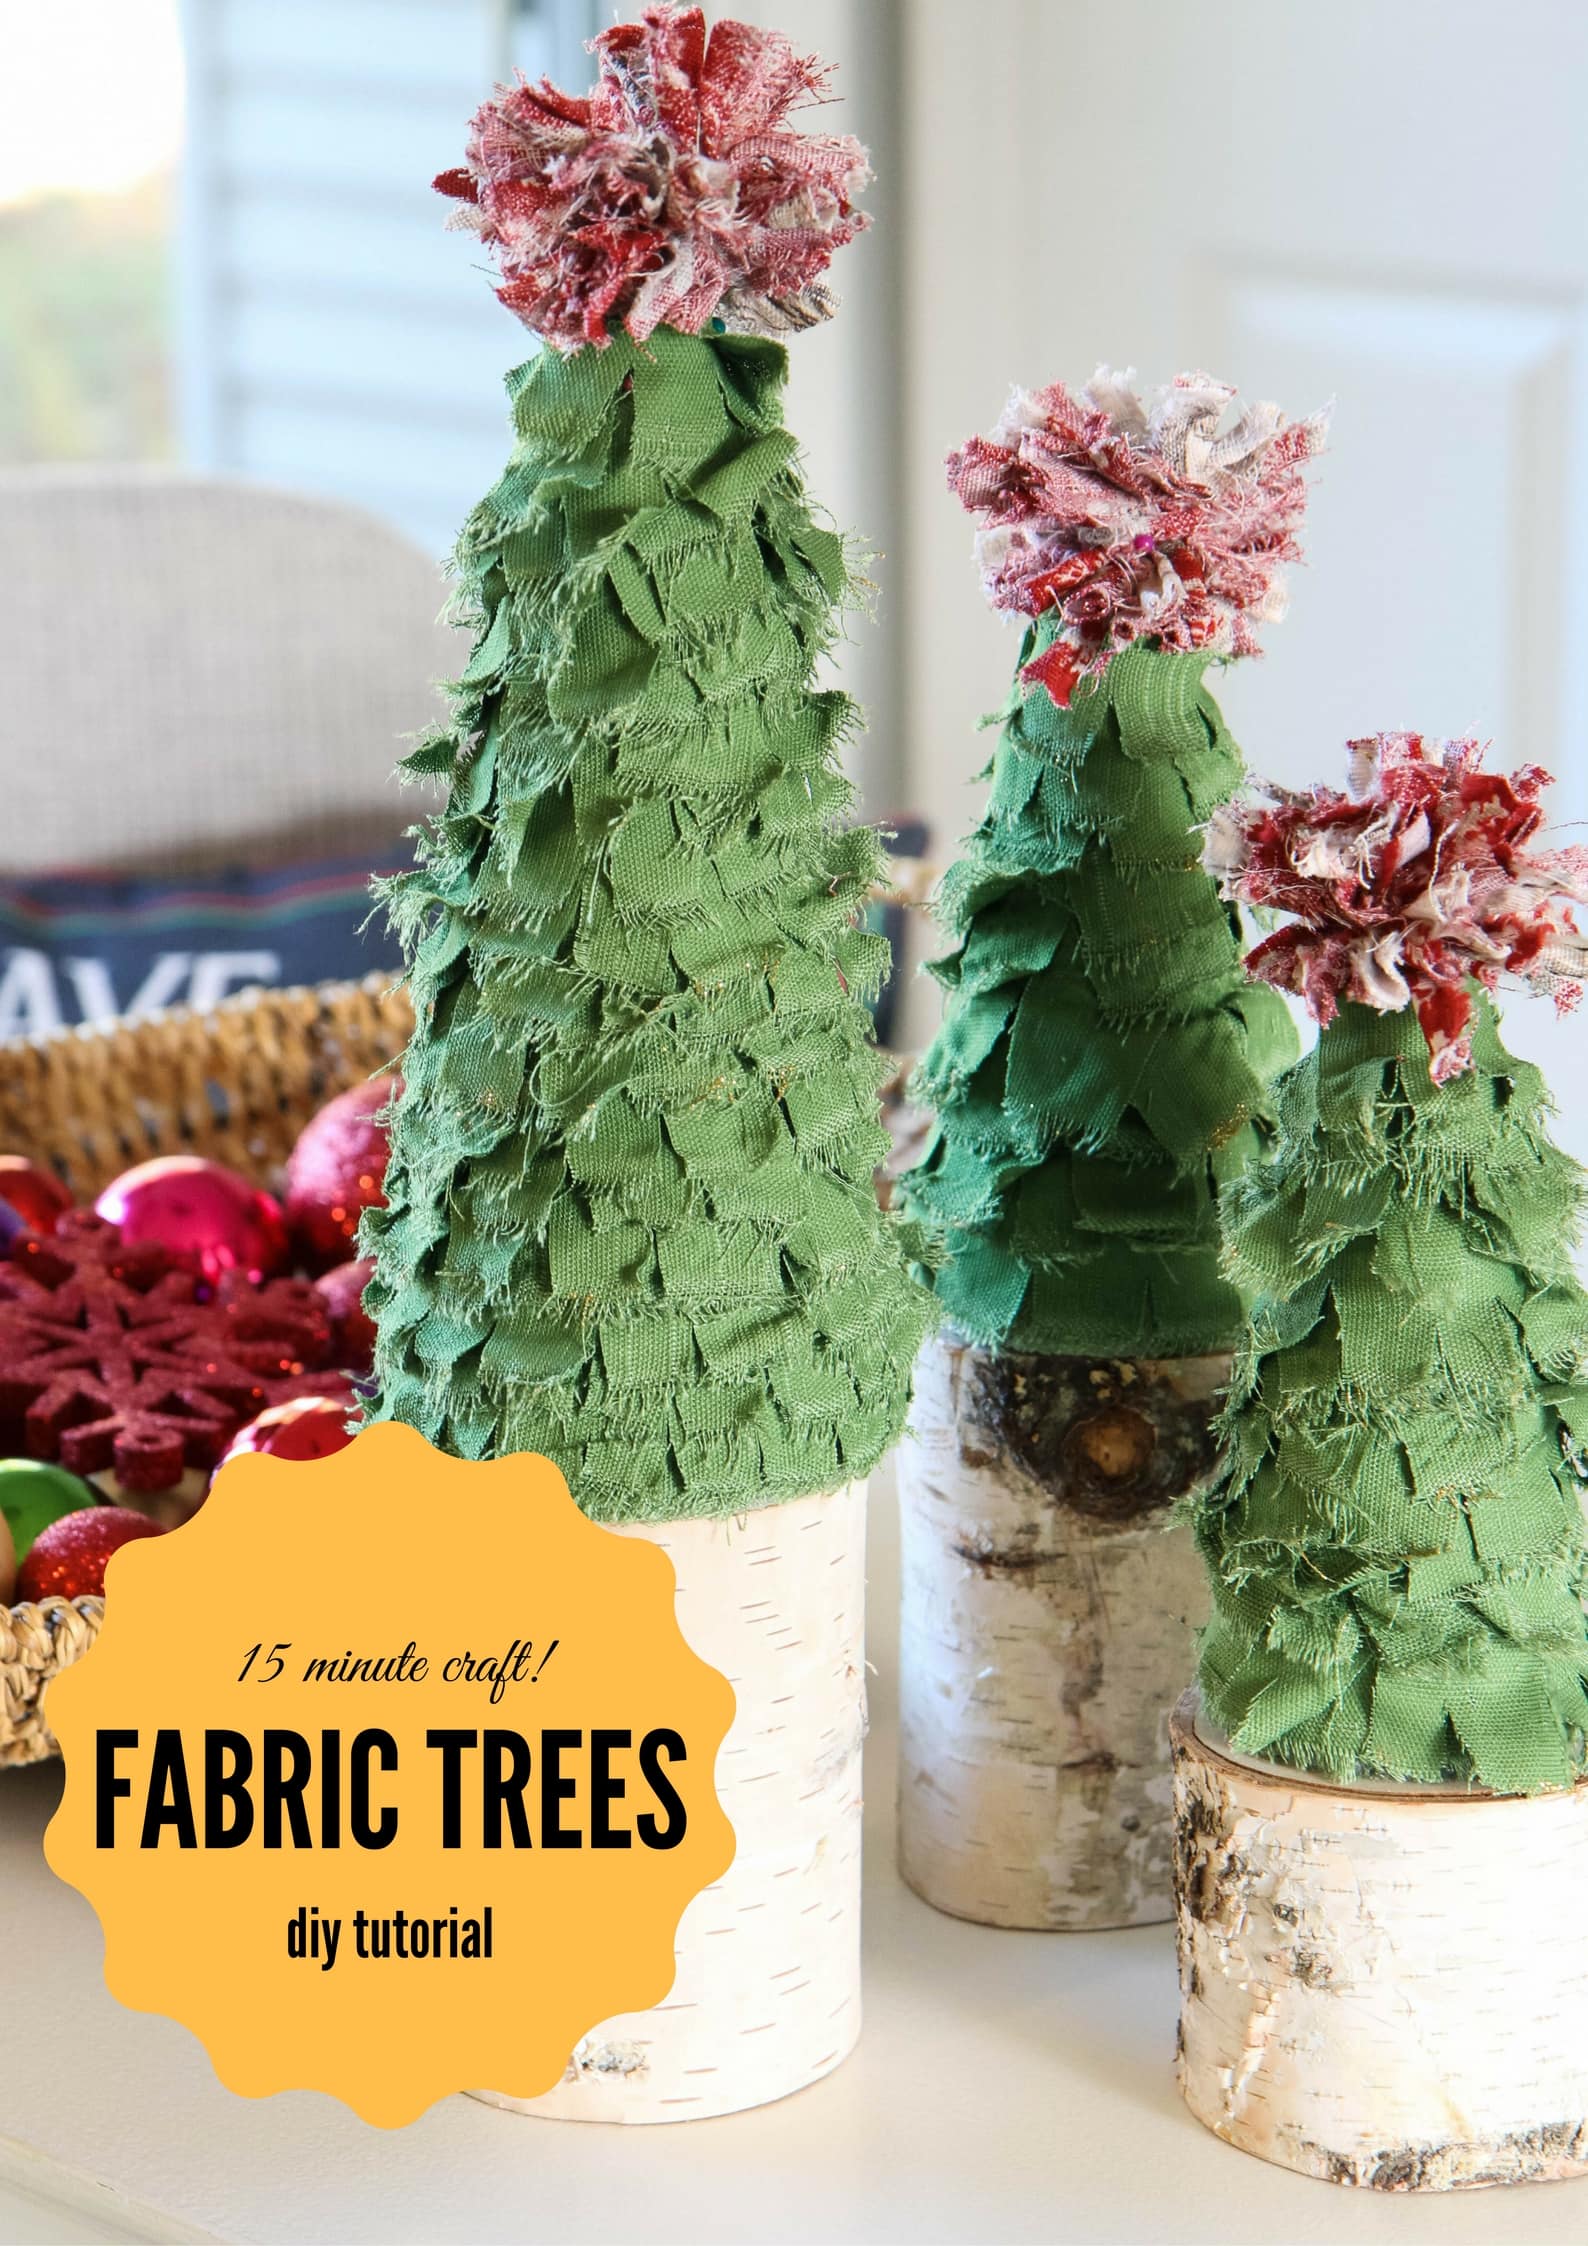


