Archive for the ‘Gifts’ Category

Simplifying Your Holiday Gatherings

Thursday, November 1st, 2018

You will love these strategies for hosting memorable gatherings without the stress.

I’ve got everything from cooking shortcuts to decorations that transition through the seasons to your perfect playlist! 

This post is sponsored by Honeysuckle White. All thoughts and opinions are my own! 

Now that Halloween is behind us, it is time to start thinking about all of those upcoming holiday gatherings. Hostess duties can often feel stressful and overwhelming, don’t they? That is why I’m excited to be partnering today with Honeysuckle White to share some fresh ideas for hosting your next gathering without the stress.
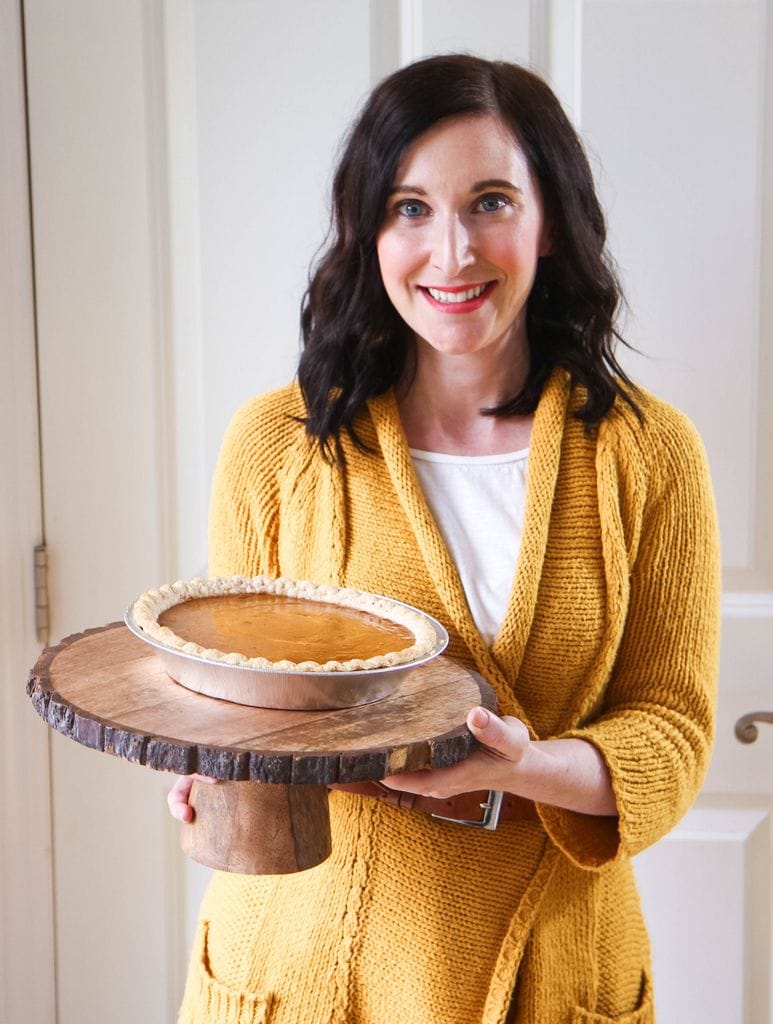
I learned that if I wanted to connect with my friends and family that I often had to be the one to step up to bat and offer to host. I have discovered, over the years, that so many people feel intimidated by hosting and are often self-conscious of things like undone house projects, their limited cooking abilities, or not feeling like they have that perfectly sized space for the ideal gathering.

The thing is, our own intimidations rob us of precious moments with those we love and the people that REALLY and GENUINELY love us will always, always be thankful to you for creating space in your home and day for them.

That is, truly, why I am excited to share that Honeysuckle White recognizes how precious our time is and wanted to take out that intimidation factor by providing a brilliantly easy turkey product that will make gatherings so much easier on busy moms.

Even better?

You can order it right through Amazon.

And, ladies, I KNOW we all have Amazon ordering down pat! (*ahem*)
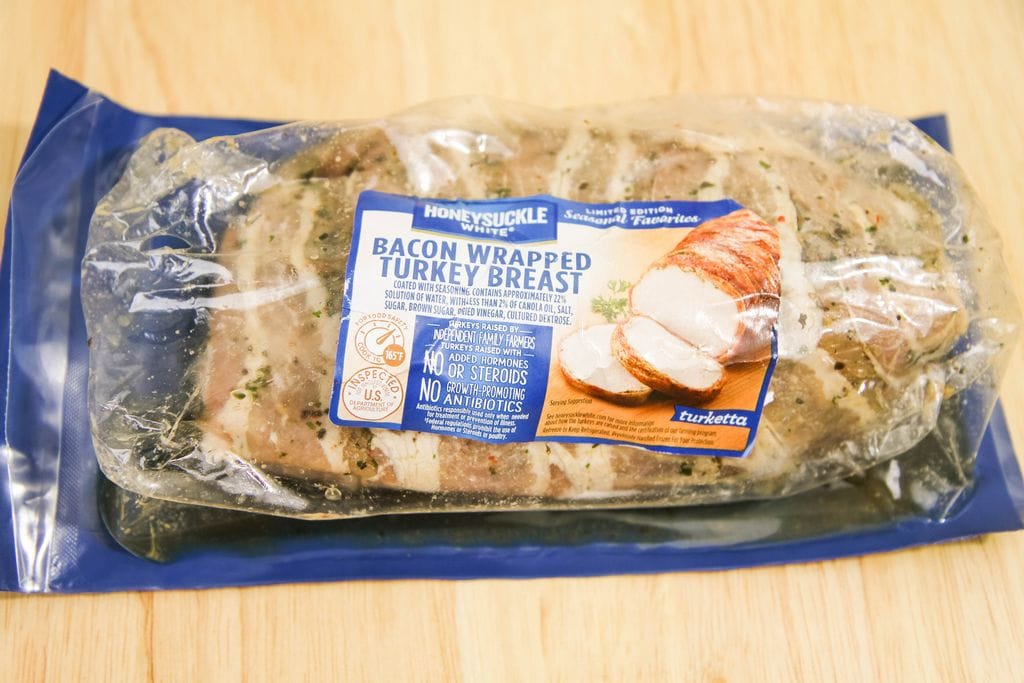
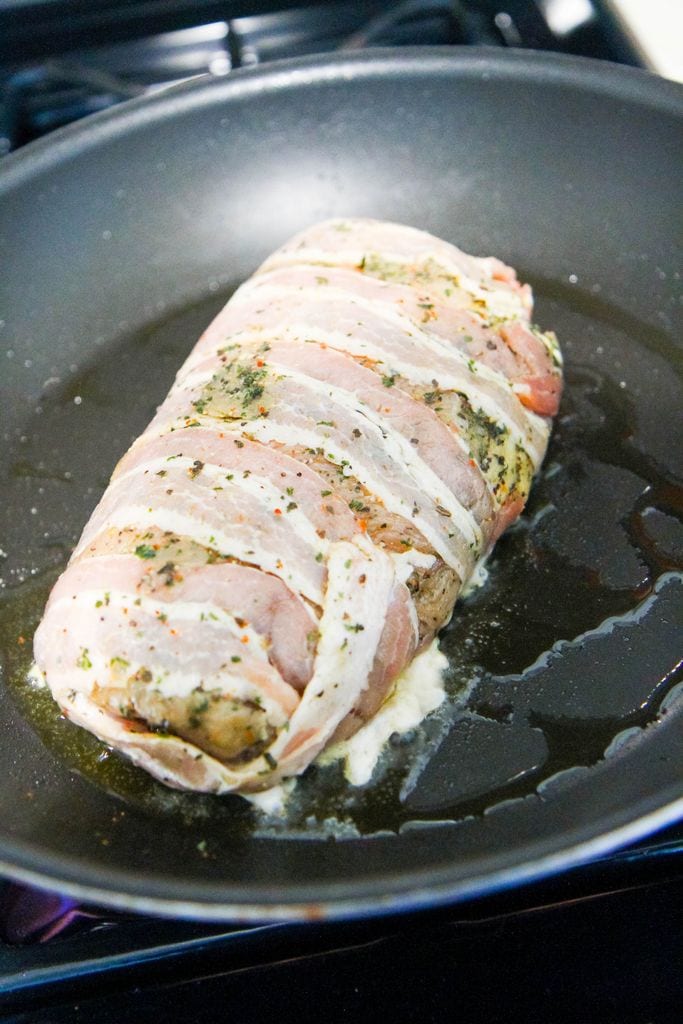
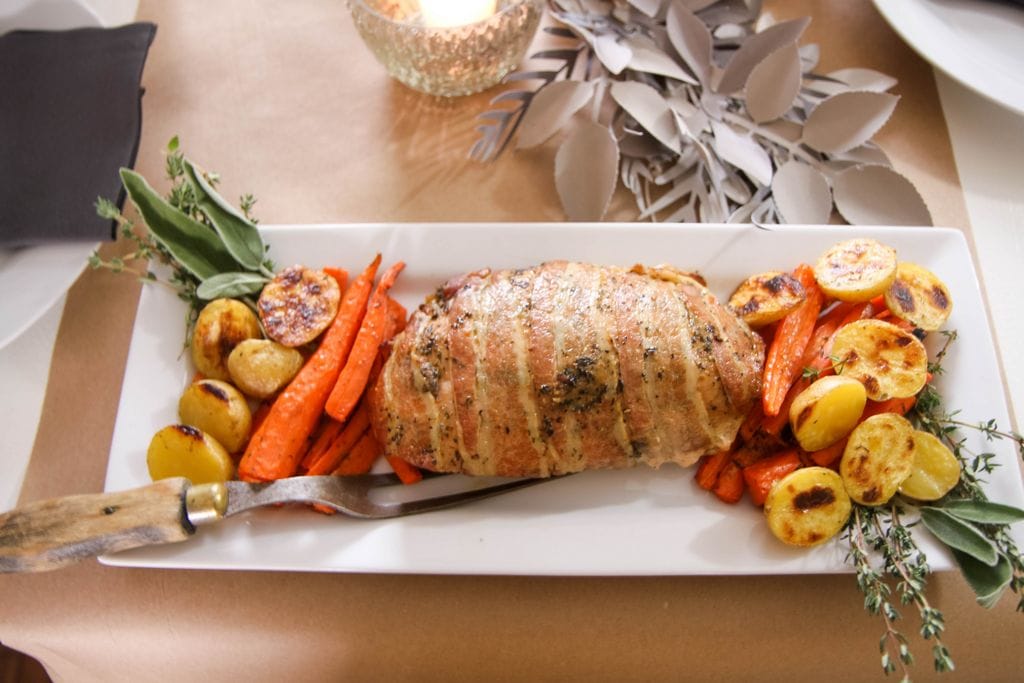
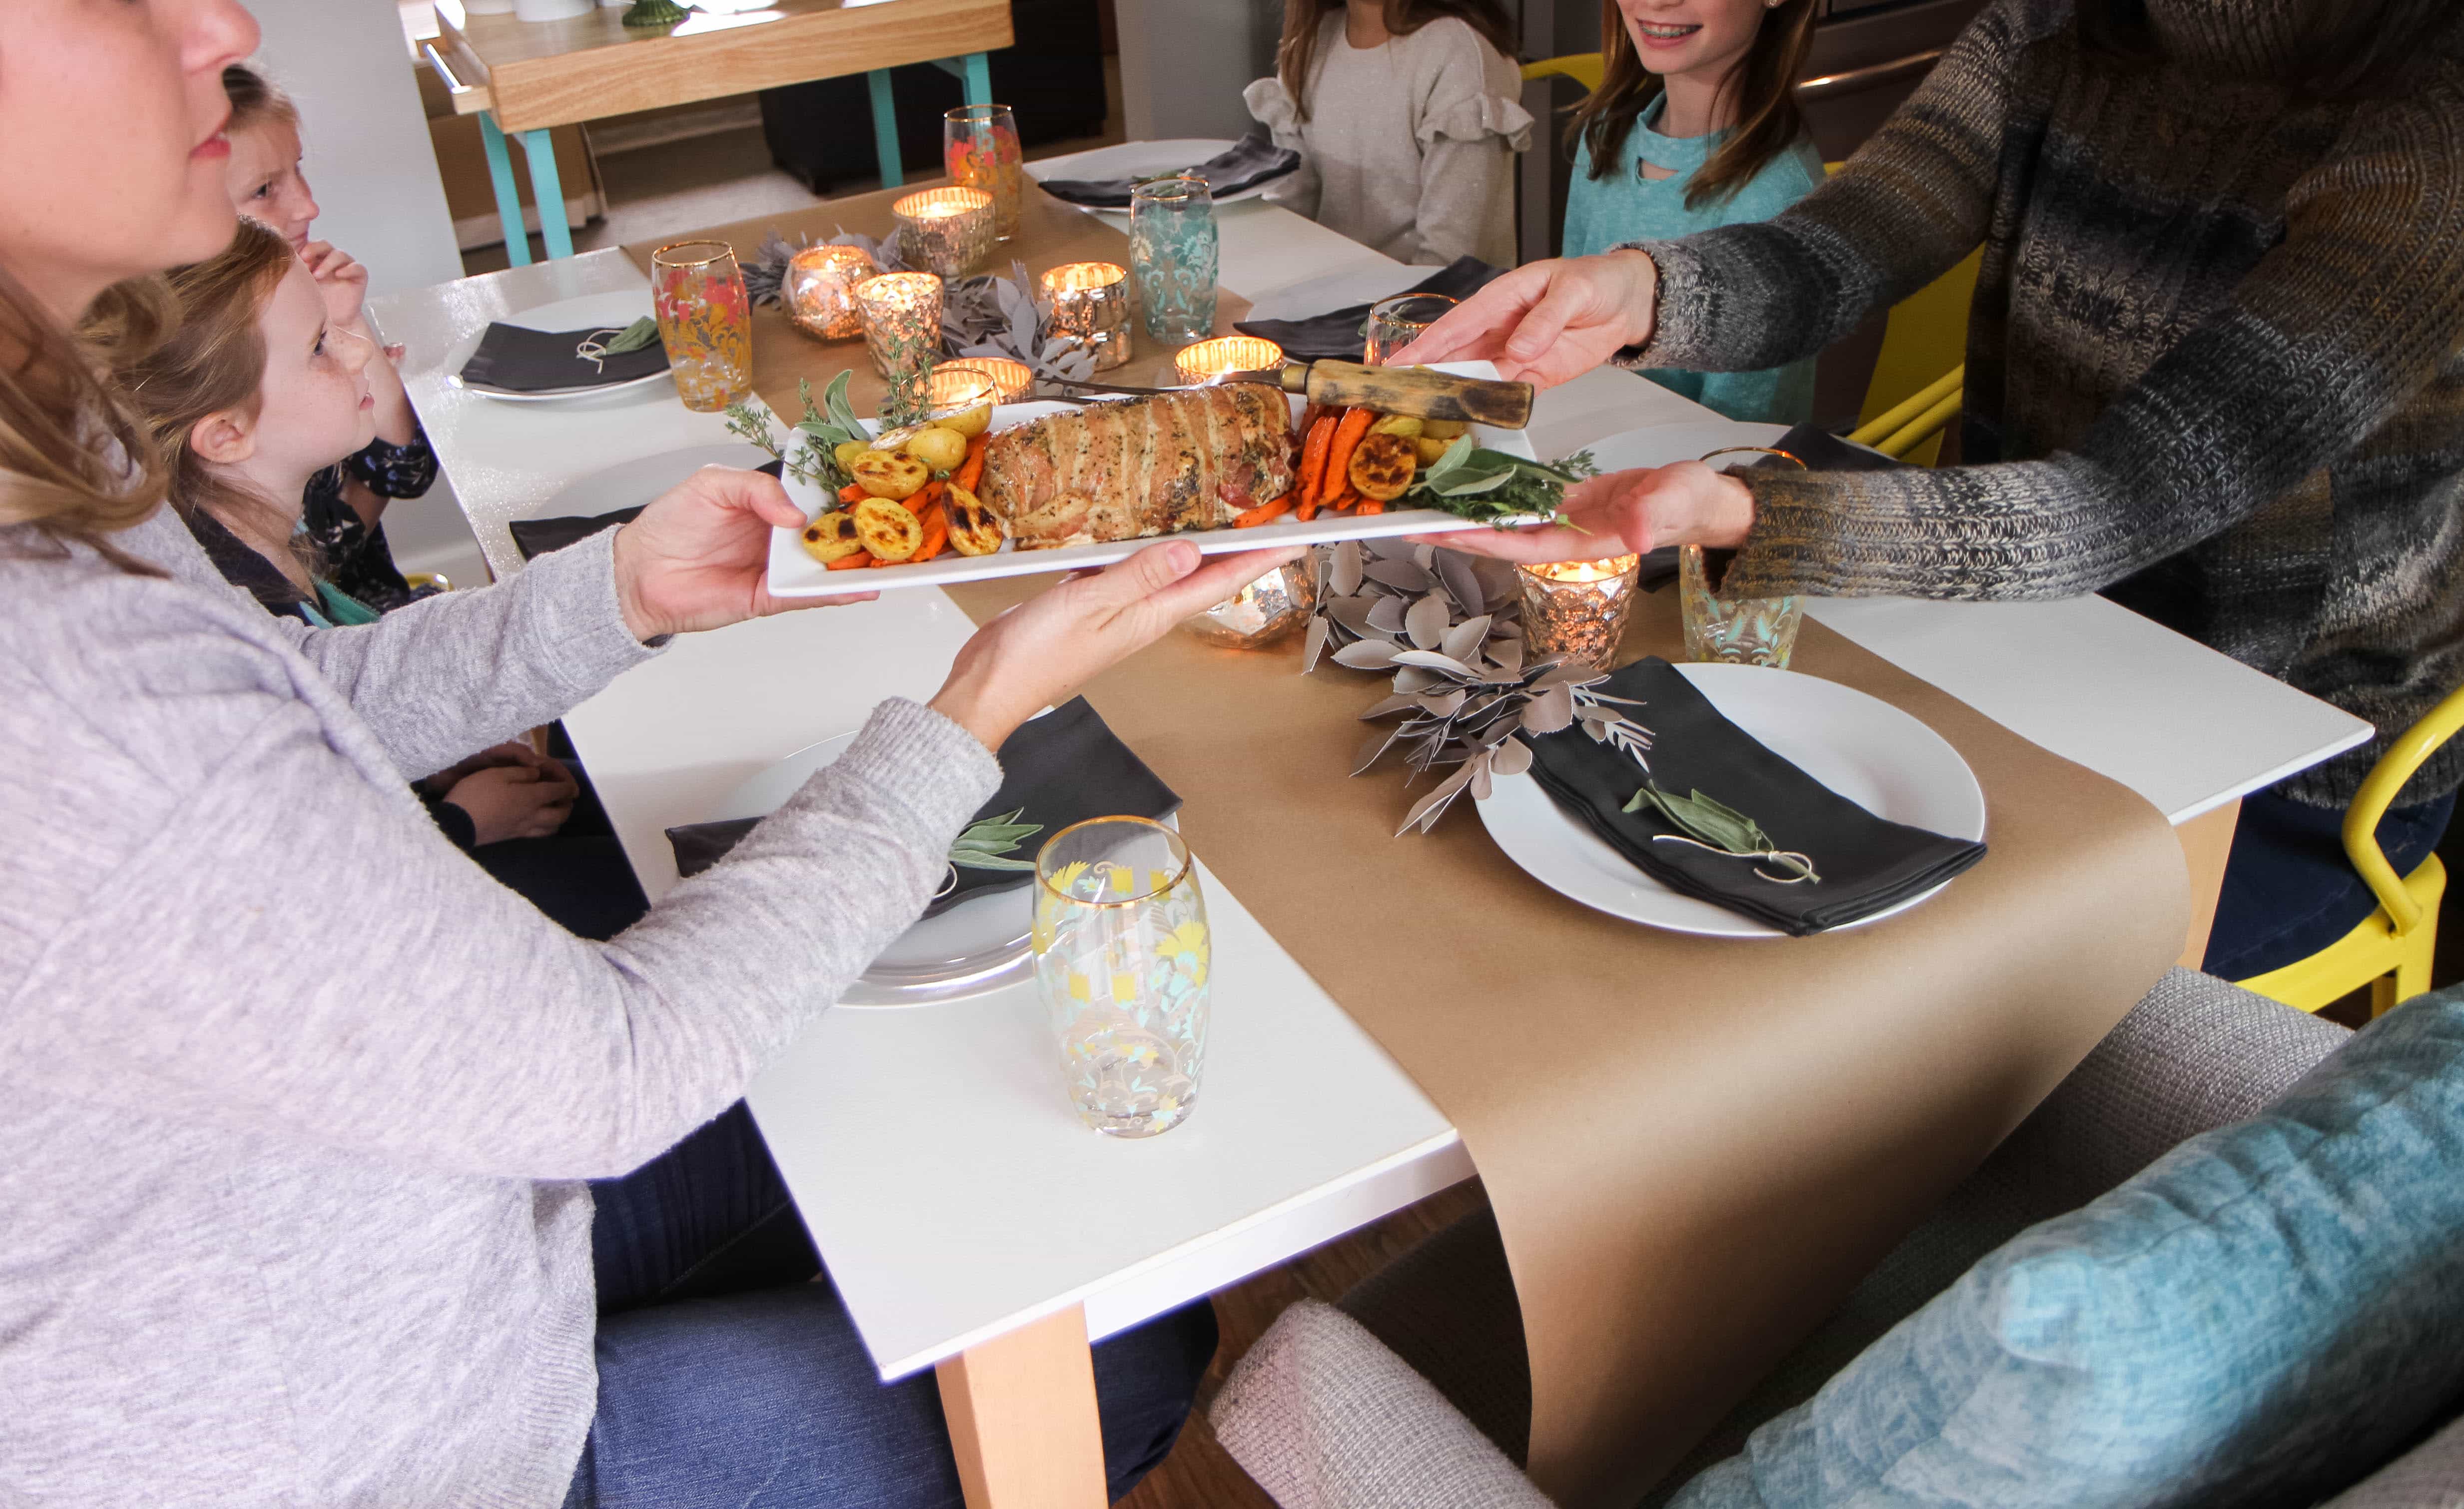
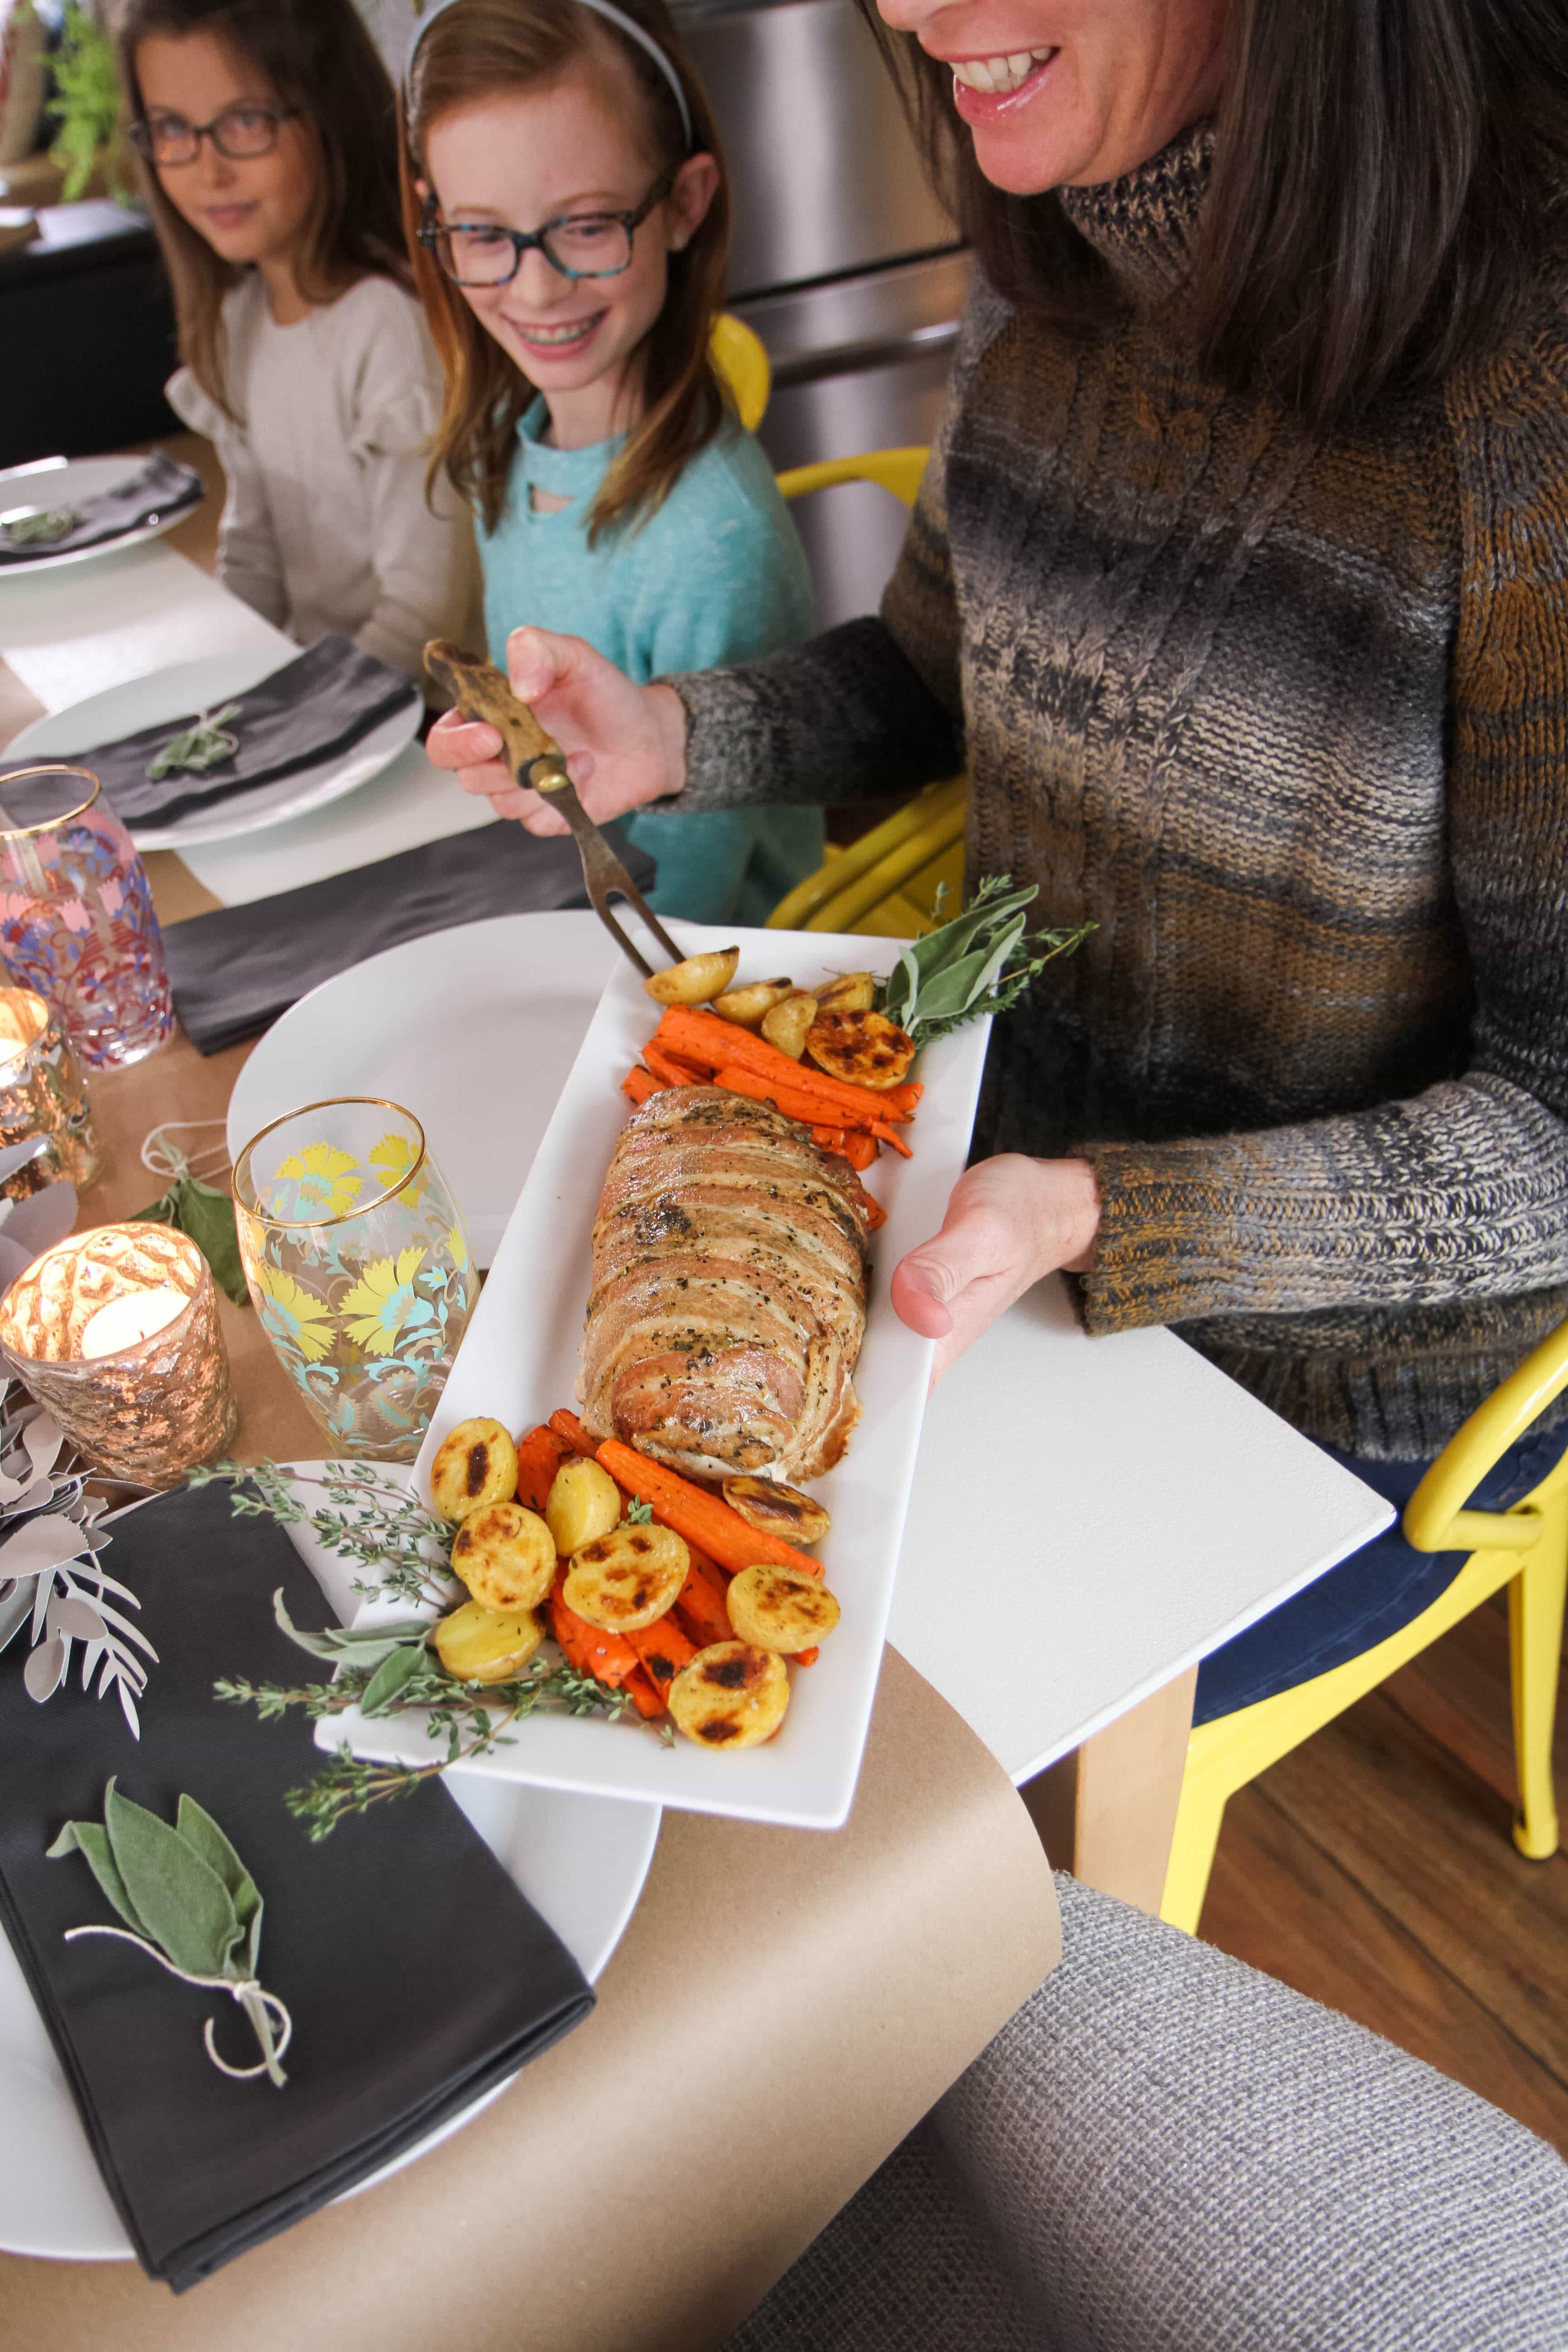
Say hello to the world’s easiest holiday dish, the NEWS Honeysuckle White Bacon Wrapped Turkey Breast “Turketta”, inspired by the flavor profile of porchetta!

I gave ordering one of these a spin and really was surprised how well-seasoned and easy this was to execute for my Friendsgiving gathering this week.

In your package (that arrives right on your doorstep!)  you will get one of these beautiful roasts that serve approximately 4-6 people.  The packages arrive frozen and you can thaw it for an ASAP gathering or you can tuck this in the freezer for a future meal.

The bird is perfectly seasoned, boneless (no carving- woot, woot!), and requires just a simple quick sear on the bottom and baking.

This isn’t the only option you can have delivered. They also are offering Hickory Smoked Turkey Breast, a Honeysuckle White Fresh Traceable Whole Bird Turkey, & the Honest Turkey Whole Turkey.

Even better, for a limited time offer, MomAdvice readers can get 15% off using my coupon code 15MOMADVICE.

I can really get behind this company and the work they do with farmers, especially after having the opportunity to tour one of the farms.

The company is committed to raising their turkeys without growth-promoting antibiotics and no added hormones or steroids.

They also are committed to supporting independent family farmers to provide family farm-raised turkeys.

I don’t know if you know this, but my great-grandpa was a farmer and that is why that commitment and their true love for these families really warms my heart.

Now that you have the turkey covered, here are a few other ideas for a simple gathering of great friends and great food!
Send Out a Small Invite

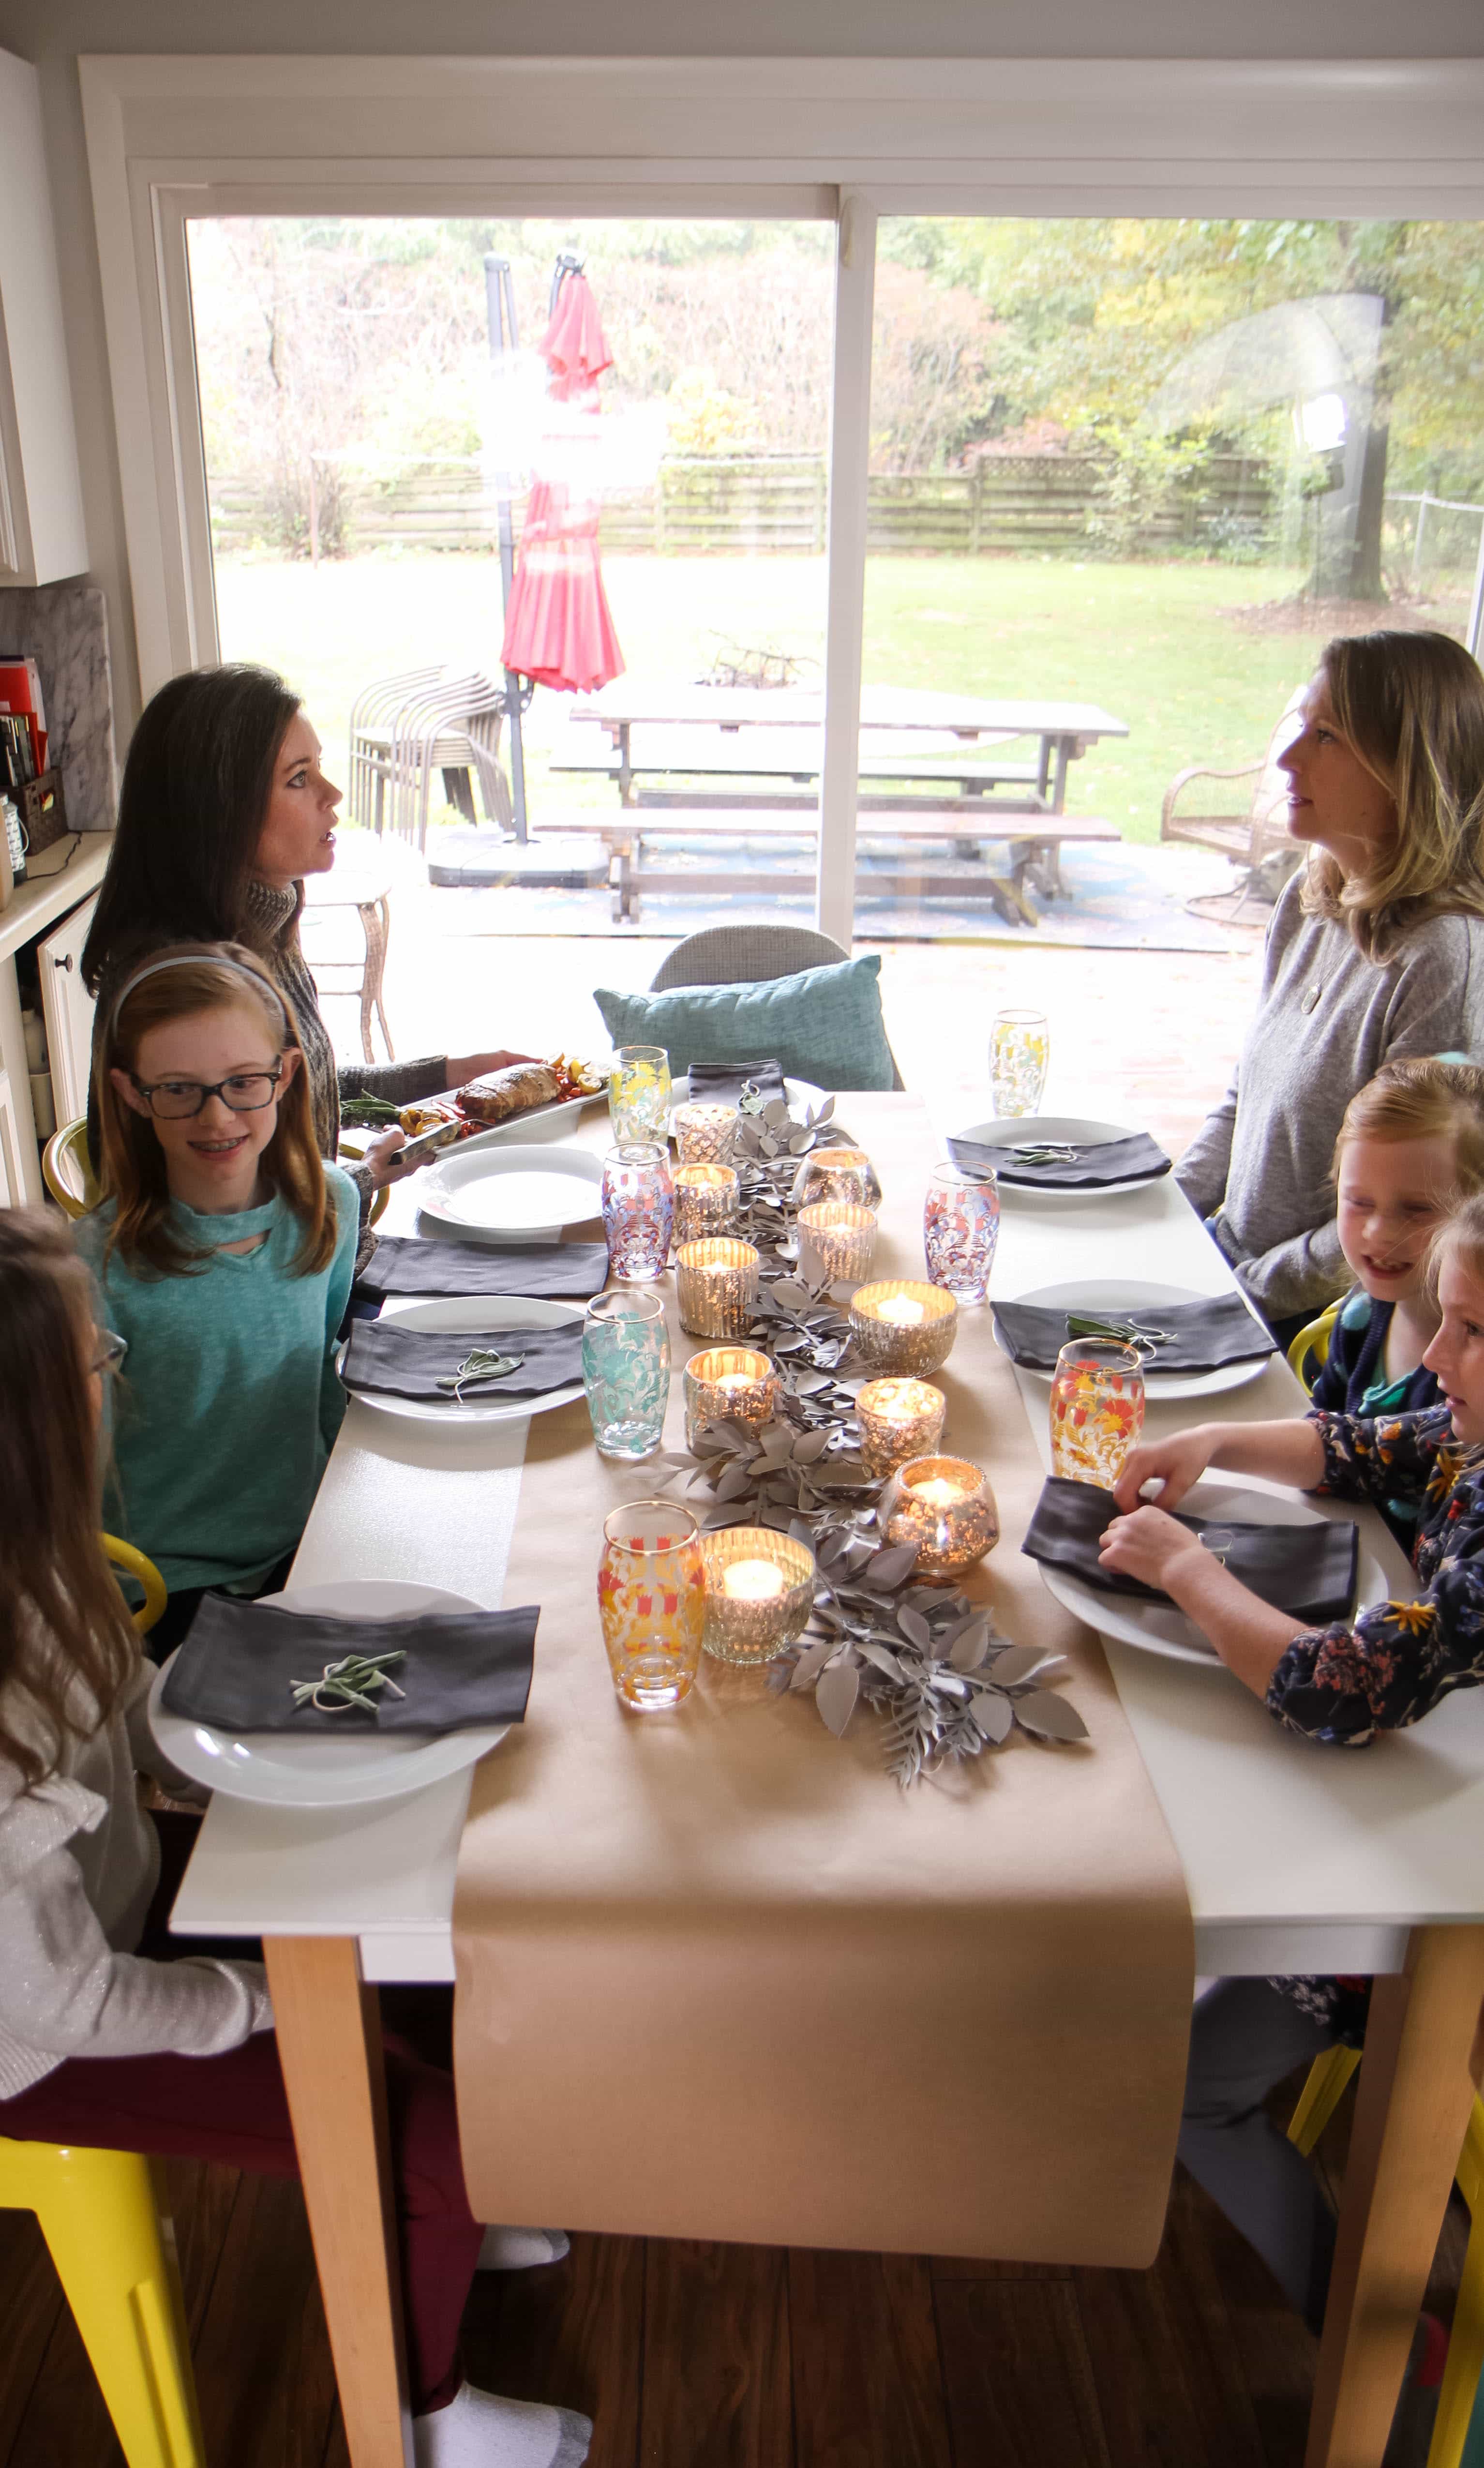
I have done loads of large gatherings, but I find the best gatherings are often the intimate ones with just a couple of close friends so you can really catch up.

A friendsgiving need not be a large gathering and the invitation does not need to be a formal one.

Text invitations are perfectly acceptable, especially during such a busy season.

Also, allowing mamas to bring kids is a blessing to the mom (who won’t have to cook) and to you (to get to love on your friend’s beautiful kiddos especially since your kids are tweens/teens and you now have to FORCE YOUR LOVE on them).
 

Keep the Sides Simple

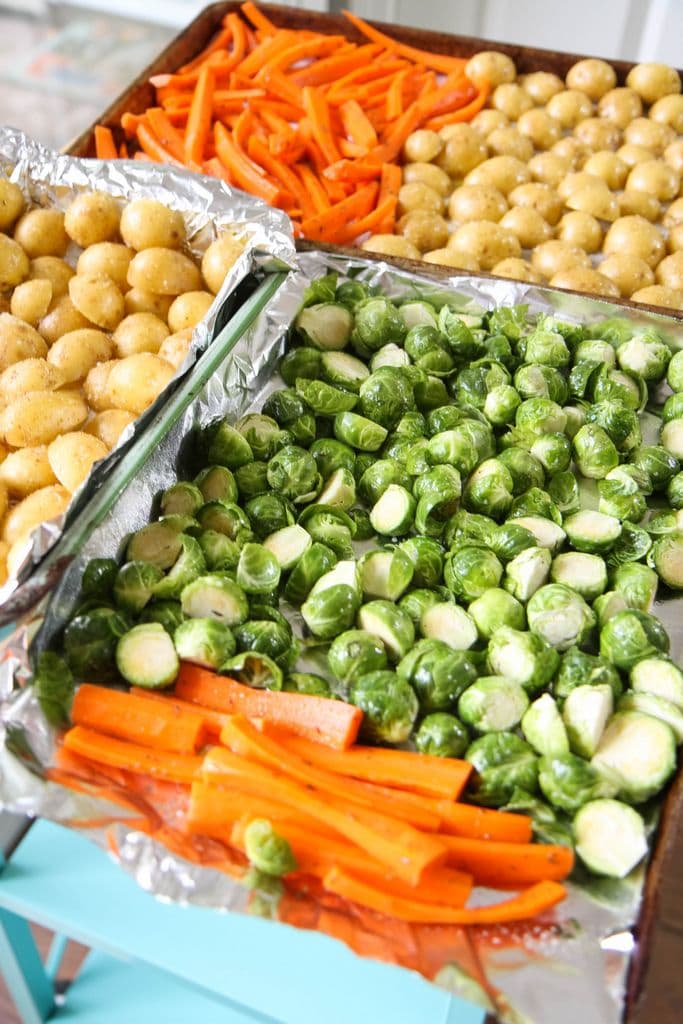
Roasted vegetables are an easy side that can be prepared a day in advance.

In fact, storing your carrots and potatoes in water overnight will yield a much crisper roast than if you cut them up immediately.

Toss your prepared vegetables in olive oil, kosher salt, and your favorite dried seasoning (I’m a thyme girl!) and roast them at 450 degrees for 25 minutes.

Love perfectly roasted potatoes?

Cut baby potatoes in half and put the cut side down on a cookie sheet that’s been lined with aluminum foil and is lightly greased. You will get a perfect roast every time AND they are so good that my kids call them mom’s french fries.

It goes without saying, but lining the cookie sheets with tin foil or parchment paper squares is also an excellent way to cut down on dishes!

Skip the Baking

Thankfully, there is no need to bake since we have so many delicious options for desserts that are already made and available for purchase at our local markets.

You can still make these purchased desserts feel really special though with quick homemade touches.

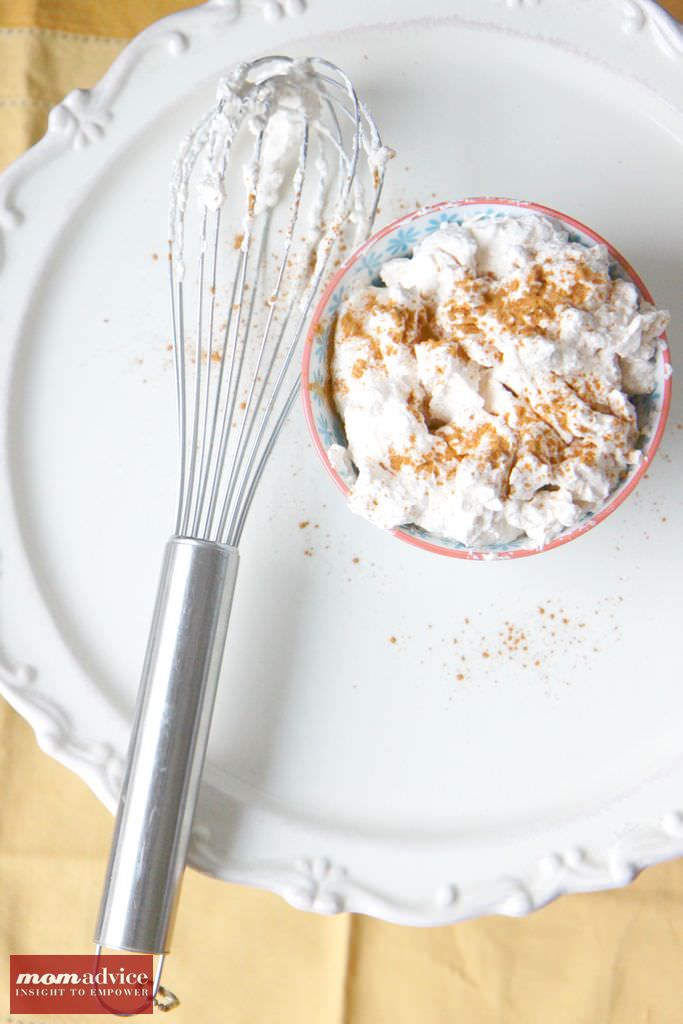
Spicing up your whipped cream, adding crunchy toppings, or adding details with pie cutters or an embossing rolling pin (made from refrigerated pie dough) are all fun ways to make pies feel special and more homemade.

This post offers 5 strategies for making store-bought pies feel special that I think you will find REALLY helpful for the holidays and even an idea for packaging up mini pies as a parting gift at the end of the night.
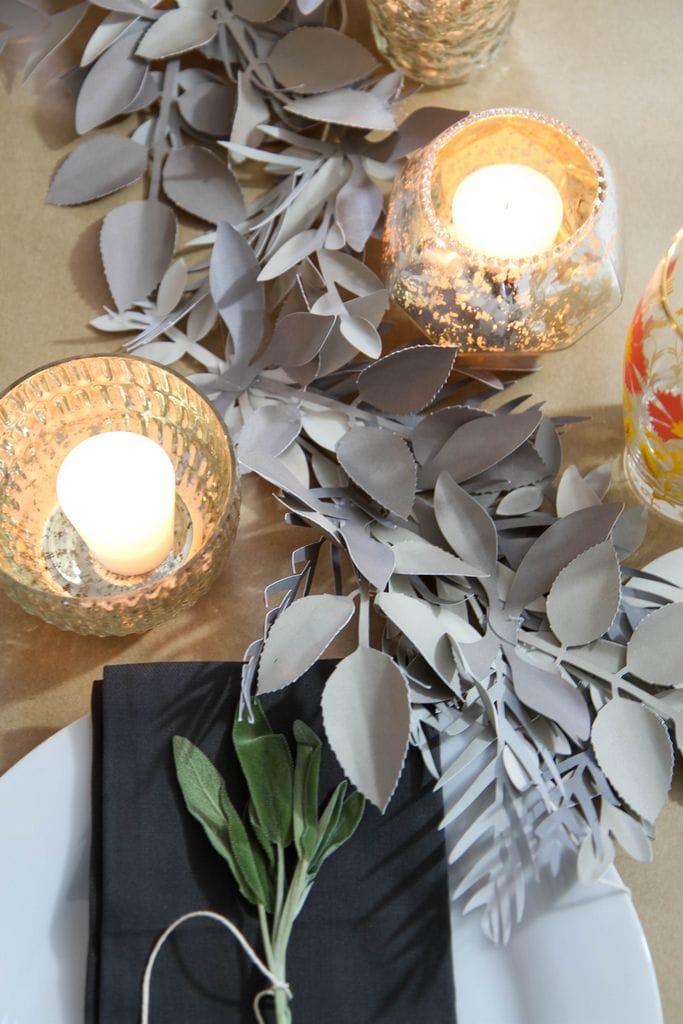
replicate my table with this easy tutorial

Think Evergreen When It Comes to Home Decorating

In the blog world, evergreen content is king. It means that we really focus on creating timeless pieces that can be shared over and over again and always feel relevant.

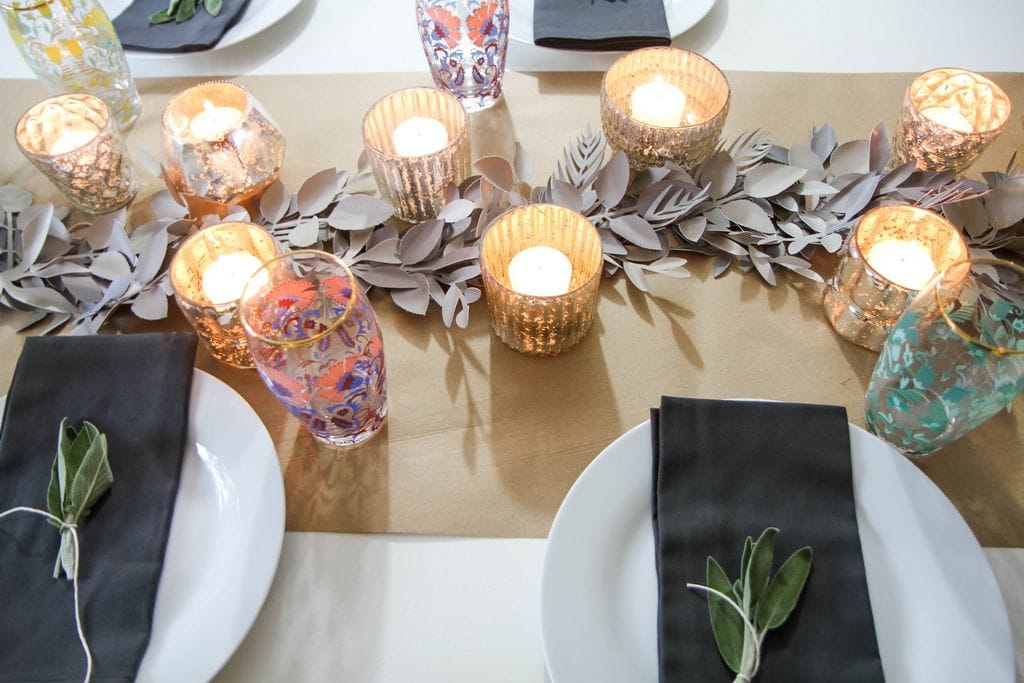
This is the SAME WAY we can approach our decorating. Purchase or DIY things that are neutral and can be used over and over again throughout the seasons. A bit of faux greenery, a roll of kraft paper (DO buy this– it’s such a affordable investment for decorating and gift wrapping), white plates, and loads of candles are perfect for ANY occasion.

Adding simple seasonal touches, like the small bundles of sage I gathered with cotton twine feel very Martha-y, but cost only a couple of bucks to pull off.

Stop pulling out and storing seasonal bins and buy a few items that you can use over and over and over again.

You can’t imagine the stress you will relieve yourself of!
Set the Mood

Before I go, I have one more fun fact for you…I used to be a glorified D.J. for my college’s radio station.

Music is essential to me like breathing and food.

Growing up, I played the violin, sang in the choir, did musical theater, and had parents who were crazy about music too.

I am also the one that hogs the microphone if you karaoke with me.

To me, a solid playlist for special occasions is oh-so-necessary.
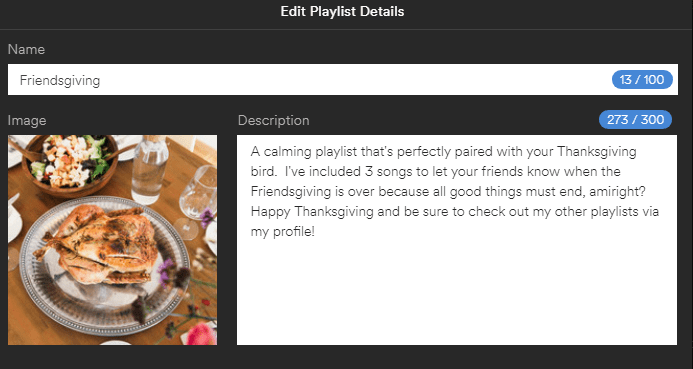
Don’t have time to make one?

How about if I shared mine with you!

Also, as a thoughtful introvert, I have included three goodbye songs at the end that you can feel free to boot those up after the meal when you just need to retreat to your Snuggie and Netflix.

Hopefully they catch on..I know, “CLOSING TIME,” is a very, very subtle exit song!

I have embedded it here for you so be sure to bookmark this awesome post and give me a follow for more fabulous dinner music.
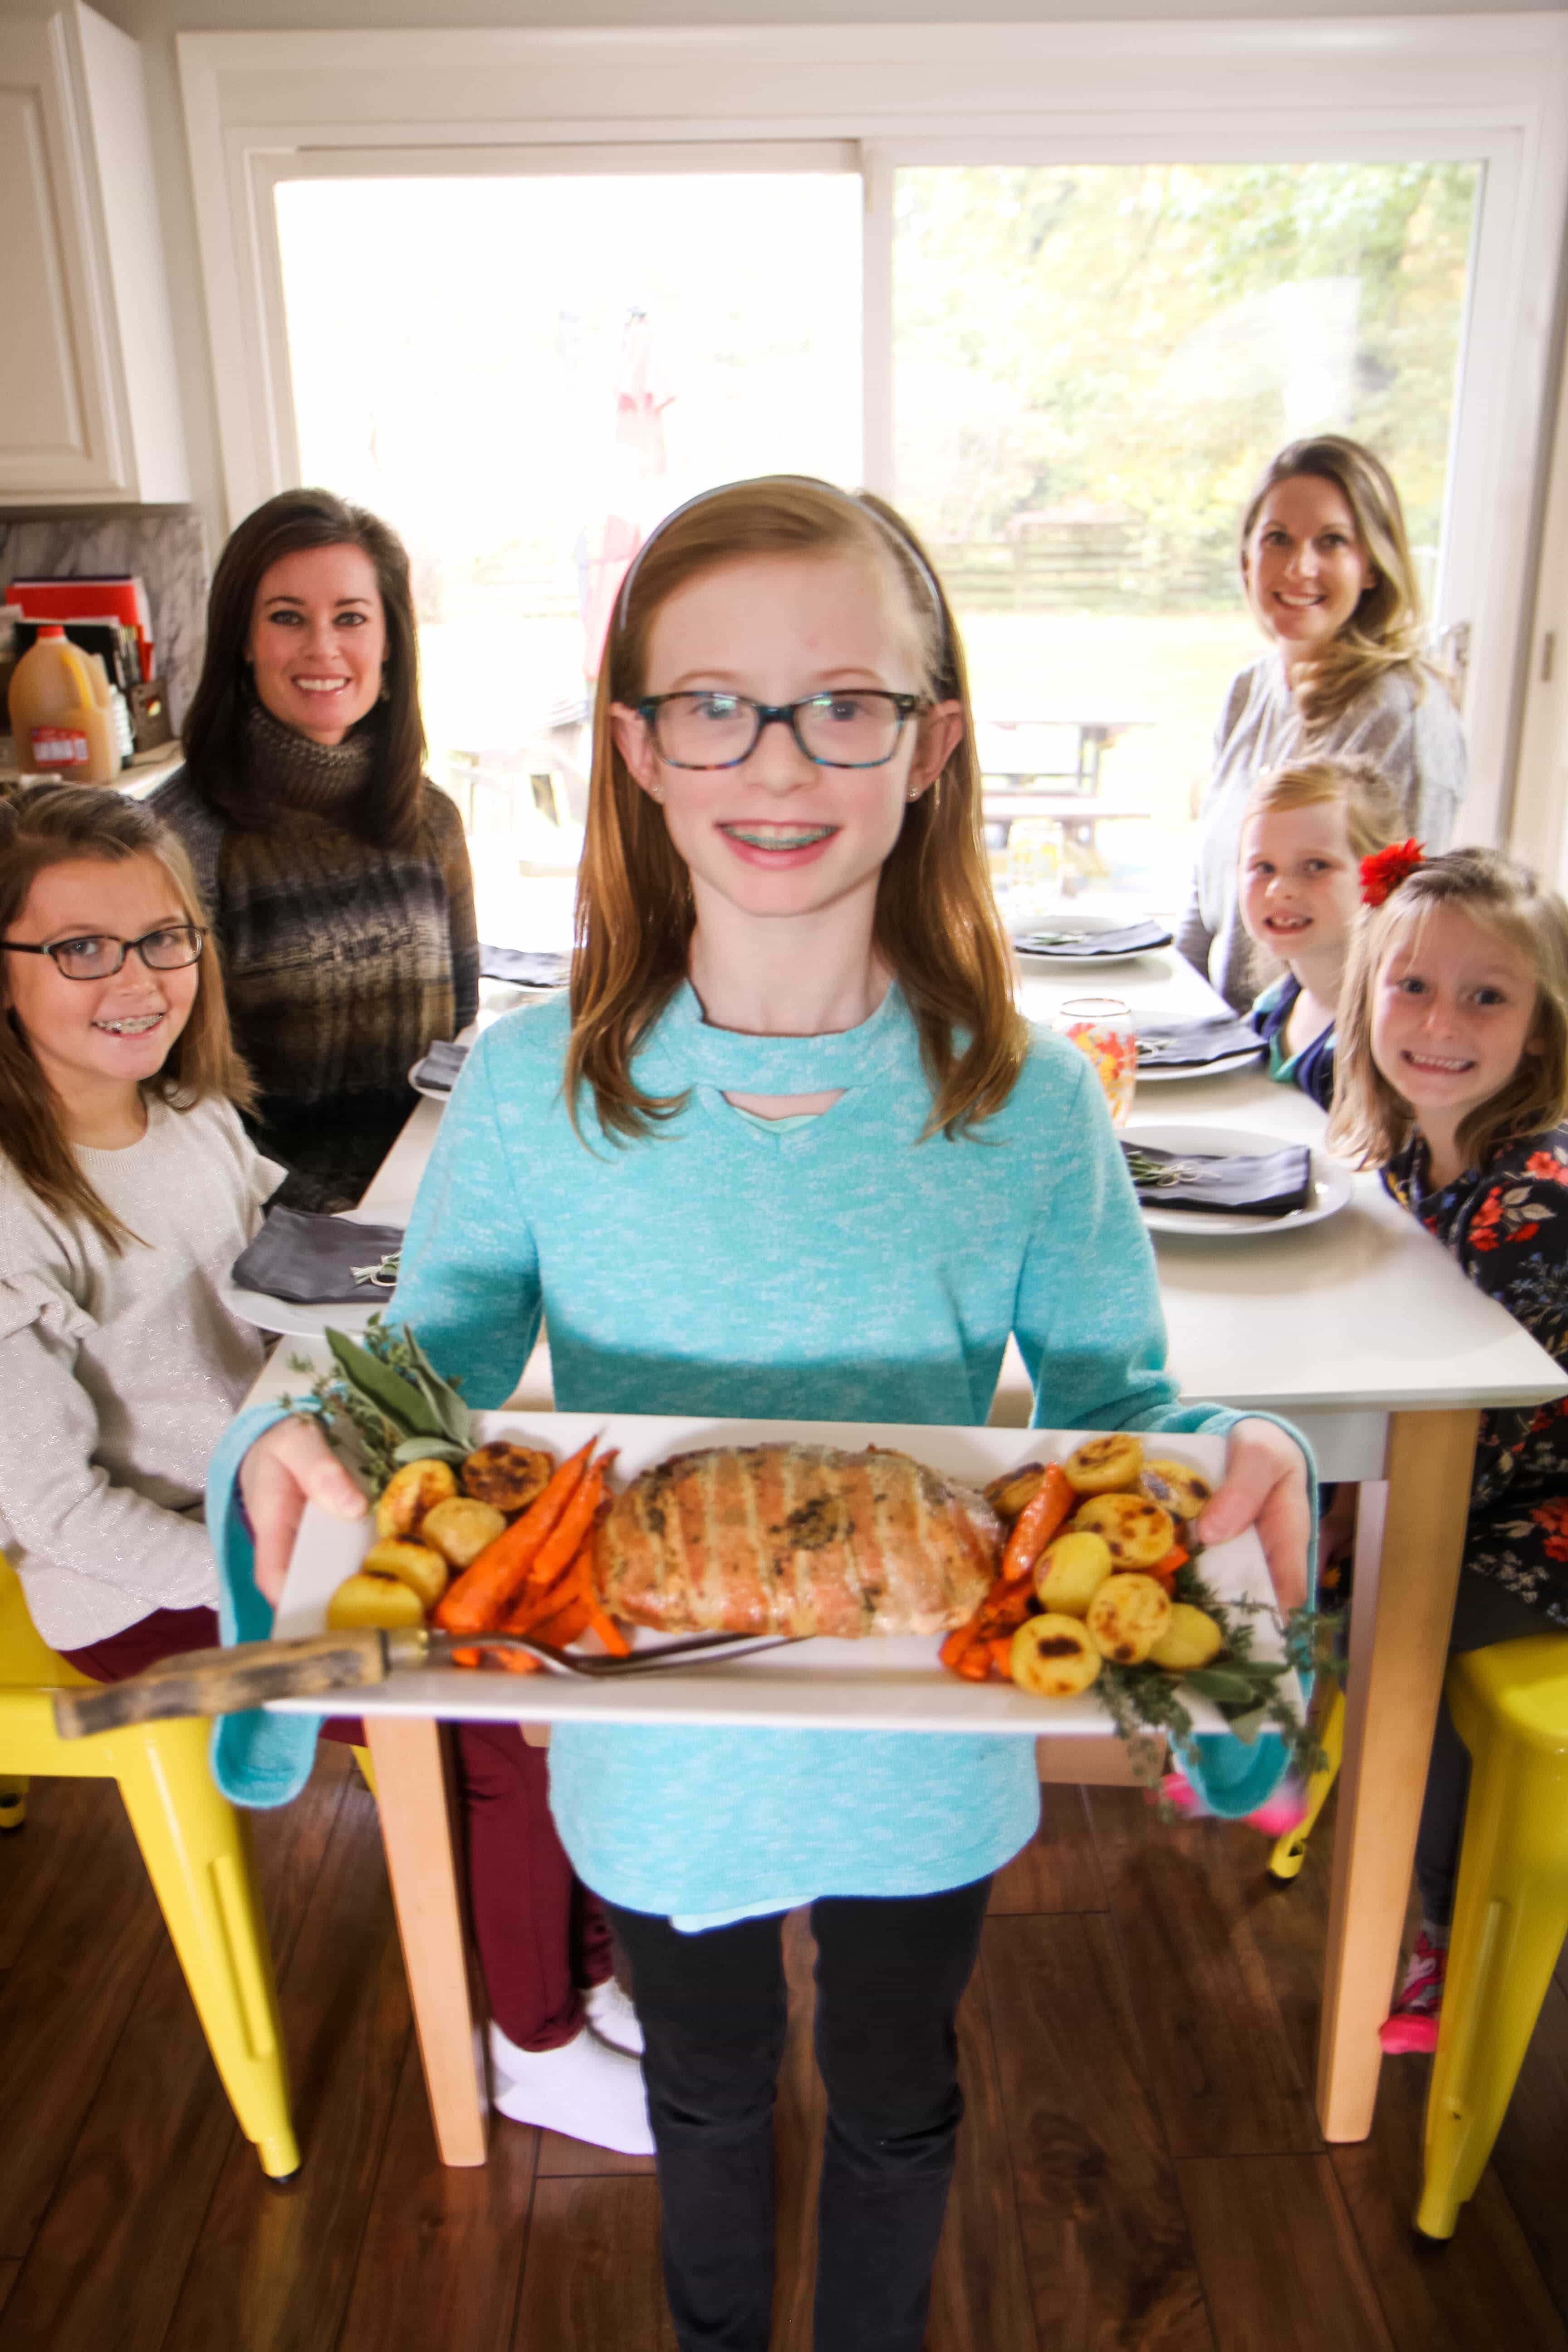
Now hurry on over to order your turkey and don’t forget to use my coupon code 15MOMADVICE to snag your 15% off!

this post contains affiliate links

This post is sponsored by Honeysuckle White. All thoughts and opinions are my own!

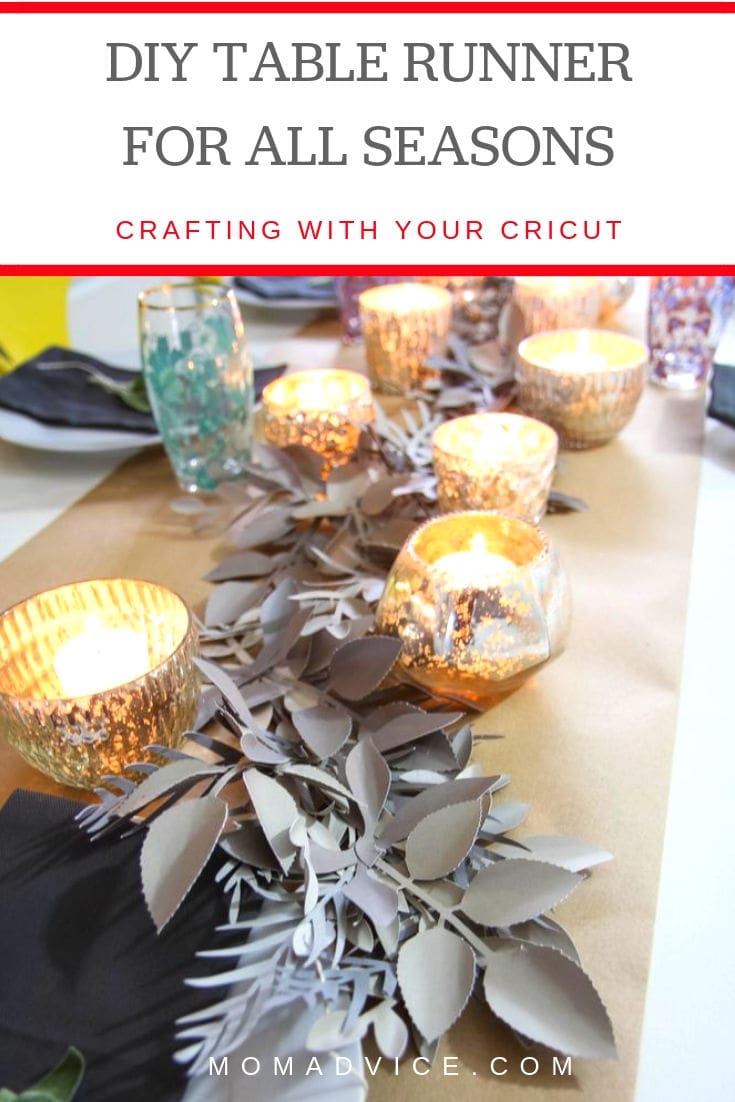
DIY Table Runner for All Seasons

Tuesday, October 30th, 2018

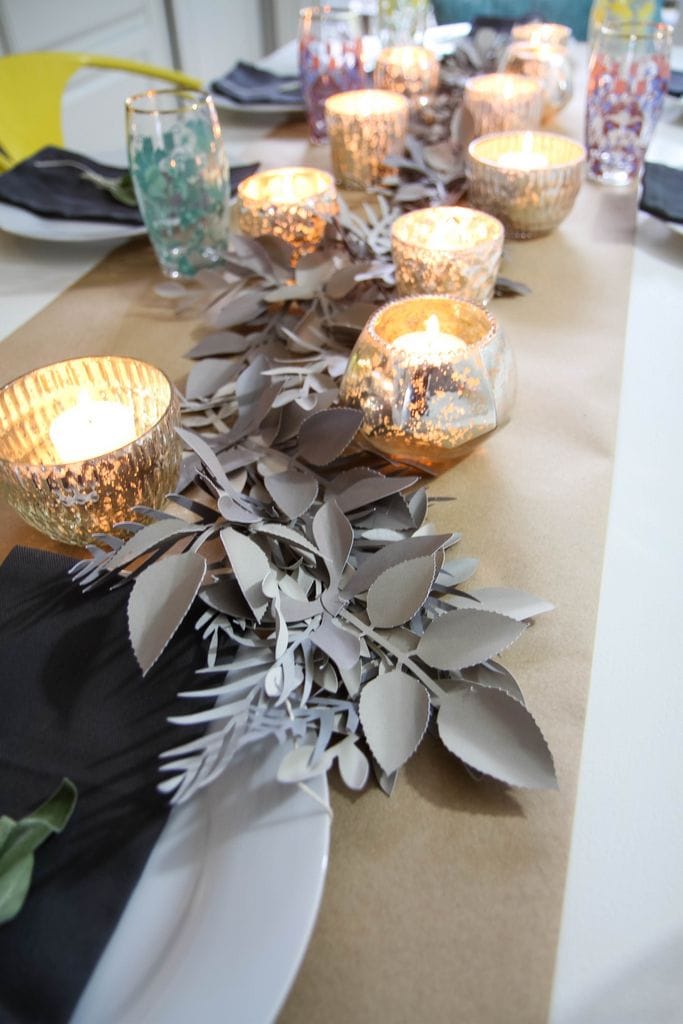
Transform your table with this easy DIY table runner that you can use for any occasion. Who knew cardstock could look so beautiful?

Today’s tutorial is for a diy table runner made from humble cardstock, glue, and twine.  As a minimalist, I’m a big fan of any decorations that can be used for multiple seasons and I fully admit that I am REALLY proud when I craft something that is so very uniquely me.

As you guys know, I have really been on the struggle bus with my hand pain and I started thinking how I might need to start broadening my horizons with my crafting. It has been a dream of mine to own a Cricut so, after doing a ridiculous amount of research and price investigation, I settled on a Cricut Explore Air as the best option for what I needed.

Please note, they do offer a brand new Cricut Explore Air 2, but the price difference is $70 and the only real difference is that it can cut faster.

I can wait a few extra minutes if I can save $70!

Today’s craft is a great way to break in your Cricut since paper crafting is so darn affordable.

Before we begin, I decided to get a Cricut Access membership (I’m on the $7.99 monthly plan) so I could have unlimited access to patterns and get the discounts for the holidays. You can also pay individually for patterns, but so far the cost has been worth it for gift-making.

Do what makes sense for you and your budget though!

How to DIY a Paper Leaf Table Runner

Supplies

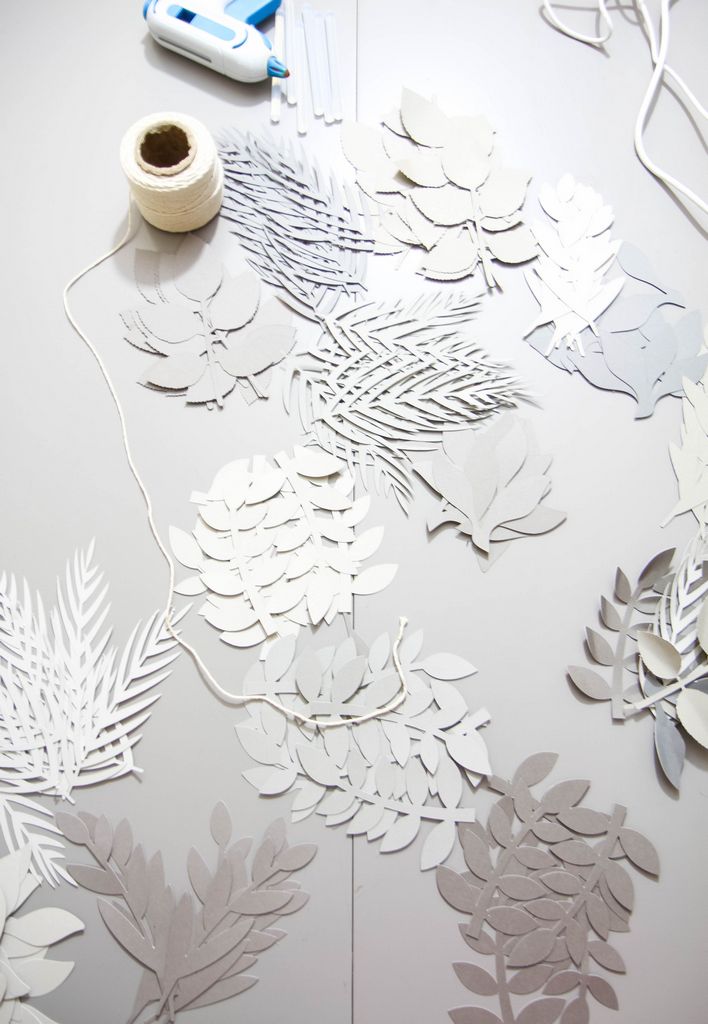
12-15 sheets Gray Cardstock (I used 4 different shades of gray)

Hopeless Romantic Garland Pattern– you will need to create a Cricut profile to access this

Hot Glue Gun (this is the one I use and love)

Glue Sticks

Cotton Twine

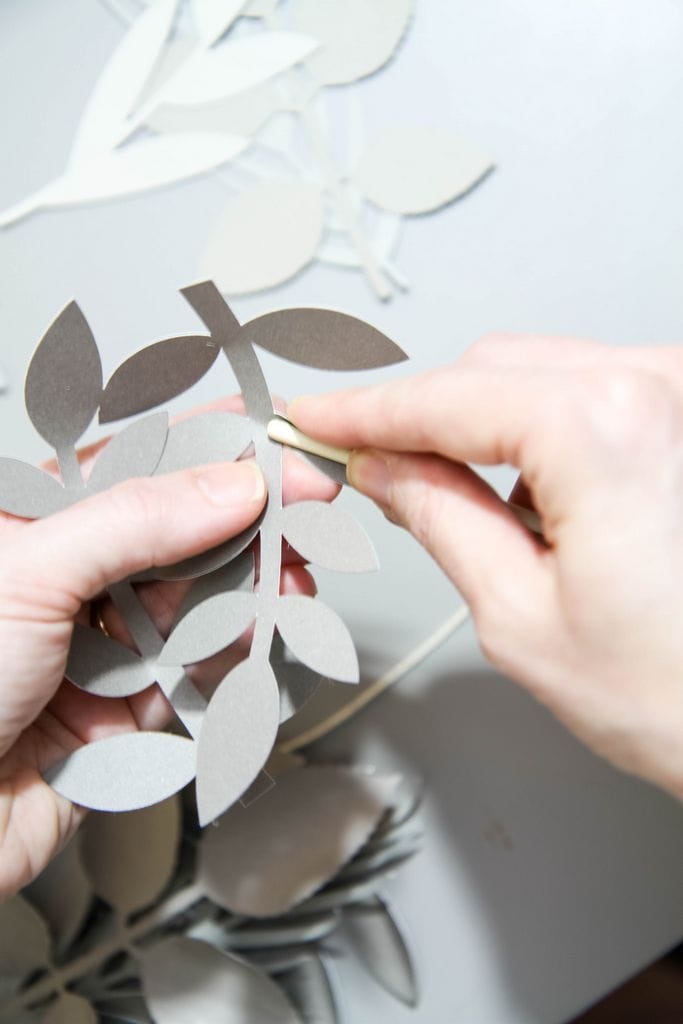
A pencil, pen, or end of a small paint brush for shaping your petals

Cricut

Cricut 12×12 Standard Grip Adhesive Cutting Mats

Kraft Paper (I bought this roll and use it for wrapping our gifts too)- this is optional, but helps the garland stand out!

Tutorial

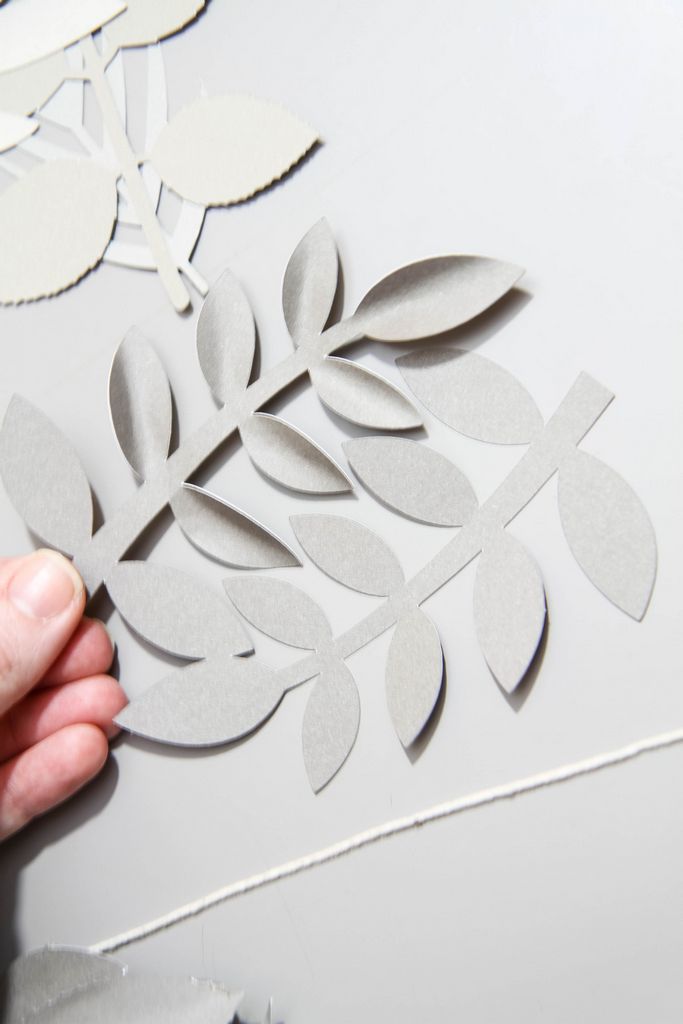
Following the pattern listed above, begin by cutting all of the leaves for this project using a different shade of gray each time you load it.

Make sure that the dial on your Cricut is set to CARDSTOCK and make sure that the blade you have loaded is the FINE-POINT BLADE.

If you have not cut cardstock before, here is a tutorial and here is also a tutorial to switching your blade (if you haven’t done that before).

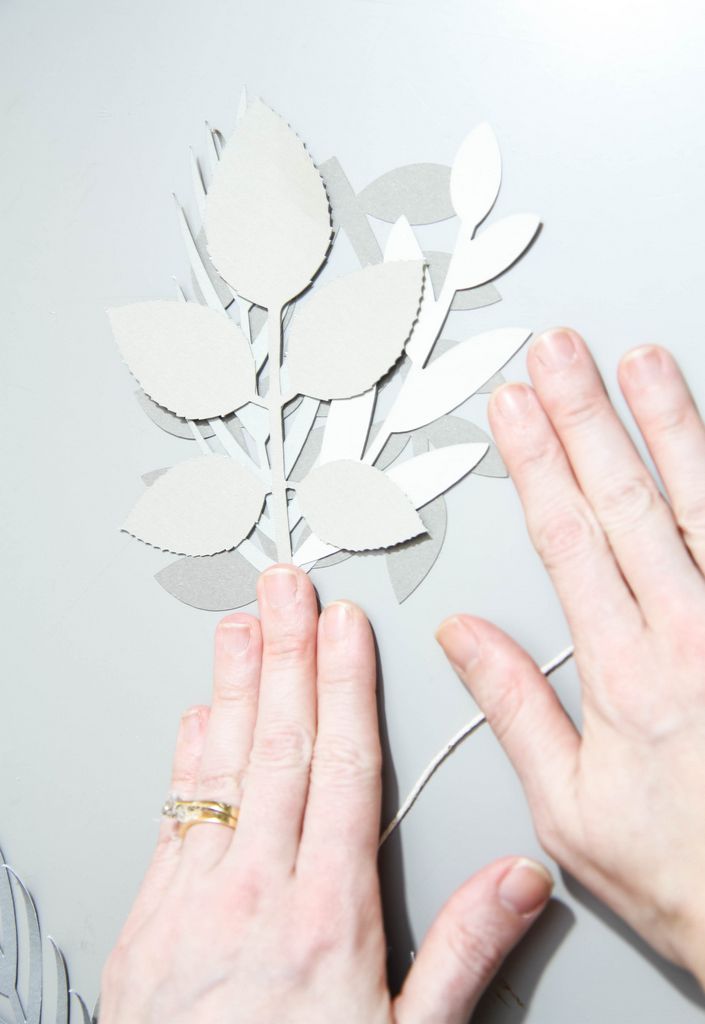
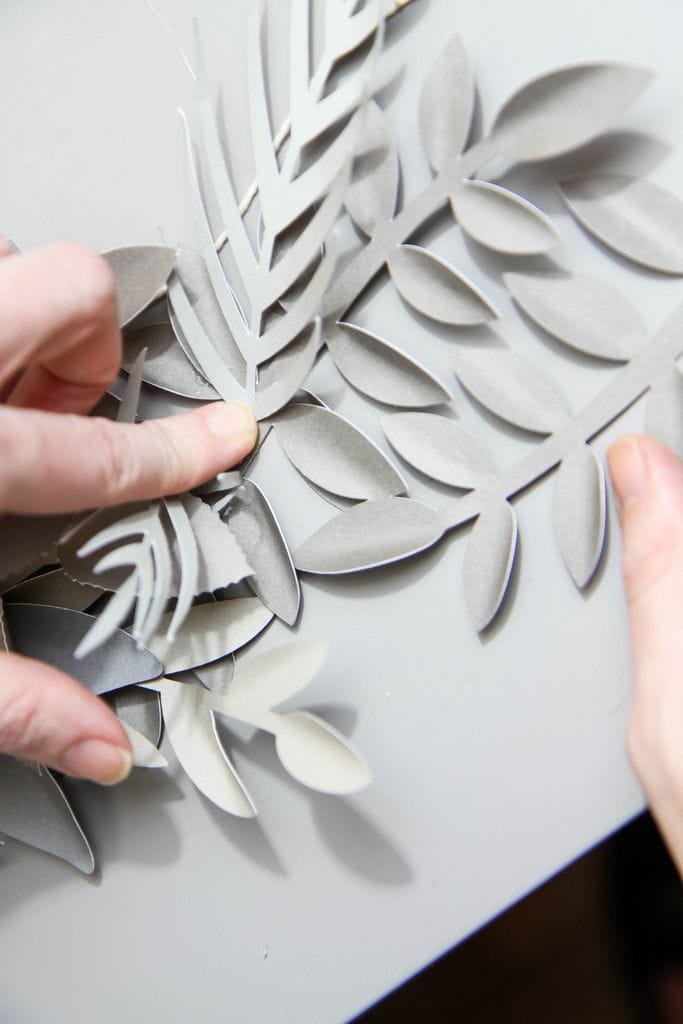
Begin by creating a gathering of four to five leaves that will look good layered together.

To make this look more natural, try to avoid making each of these gatherings identical and make sure to weave in those different subtle hues that you have cut.

Using the end of a pencil, end of a paintbrush, or scissors, gently begin curling these petals to add depth and shape.

If you have not curled paper before, I found this advice very helpful (and her patterns are just gorgeous too!).

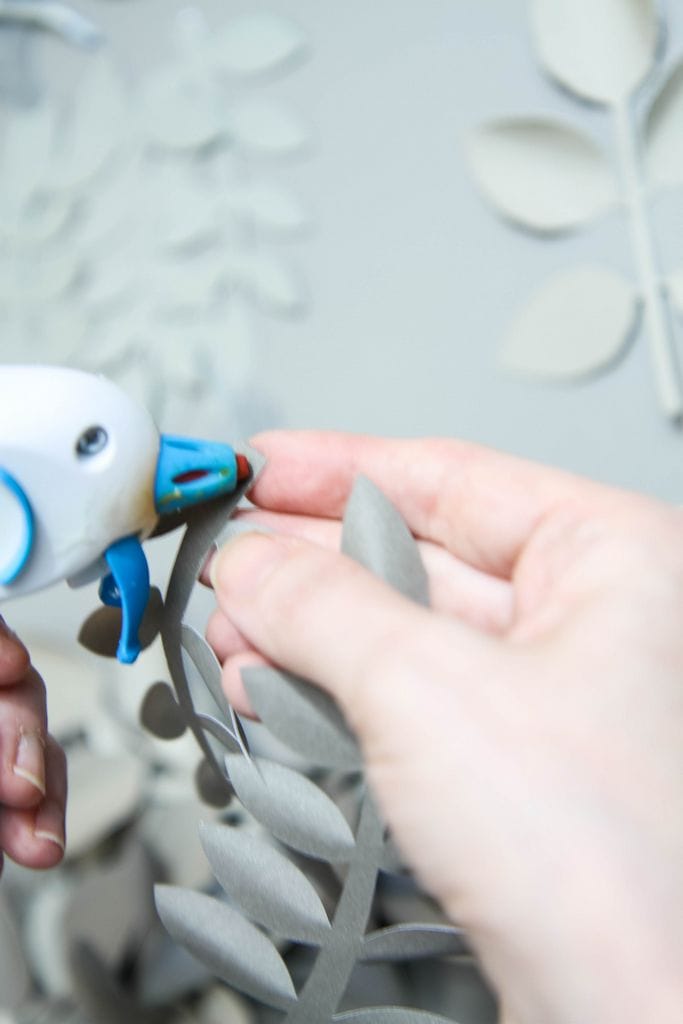
Now we can begin gluing our stack together. Keep in mind how you had them originally stacked and replicate that.

You will also want to figure out how you want these to trail and be linked together. Once again, avoid your perfectionistic nature and don’t be afraid to have these going in different directions. If it looks too matchy-matchy, it won’t have a natural feel.

Along the back, you will then add a thin line of hot glue and attach your twine to help hold the garland together and that can also act as a tool for hanging, if you decide this one is better suited to your mantle or bar.

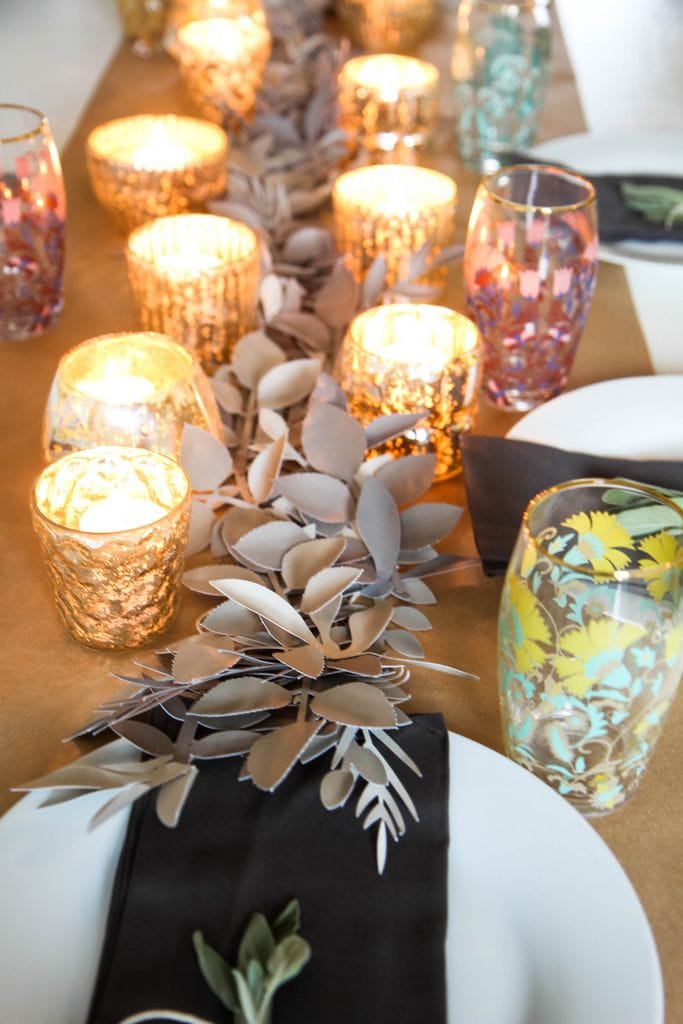
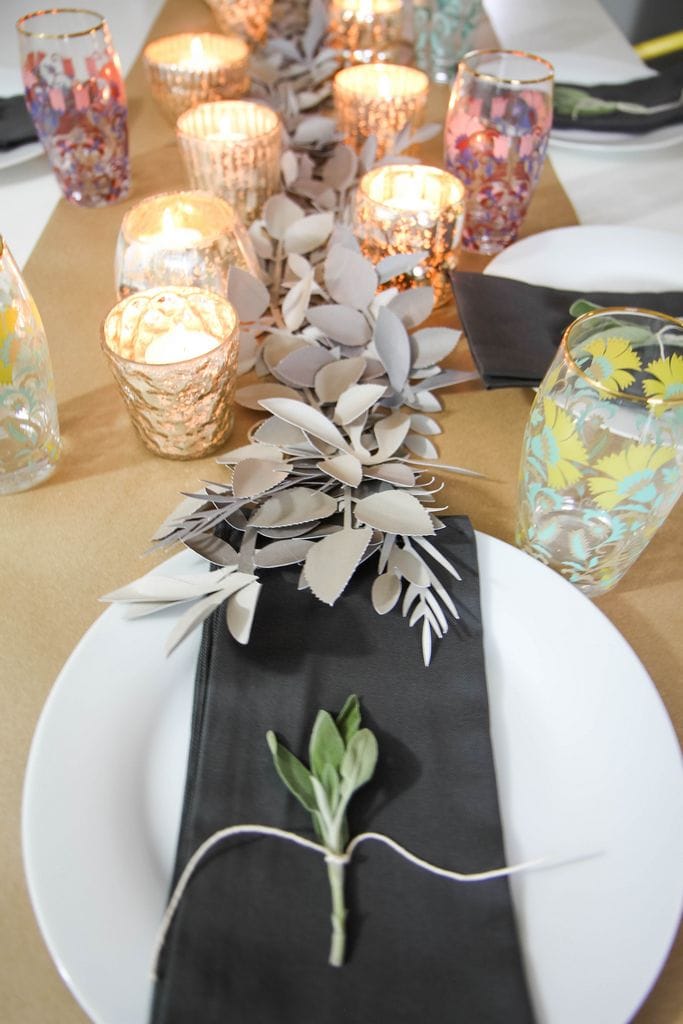
You can see the layer of brown paper has been laid underneath it.  To add a little more dimension to this table, I added two sets of these inexpensive votive candle holder sets (I’m pointing you in the general direction so you can pick out your favorite finish). You can get them in a variety of shades and I love that these sit low so you don’t have to try to talk around a tall arrangement.

Here are just a few other details on this table, in case you were interested in replicating this further.

I tied tiny bundles of sage to nestle on top of our cloth napkins with a little more of the cotton twine. It added a natural element to the tablescape which felt really necessary with the paper display. It also smelled divine which is always a wonderful bonus.

I have had a hard time finding cloth napkins that wash really well, but can’t recommend these beauties enough. I picked a dark gray to eliminate needing to bleach out stains, but they come in a zillion colors that can match your own table runner.

The dishes were such a steal and came with such thoughtful storage racks. I am in love with how everything nests together so well especially these bowls which are the perfect size.

I found the glasses on clearance and can’t tell you how beautiful they are. I have been dying to have some ornate glasses for our fancier occasions. Of course, these already sold out (boooo!!!), but here and here and here are a few gorgeous options.

Once again, thankful for this smart tool I bought for our water bottles because it gets things clean, but doesn’t scratch the pattern or gold rim on these.

I hope this spread inspires you to embrace decorations you can use for all the seasons.

I’m also excited to share with you about the Friendsgiving gathering I had to make use of this lovely display. Stay tuned for all the details on that!

Looking for some more great craft ideas? Check these out!

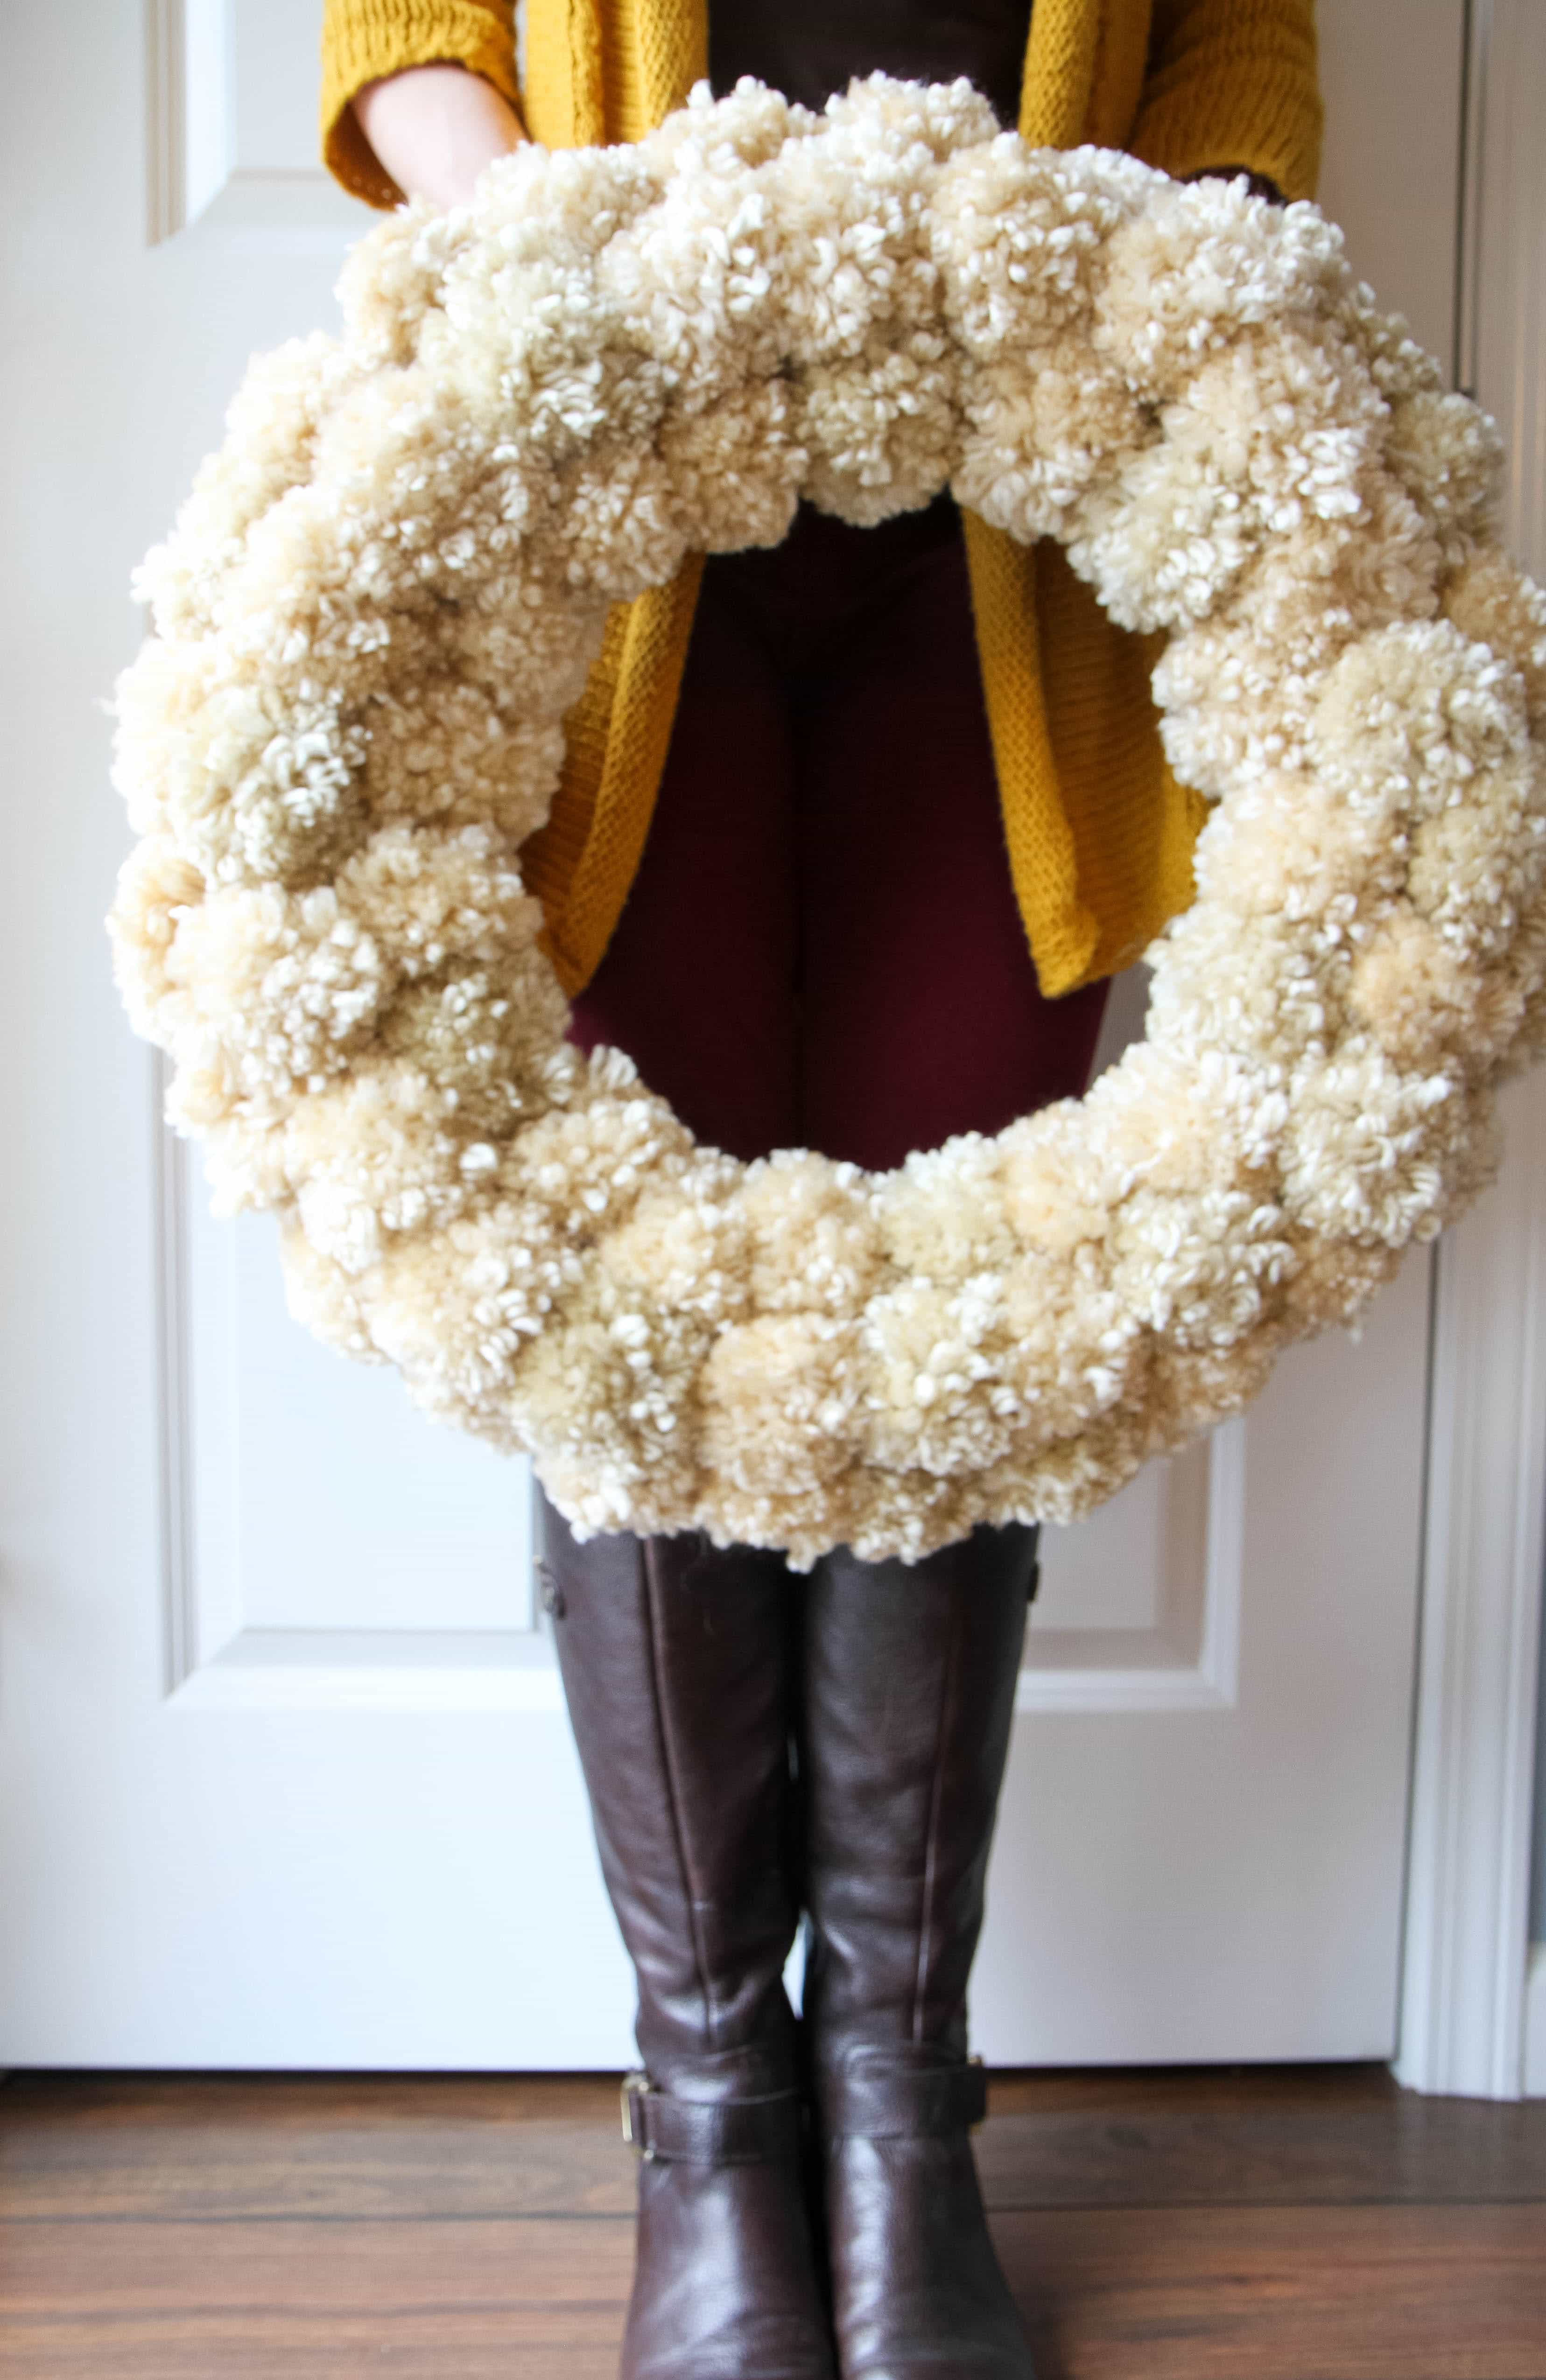
How to make a Yarn Pom Pom Wreath how to make a yarn pom-pom wreath

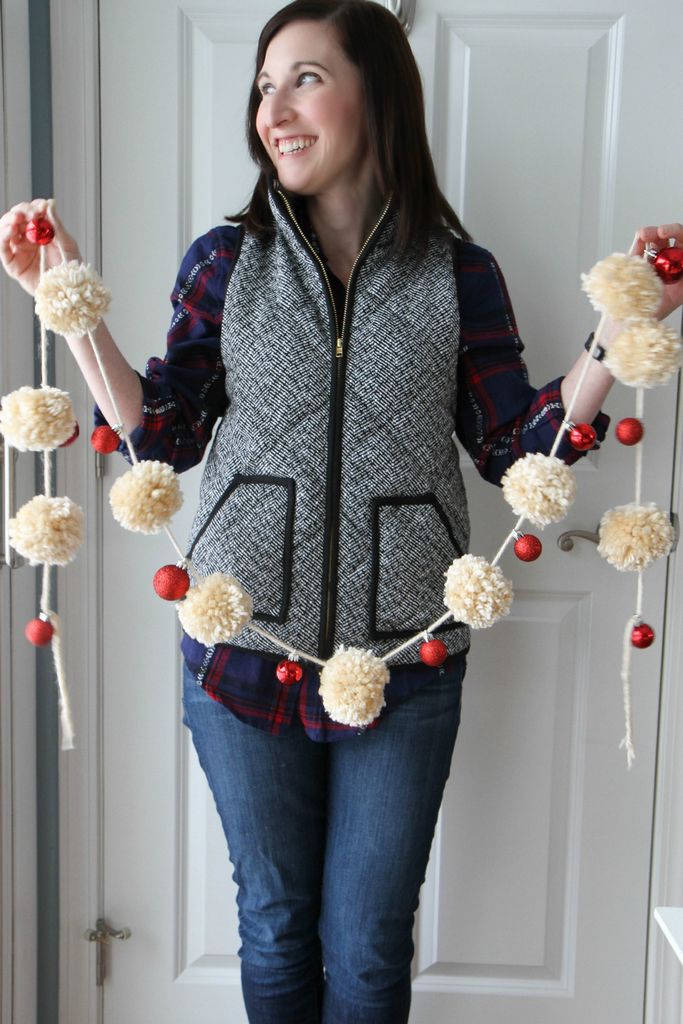
how to make a yarn pom-pom garland

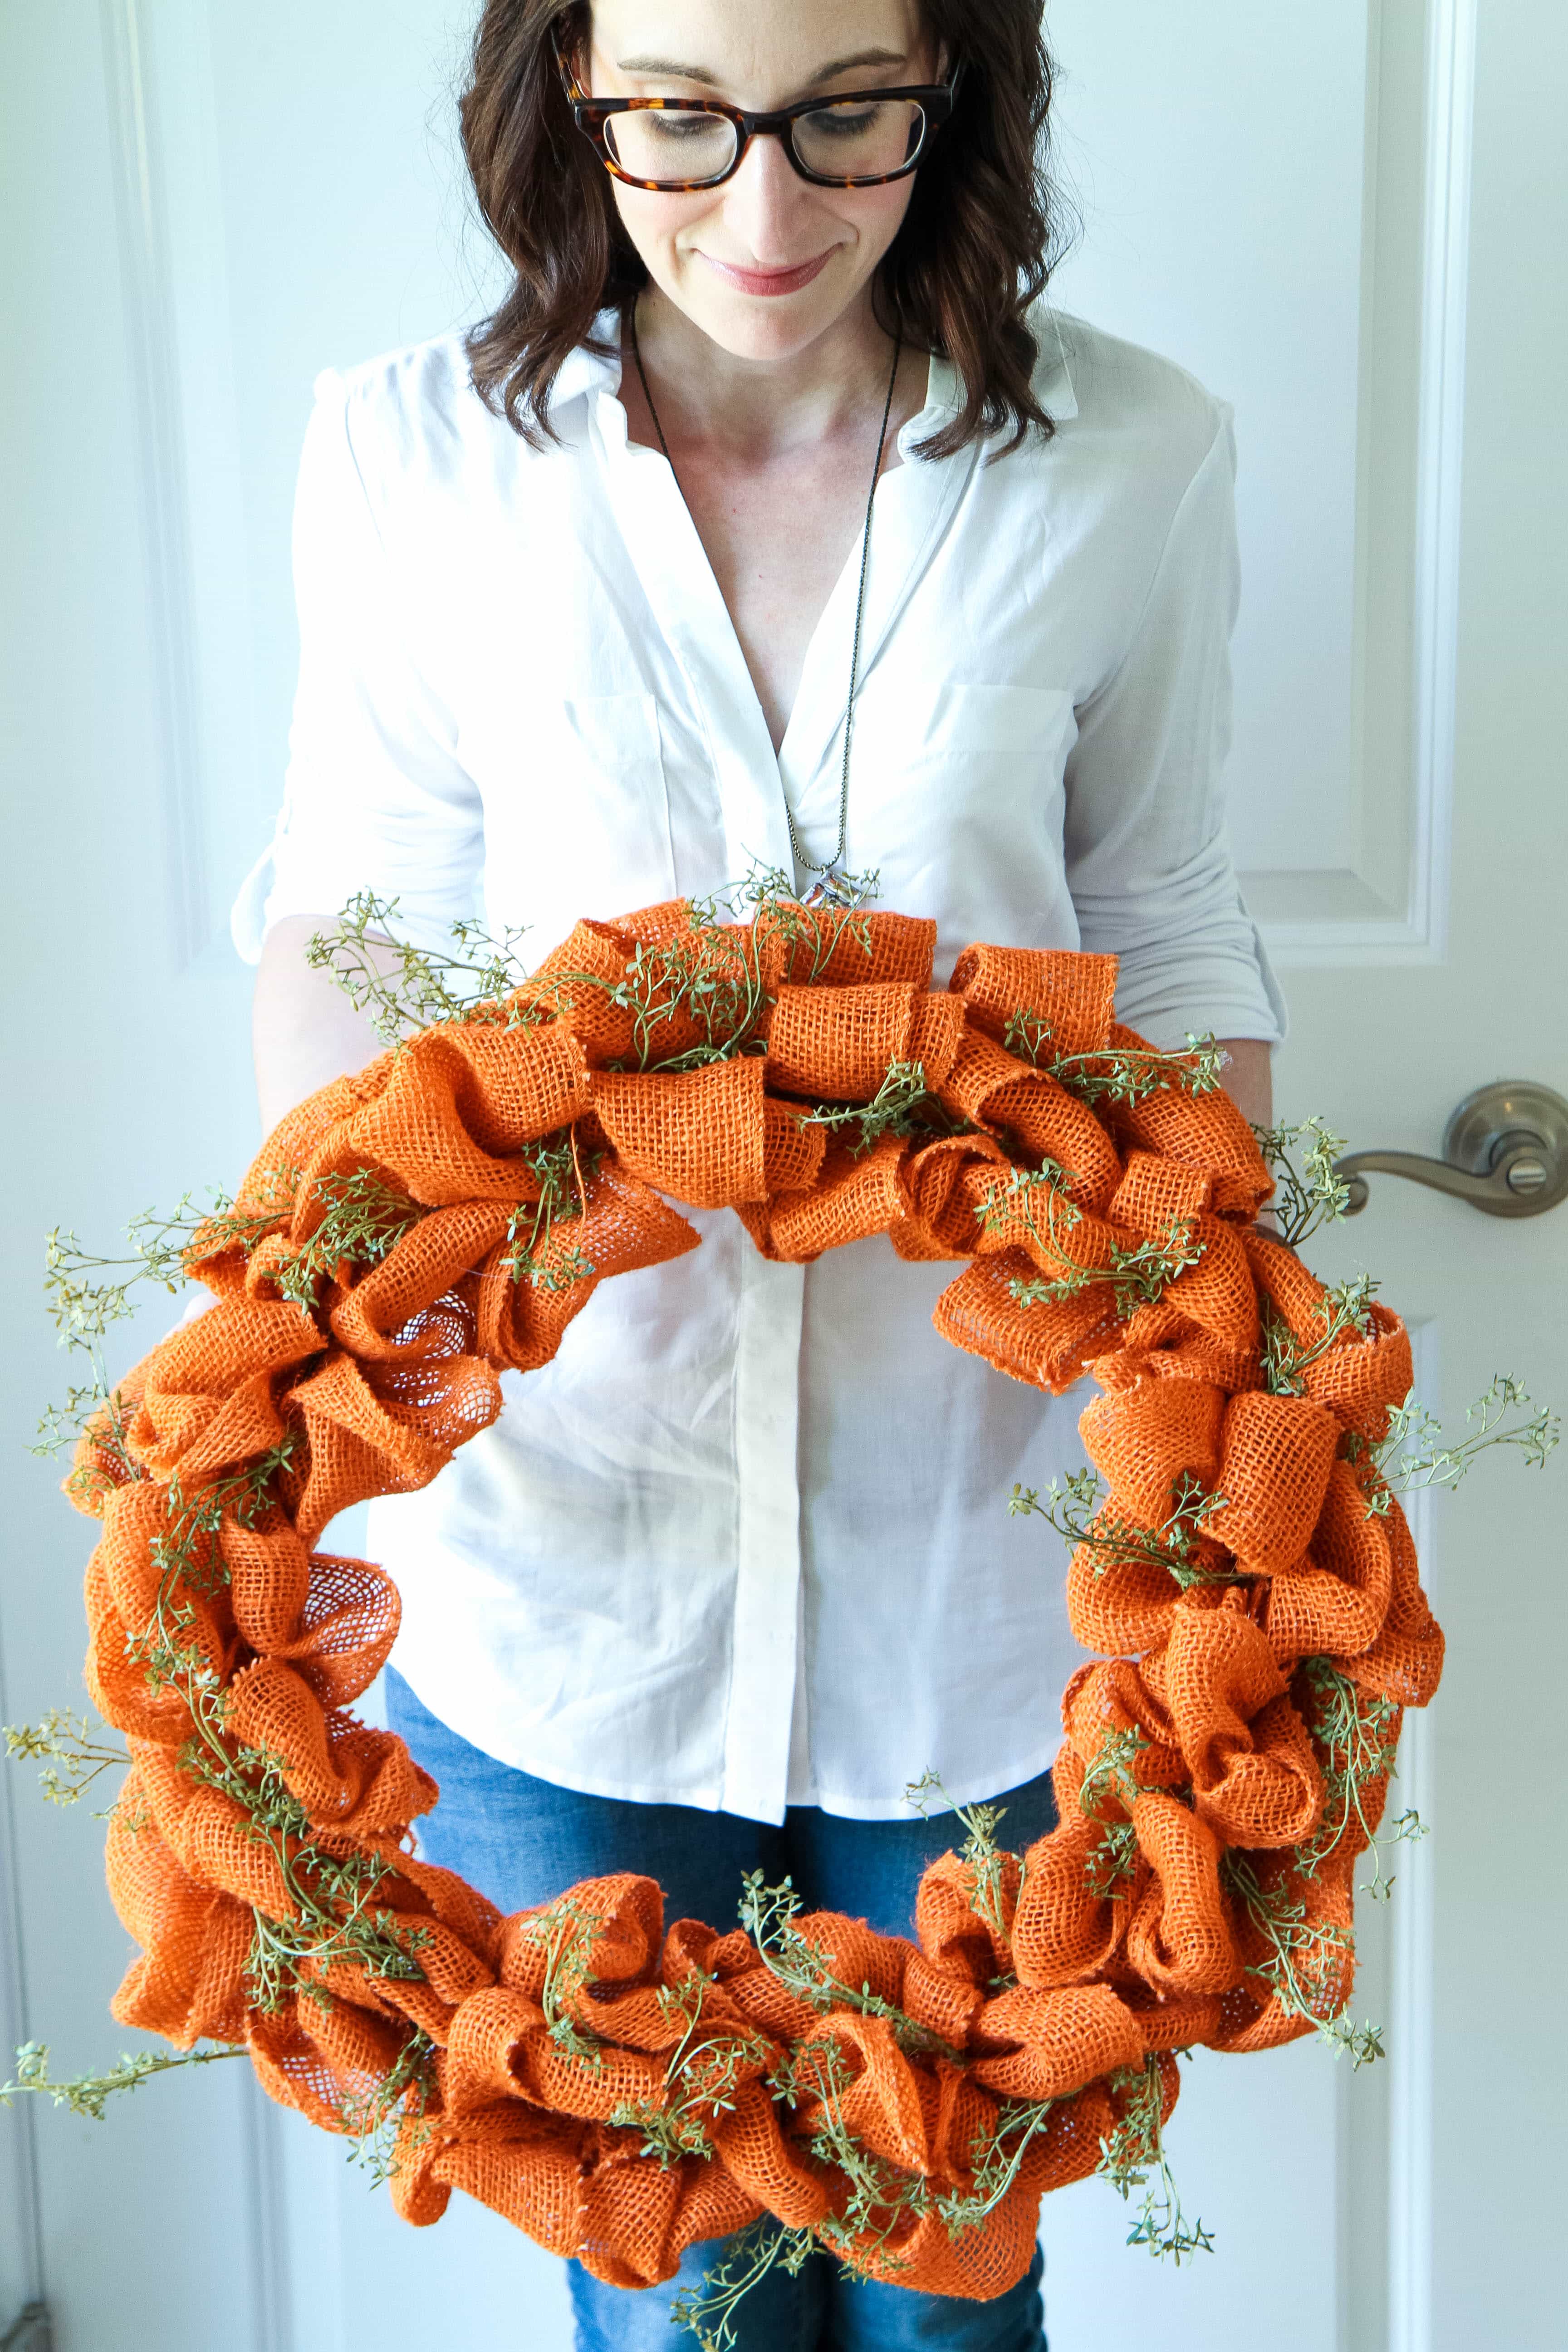
how to make an autumn burlap wreath

easy burlap wreath tutorial

how to diy a no-sew blanket scarf

Happy crafting, friends!

This post contains affiliate links.

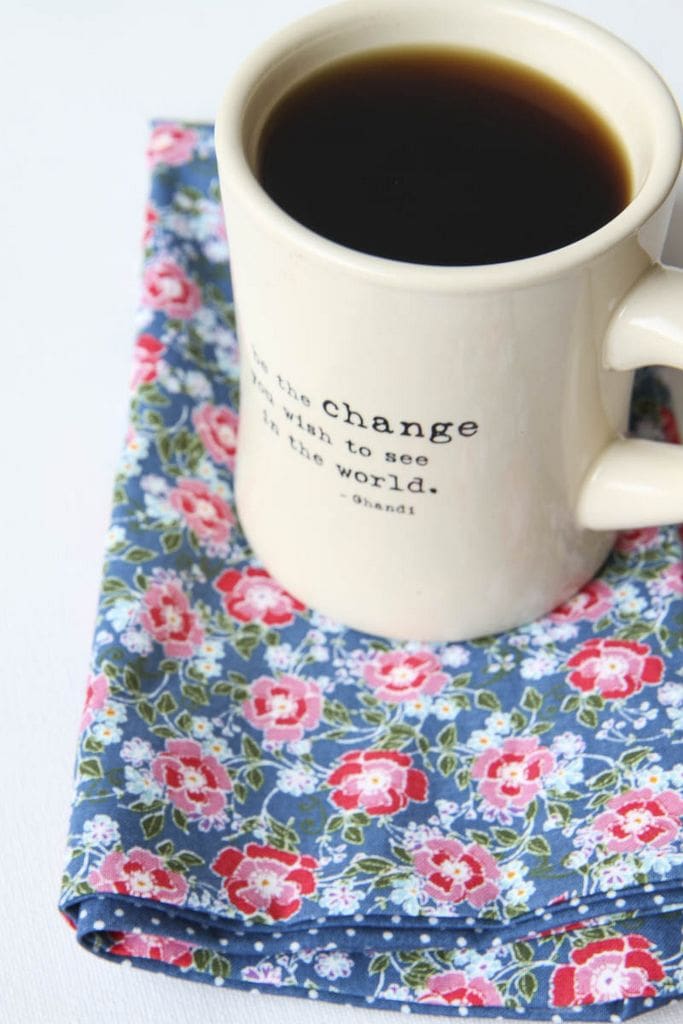
DIY No-Sew Reversible Cloth Napkins

Tuesday, March 20th, 2018

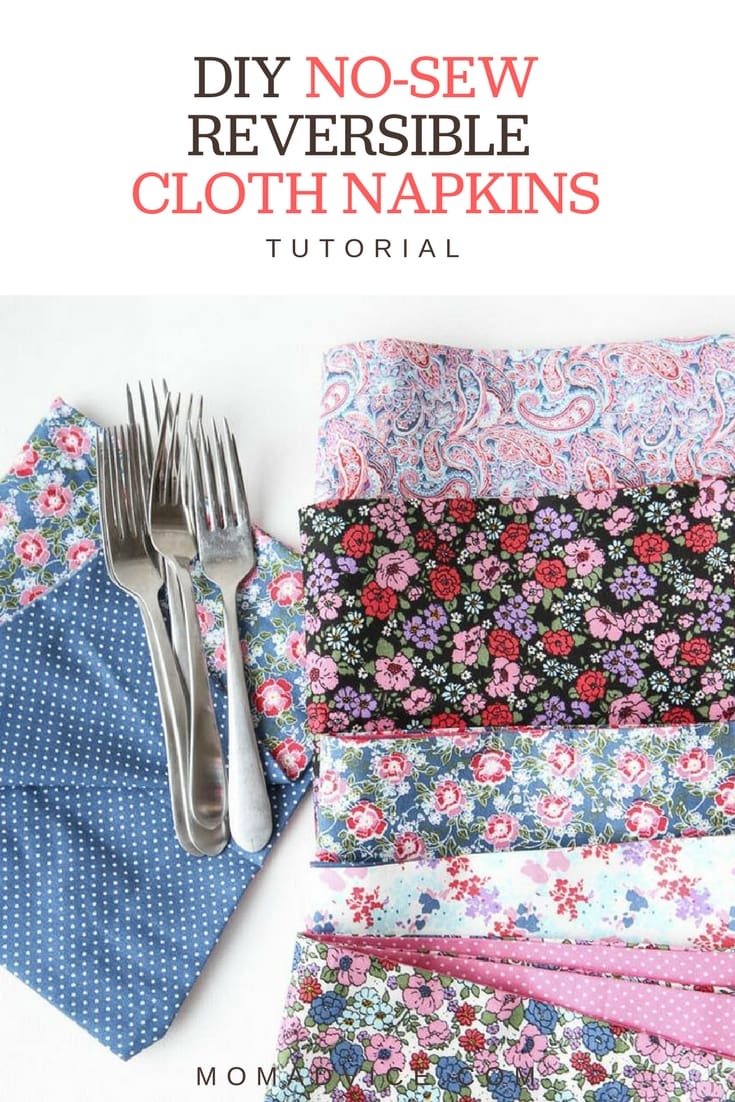
DIY No-Sew Reversible Cloth Napkins from MomAdvice.com

The queen of no-sew projects is back and I’m excited to share this EASY DIY No-Sew Reversible Cloth Napkin tutorial with you today.

That’s right, even if you can’t sew, it’s no biggie!

Can’t cut a straight line?

Me either!

No need to even have a skill in that!

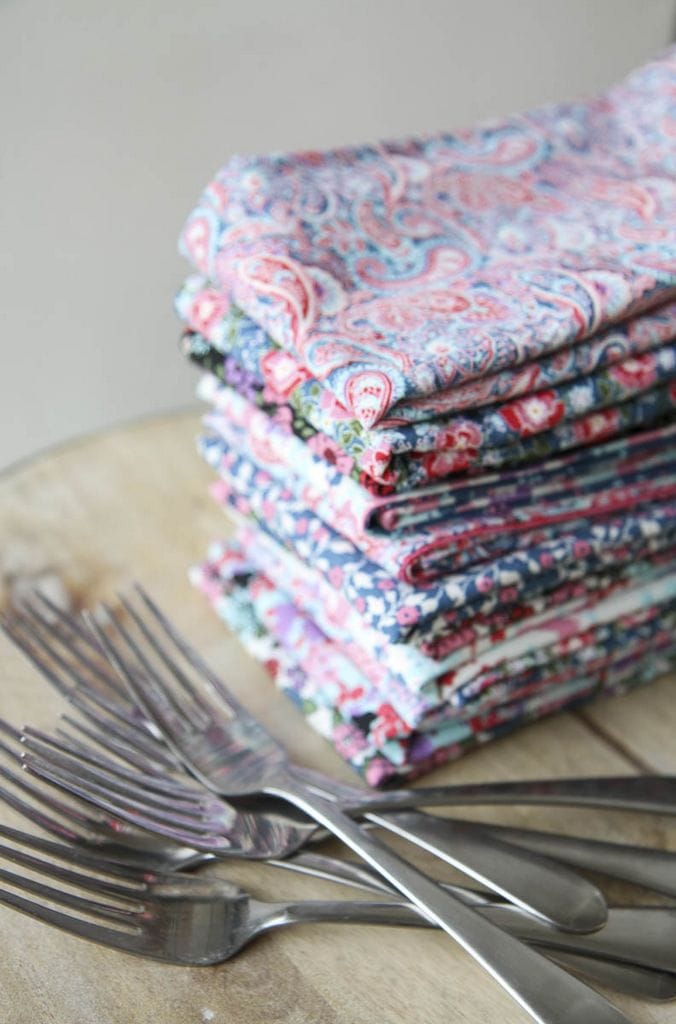
Each diy no-sew napkin should take a mere ten minutes to make and can be used for many a dinner with your family and friends. Not to mention, these would make a gorgeous gift for a newlywed or the holidays.

DIY No-Sew Reversible Cloth Napkins from MomAdvice.com

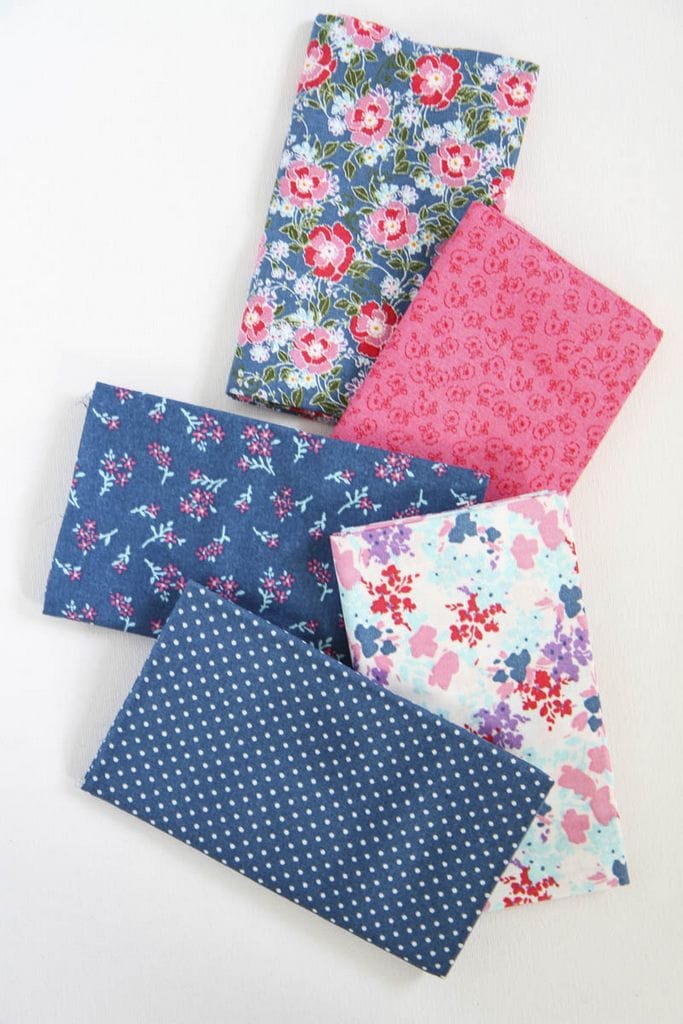
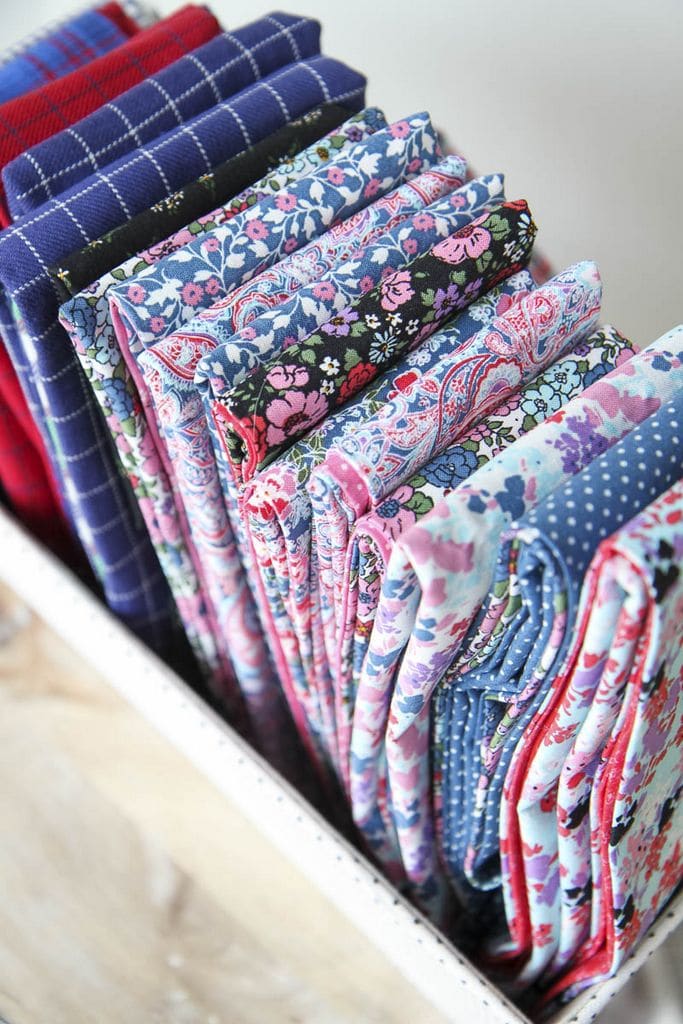
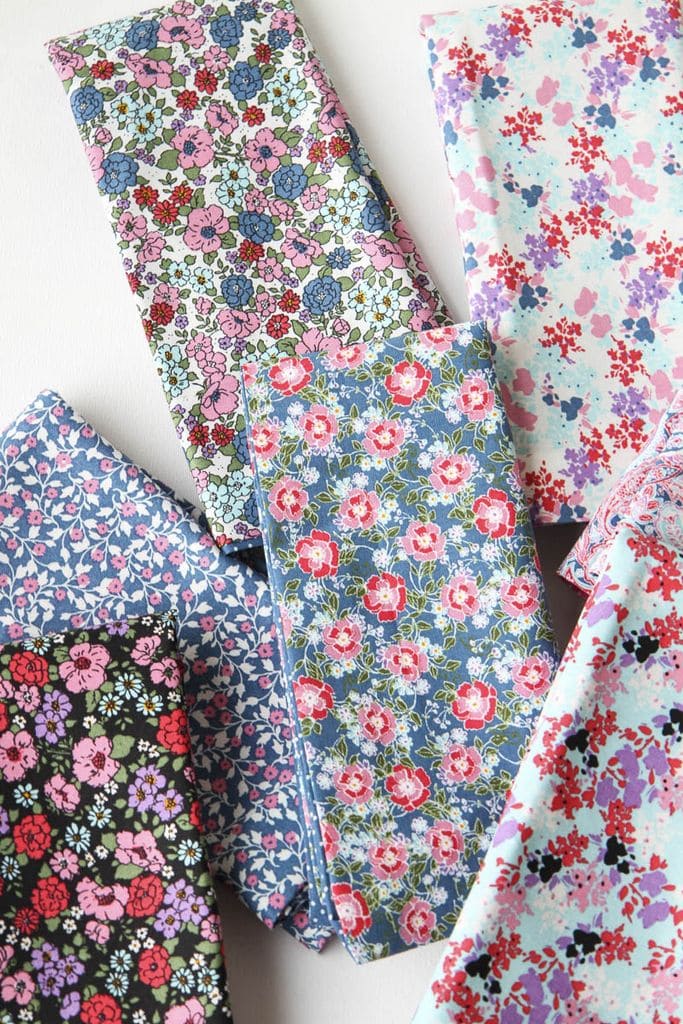
I had a set of cloth napkins that got a lot of love in our house because of their easy-to-wash material and their perfect size. I was never a fan of the colors though and so I measured my current set and headed to the fabric store where I discovered (GLORY BE!) that the fabric bundles, at our local fabric shop, just so happened to be the EXACT same size.

What luck for someone who can’t cut a straight line.

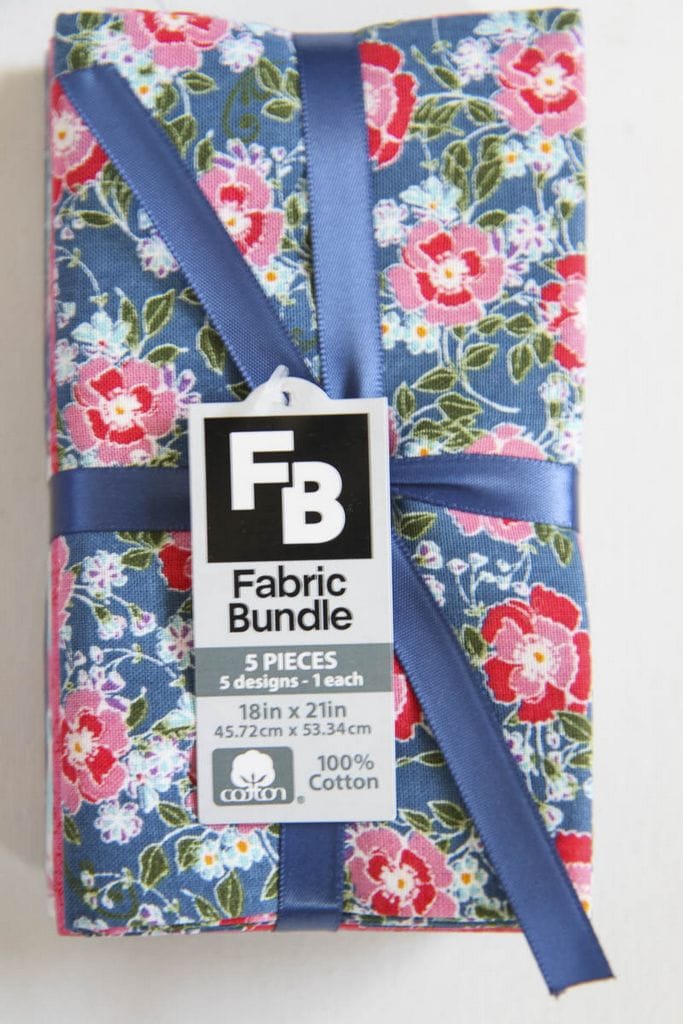
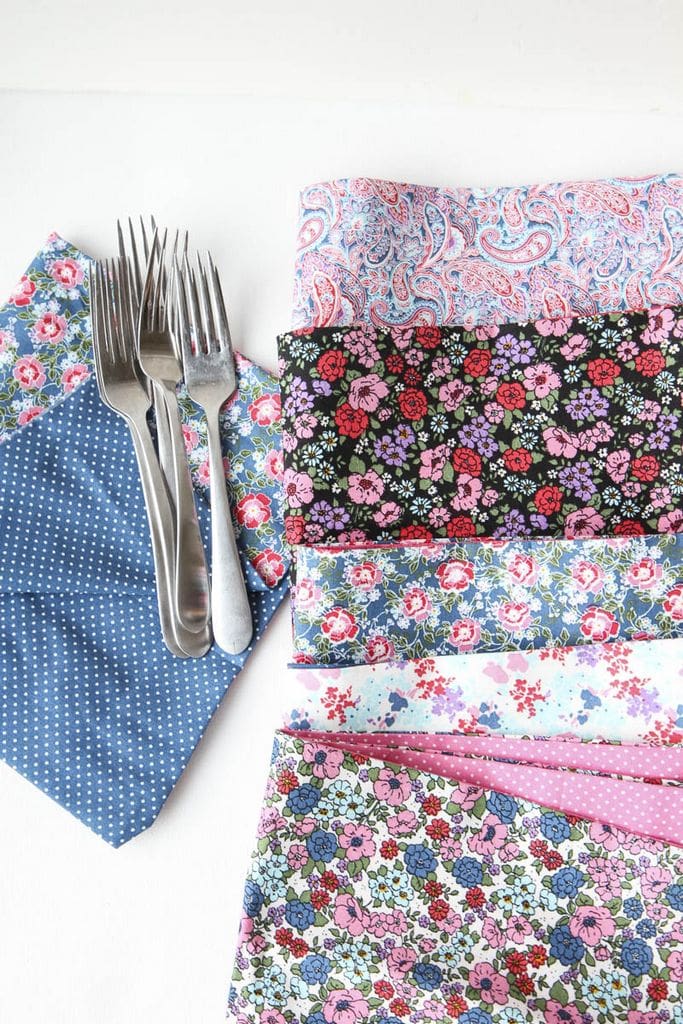
I have always loved the beauty of these color-coordinating fabric bundles (just so perfect for quilters) and thanks to their prepackaged coordination, it makes creating a reversible set of napkins oh-so-easy for those of us born without the gift of pattern-matching.

Here’s my quick tutorial AND scroll down for my system for washing and storing these beauties!

DIY No-Sew Reversible Cloth Napkins Tutorial

DIY No-Sew Reversible Cloth Napkins

diy-no-sew-reversible-cloth-napkins (2 of 23)


Supplies

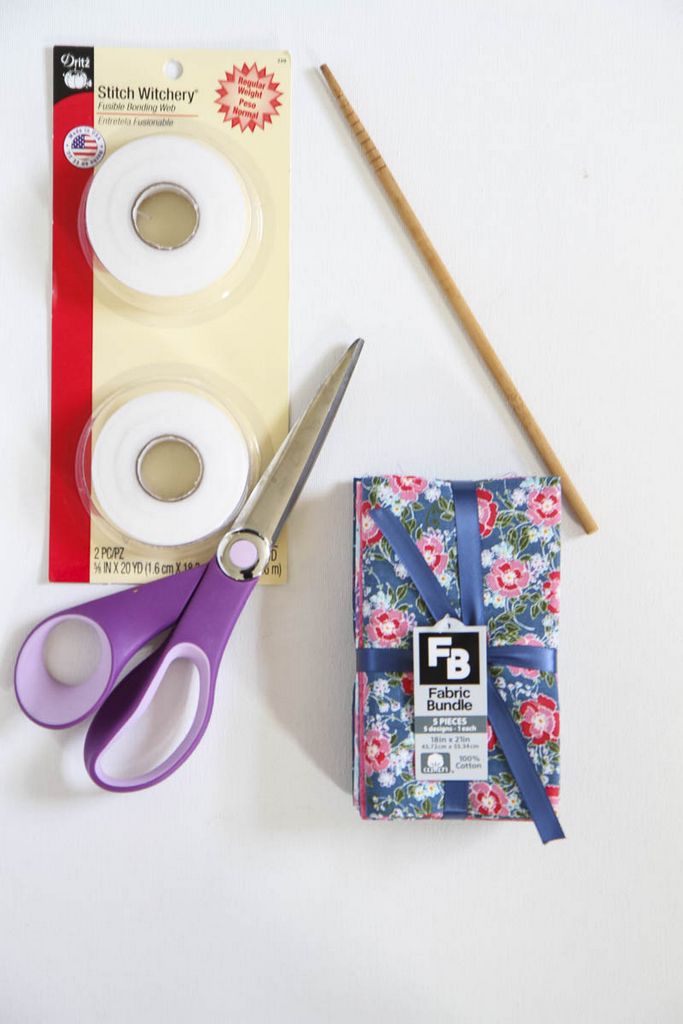
18×21 inch fabric bundle in coordinating colors- I LOVE these options or you can check here too for a more affordable option (the bundle I purchased had 5 pieces so to create an even number of cloth napkins you will need to purchase two bundles. You will need 2 pieces for each napkin you would like to make). I chose Cotton & Flannel materials for my napkins.

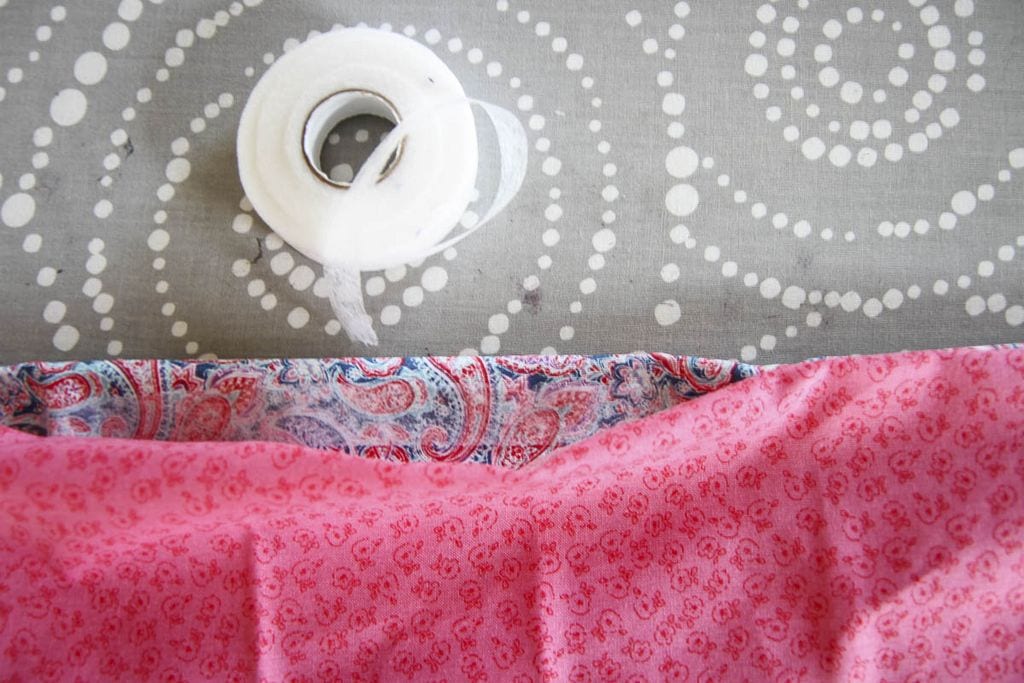
Stitch Witchery or similar fusible bonding web (I swear by Stitch Witchery for the majority of my no-sew projects- it really washes well!)

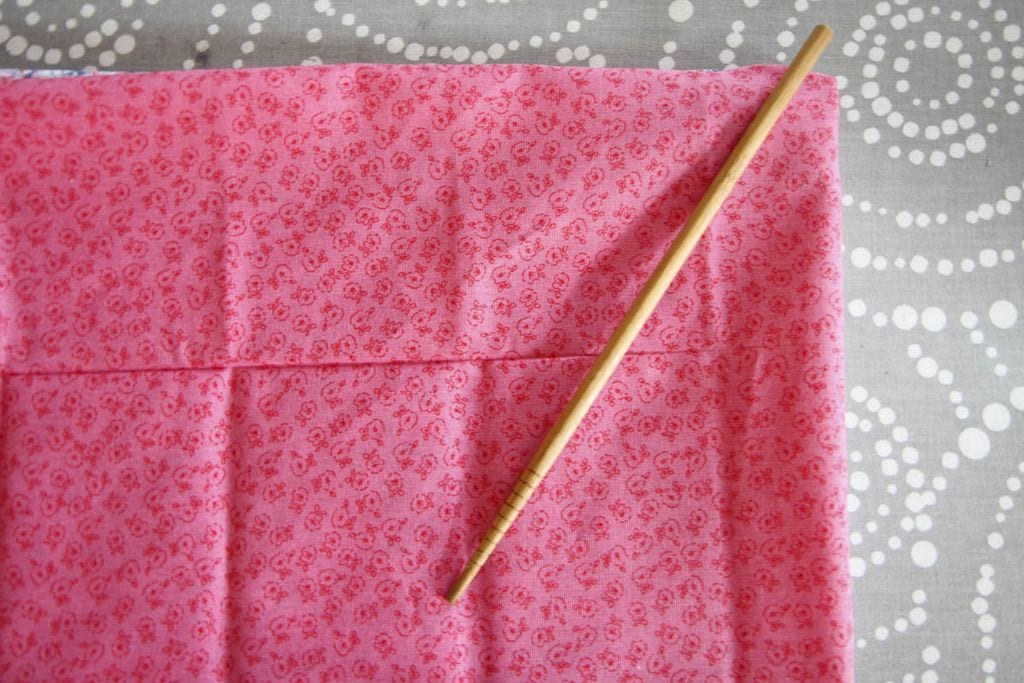
Chopstick or pointy object to push out your corners

Iron & ironing board

Scissors

DIY No-Sew Reversible Cloth Napkins from MomAdvice.com

Directions

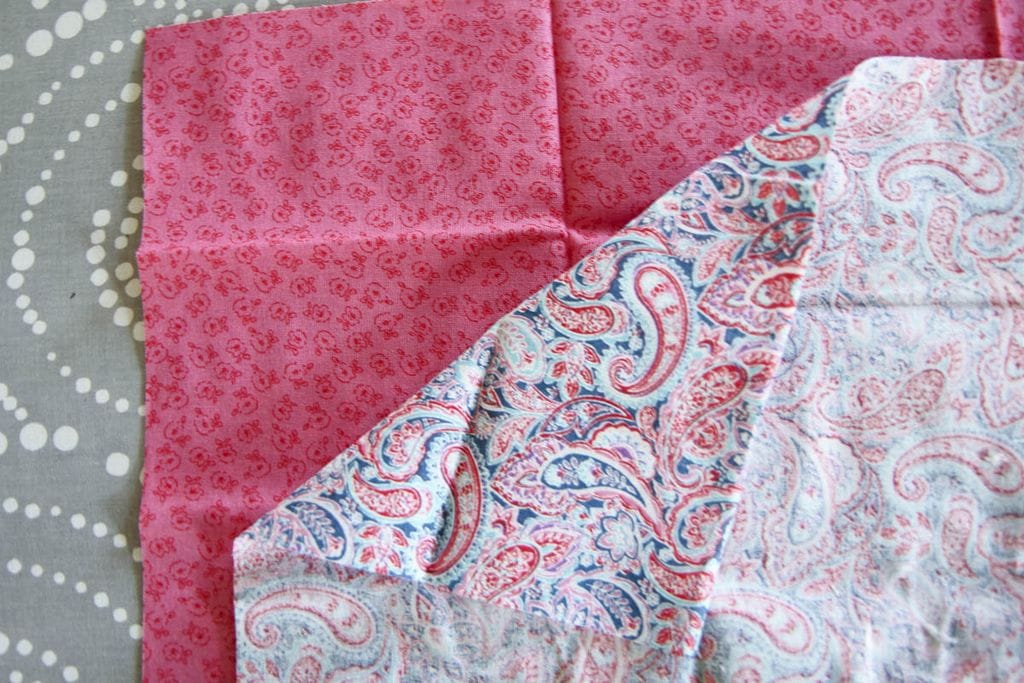
1. Select two coordinating colors and place the first one with the pattern up, facing you, and then flip the other one with the wrong side of the fabric out. Basically, you want the two patterns to be BFF’s and be facing each other.

DIY No-Sew Reversible Cloth Napkins from MomAdvice.com

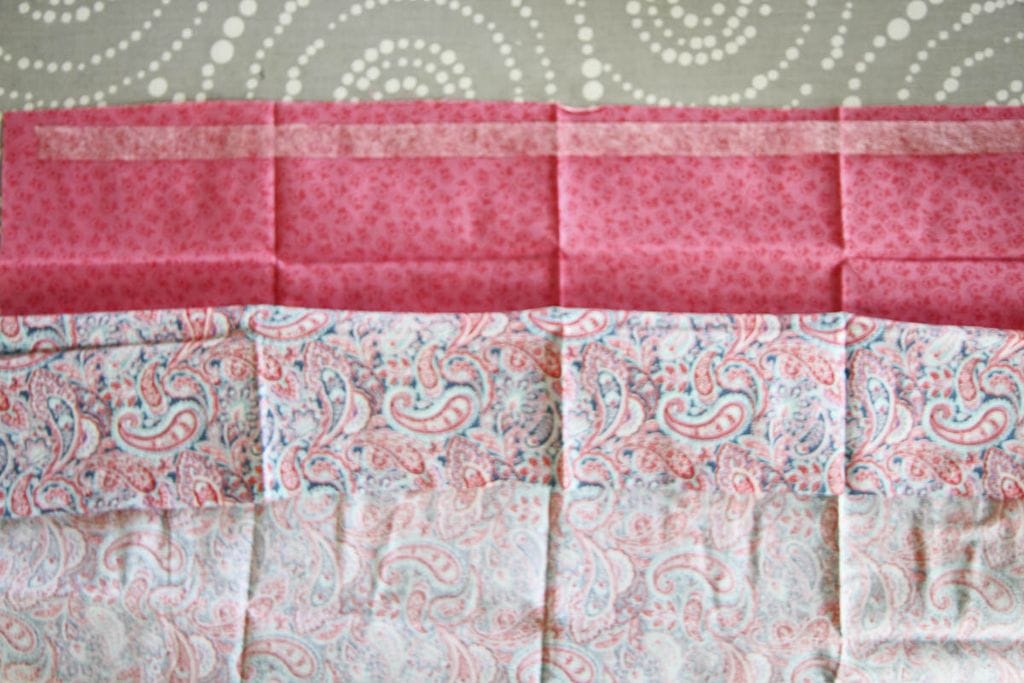
2. Going all the way across the fabric, lay down your Stitch Witchery all the way across, leaving a little room on each side of the edges, as pictured.

DIY No-Sew Reversible Cloth Napkins from MomAdvice.com

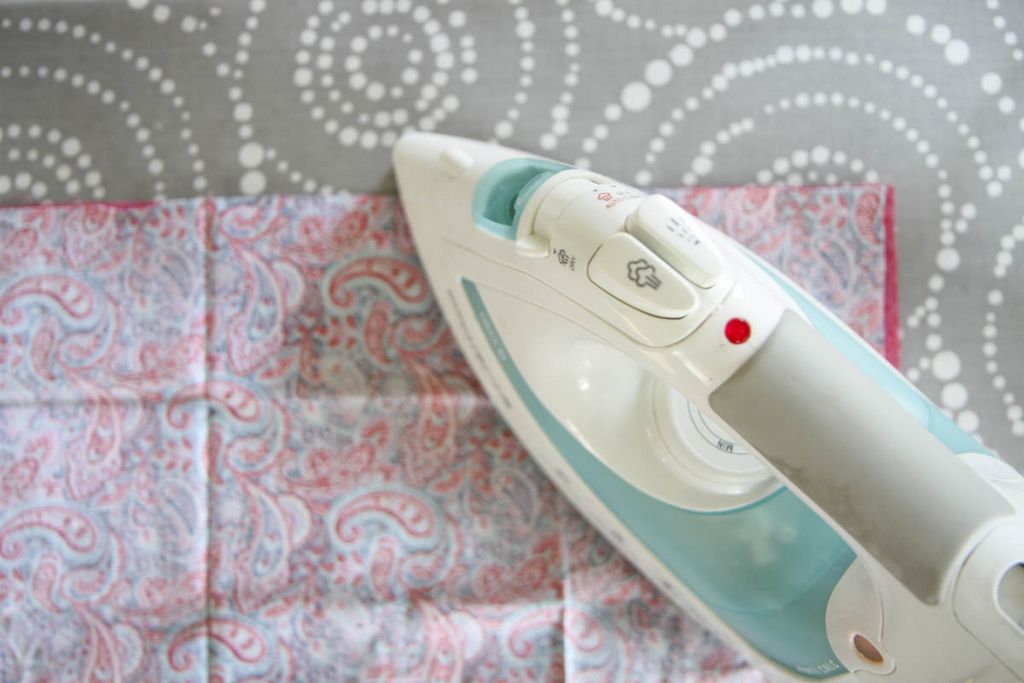
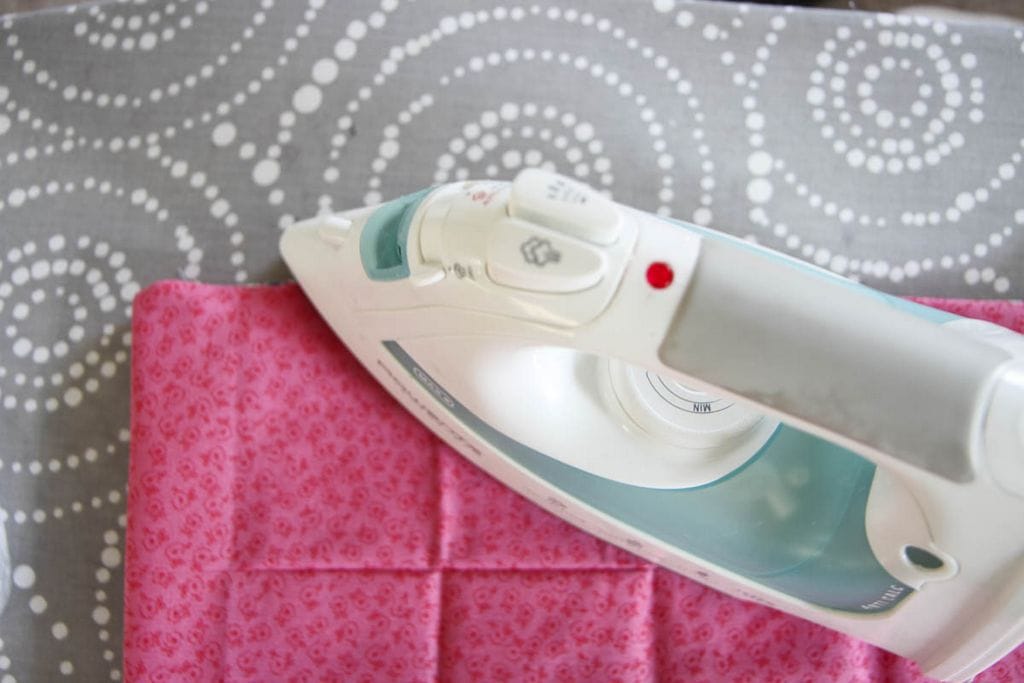
3. Grab you iron (I crank mine to the highest setting on that dial) and iron over the tape until the two fabrics are fused together. This will take several passes and you can additionally spray the fabric with a little water to produce steam and help the tape bond to each side of the fabric. Repeat this process on two more sides.
Leave one side without tape and follow the next steps to finish the cloth napkin.

DIY No-Sew Reversible Cloth Napkins from MomAdvice.com

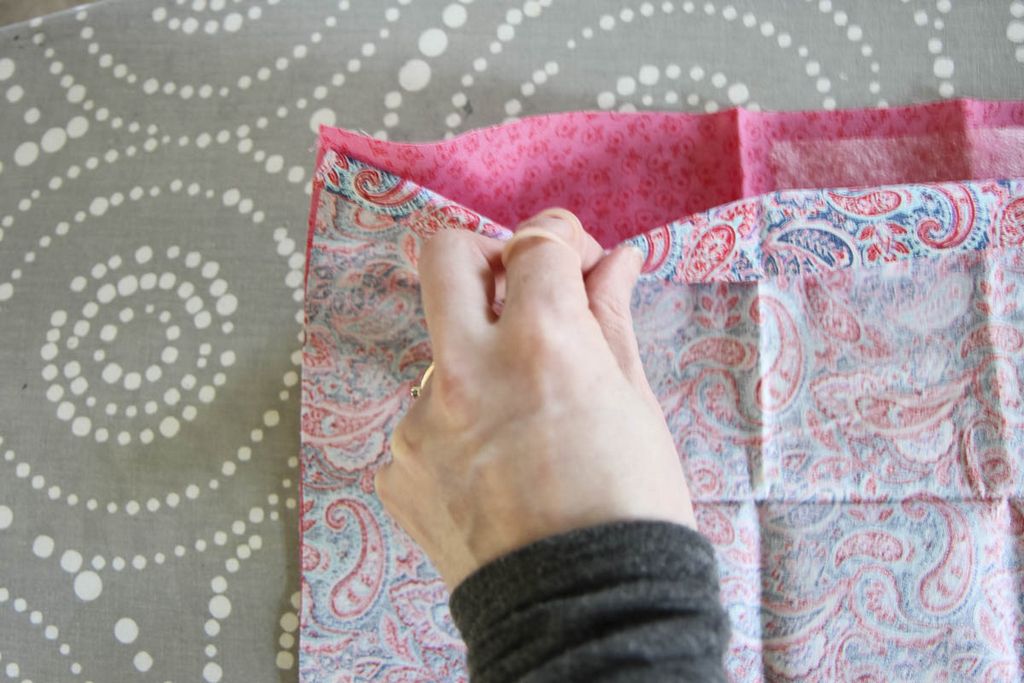
4. On the final side, we are going to run the tape along like the other sides, but stop to leave a pocket so we can turn this napkin right side out.

DIY No-Sew Reversible Cloth Napkins from MomAdvice.com

DIY No-Sew Reversible Cloth Napkins from MomAdvice.com

DIY No-Sew Reversible Cloth Napkins from MomAdvice.com

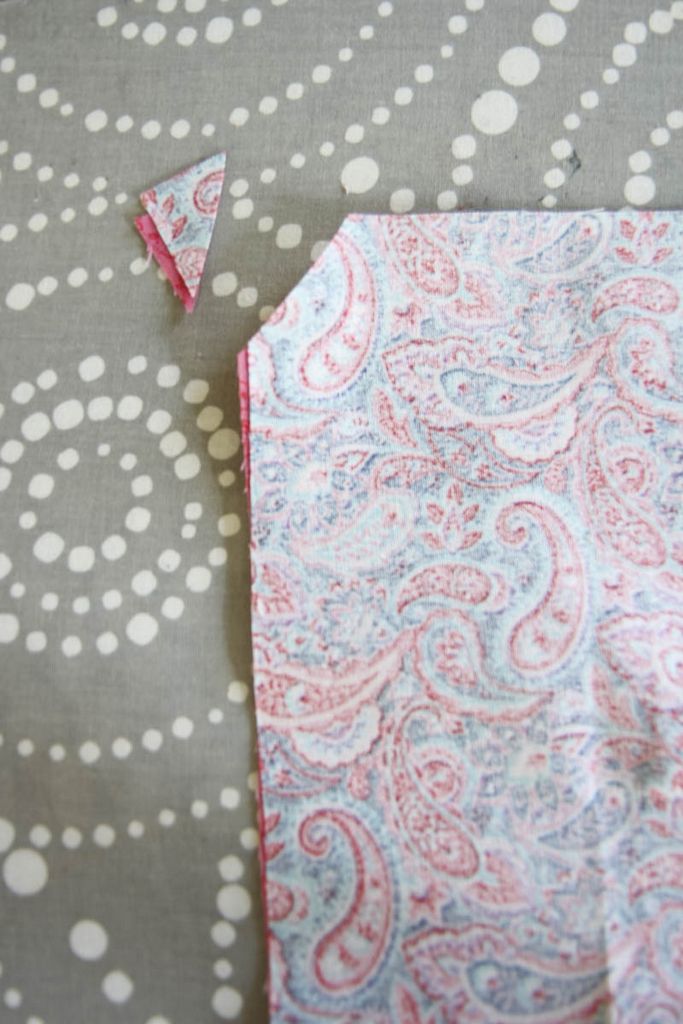
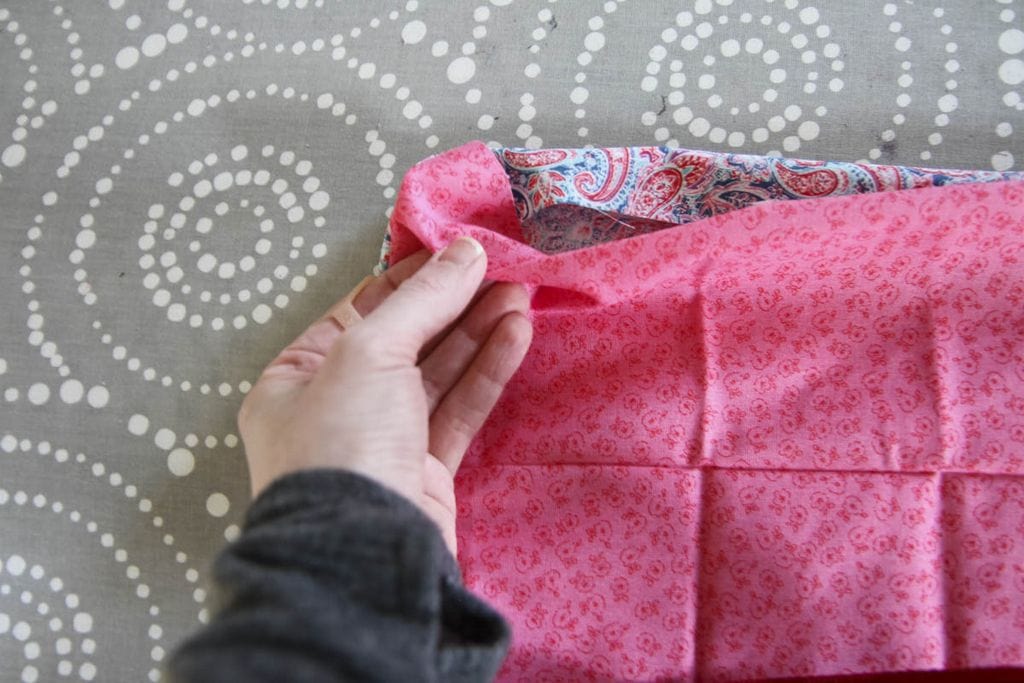
5. Using your scissors, cut all four corners so we don’t have excess fabric in the corners. CAREFULLY, turn the napkin right side out and use your chopstick to CAREFULLY poke out those corners. If the tape comes loose while turning this right side out, don’t worry! You can easily reseal that tape again when finishing that edge!

DIY No-Sew Reversible Cloth Napkins from MomAdvice.com

DIY No-Sew Reversible Cloth Napkins from MomAdvice.com

DIY No-Sew Reversible Cloth Napkins from MomAdvice.com

6. Tuck the last of the ends under, to match the rest of the side that has been fused.  Finish with another round of Stitch Witchery and a final press. Once the ends are all sealed, finish with a spray of water to take out any final wrinkles and to give it a good press on all four sides to make sure they are secure.

TA-DA!  That’s it, folks!

DIY No-Sew Reversible Cloth Napkins from MomAdvice.com

DIY No-Sew Reversible Cloth Napkins from MomAdvice.com

DIY No-Sew Reversible Cloth Napkins from MomAdvice.com

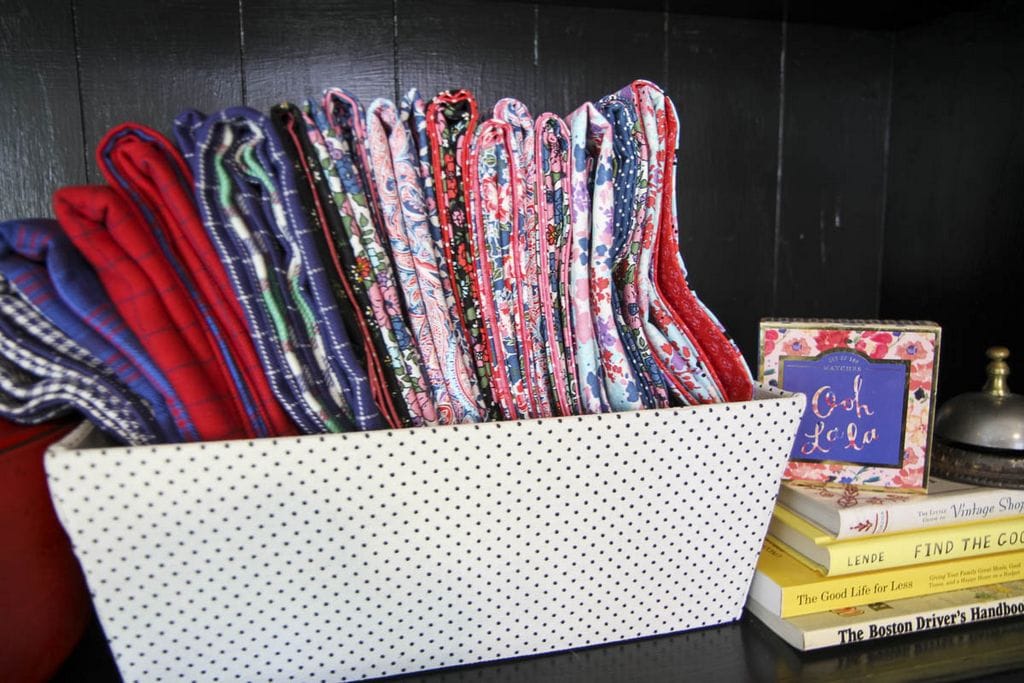
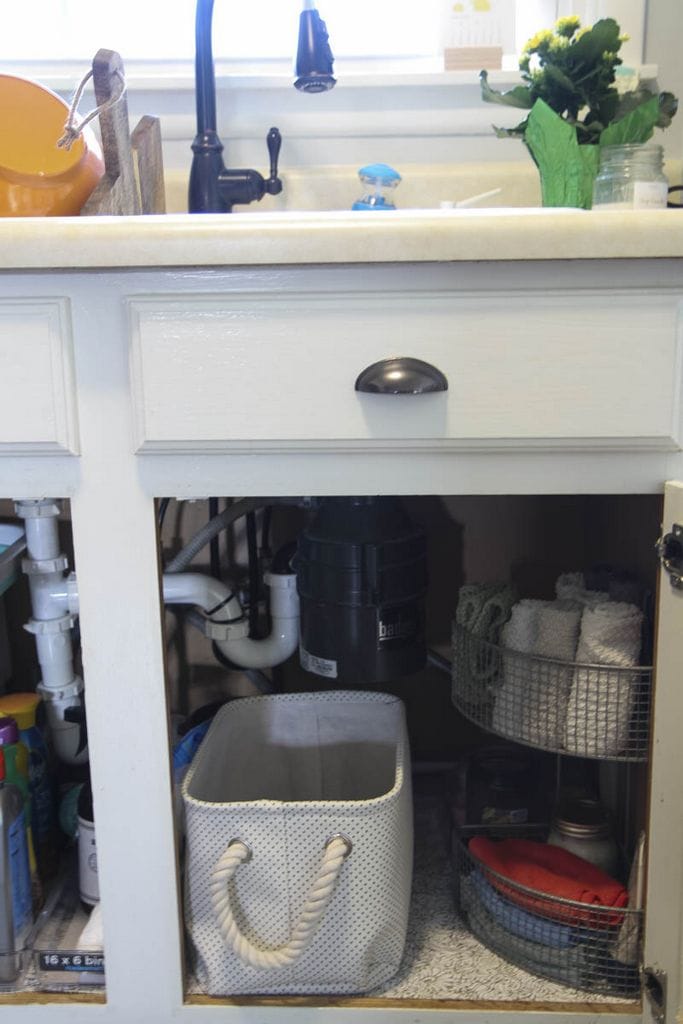
I had already received some questions, when I posted these beauties on IG, on how I planned to implement these in our home. I got a container for these and have them on our hutch, next to our silverware. Underneath the sink is a container for tossing the dirty napkins.

I got a small napkin holder that perfectly holds four of these (something like this) for the tabletop and each person gets one napkin per day.

I did request darker colors for messier meals and lighter colors for meals that less messy.

Each person is responsible for tossing their napkin in at the end of the day.

All of this feels REALLY doable to me.

DIY No-Sew Reversible Cloth Napkins from MomAdvice.com

DIY No-Sew Reversible Cloth Napkins from MomAdvice.com

DIY No-Sew Reversible Cloth Napkins from MomAdvice.com

DIY No-Sew Reversible Cloth Napkins from MomAdvice.com

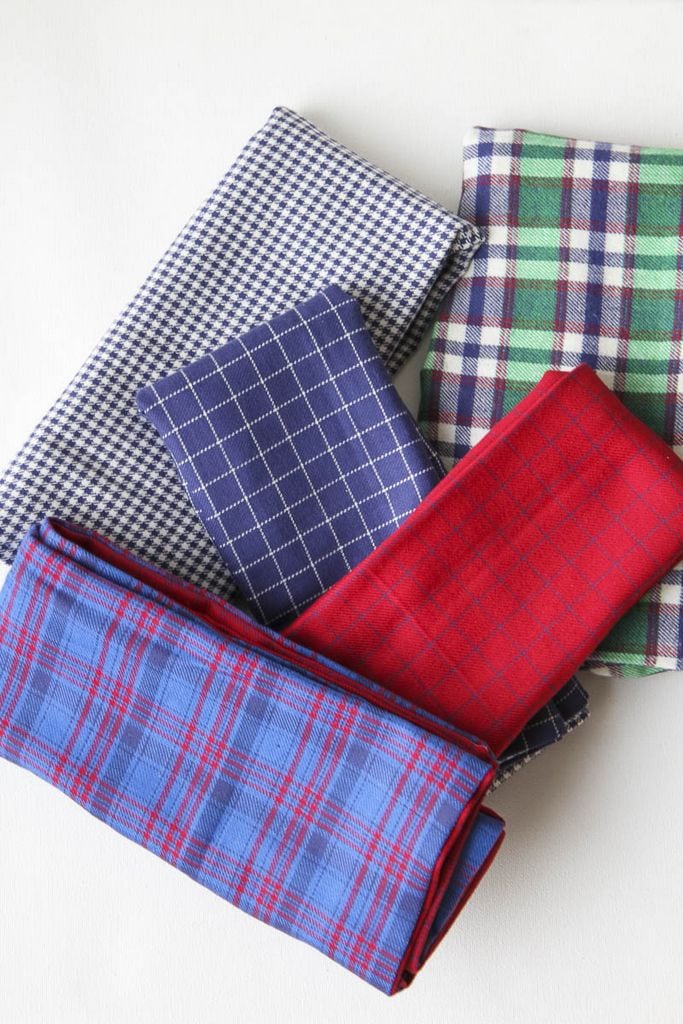
Obviously, I am IN LOVE with these feminine patterns, but I wanted to make some that were more masculine too.

DIY No-Sew Reversible Cloth Napkins from MomAdvice.com

I found some flannel and did some of our napkins in this fabric too.

The best part was that the print was on both sides so the warmer side of the flannel would be perfect for the winter months while the flipside of the flannel was perfect for all seasons (and, honestly, I had less worries about lint issues). I can picture just how beautiful these would be to dress up the table for the holidays.

The best part?

You can’t buy this at Target. You get to be totally unique.

Go ahead and gloat!

Do you love NO-SEW projects? You hit the lottery over here! Check out a few of my favorite no-sew tutorials!

Fabric Flower Wreath Fabric Flower Wreath for Spring

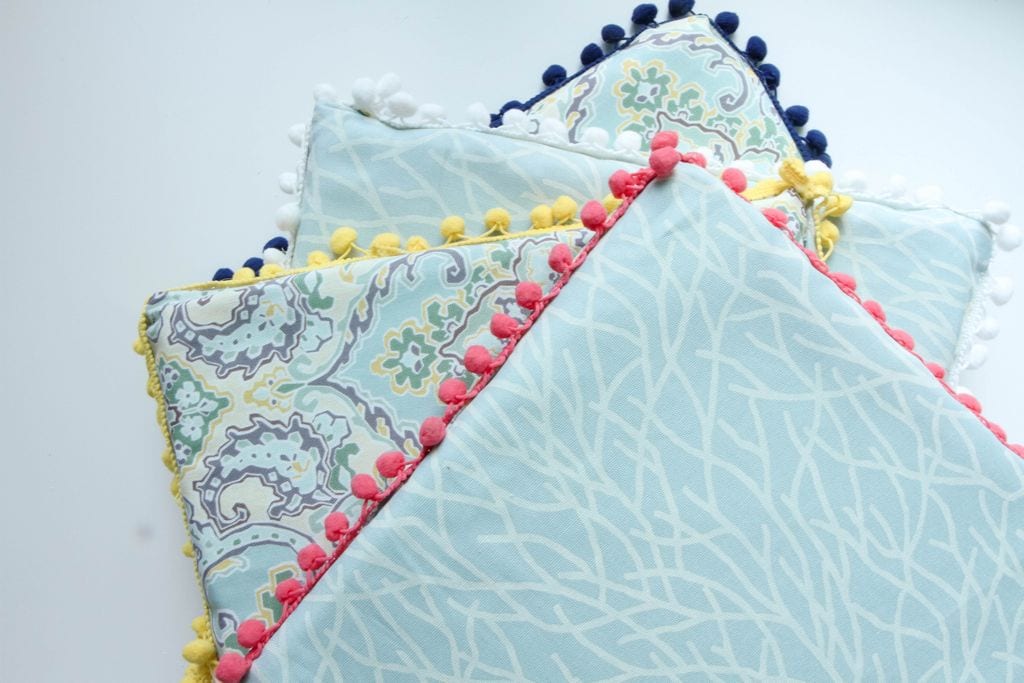
No-Sew Kitchen Cushions DIY No-Sew Reversible Chair Cushions

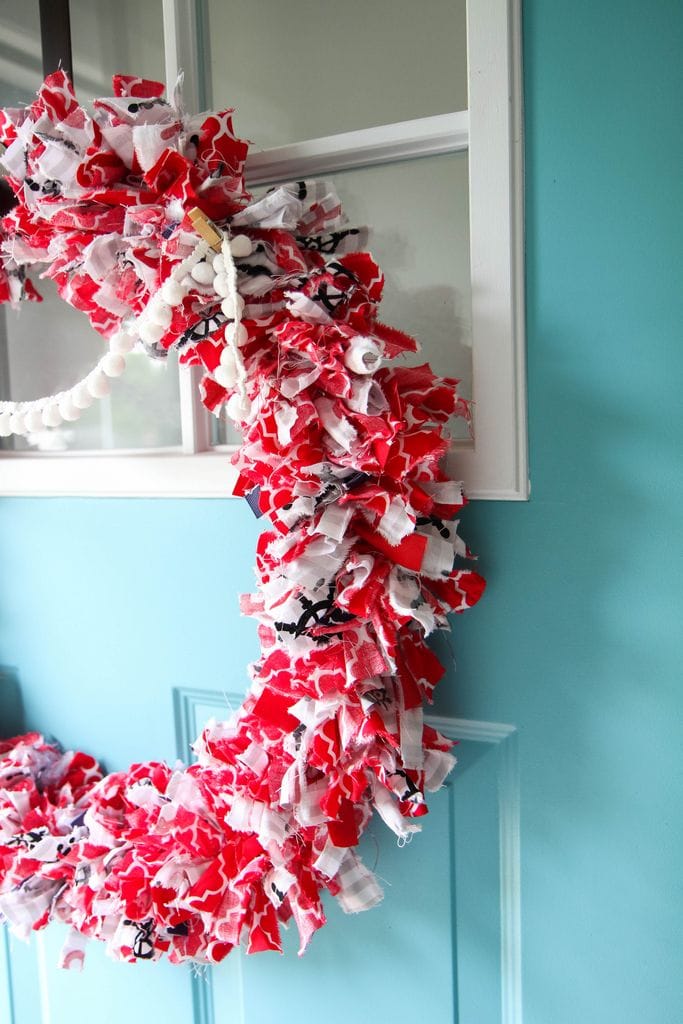
Fabric Wreath & Garland Fabric Wreath & Matching Garland

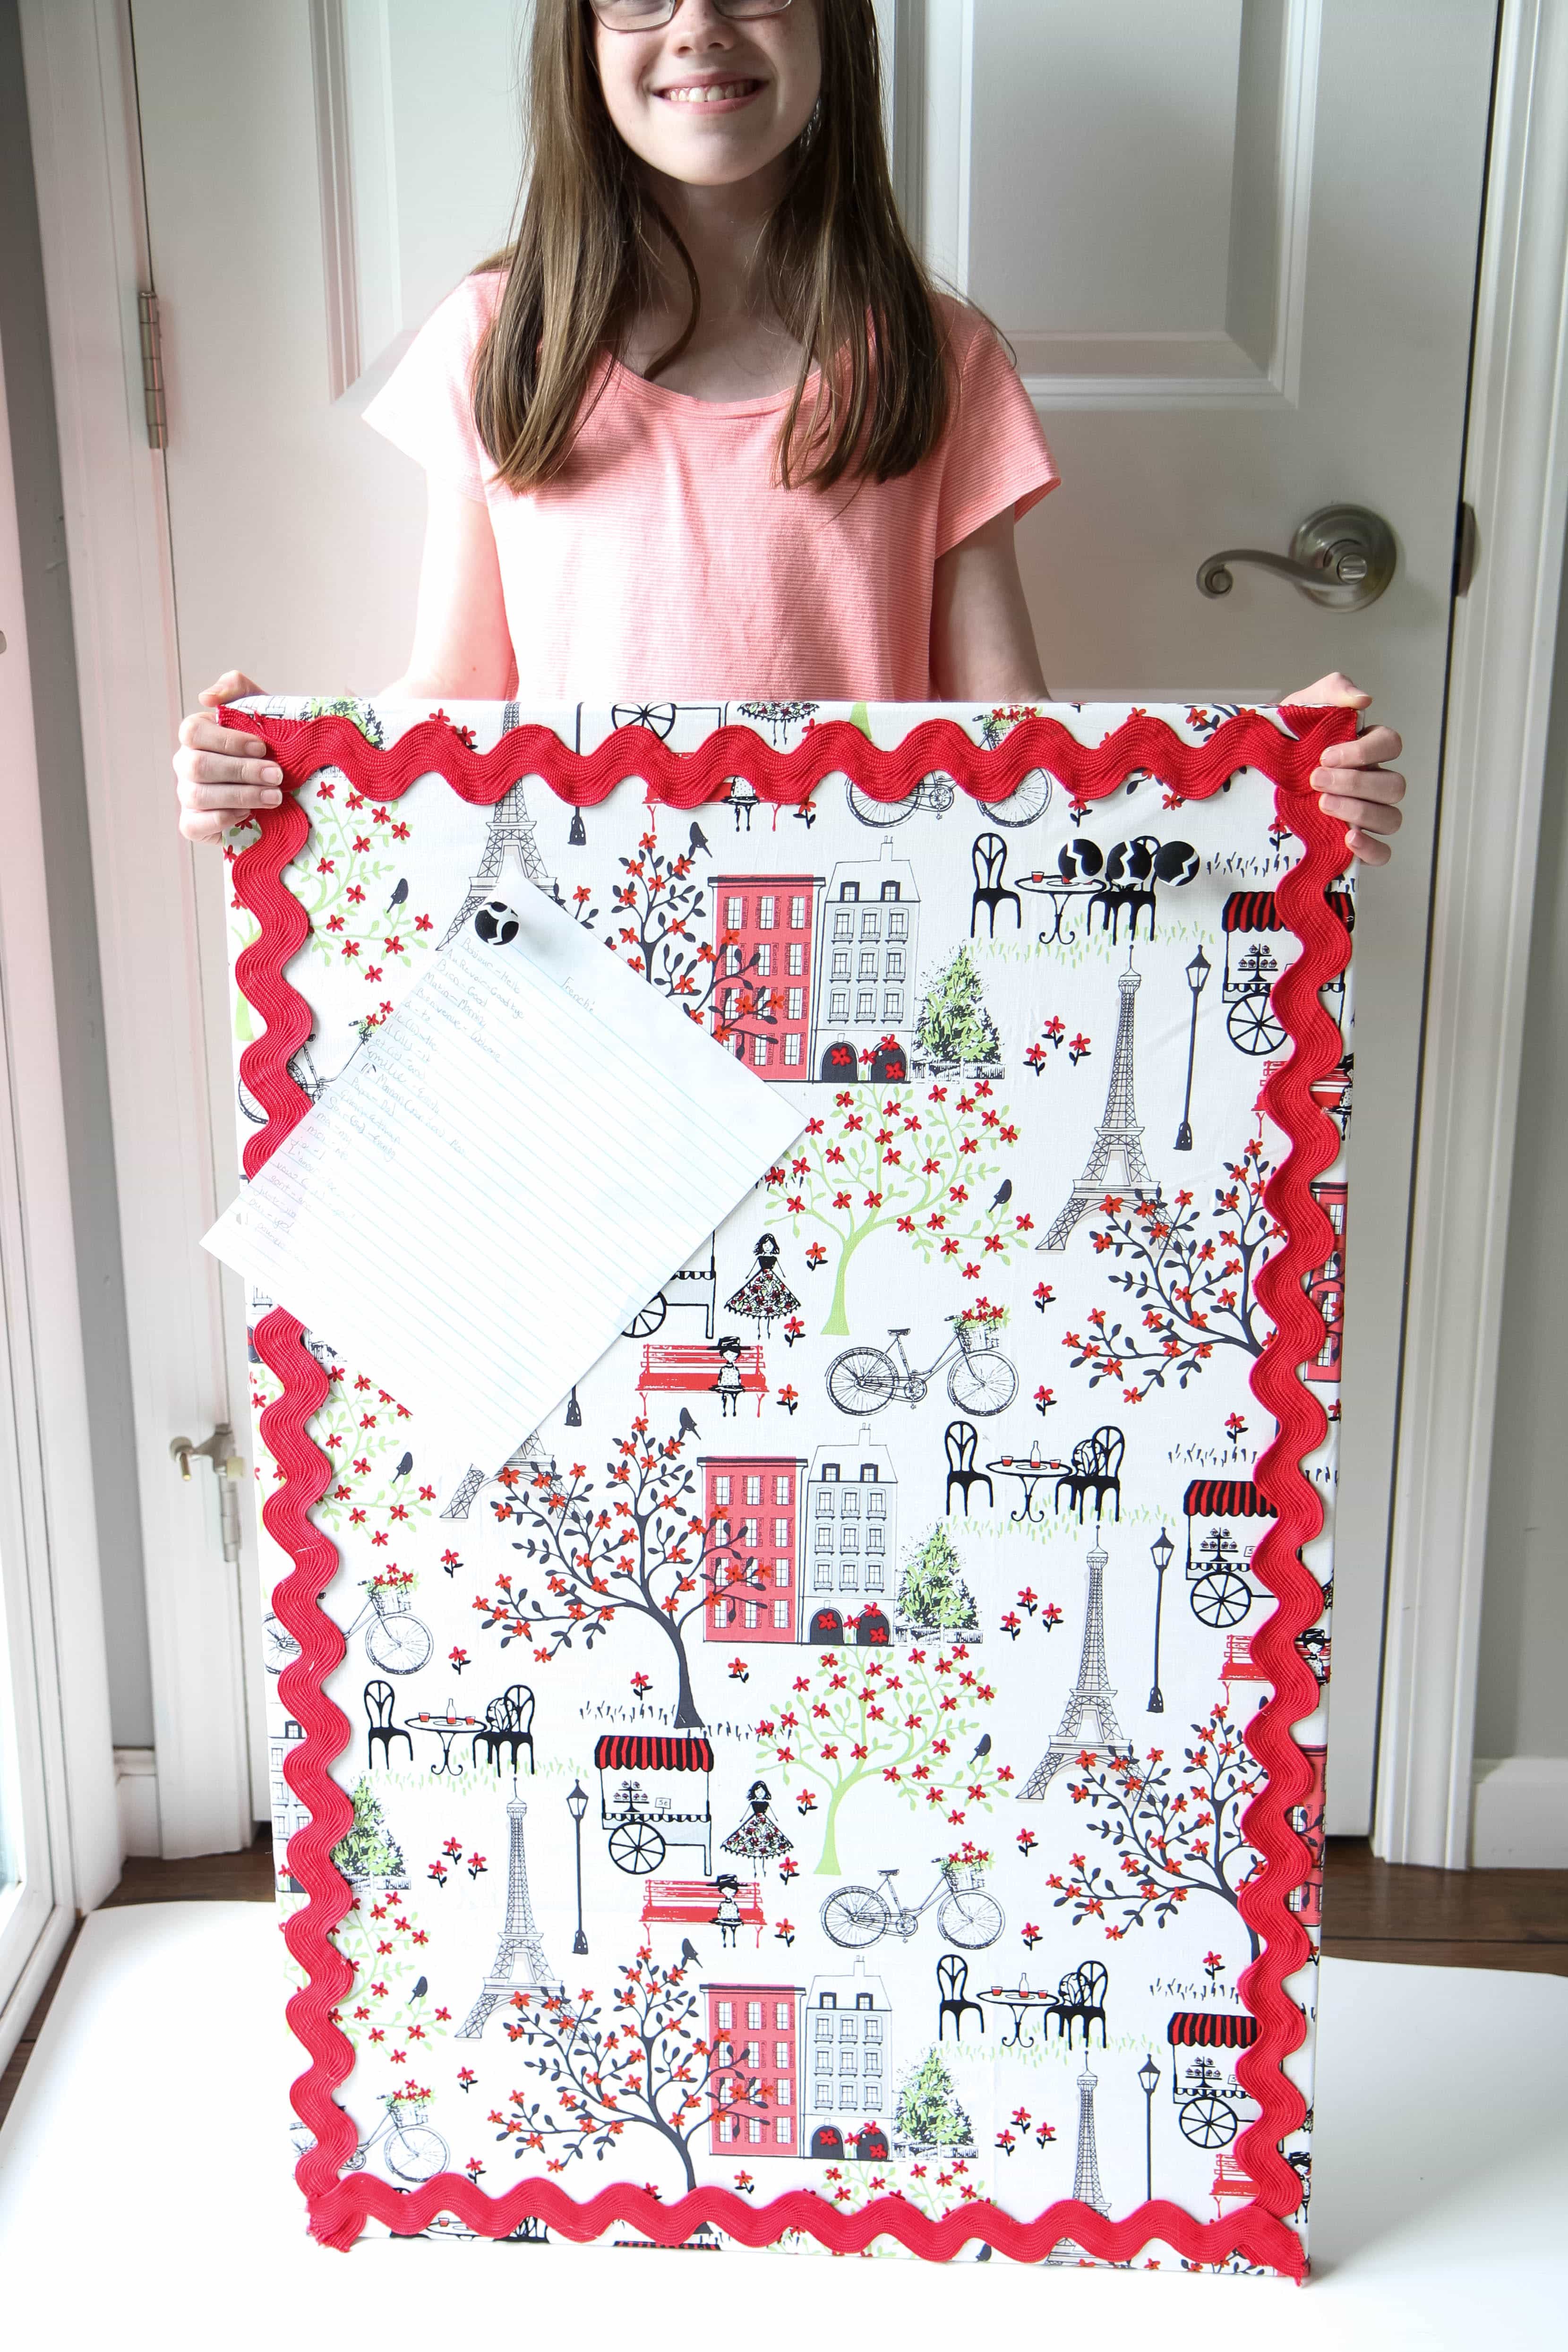
Fabric Bulletin Board Fabric Bulletin Board Tutorial

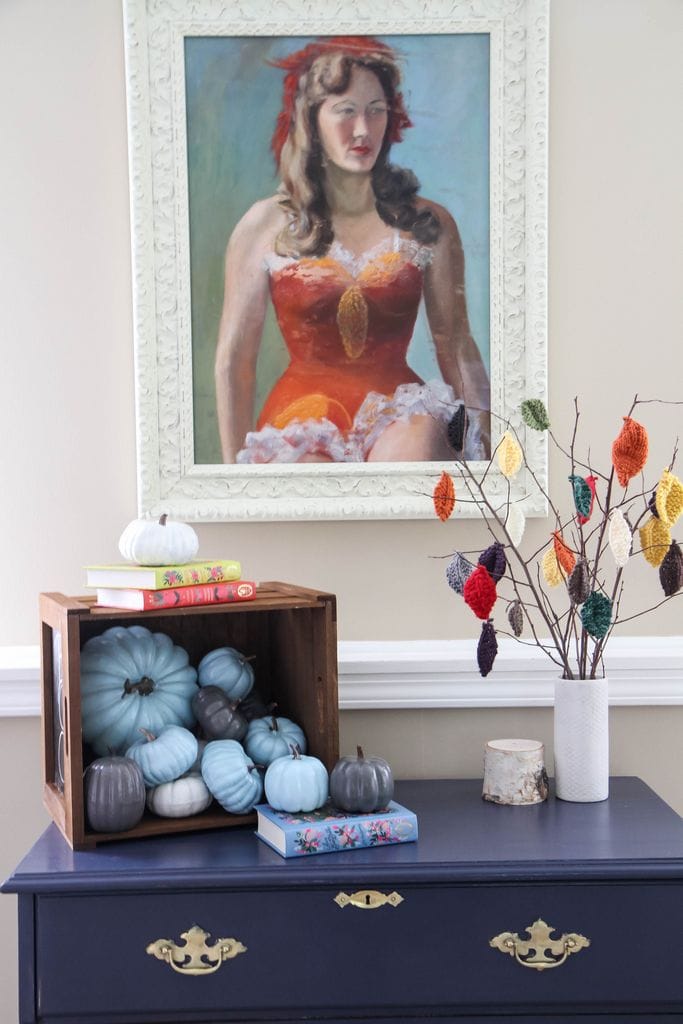
Painted Pumpkins Painting Pumpkins With Acrylic Paints

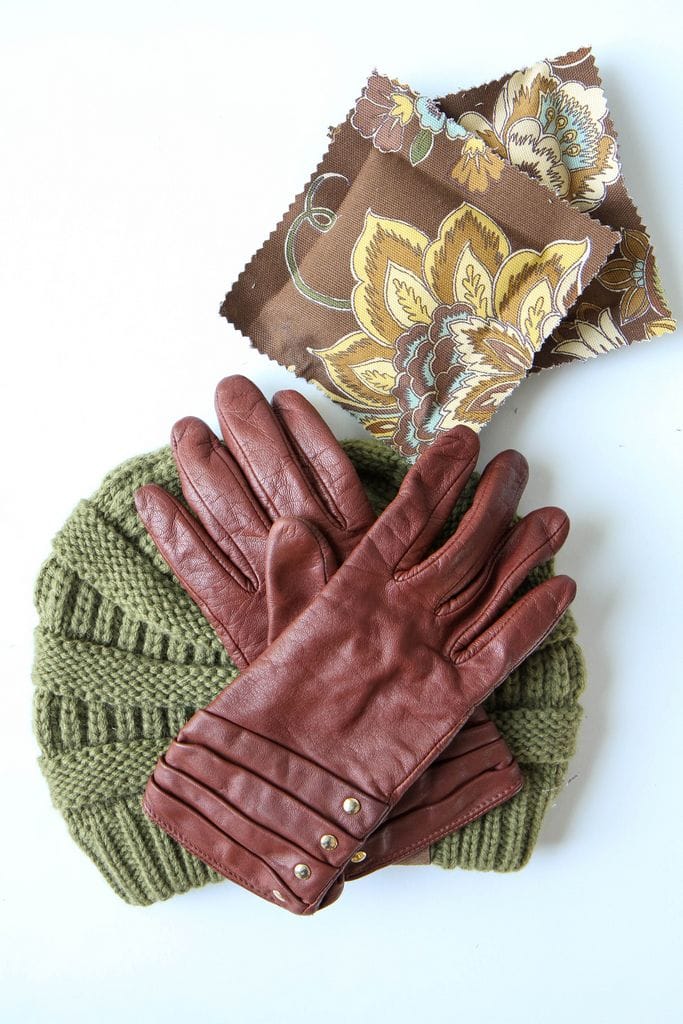
diy-no-sew-pocket-warmers-10 DIY No-Sew Hand Warmers

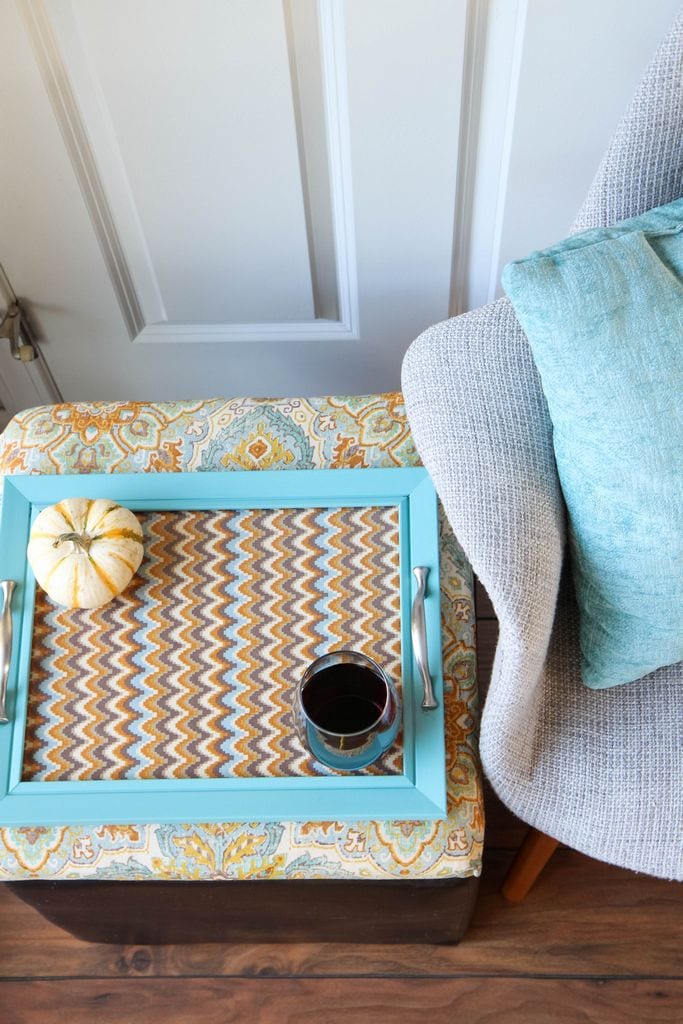
Diy Ottoman Serving Tray DIY Ottoman Serving Tray

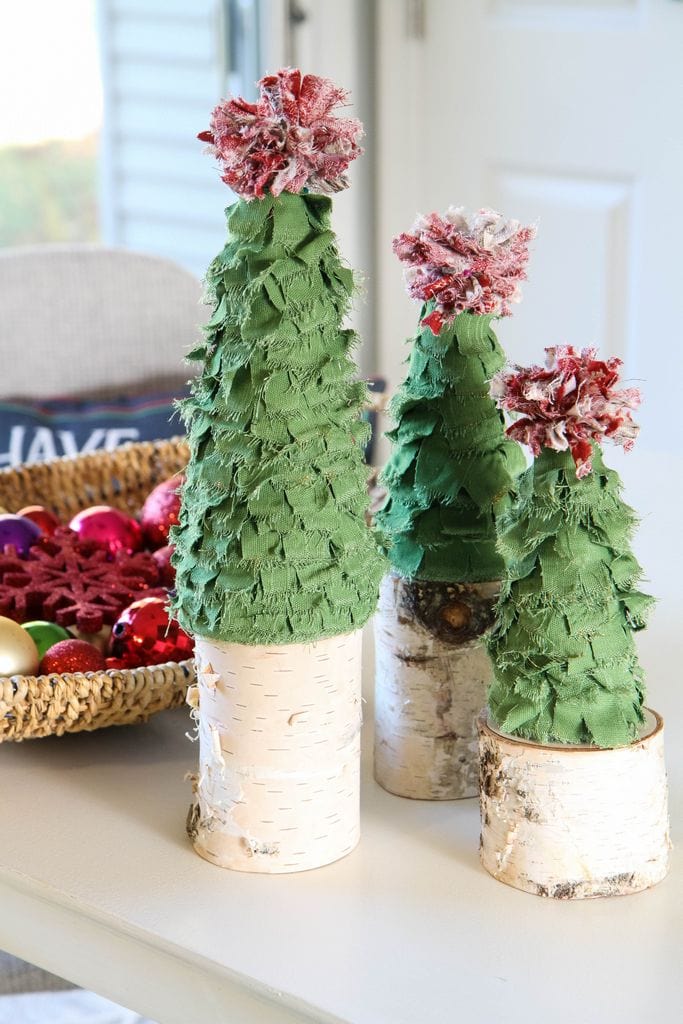
Scrappy Fabric Trees 15-Minute Scrappy Fabric Trees

DIY Jigsaw Puzzle Mat DIY Roll-Up Jigsaw Puzzle Mat

Told ya, queen of the no-sew life!

DIY No-Sew Reversible Cloth Napkins from MomAdvice.com

Have you made the switch to cloth in your home? I’d love to hear what systems work best for your family?

This post contains affiliate links!


Pin It

5 Ways to Make Self-Care a Priority Around the Holidays

Monday, December 18th, 2017

5 Ways to Make Self-Care a Priority Around the Holidays

This blog was sponsored by Florida Department of Citrus. Thank you for supporting the companies that support our site!

The holidays, while lovely, can be a stressful time of year. I don’t know about you, but each day has been filled with a running to-do list, a million activities, and a lot of food preparation.

Oh, and science fair.

For the love.

I will confess that I have NEVER had an issue with self-care, but I will also confess that my idea of self-care has evolved so much over the years.

Today I wanted to share with you 5 ways I make self-care a priority around the holidays and I would love to hear how you make self-care a priority in your life.

Take a “Sick Day” Once a Week

An epiphany came to me the last time I got sick. I spent an entire day at home sleeping, but wished that I was able to have a day like that when I was well and could really enjoy it. I decided to implement a once-a-week “sick day,” where I allow myself to enjoy a day just for me.

On this day, I rarely get out of my pajamas, I read all day, watch my favorite shows, don’t check email, take a nap, and indulge in crafty classes to allow space for creativity. In the evening, I do not do housework or make dinner (thank you, loads of leftovers!).

It is my FAVORITE day of the week and, believe me, if anyone interferes with mom’s “sick day,” it has to be moved to another day. I crave this day to myself.

5 Ways to Make Self-Care a Priority Around the Holidays

5 Ways to Make Self-Care a Priority Around the Holidays

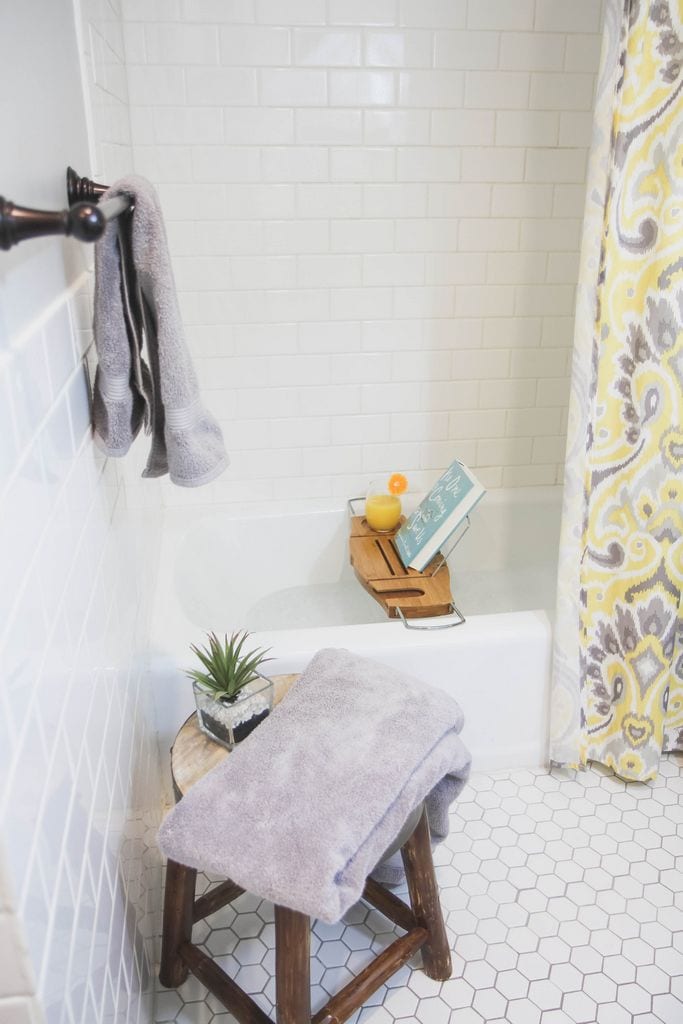
Indulge in a Rewarding Soak

Is anybody else crazy about magnesium and all of its benefits on the body? Adding an Epsom soak to my daily routines has been incredibly beneficial to my body AND to my mental health. Did you know that stress can be a cause of magnesium deficiency, and a lack of magnesium tends to magnify the stress reaction, worsening the problem?

The holidays can be a particularly stressful time on our bodies and contribute towards deficiencies.

In studies, adrenaline and cortisol, byproducts of the “fight or flight” reaction associated with stress and anxiety, were associated with decreased magnesium (source).

I don’t know about you, but that sounds a lot like me around the holidays!

To get the benefits add two cups of Epsom salts to your bath and soak for 15-20 minutes in warm water. While you are doing this, combine it with other healthy habits:

Meditate- Add an app like Headspace to your phone and use this time to deeply breathe and meditate. They have a ten-day free beginner program that you can use to give meditation a try. This is the perfect time to give it a spin!

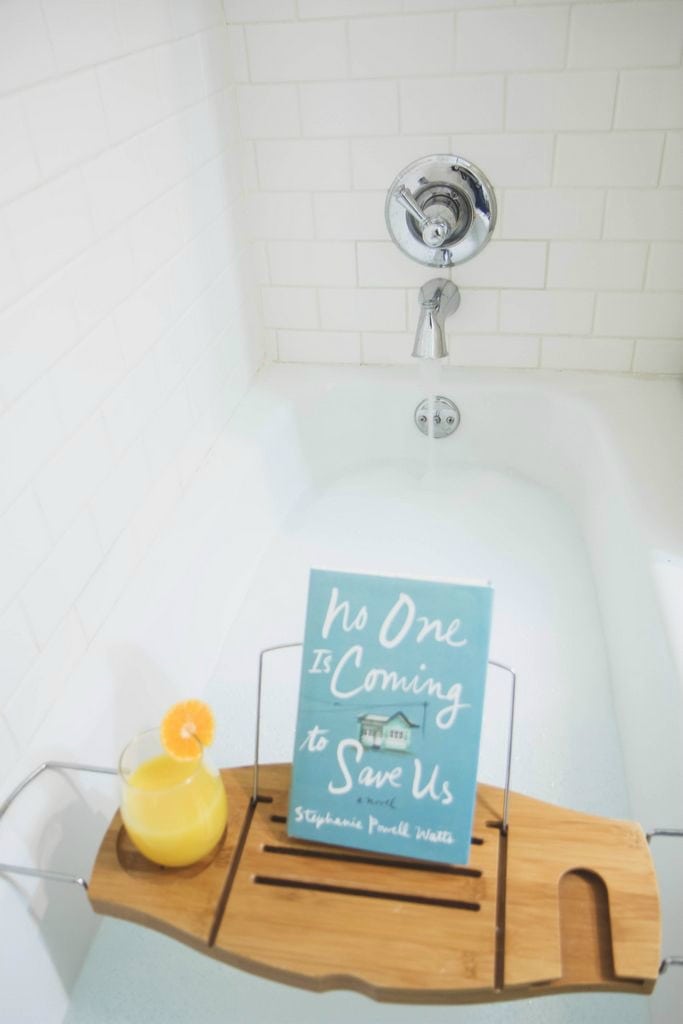
Add a Smart Beverage to Your Routine- Coffee can dehydrate the body so try replenishing it with a glass of Florida Orange Juice. While you soaking in your magnesium, you can also be enjoying a glass of Florida Orange Juice. Every glass (the recommended daily intake of Florida OJ is eight ounces for adults) of Florida Orange Juice has the Amazing Five. In just one glass you have Taste, Vitamin C, Folate, Potassium and No Added Sugar. Fancy it up with a slice of orange and serve in a pretty glass to add to the experience.

Read a Book- When people ask me how I’m able to read so many books, I have to say that these soaks have been where I have done some of my best reading. A book tray has been a smart investment for this bookworm and it feels like I’m really escaping when I can dive into a little fiction.

5 Ways to Make Self-Care a Priority Around the Holidays

Add Small Indulgences to Your Daily Routines

Wrapping, cooking, organizing, and cleaning are things we are all doing to prepare for the holidays. There is no reason that these routines can’t be coupled with small indulgences though, that can make the experience a little more pleasurable. I love to upgrade my boring routine to-do list items with something that brings me joy.

Wrapping gifts?

Why not belly-laugh to ELF while you are wrapping!

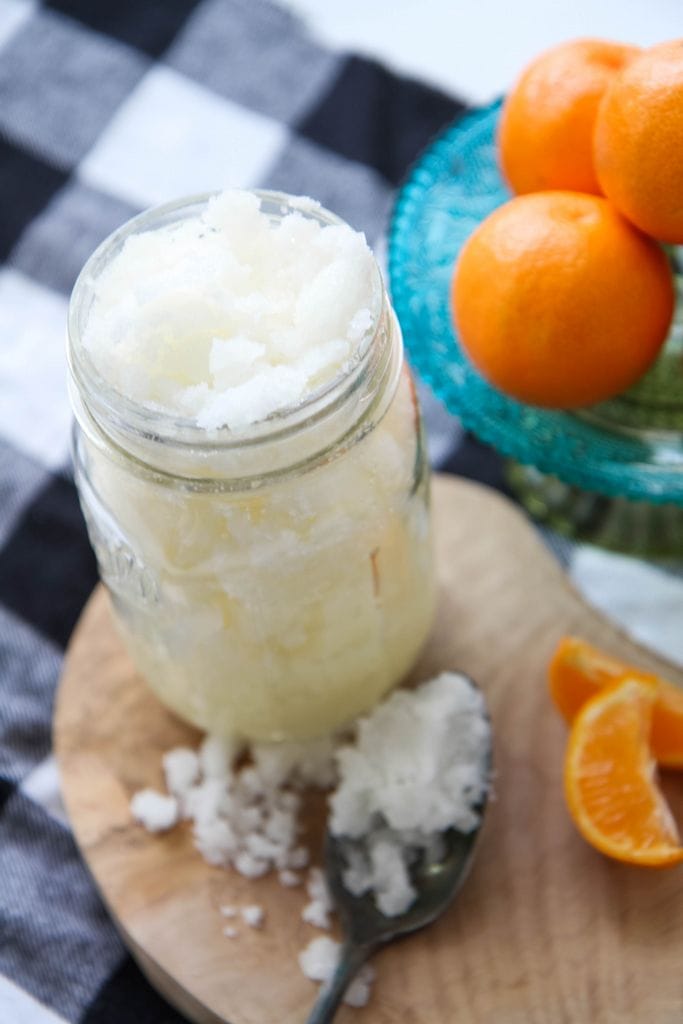
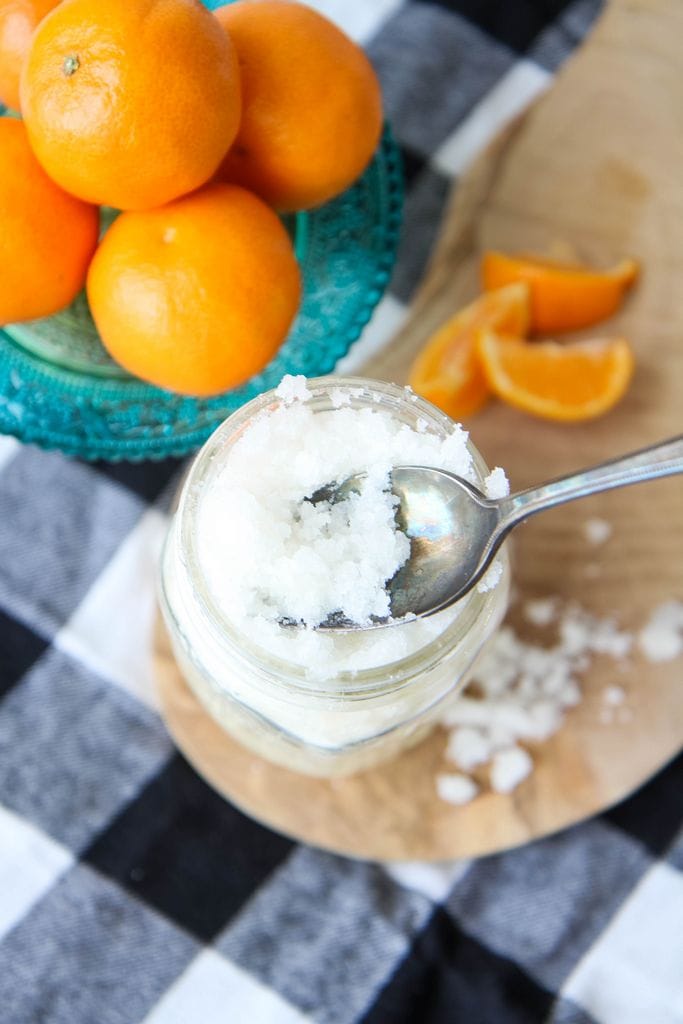
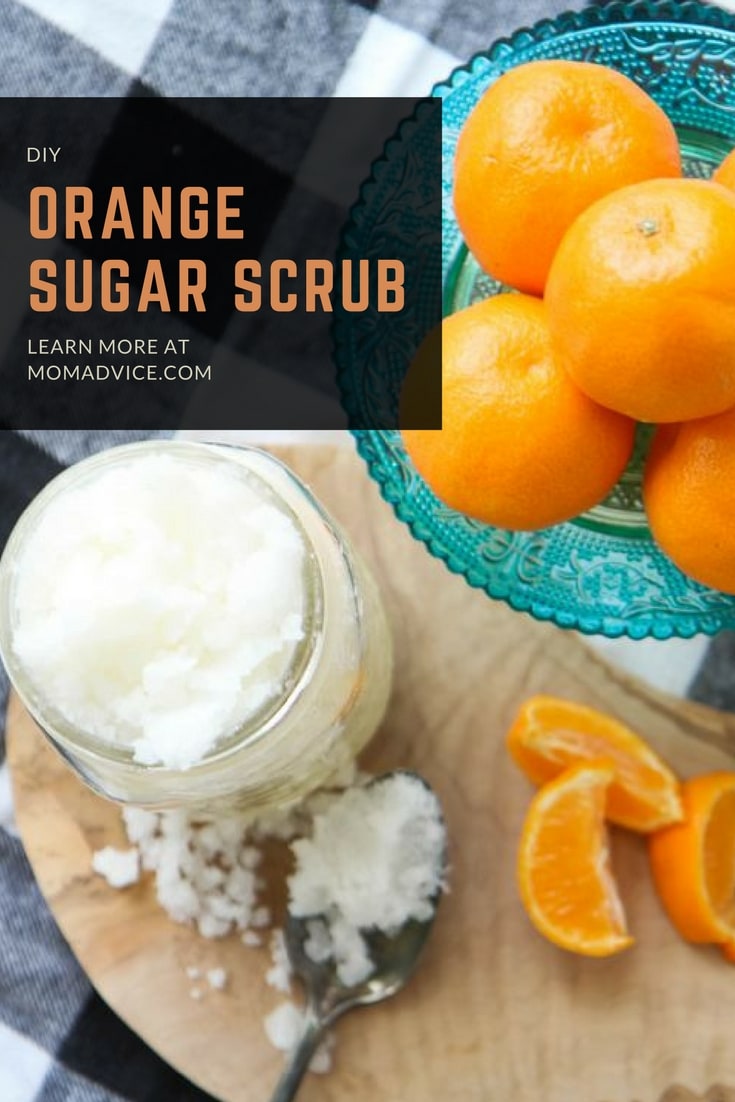
DIY Orange Sugar Scrub

Doing dishes?

Add a jar of this diy orange scrub (recipe below) to your agenda and give your hands a little pampering.

Cleaning the house?

Snag an audiobook from your library, strap on some wireless headphones and your fanny pack (this is TOTALLY what I do) and listen to a great book while you clean.

Pairing something that’s pleasurable with something that is not makes tasks like these much more bearable!

Marco Polo App

Make Time for People

This is the season where we can get really swept away with spending and shopping. It has a tendency to pull us away from the heart of what the season is about and into a frenzy of bad spending. In fact, an alarming number of shoppers are still trying to pay off their debt from holiday shopping last year. Instead of giving so much, what if we all just spent more time on each other.

Don’t have time? I have the perfect solution!

The Marco Polo app, shared with me by my sister, is my new favorite way to communicate with the people I love. It’s essentially a video walkie talkie that allows you to send a video back and forth to talk to each other, but doesn’t require you to hop on FaceTime or Skype at the same time. When schedules are impossible to coordinate, this can be an amazing solution for a busy mom.

I now talk and see my sister and best friend every day and even have virtual wine dates with my girlfriends in town. You can even do big group video chats if you can’t schedule a coffee together! How cool is that?

I consider time with good friends and family to be an essential part of my self-care, especially as a work-at-home mom.

Focus on people, not presents!

Rethink Your Idea of Self-Care

The last thing that I want to say is that self-care is much more than these acts.  I linked to this article in my notebook and I still am thinking about it. Self-care is setting healthy limitations that require self-discipline, setting healthy boundaries in relationships, not loading our calendar up so we get run down, and ridding our life of things that are negative or drain us.
Self-care means going to bed on time, giving yourself unscheduled spaces during the day, not going overboard on the food and drinks of the season, and saying no (even if we have to experience FOMO).

Did you notice that everything in this list is FREE? Self-care isn’t a treat yo’self experience that costs a lot, it is making time and space for things that help you feel emotionally and physically balanced! 

Thank you to the Florida Department of Citrus for letting me share about these tips with you! Be sure to make Florida OJ a part of your daily routines to help boost your immune system during this fun season!
DIY Orange Sugar Scrub from MomAdvice.com

DIY Orange Sugar Scrub[url href=”undefined”][img src=”http://momadvice.com/blog/wp-content/uploads/2017/12/diy-orange-sugar-scrub.jpg” width=”735″ height=”1102″ class=”aligncenter size-full” title=”DIY Orange Sugar Scrub from MomAdvice.com”][/url]
Recipe Type: Beauty
Prep time:
Cook time:
Total time:
This DIY Orange Sugar Scrub is a wonderful self-care treat for your hands and body! Thank you to Florida Department of Citrus for sponsoring this fun DIY!
Ingredients
  • 1 cup of Sugar
  • 1/2 cup of Coconut Oil
  • 1 teaspoon Orange Essential Oil ([url href=”http://amzn.to/2j6vEM4″ target=”_blank”]like this[/url])
Instructions
  1. In a saucepan, heat the coconut oil over low heat, until it is melted.
  2. In a large bowl, mix sugar, melted coconut oil, and a teaspoon of orange essential oil until fully combined.
  3. Scoop into a mason jar (the one in the picture has been doubled) and store with an airtight lid.
  4. When using, scoop a small amount into your hands, scrub gently (allowing the sugar to exfoliate), rinse, and pat dry.

This blog was sponsored by Florida Department of Citrus. Thank you for supporting the companies that support our site!

This blog was sponsored by Florida Department of Citrus. Thank you for supporting the companies that support our site!

Pin It

DIY Tween Self-Confidence Kit

Thursday, November 9th, 2017

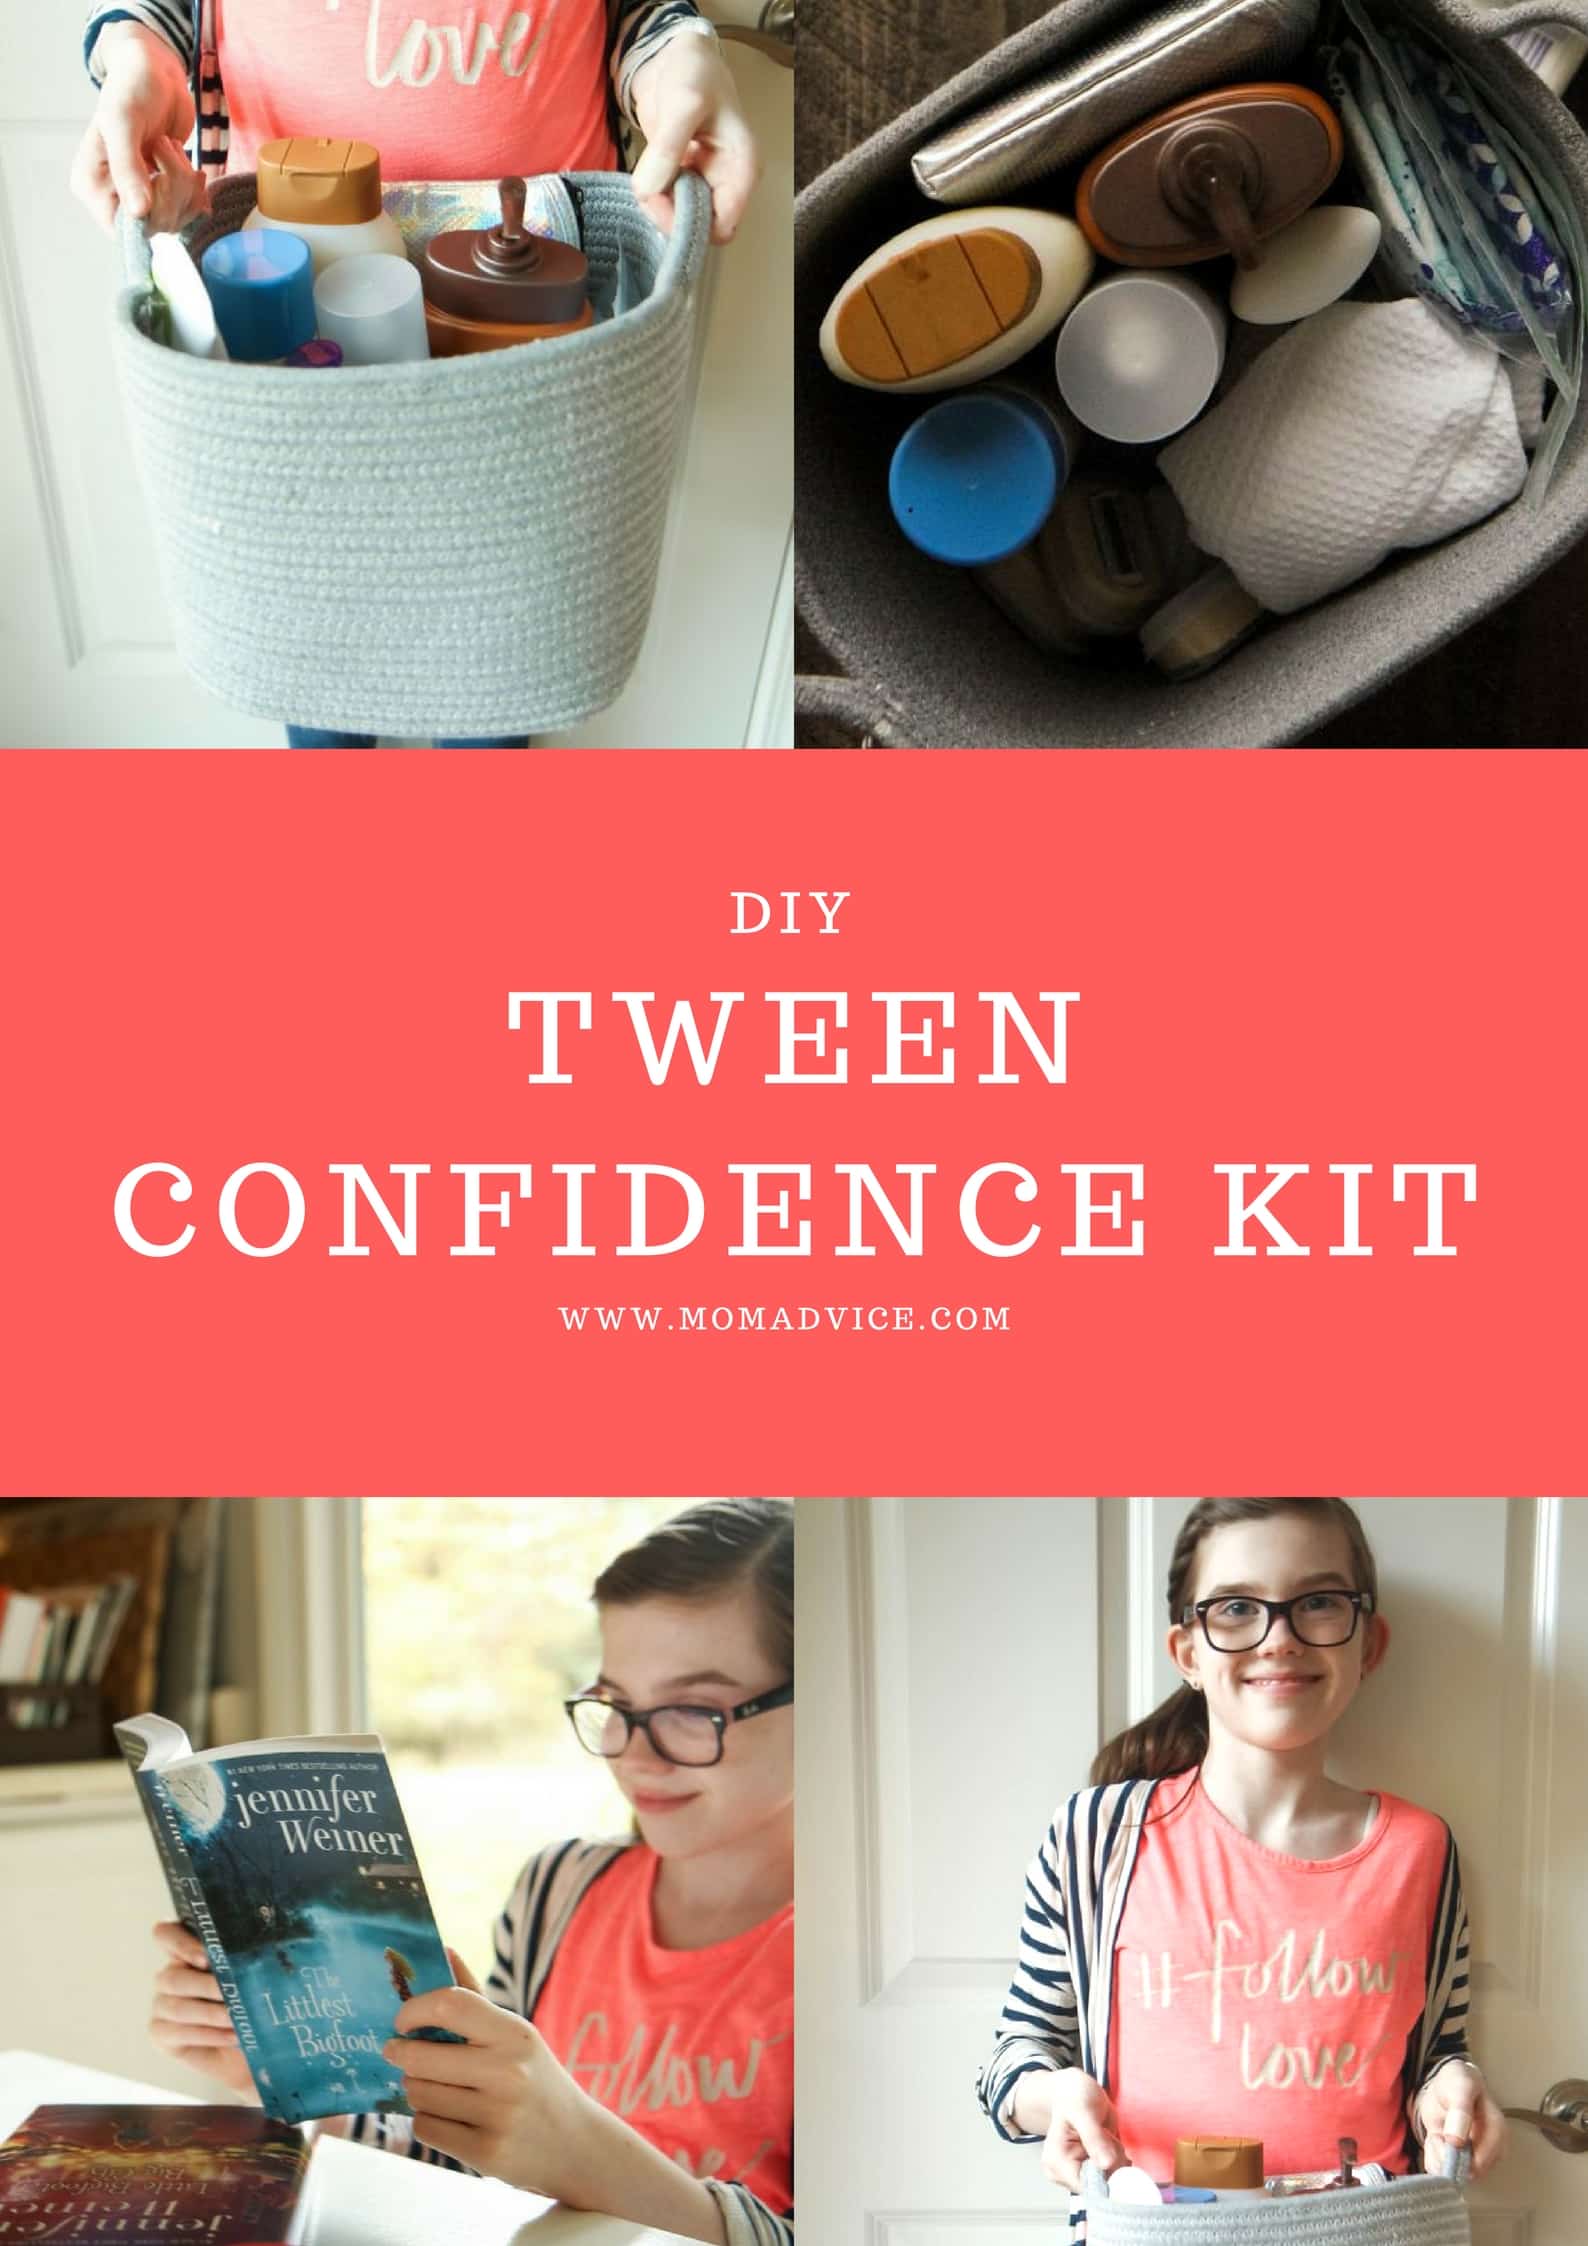
DIY Tween Self-Confidence Kit from MomAdvice.com

This blog was sponsored by Simon & Schuster. Thank you for supporting the companies that support our site!

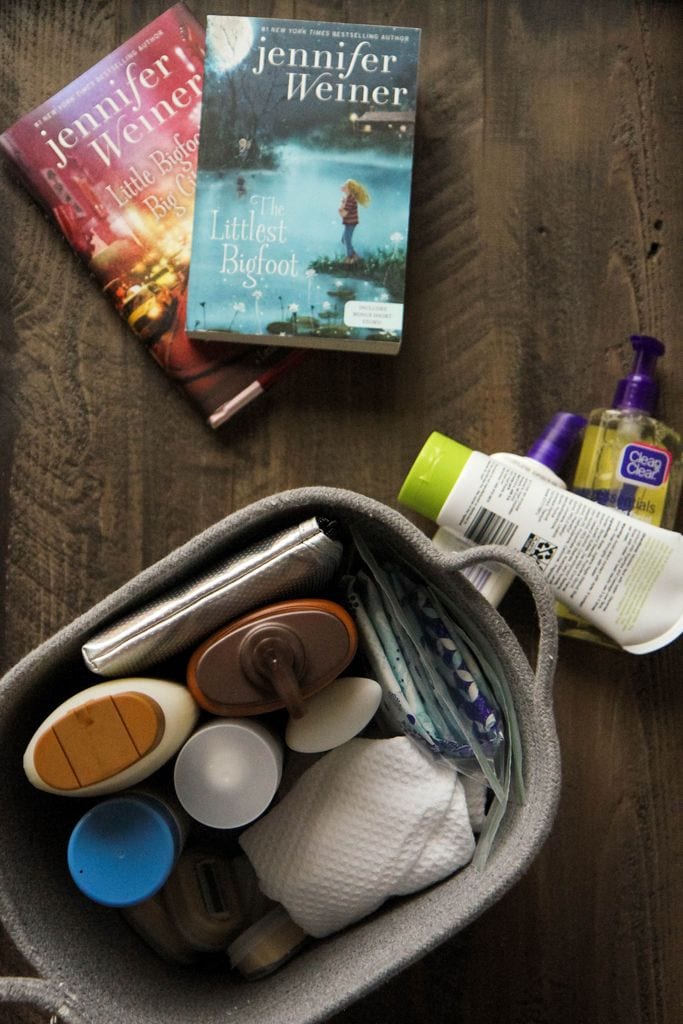
It feels so strange to be talking about our baby hitting the tween years, but we recently hit this milestone age and all that comes with it. Today I am partnering with Simon & Schuster to celebrate girl power with the launch of the incredible series, “The Littlest Bigfoot,” written by Jennifer Weiner. If you are an avid reader like me, you may know Weiner from her fun chick lit novels and now she is penning a trilogy for girls that encourage self-love, positive body image, and friendship between girls.

DIY Self-Confidence Kit from MomAdvice.com

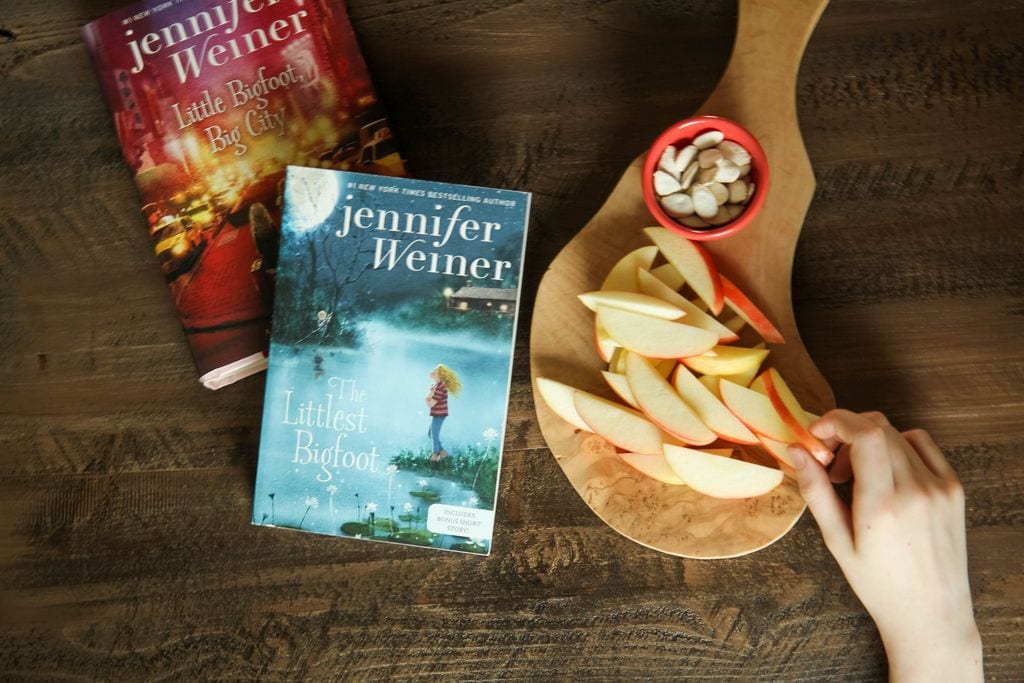
“The Littlest Bigfoot,” and “Little Bigfoot, Big City,” are the first two books that are out in the planned trilogy. These books explore the good old-fashioned themes of friendship and belonging through this modern day fairytale.

The lead character, Alice Mayfair, twelve years old, is ignored by her family and is being shipped off to her eighth boarding school. She longs to have a friend and when she rescues Millie Maximus from drowning in the lake one day, she finds the friend she has always been looking for.

Millie happens to be a Bigfoot though, a part of a clan who dwells deep in the woods. Most Bigfoots believe that people—NoFurs—are dangerous, but Millie is fascinated with this human world and feels that they understand her own dreams and aspirations better. Alice protects Millie’s secret, but they must face a league of Bigfoot hunters who are trailing them.

DIY Tween Self-Confidence Kit from MomAdvice.com

The story then continues into the next novel where the friends sneak off to the Big Apple in search of Millie’s stardom. Unfortunately, they end up getting trailed by a shadowy government organization and are finding cryptic clues that force them to confront their history, choices, and find out what it means to be a true hero and friend.

At this in-between stage of life, I love finding books like this that are filled with positive messaging and heartwarming dialogue about inclusion and belonging. Definitely pick up these two books for your tween and keep your eyes peeled for the third book, coming in 2018! This series is just perfect for your middle grade readers, between the ages of 8-12!

DIY Tween Self-Confidence Kit from MomAdvice.com

I remember how much I struggled with self-confidence at this age and also remember all the new territory that came with all of these changes. My parents wanted to encourage me to embrace good hygiene habits and to help me understand all the upcoming changes that would be happening in my body. As the oldest of three children, I felt that I had to share everything with my siblings so anything that I got that was just for me (not for them!) was really special. It could have been something as simple as not sharing my french fries or as grand as getting a date with just one of my parents, these simple moments made me feel special because they were mine alone.

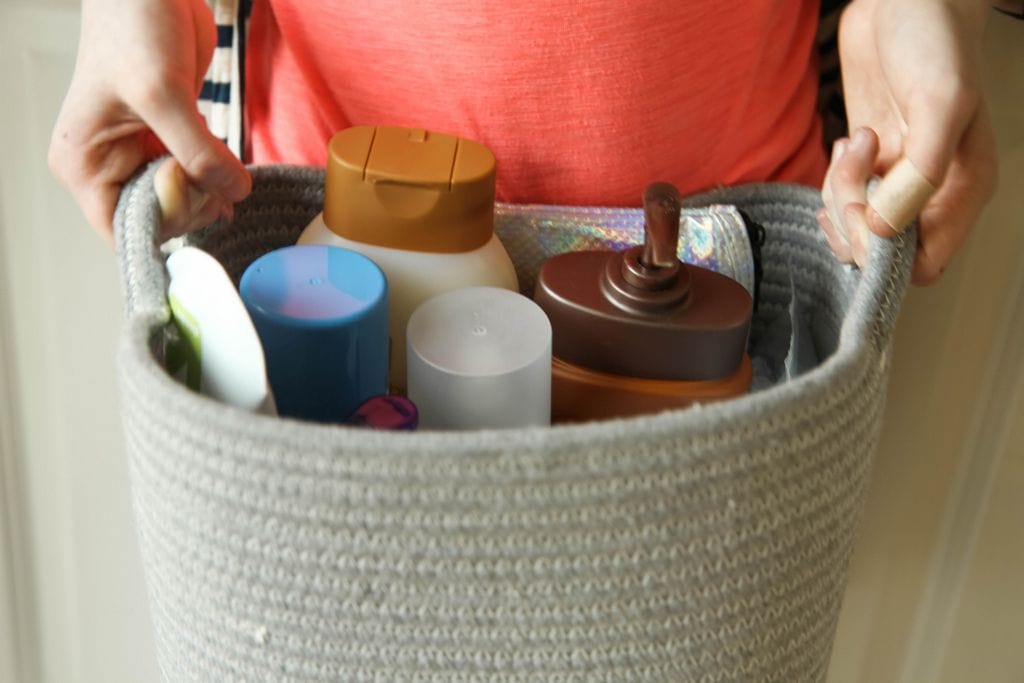
Instead of just talking about good hygiene and caring for my body, my mom put together a pail of items that I would need to start implementing good habits of self-care and explained why and how to use these items. This pink pail housed my new face washes, a loofah with body soap, and deodorant. All I could think about though was that all this stuff was JUST FOR ME and I didn’t have to share it.

DIY Tween Self-Confidence Kit from MomAdvice.com

DIY Tween Self-Confidence Kit from MomAdvice.com

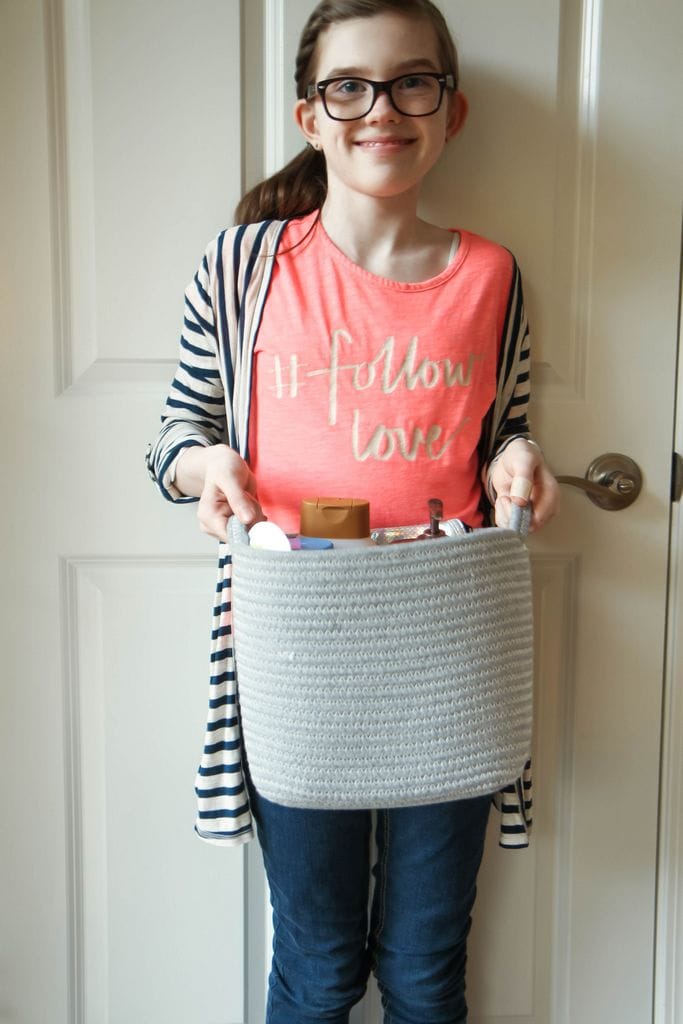
This week I gave my daughter a Tween Confidence Kit of her own and I could see that sheer delight she had to have items that were just for her. Truth be told, many of my own items were starting to magically disappear from our bathroom, and after this came up, she explained how she wanted to wear or add some of these things to her own routines.

This kit of supplies had everything she needed to get started implementing her own big girl routines! We talked about implementing a good skincare routine (daily wash and moisturizer, weekly exfoliation scrub), the importance of washing our body and deodorant, and dry shampoo for days when we need fresh locks, but don’t have the time. A few things to make the routines more fun included her own little scrubber, a shower cap for busy days, and a quick absorbing towel to wrap her hair in after she hopped out of the shower.

We also dipped our toes into some of the things that might be coming up and how to prepare for those circumstances too. She had lots of great questions and this was a great way to open up the dialogue about what we might need to know for the future.

She also expressed a desire to start wearing makeup and I gave her a set of her own blush, lip gloss, and a little concealer as her first starter kit into that. I worked with her to apply the makeup and shared the importance of keeping her face natural and just enhancing the beautiful girl she already is. I loved working with her on this together and hope that she feels confident coming to me in the future because it means a lot to me to get to be a part of these new stages with her.

I hope that these ideas to help build tween self-confidence too. Each stage has been such a gift and I love being a part of the process with her.

To learn more about these incredible books, follow Simon Kids on TwitterFacebook, and Instagram or visit them on their website!

DIY Tween Self-Confidence Kit from MomAdvice.com

This blog was sponsored by Simon & Schuster. Thank you for supporting the companies that support our site!


Homemade Vanilla Chai Tea Mix in a Jar

Tuesday, August 22nd, 2017

DIY Vanilla Chai Tea Mix from MomAdvice.com


Are you as ready for fall as I am?

As soon as the weather starts turning, I start thinking of all the things that I love about autumn.

The crisp leaves, the cool air, my cozy slippers, flannel sheets, and warm drinks.

In fact, sipping warm drinks with a good book is one of my all-time favorite fall activities.

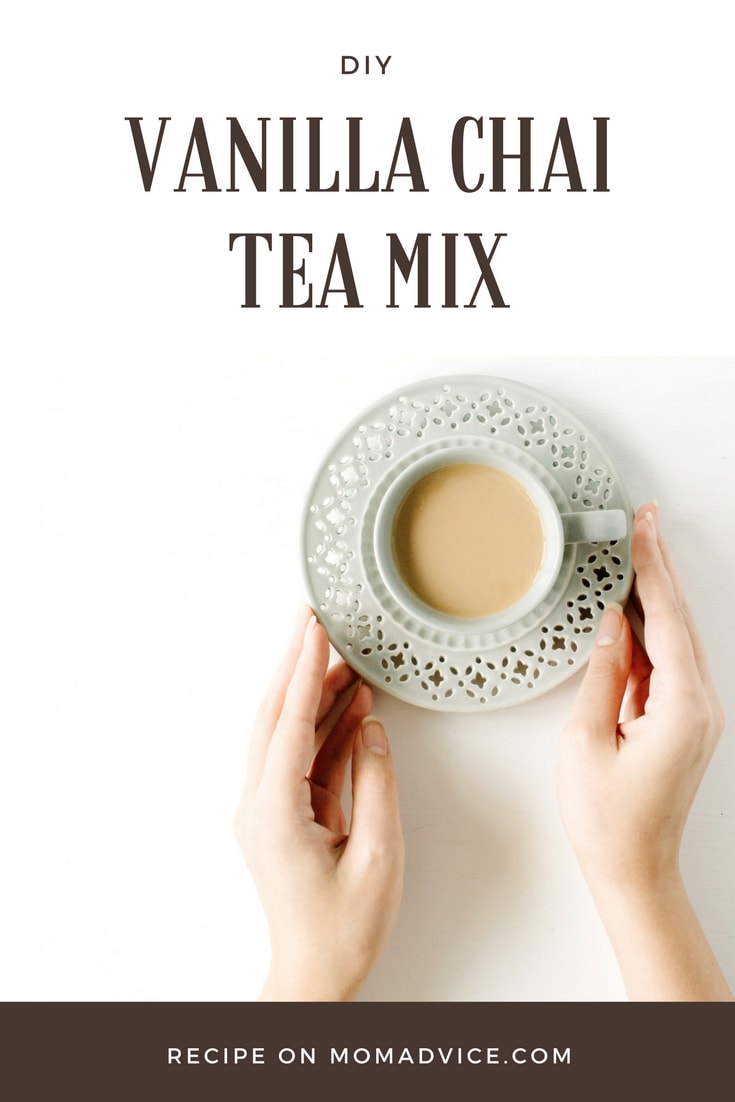
My favorite warm drink is chai and I look forward to making this each and every year for our family. Is it your favorite too? I love to have homemade chai tea mix in a jar on hand for sipping or for sharing with a good friend.

I am sure you have seen that the drink mixes can be quite expensive, but mixing up a batch of this DIY Vanilla Chai mix for yourself can help to keep your pockets nice and warm with a little extra money.

Most of the spices, dry creamer, and dry milk are already stocked in my pantry or can be found easily on the baking shelves at our local grocery store.

The only additions I usually have to run out and get is the instant tea and powdered vanilla creamer.

When I see a sale on these ingredients, I stock up so I don’t run out in the colder months.

We tend to go through this mix rather quickly because it is such a hit over here.

To make the batch more smooth, instead of gritty, I process everything through my blender.

I first mix all of the white ingredients in my blender (milk, sugar, creamer, vanilla creamer).

I dump those in a plastic container and then I mix up all the brown ingredients (tea and spices).

I pour this on top in the plastic container, seal the lid and give it a good shaking to incorporate or mix it up with a spoon.

If you have a large food processor, you may be able to process it all together, but if you have a blender it is best to do this in divided batches.


DIY Vanilla Chai Mix in a Jar from MomAdvice.com


Not only is this drink mix wonderful for yourself, but mixing up a batch of this and tucking some of it in a mug would be a wonderful gift to give to someone special in your life.

I often rely on this easy mix in a jar for a teacher or bus driver gift because it is always a hit.

Who wouldn’t want a jar of that in their pantry?

If you are sharing this one with your kids, be sure to look for a mix like this.

You’ll have to trust me on that one since I have made that mistake a few times (*ahem*)

I hope you enjoy this recipe as much as I do- please let me know what you think!


Home-made Vanilla Chai Tea Mix from MomAdvice.com

Homemade Vanilla Chai Tea
 
Prep time:
Total time:
Mix up this easy recipe for Vanilla Chai to keep in your pantry to enjoy throughout the cooler months. This is also a great gift mix to share with family and friends.
Ingredients
  • Homemade Vanilla Chai Tea Mix
  • 1 cup nonfat dry milk powder
  • 1 cup powdered non-dairy creamer
  • 1 cup French vanilla powdered non-dairy creamer
  • 2 ½ cups white sugar
  • 1 ½ cups unsweetened instant tea
  • 2 tsp ground ginger
  • 2 tsp ground cinnamon
  • 1 tsp ground cloves
  • 1 tsp ground cardamom
  • 1 tsp nutmeg
  • 1 tsp allspice
  • ¼ tsp white pepper
Instructions
  1. Combine all ingredients in a food processor and blend until it is a fine powder. Add two-three tablespoons of mix to 8 ounces of hot water or milk.
 

DIY Vanilla Chai Tea Mix recipe from MomAdvice.com


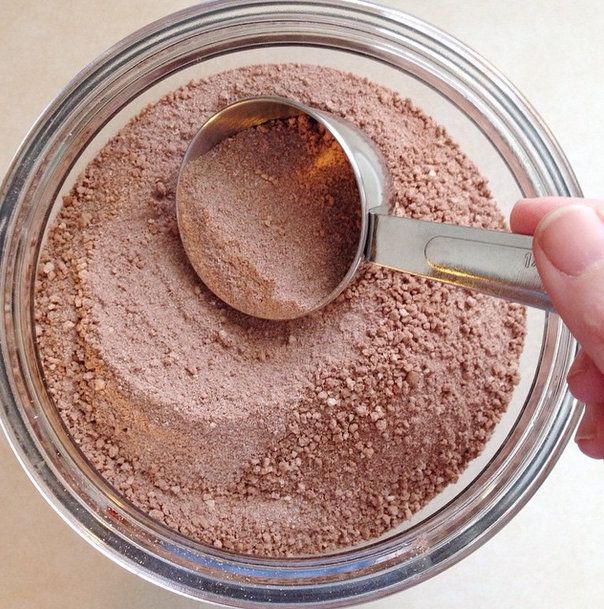
Love this mix? Check out my hot cocoa mix with an ingredient that just might surprise you!


Amy's Famous Cocoa Mix


You might also love this link to some of my favorite copycat DIY Starbucks Drinks 


33 Copy-Cat Starbucks Drinks


or this great roundup of fall drinks– yum! 


Fabulous Fall Drinks MomAdvice.com

What is your favorite autumn/winter drink? Do you have any recipes to share for your favorite drink mixes?


Other great ideas for Autumn


How to Tie a Blanket Scarf for Fall from MomAdvice.com

Blanket Scarves for Fall


Hidden Pocket Scarf DIY

No Sew Hidden Pocket Scarf


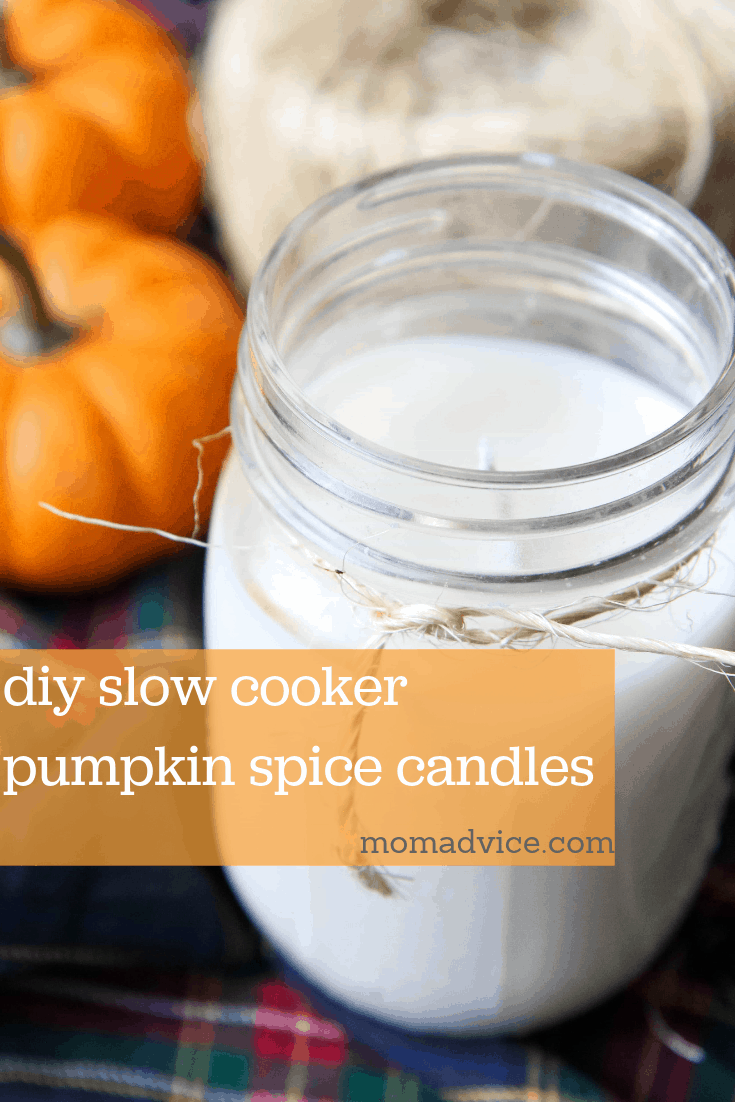
Slow cooker Candles

DIY Slow Cooker Pumpkin Spice Candles


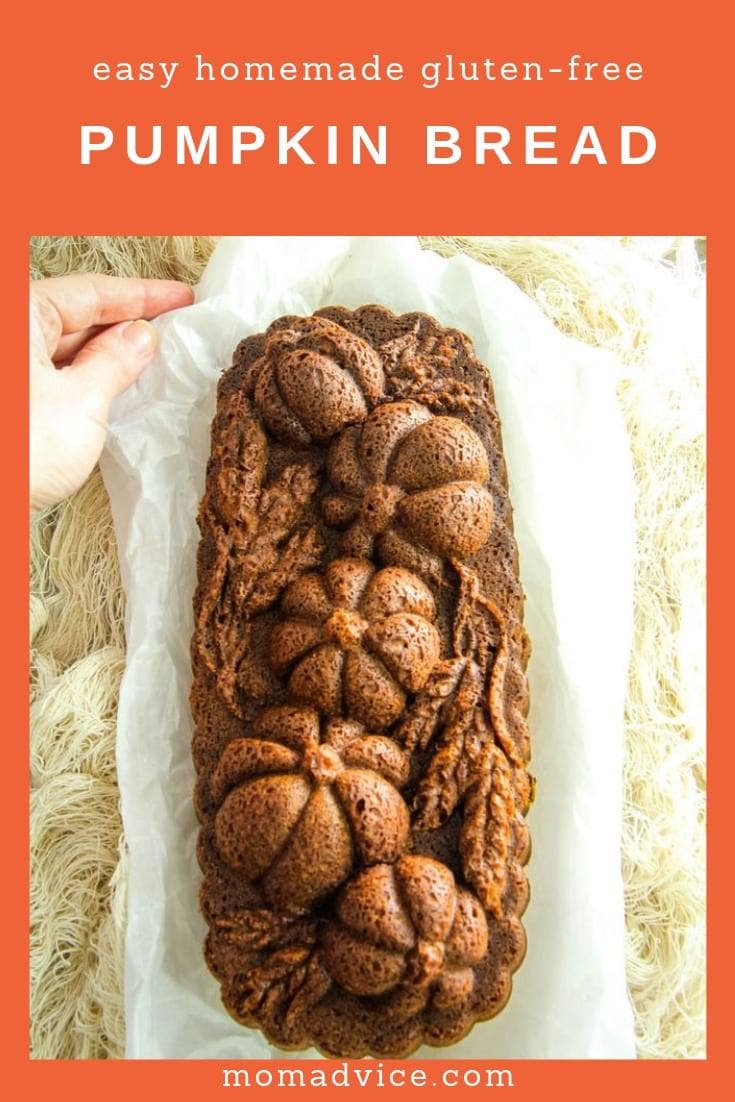
Easy Homemade Gluten-Free Pumpkin Bread

Homemade Gluten-free Pumpkin Bread

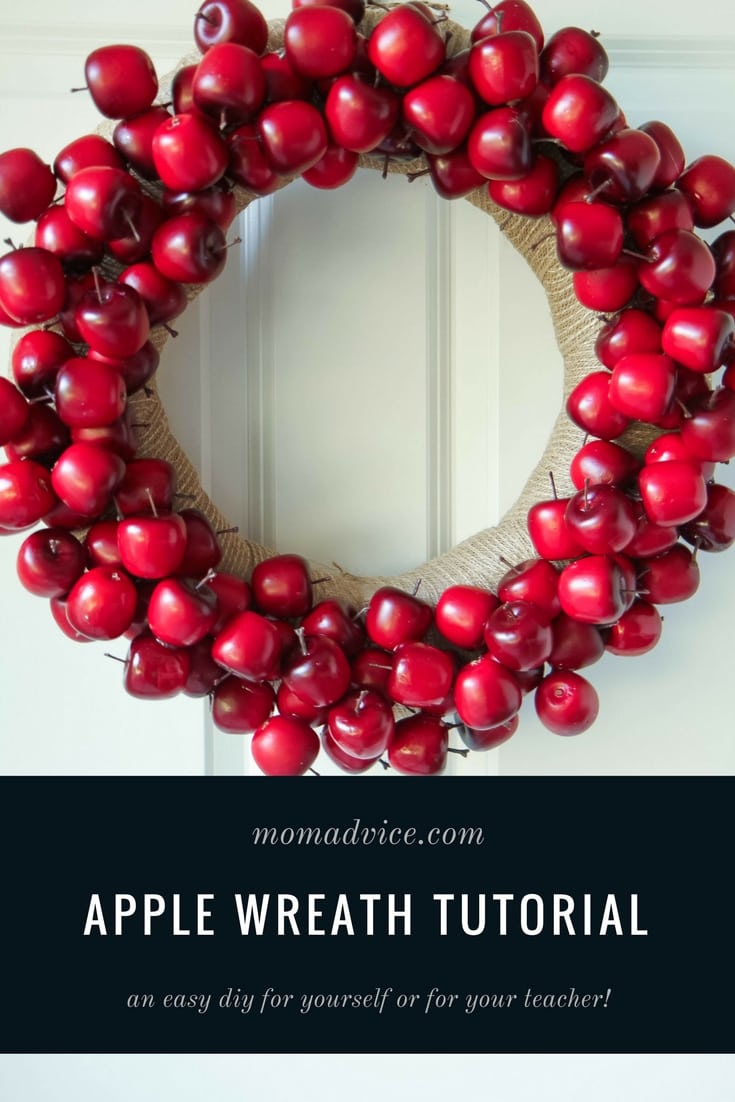
DIY Apple Wreath Tutorial for Fall

Monday, August 21st, 2017

DIY Apple Wreath Tutorial from MomAdvice.com

This blog was sponsored by Westcott. Thank you for supporting the companies that support our site!

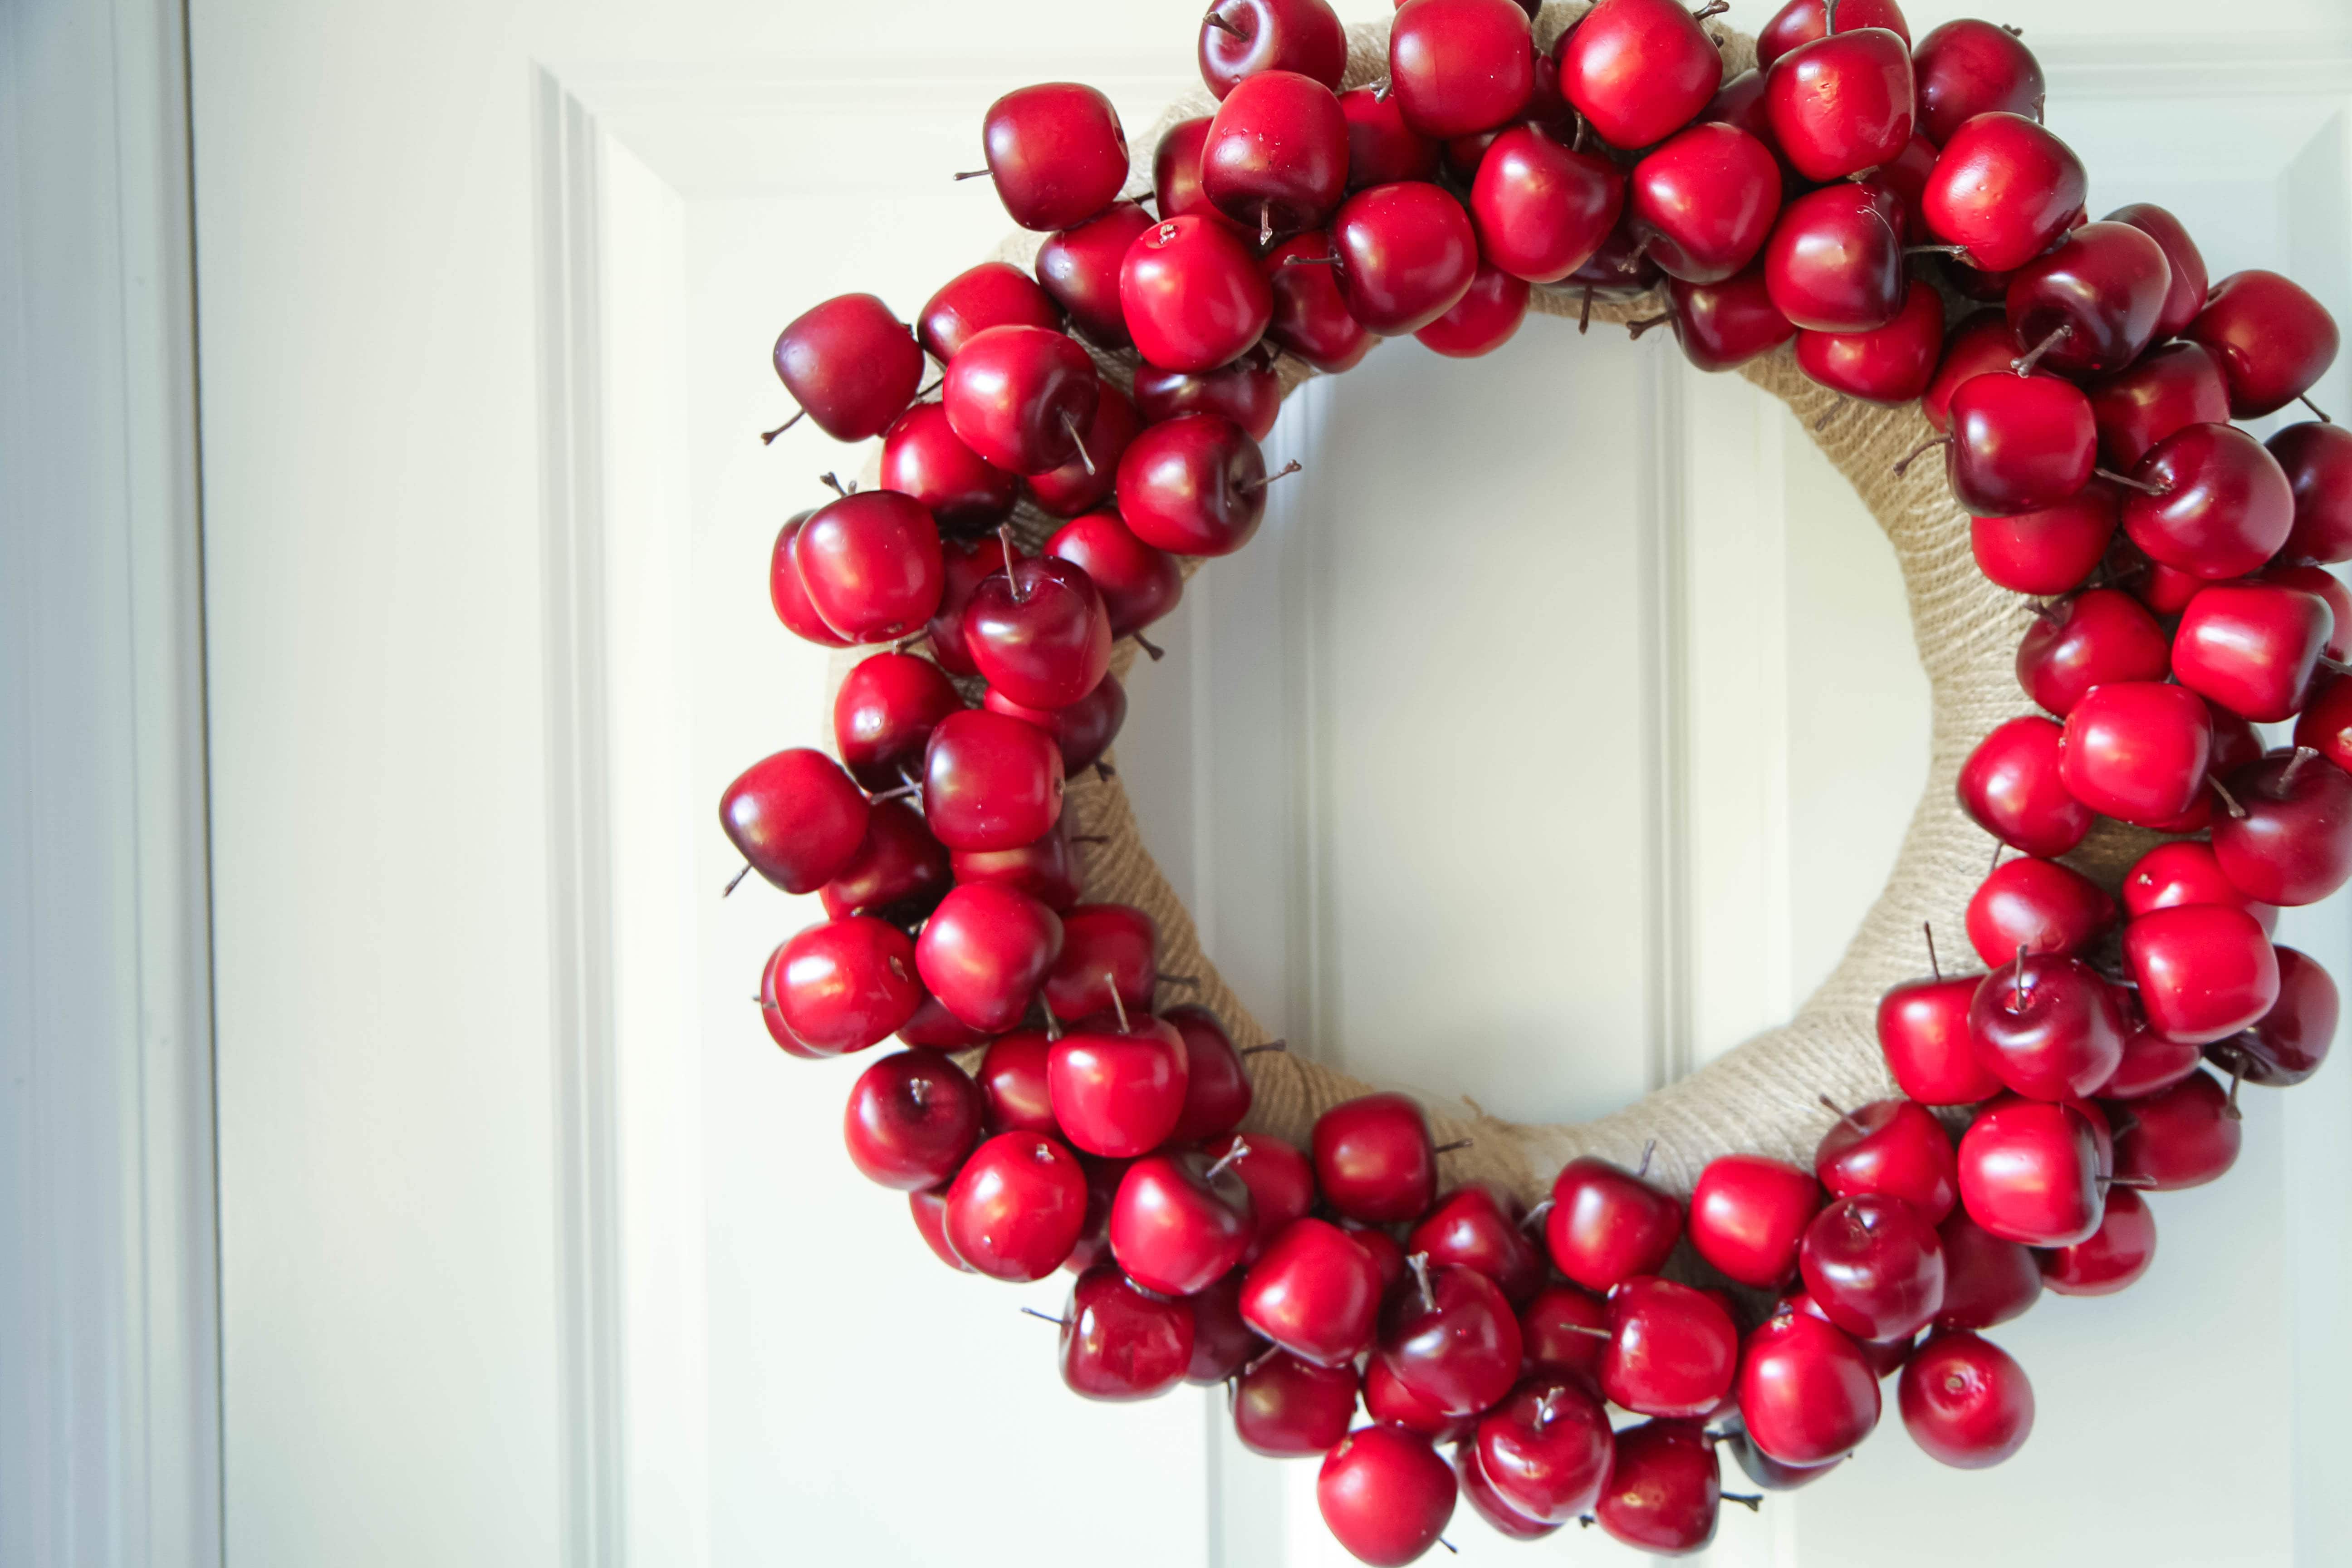
I’m back to crafting today (all the jazz hands!) and I’m SO excited to share a fun apple wreath tutorial to freshen up your front door for fall, but I’m even more excited to share with you a secret that I’ve been keeping for the past couple of months.

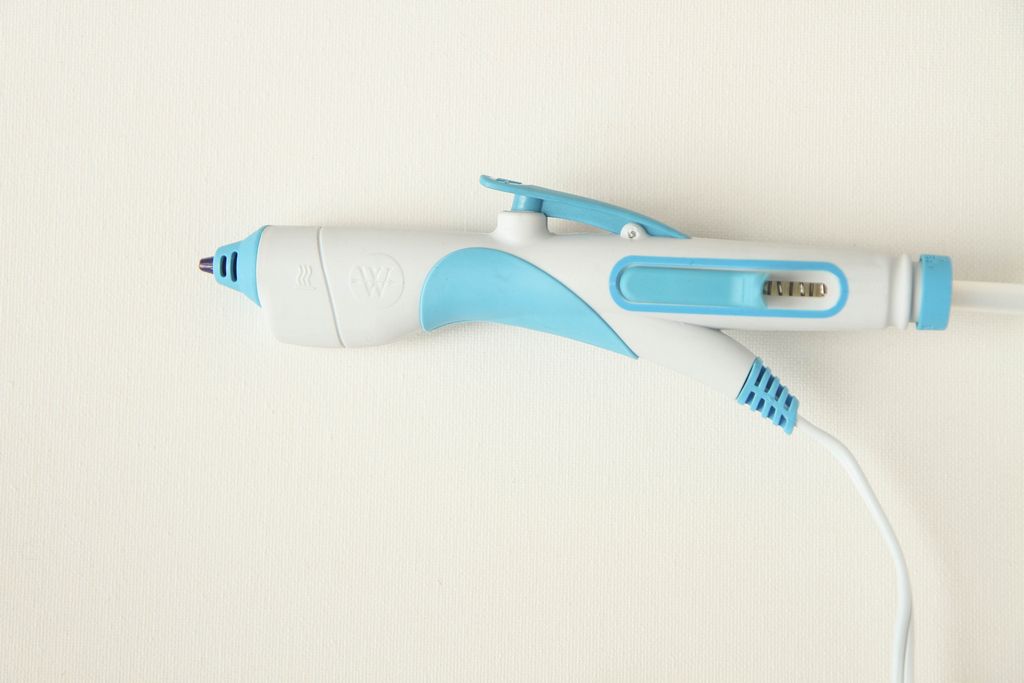
Westcott, our sponsor today, has launched a new Mini Hot Glue Gun and Hot Glue Pen.

A  hot glue pen, you say?

Yes!

Westcott Hot Glue Gun Pen

Let’s talk about the Mini Hot Glue Guns first. The Mini Hot Glue Gun comes in two versions, high temp (this baby reached up to 400 degrees Fahrenheit) and low temp (that can reach up to 170 degrees Fahrenheit).  What makes these a little different are the smart features that I’ve always wished my glue gun had and I know you will appreciate too.

This has a non-stick tip (!!!) and the nozzle changes color from blue to red so you know when it is ready to use. No guessing and burning yourself checking it anymore! It also has been ergonomically designed to help your hands stay comfortable for all your crafting time.

Westcott Hot Glue Gun Pen

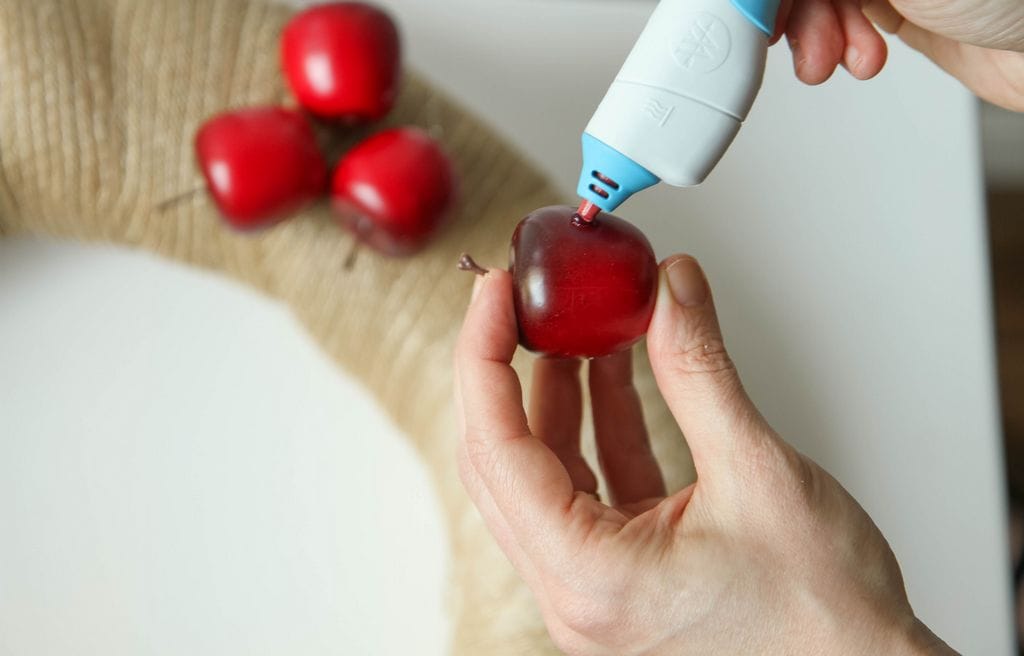
Since I have so much joint pain, I haven’t been crafting as much as I used to. This new Hot Glue Pen though is incredible and helps with your precision and accuracy when you are doing detailed projects. This one also turns colors to indicate when it is ready and it offers a finger trigger right on top to help you dispense glue in a more controlled way.

I have joked that our entire house is held together with a glue gun so I was MORE THAN HAPPY to spread the good news about these new products! You can read more over here and also check out their new site for Westcott Creativators.

How about we take these for a test drive and craft up a beautiful diy apple wreath for your home, to share with a teacher, or a fun wreath to hang to celebrate back to school?

DIY Apple Wreath Tutorial from MomAdvice.com

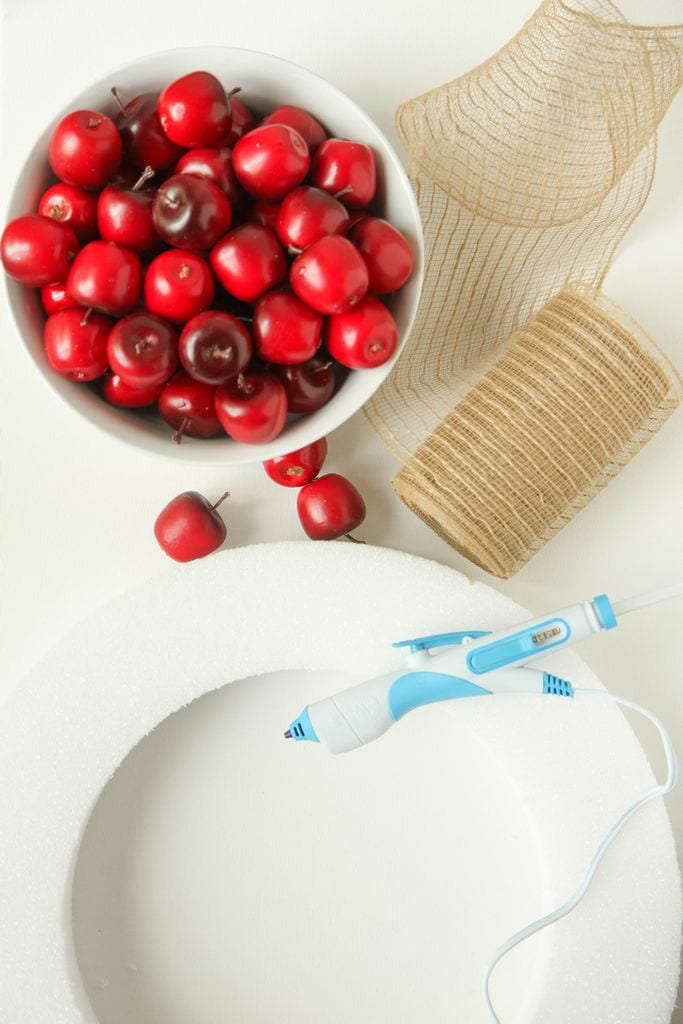
Supplies Needed

14″ styrofoam wreath form (or your own preferred size)

60-80 mini foam apples (I used 80 on mine to make it full)

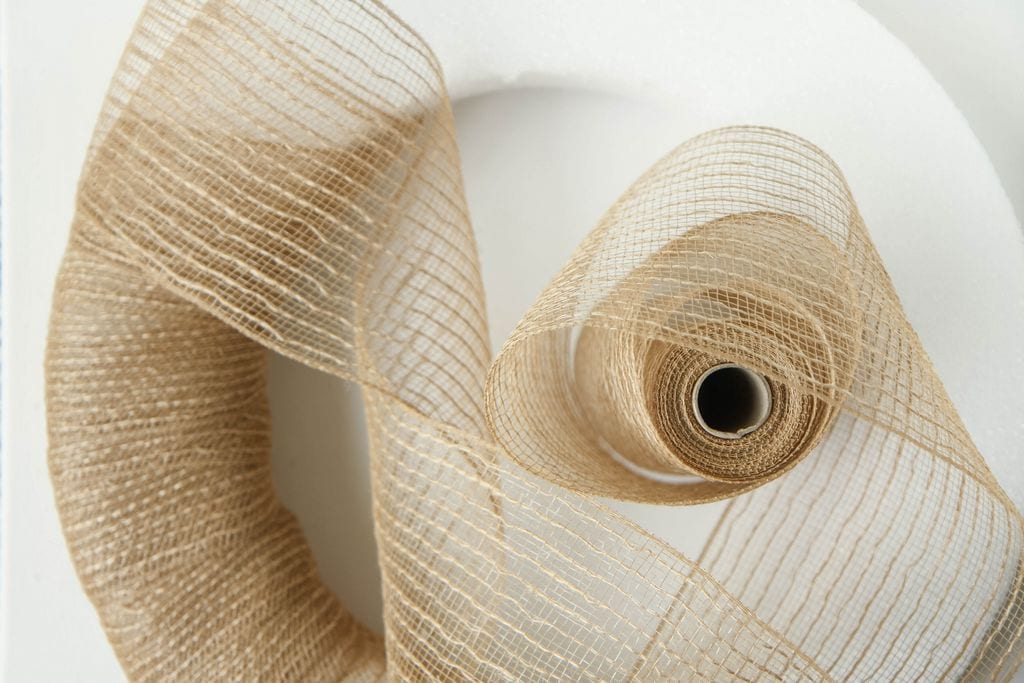
24-30 feet of Mesh Burlap

Westcott Hot Glue Gun Pen or Mini Hot Glue Gun (low temp is great for gluing together plastic and styrofoam)

Hot glue sticks

1-2 Pins to secure on the back

DIY Apple Wreath Tutorial from MomAdvice.com

 Directions to Make an Apple Wreath

1. Begin by wrapping burlap around the styrofoam wreath form. Once the entire wreath is wrapped in burlap, secure with a couple of pins to keep the burlap tight.

DIY Apple Wreath Tutorial from MomAdvice.com

DIY Apple Wreath Tutorial from MomAdvice.com

DIY Apple Wreath Tutorial from MomAdvice.com

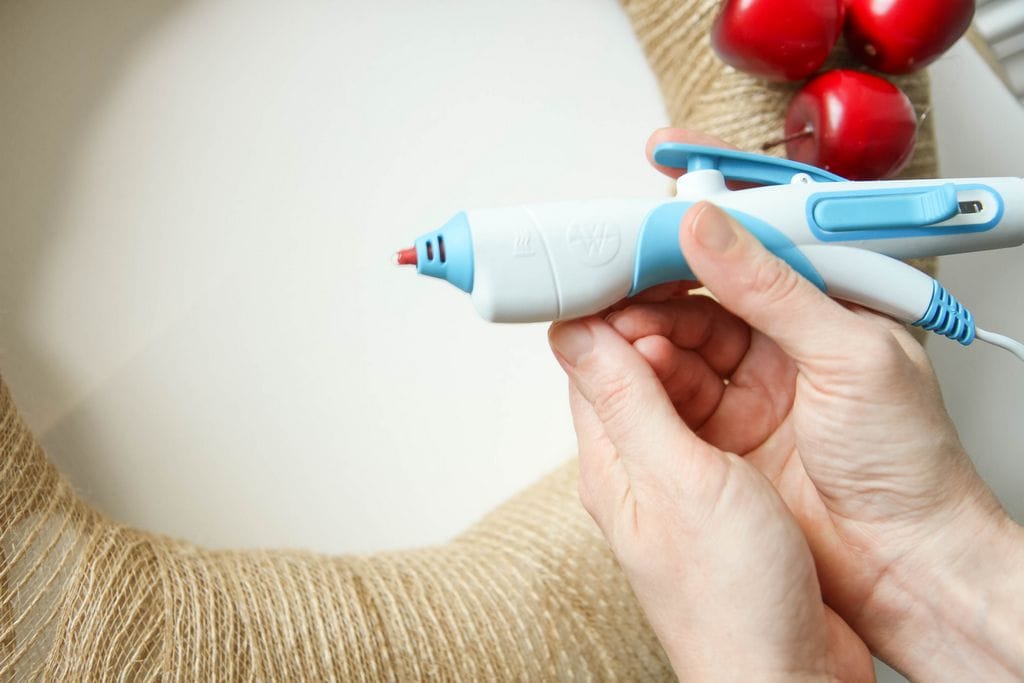
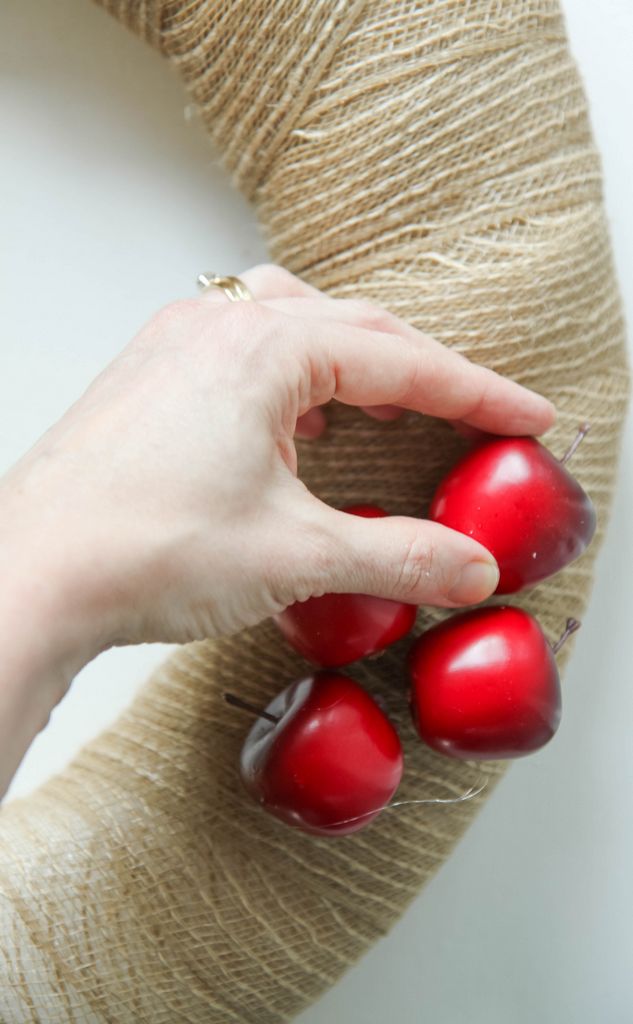
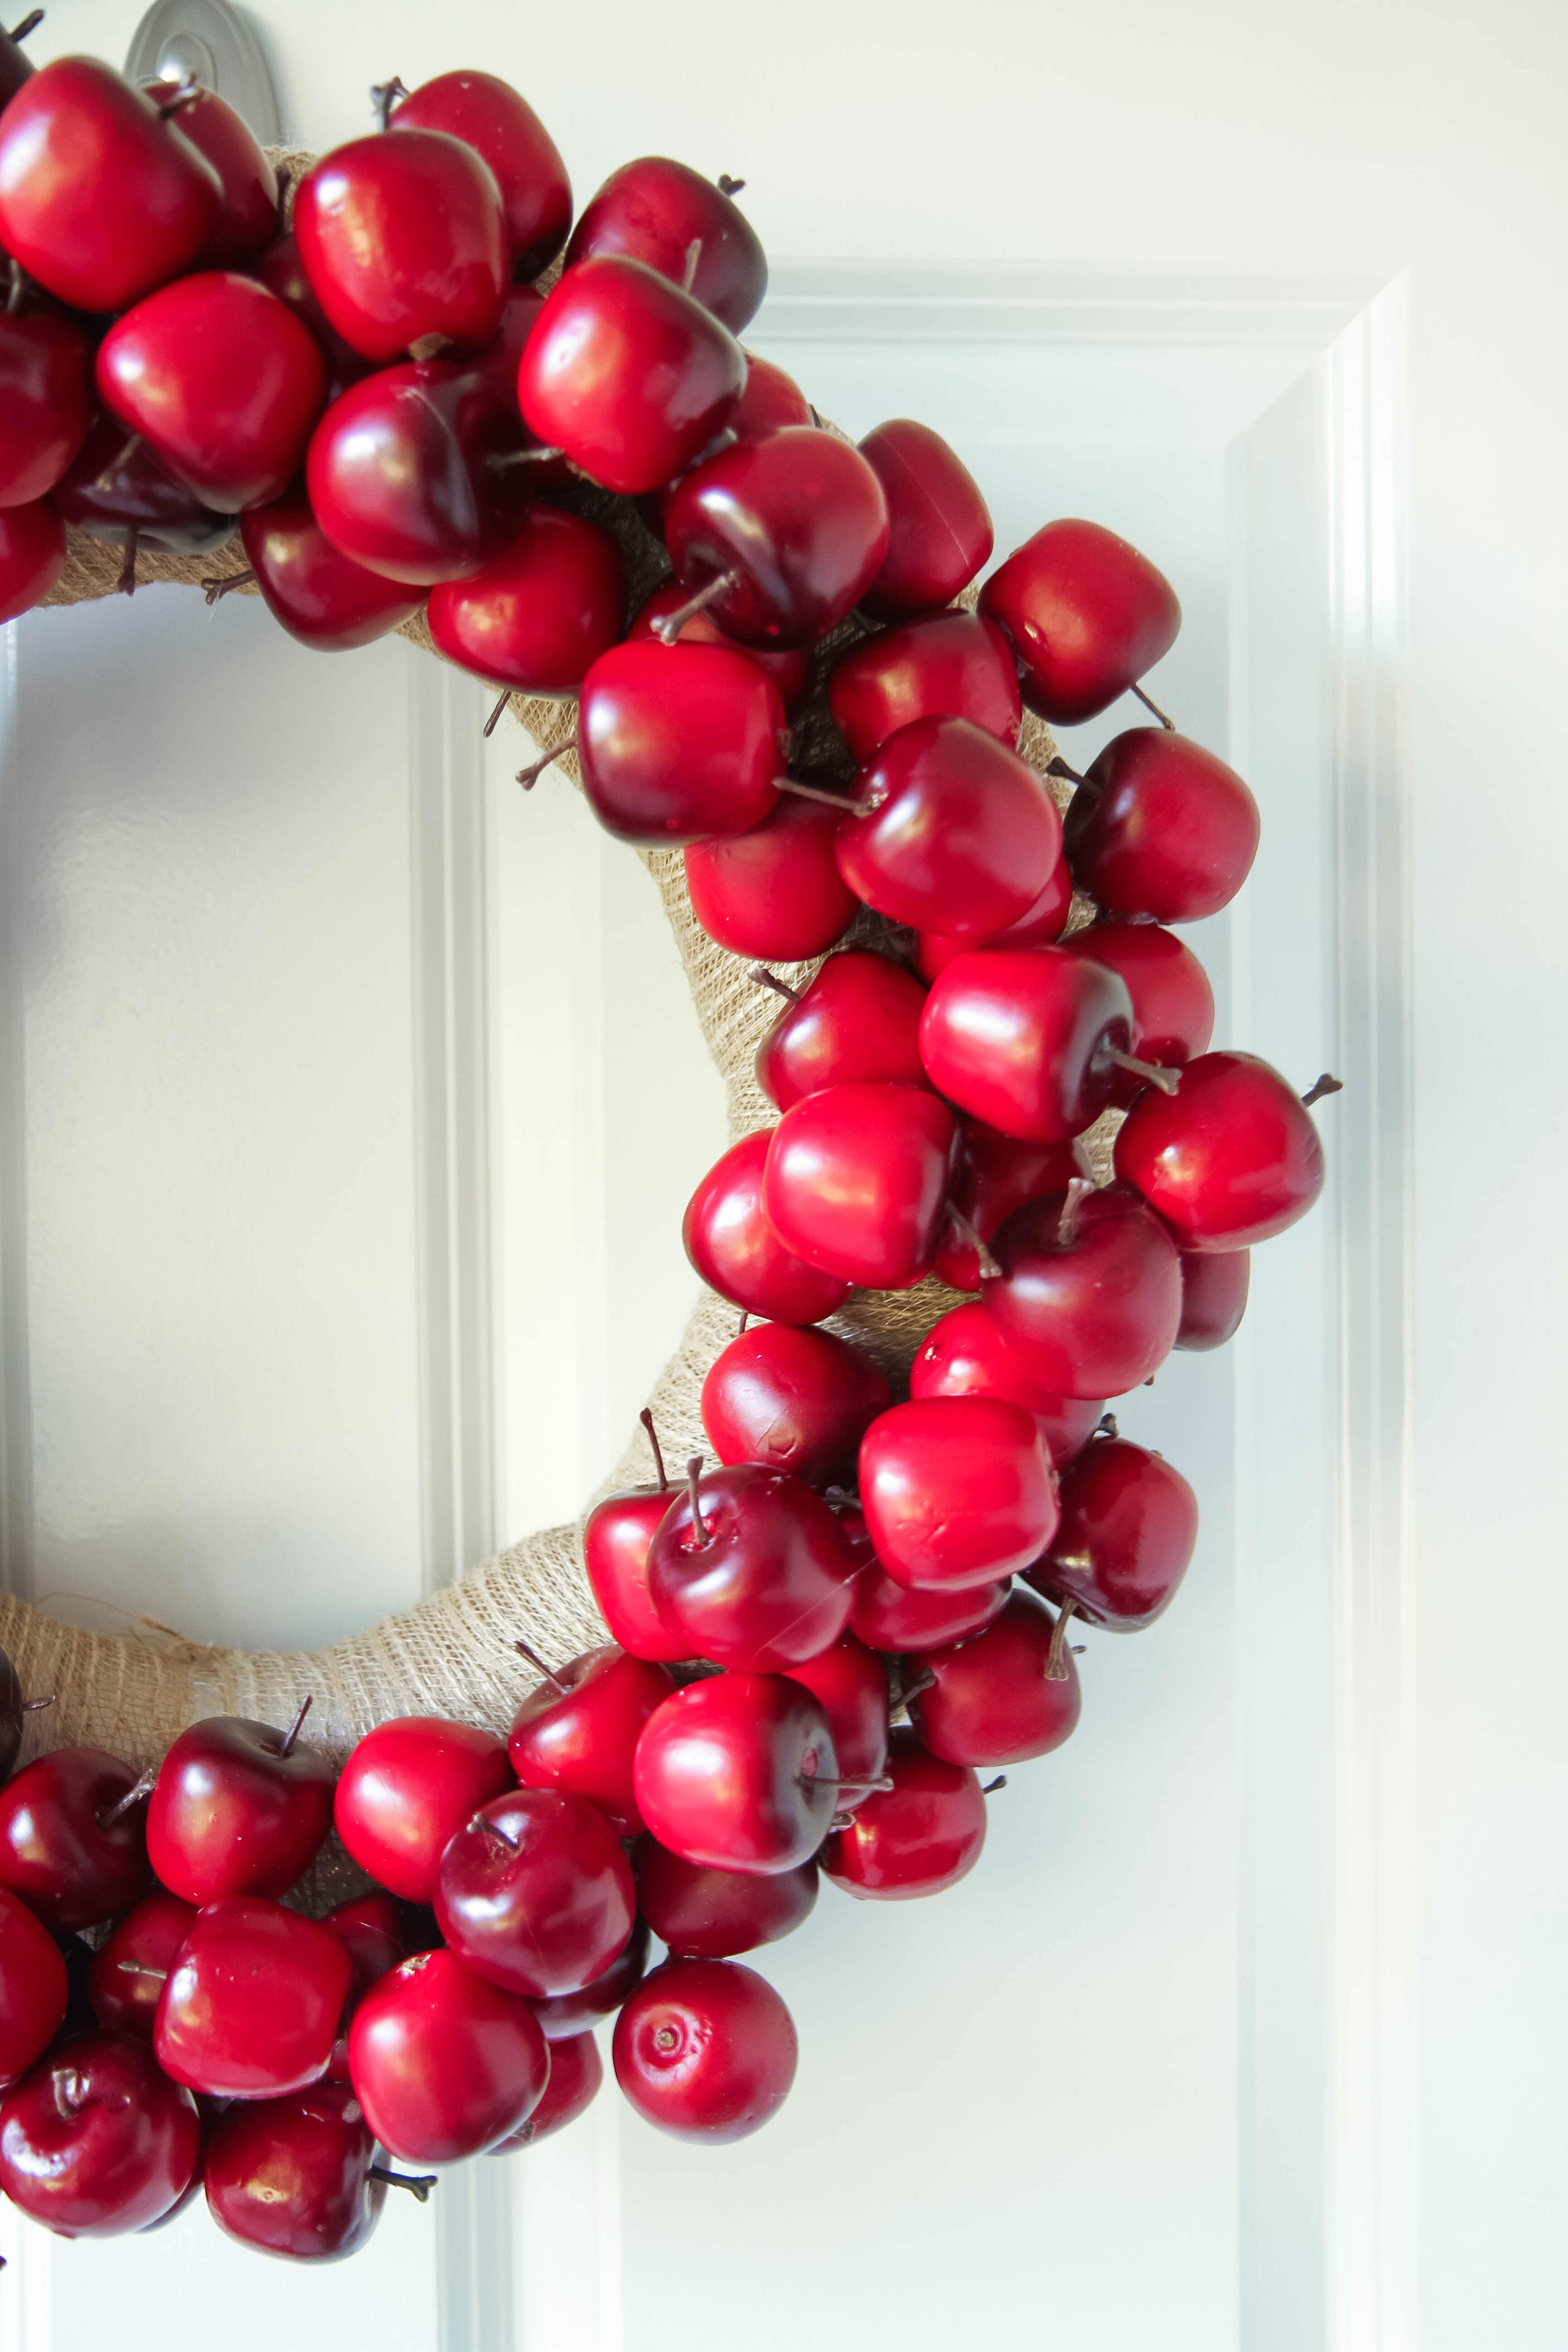
2. Heat up your Westcott Hot Glue Gun Pen and wait for the tip to turn red, to indicate that it is hot and ready. Begin securing these foam apples all around your burlap wreath, taking your time holding each of these to the burlap until they are secure. Be sure to tilt them in different directions, covering the entire top of the wreath. You can then leave the wreath as is or you can add another layer on top in between the first layer apples. I loved the dimension of two levels on this wreath so I added an extra round of apples to finish my wreath.

DIY Apple Wreath Tutorial from MomAdvice.com

3. Finish by hanging your wreath on a door. I looped a little twine on the back through the holes in the burlap to finish this wreath!

DIY Apple Wreath Tutorial from MomAdvice.com

DIY Apple Wreath Tutorial from MomAdvice.com

I hope you have fun making a wreath of your own, for yourself or for your favorite teacher! This is such an easy craft to make and can be enjoyed throughout the fall season. Thank you to Westcott for all the hot glue gun fun! I’m so excited to work on future projects with this smartly designed craft tool!


This blog was sponsored by Westcott. Thank you for supporting the companies that support our site!

DIY Easter Egg Tree

Tuesday, April 4th, 2017

DIY Easter Egg Tree from MomAdvice.com

This post was created in partnership with Waverly Inspirations. Thank you for supporting the companies that support our site! 

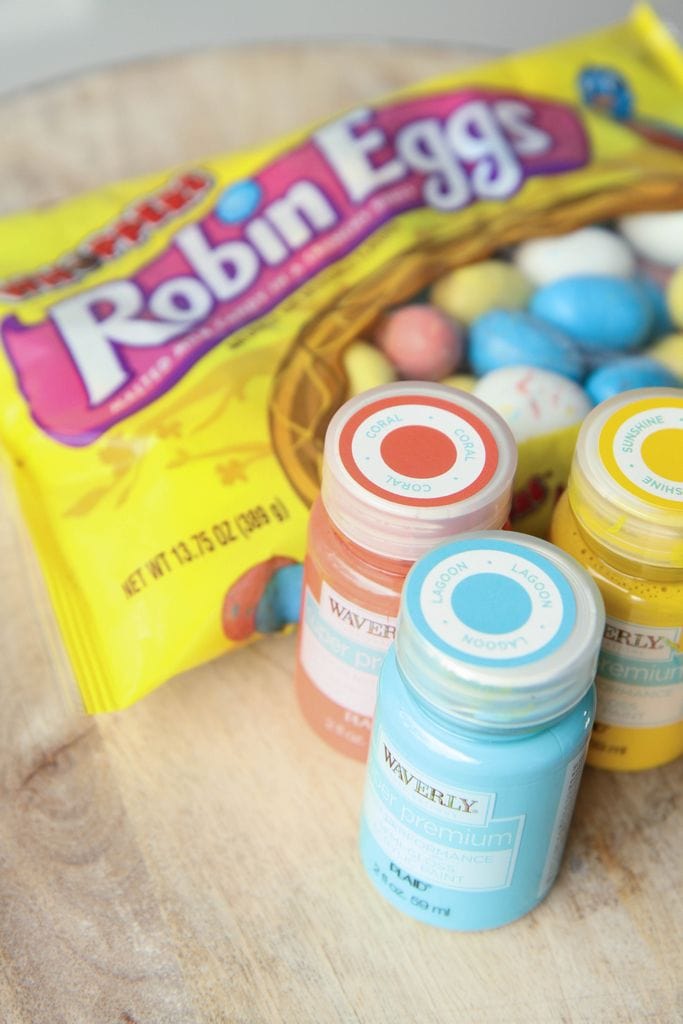
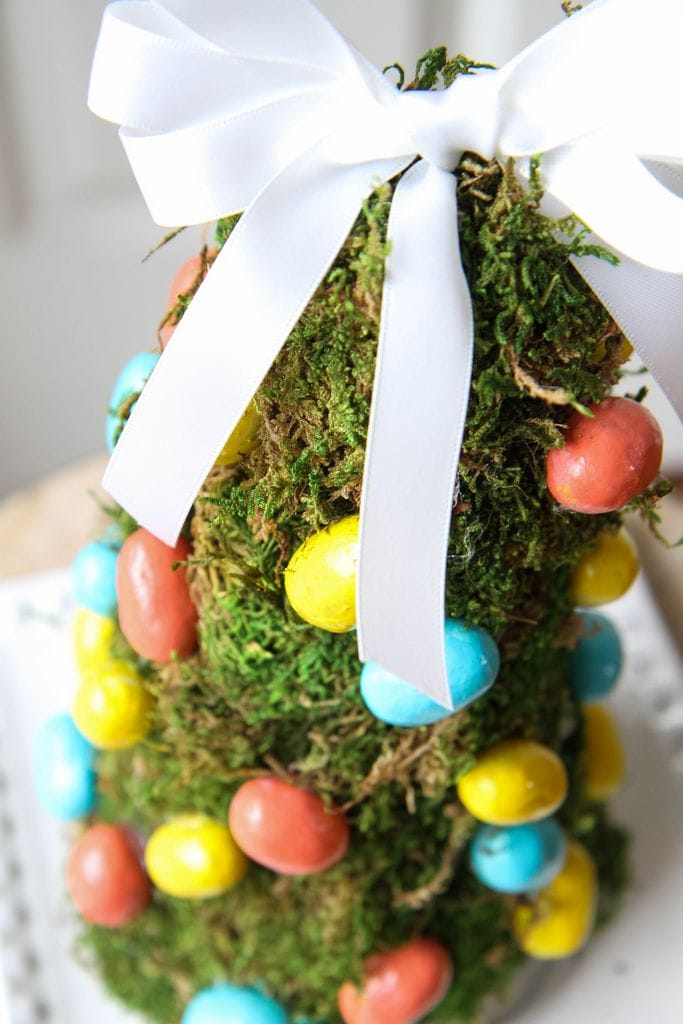
Can you believe that Easter is just around the corner? Today I wanted to show you a fun centerpiece for your table that I created with a few acrylic paints and a fun item I found in the candy aisle! I’m showing you how to make this adorable DIY Easter Egg Tree that could be a fun craft to make for your home or a great alternative to egg dying if you have older kiddos!

DIY Easter Egg Tree from MomAdvice.com

DIY Easter Egg Tree from MomAdvice.com

Supplies Needed (all of these supplies can be found at Walmart!)

9″ styrofoam cone

1 package Whoppers Robin Eggs

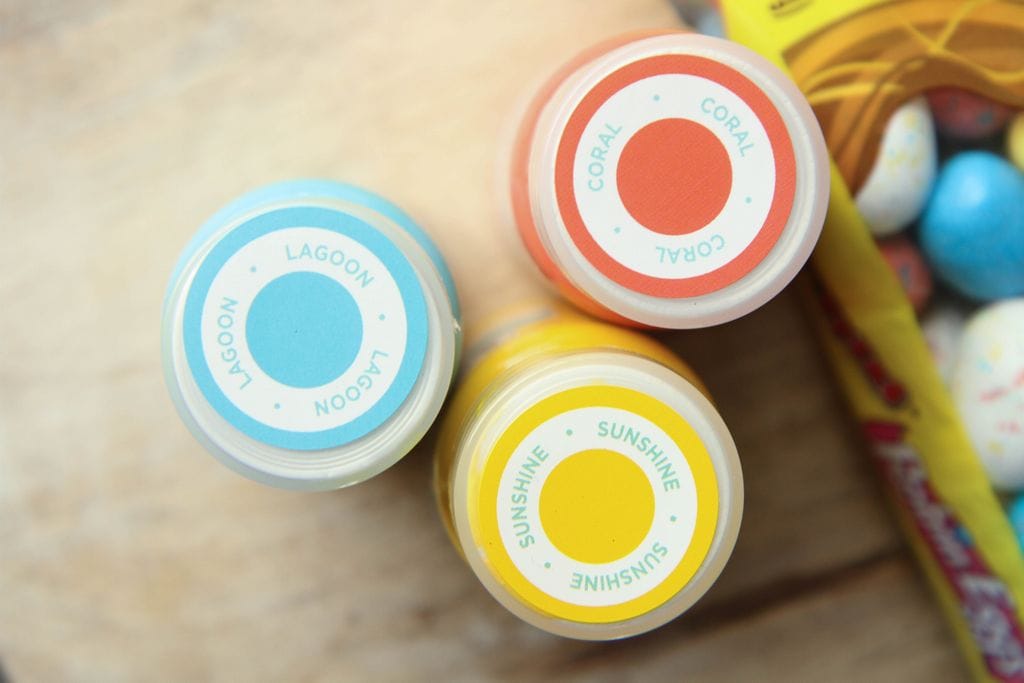
Waverly Inspirations Acrylic Paints in Lagoon, Coral, & Sunshine (or whatever colors match your home interior)

Waverly Inspirations 4-piece wide brush set

1 package sheet moss

1 1/2 Waverly Ribbon

Hot Glue Gun

Hot Glue Sticks

Scissors

Cup with water, paper towels, and something to cover the surface while painting and prepping moss (I used a large trash bag)

How to Make a DIY Easter Egg Tree

DIY Easter Egg Tree from MomAdvice.com

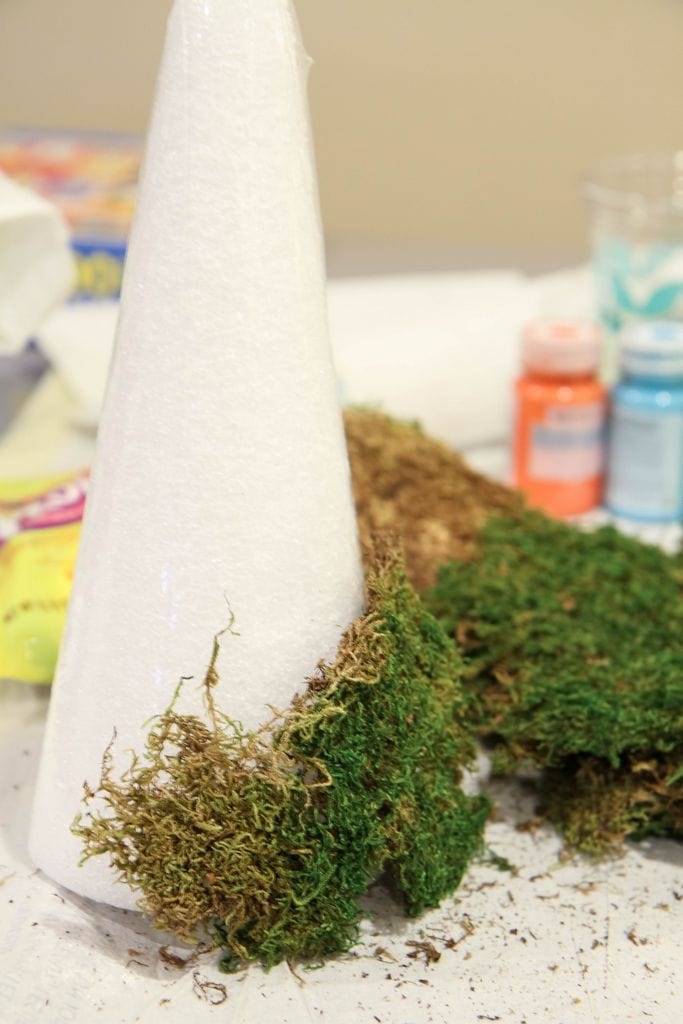
1. Begin by covering your styrofoam cone with your sheet moss and CAREFULLY securing it with hot glue.

DIY Easter Egg Tree from MomAdvice.com

Keep in mind, these fibers do separate so you want to be careful where you put your fingers. Overlapping slightly, keep adding pieces of moss to the cone until you get to the top. I folded a small piece over to cover the tip of the cone and then worked my moss around it, much like I did with the scrappy fabric trees I made for the holidays.

DIY Easter Egg Tree from MomAdvice.com

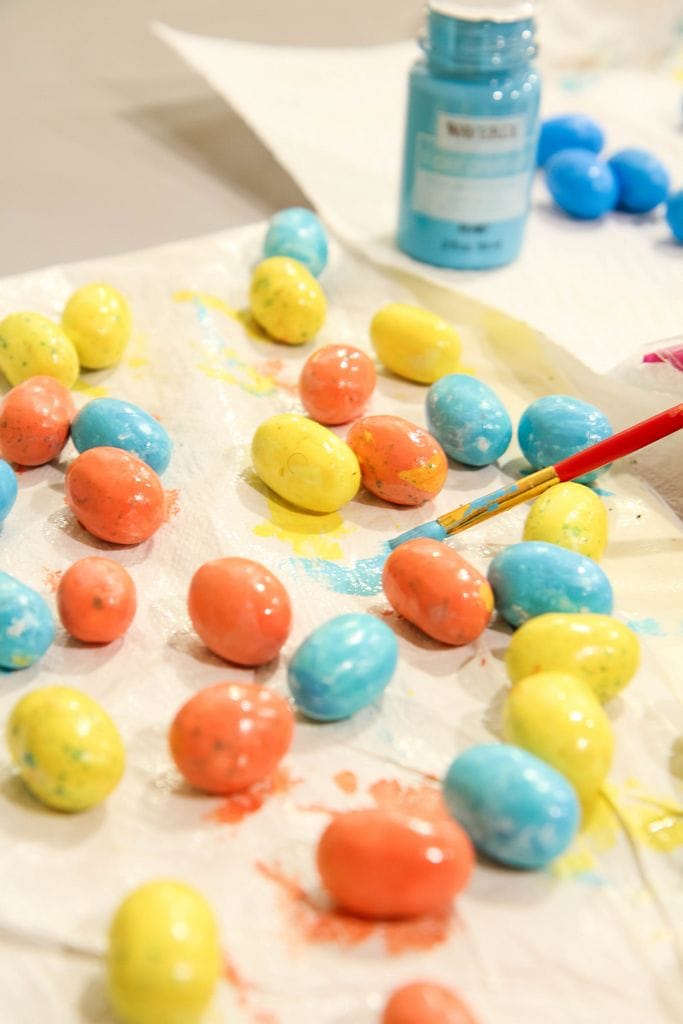
2. Give your candy eggs a good coat of paint. I selected paint colors that matched our home in coral, blue, and a sunshine yellow. Don’t worry if you don’t get every spot on the eggs painted because you can paint them once they are more secure. Give these about fifteen minutes to dry and then attach them with hot glue to your tree, carefully spacing the colors out as best as you can. I ended up painting 12 of each color to cover my mossy tree.

3. Once you have attached the eggs securely, now you can touch-up the paint to make sure they are covered fully.

4. Finish with a little ribbon and glue your bow to the top of your tree.

DIY Easter Egg Tree from MomAdvice.com

DIY Easter Egg Tree from MomAdvice.com

The moss does have a tendency to shed so put a plate underneath to catch the debris and put this beauty on your dining table, an end table, or on your mantle. Isn’t that too cute?

I hope you have as much fun making this craft as we did! It’s been a true pleasure working with Waverly Inspirations this year and sharing the journey with you!

How about more craft inspiration from Waverly? Try these!

DIY No-Sew Reversible Chair Cushions

Fabric Wreath & Matching Garland

Fabric Bulletin Board Tutorial

Painting Pumpkins With Acrylic Paints

DIY No-Sew Hand Warmers

DIY Ottoman Serving Tray

15-Minute Scrappy Fabric Trees

Kid Craft: Easy Technique for Painting Gift Wrap

DIY Phone Charging Station

DIY Roll-Up Jigsaw Puzzle Mat

This post was created in partnership with Waverly Inspirations. Thank you for supporting the companies that support our site! 


Pin It

Fabric Flower Wreath for Spring

Wednesday, March 1st, 2017

Fabric Flower Wreath for Spring from MomAdvice.com

This post was created in partnership with Waverly Inspirations. Thank you for supporting the companies that support our site! 

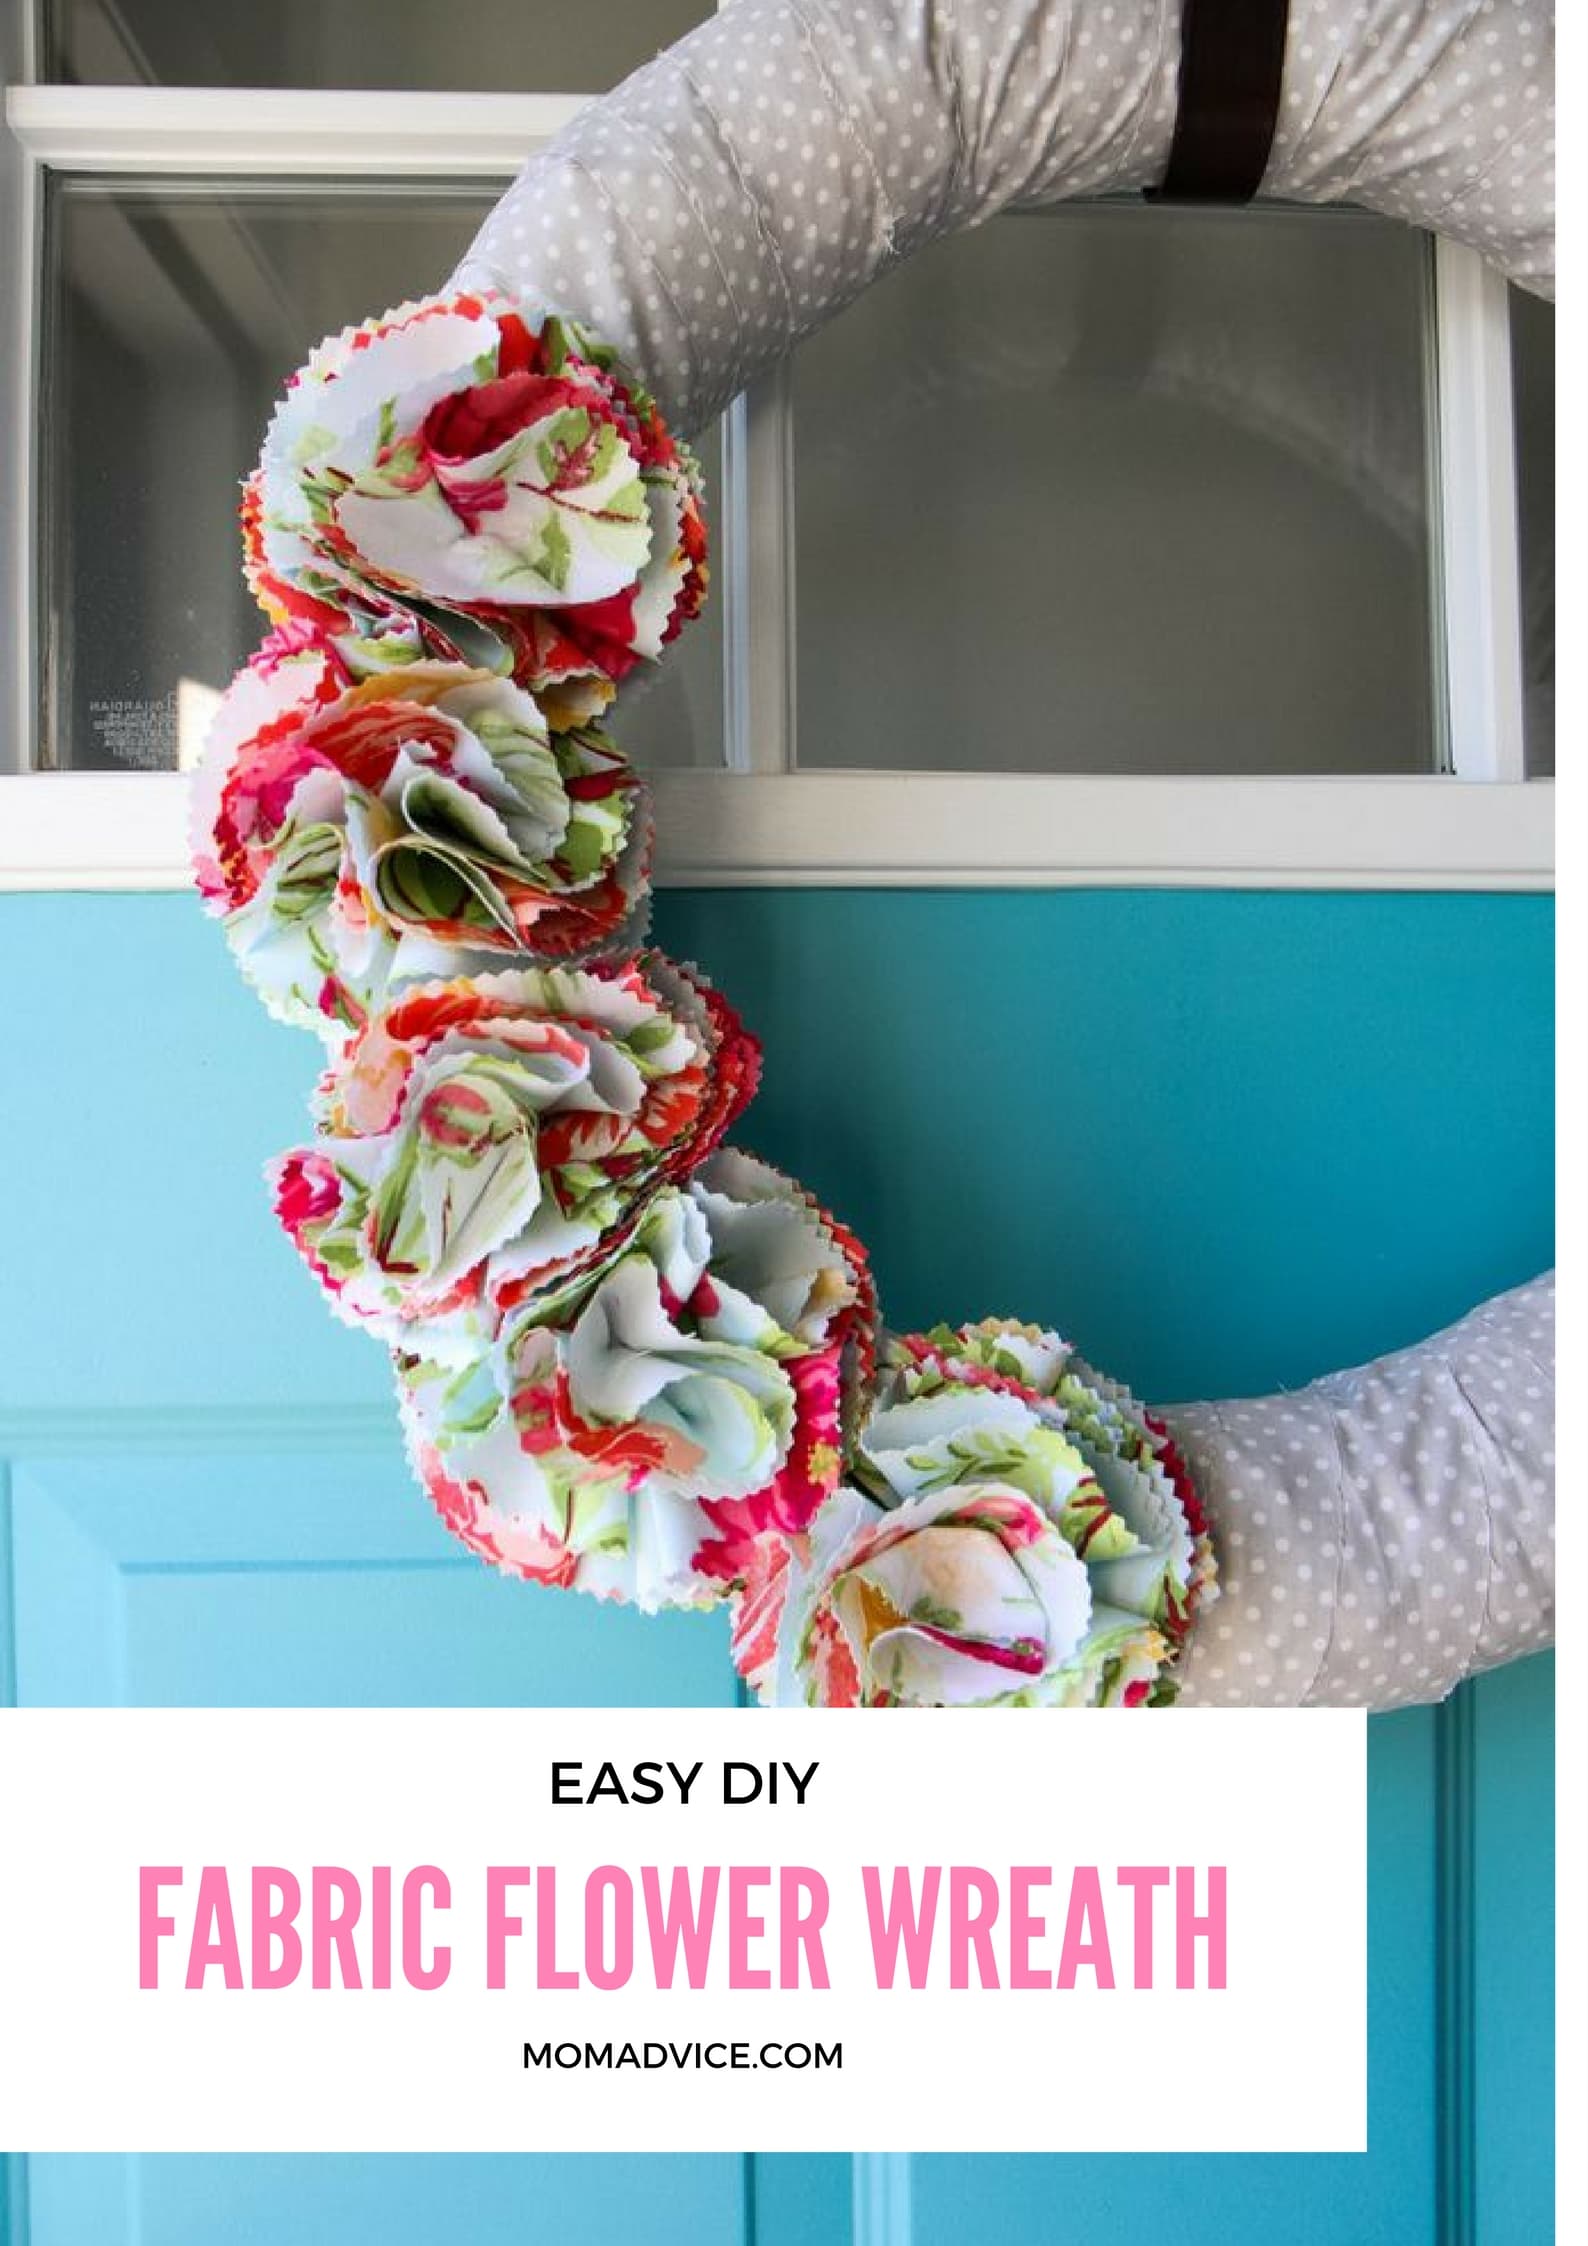
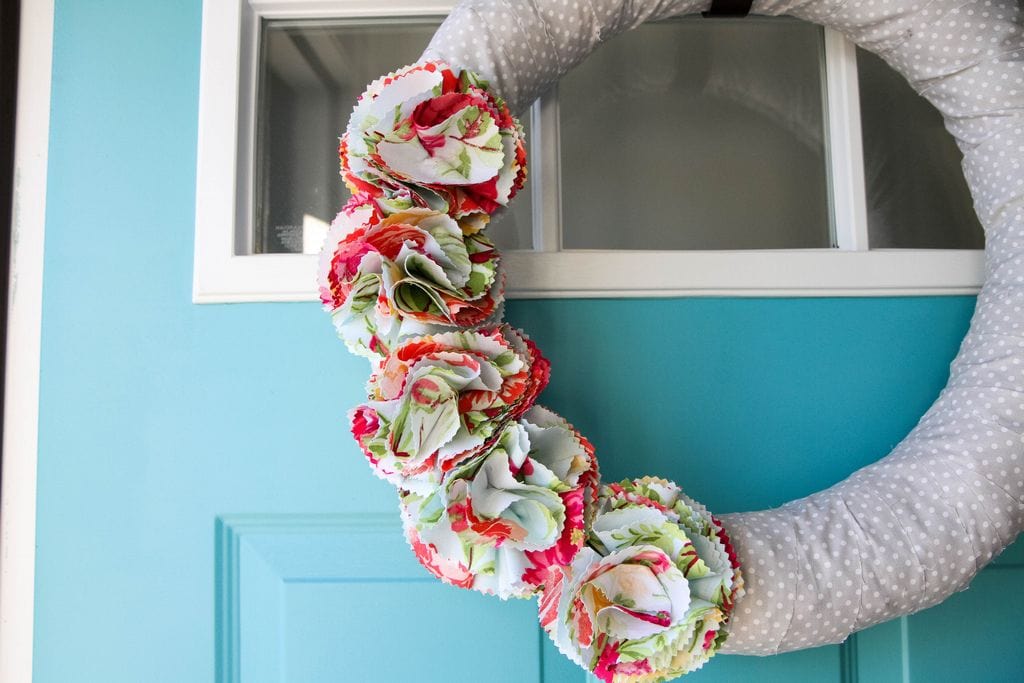
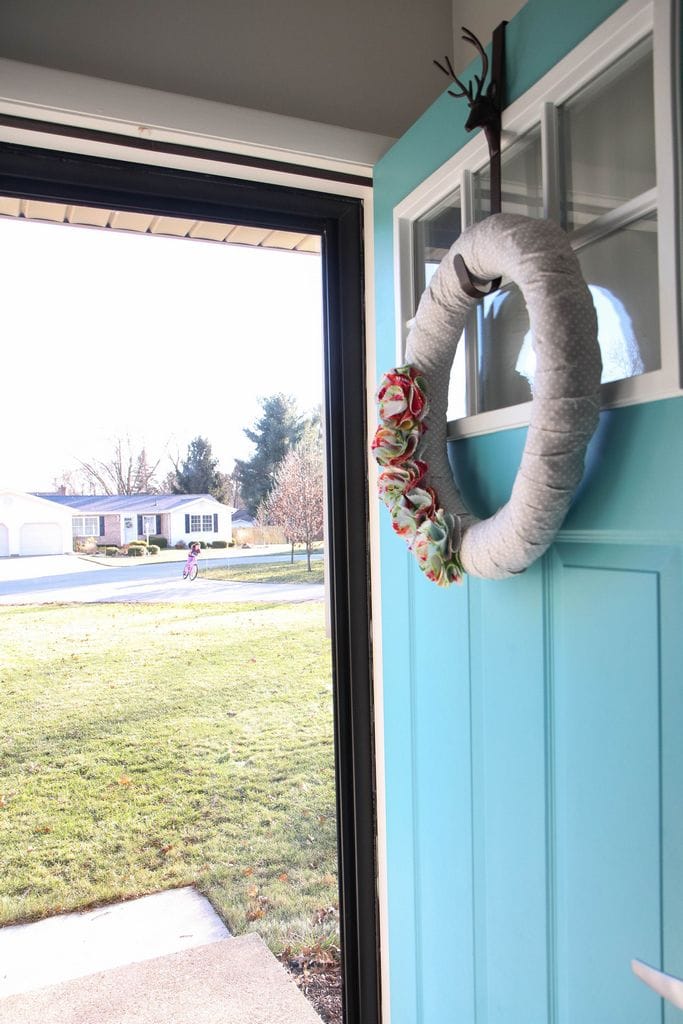
You will rarely come to my house and not find a wreath on the door, but I must admit that my DIY wreaths (after MANY years of use) are looking a little shabby. Working with Waverly Inspirations was just the push I needed this month to spruce up my front door. This fabric flower wreath tutorial is just what you need to get your door ready for spring. If you haven’t made fabric flowers before, I’ve got you covered with a step-by-step picture tutorial.

I am a big fan of recycling and reusing my craft materials so I cut all of the materials off this DIY yarn wreath and reinvented it into a spring wreath. Six years ago I purchased that straw wreath for $4 and it is STILL going strong.

Pretty amazing!

Also, if you have ever priced out purchasing a wreath, you know how much you are saving by making your own for your front door.

Today I wanted to put some of their fresh spring fabric to work to wrap and decorate our wreath. Although I will be doing these fabric flowers with a needle and thread, they can also just as easily be pulled together with a little hot glue. The best part? This is a craft you can do while getting in a good Netflix binge.

This craft was cranked out with a little American Crime Story. PS- LOVING it.

Fabric Flower Wreath for Spring from MomAdvice.com


Supplies Needed (all of these supplies can be found at Walmart!)

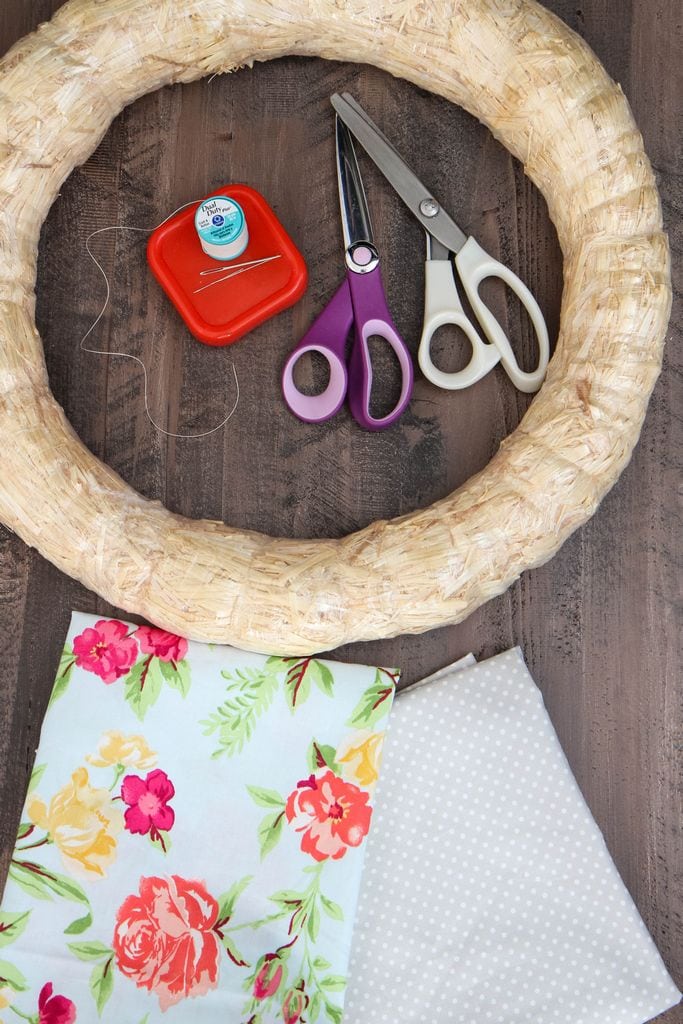
1/2 yard of two (or more!) Waverly Inspirations Fabric in coordinating patterns

Straw Wreath (whichever size fits your door the best!)- leaving the plastic intact on the wreath to cut down on the mess.

Needle and strong thread

1 piece of cardstock and a circular object (I used an oatmeal canister) to create your flower template

Straight Pins

Fabric Rotary Cutter (or you can use scissors)

Rotary Mat

Pinking Shears

How to Make a Spring Fabric Flower Wreath

Fabric Flower Wreath for Spring from MomAdvice.com

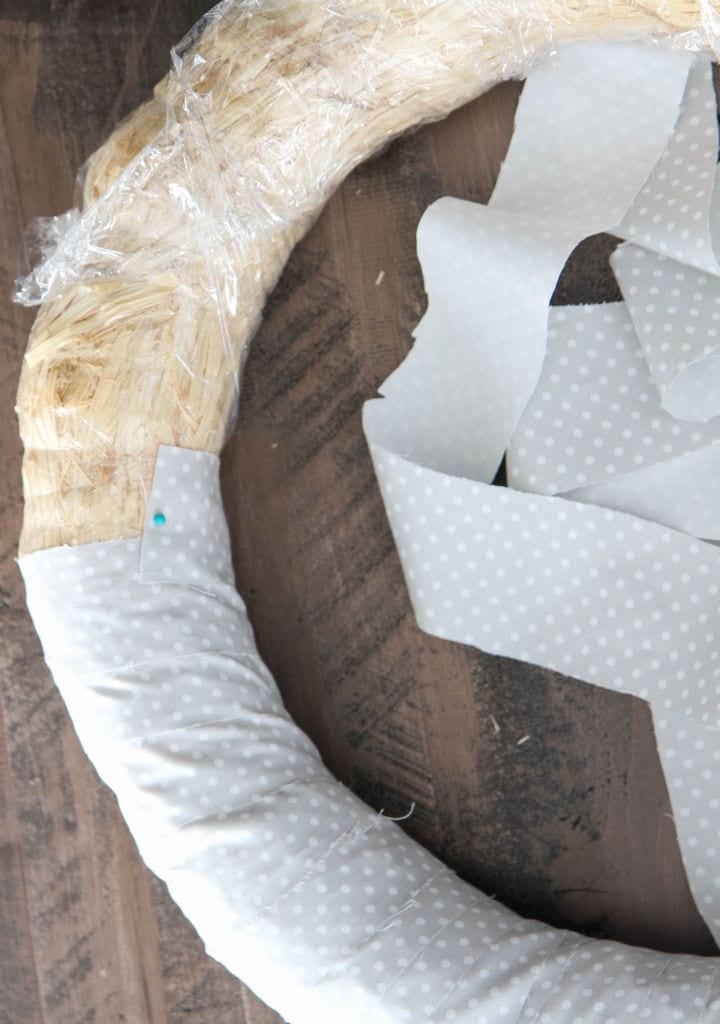
1. Begin by cutting fabric into 1 1/2″ strips with scissors or a rotary cutter. Wrap the fabric around the wreath, securing with straight pins. Once you come to the end of a strip, simply overlap with the next strip to try to camouflage those pins. Repeat this until the entire wreath is covered and set this aside.

How to Make Fabric Flowers from MomAdvice.com

2. Using a round object in your home for a template, trace a circle on cardstock to create your template for your fabric. The larger the diameter of the item, the larger your flower so size it according to your wreath or how dramatic you want to go!
3. With pinking shears, cut 9 fabric circles for each fabric flower you will be making. I made five of these flowers (that means 45 cut circles) for my wreath. In floral design, it is always advised to go with an odd number to create a good design for your project so I stuck to the odd number of 5.
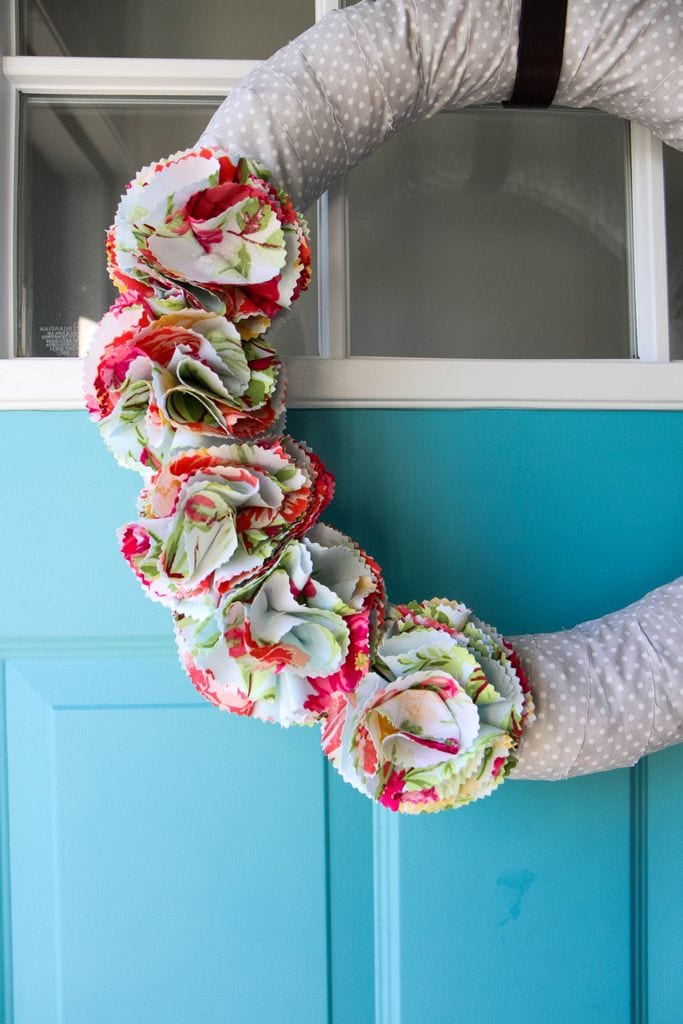
4. With one fabric circle as a base, begin creating the petals for your flower by folding a circle in half and then in half again (it will look like a little triangle)  and aligning it to the fabric circle. Using your needle and thread (or a glue gun) secure this in place with a stitch. Repeat all the way around the flower for the base of these petals.

How to Make Fabric Flowers from MomAdvice.com

5. Layer another layer of petals on top and finish with the last one being in the center and swirled, as it would in a rose. Tie off and cut the end of your thread to finish these. Using a straight pin, pin your flower into place and then repeat with the rest of the flowers.

Fabric Flower Wreath for Spring from MomAdvice.com

Fabric Flower Wreath for Spring from MomAdvice.com

Fabric Flower Wreath for Spring from MomAdvice.com

You guys! I’m in LOVE! This is such a fun pop of color on my door, cost practically nothing, and I can switch out materials with the seasons if I get bored. I hope you love it as much as I do and feel inspired to make a wreath of your own.

My door is awfully happy this month!

Fun Wreath Ideas from MomAdvice.com

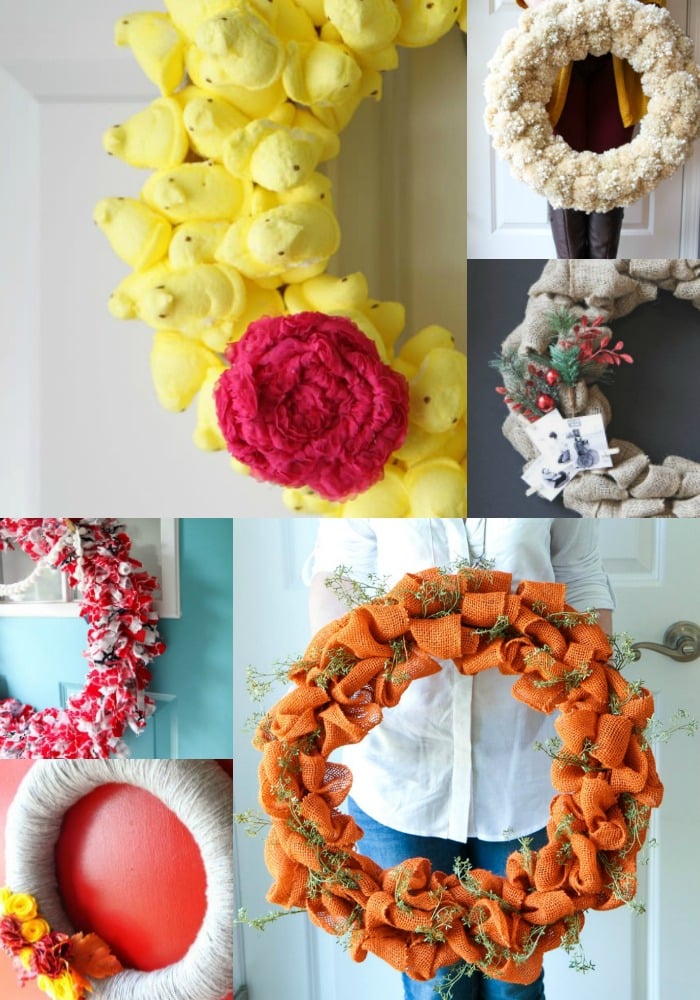
Want to try some other DIY wreaths? Check out these tutorials for decking your door!

diy peep wreath

easy burlap wreath tutorial

how to make a yarn pom pom wreath 

handmade autumn burlap wreath

fabric wreath with matching garland

yarn wreath for all seasons (fun felt flower tutorial on that one!)

How about more craft inspiration from Waverly? Try these!

DIY No-Sew Reversible Chair Cushions

Fabric Wreath & Matching Garland

Fabric Bulletin Board Tutorial

Painting Pumpkins With Acrylic Paints

DIY No-Sew Hand Warmers

DIY Ottoman Serving Tray

15-Minute Scrappy Fabric Trees

Kid Craft: Easy Technique for Painting Gift Wrap

DIY Phone Charging Station

DIY Roll-Up Jigsaw Puzzle Mat

Fabric Flower Wreath for Spring from MomAdvice.com

This post was created in partnership with Waverly Inspirations. Thank you for supporting the companies that support our site! 

Pin It

DIY Teacher Survival Kit Gift (FREE Printable!)

Thursday, February 2nd, 2017

DIY Teacher Survival Kit Gift (FREE Printable!) from MomAdvice.com

This post was sponsored by MARS, Inc and American Greetings. Thank you for supporting the companies that support our site!

Valentine’s Day is the perfect excuse to show someone how much you love them. Often my default for Valentine’s giving is for my family, but this holiday I’m challenging you to think outside of the box and consider someone else special in your life.

How about a little love, for example, for one of your incredible teachers?

I can’t imagine how challenging their job is to come and be the encourager, discipliner, educator, and hero to our children. Day in and day out, they are a positive force in helping our kids succeed and I am so grateful for the molding and shaping they do. What a gift that they share their time and talent each and every day.

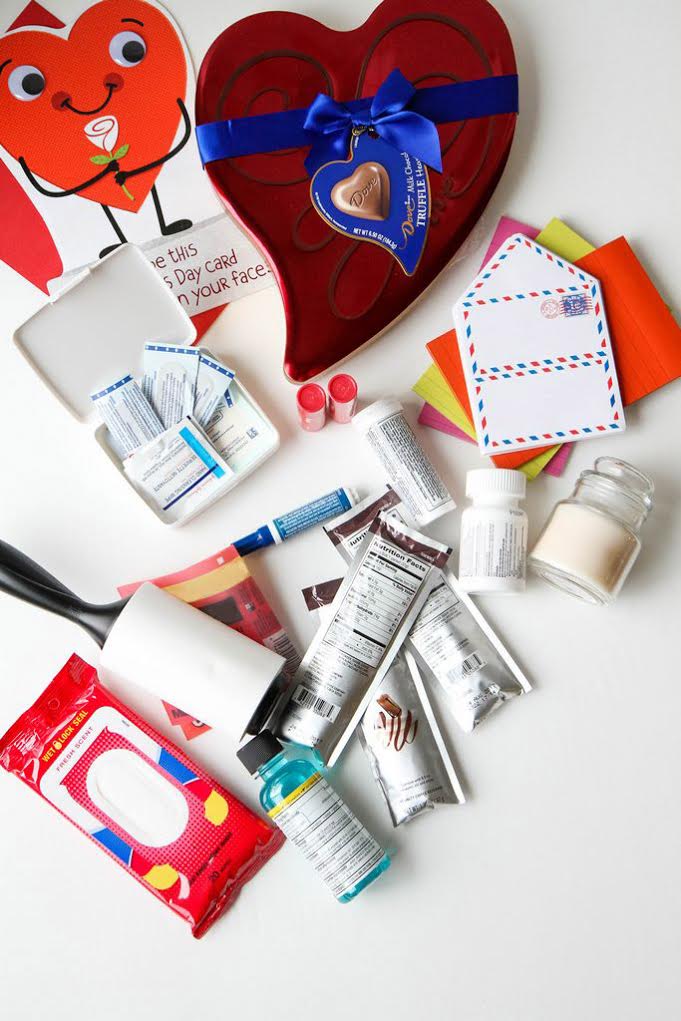
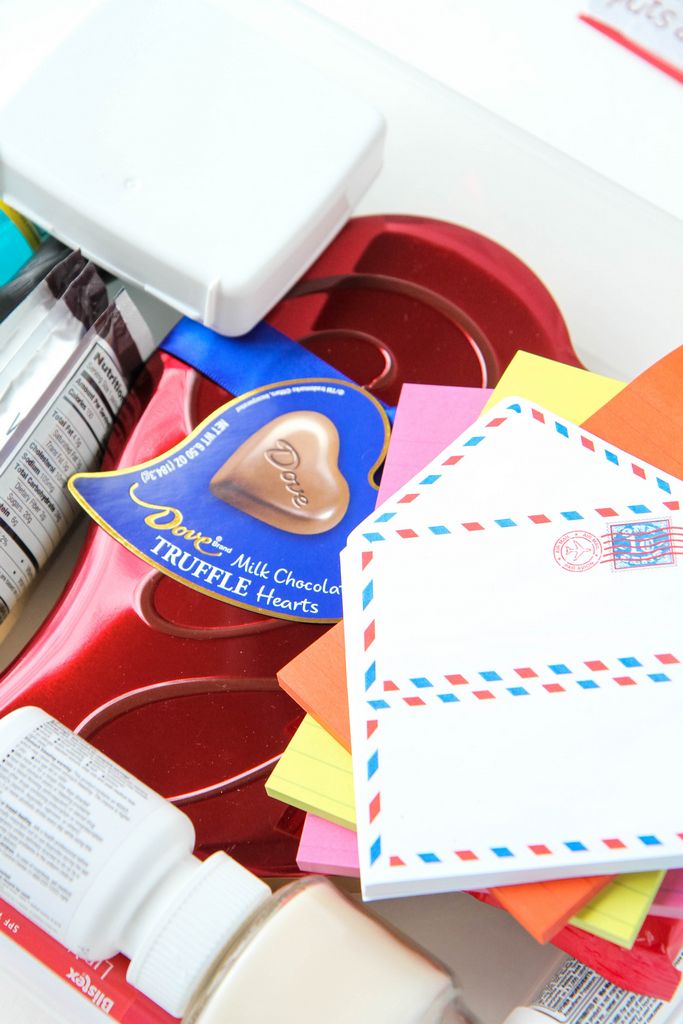
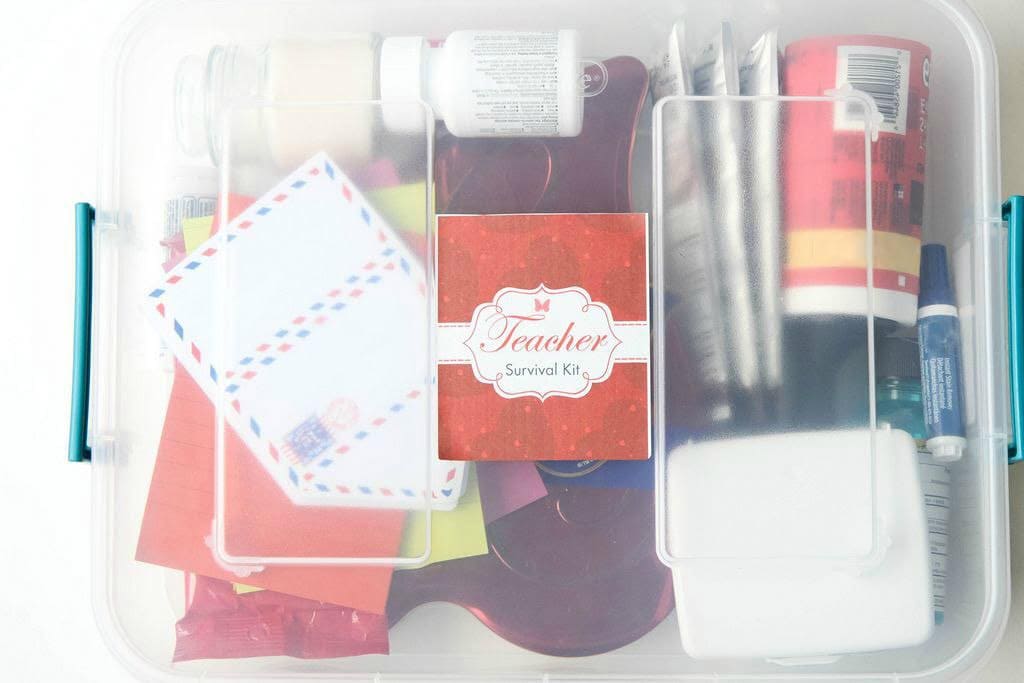
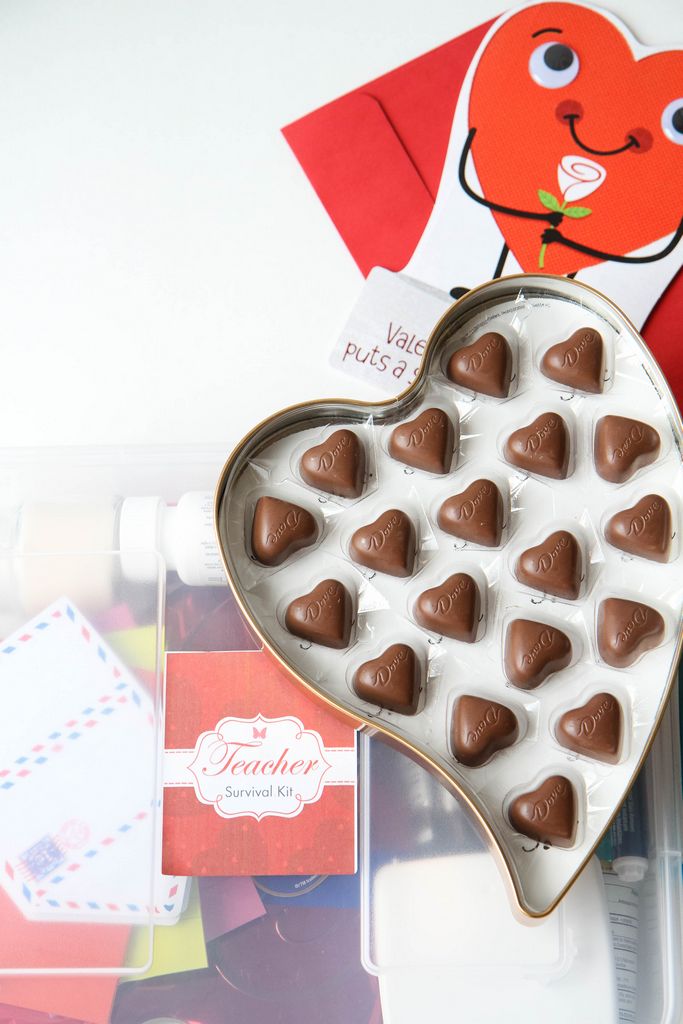
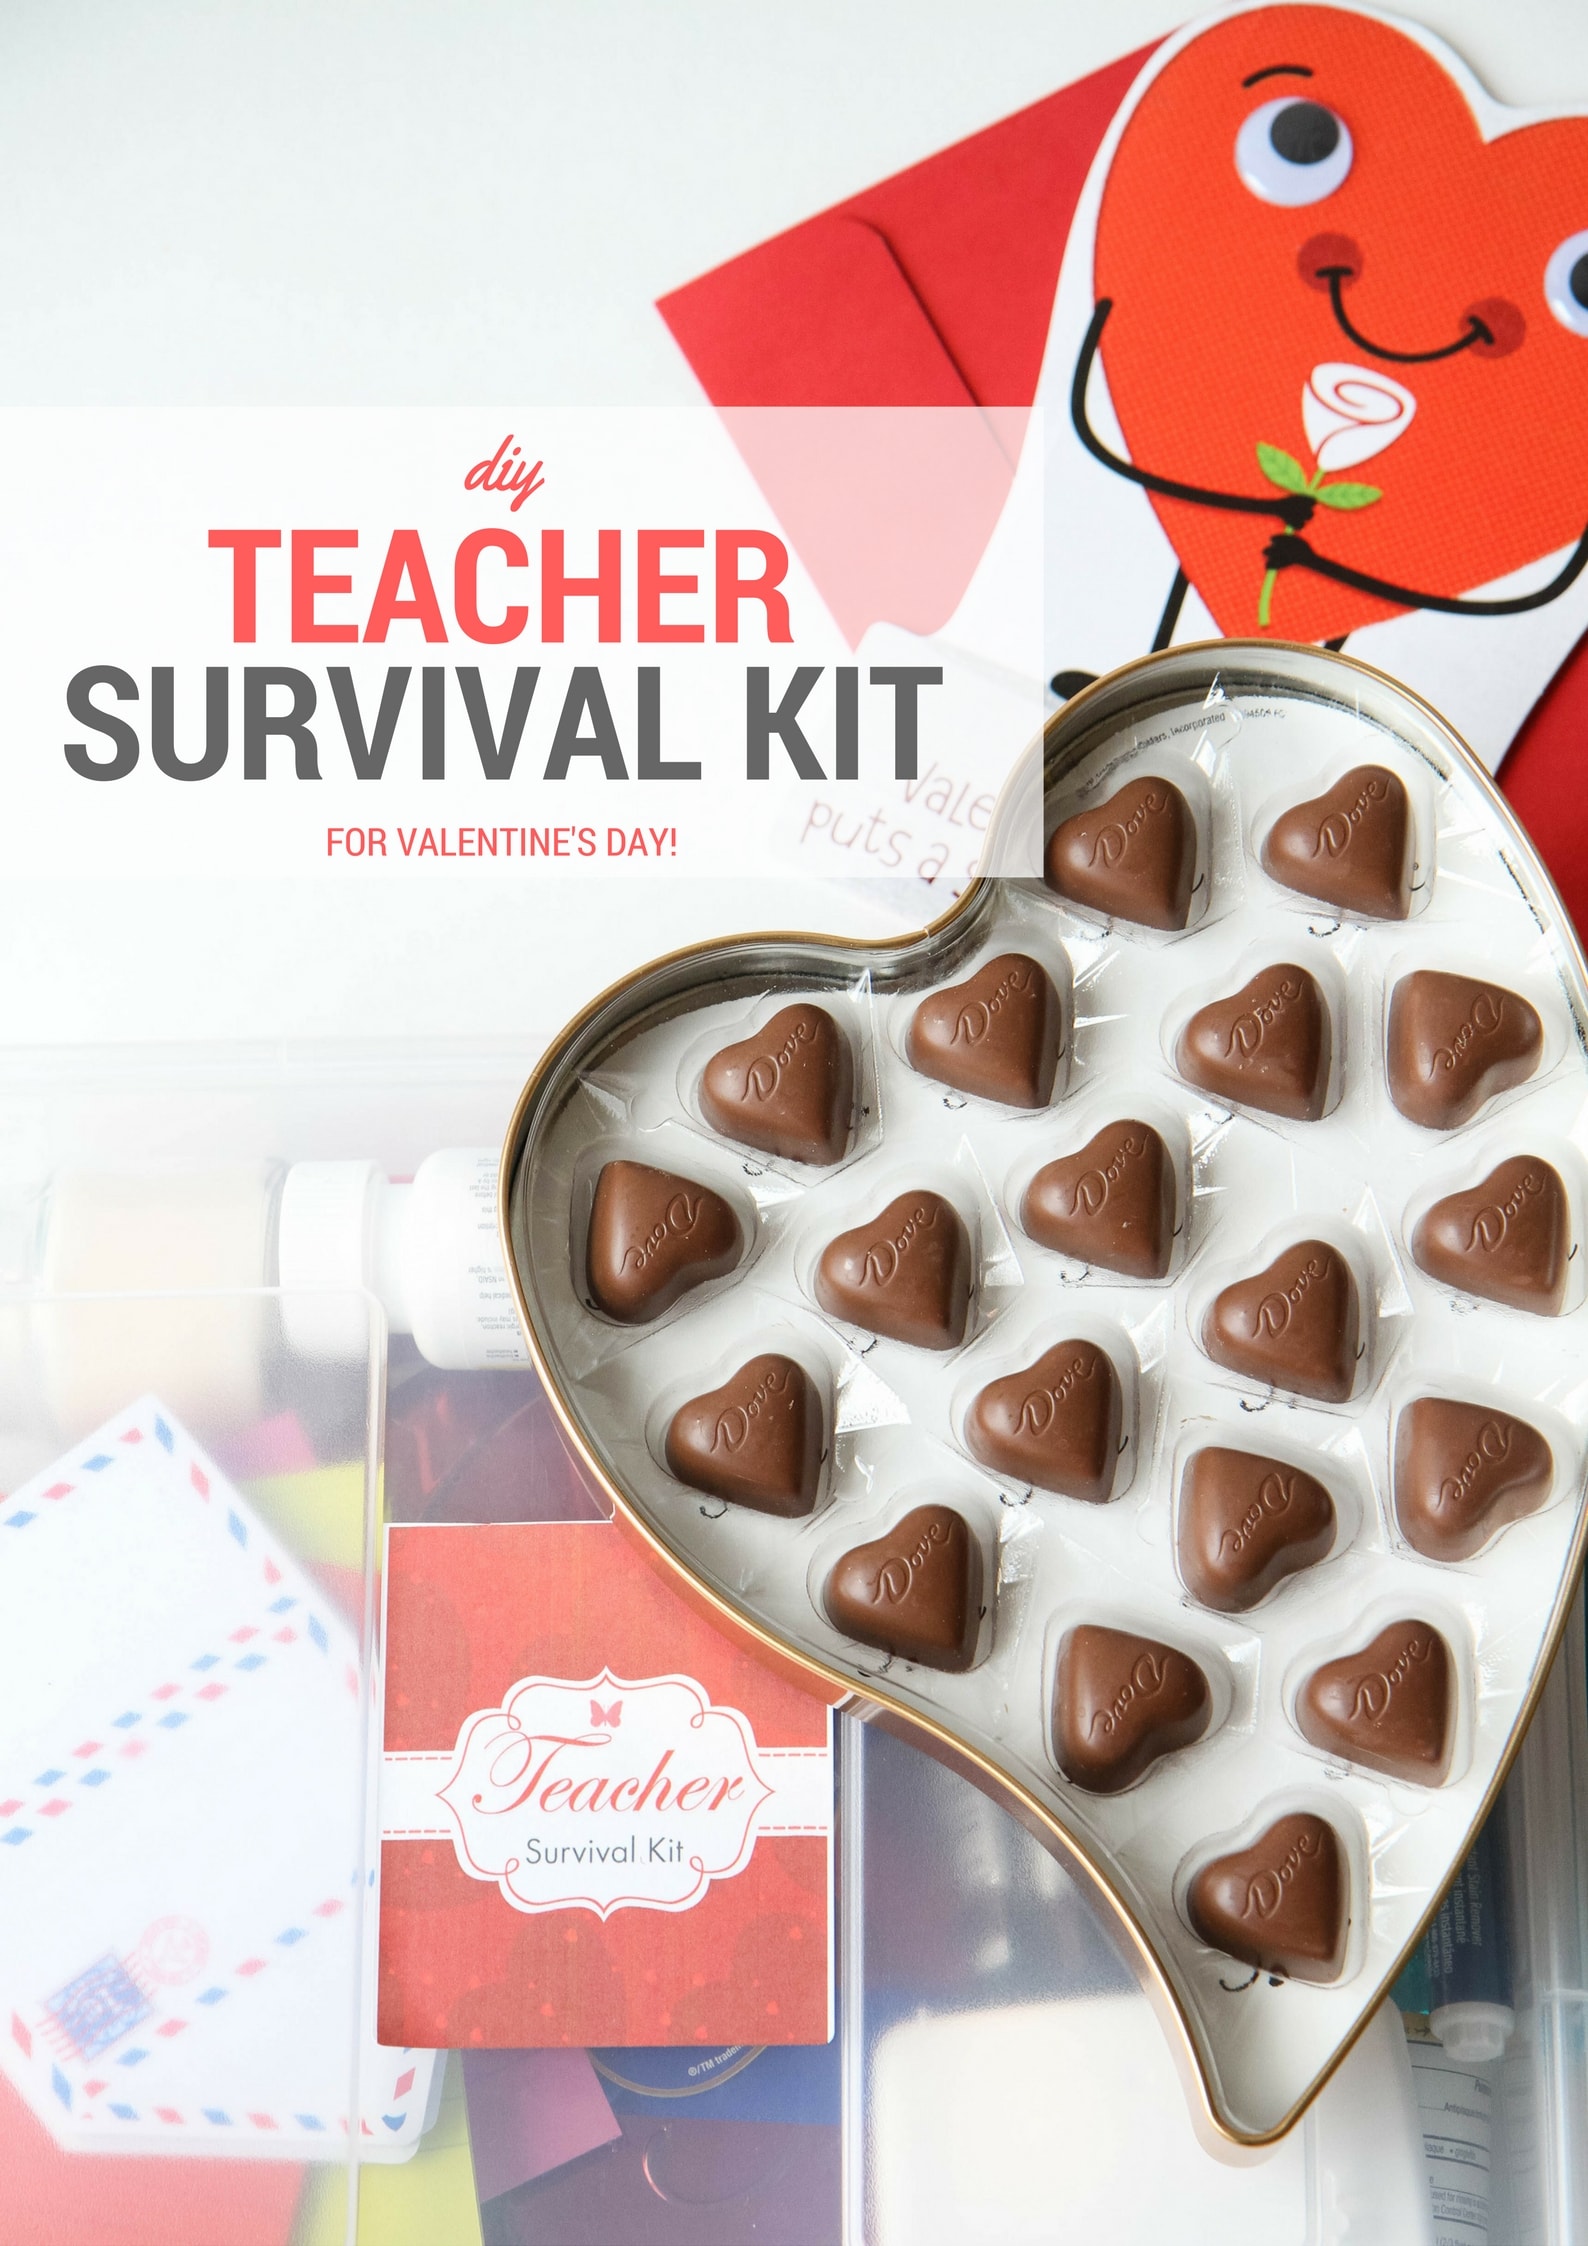
I wanted to create a fun DIY Teacher Survival Kit filled with fun supplies with things that would be useful throughout their day, as well as some fun treats to indulge in for a much deserved break. I am sure it goes without saying, but our teachers often use their own funds to keep their classrooms stocked so I love to periodically send along little gifts. This teacher survival kit is not only meant to offer a small indulgence for their hard work, but it also provides little things like note pads, antibacterial wipes, bandages, and other useful items that they might need at their desk.

How to Make a DIY Teacher Survival Kit

DIY Teacher Survival Kit Gift (FREE Printable!) from MomAdvice.com

Supplies Needed (all found at Walmart- check here to find your closest store!)

1 clear plastic container with lid (the dimensions on my container are 15″L x 11 1/2″W x 3 1/4″ H)

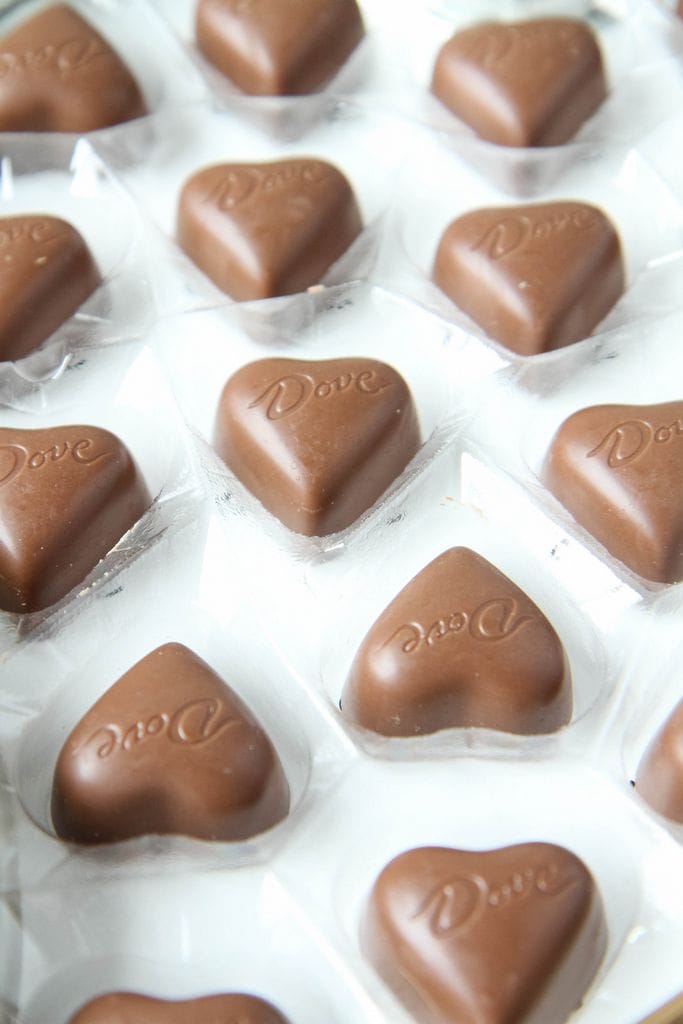
Dove® Milk Chocolate Heart Tin

Antibacterial Wipes Drink Mixes (lemonade, coffee, cocoa, etc..)

Small First-Aid Kit

Lip Balms

Small Candle Mouthwash

Lint Roller

Stain Stick or Pen

Pain Reliever

Immunity Boosters

Notepads and Sticky Notes

Check out the American Greetings Valentines Day card selection at your local Walmart, to find Valentine’s Days cards for anyone and everyone special in your life!

(scroll down for your FREE printable label!)

DIY Teacher Survival Kit Gift (FREE Printable!) from MomAdvice.com


DIY Teacher Survival Kit Gift (FREE Printable!) from MomAdvice.com

DIY Teacher Survival Kit Gift (FREE Printable!) from MomAdvice.com

Directions for DIY Teacher Survival Kit Gift

1. Go to your local Walmart and visit the storage container section of the store first to select a container for your project. Having this first will help guide you as you make your selections to fit in your kit. Fill the container as you go with all of your purchases to make this Valentine’s gift special for your favorite teacher with the supplies list I have provided.

2. Assemble your container with your purchases, placing the Dove® Milk Chocolate Heart Tin in first to build your supplies around it.

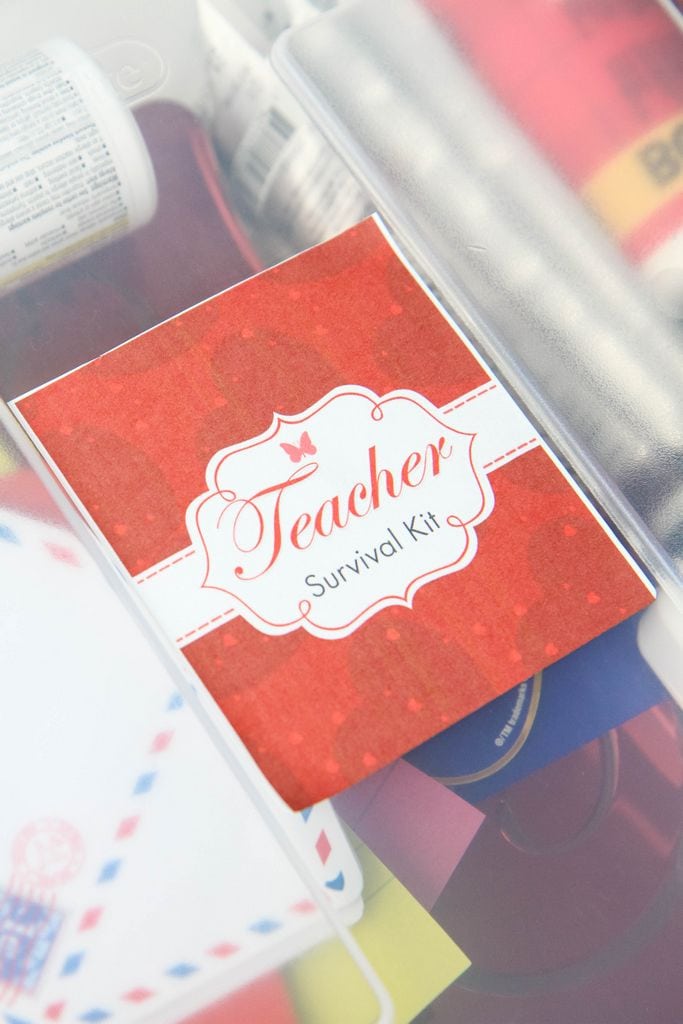
3. Print our Teacher Supplies Kit label out for the top (link below). You will need to do just a tiny bit of trimming around it to trim off a little of the negative space on this one. Remove the sticker from the backing and secure it to your container.

4. Finish this project with a heartfelt message for your teacher to let them know how special they are.

DIY Teacher Survival Kit Gift (FREE Printable!) from MomAdvice.com

DIY Teacher Survival Kit Gift (FREE Printable!) from MomAdvice.com

DIY Teacher Survival Kit Gift (FREE Printable!) from MomAdvice.com

I can’t think of a teacher that wouldn’t appreciate a gift like this. I am thankful every single day for the teachers that are shaping my kid’s minds. As I see them blossom into such kind and thoughtful people, I know I can attribute it to their excellent influence.

Consider this Valentine’s Day the perfect opportunity to thank a teacher in your life!

Download Your Teacher Survival Kit Label (click the link below!)

Free Teacher Survival Kit Label

This post was created in partnership with MARS, Inc and American Greetings. Thank you for supporting the companies that support our site! 


Pin It