The holidays, while lovely, can be a stressful time of year. I don’t know about you, but each day has been filled with a running to-do list, a million activities, and a lot of food preparation.
Oh, and science fair.
For the love.
I will confess that I have NEVER had an issue with self-care, but I will also confess that my idea of self-care has evolved so much over the years.
Today I wanted to share with you 5 ways I make self-care a priority around the holidays and I would love to hear how you make self-care a priority in your life.
Take a “Sick Day” Once a Week
An epiphany came to me the last time I got sick. I spent an entire day at home sleeping, but wished that I was able to have a day like that when I was well and could really enjoy it. I decided to implement a once-a-week “sick day,” where I allow myself to enjoy a day just for me.
On this day, I rarely get out of my pajamas, I read all day, watch my favorite shows, don’t check email, take a nap, and indulge in crafty classes to allow space for creativity. In the evening, I do not do housework or make dinner (thank you, loads of leftovers!).
It is my FAVORITE day of the week and, believe me, if anyone interferes with mom’s “sick day,” it has to be moved to another day. I crave this day to myself.

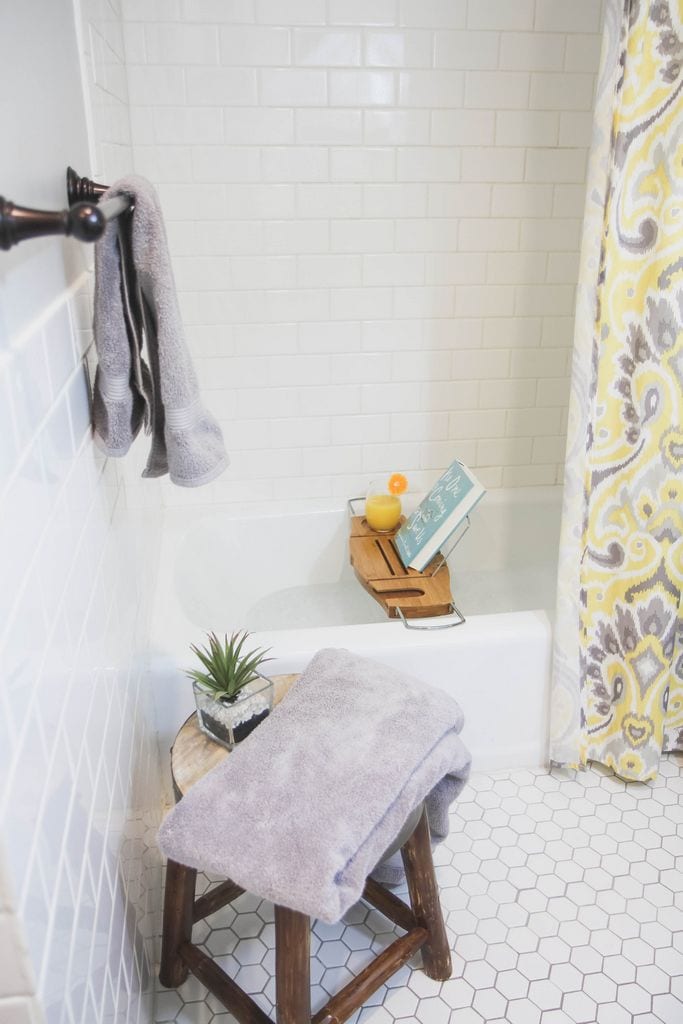
Indulge in a Rewarding Soak
Is anybody else crazy about magnesium and all of its benefits on the body? Adding an Epsom soak to my daily routines has been incredibly beneficial to my body AND to my mental health. Did you know that stress can be a cause of magnesium deficiency, and a lack of magnesium tends to magnify the stress reaction, worsening the problem?
The holidays can be a particularly stressful time on our bodies and contribute towards deficiencies.
In studies, adrenaline and cortisol, byproducts of the “fight or flight” reaction associated with stress and anxiety, were associated with decreased magnesium (source).
I don’t know about you, but that sounds a lot like me around the holidays!
To get the benefits add two cups of Epsom salts to your bath and soak for 15-20 minutes in warm water. While you are doing this, combine it with other healthy habits:
Meditate- Add an app like Headspace to your phone and use this time to deeply breathe and meditate. They have a ten-day free beginner program that you can use to give meditation a try. This is the perfect time to give it a spin!
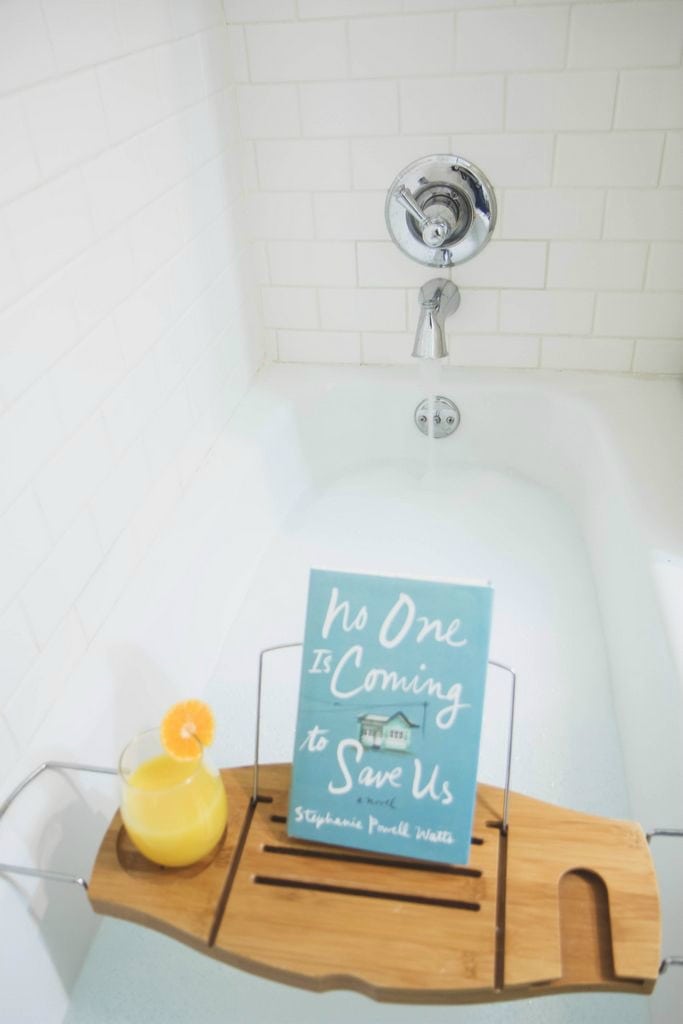
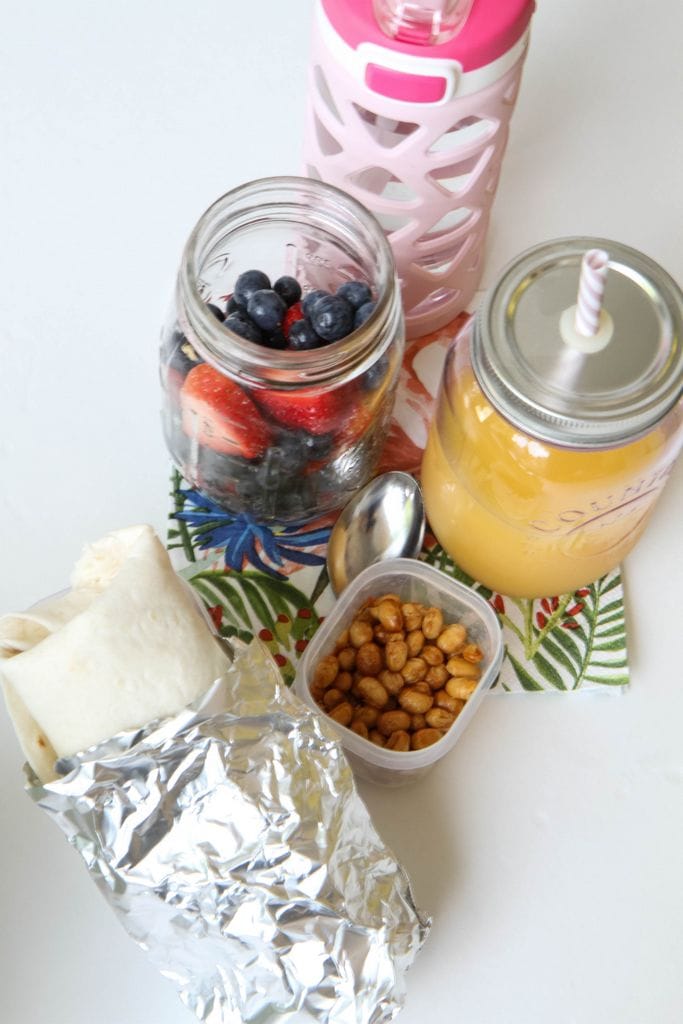
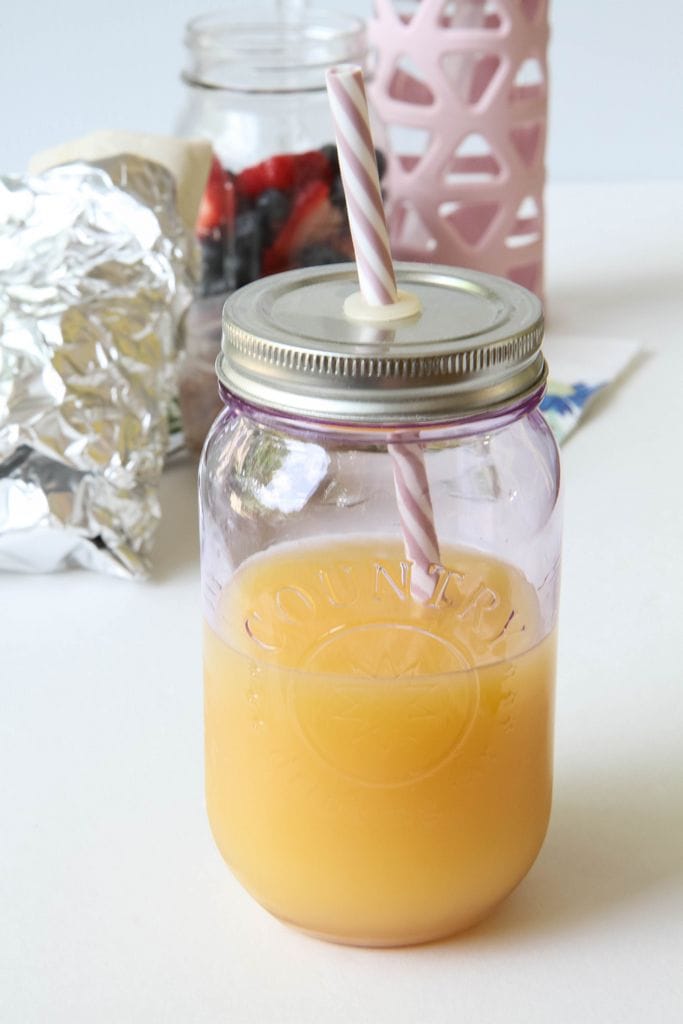
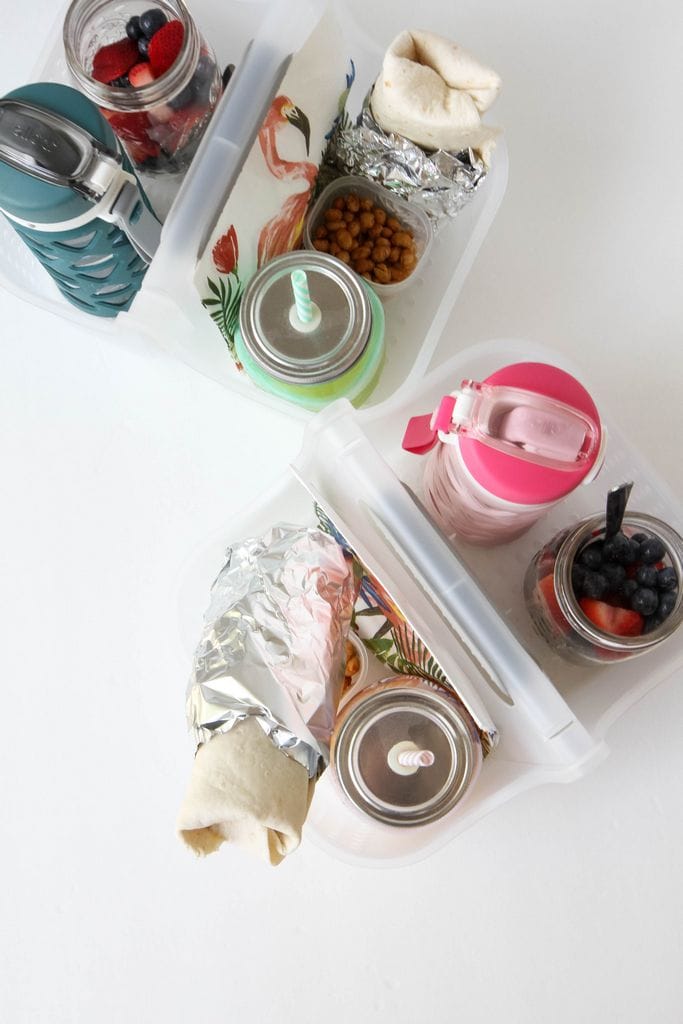
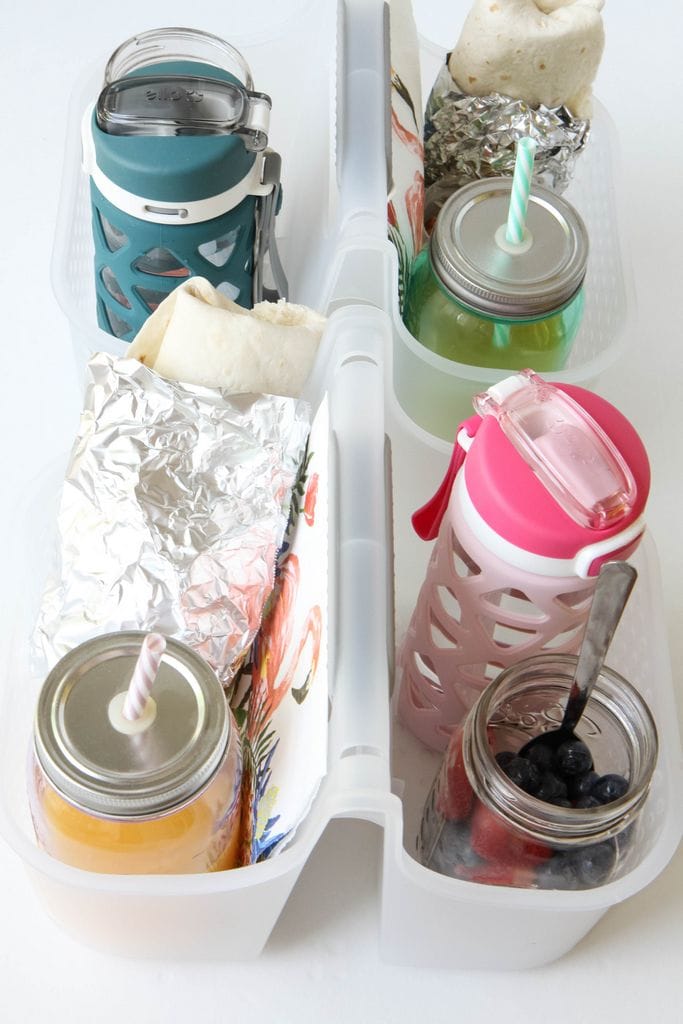
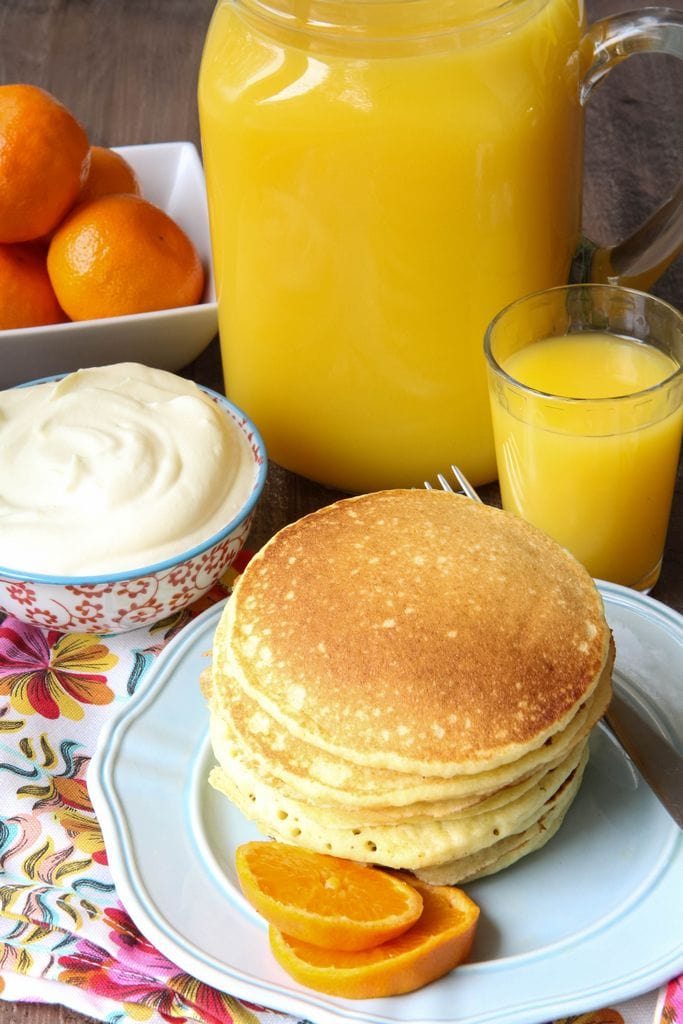
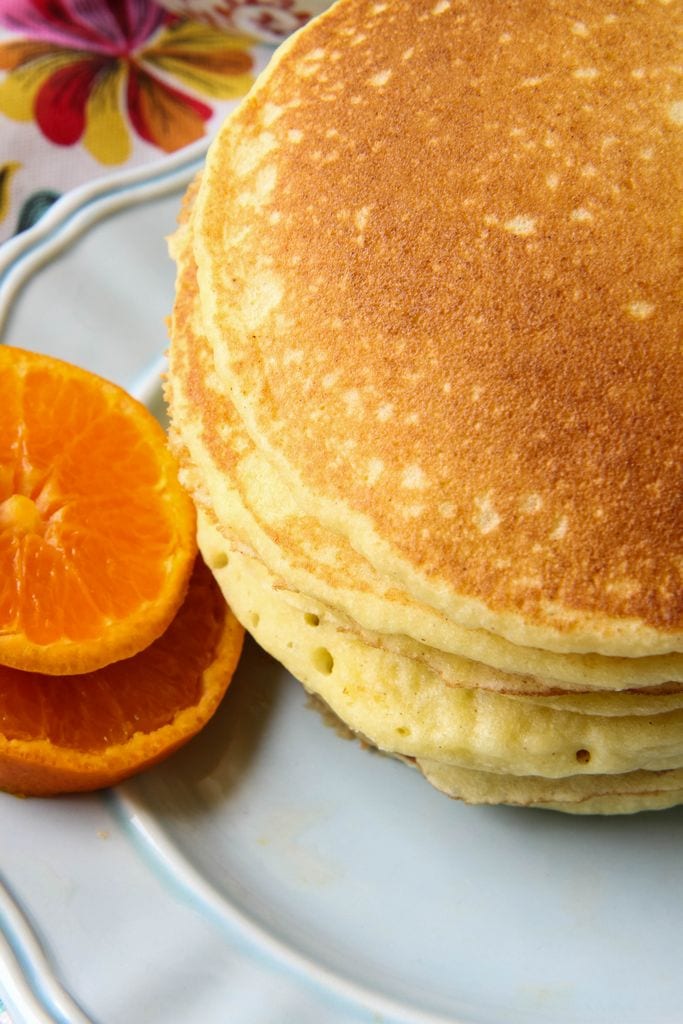
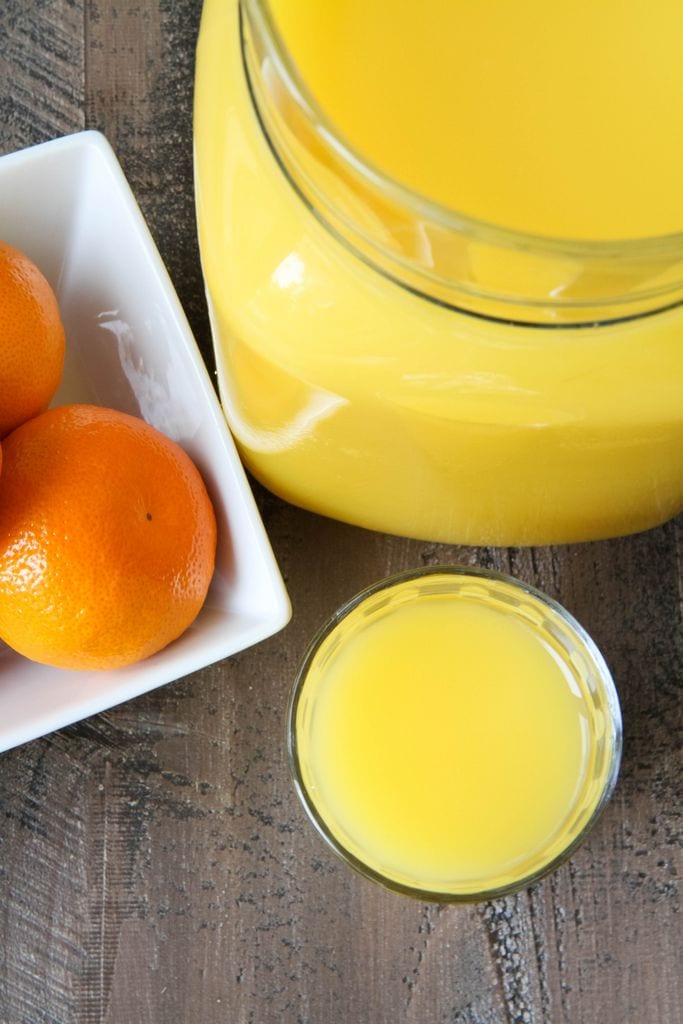
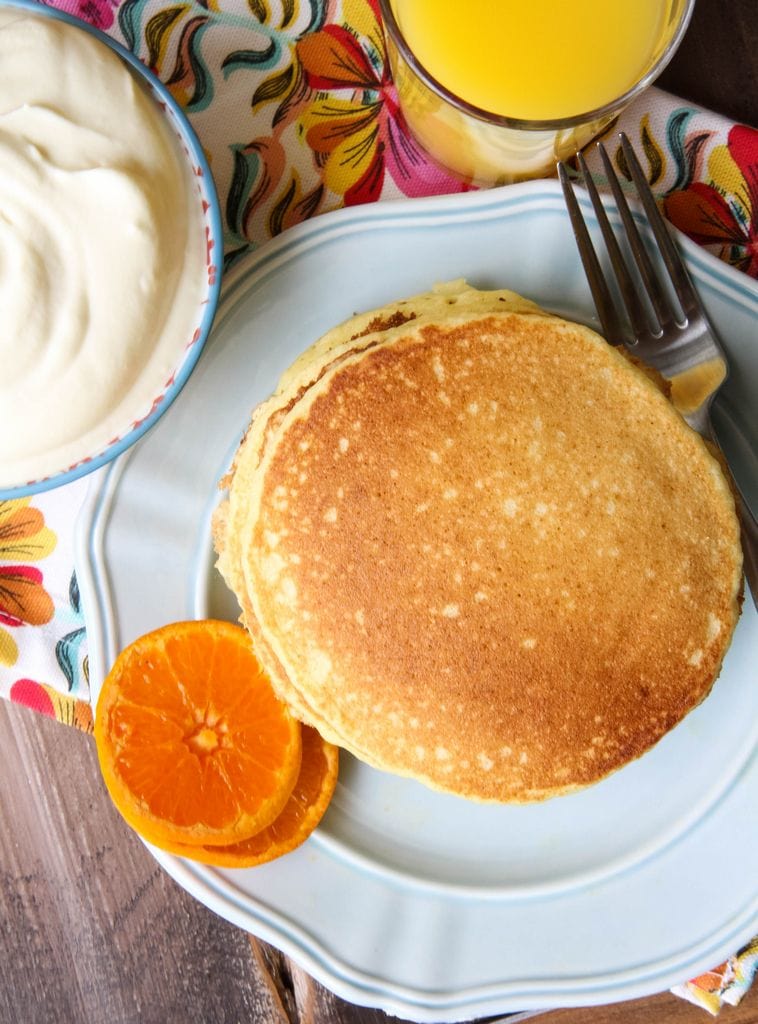
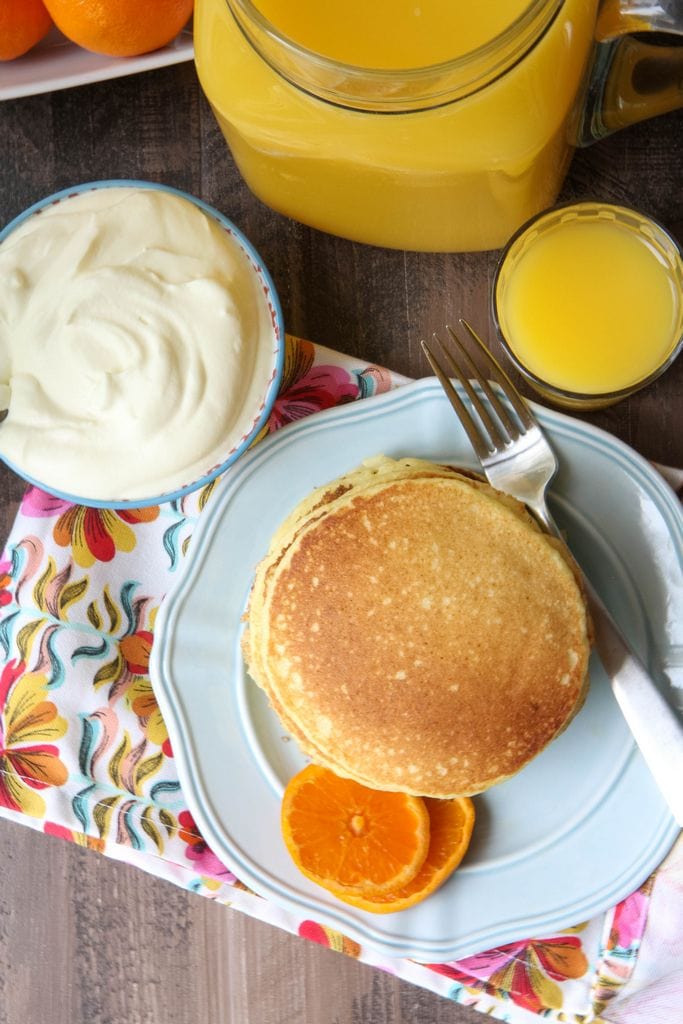
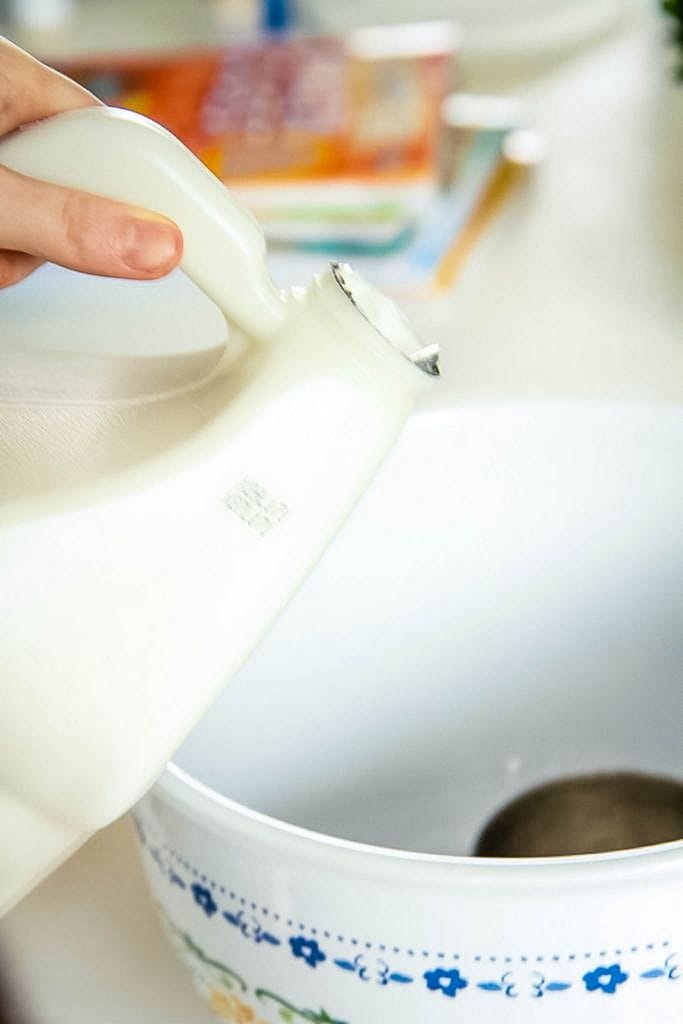
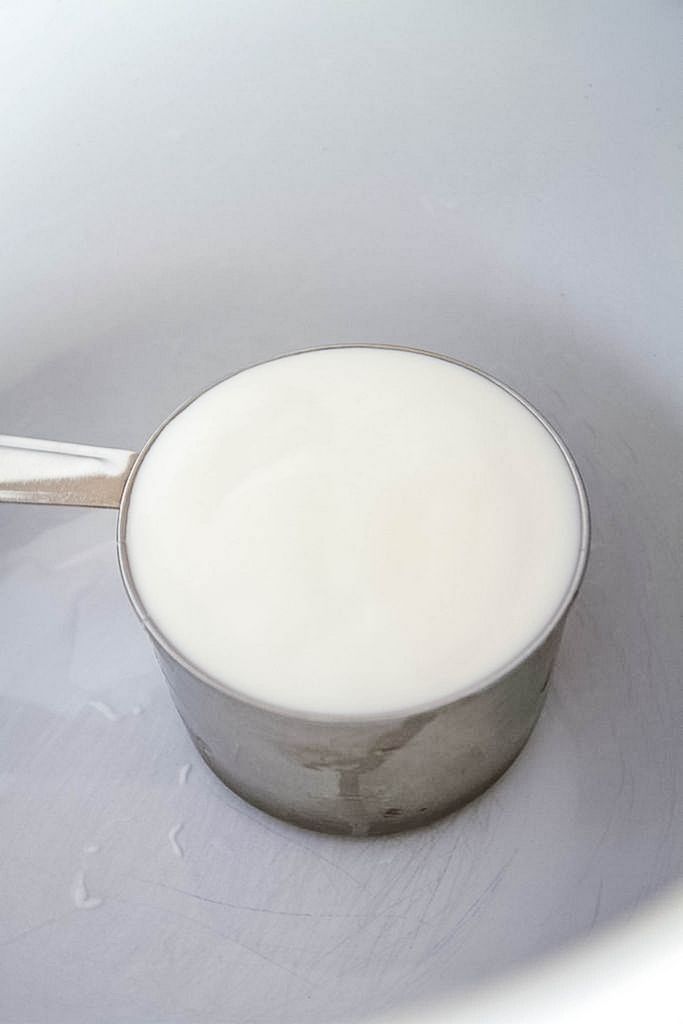
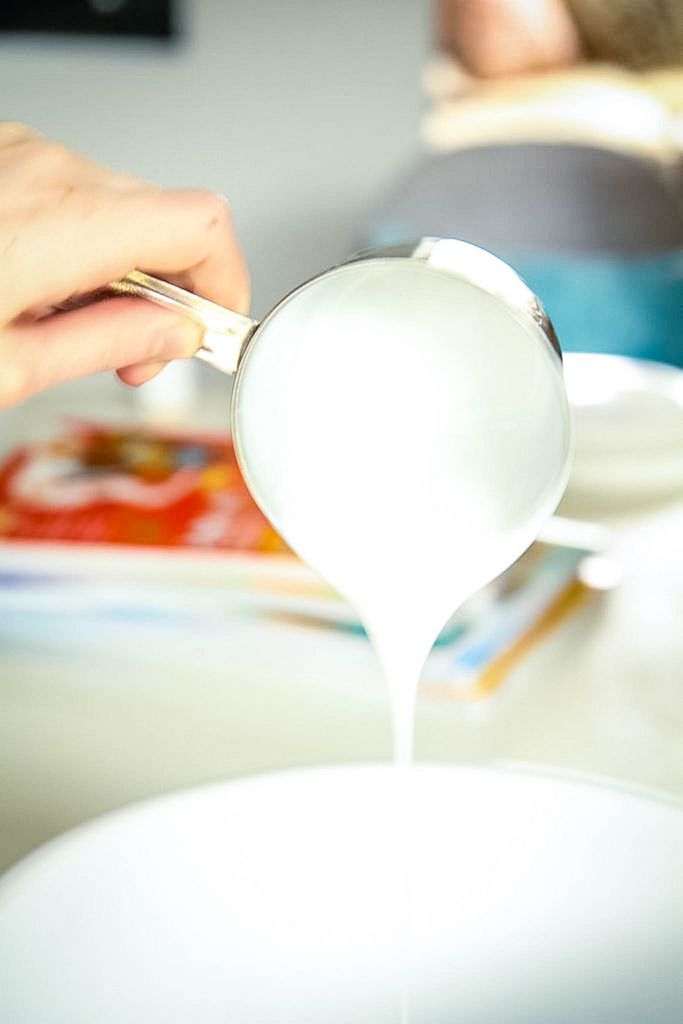
Add a Smart Beverage to Your Routine- Coffee can dehydrate the body so try replenishing it with a glass of Florida Orange Juice. While you soaking in your magnesium, you can also be enjoying a glass of Florida Orange Juice. Every glass (the recommended daily intake of Florida OJ is eight ounces for adults) of Florida Orange Juice has the Amazing Five. In just one glass you have Taste, Vitamin C, Folate, Potassium and No Added Sugar. Fancy it up with a slice of orange and serve in a pretty glass to add to the experience.
Read a Book- When people ask me how I’m able to read so many books, I have to say that these soaks have been where I have done some of my best reading. A book tray has been a smart investment for this bookworm and it feels like I’m really escaping when I can dive into a little fiction.

Add Small Indulgences to Your Daily Routines
Wrapping, cooking, organizing, and cleaning are things we are all doing to prepare for the holidays. There is no reason that these routines can’t be coupled with small indulgences though, that can make the experience a little more pleasurable. I love to upgrade my boring routine to-do list items with something that brings me joy.
Wrapping gifts?
Why not belly-laugh to ELF while you are wrapping!
Doing dishes?
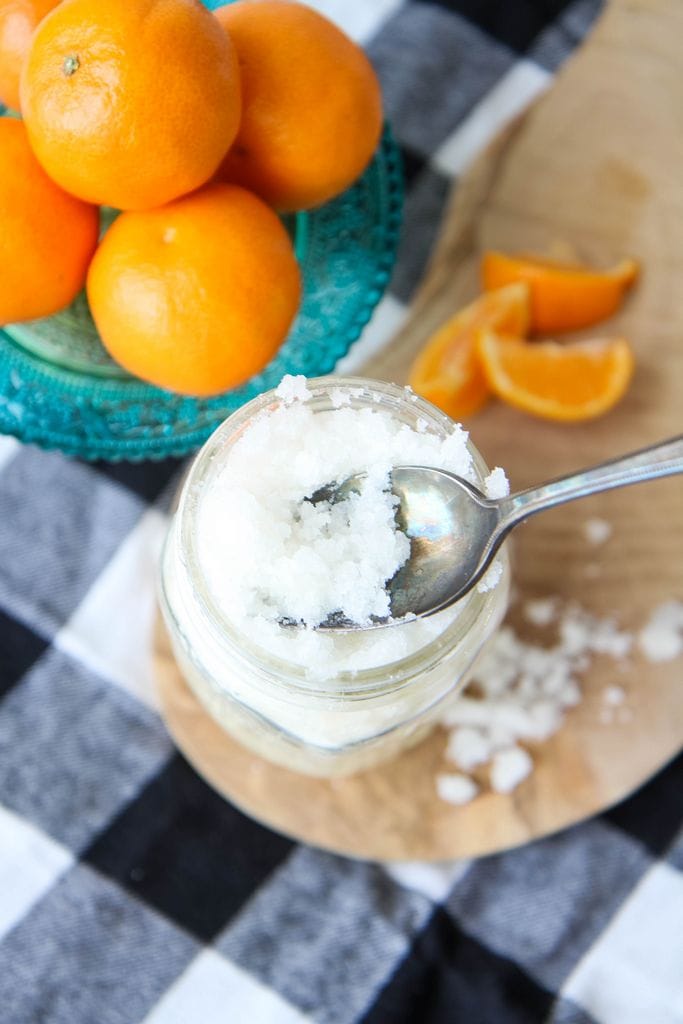
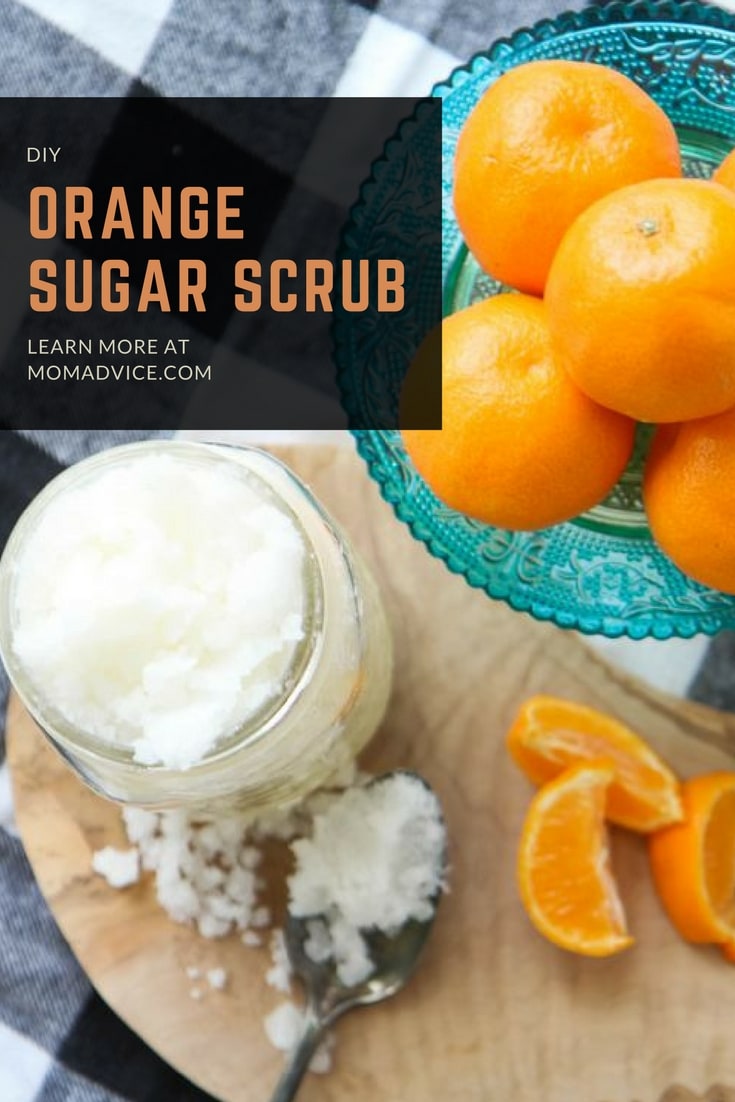
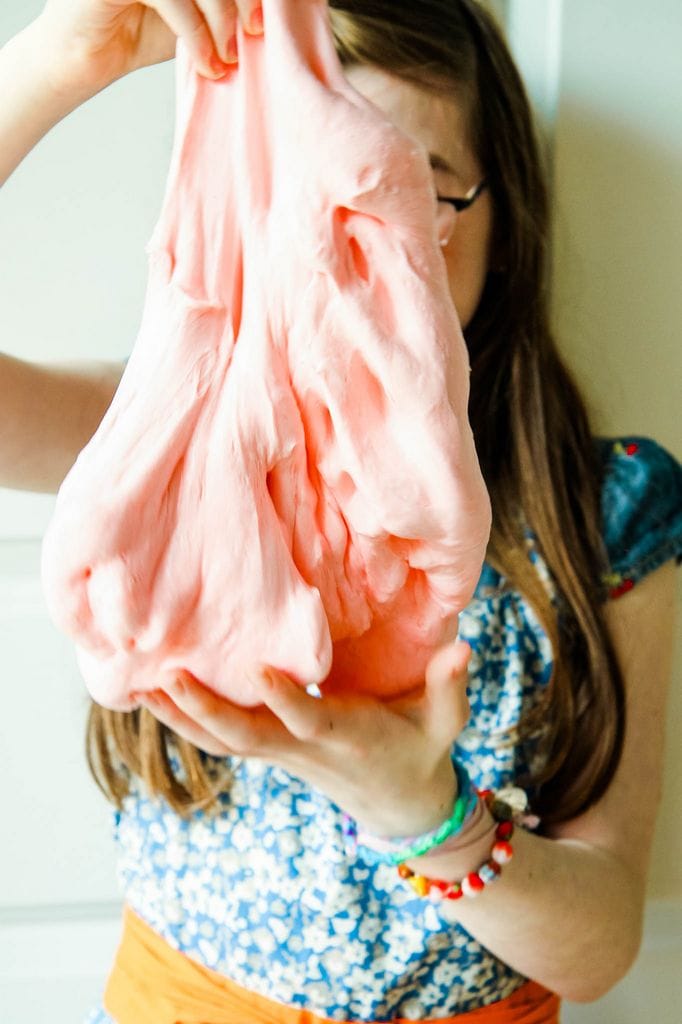
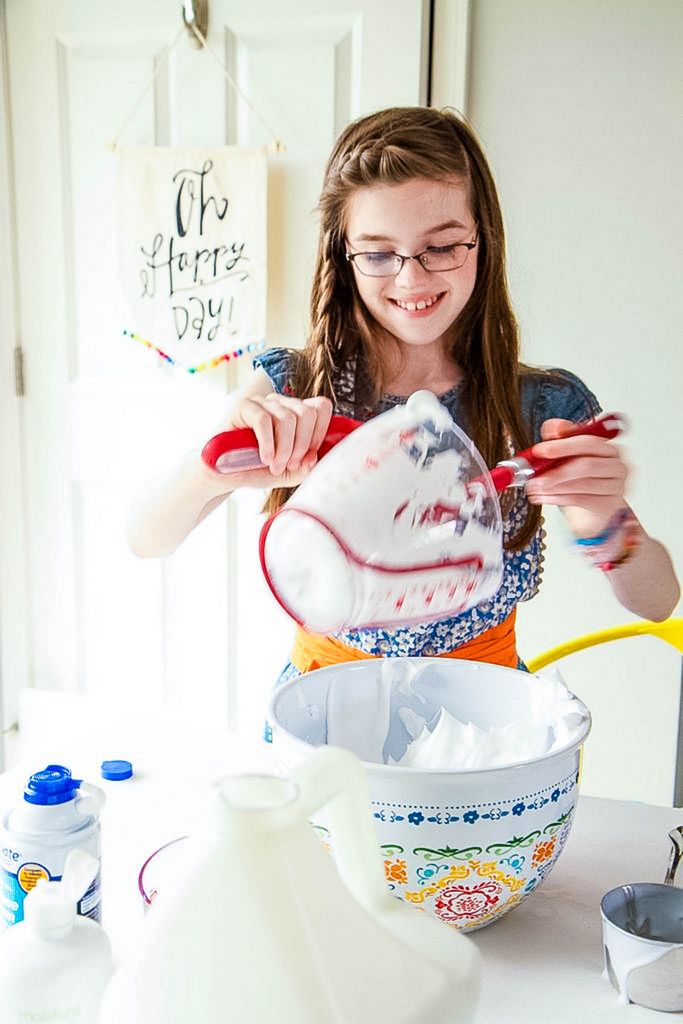
Add a jar of this diy orange scrub (recipe below) to your agenda and give your hands a little pampering.
Cleaning the house?
Snag an audiobook from your library, strap on some wireless headphones and your fanny pack (this is TOTALLY what I do) and listen to a great book while you clean.
Pairing something that’s pleasurable with something that is not makes tasks like these much more bearable!

Make Time for People
This is the season where we can get really swept away with spending and shopping. It has a tendency to pull us away from the heart of what the season is about and into a frenzy of bad spending. In fact, an alarming number of shoppers are still trying to pay off their debt from holiday shopping last year. Instead of giving so much, what if we all just spent more time on each other.
Don’t have time? I have the perfect solution!
The Marco Polo app, shared with me by my sister, is my new favorite way to communicate with the people I love. It’s essentially a video walkie talkie that allows you to send a video back and forth to talk to each other, but doesn’t require you to hop on FaceTime or Skype at the same time. When schedules are impossible to coordinate, this can be an amazing solution for a busy mom.
I now talk and see my sister and best friend every day and even have virtual wine dates with my girlfriends in town. You can even do big group video chats if you can’t schedule a coffee together! How cool is that?
I consider time with good friends and family to be an essential part of my self-care, especially as a work-at-home mom.
Focus on people, not presents!
Rethink Your Idea of Self-Care
The last thing that I want to say is that self-care is much more than these acts. I linked to this article in my notebook and I still am thinking about it. Self-care is setting healthy limitations that require self-discipline, setting healthy boundaries in relationships, not loading our calendar up so we get run down, and ridding our life of things that are negative or drain us.
Self-care means going to bed on time, giving yourself unscheduled spaces during the day, not going overboard on the food and drinks of the season, and saying no (even if we have to experience FOMO).
Did you notice that everything in this list is FREE? Self-care isn’t a treat yo’self experience that costs a lot, it is making time and space for things that help you feel emotionally and physically balanced!
Thank you to the Florida Department of Citrus for letting me share about these tips with you! Be sure to make Florida OJ a part of your daily routines to help boost your immune system during this fun season!
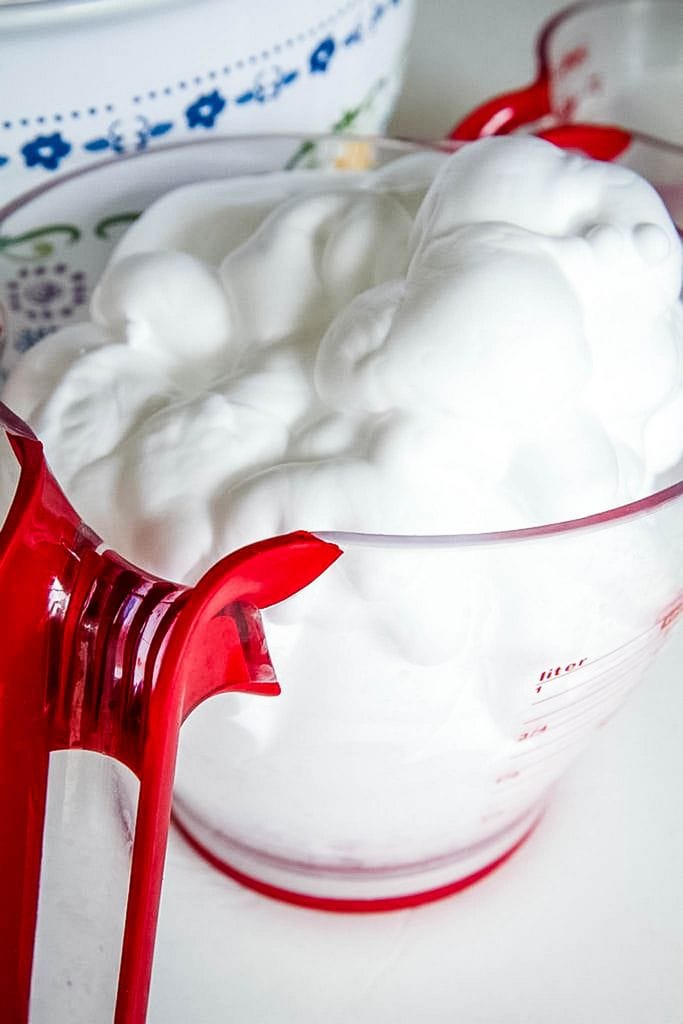
- 1 cup of Sugar
- 1/2 cup of Coconut Oil
- 1 teaspoon Orange Essential Oil ([url href=”http://amzn.to/2j6vEM4″ target=”_blank”]like this[/url])
- In a saucepan, heat the coconut oil over low heat, until it is melted.
- In a large bowl, mix sugar, melted coconut oil, and a teaspoon of orange essential oil until fully combined.
- Scoop into a mason jar (the one in the picture has been doubled) and store with an airtight lid.
- When using, scoop a small amount into your hands, scrub gently (allowing the sugar to exfoliate), rinse, and pat dry.
This blog was sponsored by Florida Department of Citrus. Thank you for supporting the companies that support our site!
This blog was sponsored by Florida Department of Citrus. Thank you for supporting the companies that support our site!
Pin It


