Author Archive

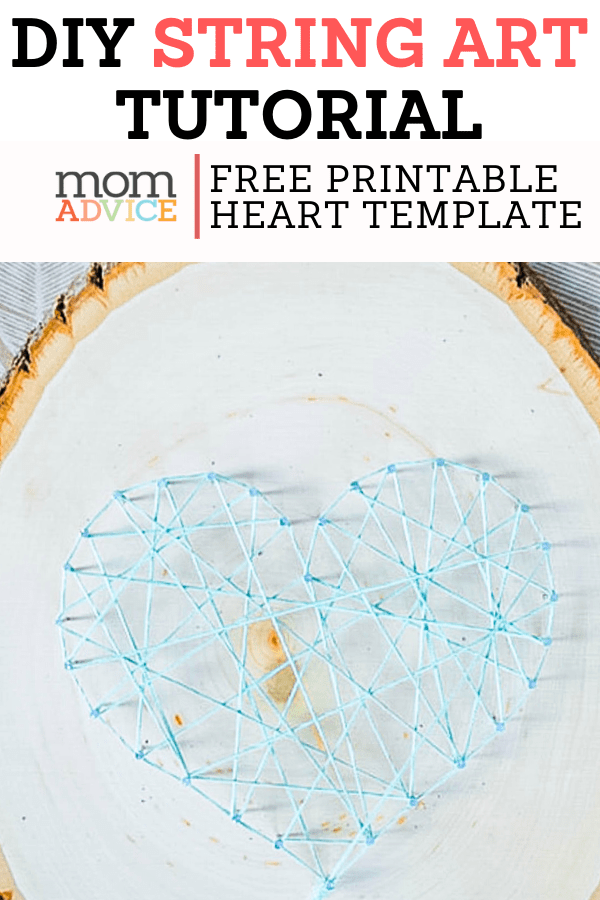
DIY String Art Pattern (FREE Heart Template)

Monday, January 20th, 2020

DIY String Art Pattern Free Heart Template Header


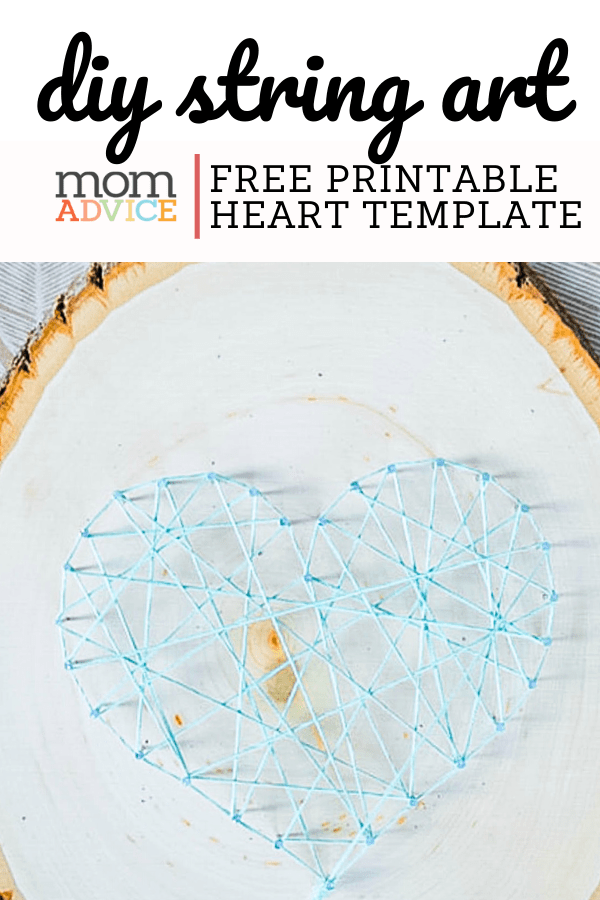
Looking for a fun craft project that is perfect for Valentine’s Day? With tiny nails, embroidery floss, and our free heart pattern, you have everything you need for your first string art project. Learn how to make your own heart shapes with this easy diy project for yourself (or for your kids).

From our contributor, Sarah Milne

I LOVE gallery walls.

We have a few areas of our home that are littered with frames filled with art and photos, kid art, faux taxidermy and monograms.

I enjoy crafting items to include on the wall to add texture and uniqueness.

We had a vacant angled wall on our landing that I’ve always wanted to do something with since we moved in.

As I collected items, frames, and art for the gallery, I also crafted a few small projects to display. 

On this gallery wall, I crafted the dream catcher (check out this dream catcher tutorial), chalkboard tag, and heart string art on wood.

DIY heart string nail art with free printable template

DIY heart string nail art with free printable template

This simple DIY heart string art on wood project is perfect for a crafternoon while baby sleeps, or an evening of indulging in creative me-time.

And, the end result is beautiful and gratifying, considering it’s quite an inexpensive project.

DIY String Art Pattern (Free Heart Template)

nailart-1

DIY heart string nail art with free printable template

DIY heart string nail art with free printable template

Supplies:

(don’t forget to use your Rakuten app to get cash back on your purchases!)


How To Make Your Heart String Art:

  1. Begin your project by printing this free printable heart template. The heart is already conveniently marked for the positioning of your nails.
  2. Place your heart template on your wood log slice. You can tape the template down for security. 
  3. On a solid surface, hammer the top and bottom nails in to keep your template from shifting. Hammer each nail into the log slice, about halfway, leaving enough space for you to wrap your thread.
  4. Hammer all of your nails along the heart’s border. Remove paper template.
  5. Tie a knot of your thread at the bottom nail head. Begin to randomly strand your tread to the nail heads, looping the thread around once. It’s important to keep tension on your thread the entire time to avoid the thread slipping or unraveling from your nails.
  6. Once you have your thread stranded over the entire heart, try to loop the end of your design at the same beginning point. Tie a knot to secure. Trim thread. I added a simple picture hanger to the back of my wood log slice for hanging.

download the free heart string art template 

DIY heart string nail art with free printable template

nailart4

nailart5

nailart6

nailart8

nailart9

DIY heart string nail art with free printable template

As an Amazon Associate I earn from qualifying purchases.

Love this string art tutorial? Here are a few other great craft projects we think you will like!
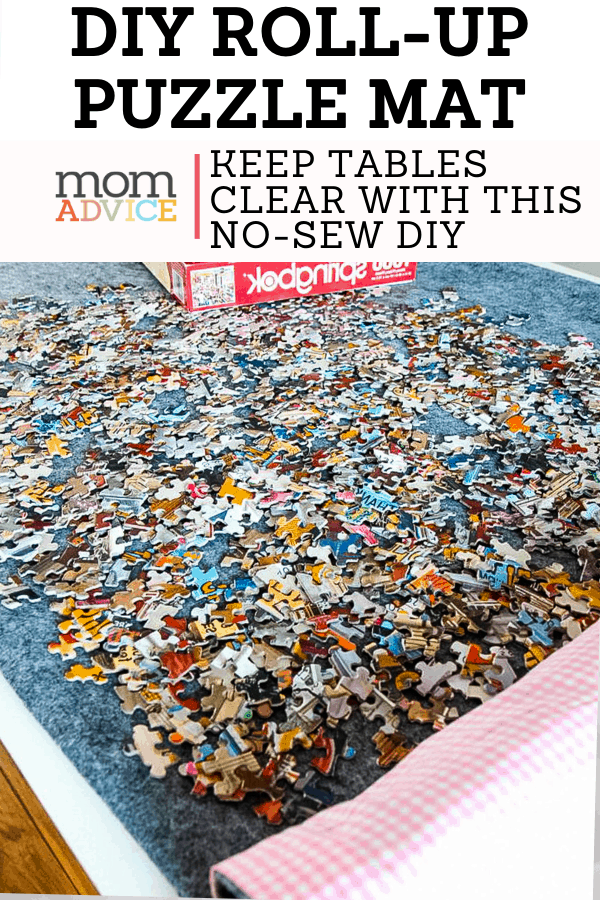
DIY Roll-Up Puzzle Mat from MomAdvice.com diy a roll-up puzzle mat to keep your tables clear
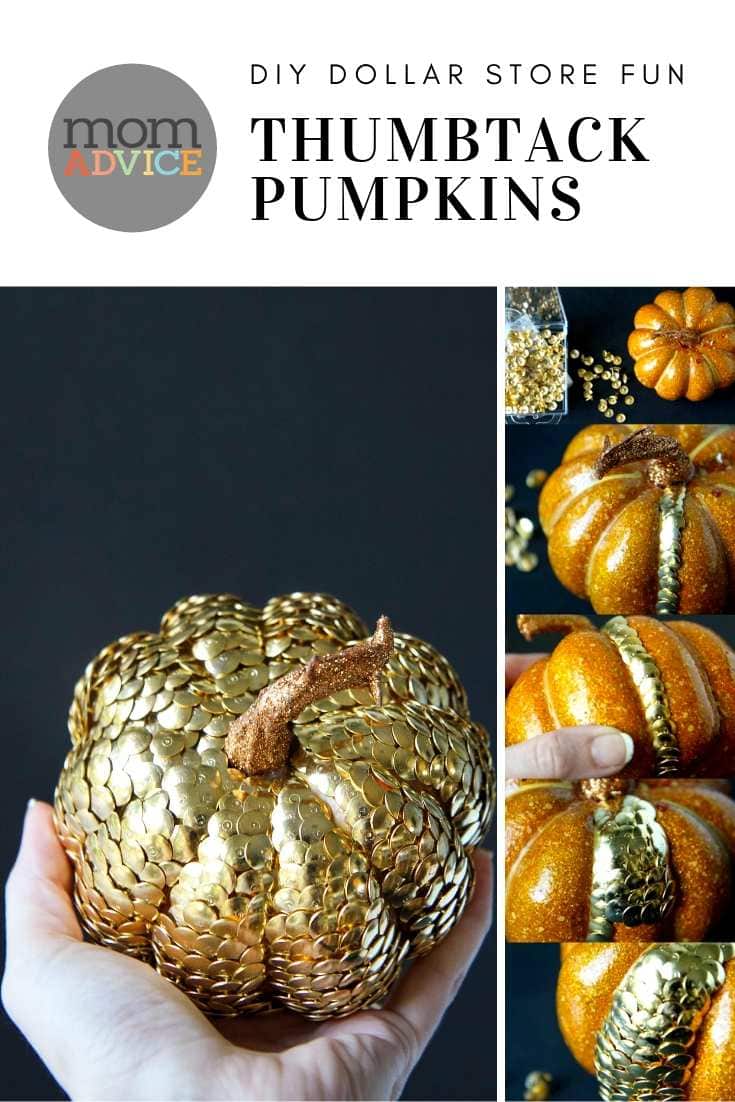
DIY Thumbtack Pumpkins from MomAdvice.com turn dollar store pumpkins into a decorative piece with thumbtacks
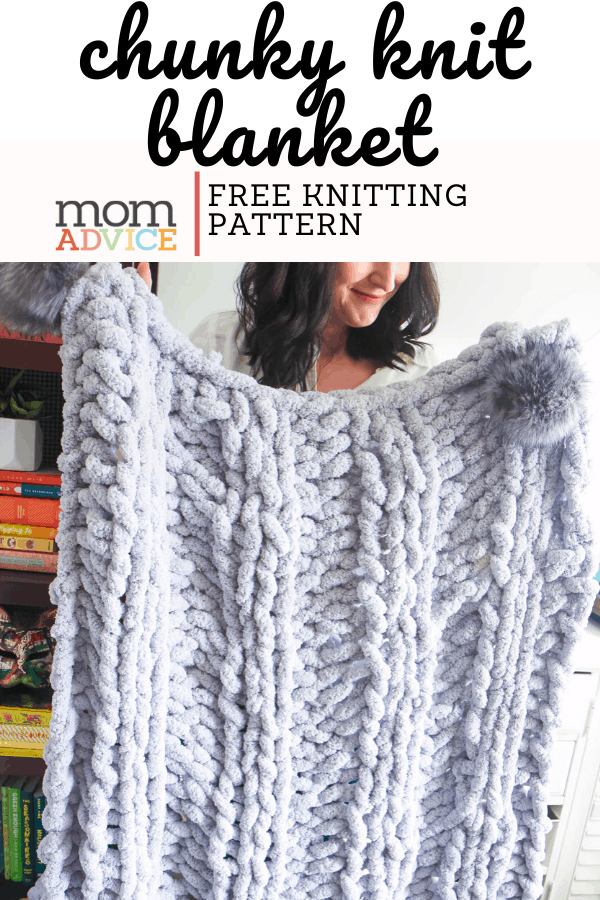
diy a chunky knit blanket with this free pattern

Happy crafting, friends!
Pin It

DIY Library Tote Bags with Free Printable Designs

Monday, July 21st, 2014

From our diy/craft contributor, Sarah Milne.

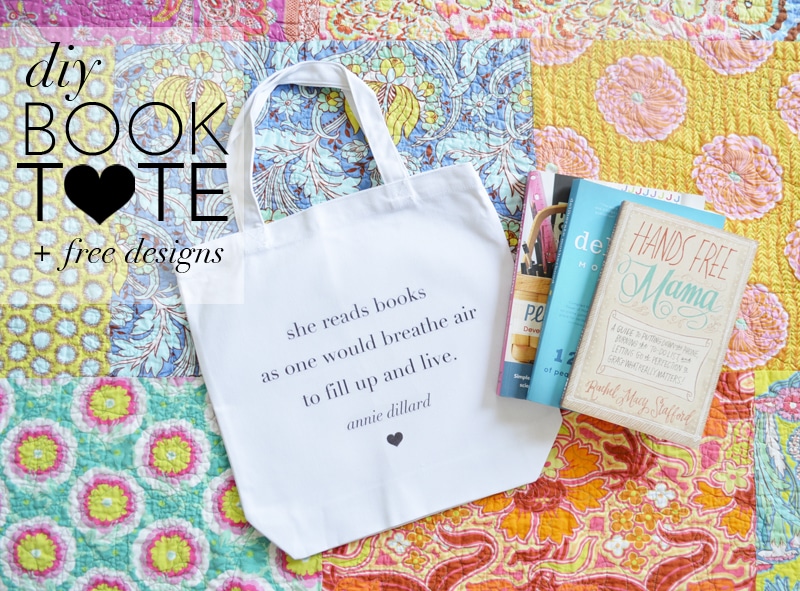
DIY Book Tote with free printable designs

DIY Book Tote with free printable designs

Our summer holidays are in full swing. We haven’t any big trips planned, but a few little adventures here and there, along with days filled with a good balance of relaxation and local outings.

One of our weekly summer activities includes a trip to the library. During the summer, it’s so important to keep those little brains stimulated. Also, my oldest is in a French Immersion school and the library is a great resource for her to brush up on her reading and language, en francais.

DIY Book Tote with free printable designs

DIY Book Tote with free printable designs
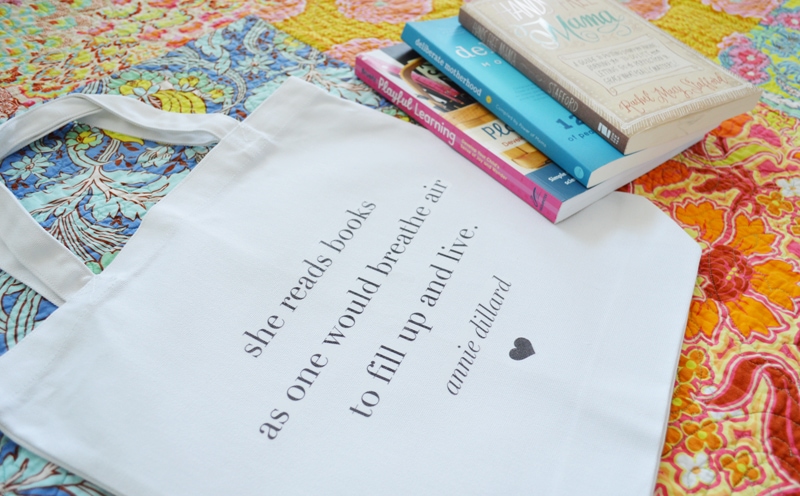
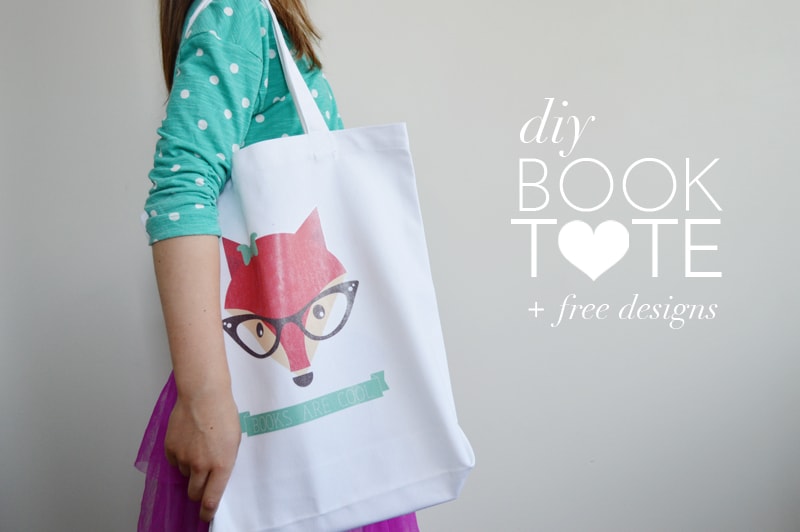
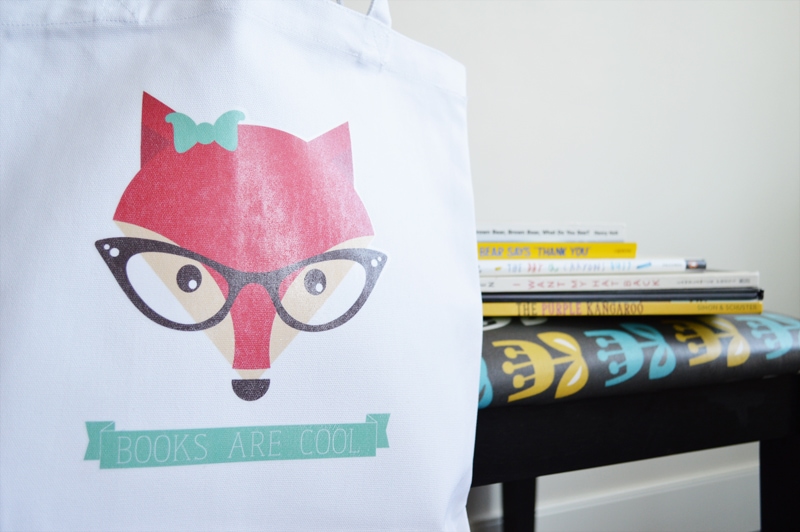
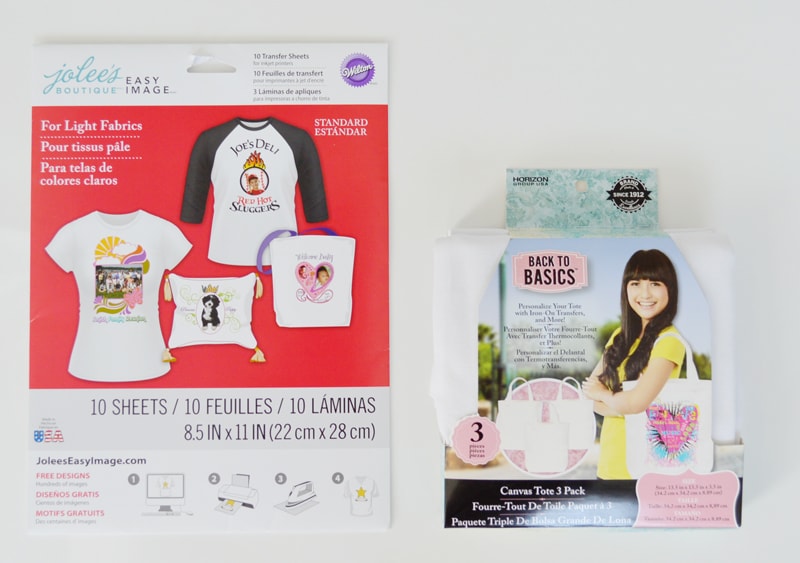
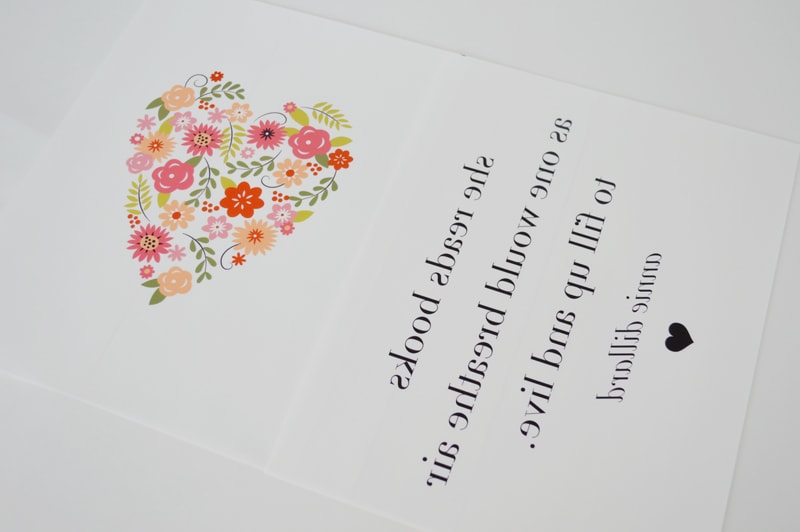
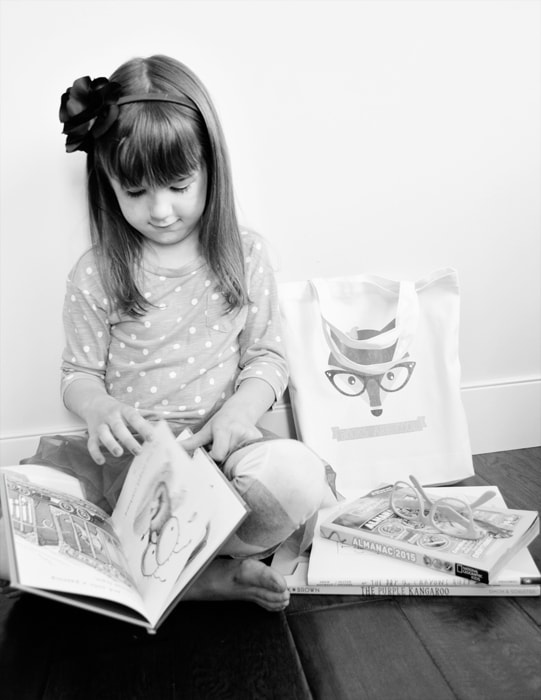
A good book bag is essential, especially when my girls seem to collect a giant stack of books each visit. I designed some awesome library totes for each of us to take along using a set of canvas tote bags from Michaels (bought with a coupon, of course), and I’ve prepared a set of printables for all of you to print and iron on your own canvas tote bags! These make for such a great gift for the book lovers in your life – there’s a grown-up quote, a floral heart and an adorable gal or guy fox to choose from.

DIY Book Tote with free printable designs

The supplies.

  • Canvas tote bag
  • Ink jet iron on transfer for light fabric
  • Free printable tote bag designs
  • Scissors
  • Iron
  • Towel
  • Hard surface for ironing

DIY Book Tote with free printable designs

DIY Book Tote with free printable designs

DIY Book Tote with free printable designs

The how-to.

  1. Download the free printable book tote designs (links to individual designs below).
  2. Following the instructions on your ink jet iron on transfer pack, print your desired design.
  3. Trim the design around it’s edges.  For the quote, trim each phrase separately.
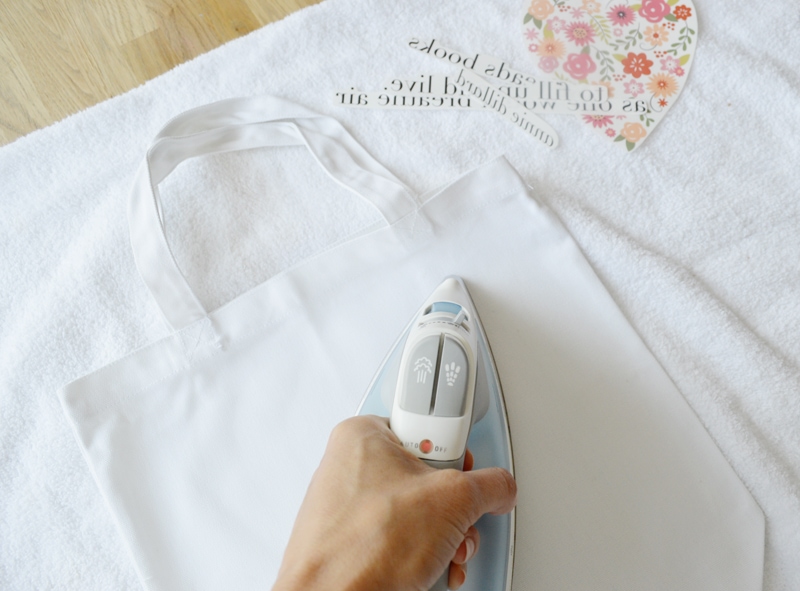
  4. Diligently iron your canvas totes before applying the transfer to make for the smoothest surface.
  5. Place your transfer in its place and iron.  Follow the instructions on your transfer pack as each varies.  I ironed my transfer repeatedly over the course of 2 minutes.
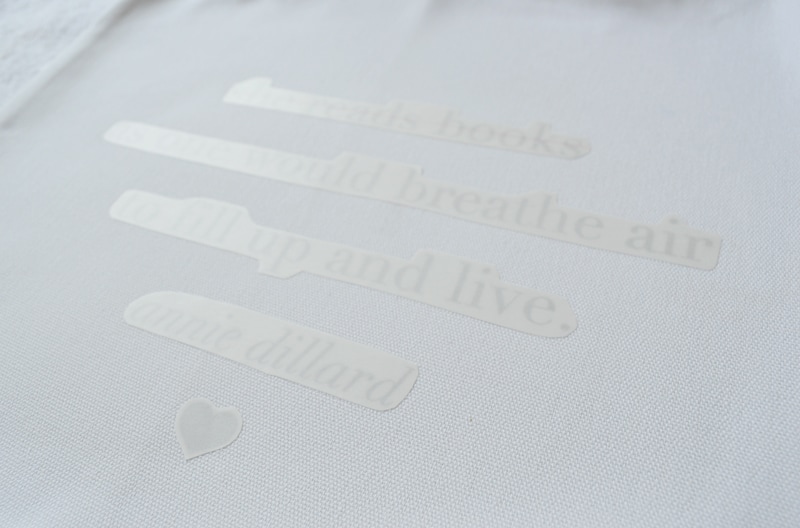
  6. Let your transfers cool completely before removing the backing.
  7. Off to the library you go!
More ideas.

  • Embellish your totes by adding ribbon ties on the handles or sewing ribbon to the handle.
  • Have your child add their own personal touch by painting or drawing on the back of their totes using fabric paint or markers.
  • Roll up your tote and tie with a ribbon and tag and gift to the book lover in your life!


DOWNLOAD free printable tote bag designs.

she reads books quote tote bag design

floral heart tote bag design

gal fox books are cool tote bag design

guy fox books are cool tote bag design

DIY Book Tote with free printable designs


Pin It

DIY Herb Garden and Garden Markers

Monday, June 16th, 2014

From our diy/craft contributor, Sarah Milne.

DIY Herb Garden with DIY Herb Markers
After a very long, cold winter here in Calgary, we’ve been graced with beautiful sunshine. I think we actually skipped Spring and went straight to Summer here. My children use every ounce of warm sun outside in the backyard jumping on the trampoline and blowing bubbles. And our yard work and landscaping projects are in full swing.

DIY Herb Garden Markers 2 ways
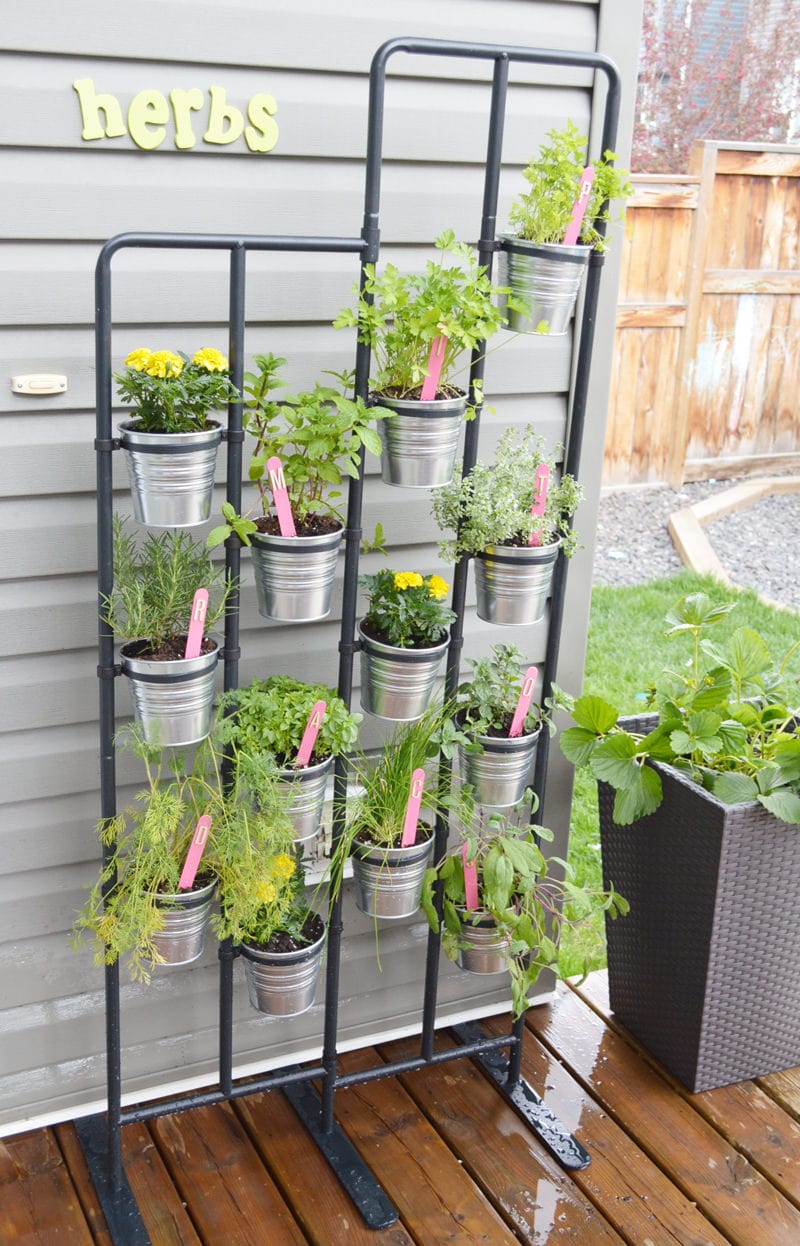
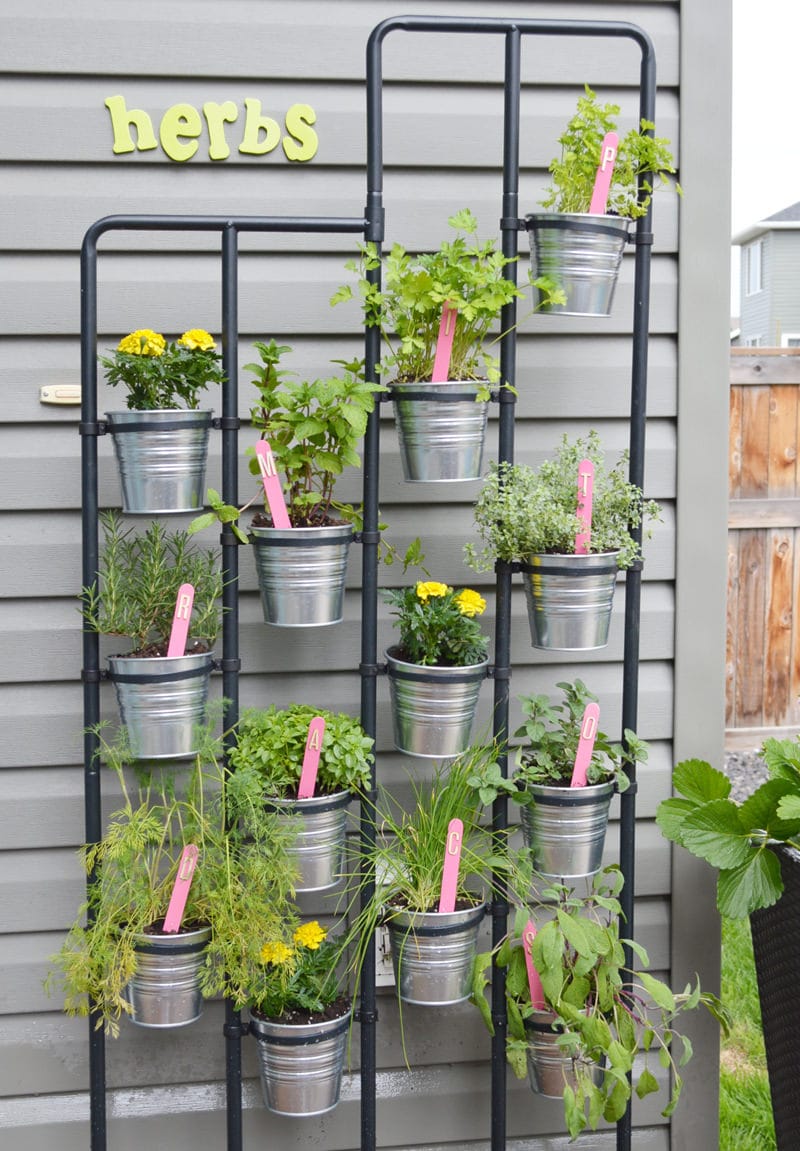
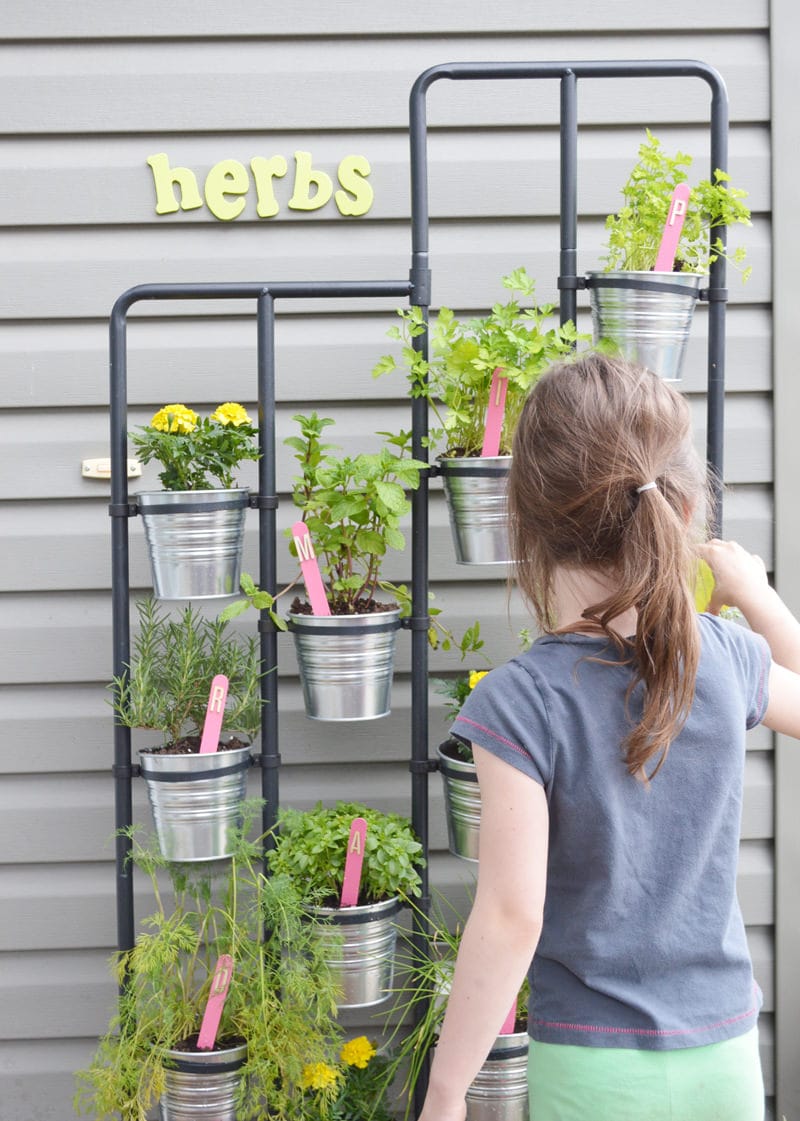
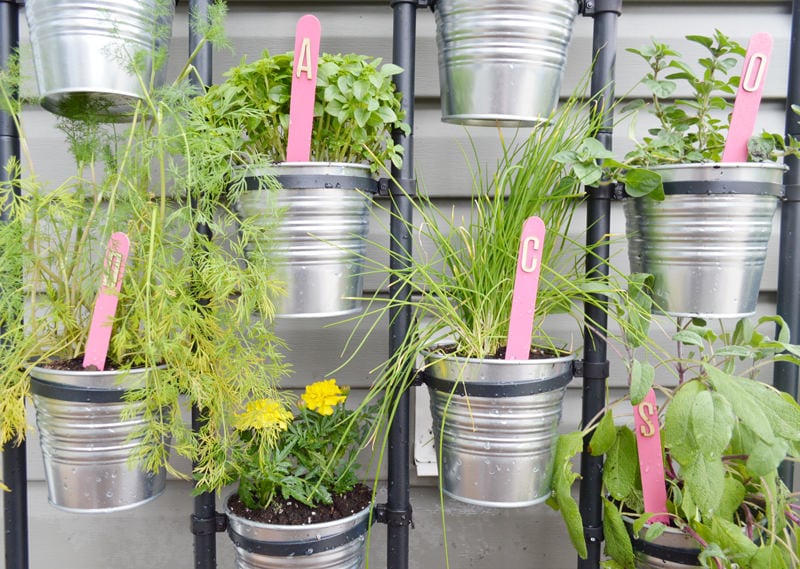
This past week, while my husband worked on building a bench and planter for our deck, the girls and I worked on our herb garden. The IKEA Socker plant stand is the perfect addition to our outdoor space, home to 10 potted herbs and 3 marigolds for each of my children. I purchased the full grown herbs because frankly, I’m impatient. The Socker was easy to build, stands next to our back door, and the base tucks under our vinyl siding for added support so it won’t topple over in a strong wind.

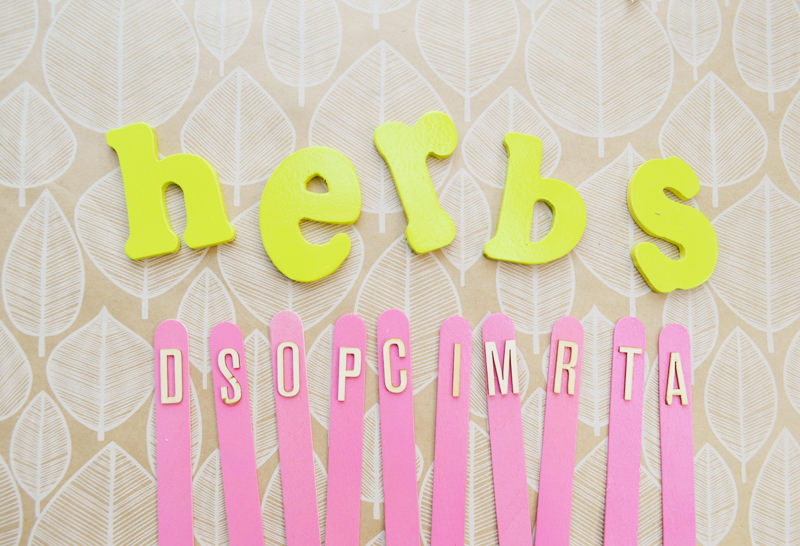
Above the stand, I spray painted some little letters I found on clearance at Michaels. They’re attached using some heavy duty outdoor double sided tape and so far, they’ve survived the heat and a handful of thundershowers.

IKEA socker herb wall

herbswall-5

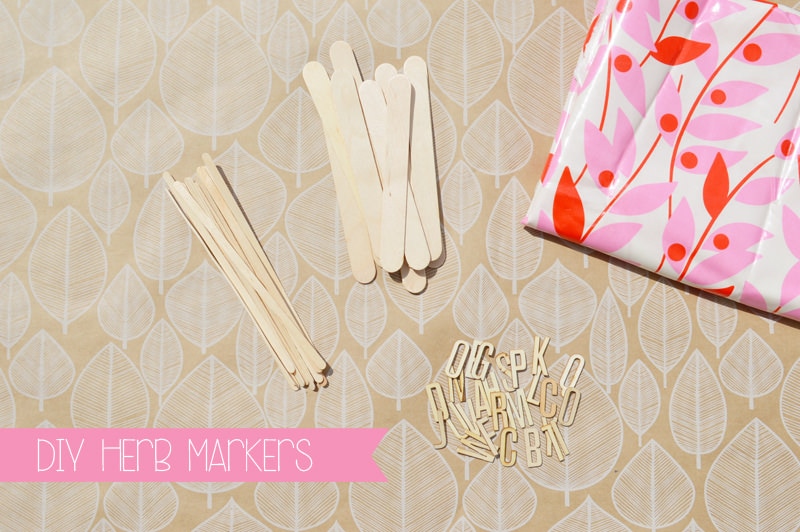
DIY Herb Garden Markers Supplies
We crafted two sets of fun, DIY herb markers – one for keeps and one to gift. Here are the steps to create your own diy herb markers:

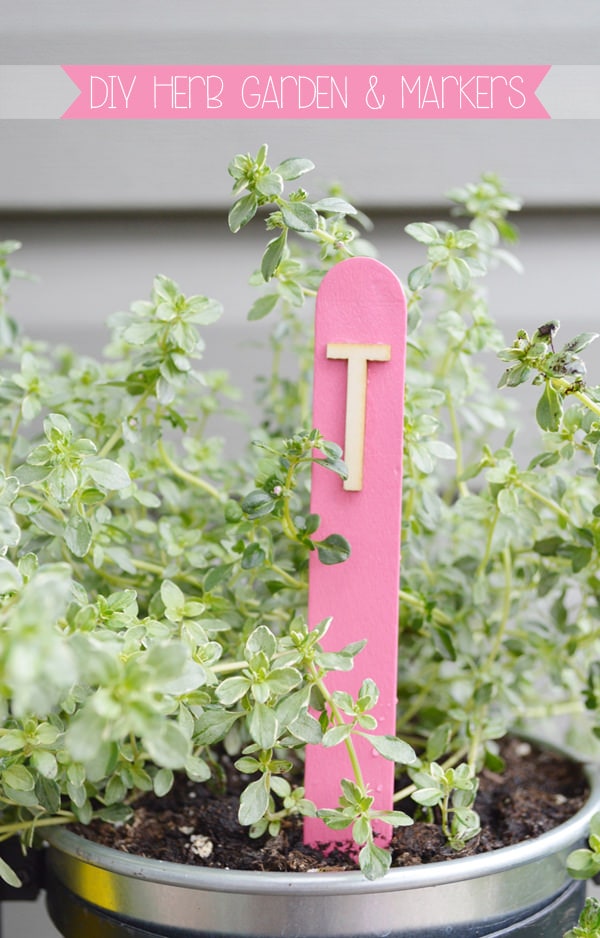
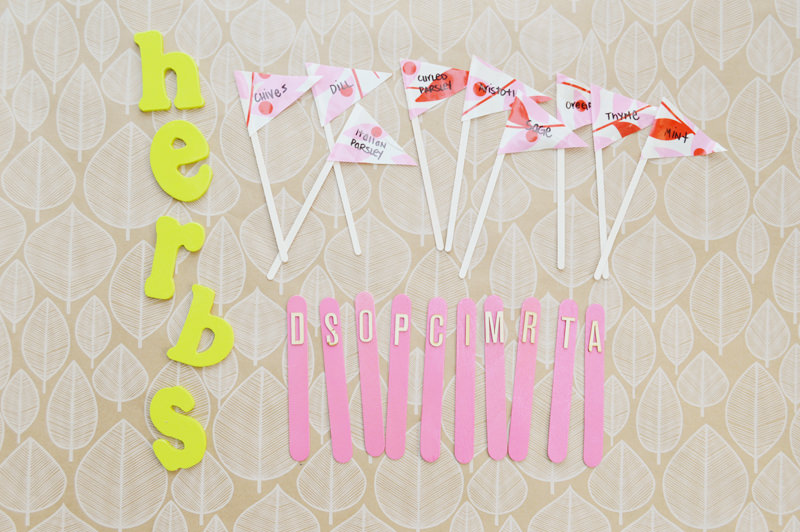
1. Herb Garden Markers : Monogram Popsicle Sticks

What you need:

Jumbo wooden popsicle sticks
Spray paint: we used bubble gum pink from our garage
Wooden letters: Michaels scrapbook section
Gorilla glue

What you do:

1. Spray paint the popsicle sticks. I only painted one side.
2. Let dry.
3. Glue monogram letters to the popsicle sticks to represent each herb. Luckily I hadn’t any duplicates with the same letter. Let dry.
4. You can also jot down what the herb’s full name is on the back of the stick using a sharpie.
5. Stick the garden markers in your herb pots.

DIY Herb Garden Markers 2 ways

2. Herb Garden Markers : Vinyl Flags

What you need:

Vinyl fabric
Wooden coffee stir sticks : dollar store
Spray paint: we used cream white from our garage
Ruler, paper, scissors, or fabric cutter
Sharpie
Gorilla glue or hot glue

What you do:

1. Spray paint the stir sticks. I only painted one side.
2. Let dry.
3. Create a triangle template for your flag from the paper.
4. Cut your triangles from your vinyl fabric using your template.
5. Write your herb names on each flag with sharpie. Let dry.
6. Adhere the flags to the stir sticks using gorilla glue or hot glue. Let dry.
7. Stick the garden markers in your herb pots.

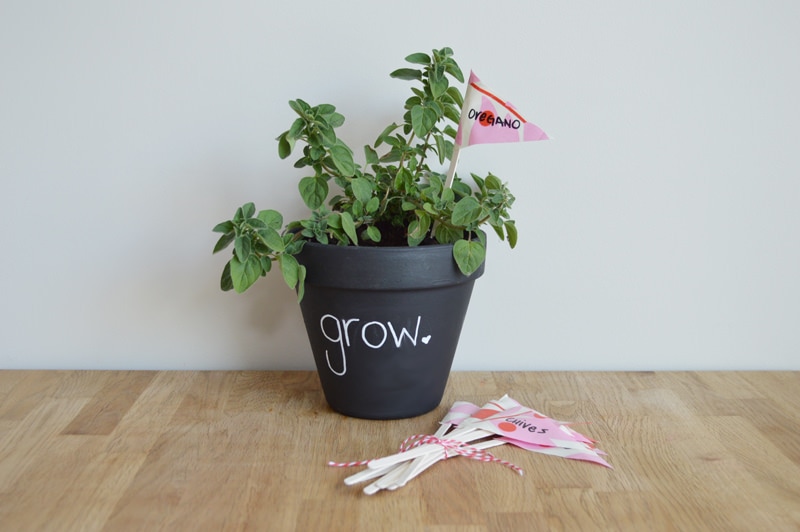
DIY Chalkboard pot and DIY herb garden markers
We made this set with intentions of gifting them along with a potted herb. I painted a terracotta pot using chalkboard paint and doodled with a chalk marker. Such a sweet, reusable gift for the end of the school year or just because…

Gardening is a hobby I love sharing with my children. My oldest absolutely LOVES to help. The herbs are small and easy for her to take care of. She especially loves to trim a little off for dinners. My 3 year old checks our giant strawberry plant each morning to see if there’s any red ones to pick.

Happy Summer!

kids and gardening


DIY IKEA herb garden

Pin It

Brown Bag It! The Gift of a Meal (With a Free Printable!)

Monday, May 19th, 2014

free printable tag for meal gifting

“No act of kindness no matter how small is ever wasted.” ~Aesop

Sometimes the greatest gifts are the littlest of things. And random acts of kindness are beautiful and heart warming, not only as a recipient, but more so, when you give.

This post is inspired by a really great friend of mine whom I met at our kid’s kindergarten drop-off. I can definitely say that without her in my life these past 2 years, it would have been lacking tremendously. She is the kindest of souls.

Out of the blue, on a random day of the week, she made an extra meal for our family because she had enough ingredients. She popped by with dish and a little note that said “Bake at 350 for an hour. Enjoy!” I was overwhelmed with gratitude. Being a mom of 3, some days, I don’t even want to think about the next meal or dig through my pantry to see what I could possibly make! Of course, she didn’t think it was a big deal at all… but honestly, it made my week.

I returned the act of kindess last week when I popped by with a roast chicken meal from our grocery store. It wasn’t homemade, but it was a warm cooked meal that I know they certainly enjoyed. Even next day’s leftovers!

This back and forth got me thinking that I want to do this more often to unsuspecting mom friends who deserve a little mid-week break or pick me up. Hopefully this post will inspire you to do the same.

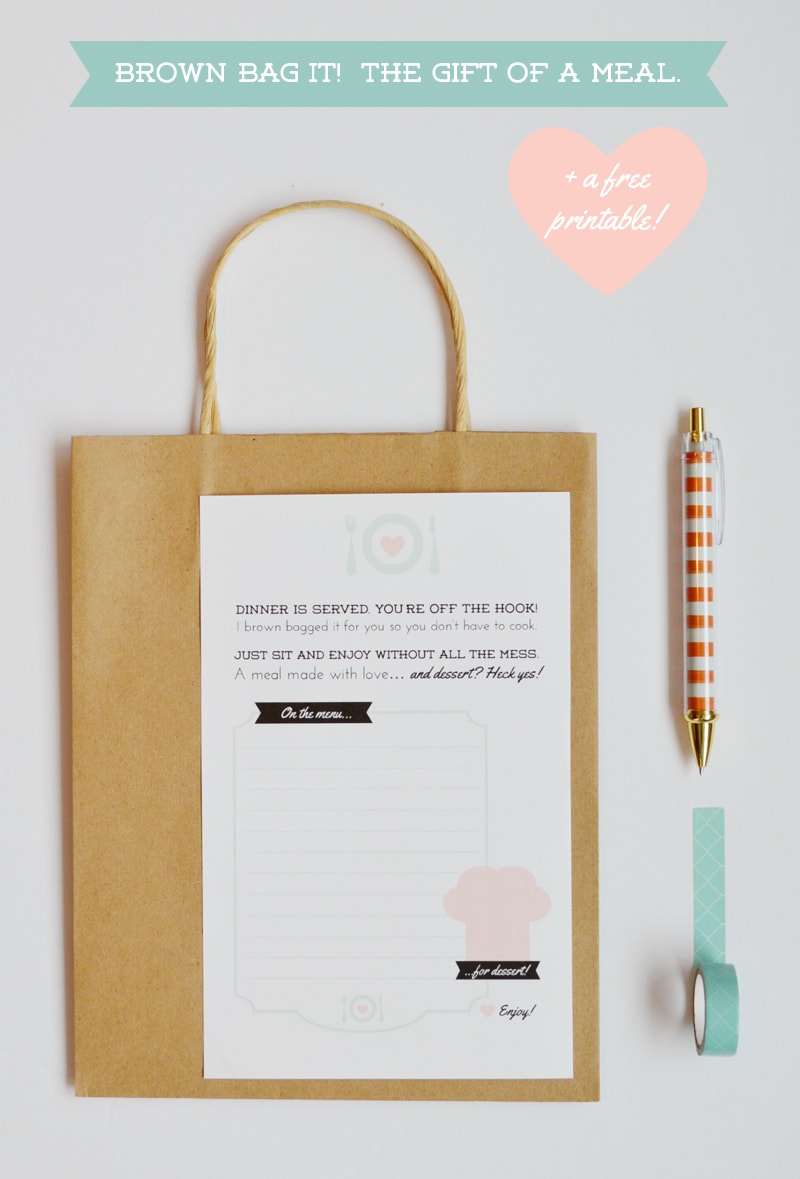
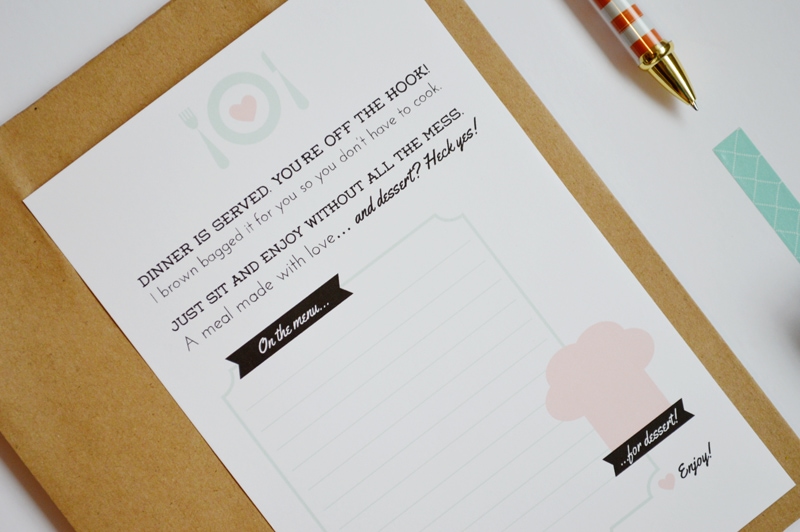
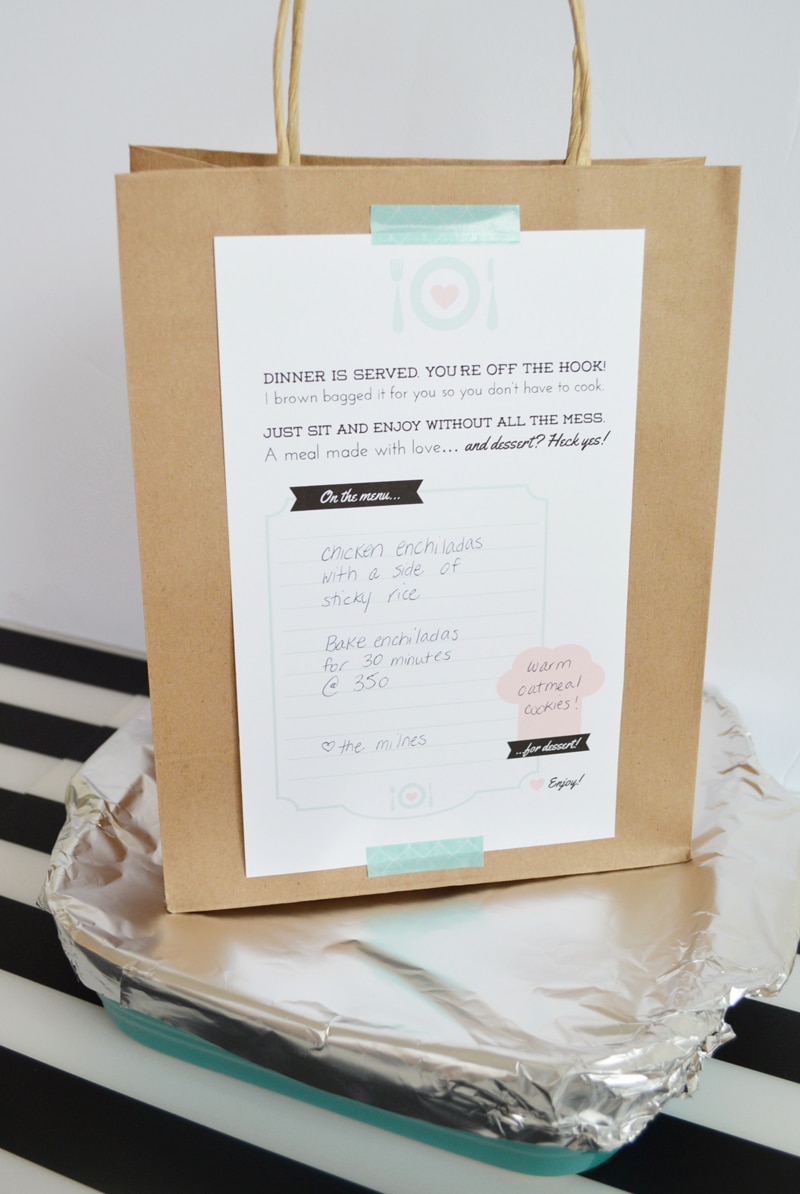
I’ve designed this fresh modern printable with a cute little poem to attach to your yums. Simply print a stack of them and have them handy when your eager kindness strikes. You can customize the printable with meal details, whether it’s homemade or store bought… and don’t dare forget dessert!

Download the Brown Bag It Meal Gifting tag here.


free printable bag tag for meal gifting

free printable tag for meal gifting
brownbagit-4

Download the Brown Bag It Meal Gifting tag here.

Oh, and we’d love to hear how you used these and the response you got!

Pin It

DIY Watercolor + Digital Art and a free printable!

Monday, April 21st, 2014

From our diy/craft contributor, Sarah Milne.

DIY watercolor and digital art

I want to push my creativity this year by trying new things, and also dig back into a few hobbies I’ve loved in the past.  Growing up, I had a huge collection of coloring books, crayons, pencil crayons and markers.  When I wasn’t playing outside, I spent the majority of my time coloring and drawing.

Now, as a mom of 3, I’m known as the walking coloring book.  If they want a specific picture to color, I draw it for them with a sharpie.  It’s so fun sharing a small talent with my children, and having them thoroughly appreciate it.  I don’t draw nearly enough, and it’s something I’d love to do more of this year.

Painting is always a craft that frightened me.  When I threw caution to the wind last October and created this piece, I realized I need to let go a little more when it comes to art. Color outside the lines, think outside the box, and let my heart do more of the work rather than my steady hand.  I’ve lost a little of that since growing up, being a digital designer you become fixated on pixels and perfection.  Painting frees me and creating a perfectly imperfect pieces is so satisfying.

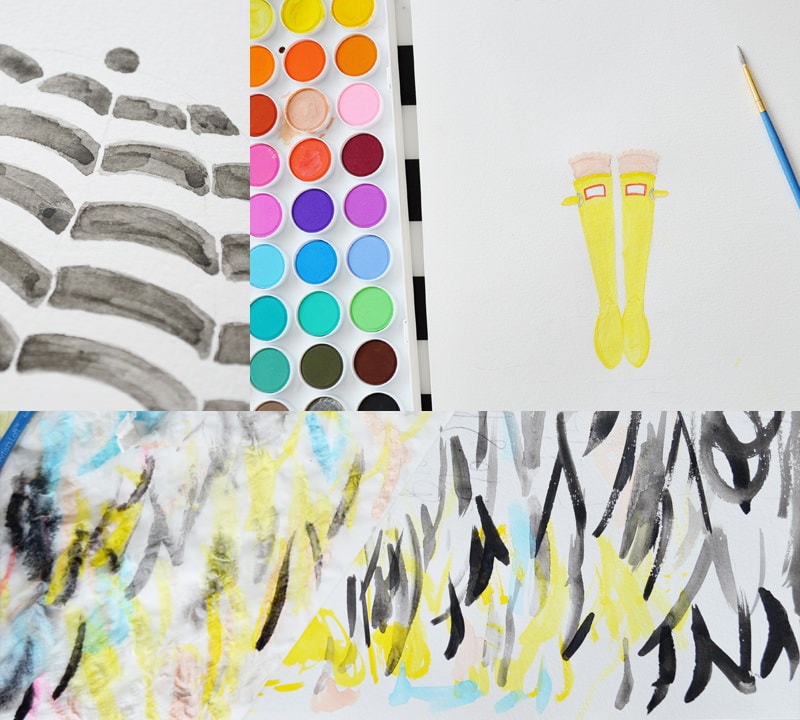
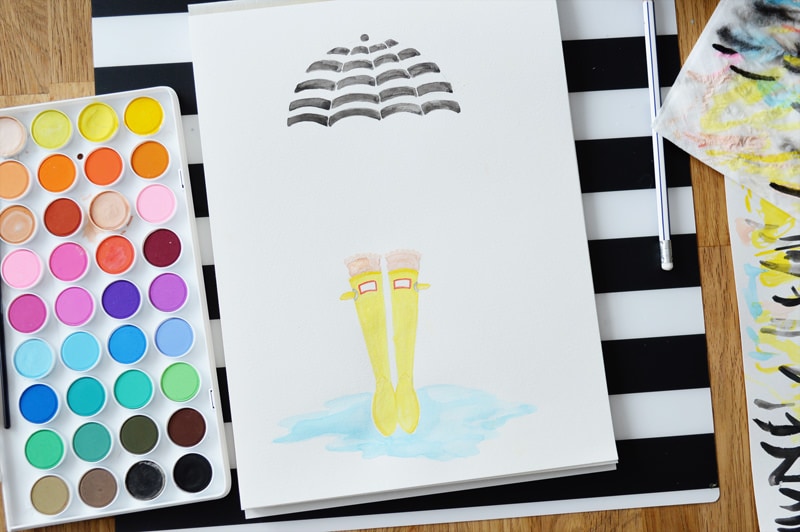
Using this amazing tutorial from Jones Design Company, I wanted to take a stab at watercolor and turn it into digital artwork. In doing so, I think I’ve developed a new hobby.  My girls and I sat by the table and painted together, it was quiet and so relaxing.

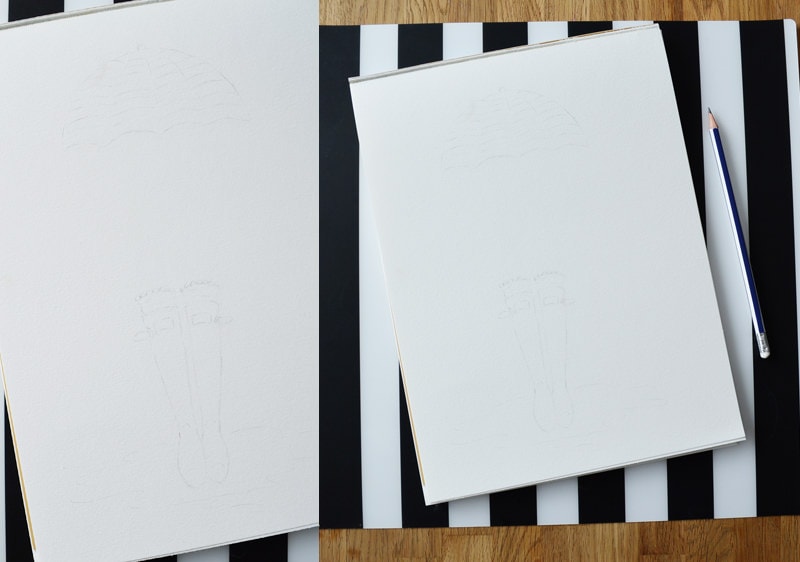
watercolor + digital art: step one: the sketch

I began my piece by sketching the drawing out one evening at my desk. The next afternoon, using a beautiful palette of colors from Michaels and a few small pointed brushes, I got right to it.  It kept having to remind myself… “add more water”  “less saturated color” “less is more”… 

DIY watercolor + digital art print

DIY watercolor + digital art print

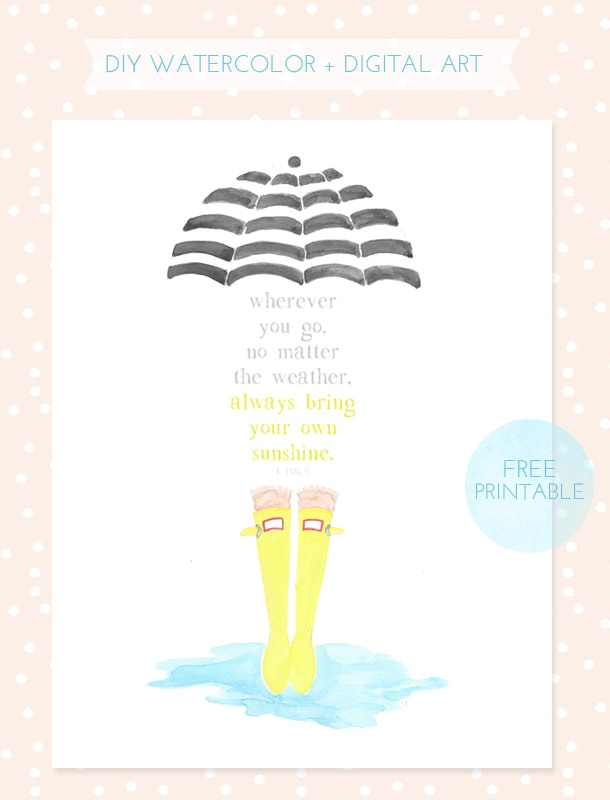
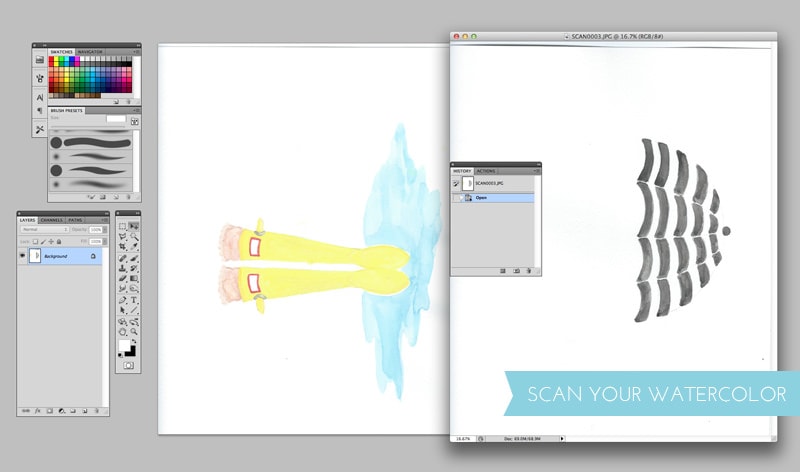
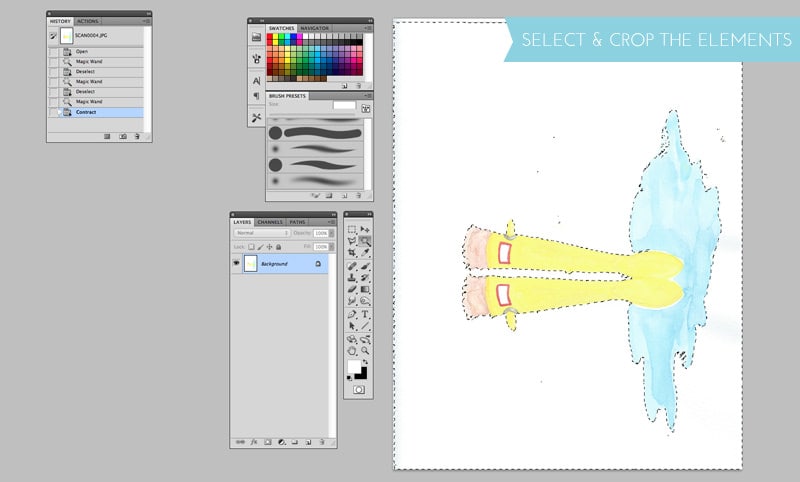
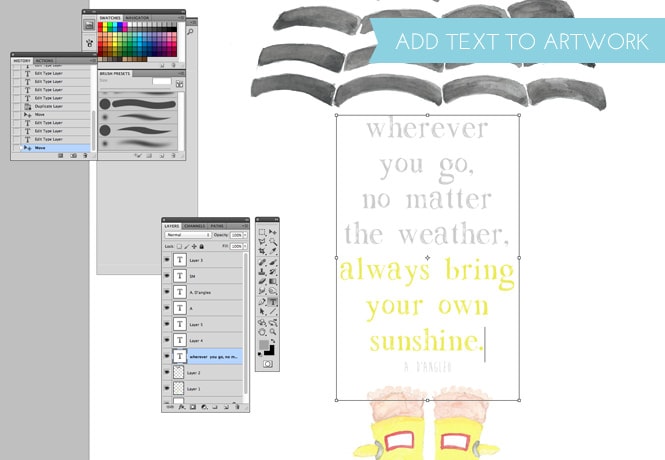
Once it was complete, I scanned my watercolor at 600 dpi and cropped the elements in Photoshop piecing them together on a new art board.  Once I had the placement right, I added the perfect springtime quote using my text tool.  It did take quite a bit of playing and test prints to choose the right font.  I saved my final artwork as a PDF and JPEG.

DIY watercolor and digital artwork

DIY watercolor and digital artwork

DIY watercolor and digital design

DIY artwork using watercolor and digital design

And, there you have it, my very first watercolor + digital print and I’m sharing it with you, free!  Download and hang this print in a special place as a sweet reminder warmer temps are just around the corner!  Enjoy!

Download the Bring Your Own Sunshine Art Print in JPEG
Download the Bring Your Own Sunshine Art Print in PDF


Pin It

DIY Vintage Book Page Art

Monday, March 17th, 2014

From our diy/craft contributor, Sarah Milne.

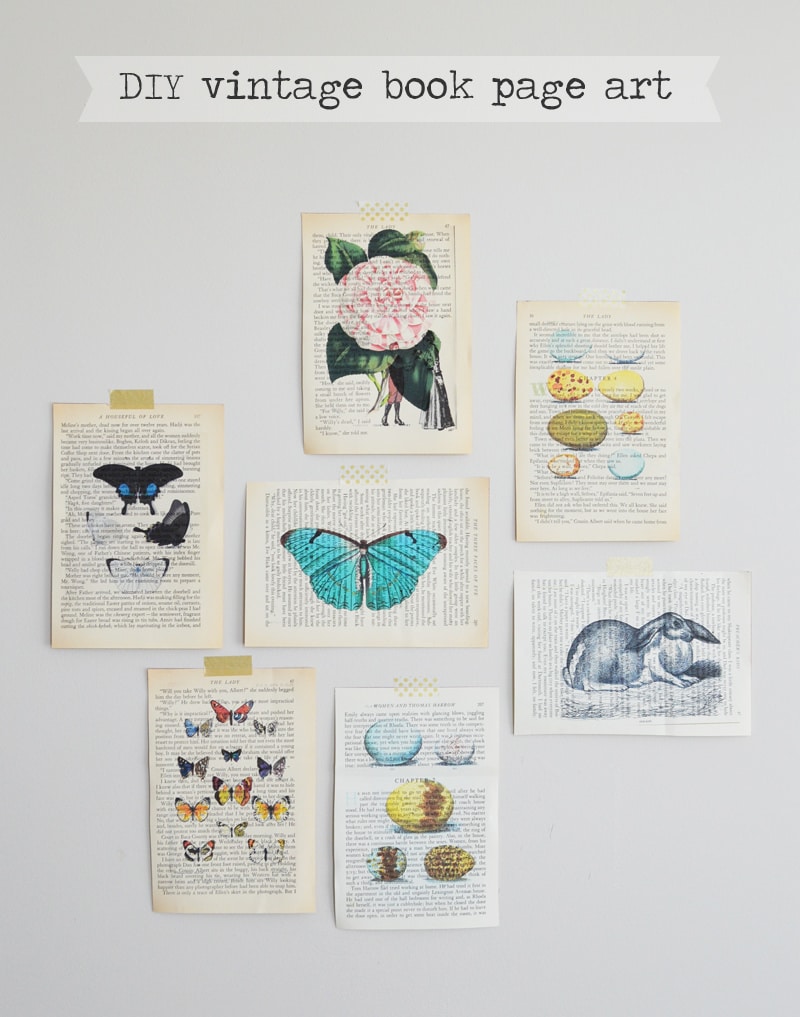
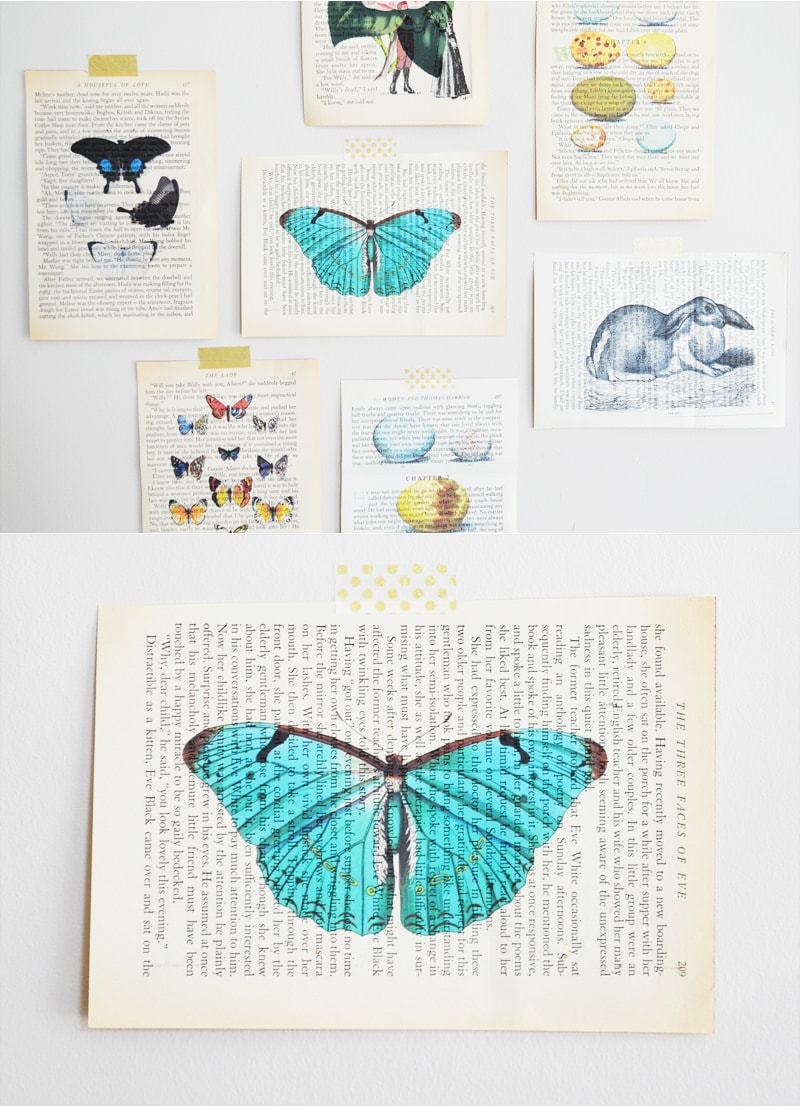
DIY Vintage Book Page Art

Vintage Book Page Art

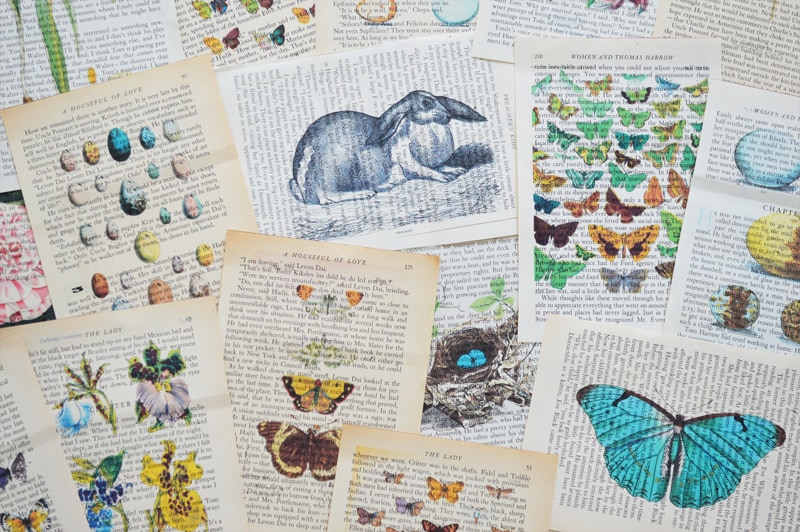
In my Pinterest travels, I stumbled upon a pin that led me to this site, Vintage Printable. Vintage Printable provides free, public domain/out-of-copyright images for you to print or download. Many of the images are vintage naturalist or scientific illustration, but there is a huge collection of other images too.

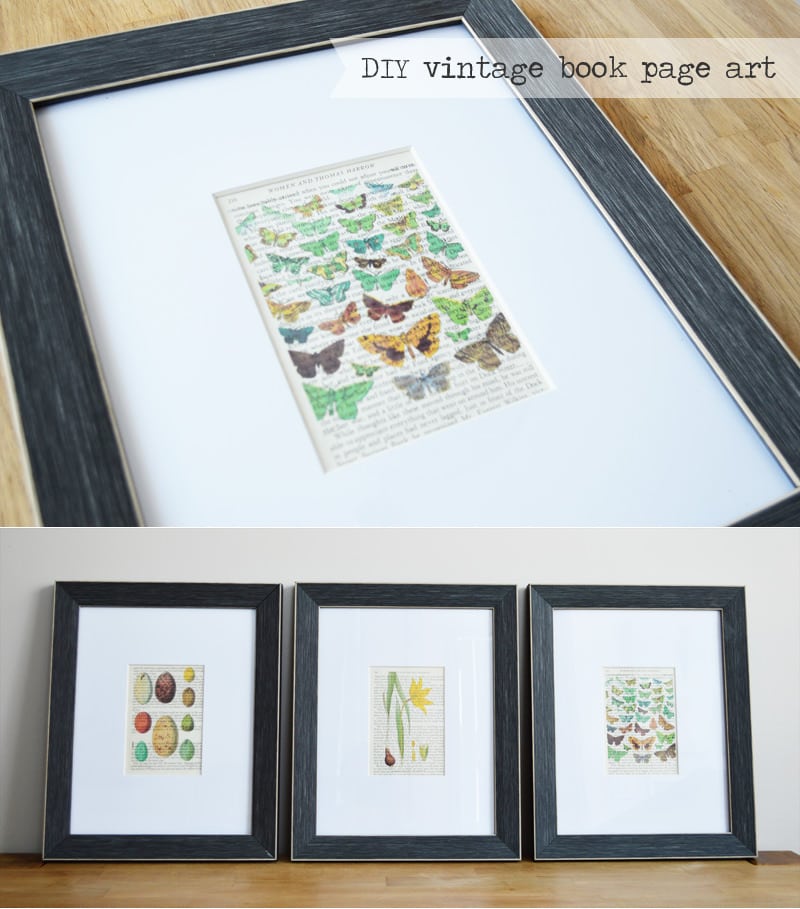
The site has been sitting in my bookmarks and I wanted to attempt an easy DIY using the gorgeous artwork. Coupled with my huge collection of vintage Reader’s Digest hardcovers, I’ve created some beautiful Springtime art to hang in your home, use for cardmaking or crafts.

There’s a handy search tool on the website. I searched for Springtime terms such as butterflies, eggs, rabbit, botanical etc. and found a beautiful assortment of images. I downloaded a collection of images I wanted to print.

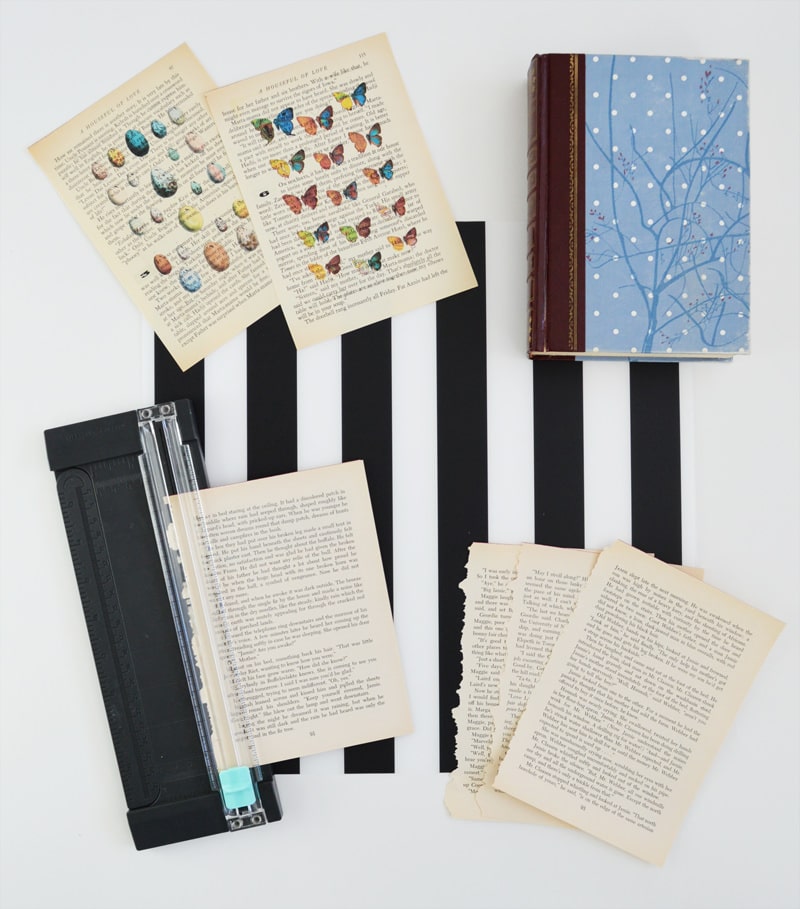
Using a stack of doubles of my vintage Reader’s Digest collection, I tore out pages and trimmed the ripped edges for easing feeding through my inkjet printer. Ideally your pages should be an approximate size of 5 x 7 inches.

vintage hardcover reader's digests

how to DIY vintage book page art

To print your images, you’ll have to set up a custom size if your printer settings don’t already have a 5 x 7 option. In your printer’s settings, I set a custom page size for 127 mm x 177 mm which translates to the 5 x 7 page size. Select your custom page size, and check off your “scale to fit” and “fill entire paper”. Load your book pages into your printer tray. (My printer was a little finicky in grabbing the vintage book pages, so I actually fed one page in at a time.) And, print!

Vintage Book Page Art DIY

DIY Vintage Book Page Art

Pin It

3 Favorite Ways to Top Off Your Dessert (Free Printables!)

Monday, February 17th, 2014

From our diy/craft contributor, Sarah.

Oh, my! You are in for a big treat today because Sarah Milne, from Sarah M Style, is an amazing crafting and design genius and she is joining us each month to share her knowledge. I am so thrilled to introduce you to her today and I know that she has many fun printables and ideas for our homes and crafts that you are going to be looking forward to her featured post each month! 

3 favorite ways to top off your dessert

February and March are birthday months for the boys in my life. In February, my little guy turns two, and in March, my husband, well, let’s just say he’ll be much closer to 40 than 35.  Whether it’s a homemade waffle birthday breakfast or a donut cake, we love our desserts around here! In my very first DIY and crafting post for MomAdvice.com, I’d like to show you three of my favorite ways to top off our sweet treats.


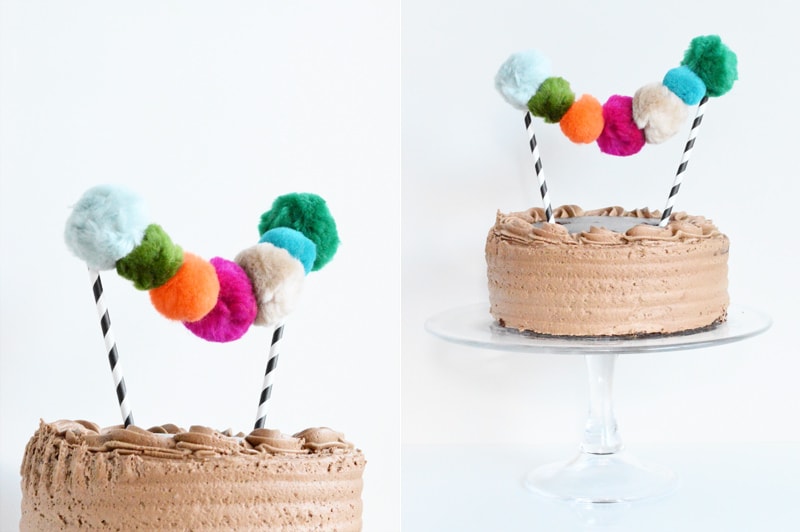
POM POM GARLAND

pom pom garland dessert topper

First, and my most fave, is this simple fuzzy and fluffy pom pom garland. Colourful and playful, it adds so much fun to your dessert. You could make this garland with tiny to large fuzzy pom poms or even craft your own poms out of yarn.

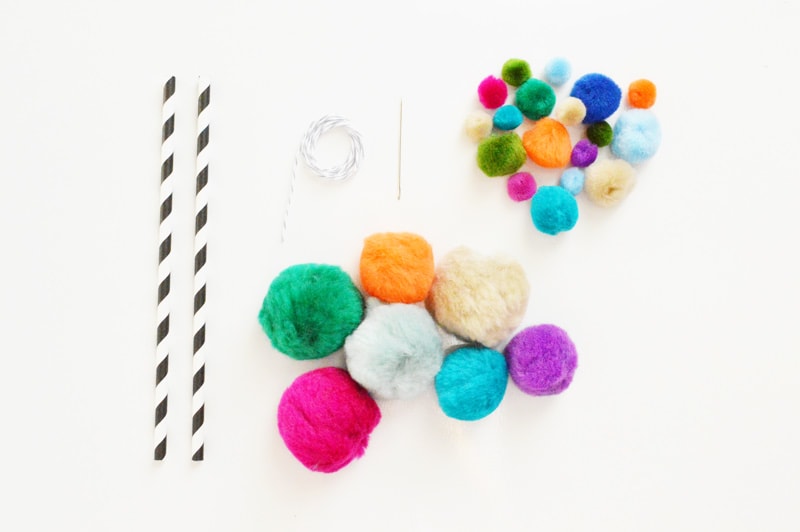
What you need.

Pom poms. Size and color of choice.
(I purchased an assorted bag from Michaels with my trusty weekly coupon.)
Twine or thread
Large needle
Scissors
Skewers, straws, small dowels

diy pom pom garland supplies

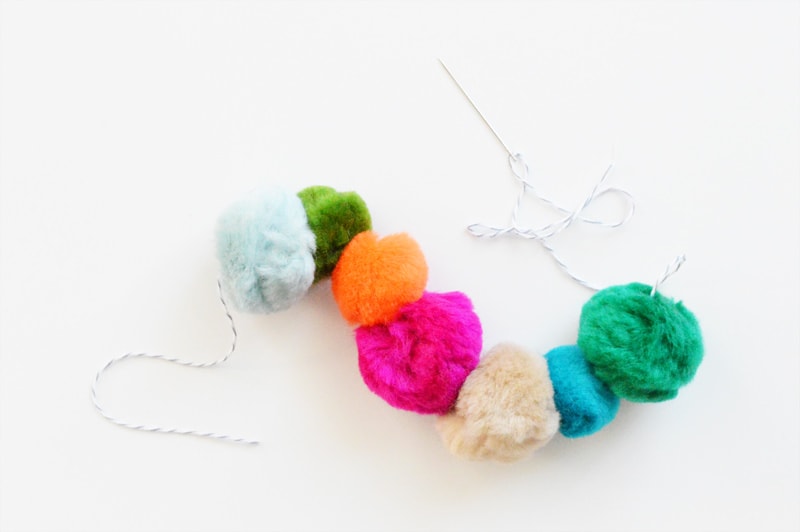
diy pom pom garland instructions

The how to.

  1. On your crafting surface, arrange your pom poms in your desired order.
  2. Thread your needle. Begin to thread the first pom onto the twine. Be sure to leave at least 5 inches excess on the end.
  3. Thread each pom onto the twine. Space the poms a desired distance apart.
  4. Once you’ve completed adding your poms, tightly secure the twine to your stick using a double knot. Trim your twine.
  5. Tightly secure the other end to your second stick and trim.
  6. Insert into your sweet treat.
  7. Dig in!


CHALKBOARD TOPPERS

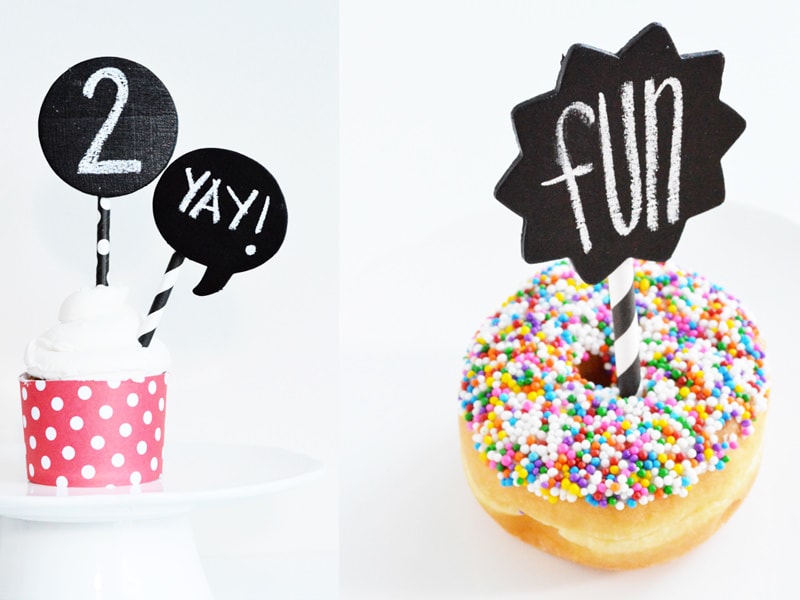
diy chalkboard dessert toppers

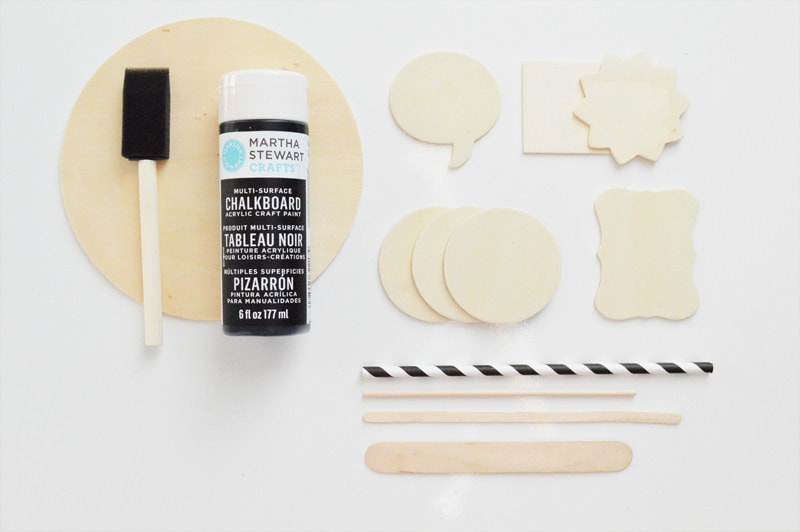
I love that these toppers can be reused throughout the year and for all types of celebrations from birthday breakfasts to report card day! I found these small wooden shapes for less than 50 cents at Michaels and gave them a triple coat of chalkboard paint.

What you need.

Wooden shapes
Straws, popsicle sticks, or small dowels
Chalkboard paint
Foam brush
Paper towel or newspaper
Hot glue gun and glue
Chalk

diy chalkboard dessert toppers

The how to.

  1. Protect your crafting surface with paper towel or newspaper.
  2. Paint your wooden shapes using the chalkboard paint. When using chalkboard paint for crafts, I use a minimum of 3 coats. Allow for drying time in between coats. It seems to dry quickly.
  3. Attach your wooden shapes to your stick using a dab of hot glue.
  4. Draw or decorate your chalkboard topper for your occasion.
  5. Insert into your sweet treat.
  6. Dig in!


PAPER BANNER WITH WASHI GARLAND + FREE PRINTABLE

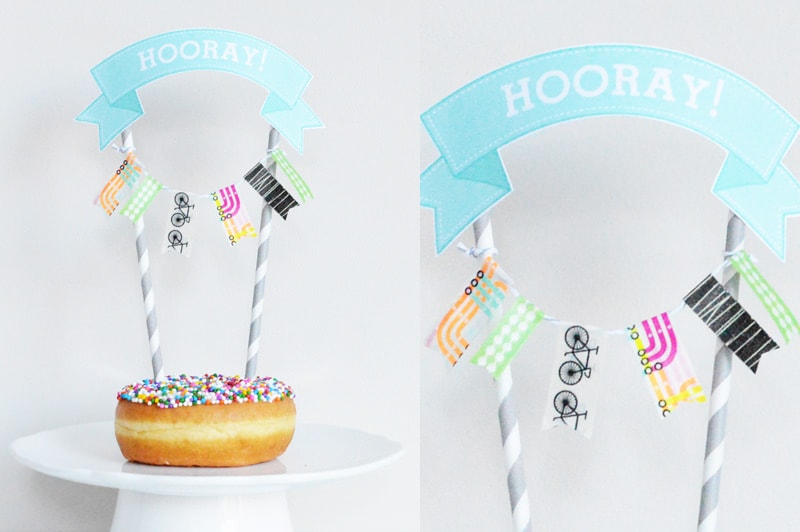
diy paper printable and washi garland dessert topper

Washi tape is a huge trend right now – and there are limitless crafts you can muster with it! My go-to topper are washi garlands. Paired with a paper banner, it makes a super sweet addition to your treat. I’ve designed two free printable paper banners in 3 colors for your next occasion.

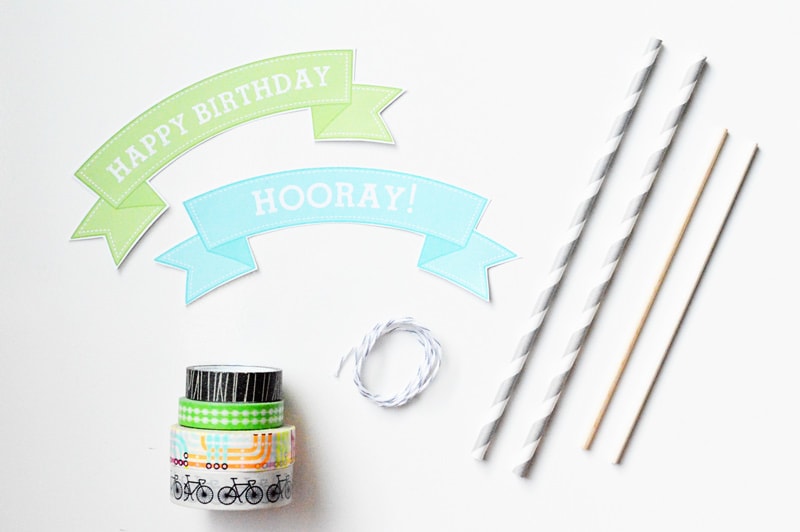
What you need.

A collection of favorite washi tapes
Twine
Skewers, straws or small dowels
Free printable paper banner: {Click to download} HOORAY! or HAPPY BIRTHDAY

diy paper and washi garland dessert topper and free printable

The how to.

  1. Cut a 18 inch length of twine
  2. Cut your washi tape in equal or varied lengths and fold evenly over the twine, leaving 5 inches of vacant twine on each end.
  3. Print the free printable paper banner and trim.
  4. Secure your paper banner to the top of your sticks using a piece of washi or hot glue
  5. Below the paper banner, tightly secure your washi tape garland using a double knot or bow to each stick.
  6. Insert into your sweet treat.
  7. Dig in!

 Grab Your Free Printables HERE:

DIY Happy Birthday Dessert Topper

DIY HOORAY! Dessert Topper

Pin It