 When I was a little girl, I had a beautiful musical jewelry box with a twirling ballerina where I would store all of my little treasures. I wanted to create a little box just like that for my son and daughter so I headed to Michael’s and picked up the supplies to create their very own boxes to store all of the important treasures in their lives.
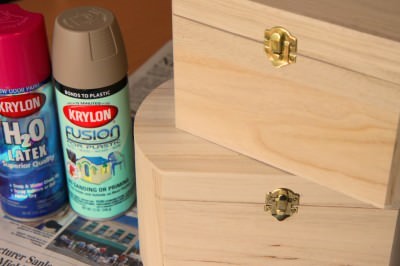
These wooden boxes were $4.99 over by the wooden crafts and paint supplies. I also selected two bottles of spray paint in the clearance section of the store. You just want to make sure to select a spray paint that says that it will work on wood so that your paint will adhere to your project.
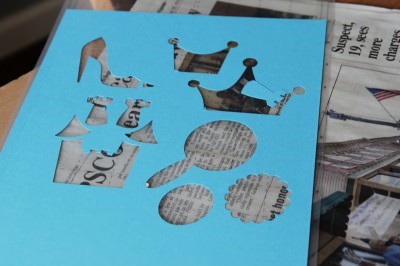
When I got home, I spray painted the boxes evenly and then cut out the images that I wanted to decoupage on my treasure chests out of heavy card stock. I used my Silhouette craft cutter (remember to get those entries in!) to cut out the images, but you could also stencil your images on heavy card stock and then cut them out with scissors.
If you do have a craft cutter, I chose the princess set, a pirate flag, and a treasure map as my images. Each set was printed and then cut in two different colors that would look nice with my painted boxes and could be layered upon one another to create the images. The treasure map printed out without a “map” within it, so my husband added his art with a Sharpie to the map.
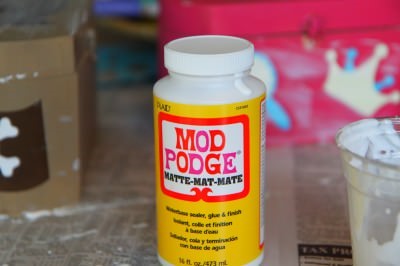
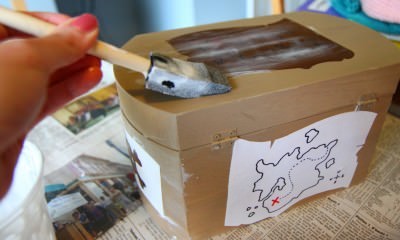
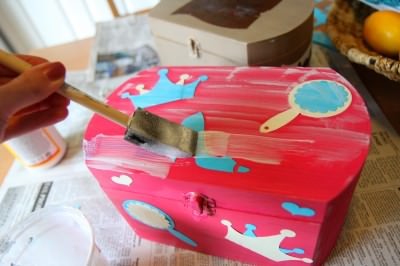
Now comes the fun part! It is time to get your decoupage on! If you have never decoupaged before, it is the coolest craft ever, requires no skills at all, and makes everything look fabulous. Just pour Mod Podge (I used a bottle of the matte finish I had in my craft supplies) into a plastic cup and then use a small sponge brush to glue each cut-out on to your boxes. Once you have glued all of the pieces on, do a light layering of glue over the entire surface, being careful to not shift or cause bubbling around your images. Allow it to dry, do another layer, allow it to dry, do another layer. Two to three layers should be plenty, but you be the judge!
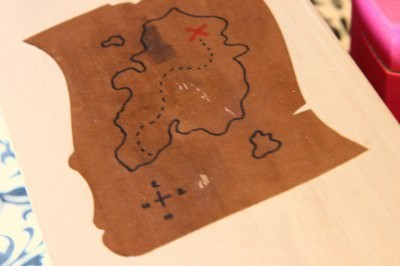
If you want to add a little antiquing to it, just use a little sandpaper to rough it up. Oh, look at that vintage map on top of that little treasure chest. Don’t you just love it?
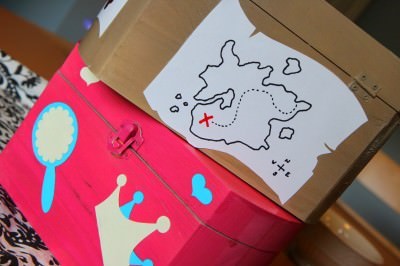
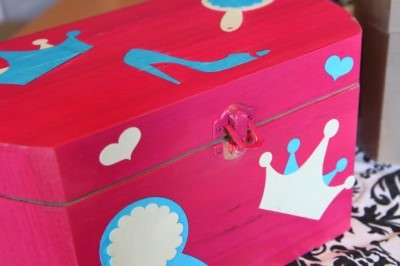
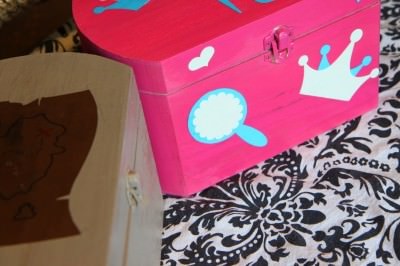
Once they are dry, they are all ready for treasure filling. Just imagine what could be stored in here. I see my son’s filling with rocks and Pokemon cards & my daughters will be stuffed with glittering plastic jewels or tiny little doll accessories. Whatever is in them, I have a feeling that these treasure boxes will be loved for a long time.
These would make fantastic birthday gifts and are right within a frugal gal’s gift allowance (a mere $6 in supplies each!) and would be a gift that would be long- remembered!