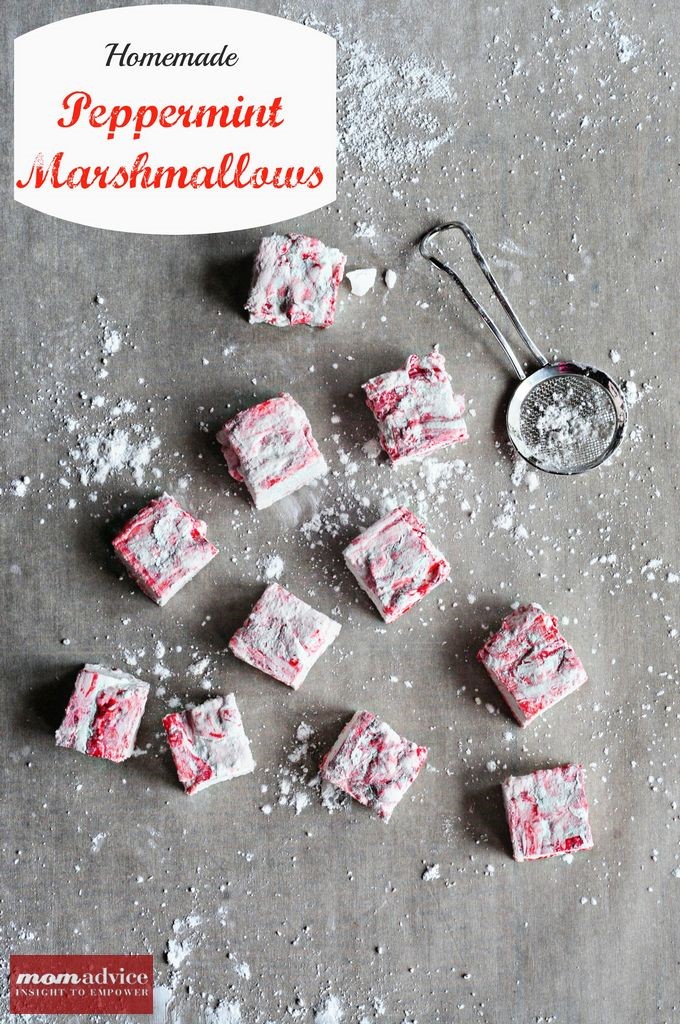
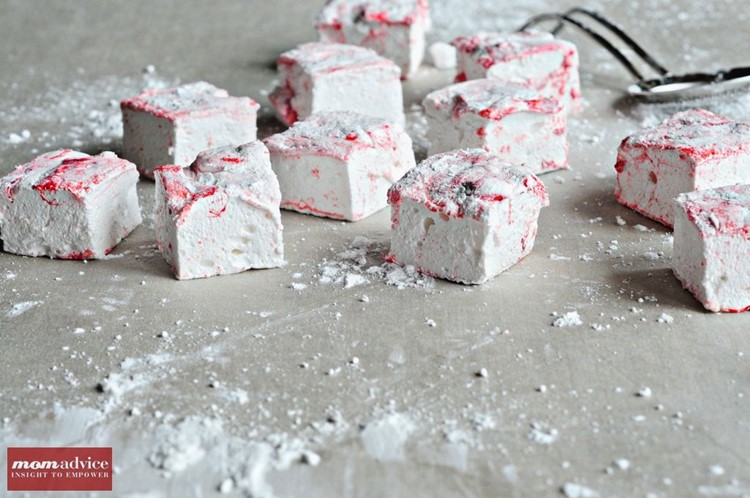
 Photographed by– Kristen at Dine & Dish
Homemade marshmallows have been on my cooking bucket list for three years now. Making peppermint flavored marshmallows sounded far more intimidating that the process actually was and after making my first batch with great success, I can’t wait to try a few other flavors in my kitchen.
This year I vowed I would not talk myself out of marshmallow making. With my big girl set to celebrate her sixth birthday, I thought I would make these for cocoa fun for her birthday party. Once I bought all the supplies, there was no turning back.
I was so nervous that I didn’t take a single picture while I made them.
What if I messed the whole thing up?
What if my marshmallows reached 241 degrees and the whole batch failed?
I followed the God of Cooking (also known as Alton Brown) and did everything exactly as instructed. Surprisingly, my stand mixer did the brunt of the work while I tidied the kitchen. Who knew that marshmallow making was so darn easy? The taste? Better than any marshmallow I have ever tasted.

Photographed by– Kristen at Dine & Dish
I did pretty pink swirls through the marshmallows and added my peppermint extract to the batch to add a fun pink peppermint touch to our marshmallows.
The hardest part was waiting the four hours before I could cut them. With cornstarch and powdered sugar mixed together in a bowl next to my board, I just used my pizza cutter (dusted with the sugar mixture) and cut my marshmallows in squares. Each one was lightly dusted with more of the sugar mixture and I stored them in a plastic container. You know…for storing….or for eating.
And eating.
And eating.
And eating.
I confess, I think I have a new food addiction.
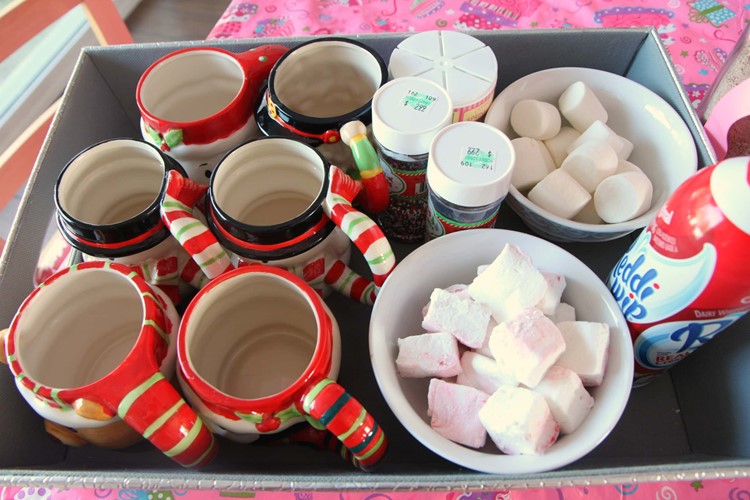
These are fabulous, easy, and delicious. They would make a fantastic gift to give this holiday season with a little of my favorite cocoa mix or served up with a fancy little hot cocoa bar like I did for my daughter’s birthday party.

| Homemade Peppermint Marshmallows |
#ratingval# from #reviews# reviews
|
Print
|
Recipe Type: Dessert
Author: Alton Brown
Prep time: 10 mins
Cook time: 8 mins
Total time: 18 mins
Serves: 9 dozen
One of the easiest and most impressive gifts to give this holiday season.
- 3 packages unflavored gelatin
- 1 cup ice cold water, divided
- 12 ounces granulated sugar, approximately 1 1/2 cups
- 1 cup light corn syrup
- 1/4 tsp kosher salt
- 3/4 tsp peppermint extract
- 1/4 cup powdered sugar
- 1/4 cup cornstarch
- Nonstick spray
- 4 drops red food coloring
- Place the gelatin into the bowl of a stand mixer along with 1/2 cup of the water. Have the whisk attachment standing by.
- In a small saucepan combine the remaining 1/2 cup water, granulated sugar, corn syrup and salt. Place over medium high heat, cover and allow to cook for 3 to 4 minutes. Uncover, clip a candy thermometer onto the side of the pan and continue to cook until the mixture reaches 240 degrees F, approximately 7 to 8 minutes. Once the mixture reaches this temperature, immediately remove from the heat.
- Turn the mixer on low speed and, while running, slowly pour the sugar syrup down the side of the bowl into the gelatin mixture. Once you have added all of the syrup, increase the speed to high. Continue to whip until the mixture becomes very thick and is lukewarm, approximately 12 to 15 minutes. Add the peppermint extract during the last minute of whipping. While the mixture is whipping prepare the pans as follows.
- Combine the confectioners’ sugar and cornstarch in a small bowl. Lightly spray a 13 by 9-inch metal baking pan with nonstick cooking spray. Add the sugar and cornstarch mixture and move around to completely coat the bottom and sides of the pan. Return the remaining mixture to the bowl for later use.
- When ready, pour the mixture into the prepared pan, using a lightly oiled spatula for spreading evenly into the pan. Drop red food coloring onto marshmallows and use a toothpick to swirl the food coloring into the marshmallows. Dust the top with enough of the remaining sugar and cornstarch mixture to lightly cover. Reserve the rest for later. Allow the marshmallows to sit uncovered for at least 4 hours and up to overnight.
- Turn the marshmallows out onto a cutting board and cut into 1-inch squares using a pizza wheel dusted with the confectioners’ sugar mixture. Once cut, lightly dust all sides of each marshmallow with the remaining mixture, using additional if necessary. Store in an airtight container for up to 3 weeks.
2.2.1
Source: Alton Brown, Good Eats
Special thanks to Kristen at Dine & Dish for sharing her photographs of these marshmallows with MomAdvice! What a wonderful friend!
What is something that you discovered was surprisingly easy to create in the kitchen that you always thought was intimidating? Feel free to share your kitchen adventures!
Pin It