Decorating is not my thing and window treatments are really not my thing. I think this is why I am really excited to showcase an idea for home decorating that anyone can do… especially people who don’t sew and love to wing it! I don’t sew, but am very Type-A so this project was a bit of a challenge for me. Regardless, I am so pleased with the results and it was worth every little minute of my type-a-ness to complete this project!
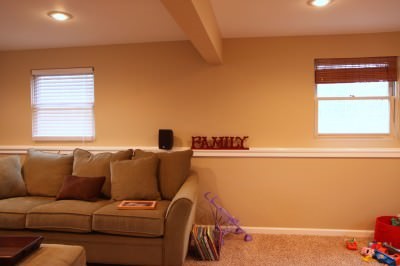
Now that we have completed our home renovations, I needed to do some focusing on the details of pulling my two rooms together to create one room. Pictured above is an example of a detail that needed to be addressed… the window treatments. The office had bamboo shades while the family room had faux wood blinds. Now that this room was one large room, I needed to match the window treatments up and make it look like a uniformed space.
We had curtains before, but trying to find curtains and hardware that matched exactly would have been impossible to do. I don’t sew, although I have tried, and I didn’t want to spend a ton of money on new curtains for five windows. I decided to do a little window mistreating courtesy of The Nester that had been featured in the notebook a long time ago. She said it can be done in ten minutes per window so I was completely on board!
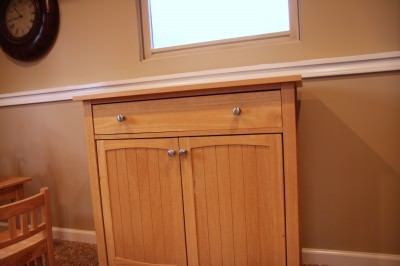
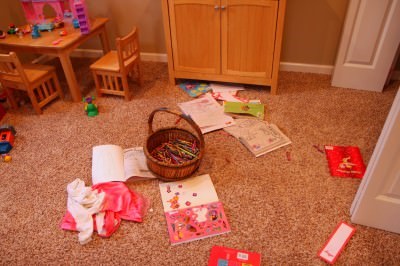
I also had this piece that I wanted to dress up and pull into the rest of the room. It originally was a buffet in our kitchen that held our glass stemware. It is now the place where we house all of the kid’s coloring books and crayons. Life has certainly changed, hasn’t it? I wanted to try to dress this up inexpensively on top and keep the chaos inside (unlike how it is pictured here)

Two trips to Hobby Lobby, sweating in the fabric aisle, hardcore number crunching to figure out the perfect amount of fabric, $25 in materials to make the curtains and I was ready to roll. I kicked off my super awesome shoes and I was ready to get to work.
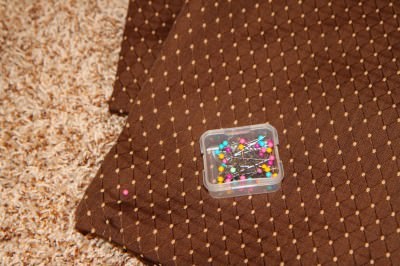
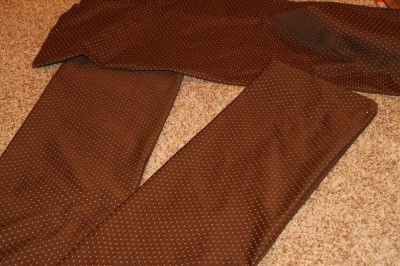
This is where I do everything wrong. I measure every curtain to make sure they have exactly the same amount of fabric, I carefully pin the corners of each piece, fold everything in and make sure nothing is showing, line them all up on top of each other and pin them again, practice hanging them, make my husband hold them up and then stand back, go down the steps and look at him holding them to make sure I still like them, pin them again, tack them, then re-tack them into the wall, practice different poofing techniques (not a word according to spell check), etc…. This is why Type-A personalities do not do well with projects where you just wing it.

It is now about ten at night before I finally finish with my measuring and obsessing. I then try to hang them, but because I am a girl of small stature, I realize that there is no way I can even reach that high. My poor husband has to do the hanging with my constant barking. He gets out a glass of wine to soften the blows of my barking and then we end up having a great time.
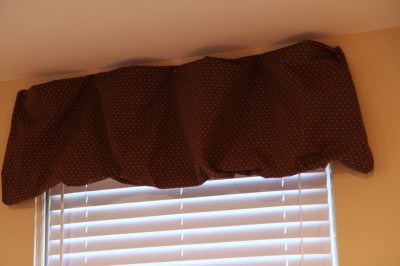
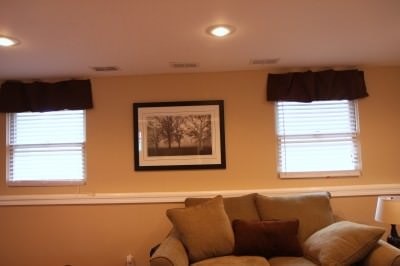
Here are my perfectly imperfect window mistreatments. I had my husband practically tack them to the ceiling so that the walls looked taller since this is our basement and the windows are so squat. I think the chocolate brown was a good choice of color since the walls were light beige and we had chocolate throw pillows on the couch. I also love that these can be switched out easily and fairly inexpensively when we need a breath of fresh air in the room.
Did I save money doing these? Absolutely! The curtains at Target ran about $20 per panel and the hardware was around $10-12 per window. Including the upholstery tacks, I only spent $26 on four windows.
The fifth window will remain without curtains due to the fact that it is right at the top of a lower wall and doesn’t need window treatments. We did have to buy more faux wood shades, but now everything will match in this room and we still did it inexpensively with these DIY window mistreatments.

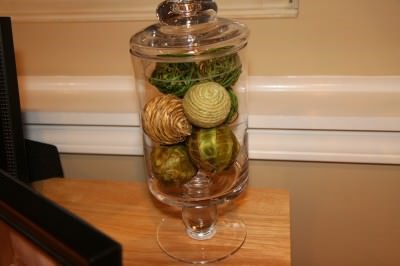
I decorated my little corner of this side of the room with black-and-white photos of my children that I took of them (zero cost for photographer). I printed them on my little photo printer (no purchases made) and then got inexpensive frames at Hobby Lobby for $5 each. The glass container ($14.99 at Target) was filled with some fillers in green and brown to tie in the rest of the room. I look forward to switching the items inside with the seasons and switching the photos to keep this corner fresh!
Thanks to The Nester for inspiring me to mistreat those windows and visit Nesting Place for more great ideas on budget-friendly home decor!
What are some ways that you have saved your family on home decor? Any DIY projects that have kept your budget low? Please share!