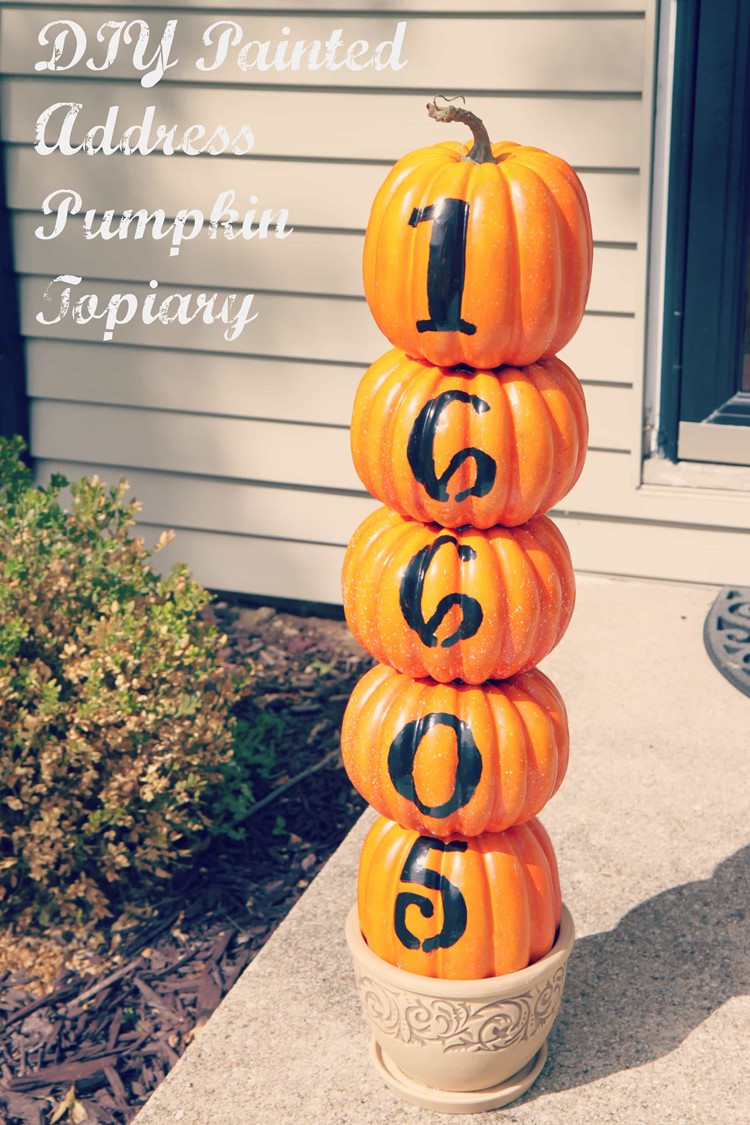
One of my favorite things about Fall is the fun crafts that I get to do with all of those beautiful Fall pumpkins! Today I wanted to showcase an easy painted address pumpkin topiary that you an create with just a few supplies from your local Walmart store. This painted address pumpkin topiary would the be the perfect way to dress up your porch, porch step, or a little corner in your room.
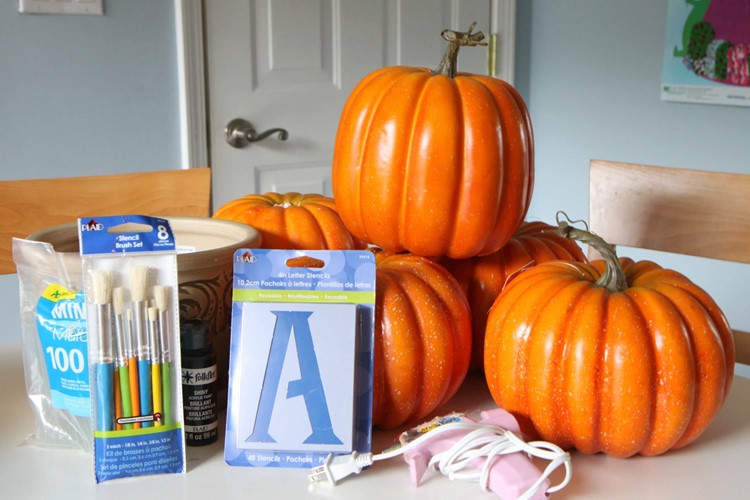
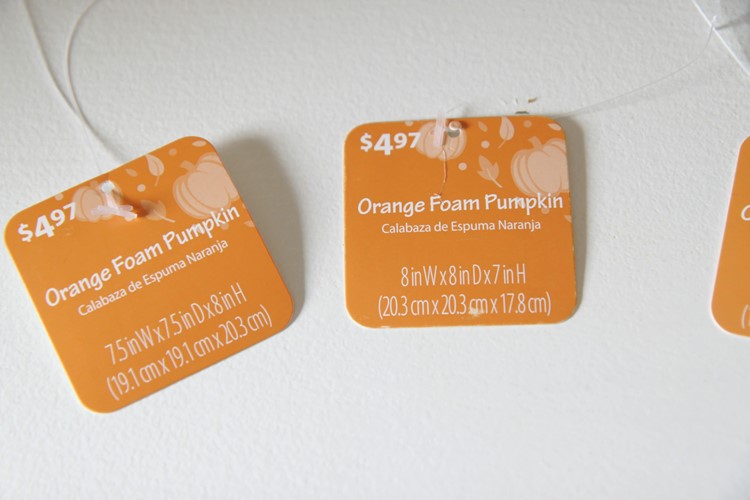 Craft Supplies Needed
2- 75 inch pumpkins (any color)- $4.87 each
8″ pumpkins (how ever many you need to complete you house number)- $4.87 each
Black Plaid FolkArt acrylic paint (I chose the shiny variety)- $1.77
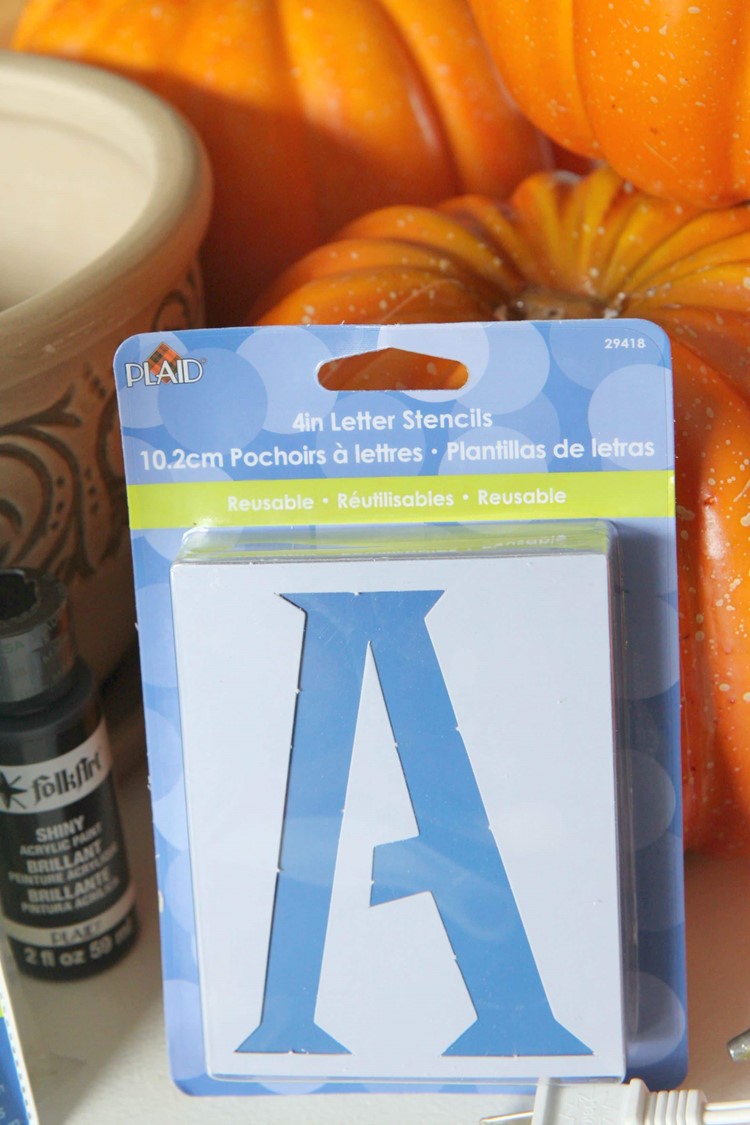
4″ Plaid letter stencils ($3.77)
Stencil Brushes ($5.47)
Clear tape (in supplies)
Hot glue gun & glue sticks (in supplies)
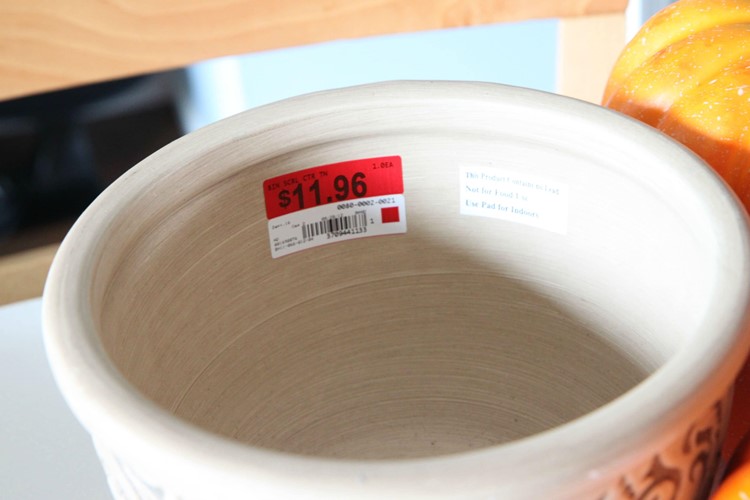
8″ pot (I found mine in the clearance section of the store for $11.96)
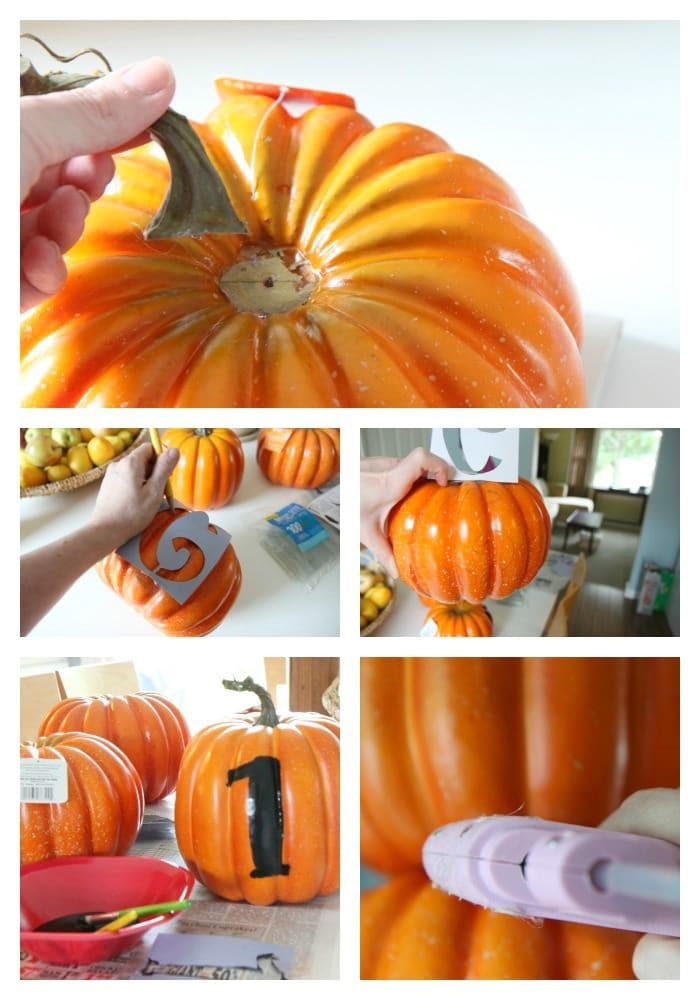 1. Begin by twisting off the stems on all of the pumpkins that will be going on the bottom of your topiary. You will want to leave your top pumpkin (the 75″ one) with the stem intact. All the other stems can come off.
2. Center your stencil on your pumpkin and attach it with clear tape. Make sure when positioning your numbers that when you stack the pumpkins, you will be able to see the number clearly in the center. You will especially want to do this for your bottom pumpkin since it will be wedged in your pot.
3. Trace your number with a pencil. Remove your stencil.
4. Pour your acrylic paint in a disposable cup or bowl. Using a small paintbrush, carefully paint your number on your pumpkin. If you make an error, use a cloth or a damp Q-tip to remove any painting errors. Set your pumpkin aside, and repeat the process on each of the other pumpkins until you have stenciled your address number.
5. Wedge your 75″ pumpkin into the pot. This should be a tight fit so you will not need to glue or attach your pumpkin into the base. Stack your next pumpkin and carefully hot glue in each spot where the pumpkins are joined together. Hold the pumpkins together to secure for a minute or two. Repeat this process until you reach the top of your pumpkin stack!
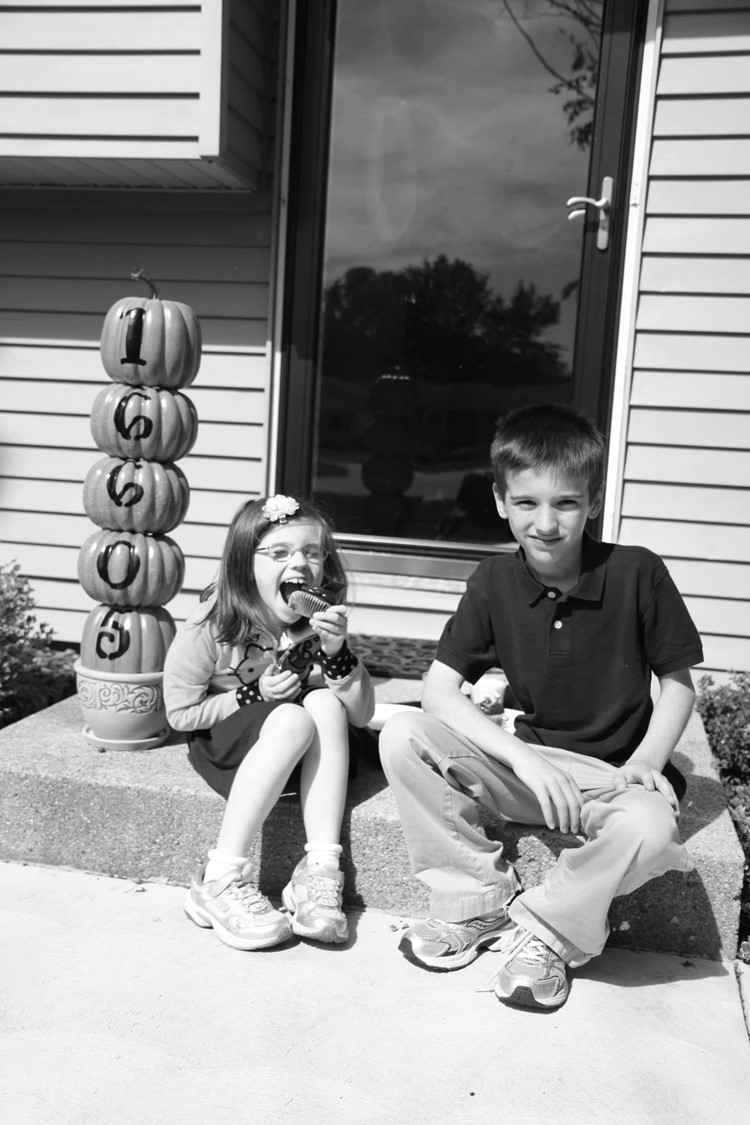
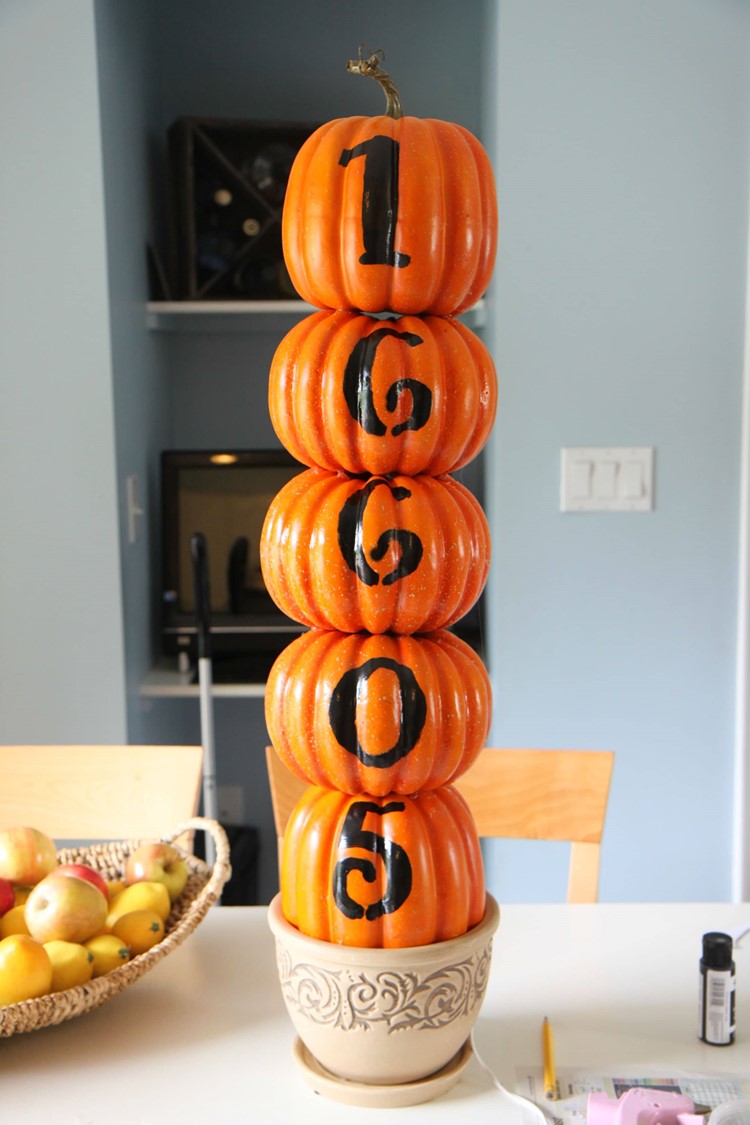 Stand back and behold your pumpkin glory! Isn’t this just the cutest thing ever? I know all of my neighbors are going to be so jealous!
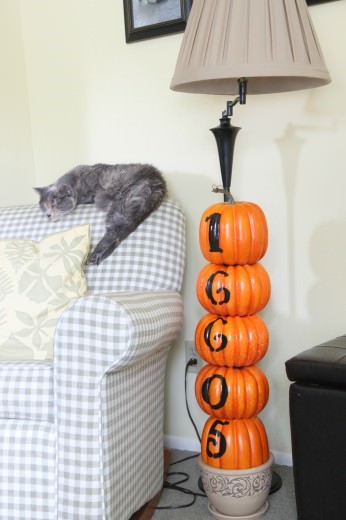 I hope they are half as impressed as my cat.
Seriously.
Looking for more Fall crafts? Be sure to check out my round-up of the Best Fall Crafts on MomAdvice. I hope you will find it inspiring, friends!
Pin It