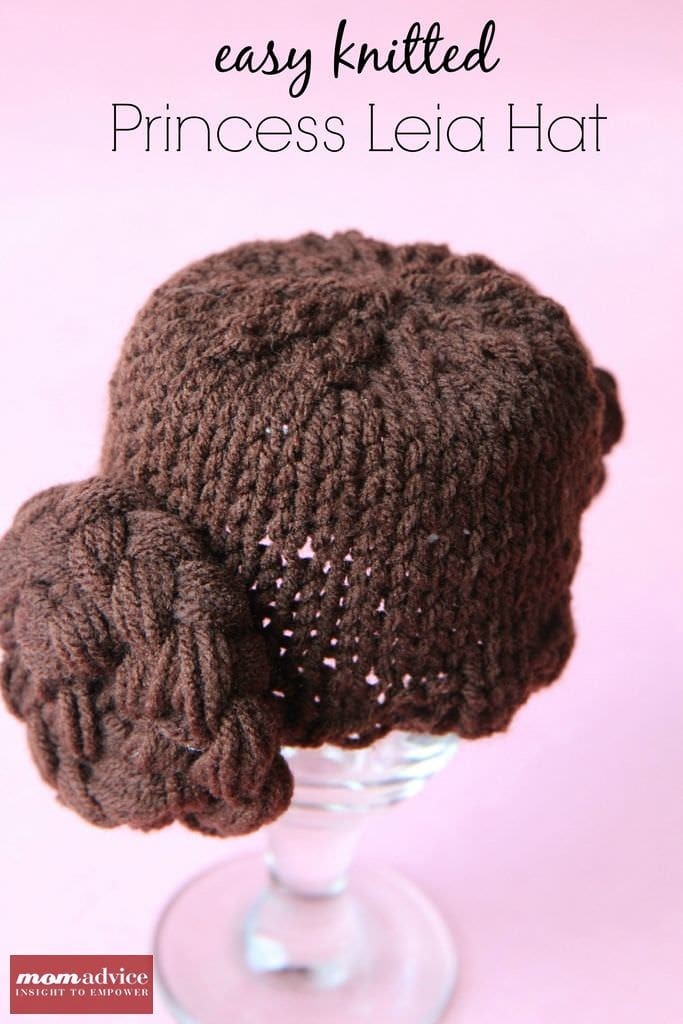
Oh, you know I love a good knitting project! Today I am showing off my Knitted Princess Leia baby hat that I made. Not only that, but I am going to walk you through how to knit in the round for my favorite beginning knitters.
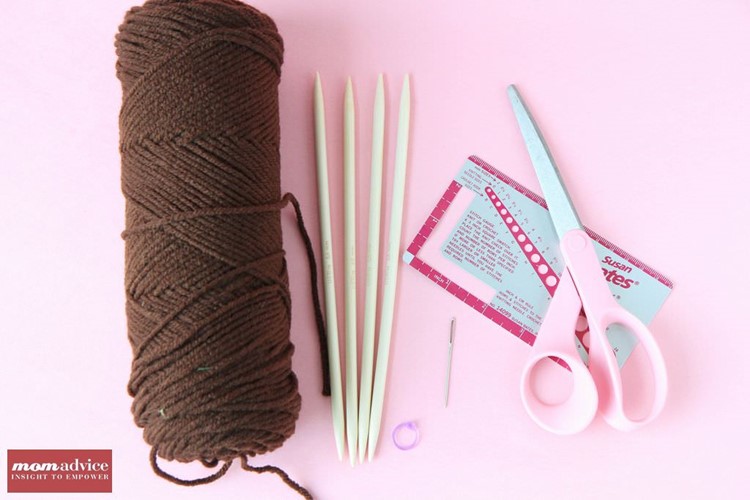
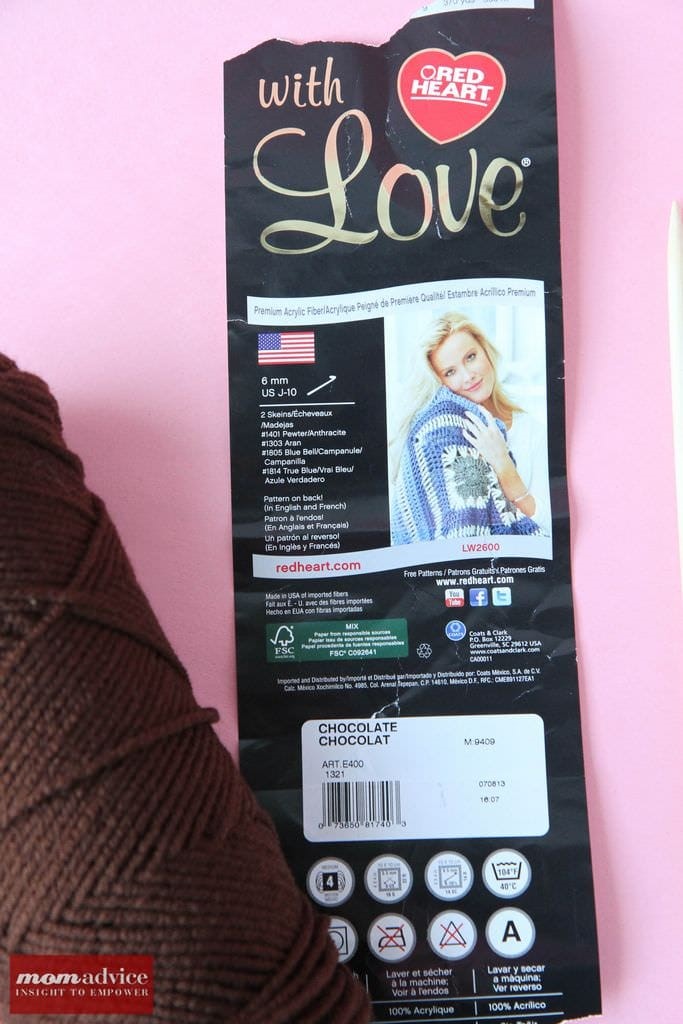
Walmart let me choose any craft project I wanted this month and since I am in knitting mode this winter, I have been dying to make this cute little hat ever since I saw it on Ravelry.
Supplies Needed
- 1 Skein Red Heart With Love in Chocolate ($3.84)
- US 10.5 Straight needles (for knitting flat option)
- US 10.5 Circular needles and set of 4 US 10.5 DPNs (for knitting in the round option)
- Measuring Tape
- Clipboard
- Stitch Marker
- Tapestry Needle
- Scissors
Although, this hat can be knitted flat, I would love to challenge you to give knitting in the round a try. For a long time, I completely avoided projects that you had to knit in the round.
Four needles?
NO THANKS!
Unfortunately, if you never knit in the round you miss out on a lot of amazing patterns, particularly hand-crampingly tiny knits that would be stretched out when placed upon circulars.
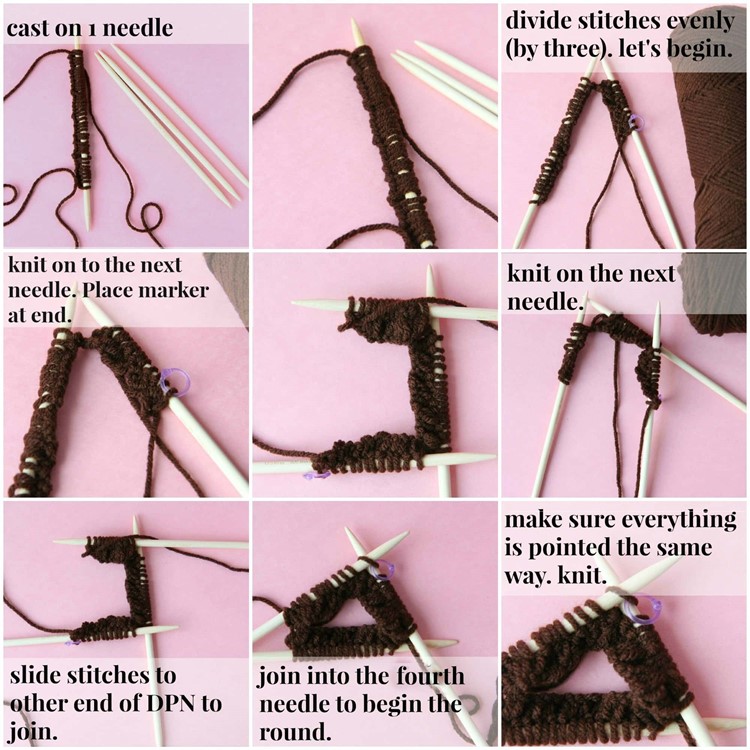
I decided to create a picture tutorial for you to help guide you through your first knit. A quick search on YouTube should also yield great video tutorials. Let’s begin with this easy diagram.
1. Cast all of the stitches onto one double pointed needle.
2. Using your strong math skills (ahem) divide the cast on number by three and begin knitting that number on to your second needle. Be sure that you are beginning your stitches as the pattern states and not just knitting them. For this pattern, for example, you are doing a K2 P2 rib. You will want to be sure you are staying on pattern with your stitches. Place a marker on that second needle (at the end of the stitches) so it marks the beginning of your round.
3. Knit, in pattern, onto the next needle. You should now have three needles with stitches! Yay!
4. You will now be scooting and joining stitches on your needles, like in the triangle of needles above. You will use a FOURTH needle though, to begin knitting in the round. Just begin where you have placed your marker and begin knitting. Because I only have two hands, I am just showing how to set it up. You will use that fourth needle to begin. Continue knitting and scooting things, making sure your stitches are all facing in the same direction, particularly in those first two rows.
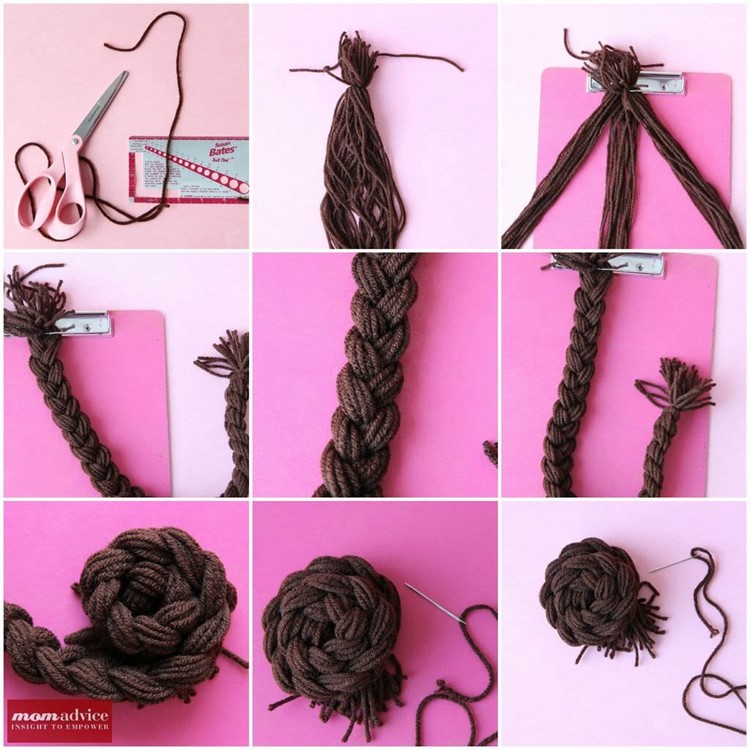
I love that these Princess Leia braids are not knitted. In fact, all we are doing is gathering yarn and braiding it like hair. I used a clipboard to clip the my hair to the top so that I could get nice and even braids.
Although the pattern says to measure these at 36″ long, I will admit that I am terrible measurer. If you are terrible like me, be sure to make both the braids and then trim them to be approximately the same length, otherwise Princess Leia is going to look a little lopsided!
Once I had the braid all gathered up, I trimmed all those loose pieces down and then secured it to the hat. These braids double as delightful little ear warmers.
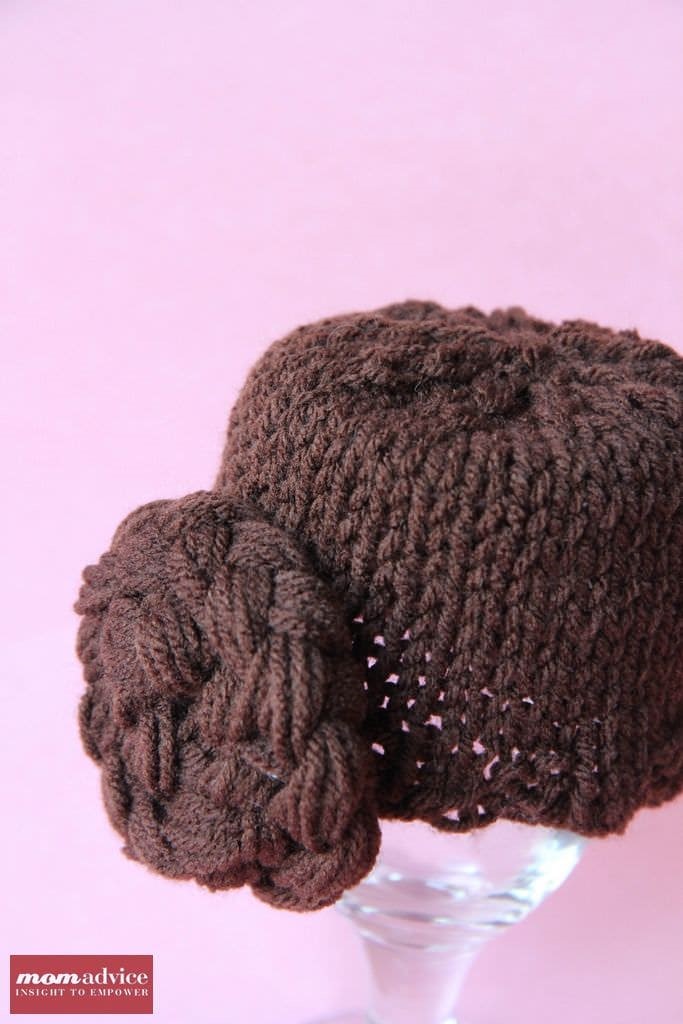
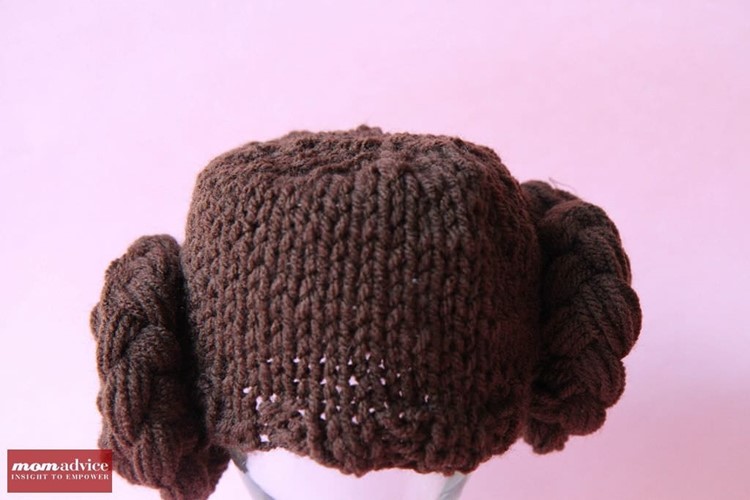
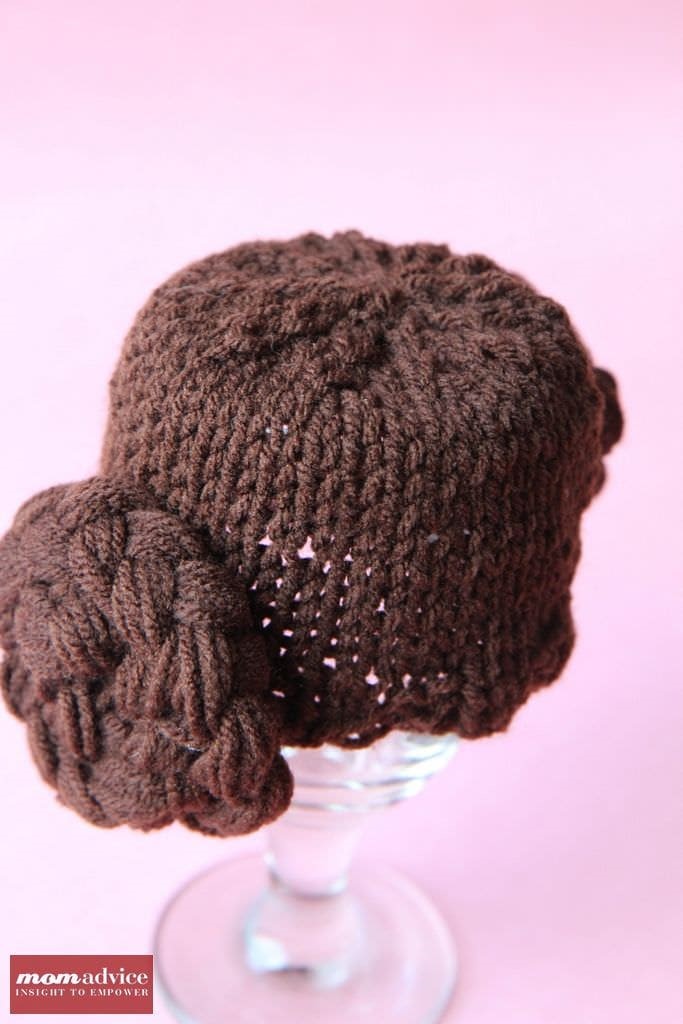
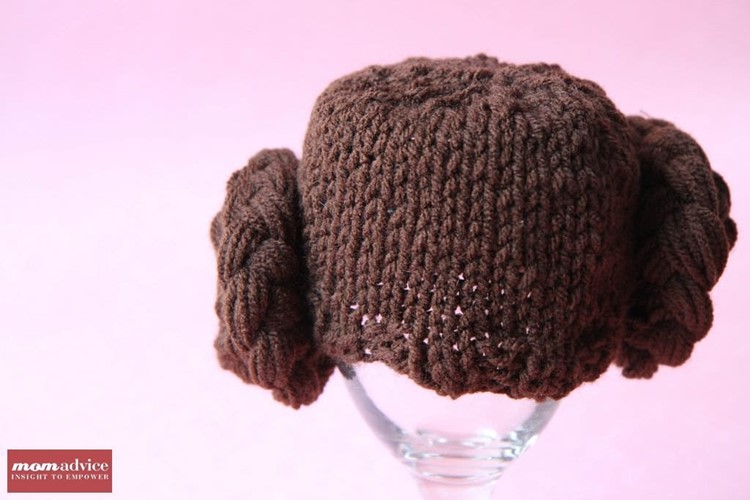
The pattern gives you the options to make it for a Preemie all the way up to an Adult. I admit, after I made this tiny hat, I felt the impulse to make one for myself. I mean, who doesn’t dream of being Princess Leia?
With this large amount of yarn, I can easily make three to four hats for less than $4! Score!
Thank you to Fiber Flux… Adventures in Stitching for sharing her pattern with the Ravelry community! Be sure to friend me over there- I love sharing & seeing your projects!
Grab the Pattern HERE.

Pin It