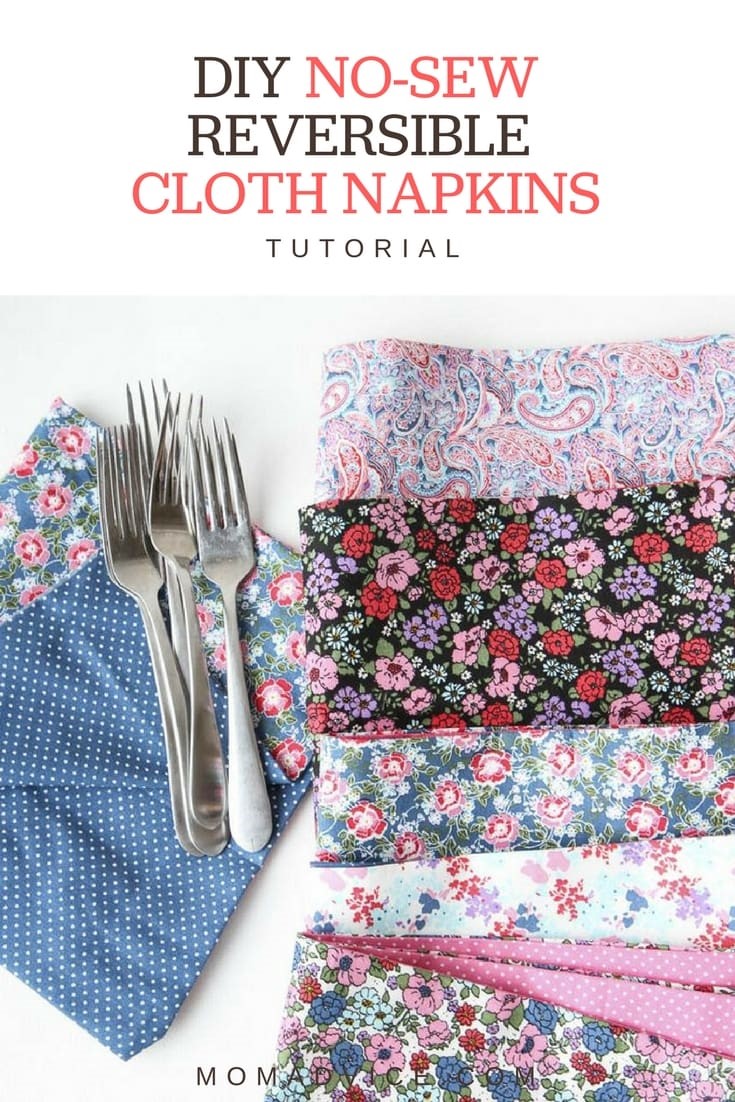
The queen of no-sew projects is back and I’m excited to share this EASY DIY No-Sew Reversible Cloth Napkin tutorial with you today.
That’s right, even if you can’t sew, it’s no biggie!
Can’t cut a straight line?
Me either!
No need to even have a skill in that!
Each diy no-sew napkin should take a mere ten minutes to make and can be used for many a dinner with your family and friends. Not to mention, these would make a gorgeous gift for a newlywed or the holidays.
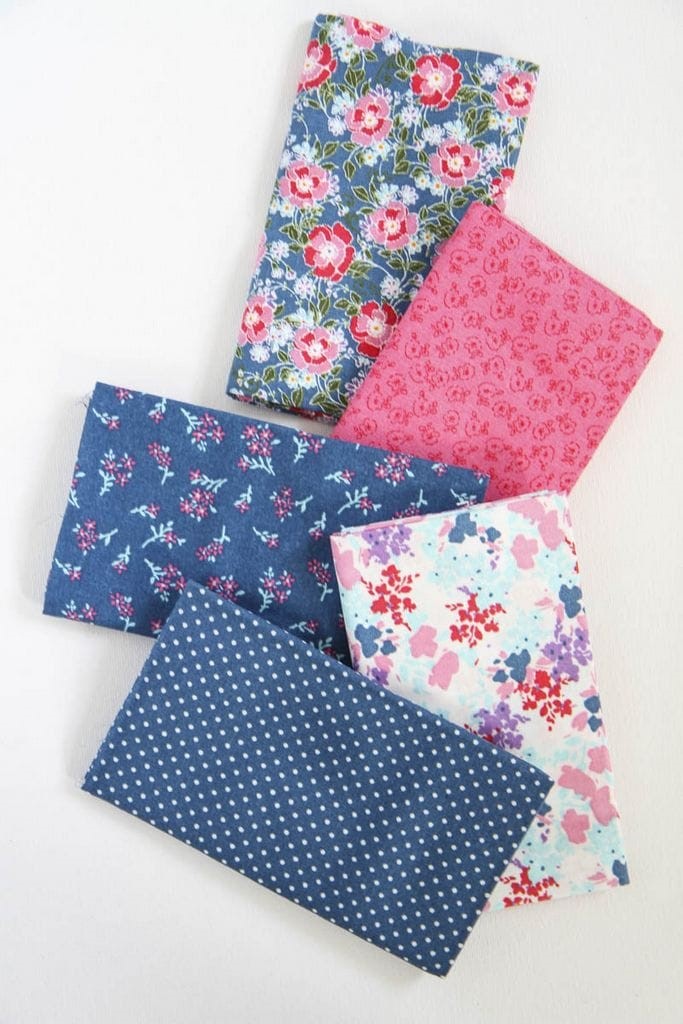
I had a set of cloth napkins that got a lot of love in our house because of their easy-to-wash material and their perfect size. I was never a fan of the colors though and so I measured my current set and headed to the fabric store where I discovered (GLORY BE!) that the fabric bundles, at our local fabric shop, just so happened to be the EXACT same size.
What luck for someone who can’t cut a straight line.
I have always loved the beauty of these color-coordinating fabric bundles (just so perfect for quilters) and thanks to their prepackaged coordination, it makes creating a reversible set of napkins oh-so-easy for those of us born without the gift of pattern-matching.
Here’s my quick tutorial AND scroll down for my system for washing and storing these beauties!
DIY No-Sew Reversible Cloth Napkins Tutorial
Supplies
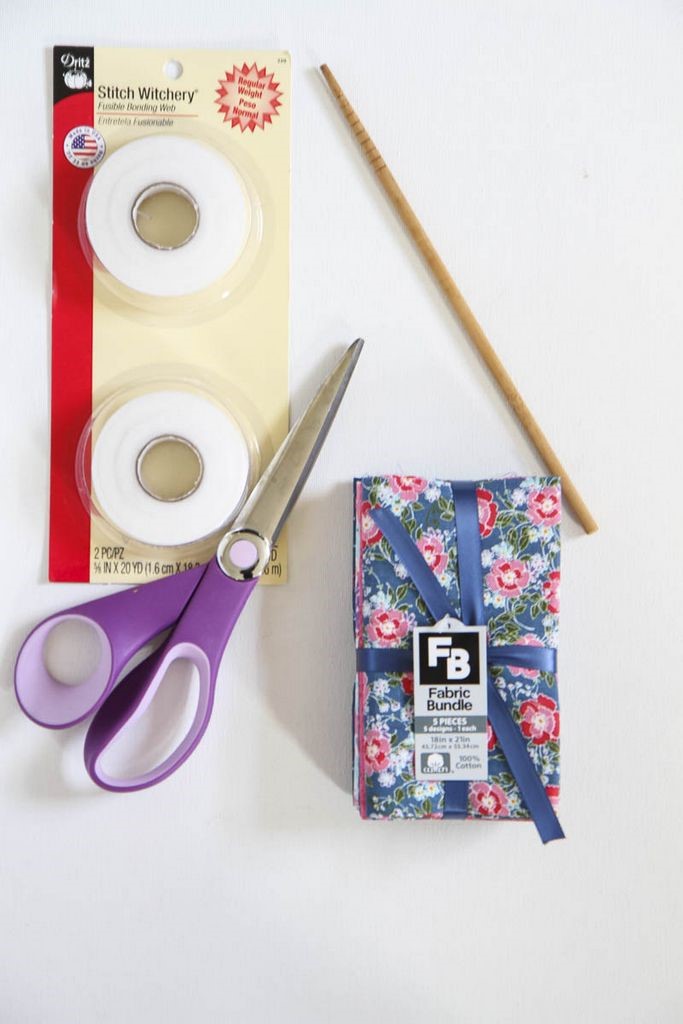
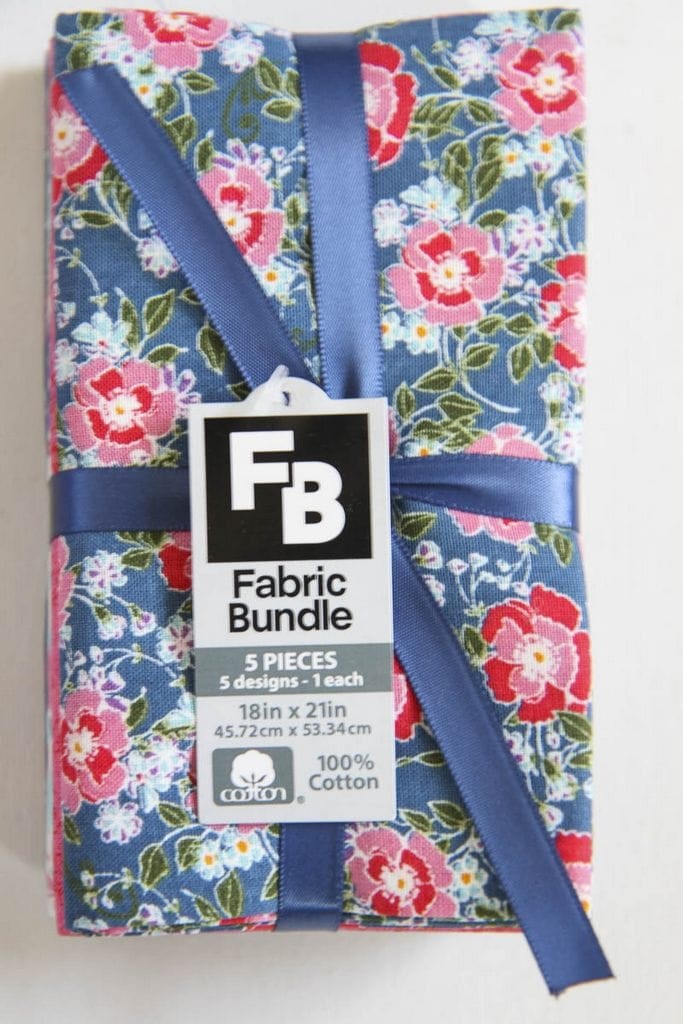
18×21 inch fabric bundle in coordinating colors- I LOVE these options or you can check here too for a more affordable option (the bundle I purchased had 5 pieces so to create an even number of cloth napkins you will need to purchase two bundles. You will need 2 pieces for each napkin you would like to make). I chose Cotton & Flannel materials for my napkins.
Stitch Witchery or similar fusible bonding web (I swear by Stitch Witchery for the majority of my no-sew projects- it really washes well!)
Chopstick or pointy object to push out your corners
Iron & ironing board
Scissors
Directions
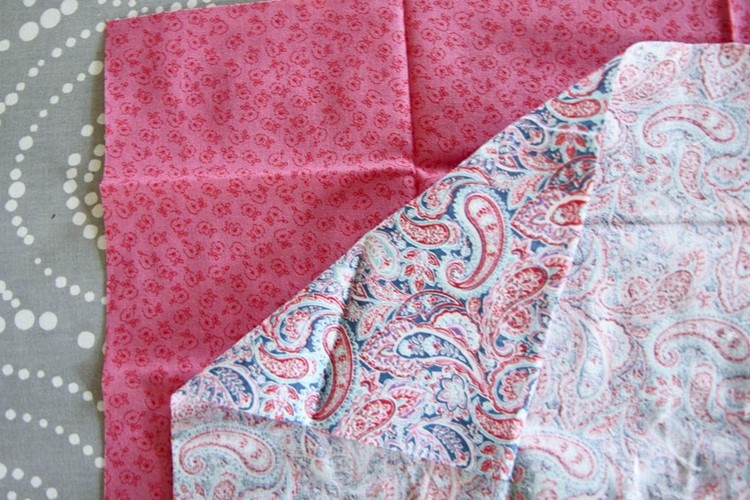
1. Select two coordinating colors and place the first one with the pattern up, facing you, and then flip the other one with the wrong side of the fabric out. Basically, you want the two patterns to be BFF’s and be facing each other.
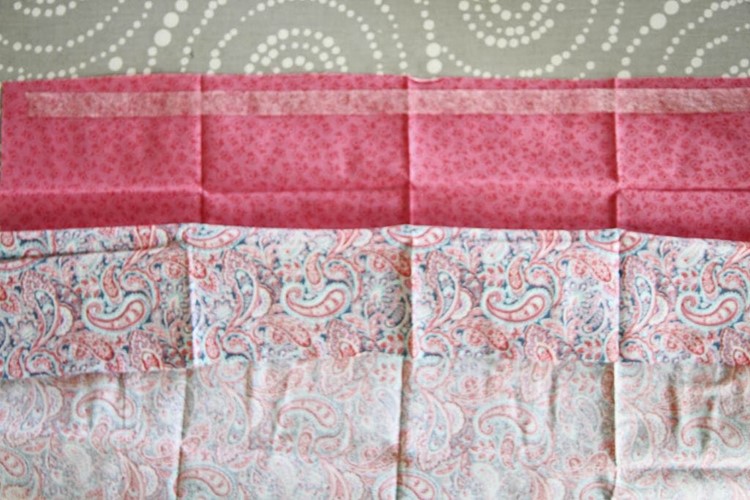
2. Going all the way across the fabric, lay down your Stitch Witchery all the way across, leaving a little room on each side of the edges, as pictured.
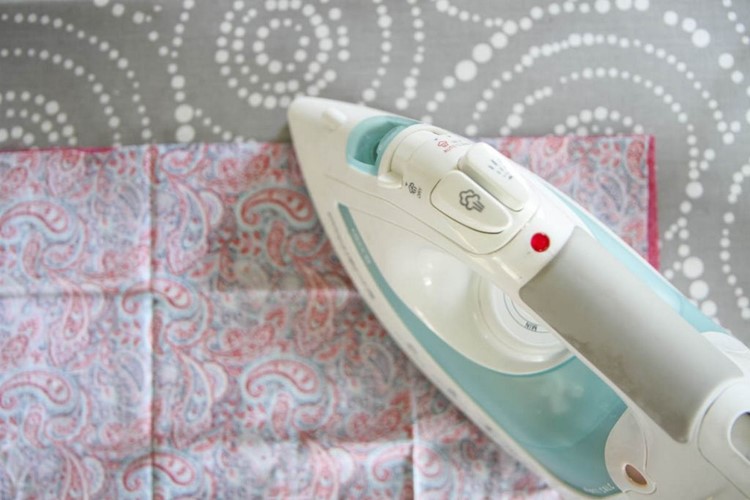
3. Grab you iron (I crank mine to the highest setting on that dial) and iron over the tape until the two fabrics are fused together. This will take several passes and you can additionally spray the fabric with a little water to produce steam and help the tape bond to each side of the fabric. Repeat this process on two more sides.
Leave one side without tape and follow the next steps to finish the cloth napkin.
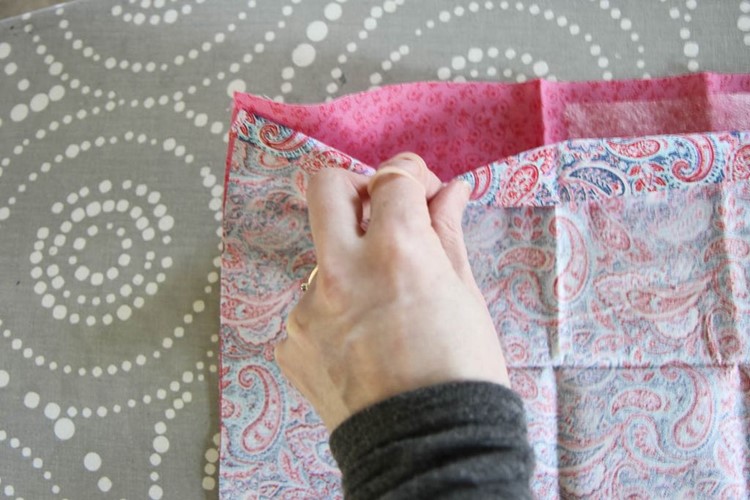
4. On the final side, we are going to run the tape along like the other sides, but stop to leave a pocket so we can turn this napkin right side out.
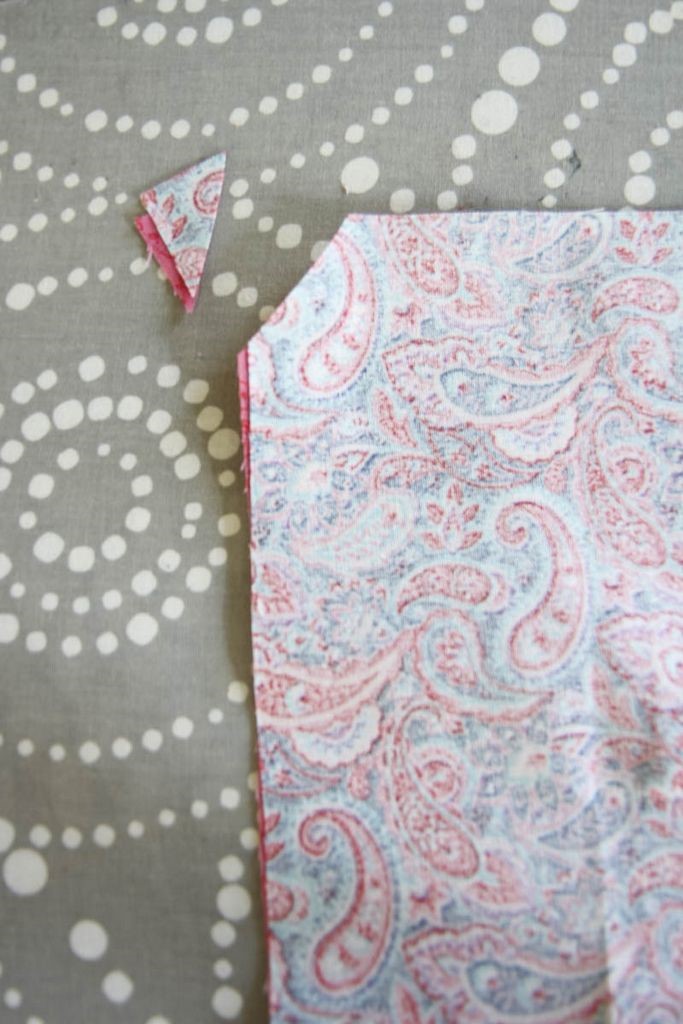
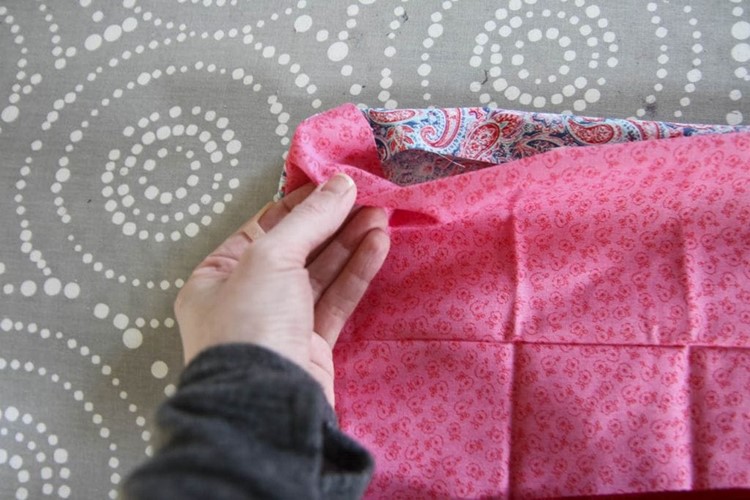
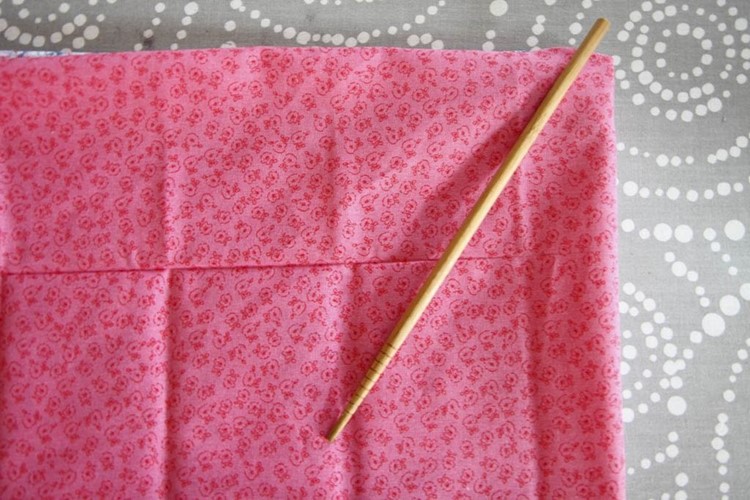
5. Using your scissors, cut all four corners so we don’t have excess fabric in the corners. CAREFULLY, turn the napkin right side out and use your chopstick to CAREFULLY poke out those corners. If the tape comes loose while turning this right side out, don’t worry! You can easily reseal that tape again when finishing that edge!

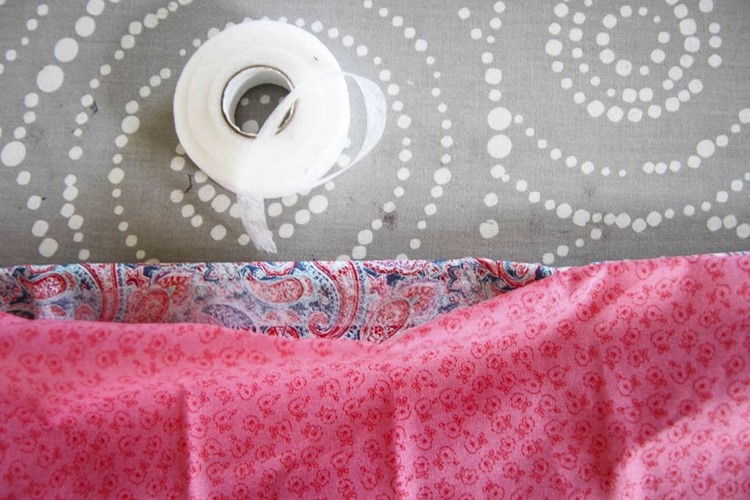
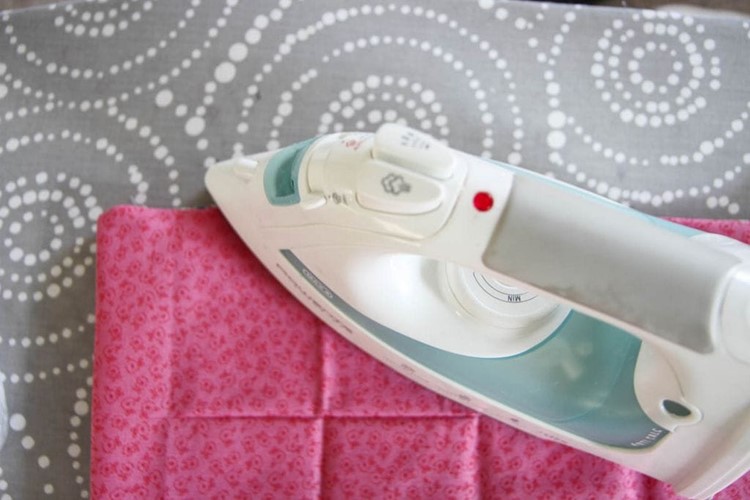
6. Tuck the last of the ends under, to match the rest of the side that has been fused. Finish with another round of Stitch Witchery and a final press. Once the ends are all sealed, finish with a spray of water to take out any final wrinkles and to give it a good press on all four sides to make sure they are secure.
TA-DA! That’s it, folks!
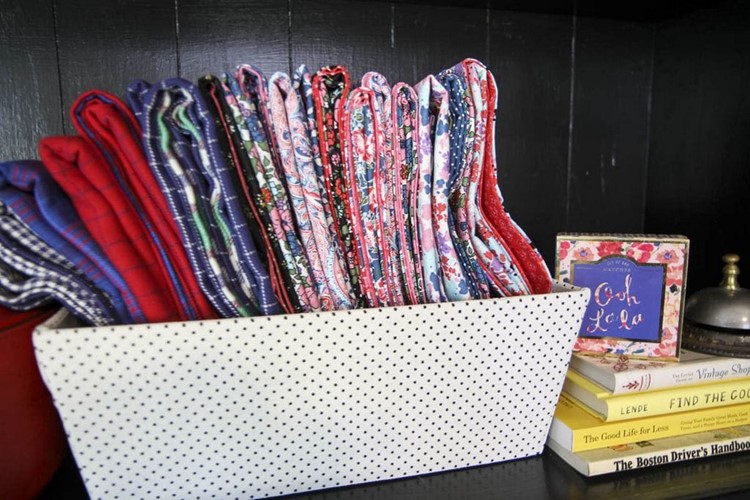
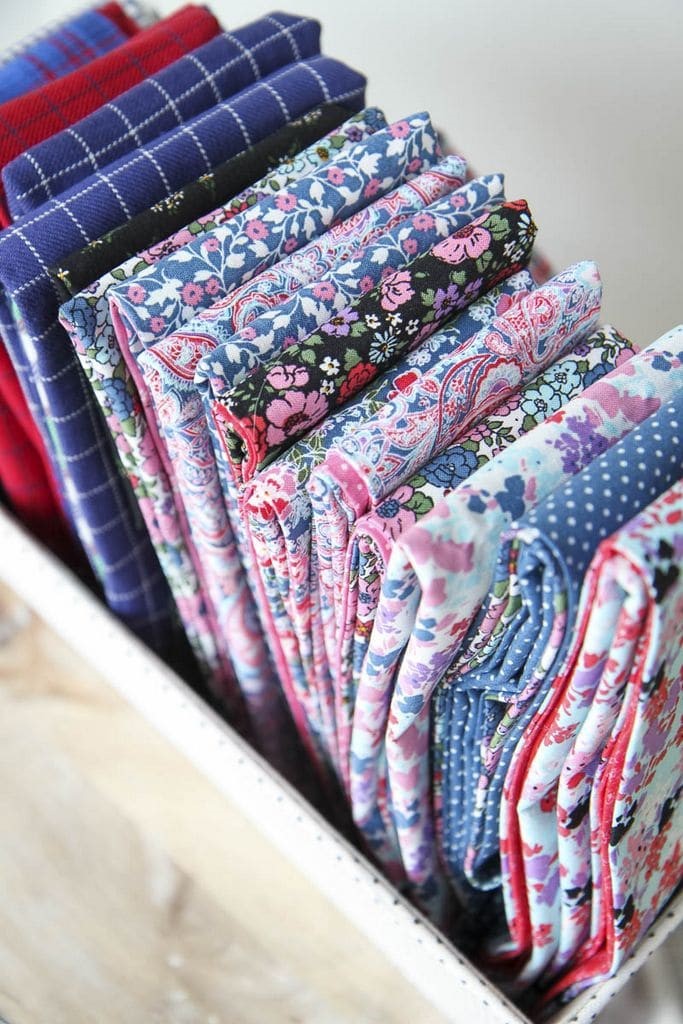
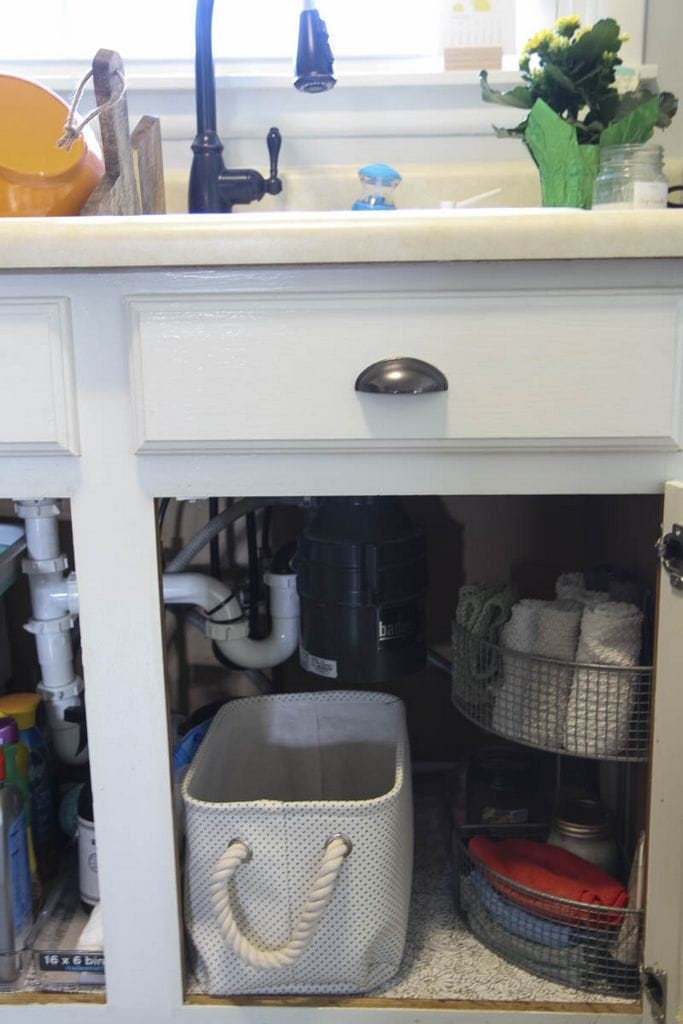
I had already received some questions, when I posted these beauties on IG, on how I planned to implement these in our home. I got a container for these and have them on our hutch, next to our silverware. Underneath the sink is a container for tossing the dirty napkins.
I got a small napkin holder that perfectly holds four of these (something like this) for the tabletop and each person gets one napkin per day.
I did request darker colors for messier meals and lighter colors for meals that less messy.
Each person is responsible for tossing their napkin in at the end of the day.
All of this feels REALLY doable to me.
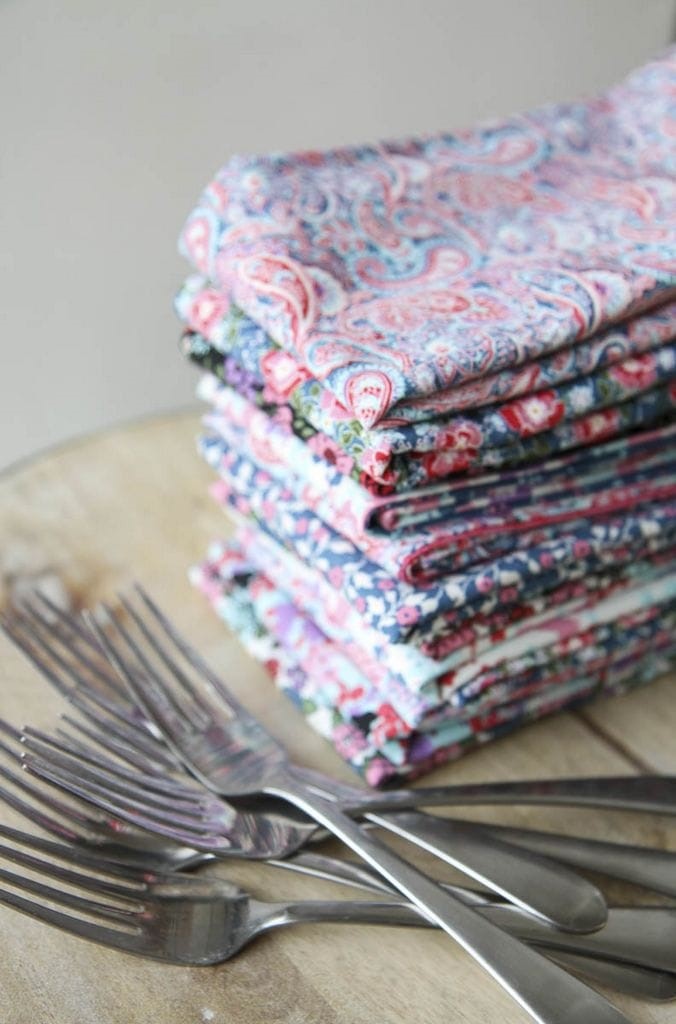
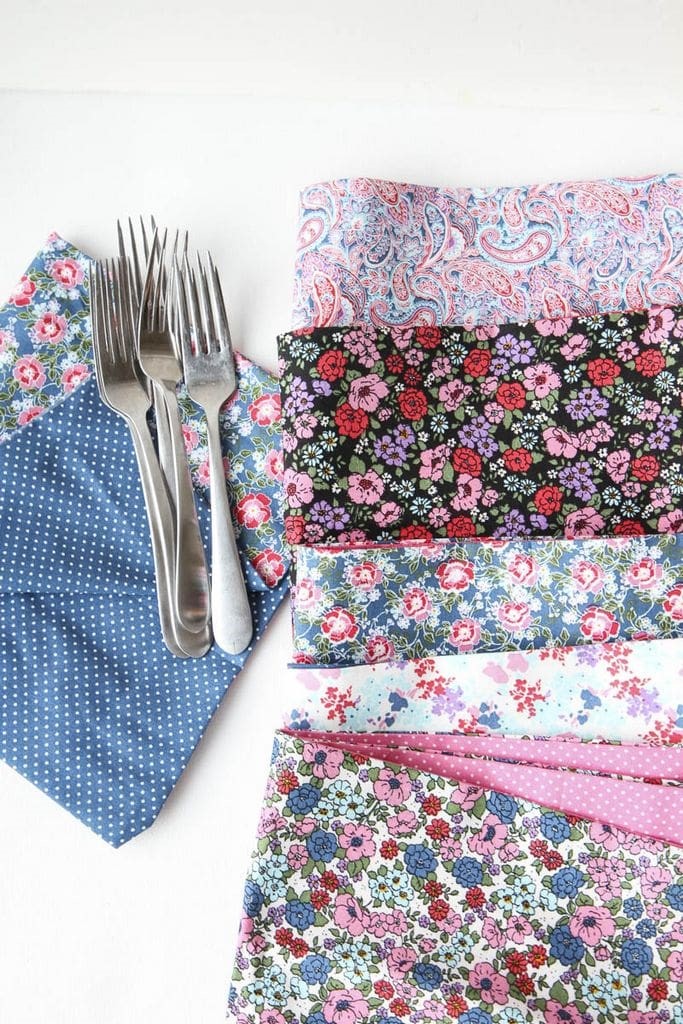
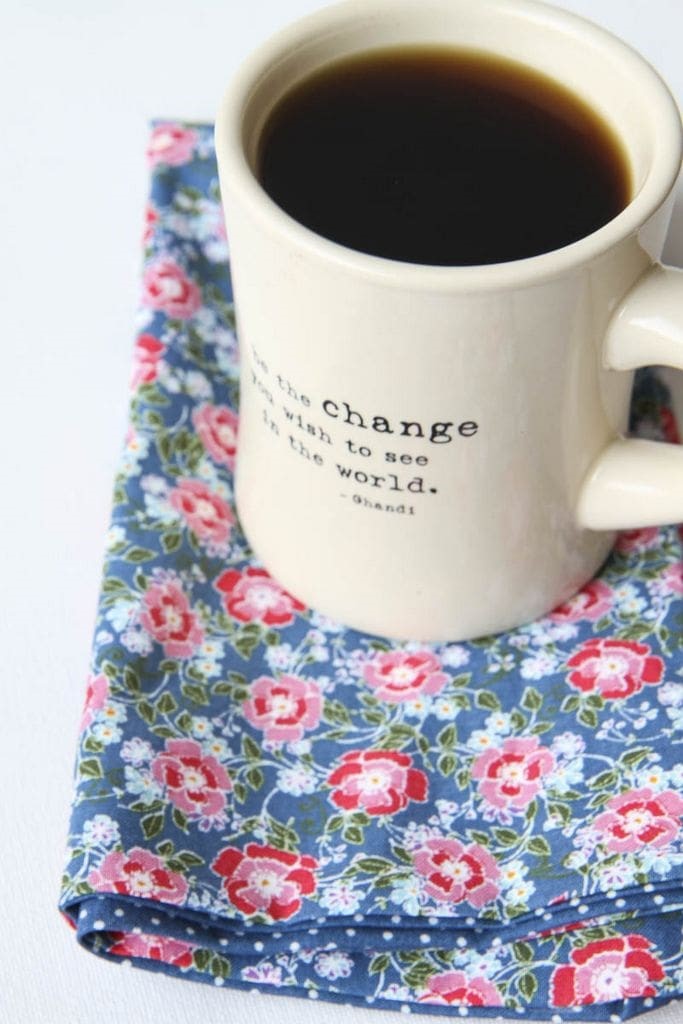
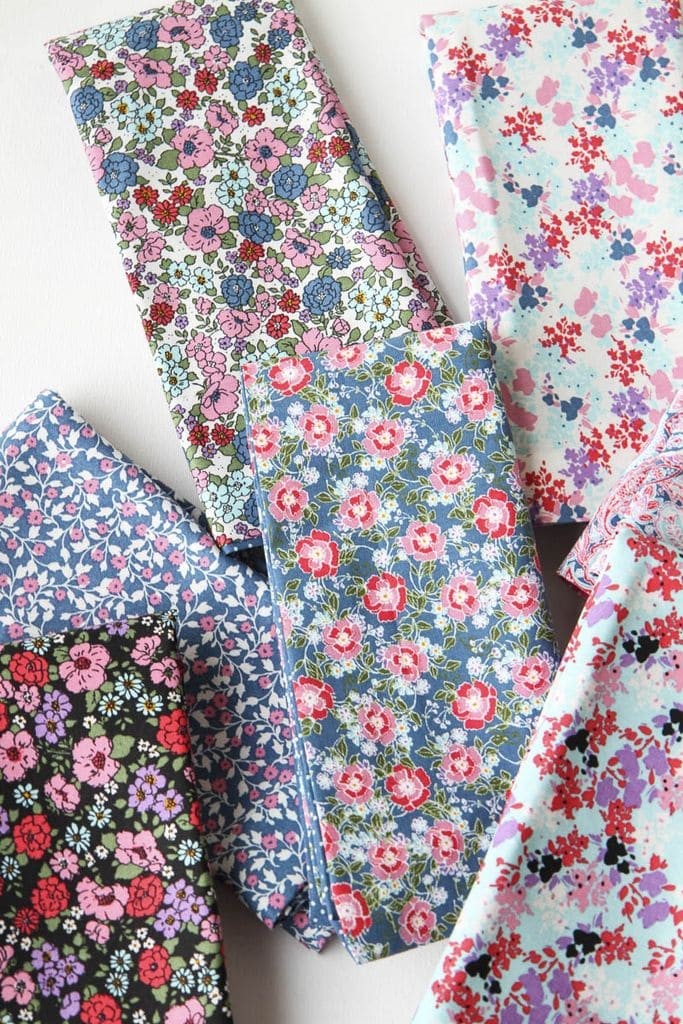
Obviously, I am IN LOVE with these feminine patterns, but I wanted to make some that were more masculine too.
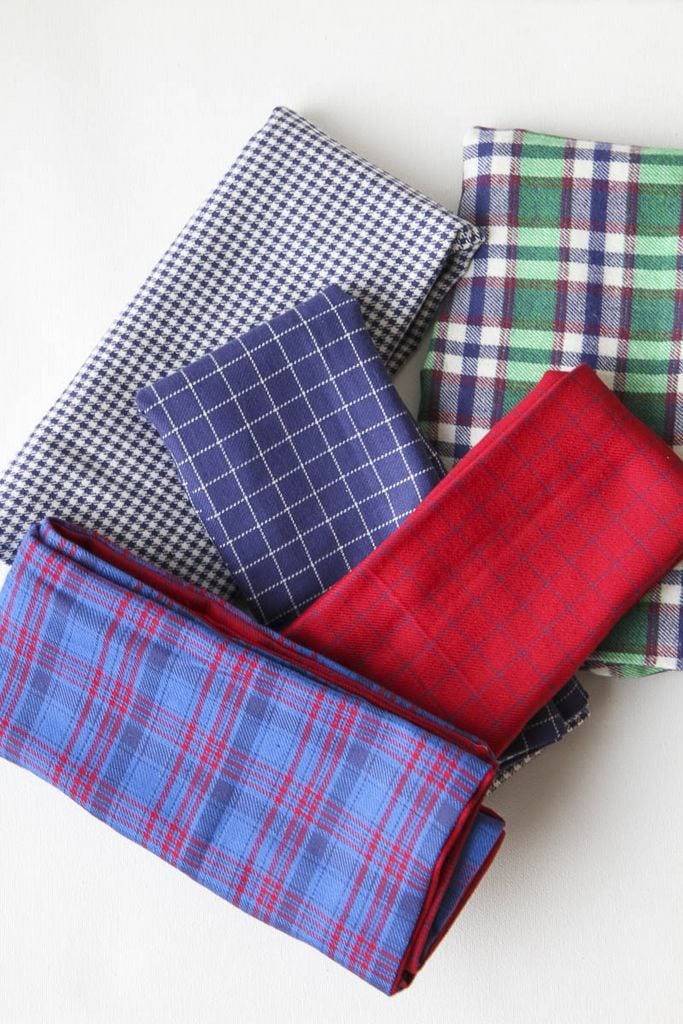
I found some flannel and did some of our napkins in this fabric too.
The best part was that the print was on both sides so the warmer side of the flannel would be perfect for the winter months while the flipside of the flannel was perfect for all seasons (and, honestly, I had less worries about lint issues). I can picture just how beautiful these would be to dress up the table for the holidays.
The best part?
You can’t buy this at Target. You get to be totally unique.
Go ahead and gloat!
Do you love NO-SEW projects? You hit the lottery over here! Check out a few of my favorite no-sew tutorials!
Told ya, queen of the no-sew life!

Have you made the switch to cloth in your home? I’d love to hear what systems work best for your family?
This post contains affiliate links!
Pin It