�From our diy/craft contributor, Sarah Milne.
After a very long, cold winter here in Calgary, we’ve been graced with beautiful sunshine. I think we actually skipped Spring and went straight to Summer here. My children use every ounce of warm sun outside in the backyard jumping on the trampoline and blowing bubbles. And our yard work and landscaping projects are in full swing.
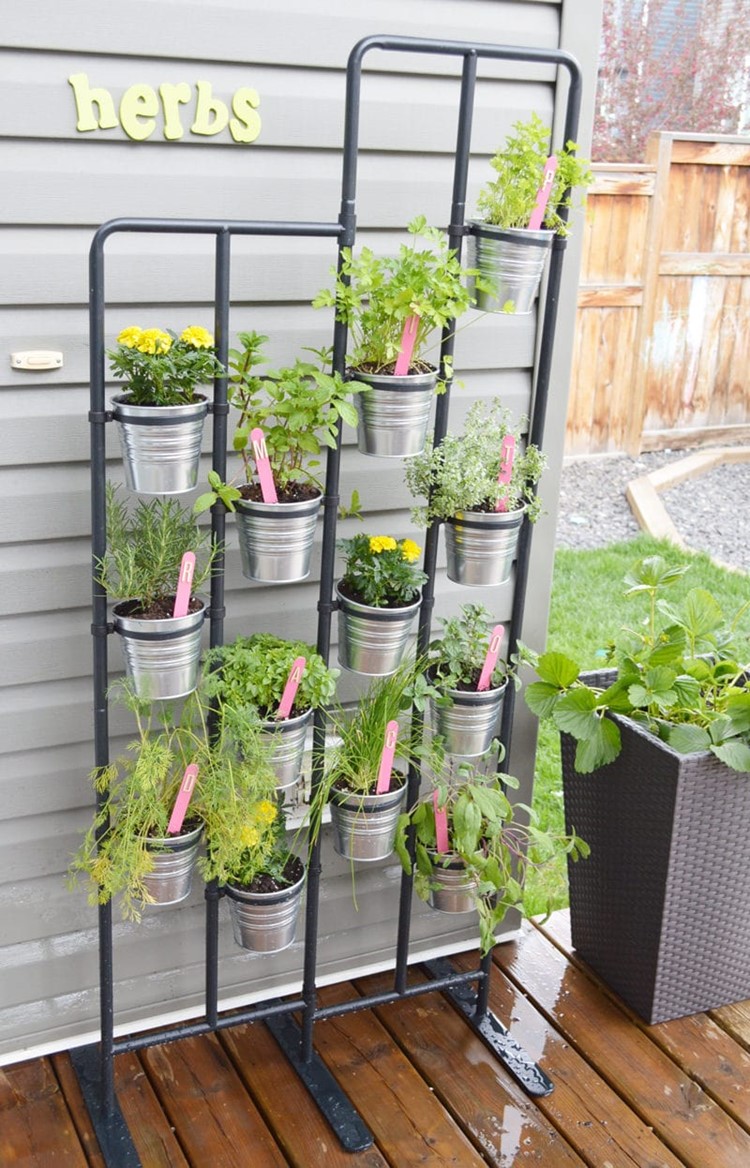
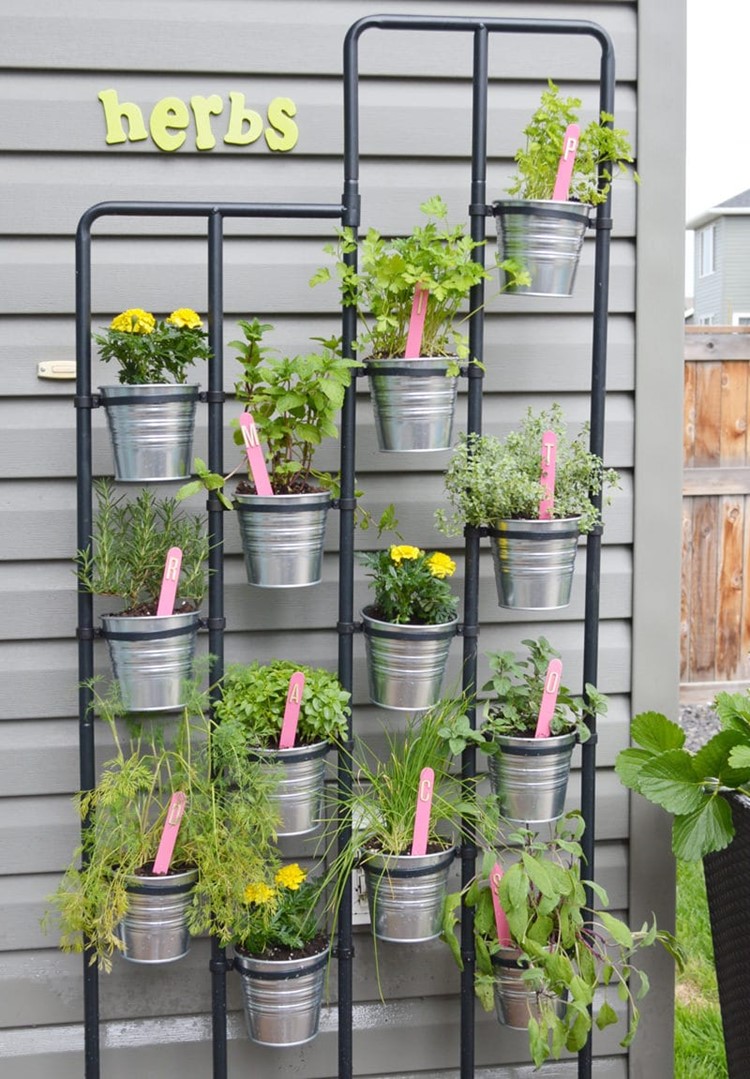
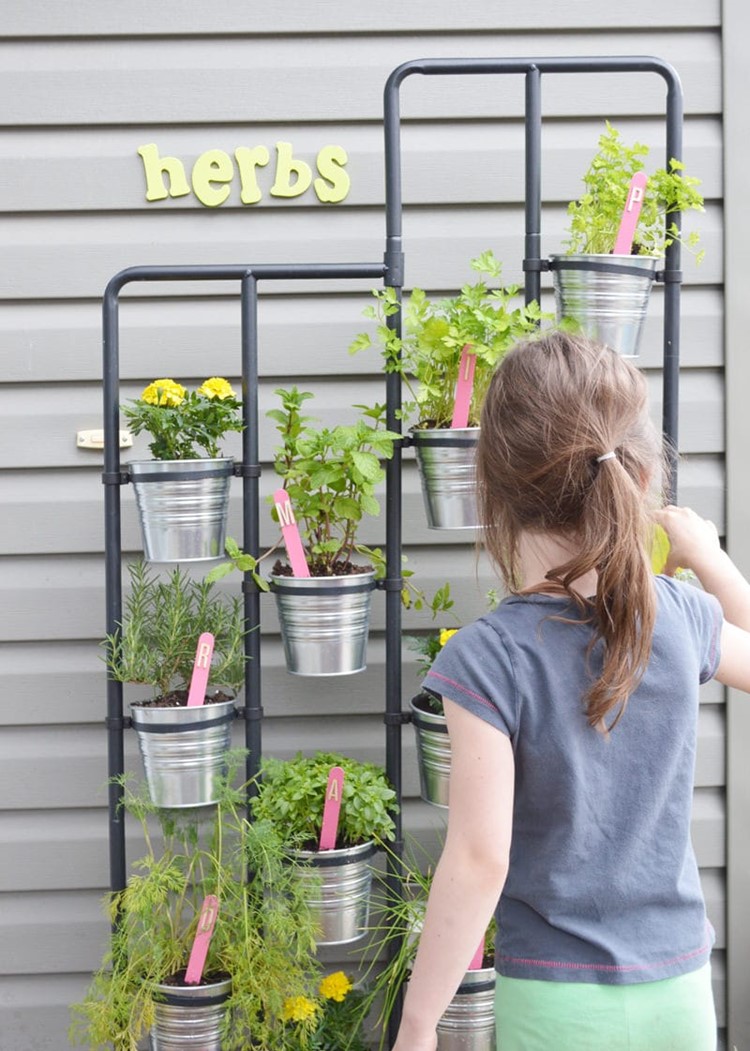
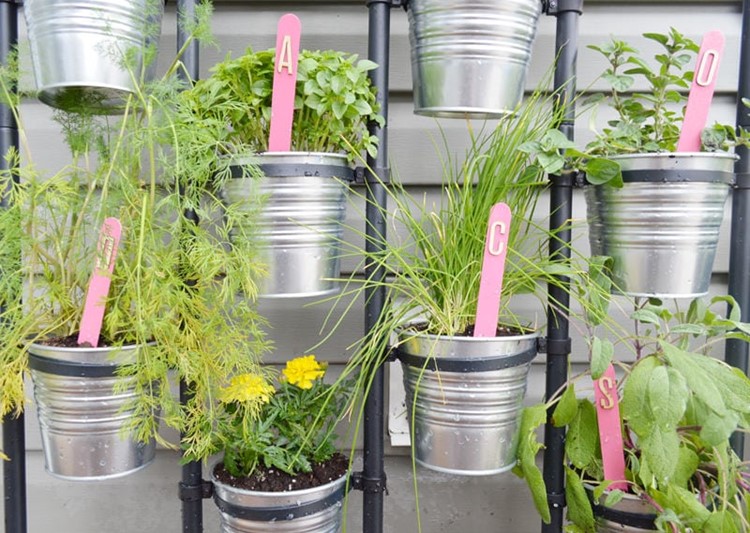
This past week, while my husband worked on building a bench and planter for our deck, the girls and I worked on our herb garden. The IKEA Socker plant stand is the perfect addition to our outdoor space, home to 10 potted herbs and 3 marigolds for each of my children. I purchased the full grown herbs because frankly, I’m impatient. The Socker was easy to build, stands next to our back door, and the base tucks under our vinyl siding for added support so it won’t topple over in a strong wind.
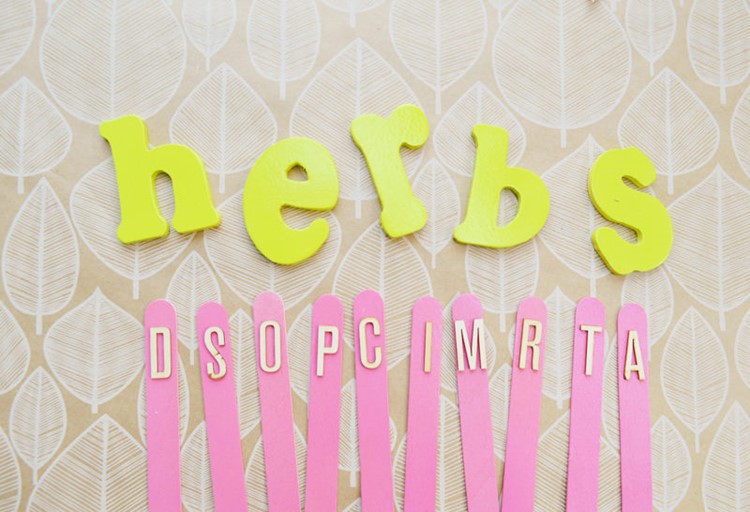
Above the stand, I spray painted some little letters I found on clearance at Michaels. They’re attached using some heavy duty outdoor double sided tape and so far, they’ve survived the heat and a handful of thundershowers.
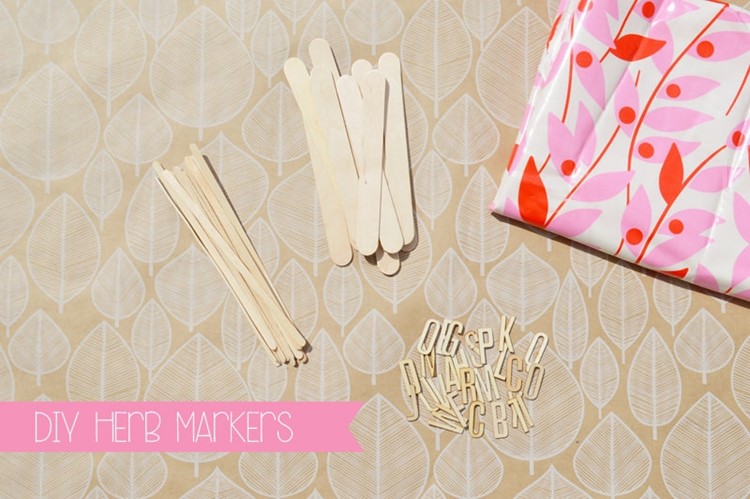
We crafted two sets of fun, DIY herb markers – one for keeps and one to gift. Here are the steps to create your own diy herb markers:
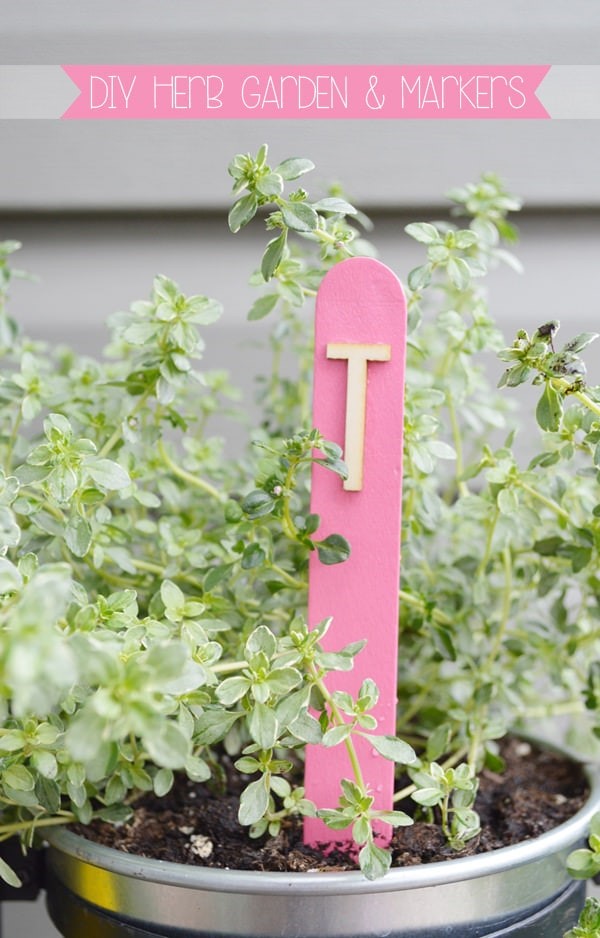
1. Herb Garden Markers : Monogram Popsicle Sticks
What you need:
Jumbo wooden popsicle sticks
Spray paint: we used bubble gum pink from our garage
Wooden letters: Michaels scrapbook section
Gorilla glue
What you do:
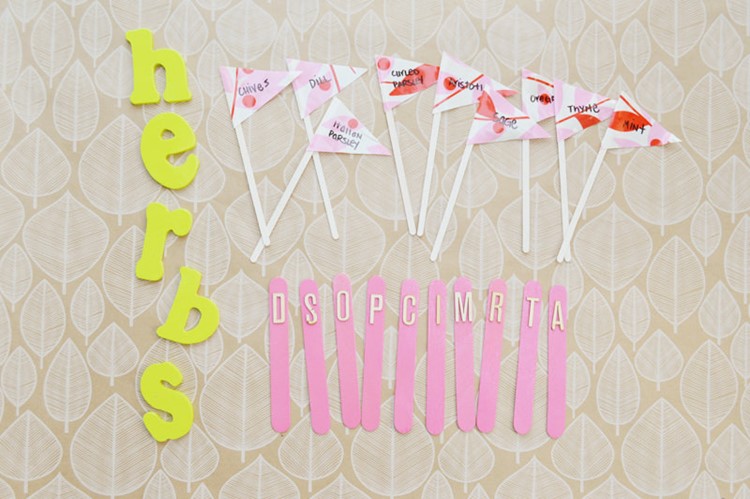
1. Spray paint the popsicle sticks. I only painted one side.
2. Let dry.
3. Glue monogram letters to the popsicle sticks to represent each herb. Luckily I hadn’t any duplicates with the same letter. Let dry.
4. You can also jot down what the herb’s full name is on the back of the stick using a sharpie.
5. Stick the garden markers in your herb pots.
2. Herb Garden Markers : Vinyl Flags
What you need:
Vinyl fabric
Wooden coffee stir sticks : dollar store
Spray paint: we used cream white from our garage
Ruler, paper, scissors, or fabric cutter
Sharpie
Gorilla glue or hot glue
What you do:
1. Spray paint the stir sticks. I only painted one side.
2. Let dry.
3. Create a triangle template for your flag from the paper.
4. Cut your triangles from your vinyl fabric using your template.
5. Write your herb names on each flag with sharpie. Let dry.
6. Adhere the flags to the stir sticks using gorilla glue or hot glue. Let dry.
7. Stick the garden markers in your herb pots.
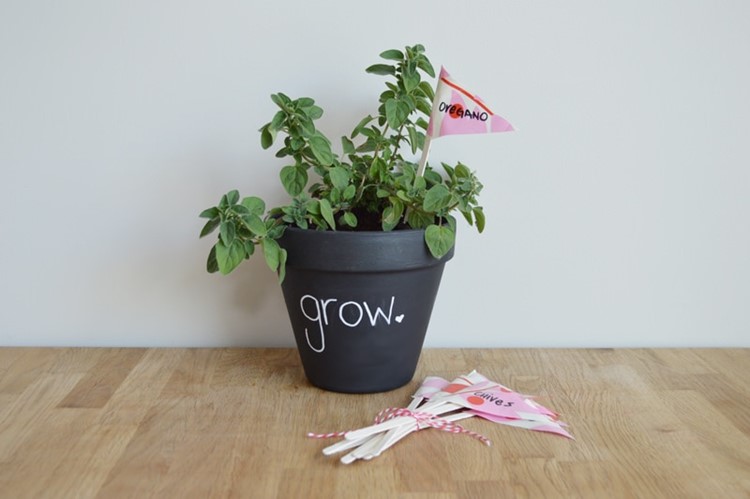
We made this set with intentions of gifting them along with a potted herb. I painted a terracotta pot using chalkboard paint and doodled with a chalk marker. Such a sweet, reusable gift for the end of the school year or just because…
Gardening is a hobby I love sharing with my children. My oldest absolutely LOVES to help. The herbs are small and easy for her to take care of. She especially loves to trim a little off for dinners. My 3 year old checks our giant strawberry plant each morning to see if there’s any red ones to pick.
Happy Summer!
Pin It