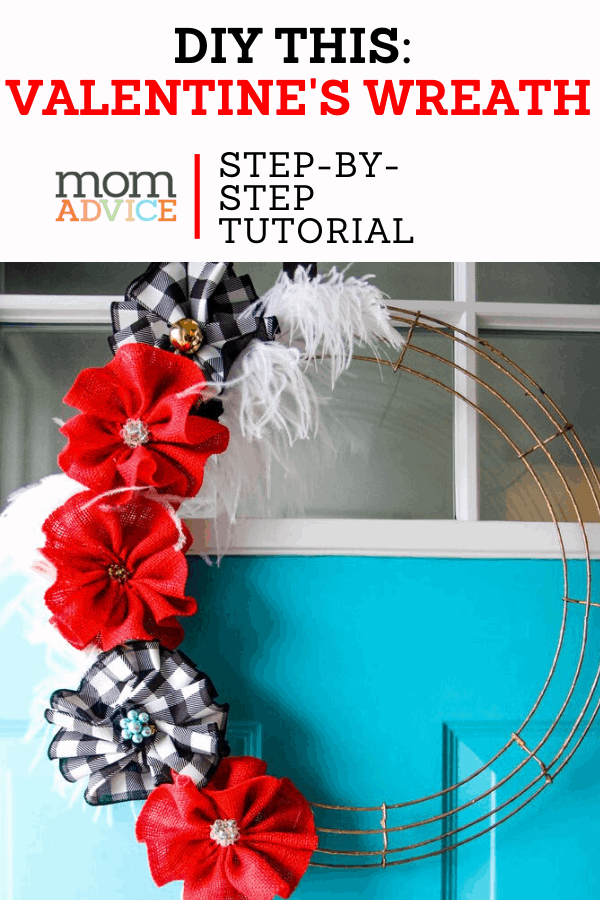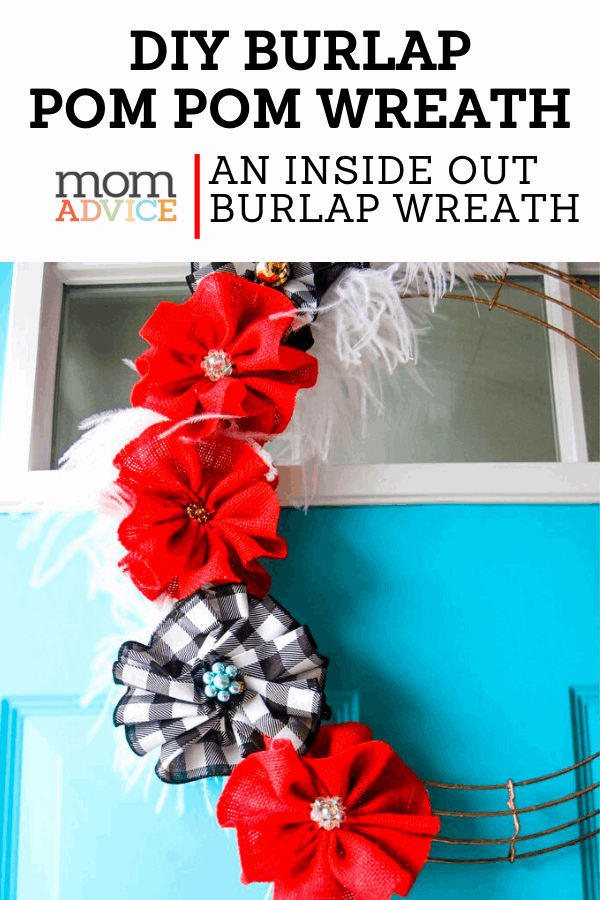
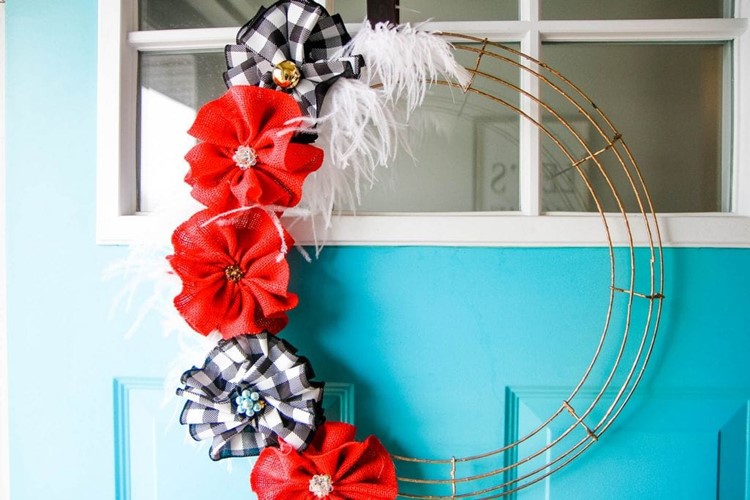
A painted wreath form becomes the base to this modern wreath. Burlap ribbon and wired ribbon are gathered into ruffled pom-pom flowers for the festive accents. Throw in an ostrich feather and you have everything you need for this inside out burlap wreath.
The self-proclaimed queen of wreath making is back and I can’t wait to share another wreath tutorial for a modern wire wreath for your front door.
This slimmed down wreath is particularly awesome if you have a glass door and your wreaths get smashed between the two doors.
While I have adorned this for wreath for Valentine’s Day, the metal base can be used over and over again with fresh floral picks, different colors of burlap, or different ribbons.
The possibilities are endless.
The best part about this wreath?
The accessories take just five minutes and don’t require any special pom pom maker to pull of this diy project.
DIY Burlap Pom-Pom Wreath
(don’t forget to download the Rakuten app to save on craft supplies- read all about it or just sign up here and get $10 of your first purchase)
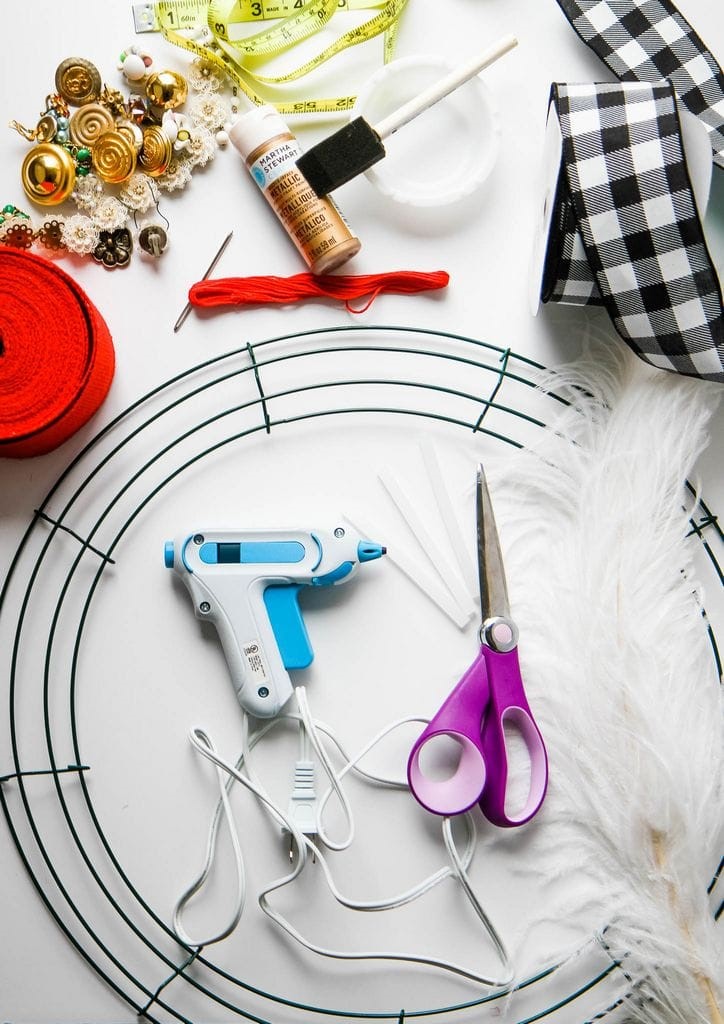
Supplies Needed:
18″ Wire Wreath Frame
Metallic Acrylic Paint– pick your favorite shade or use my exact match
Foam Brush
Paper Plate or disposable cup for paint
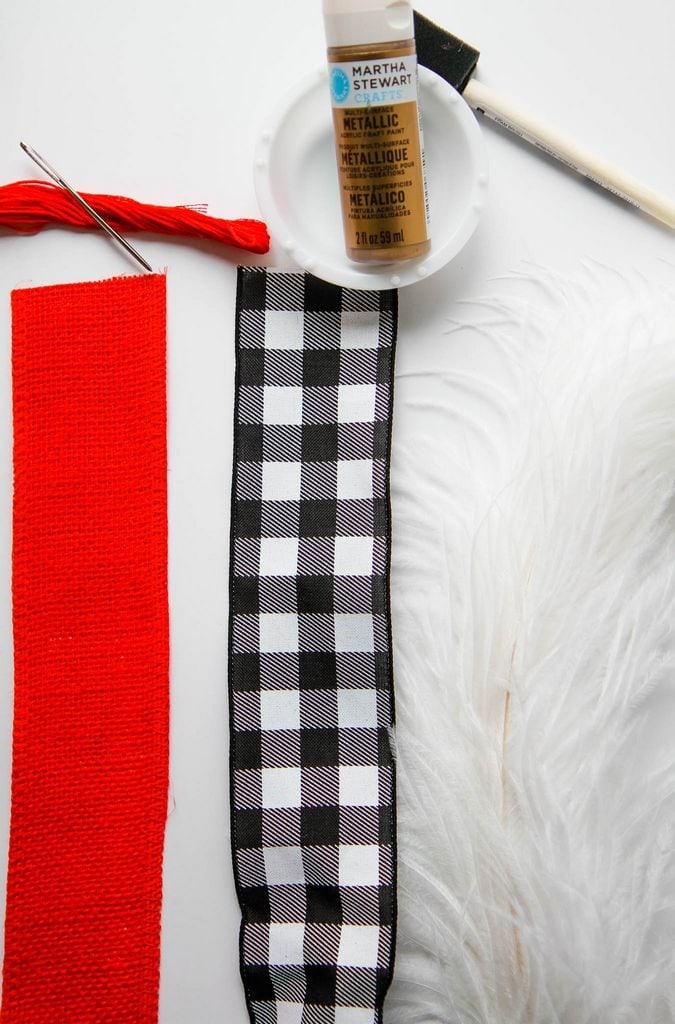
Ostrich Feather
2 ⅜” Wide Burlap Ribbon (this is linked to exactly what I bought or search for your own favorite colors) NOTE: you will need 9 yards of burlap ribbon to replicate this project
2 ½” Wired Buffalo Plaid Ribbon (this is linked to exactly what I bought or search for your own favorite pattern) NOTE: you will need 8 yards of ribbon to replicate this project
Tape Measure
Cotton Twine (embroidery thread is pictured here, but I found it too fragile)
Embroidery Needle
Hot Glue Gun
Glue Sticks
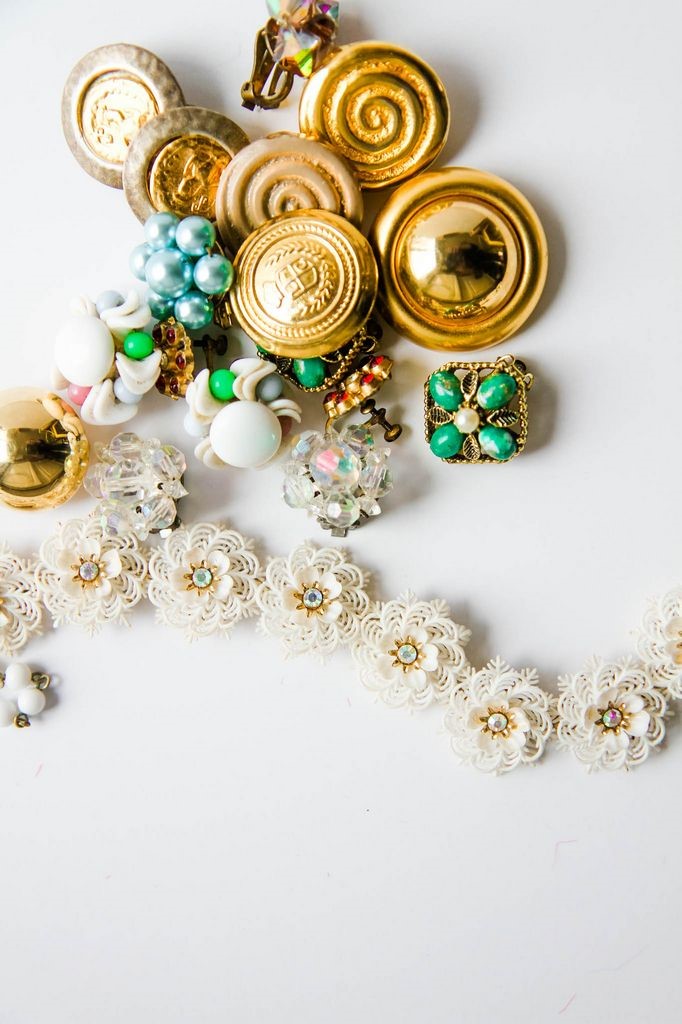
Vintage Buttons or Vintage Jewelry for Flower Centers
Scissors
Floral Wire (this is the kind I love)
Directions:
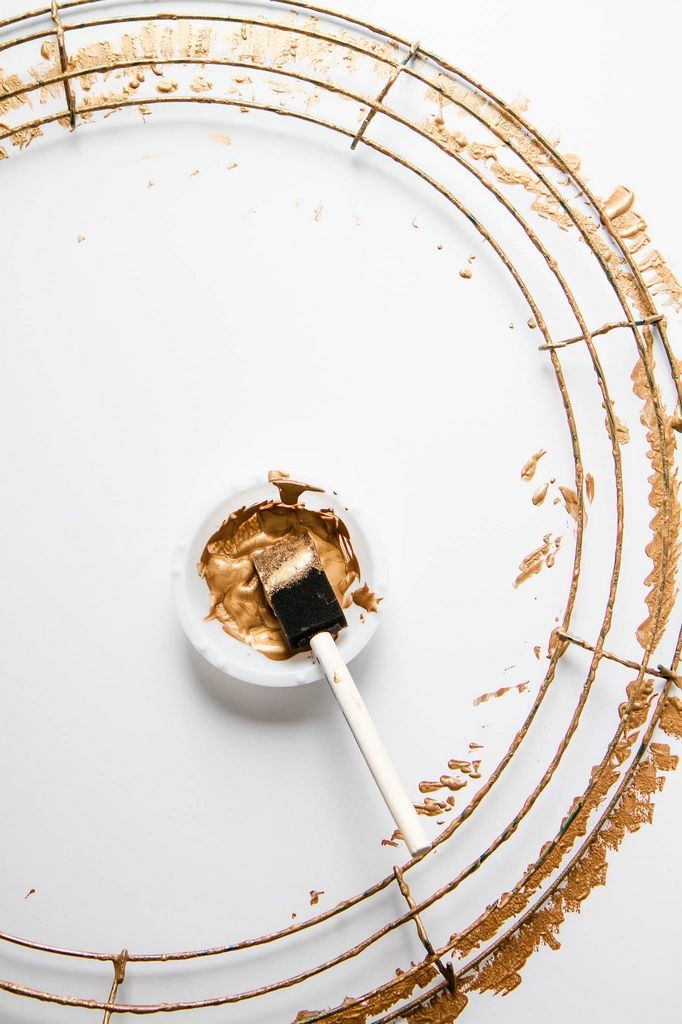
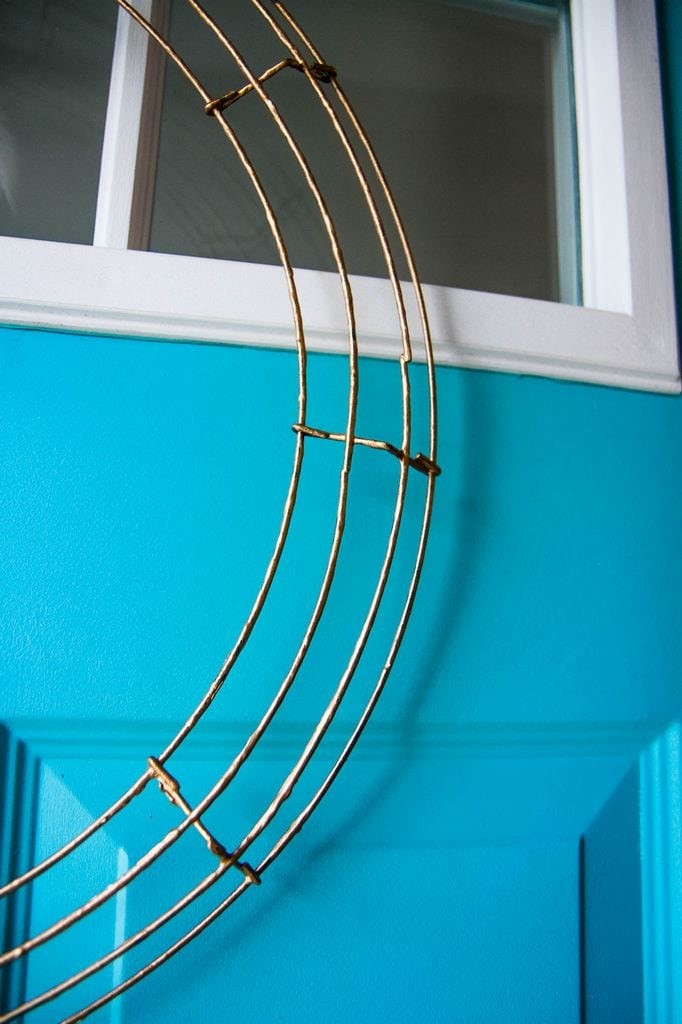
Paint your metal wreath with metallic acrylic paint.
You can just brush it on or you can try to create a bit of texture by sponging and then lifting your foam brush to give it a little more texture.
Set aside to allow plenty of dry time for your wreath base. It should take approximately an hour.
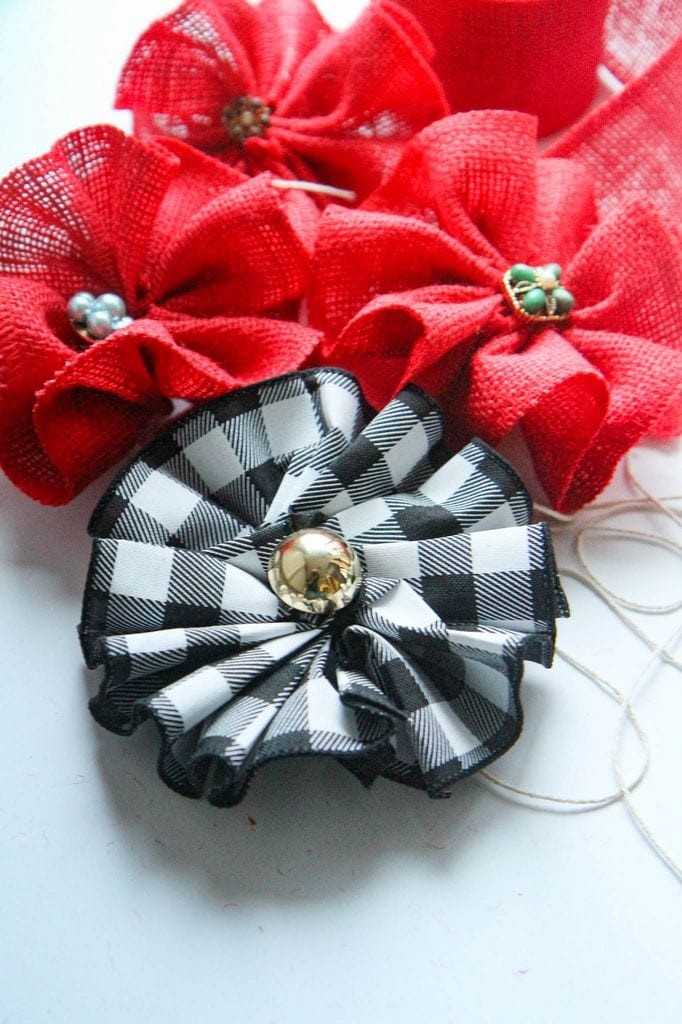
While your wreath is drying, make 3 burlap pom poms and two ribbon pom poms for your accessories. You will find this step-by-step 5 minute craft tutorial over here.
After your wreath has dried, add another coat (if necessary) or touch up the paint as needed.
Allow to fully dry before proceeding to the next step.
Once the wreath is dry, we can begin assembling everything for the wreath.
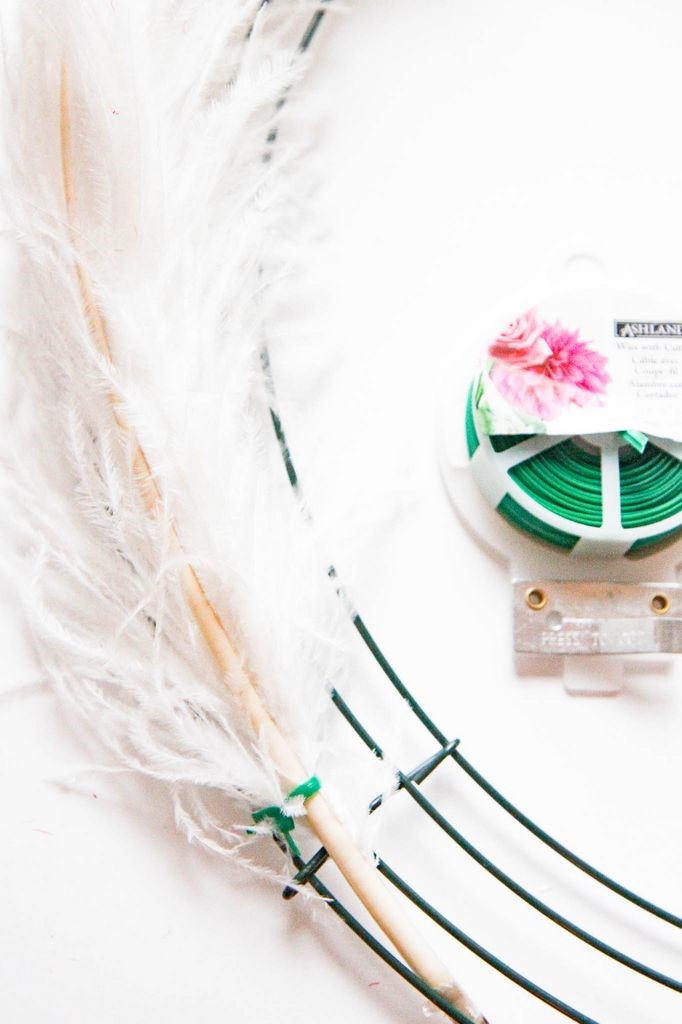
My wreath form was still drying, but this picture should show you exactly how to do it.
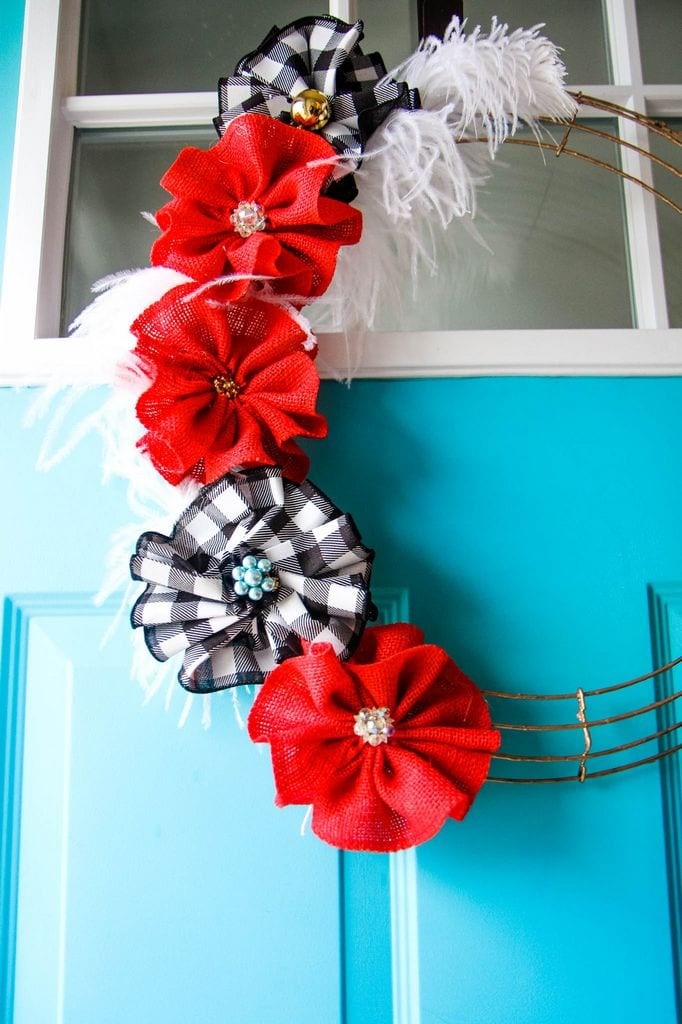
Add your ostrich feather to hug around the wreath and secure it, about 3/4’s of the way down, and then at the base of the feather.
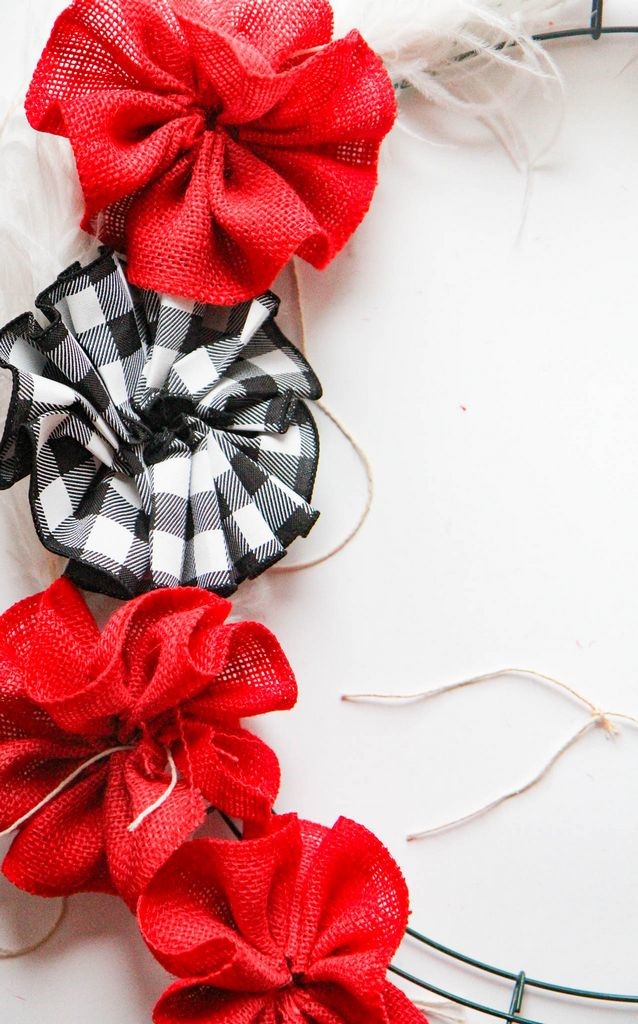
Once you have your burlap pom poms and ribbon pom poms done, lay them out to figure out the perfect placement.
Remember, odd numbers of accessories are pleasing to the eye.
This wreath has 5 flowers, but you could add 7 or even 9, depending on how large you want the accessories to be.
Using the ends of the twine, on the back of the pom poms, tie your accessories to the wreath form. If necessary, add a dab of hot glue to secure it in place for your wreath.
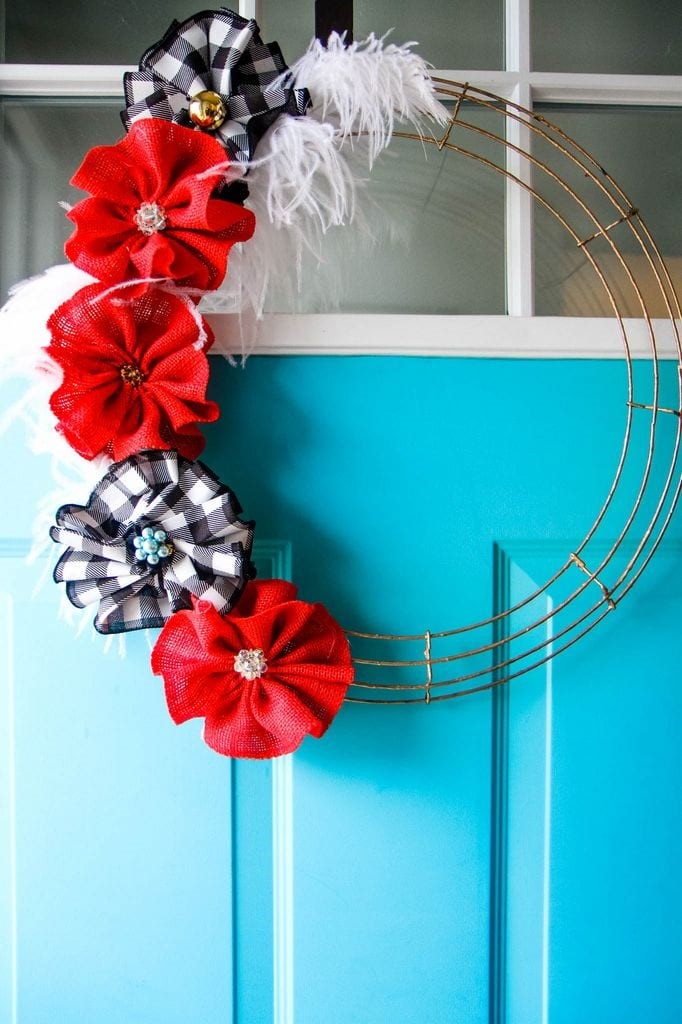
That’s it! It is super easy to hang since the wreath form is exposed!
I can’t wait to see your wreaths and I hope this inspires you to create a special wreath for your front door this year!
As an Amazon Associate I earn from qualifying purchases.
As a RewardStyle affiliate I earn from affiliate links.
Looking for more wreath ideas for every season? Check out my favorites below.
(don’t feel like neutral? try this craft with colored pom poms. The multi colored would be so fun for your home and you can use different size pom poms)
Happy crafting, friends!