I wanted to dust off this entry from last year for your holiday baking! Last year I experimented with this fabulous recipe for the perfect sugar cookie and I learned a thing or two along the way. This recipe is going to be made in my kitchen again this year and I can’t wait to share more of these cookies with our family and friends.
I love, love, love to cook. Baking bread, whipping up fancy dinners, making stacks of gourmet waffles…those are my favorite thing to do! Baking cookies? Total fail. I don’t know what it is, but making great cookies is not something I am good at. To be honest, I just don’t think I have the patience for it. More than that, I haven’t had the time. I rely on bar cookies, quick breads, and other easy snacks to get us by.
Of all of the fails, cut-out sugar cookies have been the biggest fail for me. They are misshapen, taste like cardboard, and are far too time-consuming. I have tried a half dozen recipes with the same results and had determined that I was destined to be a cut-out cookie failure.
I decided this year though that I would find a good recipe that would look nice and yield a tasty result. Where do I turn when I don’t have time to run a full-fledged test kitchen out of my home? My America’s Test Kitchen Family Cookbook. The recipe was entirely unique and promised fantastic results. Crisp cookies, full flavor, and step-by-step tutorials that would be worth eating and sharing.
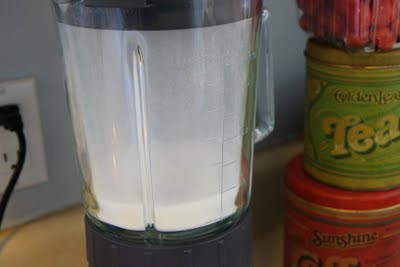
The first step towards a great sugar cookie was to use superfine sugar. According to the cookbook, superfine sugar gives the cookies a finer crumb and crisper texture. You can buy this in the store or do what I did which was to process the granulated sugar in a food processor or blender for thirty seconds and then measure out 3/4 cup of the sugar for the recipe. You know me, I chose the cheaper option for this recipe and put my blender to work.
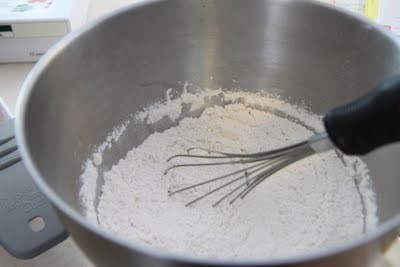
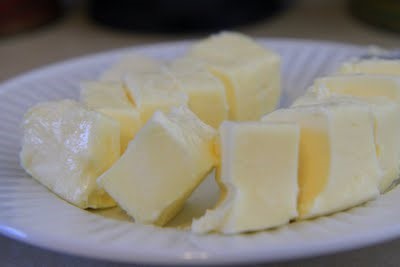
The second step to their perfect cookie was a “reverse” mixing method. Instead of the traditional creaming of the sugar with the butter they took a different approach to create a cookie that would be sturdy enough to decorate. With this method, you mix together all of the dry ingredients and then add butter tablespoon by tablespoon to create the dough. The dough is finished with cream cheese, to pull everything together and make the dough workable, and you finish the mixing with a vanilla finish.
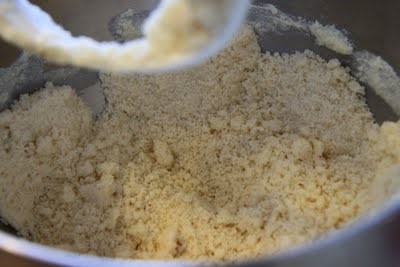
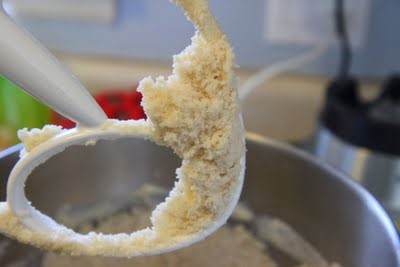
The dough looked like this. It looked crumbly and not very wet. You were instructed to pull the dough together with your hands and form it into a ball. I wasn’t too sure how this was going to work out. It just did not seem sticky enough to me.
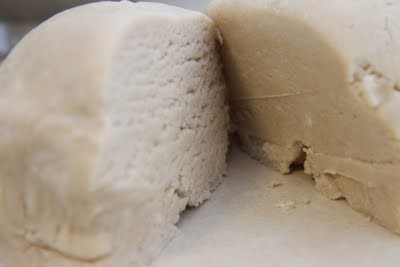
After a couple of minutes of kneading, this is what my dough looked like. I don’t think my dough has ever looked this good.

You were to divide the dough and pop these in the refrigerator, flattened into two 4″ disks, and leave them in the fridge for 20-30 minutes.

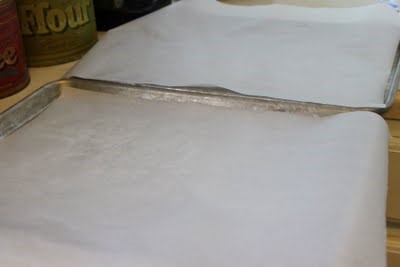

While the dough is chilling, you can tidy up the kitchen and then get everything else ready to go. Line your cookie sheets with parchment paper, break out those cookie cutters, and tear off two sheets of parchment paper per dough disk to roll out your cookies. That’s right, no floured counters which will save on clean-up time!
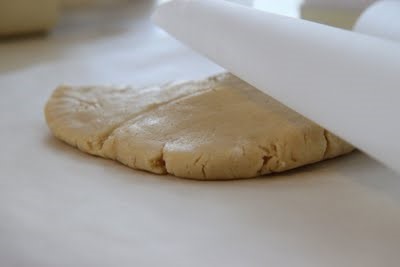
Put your disk between the parchment paper and roll the dough out. I secured one set of corners between me and the counter to hold the paper in place. Let me know if you know a better way to do this, but that seemed to keep everything secure without any special tools. Now pop the dough back in the refrigerator for ten more minutes or until the dough is firm for cutting. I know it is a total pain and feels like a waste of time, but it will yield a cookie with sharp edges and one that will hold its shape. I figured if I was already going to all of this trouble, it would be worth the extra effort to do it right.
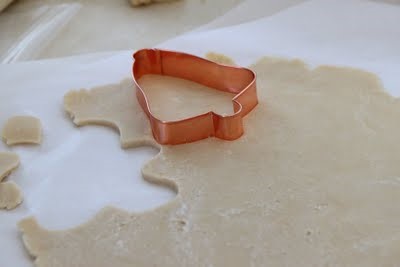
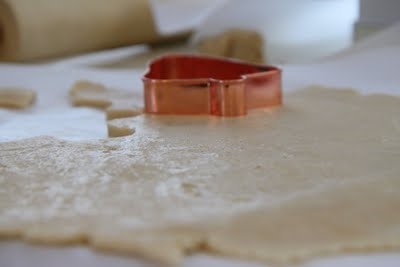

At this point, I was already patting myself on the back. Aren’t you glad you weren’t in the kitchen with me for this annoying moment? The cookies cut out beautifully and were firm enough that I could easily transfer them over to the parchment paper without losing feet and snowman arms and wings off of birds. I bet you are glad you never saw my past cookies!
Into the oven they will go while you stand watching them through the glass and continuing to annoyingly pat yourself on the back. Instead of letting one rack stay doughy and one rack get burnt, they have you rotate the cookie sheets halfway through. What a novel idea!
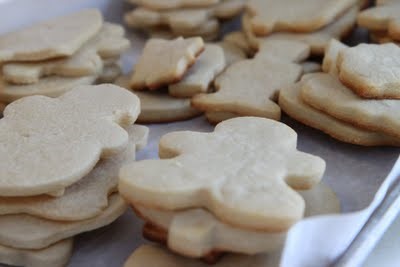
These are my cookies after baking! I KNOW! One thing I want to note about my cookie experience is that the ten minutes is all that is really needed to bake them. They didn’t look done to me, but they were so don’t overcook them. I had one batch that got out in the nick of time after I added two minutes to the cooking time. They will harden up for you without any additional cooking.
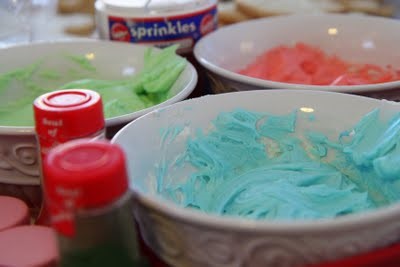



They recommend decorating with glaze. I am not a fan of how the glaze tastes. I stick to a traditional frosting recipe that requires a little more time to harden, but has a thicker tasting frosting.
Since our cookie sheets were lined with parchment paper, I took the paper off and gave each kid one to use to decorate their cookies. This caught any runaway sprinkles or the sprinkle dumping that seems to occur every year (see above for examples).



The cookies looked good, but the real question is did they taste good? I asked our very official taste-testing and decorating crew to give me their honest opinions.

Sometimes a picture is all you need! They were perfect, not crumbly, sturdy, but not thick, tangy, but buttery. Basically, perfection!

Perfect Cut-Out Sugar Cookies (Recipe from America’s Test Kitchen Family Cookbook)
Recipe says it will yield approximately 3 dozen cookies. I doubled the recipe & got 32 cookies with my cookie cutters. The amount of cookies will definitely depend on your cookie cutter sizes!
2 1/2 cups flour
3/4 cup superfine sugar (just whipped 1 cup sugar in the food processor until it was blended and then measured out 3/4 cup)
1/4 teaspoon salt
16 tablespoons (2 sticks) unsalted butter, cut into 1/2″ pieces & softened
2 tablespoons cream cheese, softened
2 teaspoons vanilla extract
Whisk the flour, sugar, & salt together in a large bowl. Beat the butter into the flour mixture, one piece at a time using an electric mixer on medium-low speed, then continue to beat until the mixture looks crumbly and slightly wet, 1 to 2 minutes. Beat in the cream cheese & vanilla until he dough just begins to form large clumps, about thirty seconds.
Knead the dough in the large bowl by hand a few times until it forms a large, cohesive mass. Turn the dough out onto a clean counter, divide it in half, and apt into a two four inch disks. Wrap the disks tightly in plastic wrap and refrigerate until they begin to firm up, 20 to 30 minutes.
Adjust an oven rack to the middle position and heat the oven to 375. Work with one disk at a time, roll out the dough to a 1/8″ thickness between two sheets of parchment paper. Slide the rolled dough and parchment onto a baking sheet & refrigerate again until firm.
Working with one
sheet of dough at a time cut out shapes using cookie cutters and lay on two parchment-lined baking sheets, spaced about 1″ apart. Bake the cookies until light golden brown, about ten minutes, rotating the baking sheet halfway through baking.
Let the cookies cool on the baking sheet for two minutes before transferring them to a wire rack to cool completely, about thirty minutes. When cooled, the cookies can be decorated as desired.
****************
Sugar Cookie Frosting
4 cups confectioners sugar
1/2 cup shortening
5 tablespoons milk
1 teaspoon vanilla extract
Food coloring
In a large bowl, cream together confectioners sugar and shortening until smooth. Gradually mix in milk and vanilla with an electric mixer until smooth and stiff, about five minutes. Color with food coloring if desired.
****************
I would highly recommend adding this cookbook to your holiday wish list. That same recipe can be adapted for many different types of cookies! It has definitely earned its keep on my bookshelf.
Do you have a favorite holiday cookie recipe? Please share your recipes or links here!