
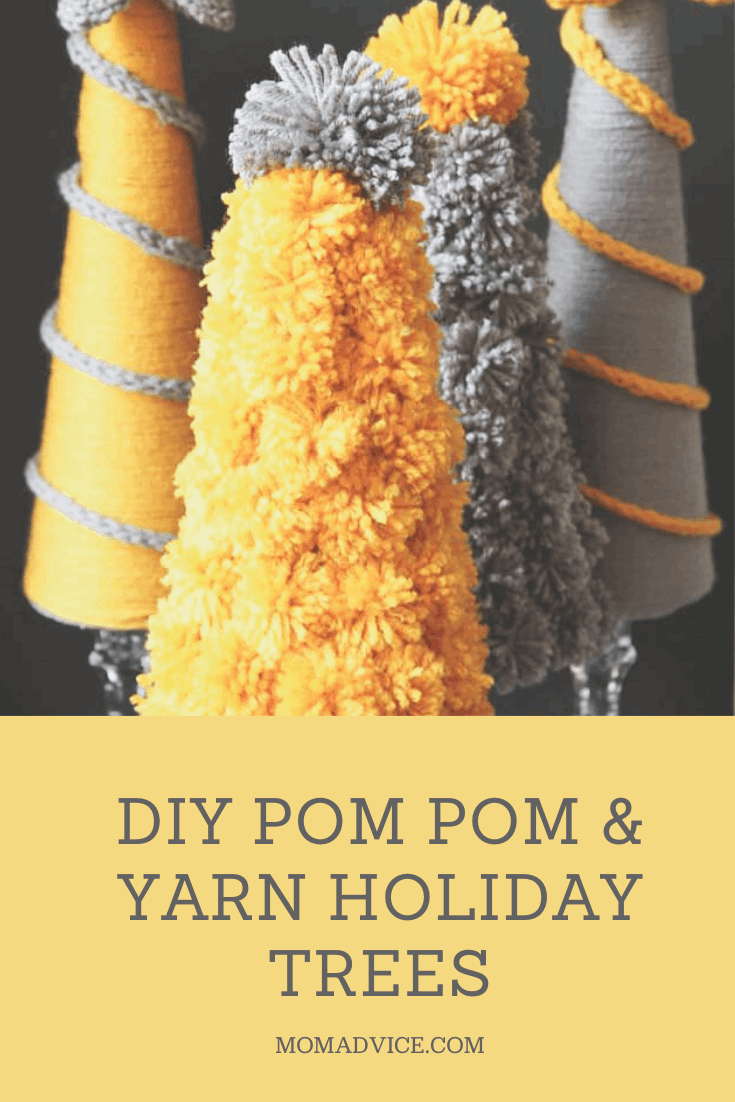
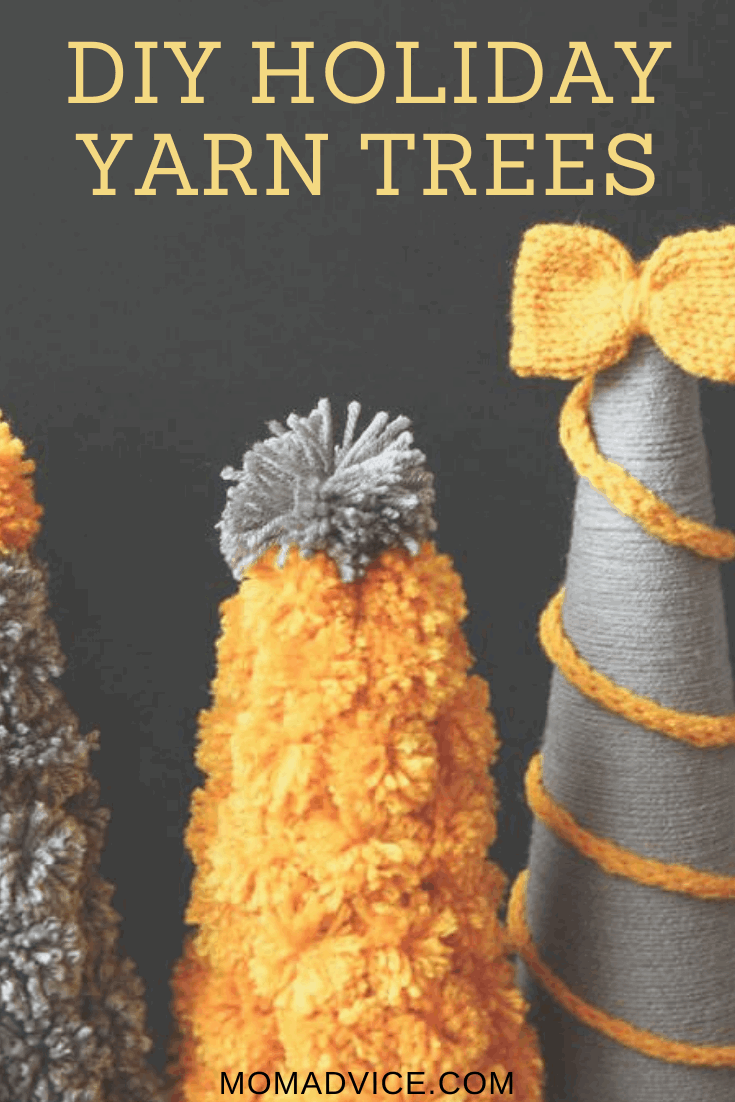
Bring the holidays to your mantle with these simple DIY Christmas trees! This holiday craft is so easy and inexpensive that you can make a few and display them together or give them as gorgeous hostess gifts. Make the DIY holiday yarn trees in Christmas colors or your favorites to add a festive touch to your Christmas decor!
What could be more fun than decorating for the holiday season?
For this month’s holiday decor project, I wanted to share with you a fun DIY project for creating festive yarn trees that you can create to decorate a ledge, table, or mantle in your home.
You will only need a few affordable supplies from your craft shop to create this craft.
Don’t think of these as only a decoration for Christmas.
These are beautiful to display all holiday season long, especially in a nice warm neutral yarn!

Supplies List
2- 3-7/8 x 8-7/8 inch Styrofoam floral cones
2- 3-7/8 x 11-7/8 inch Styrofoam floral cones
4 glass candlestick holders (optional)
2 skeins of inexpensive yarn (in your favorite yarn color)
Small & Large Clover Pom-Pom Makers (unless making pom-poms by hand)
Hot glue gun
Glue Sticks
Straight Pins
Scissors
3.75 mm straight yarn needles
2-4.00 mm double-pointed needles

Instructions for Making Your Yarn Trees
1. For each of the smaller trees, you will need approximately 73-75 small pom poms. I am in love with my pom-pom maker for making these and have provided a picture tutorial above, if you would like to use these too. Make sure to give your pom-poms a nice trim, to even up any uneven spots.

2. Once you have made all of your pom-poms, it is time to assemble them to your tree-form. Grab your hot glue gun and apply a dab of glue in the center of the pom-pom (where you have tied the string to gather everything. Apply the pom-poms to the tree, starting at the bottom of the cone and working your way around the tree. Try not to line these up all evenly, but stagger them in each row to make it look more like a real tree!
3. Continue adding pom-poms until you get to the top of the tree, making sure all of the tree-form is completely covered.
4. Make a large pom-pom in a contrasting color and secure it with hot glue, in the center again, and add it to the top of the tree as your star.
5. Finish by giving your tree a trim, especially at the top, to trim all of the yarn down to make it look more like a tree.

6. For an easy yarn-wrapped tree, begin by adding a dab of hot glue to the top of your taller tree-forms. Begin by applying your yarn in a swirled motion at the top. Add one more dab of glue at the top and start wrapping your tree-form all the way around it until you are about a half-inch from the bottom.
7. Add one more dab of glue and then finish adding the yarn until you reach the bottom of the form. Clip the yarn and secure the end with a little hot glue.
8. Decorate this tree-form any way that you would like. If you are not a knitter, there are many varieties of ways you can decorate these yarn trees. You can top with a pom-pom in an alternating color, create a multi-colored pom-pom for topping, braid yarn to create a garland, or create some garland out of a contrasting color.
9. If you are a knitter, knit a 3-stitch i-cord using two 4.0 mm double-pointed needles for a total of 32.5 inches. Using straight pins, secure the i-cord to the top of the tree and then wrap around and around, securing occasionally with pins, until the tree is completely wrapped in garland.
10. Top your tree with a simple knitted bow, if knitting an adornment. Using your 3.75 mm straight needles, cast on ten stitches. Knit the first row, then purl the next row. Repeat this pattern until it measures 6.5 inches in length. Cast the stitches off and then seam them in the center. Using more yarn, simply wrap the center of the bow and then knot the yarn behind. Secure the bow at the top with hot glue.
11. Attach all of the trees to inexpensive dollar-store candlestick holders. If you desire, you can spray paint these in your favorite color or just leave them plain, as I have shown.


I hope you love these little yarn trees as much as I do! It is definitely an inexpensive and fun way to dress up a corner of your home for the holidays!
As an Amazon Associate I earn from qualifying purchases. This post contains affiliate links. I only recommend what I love!
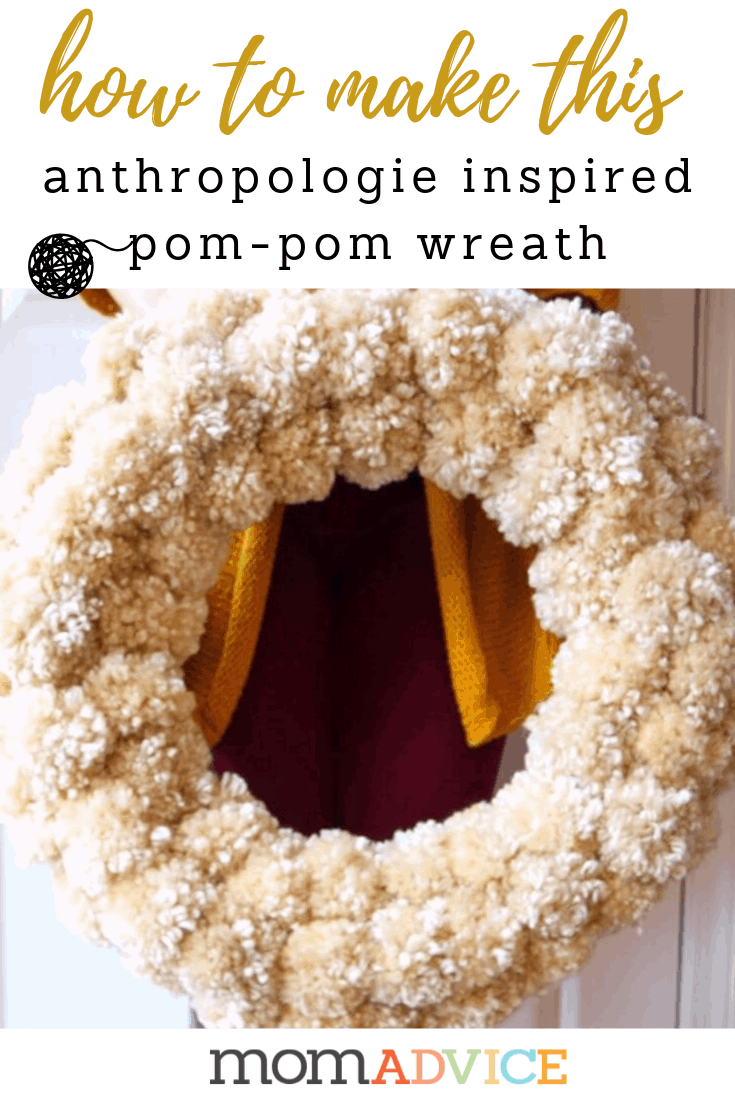
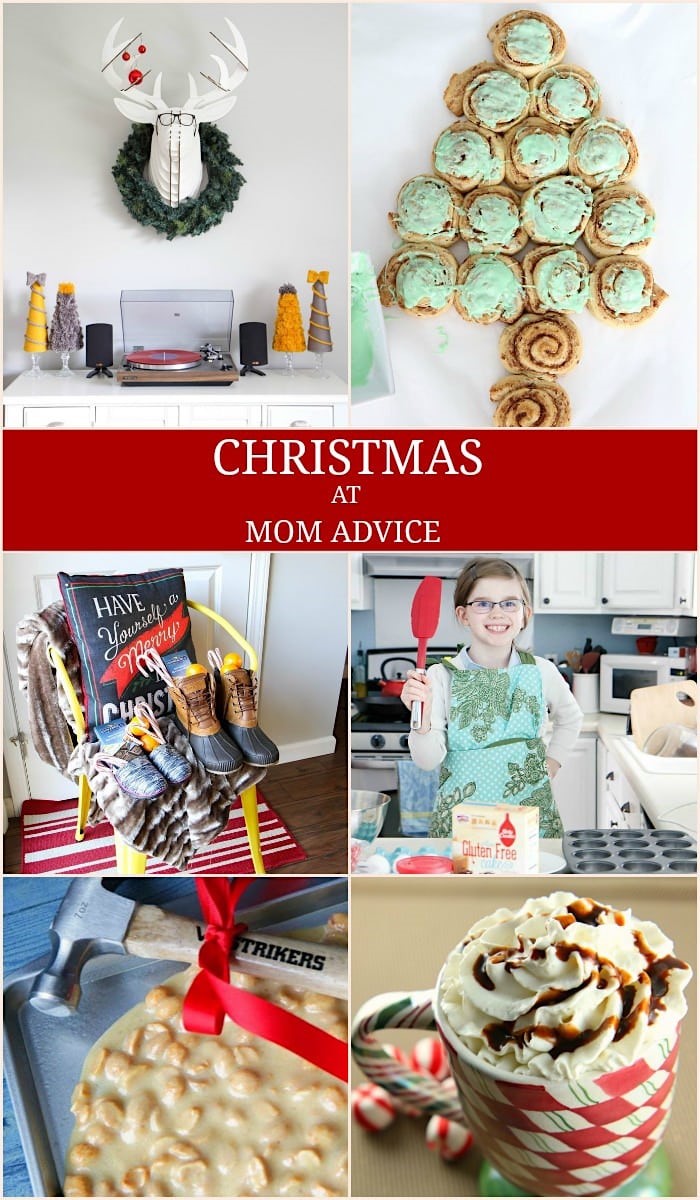
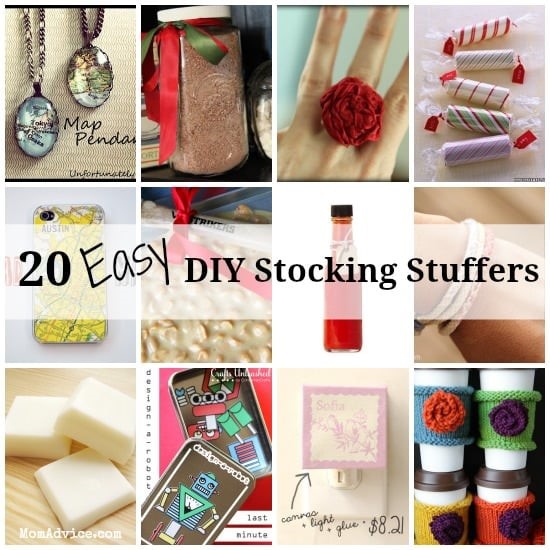
Don’t miss these other great Holiday ideas from MomAdvice:

Pin It