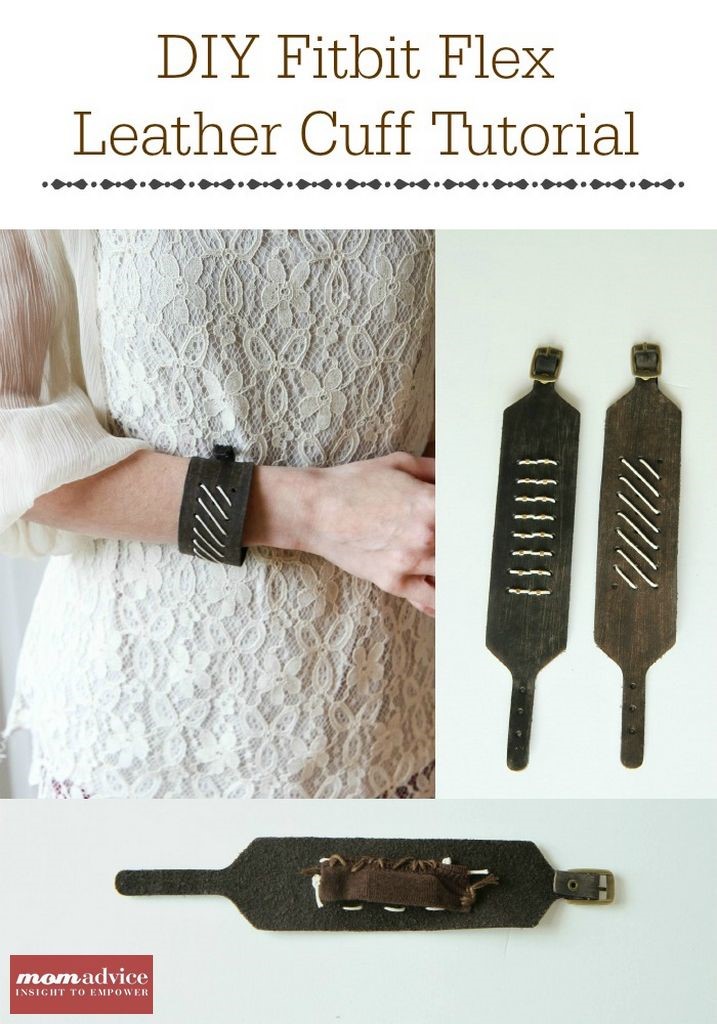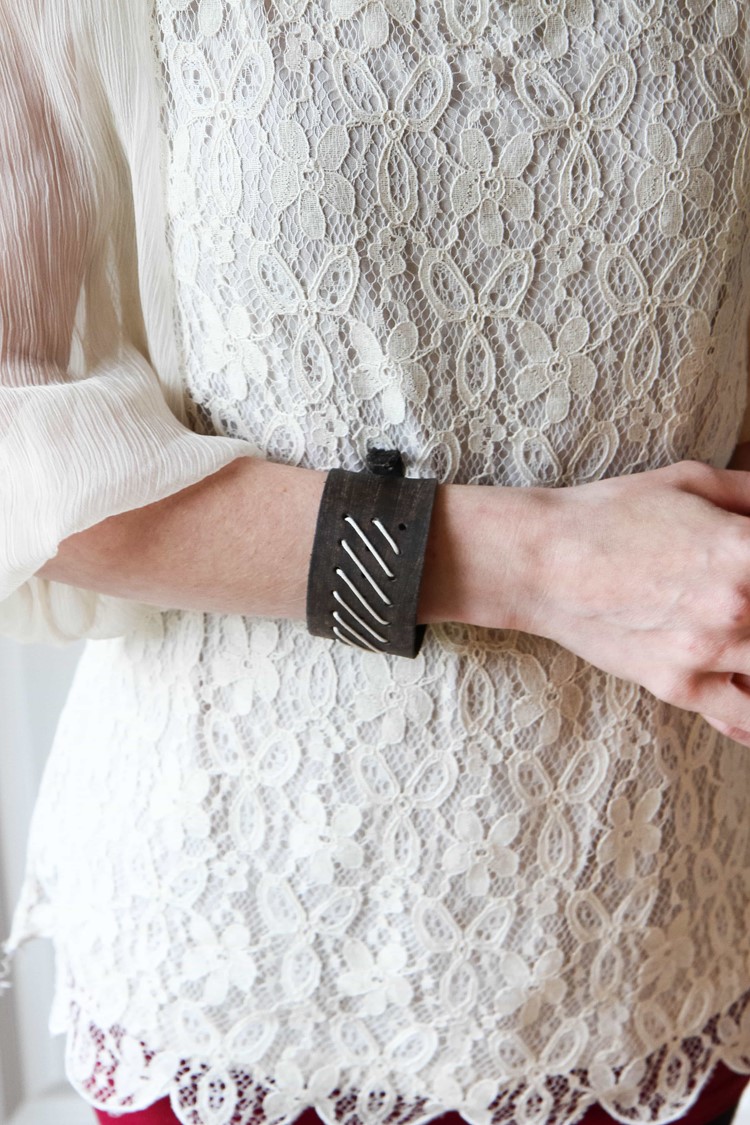
This month I bought myself a Fitbit Flex and I have been absolutely loving it for exercise motivation, tracking my sleep, and its handy silent alarm feature. I did not, in fact, love the plastic bracelet that the Fitbit Flex came in. A plastic bracelet doesn’t really fit with my style and I didn’t want to wear it when I went out. Today’s tutorial is a fun way to dress-up your Fitbit with a stylish leather cuff alternative. This DIY Fitbit bracelet is beautiful and can be created for less than $10 and is done in just 5 easy steps.
I cannot take the credit for this amazing tutorial. My sweet friend, Andy, let me come to her house and photograph how she made this for my blog. She was the genius behind this awesome idea and I can attest to both its durability and how well the Fitbit slides and hides inside this cuff. Although this is created for times when you are not working out, I did test it in my cardio dance class to make sure that it would stay secure. After one hour of jumping and dancing, the Fitbit was happily secure. I would still recommend sticking with your plastic bracelet for workouts, as it is more breathable, but this should stay secure if you use it in your daily activities.
DISCLAIMER:
You need to test your own bracelet to make sure that it is secure and that your Fitbit stays inside. I am not responsible for a lost Fitbit if you create this and it is not crafted securely. It is your responsibility to make sure that your Fitbit is securely fastened.

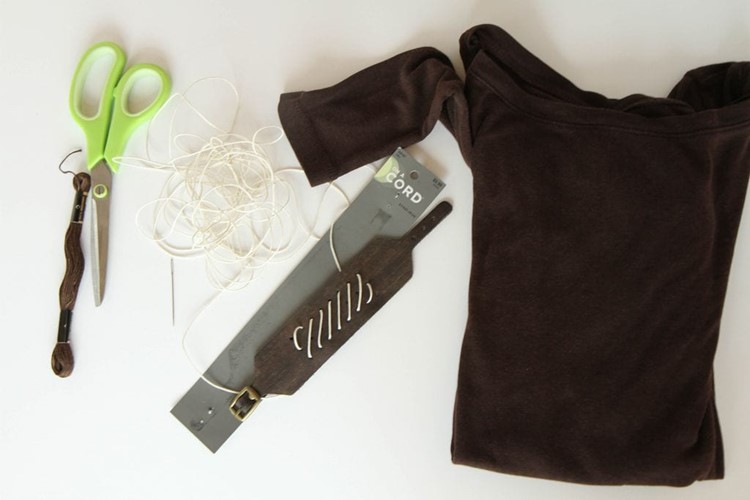
Supplies Needed
Leather Cuff Bracelet (found at Hobby Lobby for $5.99 in the jewelry supplies)
Hemp Cord
Brown Embroidery Thread
Embroidery Needle
Scissors
Brown T-Shirt (old or thrift store purchase would be perfect for this!)

1. Thread your hemp cord through an embroidery needle and use this to create a design in the holes of your choosing. You can ladder it up, as we have shown, or even just sew it back and forth to create your design. You can also add beautiful details with crimp beads to your design. Continue weaving the hemp cord until you are at the end of the bracelet.

2. Once you are finished with your design, knot it on the back and then weave the end in so it is no longer loose.
3. Next cut your shirt sleeve with the hem still intact to create a fast pocket for your Fitbit. You want this to be longer than your Fitbit so that it can slide securely towards the back of the pocket, as pictured above.
4. Using embroidery thread, stitch the pocket securely down the hemmed side with embroidery thread and securing one end to close it, leaving that others side open to slip in the Fitbit. If you want double security on this, you can attach a little velcro on this open end to close your pocket and to make sure that the Fitbit does not come loose.

5. Finish by knotting and securing the end of the embroidery thread, reinforcing and feeding it through one of the ends of one of the hemp stitches for double-security.

I hope you love this fashionable DIY Fitbit Leather Cuff Bracelet as much as I do. I get so many compliments on it and no one can believe that this beauty is handmade and housing my Fitbit. This goes so well with my personal style and you can make it all your own with your own fun details. A big thank you again to Andy for sharing her fabulous tutorial with MomAdvice. Happy crafting, friends!
This post contains affiliate links.