
This post was created in partnership with Waverly Inspirations. Thank you for supporting the companies that support our site!
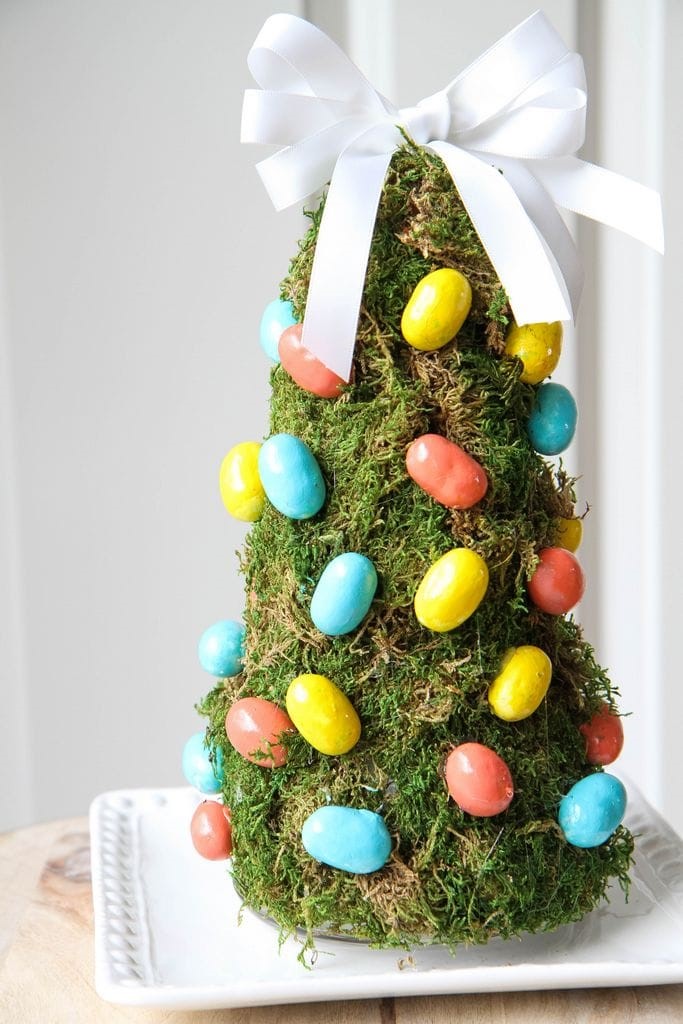
Can you believe that Easter is just around the corner? Today I wanted to show you a fun centerpiece for your table that I created with a few acrylic paints and a fun item I found in the candy aisle! I’m showing you how to make this adorable DIY Easter Egg Tree that could be a fun craft to make for your home or a great alternative to egg dying if you have older kiddos!
Supplies Needed (all of these supplies can be found at Walmart!)
9″ styrofoam cone
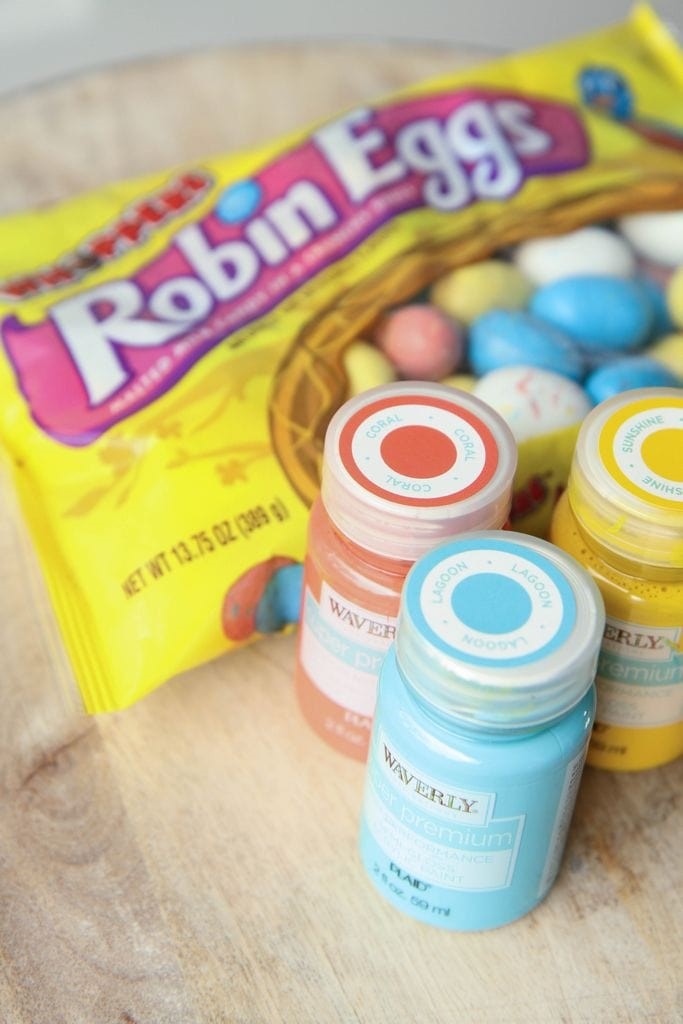
1 package Whoppers Robin Eggs
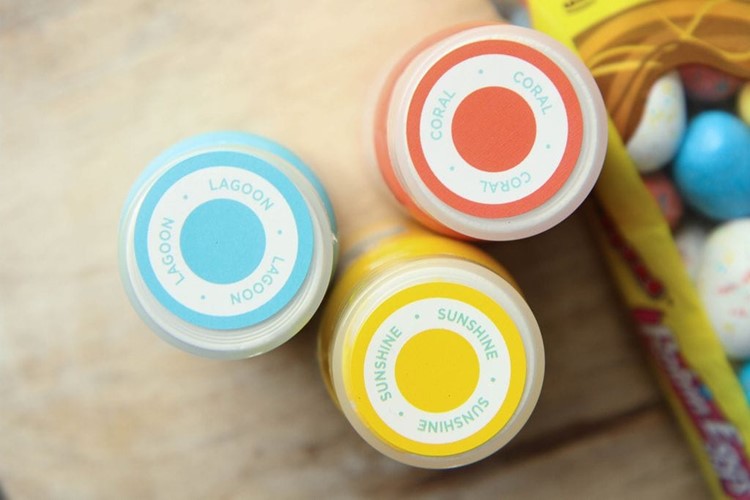
Waverly Inspirations Acrylic Paints in Lagoon, Coral, & Sunshine (or whatever colors match your home interior)
Waverly Inspirations 4-piece wide brush set
1 package sheet moss
1 1/2 Waverly Ribbon
Hot Glue Gun
Hot Glue Sticks
Scissors
Cup with water, paper towels, and something to cover the surface while painting and prepping moss (I used a large trash bag)
How to Make a DIY Easter Egg Tree
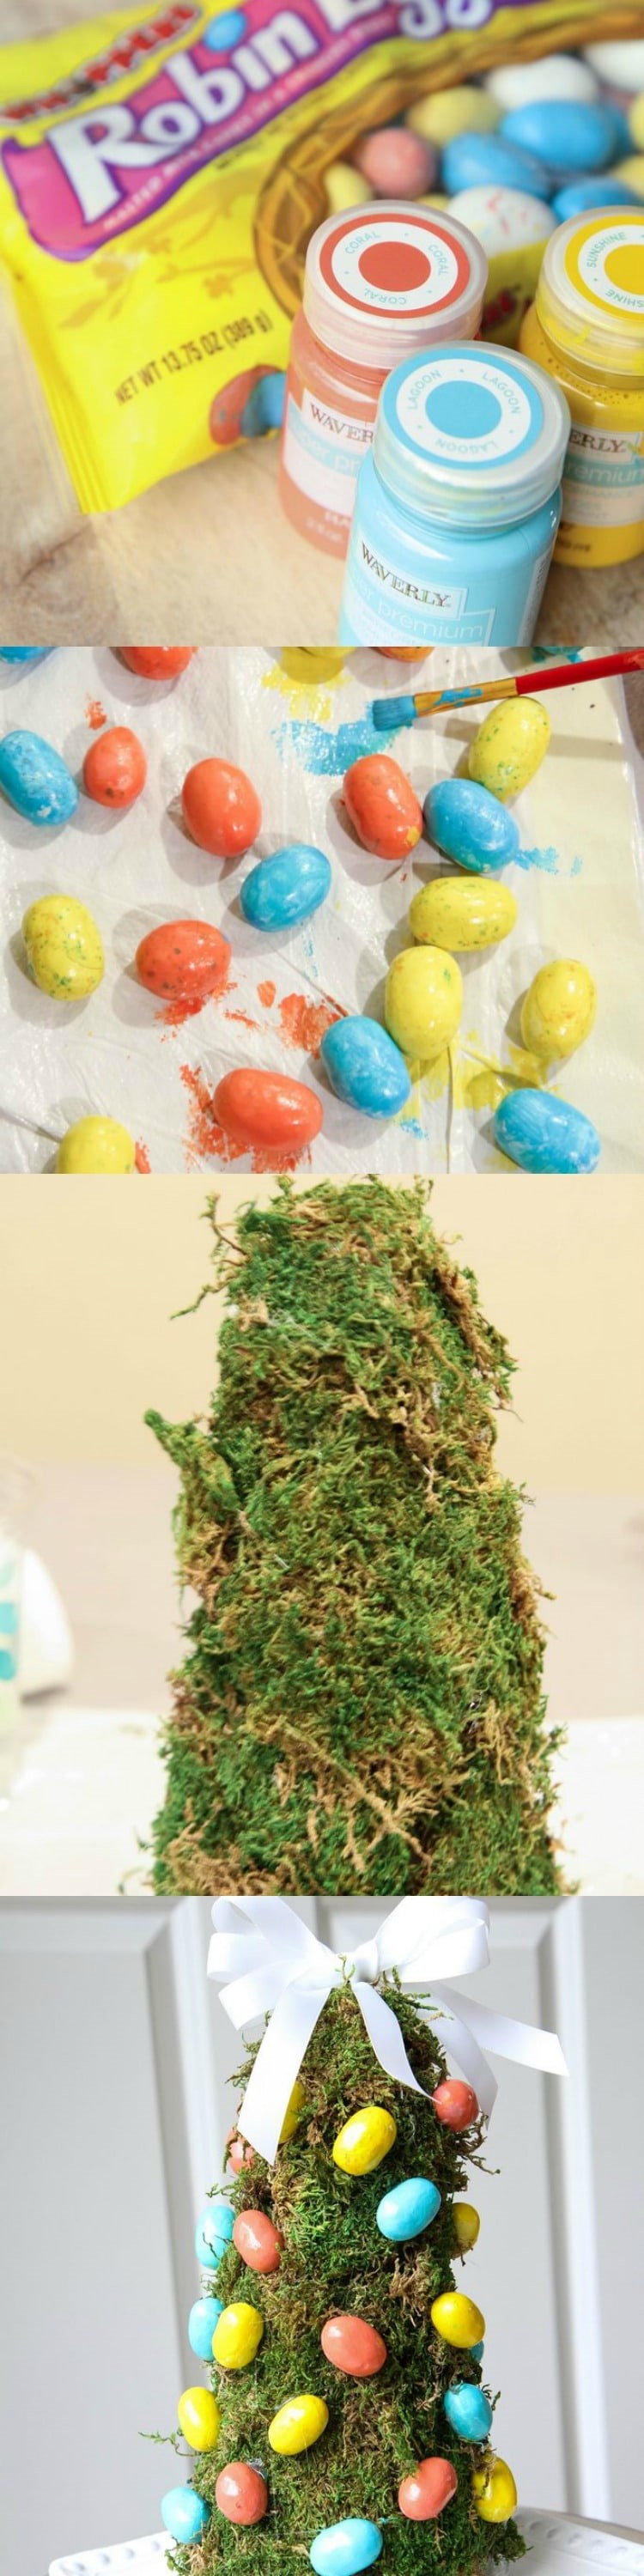
1. Begin by covering your styrofoam cone with your sheet moss and CAREFULLY securing it with hot glue.
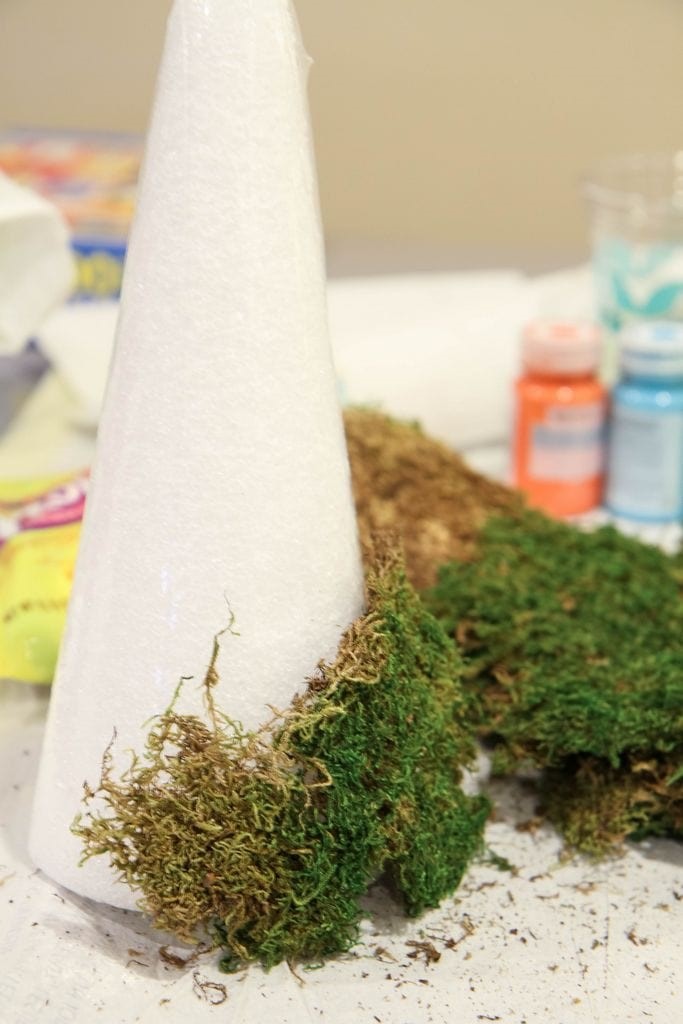
Keep in mind, these fibers do separate so you want to be careful where you put your fingers. Overlapping slightly, keep adding pieces of moss to the cone until you get to the top. I folded a small piece over to cover the tip of the cone and then worked my moss around it, much like I did with the scrappy fabric trees I made for the holidays.
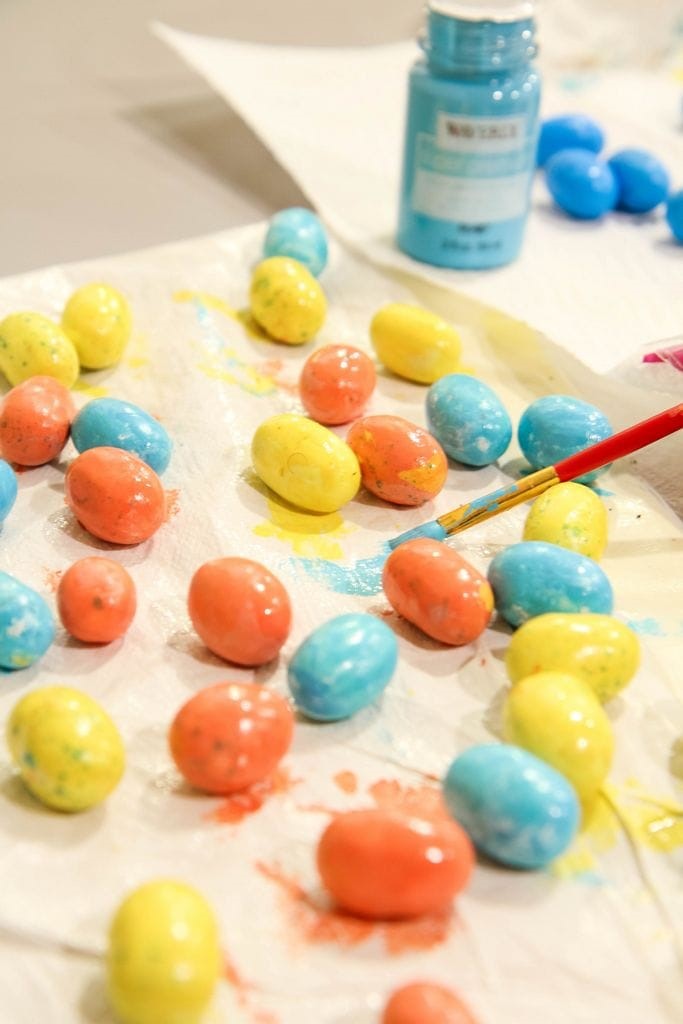
2. Give your candy eggs a good coat of paint. I selected paint colors that matched our home in coral, blue, and a sunshine yellow. Don’t worry if you don’t get every spot on the eggs painted because you can paint them once they are more secure. Give these about fifteen minutes to dry and then attach them with hot glue to your tree, carefully spacing the colors out as best as you can. I ended up painting 12 of each color to cover my mossy tree.
3. Once you have attached the eggs securely, now you can touch-up the paint to make sure they are covered fully.
4. Finish with a little ribbon and glue your bow to the top of your tree.
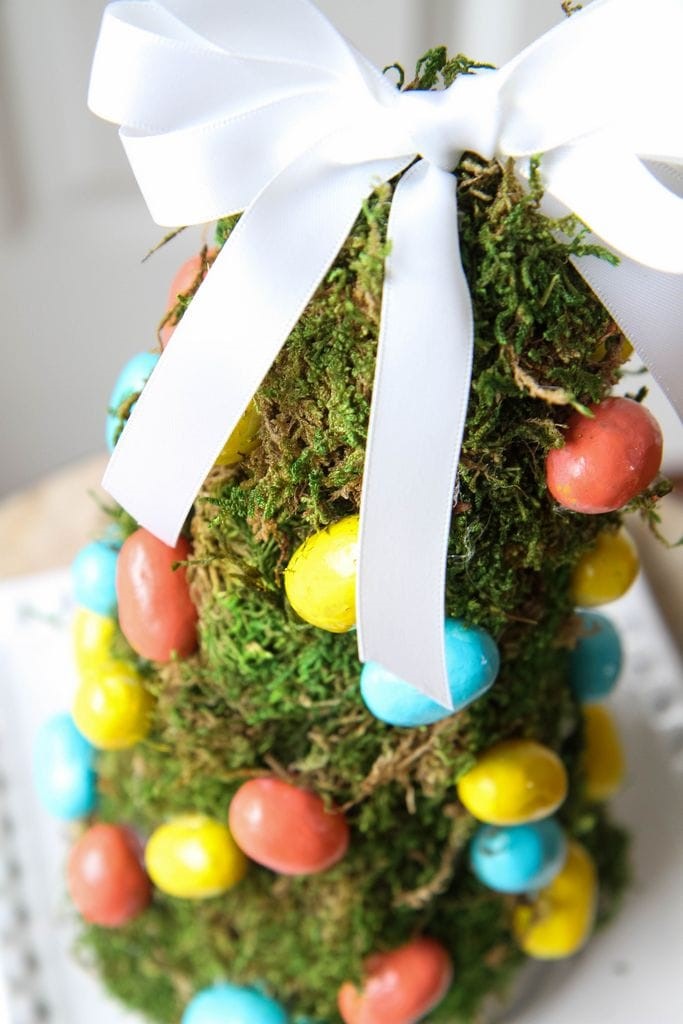
The moss does have a tendency to shed so put a plate underneath to catch the debris and put this beauty on your dining table, an end table, or on your mantle. Isn’t that too cute?
I hope you have as much fun making this craft as we did! It’s been a true pleasure working with Waverly Inspirations this year and sharing the journey with you!
How about more craft inspiration from Waverly? Try these!
DIY No-Sew Reversible Chair Cushions
Fabric Wreath & Matching Garland
Fabric Bulletin Board Tutorial
Painting Pumpkins With Acrylic Paints
DIY No-Sew Hand Warmers
DIY Ottoman Serving Tray
15-Minute Scrappy Fabric Trees
Kid Craft: Easy Technique for Painting Gift Wrap
DIY Phone Charging Station
DIY Roll-Up Jigsaw Puzzle Mat
This post was created in partnership with Waverly Inspirations. Thank you for supporting the companies that support our site!
Pin It