Show Menu
Menu
Categories
Books
Crafts & Entertaining
Food & Recipes
Money & Finance
Life
Home & Organization
Parenting & Family
About
Contact
Recent
Search Results : walmart-moms
How to Make Homemade Laundry Detergent (A Picture Tutorial)
Easy Fruit-Infused Water Recipes
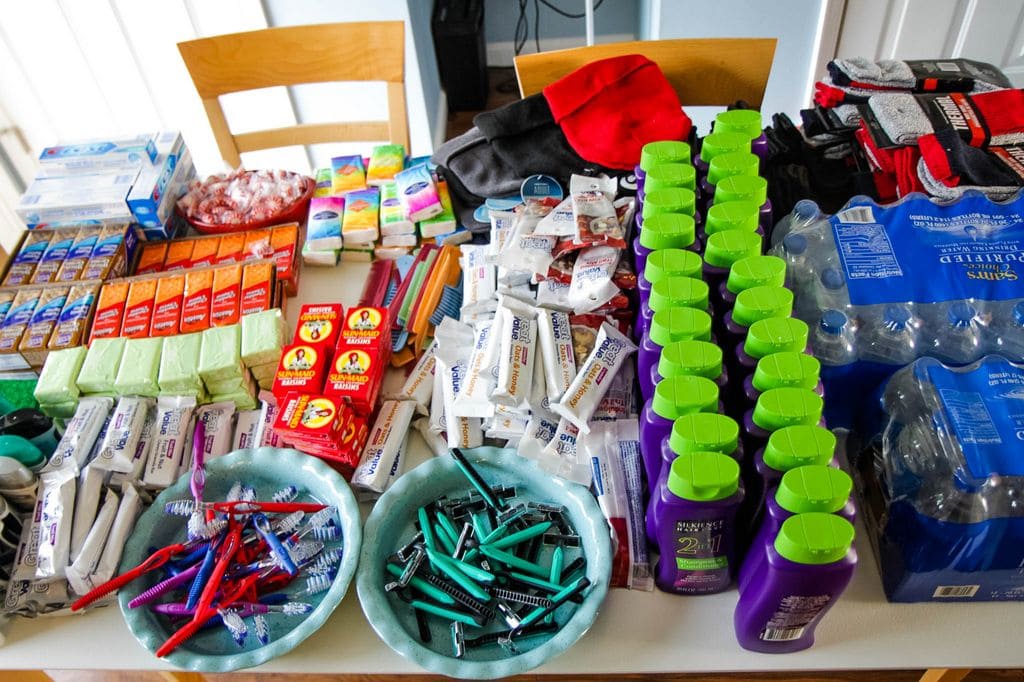
How to Make a Homeless Care Package (Free Printable Supplies ...
Overnight Slow Cooker Apple Cinnamon Steel Cut Oatmeal
4th of July Flag Fruit Dessert Tray
How to Make a Succulent Centerpiece
5 Ways to Wear a $3.94 Tank Top
How to Find & Write Pen Pals
Knitted Sweater Coffee Cozies
Quick & Easy Knitted Boot Cuffs
How to Make a Minecraft Steve Costume for Halloween
Even More Results