Show Menu
Menu
Categories
Books
Crafts & Entertaining
Food & Recipes
Money & Finance
Life
Home & Organization
Parenting & Family
About
Contact
Recent
Search Results : gifts
No-Bake Peppermint Cheesecake Jars
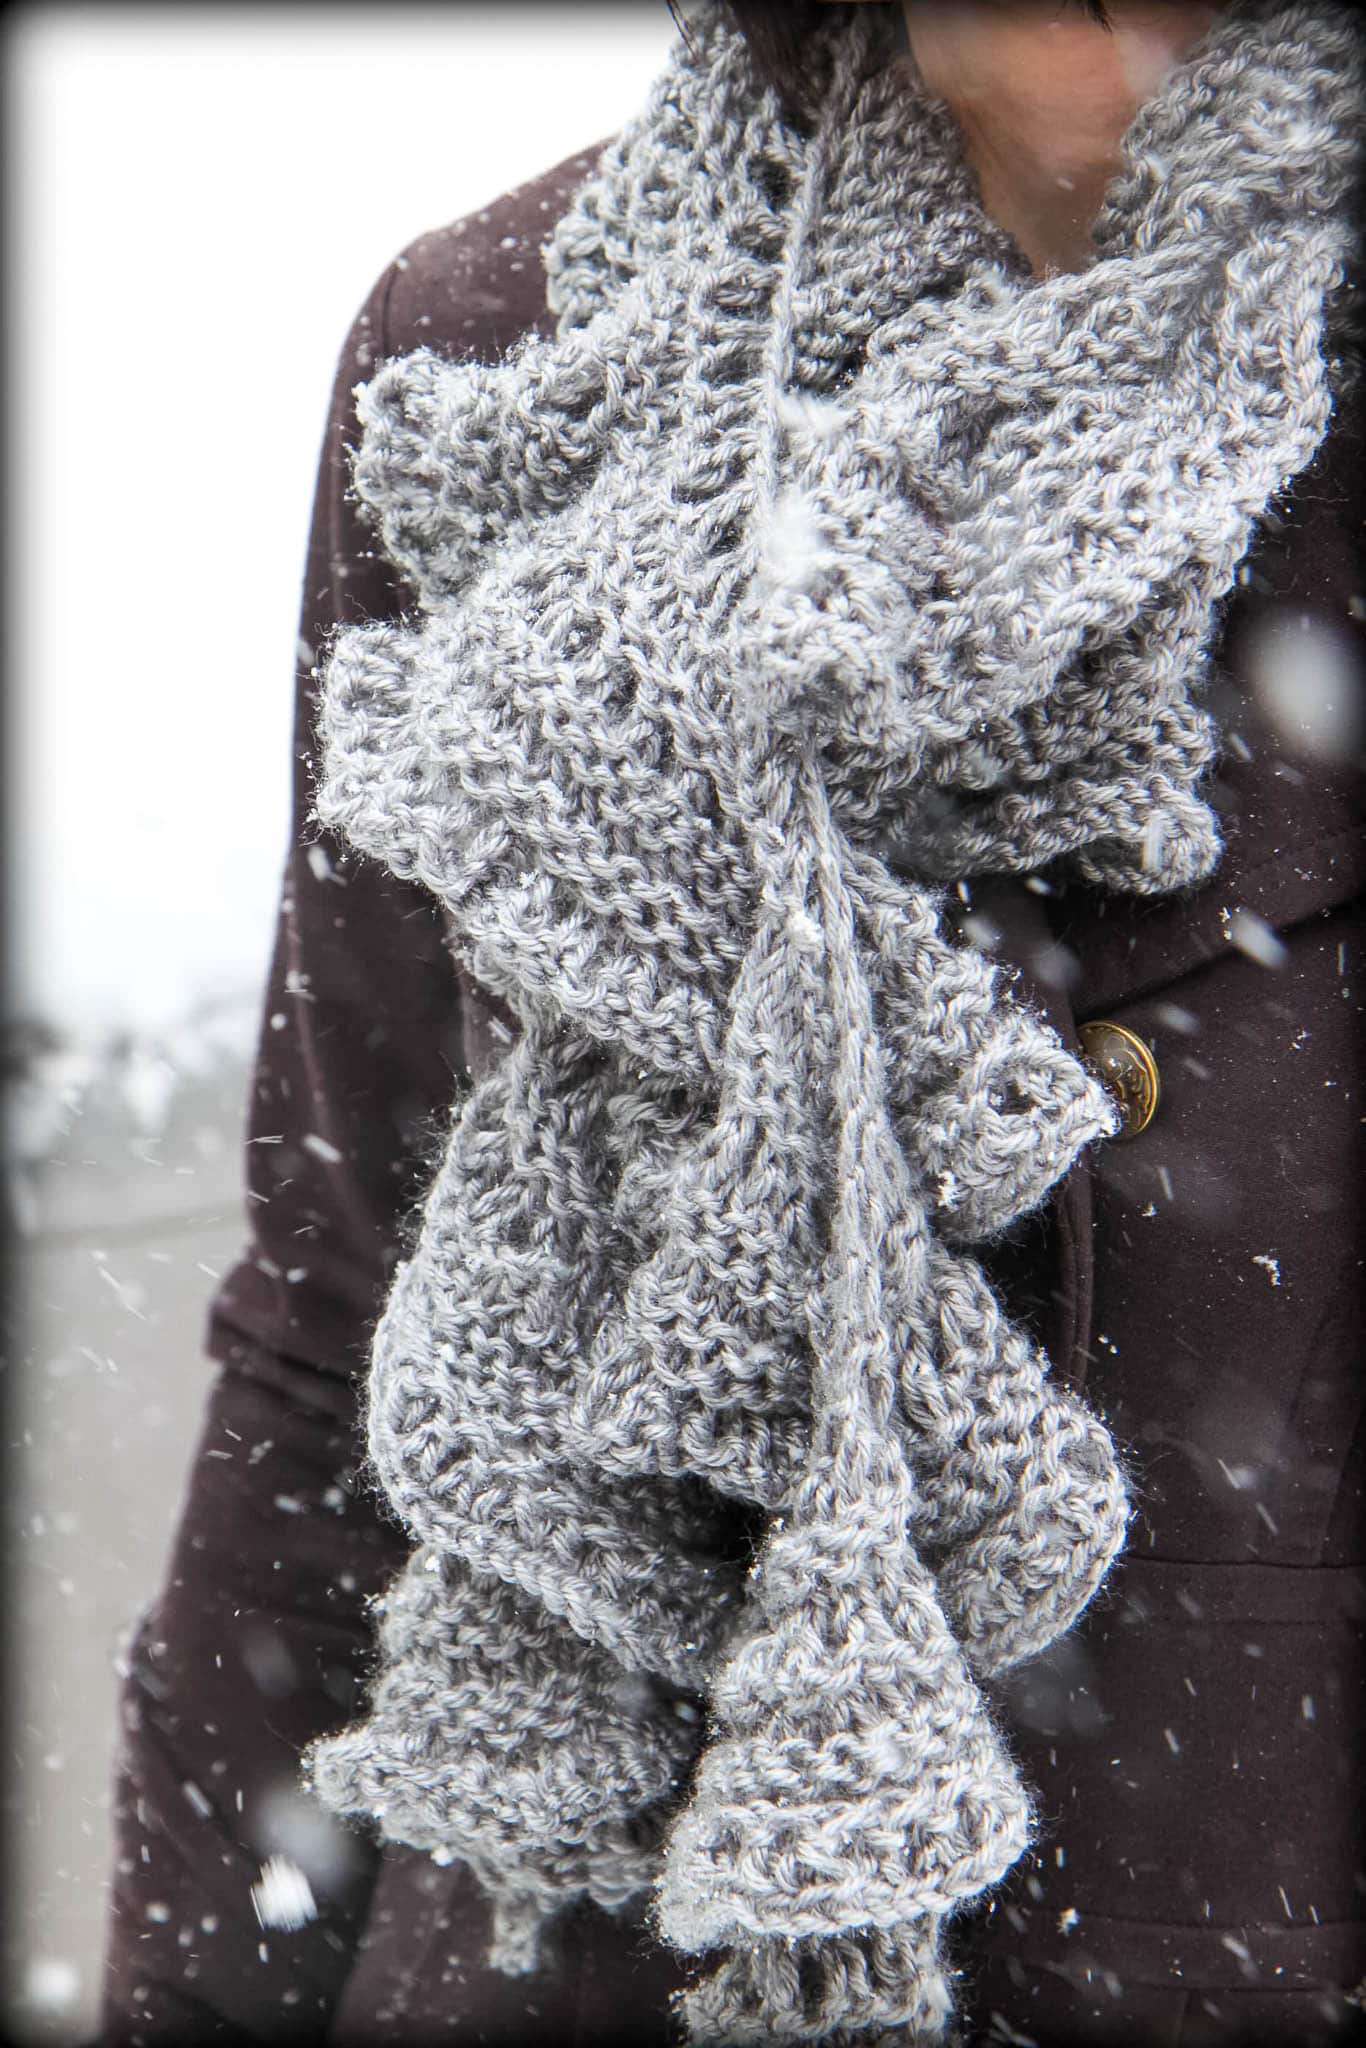
How to Knit a Scarf for Fall (FREE Scarf and Cowl Knitting ...
Homemade Vanilla Chai Tea Mix in a Jar
Small-Budget Crushes 01.30.17
DIY Library Tote Bags with Free Printable Designs
DIY Herb Garden and Garden Markers
Brown Bag It! The Gift of a Meal (With a Free Printable!)
How To Make A Knitting Needle Holder From Vintage Linens
20+ Easy DIY Stocking Stuffers for All Ages
54 Handmade Gift Ideas
Cool DIY Father’s Day Gifts
Even More Results