Show Menu
Menu
Categories
Books
Crafts & Entertaining
Food & Recipes
Money & Finance
Life
Home & Organization
Parenting & Family
About
Contact
Recent
Search Results : frugal
Grocery Shopping Tips at ALDI
Easy Peppermint Mocha: Starbucks Copycat Recipe
Over 350 Kindle Books On Sale Today
Small-Budget Crushes 10.30.16
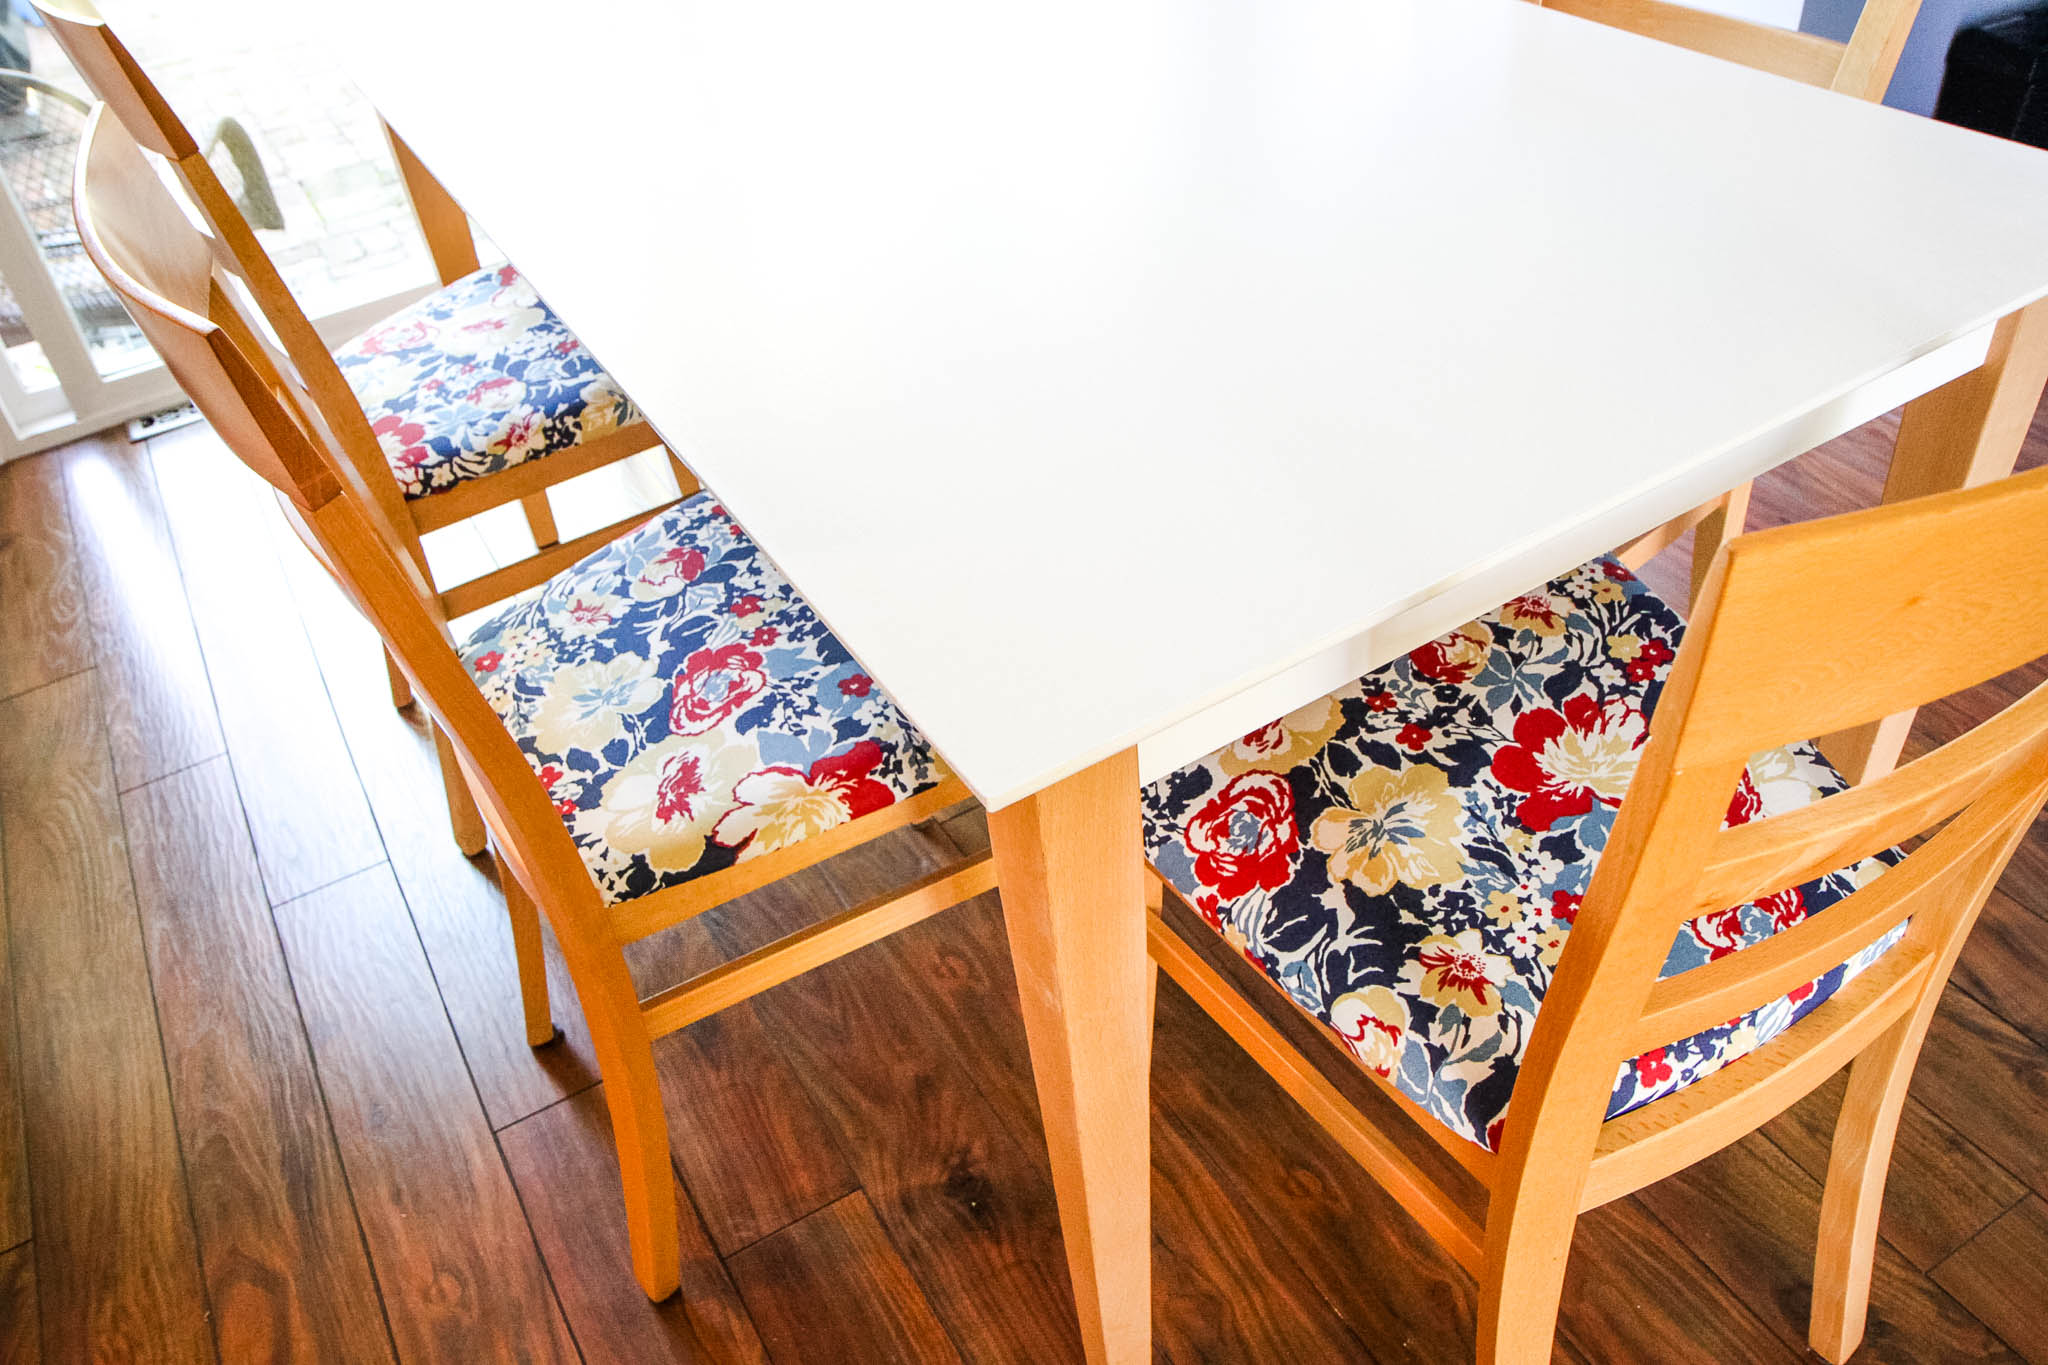
How to Paint a Kitchen Table: Our Kitchen Table Makeover
DIY At-Home Hair Coloring Savings & Tips
Smart Strategies for Saving Time & Money When Flying
Six Easy Ways to Save on That Weekend Getaway
The Top 7 Apps to Organize Your Life
Evaluating the Cost of Home: Renting vs Buying
Fabulous Fall Drinks Round-Up
Even More Results