Show Menu
Menu
Categories
Books
Crafts & Entertaining
Food & Recipes
Money & Finance
Life
Home & Organization
Parenting & Family
About
Contact
Recent
Search Results : dairy-free
Pumpkin Nut Quinoa Breakfast
Greek Quinoa Salad
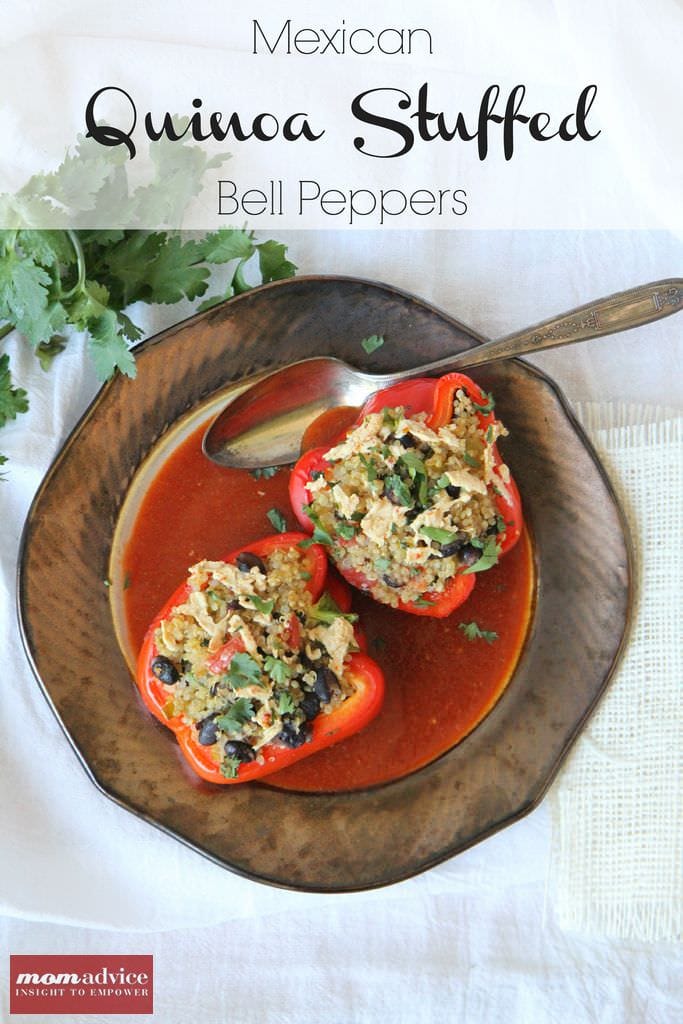
Mexican Quinoa Stuffed Bell Peppers
Fresh Peach Sorbet
Dairy-Free Crustless Quiche
Painted Milk Allergy Mugs