Show Menu
Menu
Categories
Books
Crafts & Entertaining
Food & Recipes
Money & Finance
Life
Home & Organization
Parenting & Family
About
Contact
Recent
Search Results : crafting
DIY String Art Pattern (FREE Heart Template)
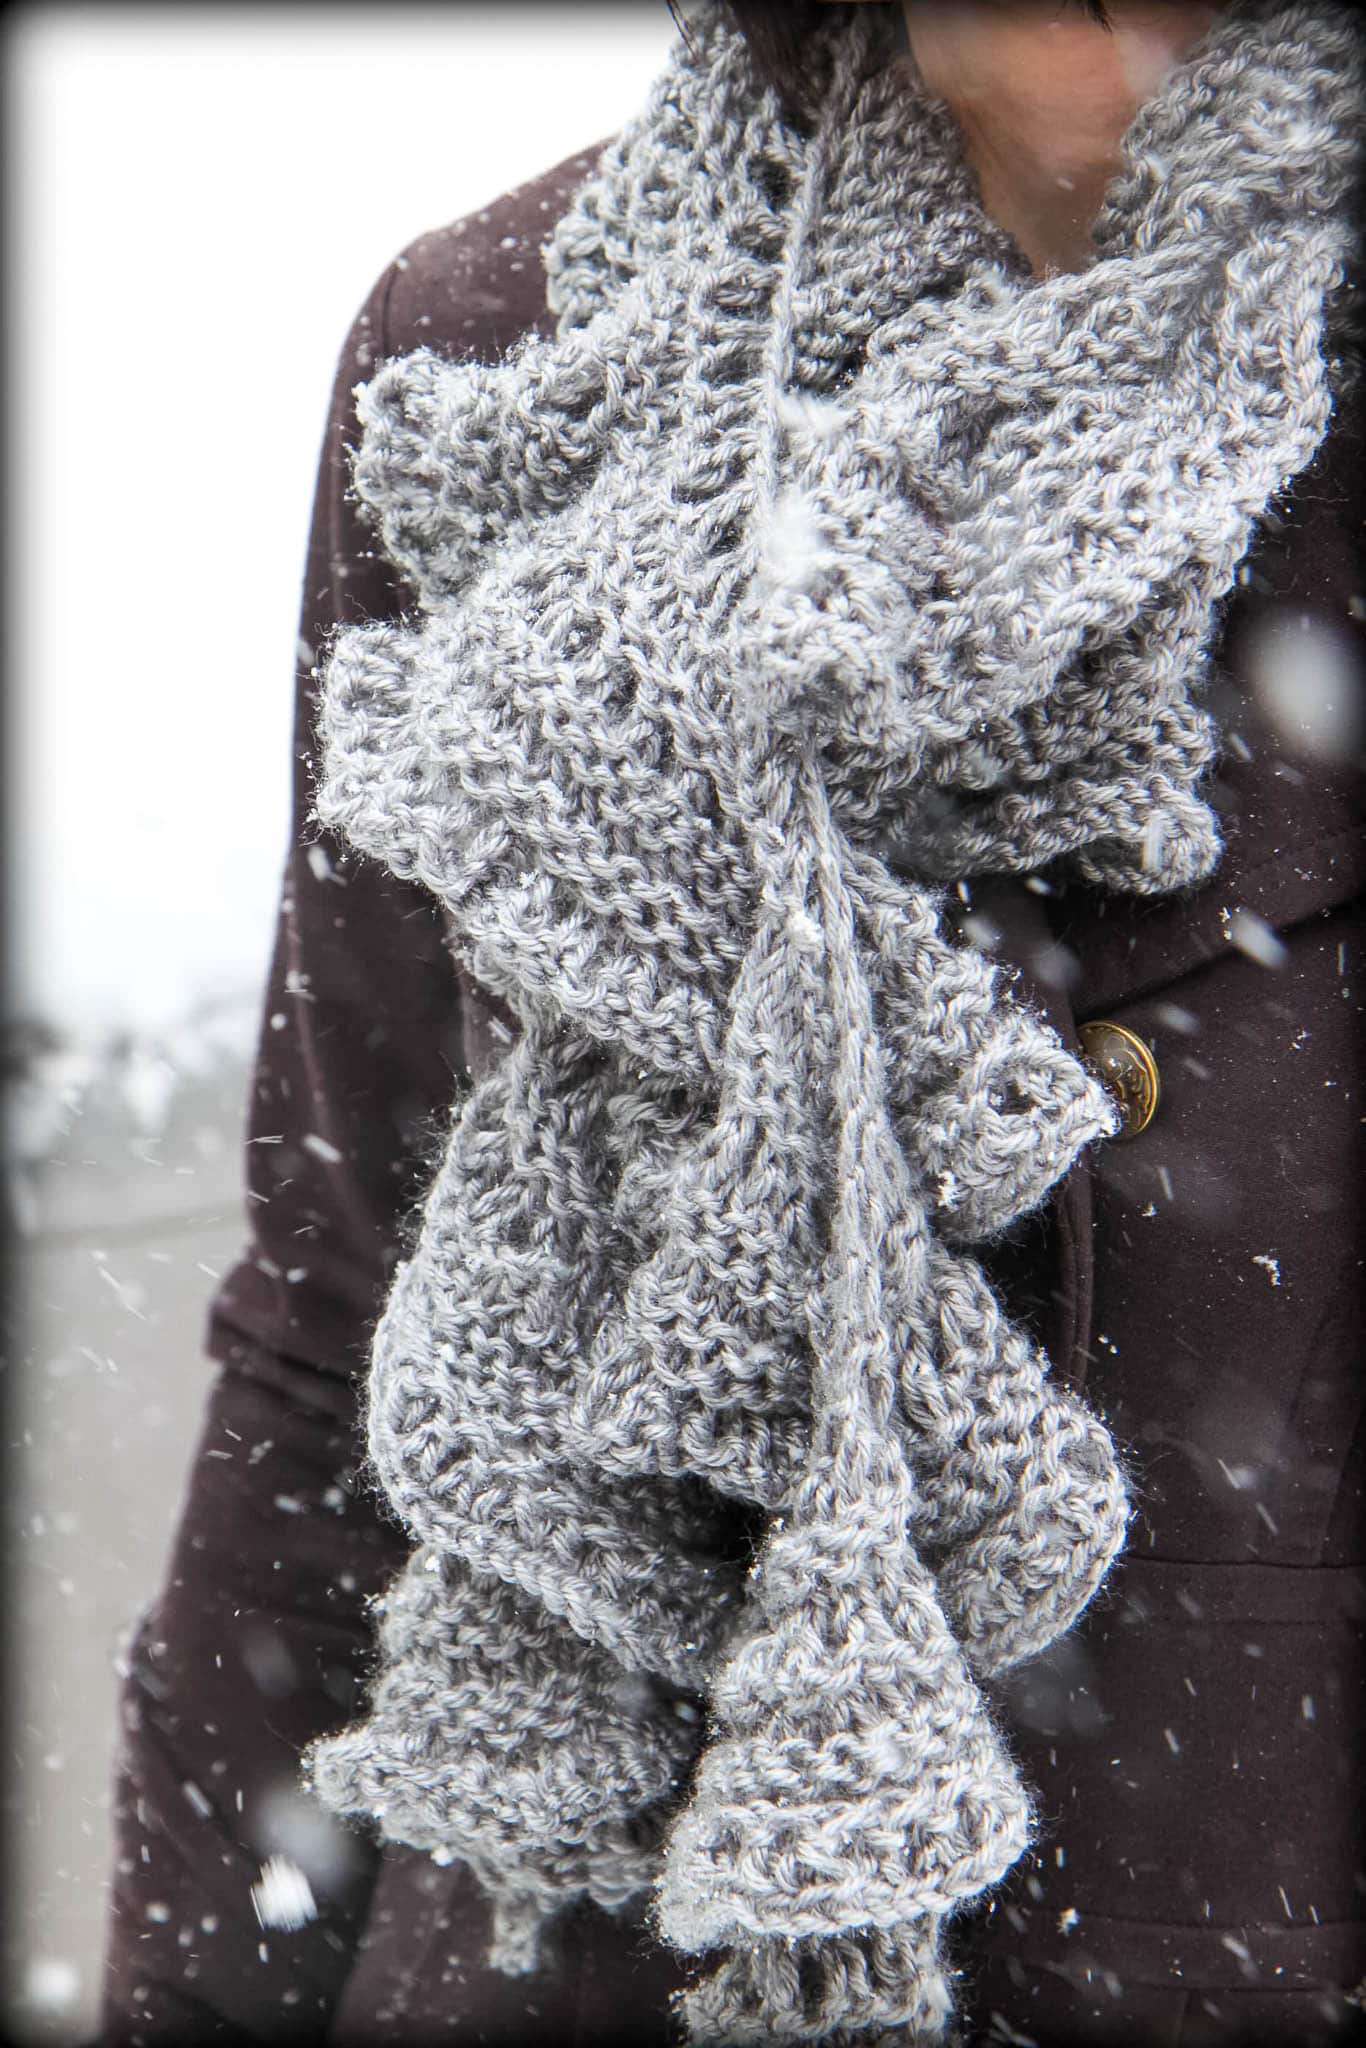
How to Knit a Scarf for Fall (FREE Scarf and Cowl Knitting ...
Amy’s Notebook 10.25.19
Amy’s Notebook 03.21.19
Amy’s Notebook 11.15.18
Amy’s Notebook 10.10.18
Amy’s Notebook 09.28.18
Amy’s Notebook 05.10.17
Amy’s Notebook 02.01.17
Amy’s Notebook 01.18.17
Amy’s Notebook 11.16.16
Even More Results