Archive for the ‘Home & Organization’ Category

5 Ways to Calm the Chaos This School Year

Tuesday, August 23rd, 2016

From our marriage & parenting contributor, Mary Carver.

5 Ways to Calm the Chaos This School Year

For the past several weeks my mantra has been, “I can’t wait until school starts.” As my family and I have struggled with a perfect storm of change, uncertainty and chaos, the beginning of the school year has become something of a Holy Grail to me. I’ve told myself (and my husband and everyone who will listen) that when school starts…

…I’ll be more organized.
…I’ll GET IT TOGETHER.
…I’ll start eating – and feeding them – more healthy foods.
…I’ll put them to bed earlier (and go to bed earlier).
…I’ll plan meals and make a grocery list.
…I’ll move the laundry from the washer to dryer before it mildews.
…I’ll stop ordering pizza once a week.
…I’ll get more work done.
…I’ll miss fewer deadlines.
…I’ll GET IT TOGETHER.

It’s a long list of things I think I’m going to accomplish when the school year begins and I reclaim some of my precious order and organization. But though I’m tempted to just stare at the circled date on my calendar (the one that has hearts and smiley faces and blinking lights around it…at least in my mind), the one that says, “FIRST DAY OF SCHOOL,” and daydream about chore charts and folded laundry and deadlines met and boxes checked, I know better.

I know that with the commencement of the school year also comes the PTA, the school activities, the lessons and practices, the homework and tests. I know that the cleaning schedule and the snack shelf and the color-coordinated to-do list will all fall apart — and probably before we hit Labor Day. It’s just the nature of this busy season of life, and turning a new page on the calendar isn’t what makes it less chaotic and more manageable.

No, rather than dream of a chaos-free life (SERIOUSLY. Can you even imagine? We’d just get bored, right? … RIGHT???), I know from past changing of the seasons or school years that it’s better to deal with the chaos than to pretend it doesn’t exist. So, here’s my plan:

5 Ways to Calm the Chaos

5 Ways to Calm the Chaos This School Year

1. Make Meals Easier. Last year I wrote about three challenges and solutions to meal planning that my family has struggled with. I’m going to be honest: not a whole lot has changed since then. Getting food on the table for THESE PEOPLE who want to eat three times a day, every day of their lives, while also dictating how many sweets and how few vegetables they desire IS HARD WORK. But it’s work that has to be done — and that makes a world of difference.

I don’t anticipate turning into a different person between now and the start of the school year. So I’m not going to pin a whole bunch of casserole recipes for a day-long cooking session that will fill up my freezer. (I actually have about a dozen freezer meals in my freezer right now that I FORGOT I EVEN HAD until just recently. Oops.)

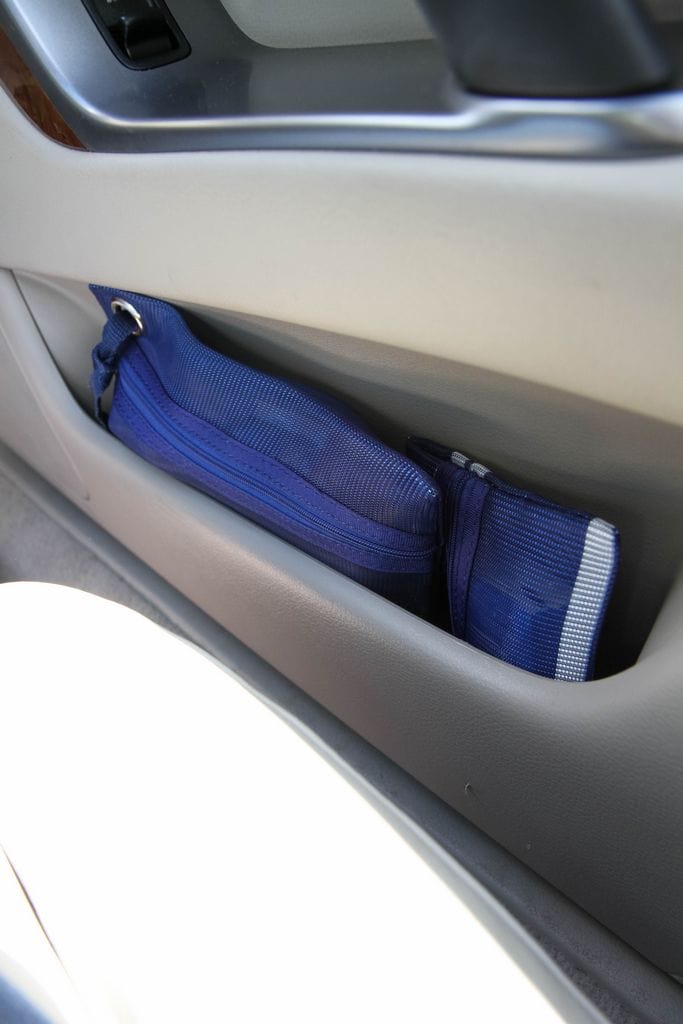
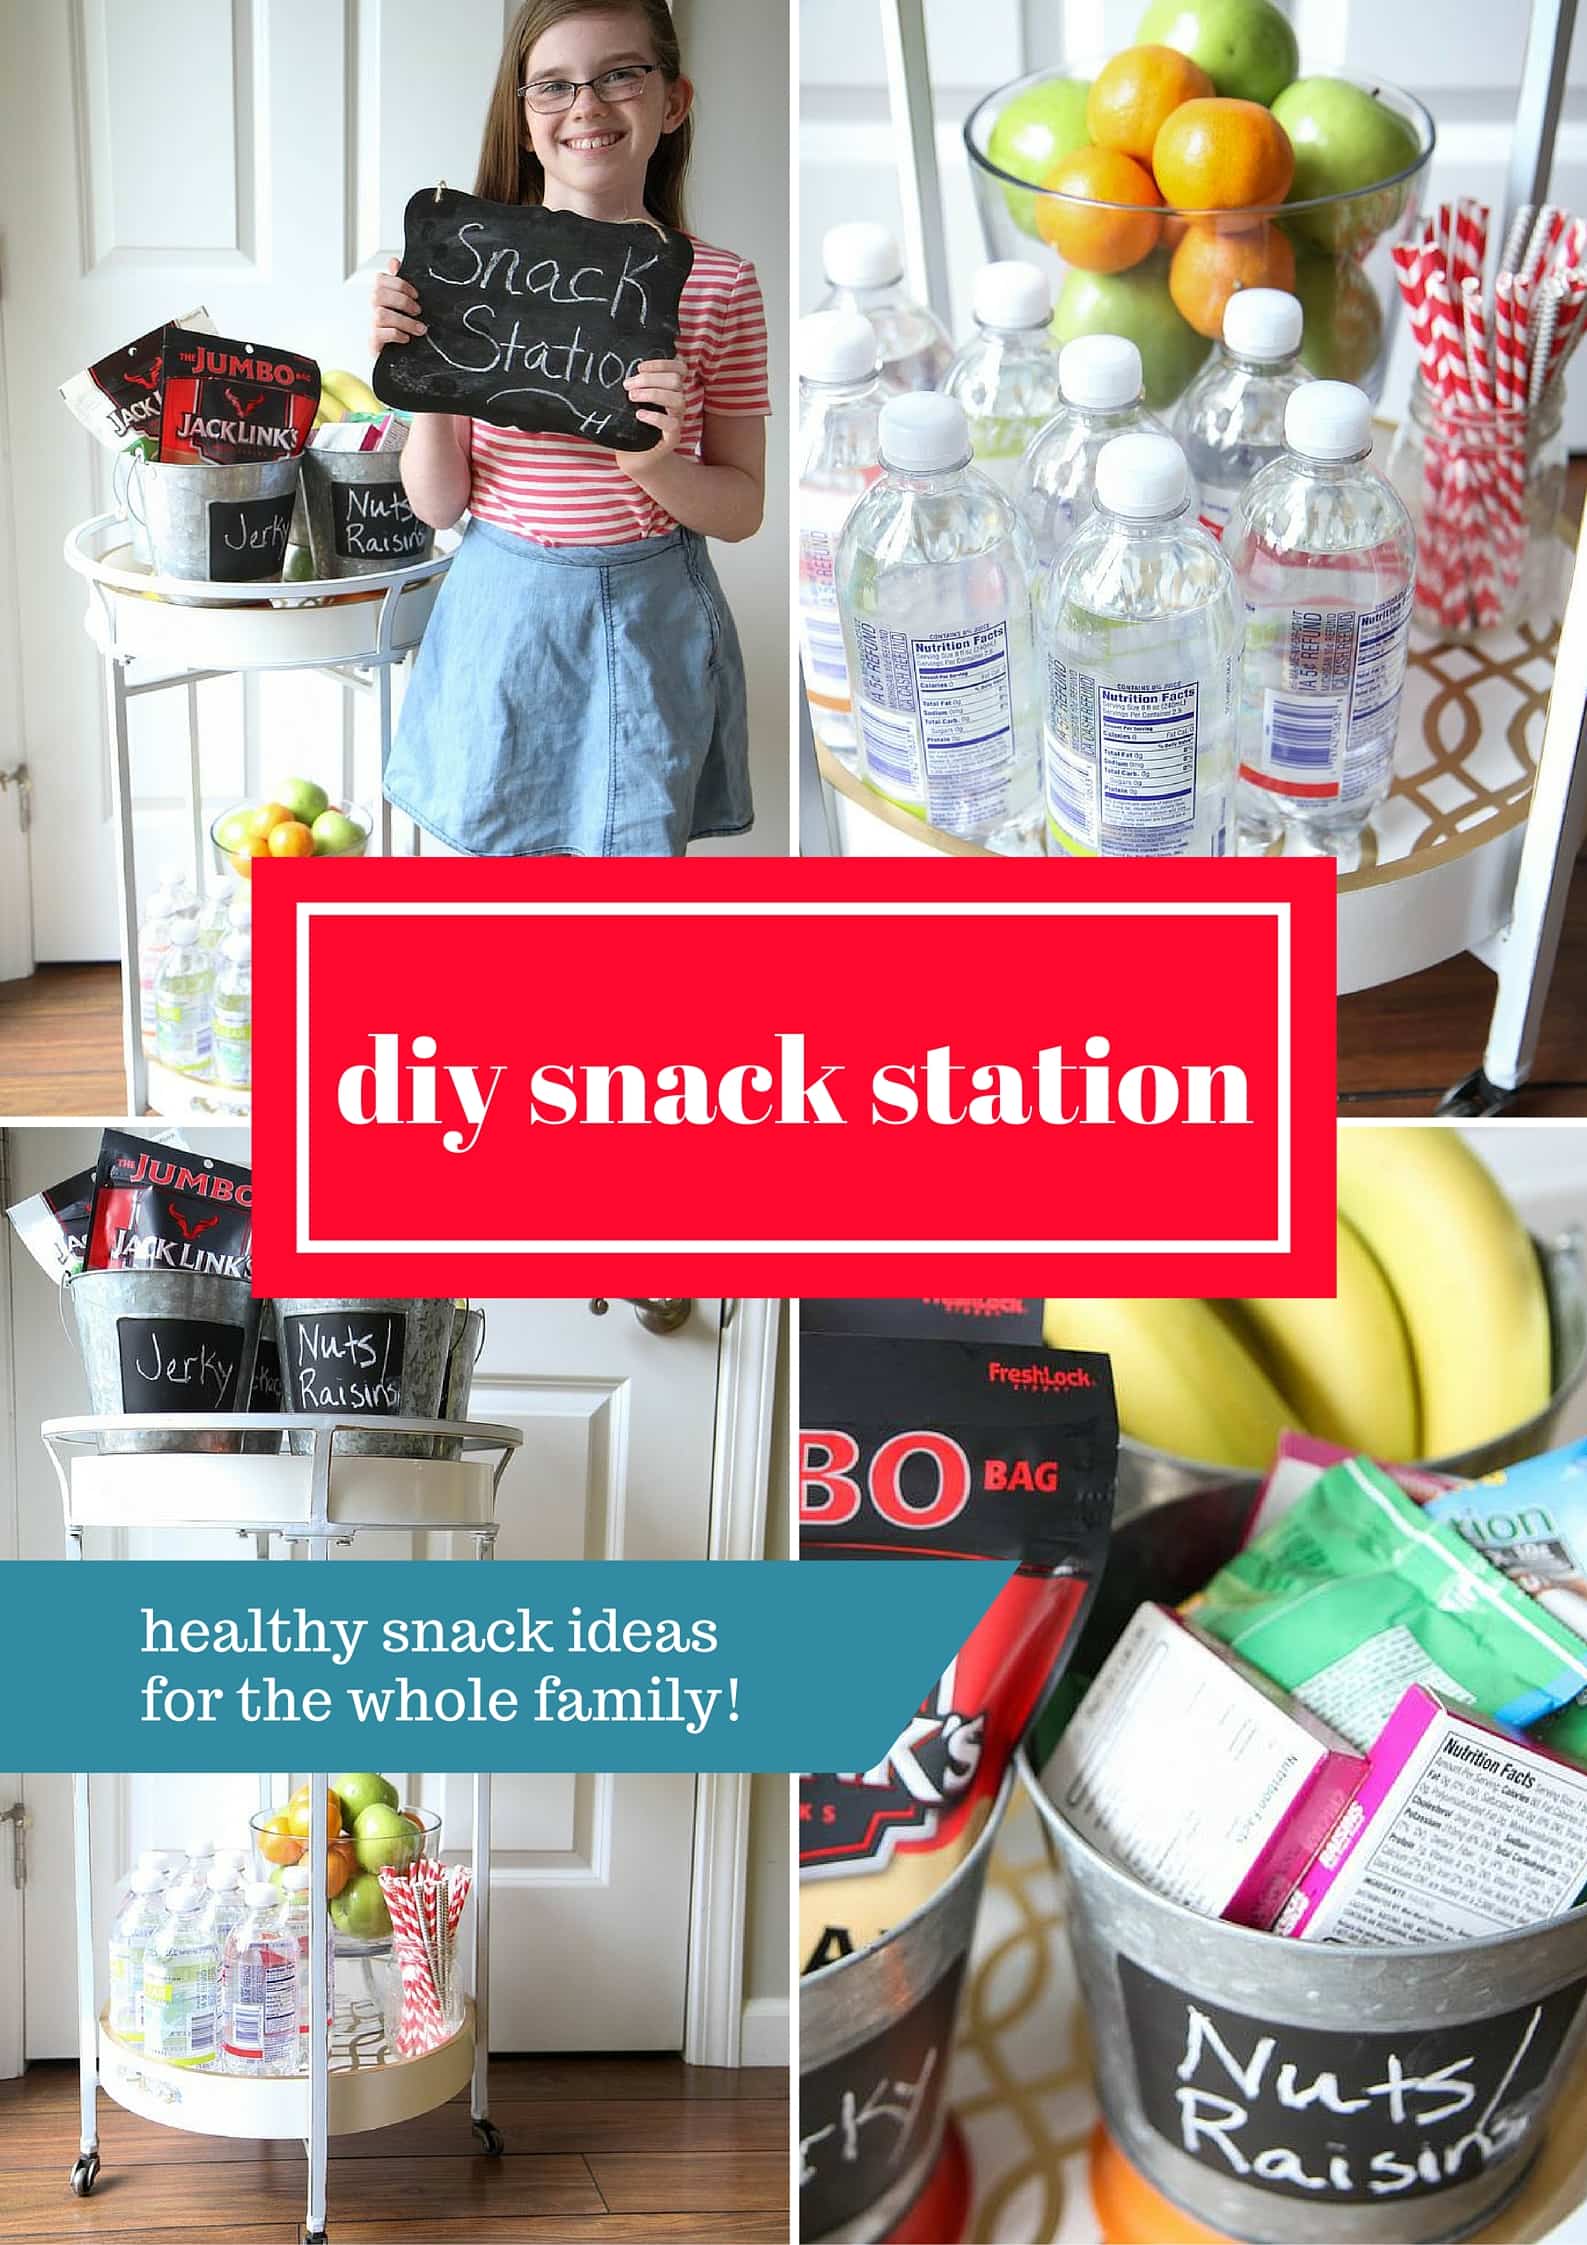
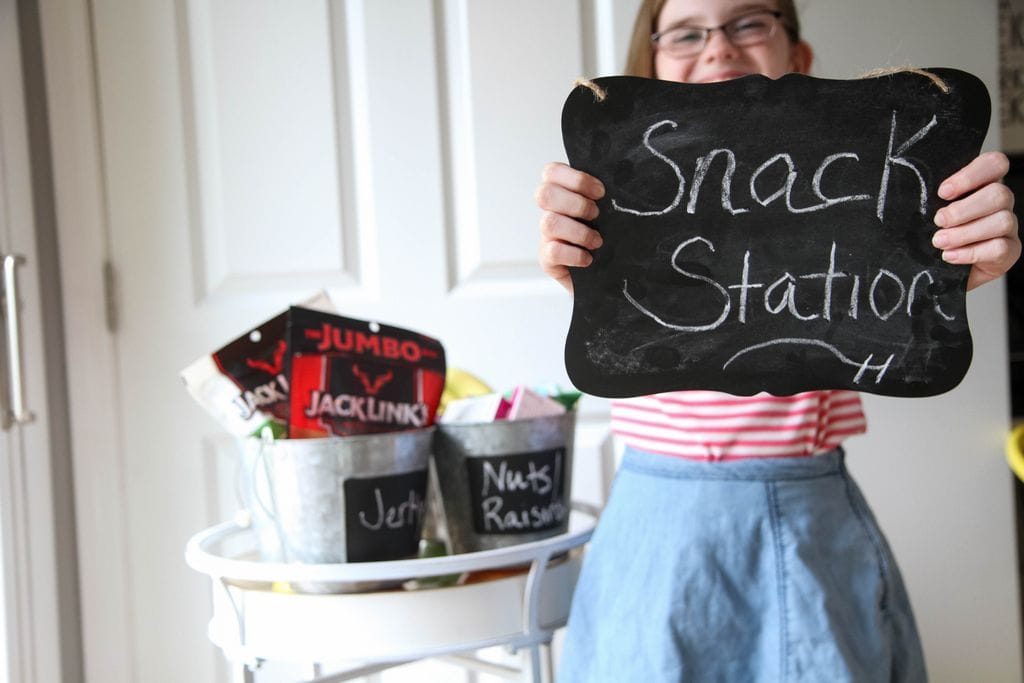
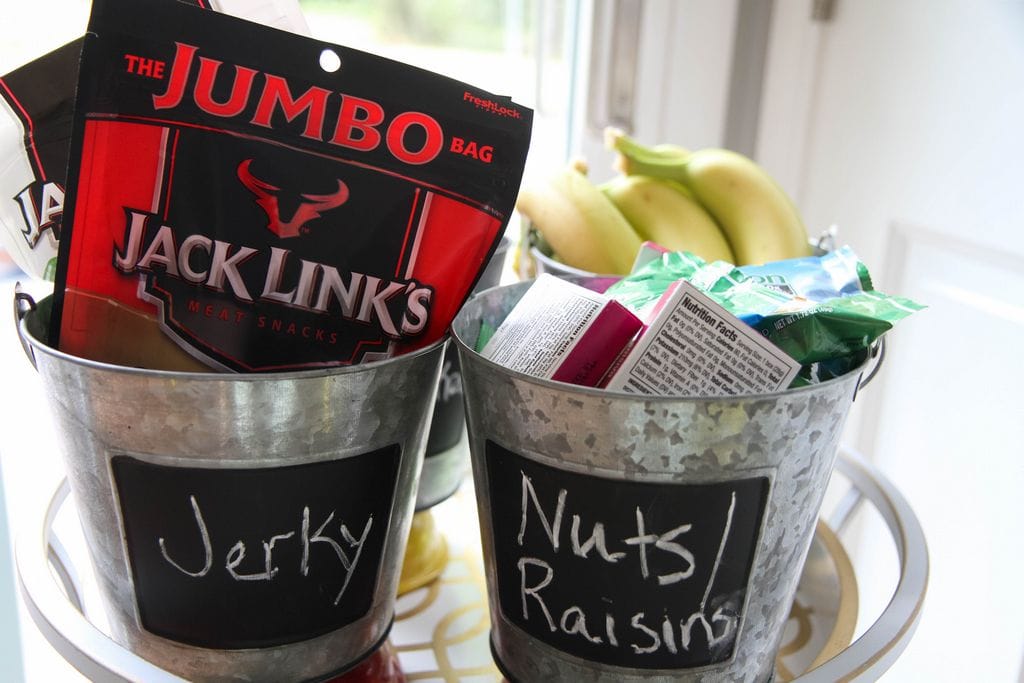
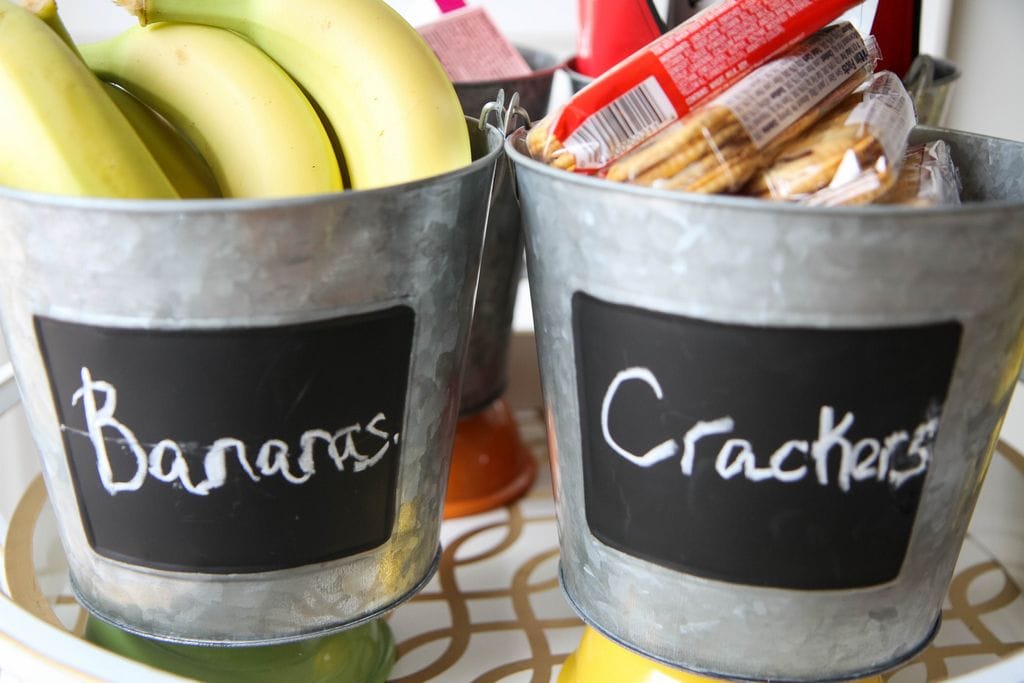
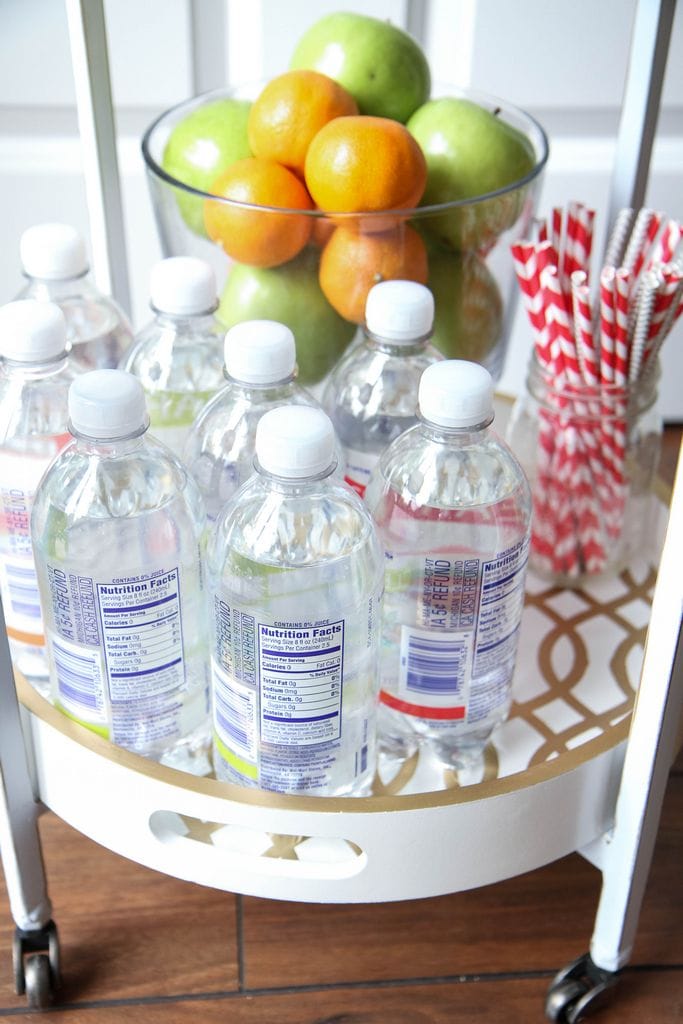
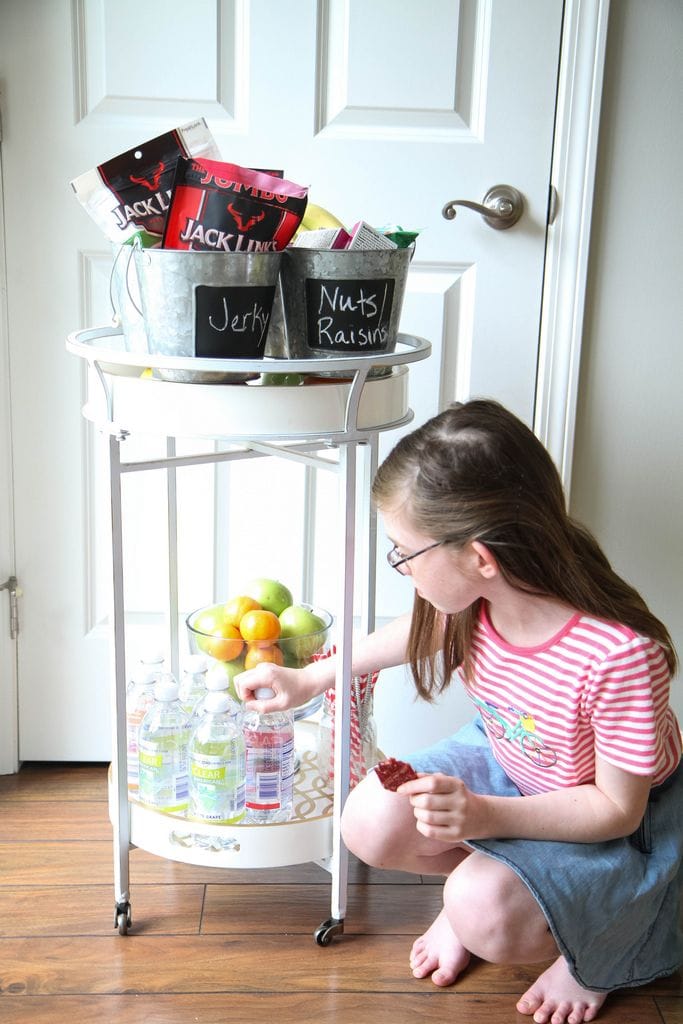
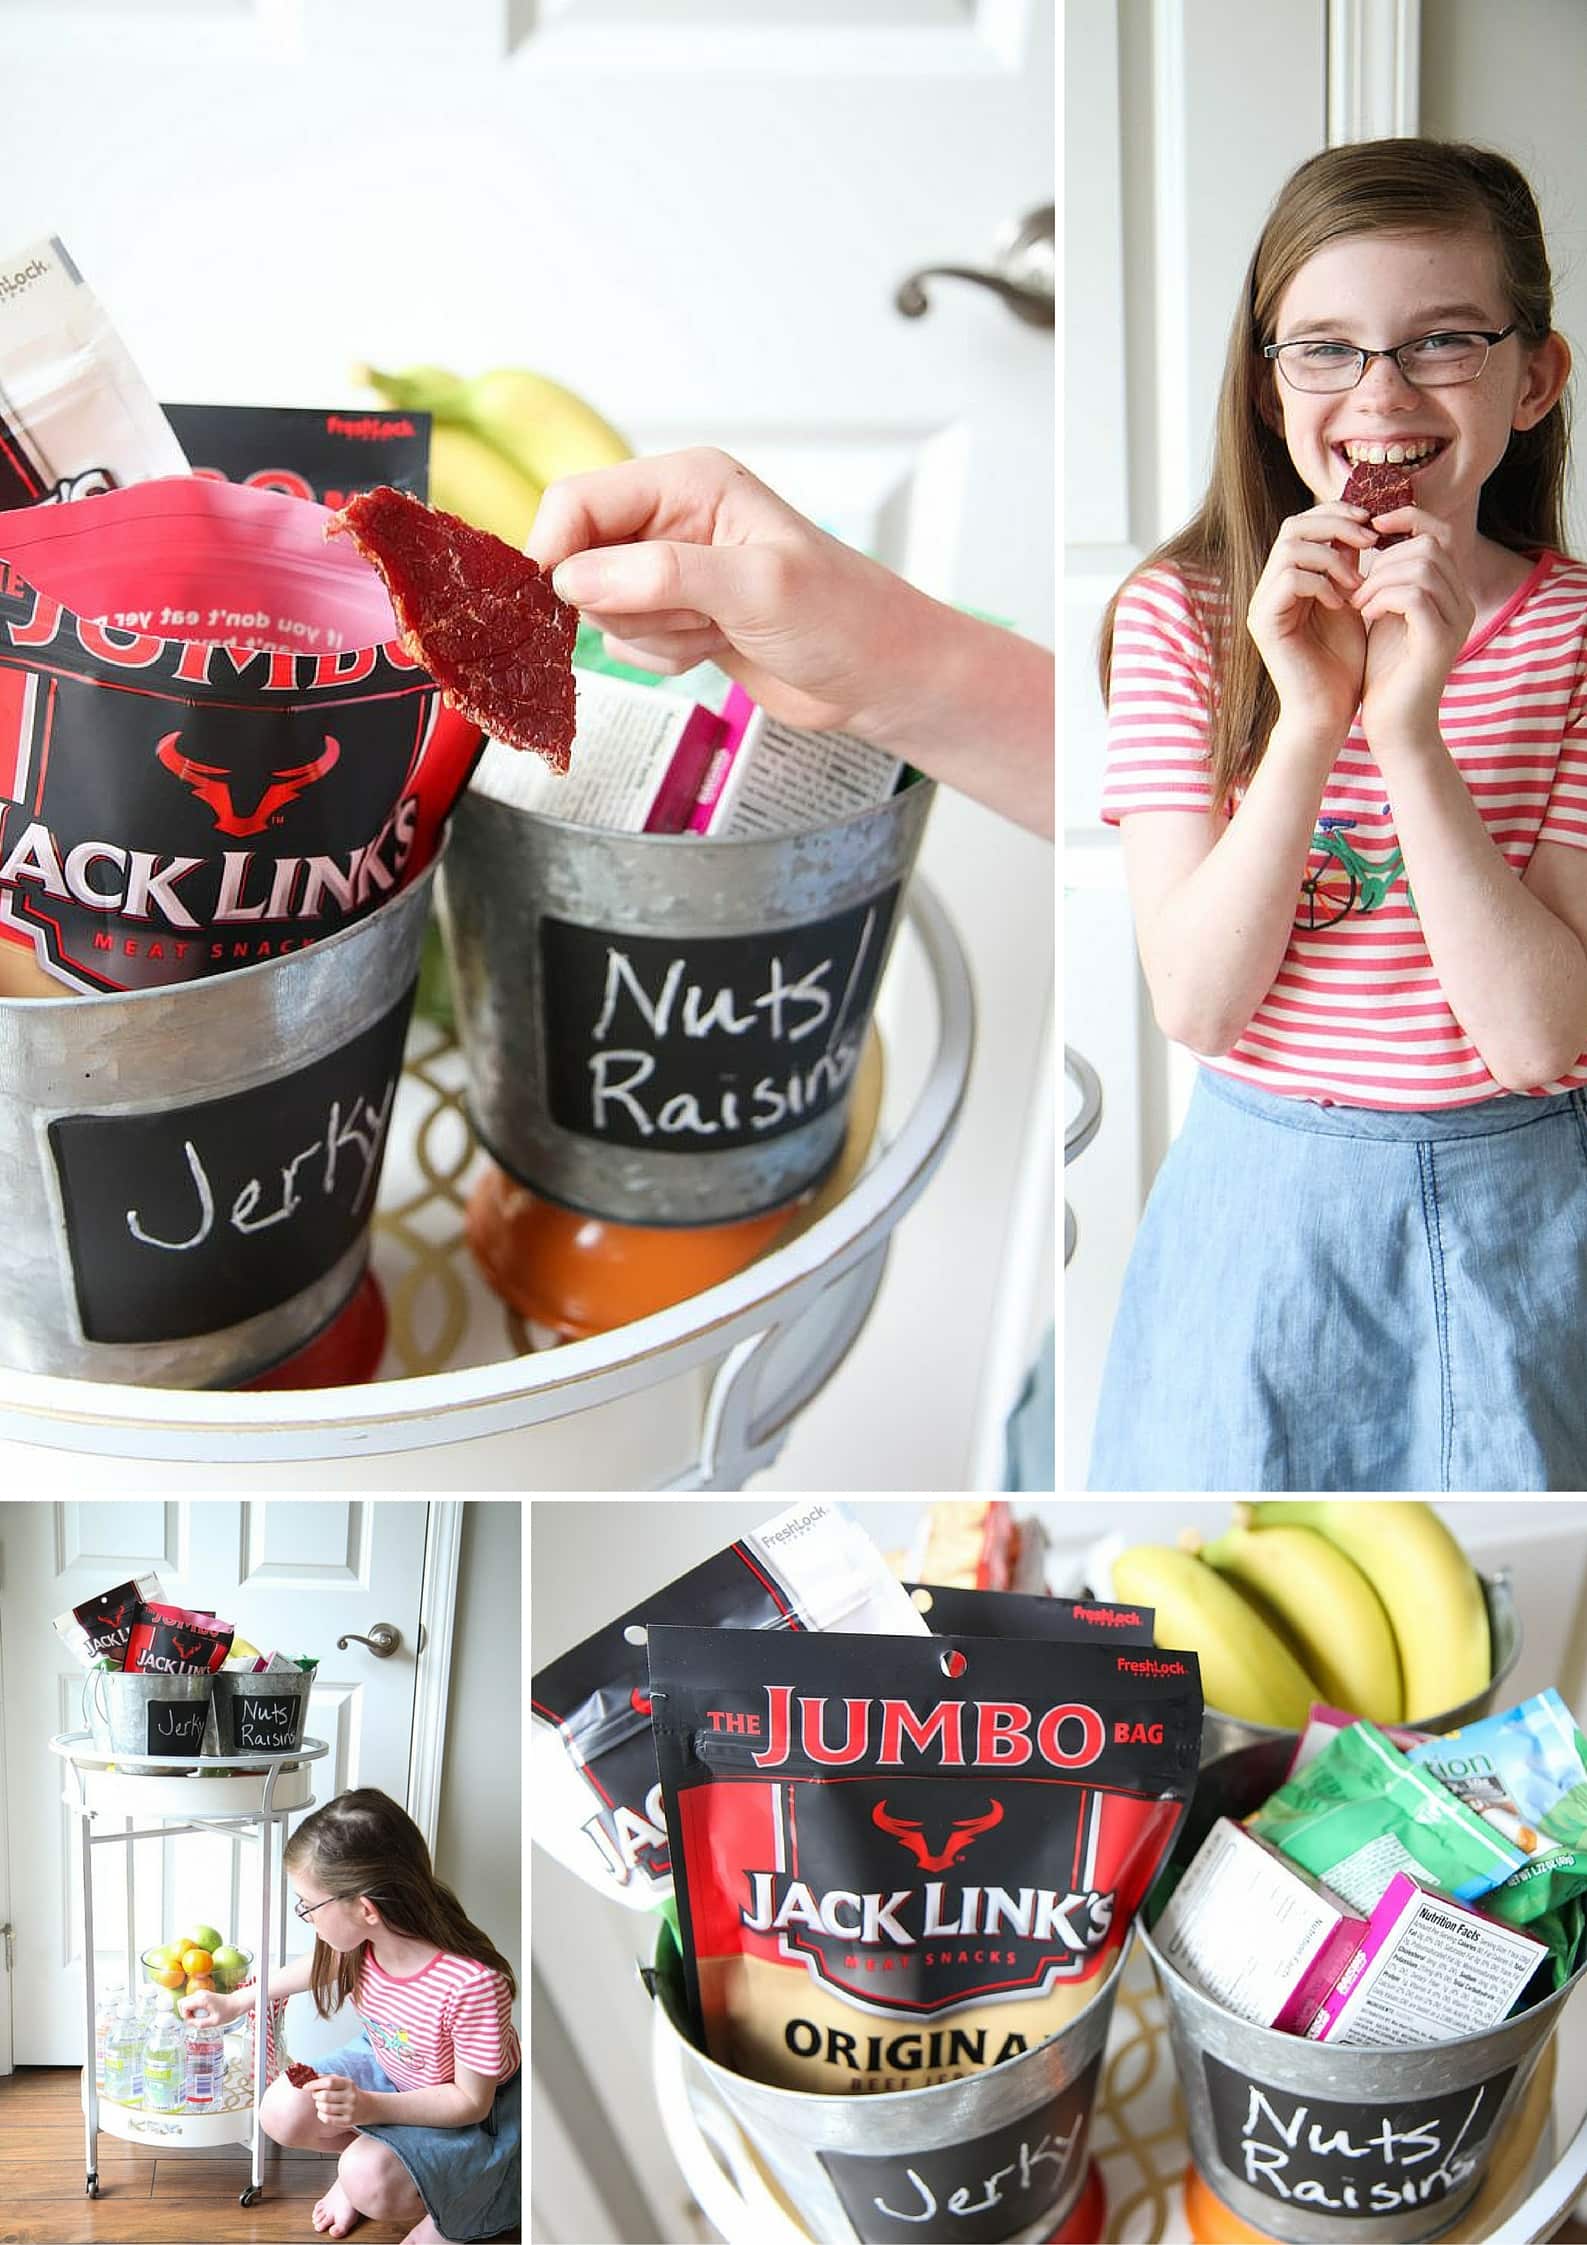
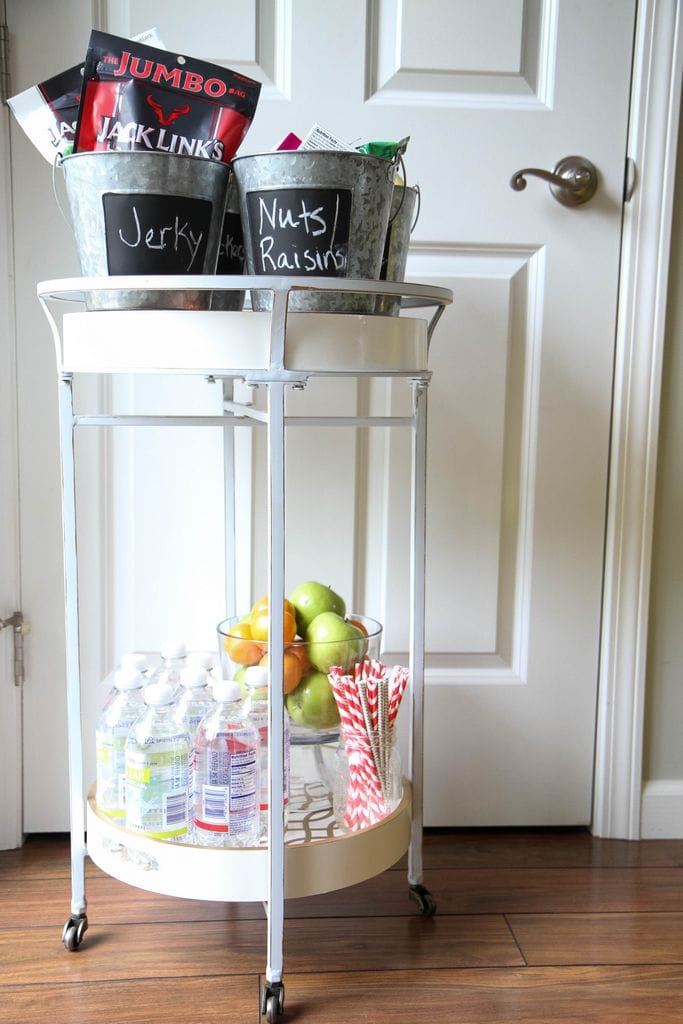
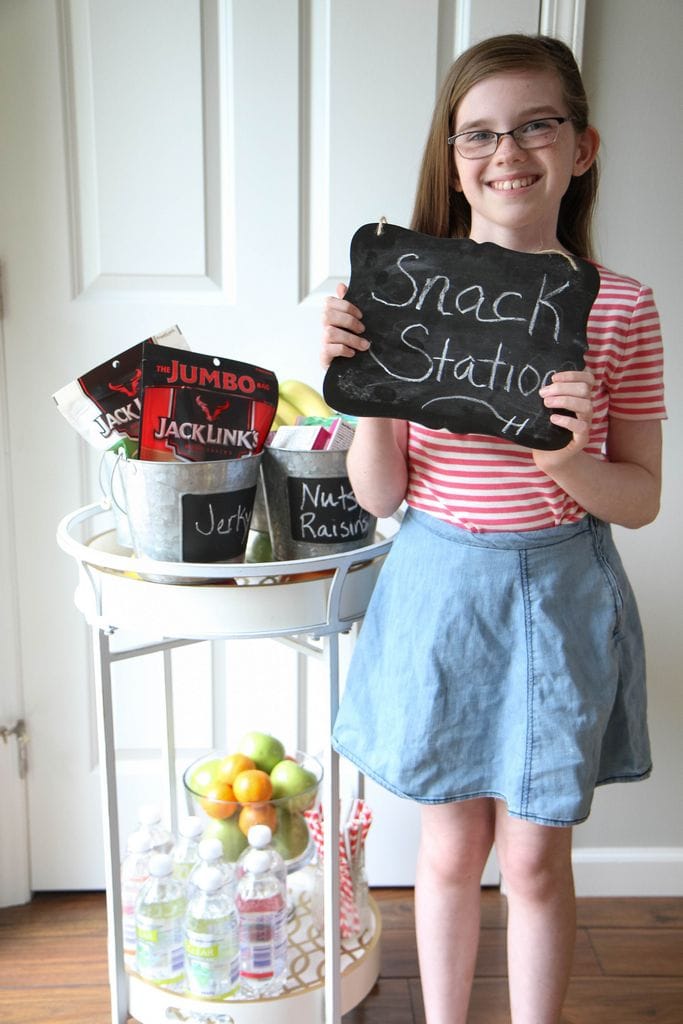
Instead, I’m going to take an hour to chop onions and peppers, grill and slice chicken, and brown hamburger. Then I’m going to take another hour to make baked oatmeal and banana muffins. And then? (After I stick all that food in the freezer?) If I’m still feeling industrious, I’ll prep all our lunch and snack food for the first few weeks. (And if not, I’ll recruit my third-grader to do it. After all, she’s the one who will be eating those individual servings of crackers and pepperoni and grapes!)

2. Pick Out Clothes. Now that we’ve moved, our washer and dryer no longer live in our garage. I have an actual laundry room, and it’s on the same level as our bedrooms. But while this is the ideal layout according to moms everywhere, I’m still struggling to implement a system — a system that doesn’t result in mountains of dirty laundry outside the laundry room door and mountains of clean laundry on top of the dryer.

It may still take a while for me to figure out our new laundry system, but my first step to mastering this mess is to pick out my kids’ clothes a week at a time. I was just lamenting the lack of school uniforms at my daughter’s public school, because OH THE GNASHING OF TEETH about what she’s going to wear. Every. Single. Day of my life. I’m hopeful that if she and I take a little bit of time each Sunday afternoon to pick out five outfits, a lot of those fights will be eliminated. We’ll see…

5 Ways to Calm the Chaos

3. Set My Alarm. My oldest daughter’s new school starts earlier than her old one, plus I’m changing my work schedule (read: adding more work, plus leaving the house to get it done). That means our leisurely mornings spent lounging while watching Mickey Mouse Clubhouse (them), scrolling through Facebook (me), and inhaling granola bars at the last minute (um, all of us) ARE OVER.

There’s no getting around it. We have to get up earlier. And that means, if I am serious about calming the chaos, I need to get up even earlier than my kids. Since I wrote all about the struggles night owls like me face when trying to create better mornings for their families, I know the steps I need to take. It’s just a matter of doing it. And it starts with setting my alarm.

4. Buy a New Calendar. When we moved, I tossed our old white-board calendar that hung on the side of our refrigerator. It had seen better days (the middle few squares were completely gray), but the reason I threw it away was because our fridge in the new house is between two cabinets. And the doors are too narrow for the calendar. So it didn’t work anymore.

But you know what else doesn’t work? NOT HAVING A FAMILY CALENDAR! Yikes. This summer has been full of chaos and irregular schedules, and in hindsight I realize getting a new calendar right away might have prevented some of that. So before we dive into the school year, with its activities and schedules and meetings and appointments, I’m buying a new calendar for the kitchen wall and putting it to use! (I also use a calendar app that my husband and I share, because sometimes I am away from home when I need to schedule something and that’s what works for us.)

5. Just Say No. You guys? I really hate missing out on stuff. I do. And I hate it when my kids miss out on stuff, too. And you know what? Even in our new, small town, we have SO MANY FUN OPPORTUNITIES. Teams and lessons and shows and festivals and movie nights and play dates — and then there’s homework and read-to-self and screen time and free play and GO OUTSIDE ALREADY and church and school (oh yeah, that!) and meetings and orthodontist appointments and Bible study and book club and…

If I let it, the world and all of its many amazing, fun, educational, interesting, entertaining, just great in general opportunities will take over my life. And it will drive me crazy. I know, because I’ve done it before (many times).

Last fall my daughter played on a basketball team and took piano lessons. And just that amount of activity, in that season, was TOO MUCH for my family. The stress of two activities, two nights in a row, every week just about did us in. I know! So many families do so much more! And that’s okay. We will someday (maybe even this fall, I don’t know yet) be able to do more. Each family has to figure out their own balance, avoid their own tipping point, and say no to what is too much for them.

So, there it is: my master plan for calming the chaos this school year. I could list another dozen ideas for organization, another handful of tips for running a household well, another bunch of suggestions for turning my crew into a well-oiled machine. But a) I figure we’ll be doing good if we can manage these five, and b) I think any family will be on their way to more peace if they can work on any one of these things!

How will you calm the chaos in your house this school year?


Pin It

DIY Car Organizing Tips (Giveaway with Big Fat Notebooks!)

Monday, August 22nd, 2016

DIY Car Organizing Tips from MomAdvice.com

You know that mom that always has bandages, always has a snack and drink on hand, can pull a pen out at a moment’s notice, has tissues, never forgets an umbrella, utilizes time well between running kids, and keeps a tidy car?

That’s not me.

In fact, I have been pretty embarrassed about just how bad things have gotten. No one really wanted to ride in my car including myself (insert scared face emoji).

It was on my organizing bucket list to tackle this since a good portion of my day is now spent in the car running kids from activity to activity. I spent an afternoon getting us organized for this school year and I wanted to show you how I did that.

Big Fat Notebooks Big Fat Notebooks

The inspiration came from today’s partner, The Big Fat Notebook series. If your kids love Diary of a Wimpy Kid, they will LOVE this new way of learning. When my kids were younger, they were hooked on Brain Quest, but once they hit middle school age, I felt like everything just felt like…Well, work. After a long day at school, the last thing they want to do is browse another textbook. That is why these are so genius. They look fun and teach you something in the process.

There are five books in all, and each is the only book you need for each main subject taught in middle school: Math, Science, American History, English Language Arts, and World History.

They also happen to meet Common Core State Standards, Next Generation Science Standards, and state history standards, and are vetted by National and State Teacher of the Year Award–winning teachers. If you are a homeschooling mama, this would make an excellent addition to your curriculum.

You can find these fantastic books at AmazonBarnes & NobleIndiebound, or Workman.

Big Fat Notebooks

I am not lying when I say that my daughter has become OBSESSED with these. There has been a lot of fact reciting at the dinner table!

We REALLY want to share them with you so please scroll to the end to catch this giveaway!!

I also wanted to figure out a way that we could keep these books on hand for busy days so I used this as an excuse to get my car organized and create caddies for each kid with the things they need. With school supplies on sale right now, it also happens to be quite an affordable time to create these little kits!

DIY Car Organizing Ideas

DIY Car Organizing Tips from MomAdvice.com DIY Car Organizing Tips from MomAdvice.com

After browsing every type of organizer available, I ended up using these shower caddy organizers for each of my kids because they had great pockets and a wipeable surface in case they get dirty or muddy. I also slipped a plastic cup for each to hold pencils/pens so it would make it easier for them to grab. In each one, I have an umbrella, snacks (that can withstand the hot car),  a water, a couple of Big Fat Notebooks (strategically chosen for the subjects we need to work on!!), and packages of tissues.

car-organizing-tips-2

I had planned to hang them from the backs of the seats, but the width was too deep on our car. I actually think it will be easier to have them on the floor and they can also be moved to the center when they are being used.

DIY Car Organizing Tips from MomAdvice.com

Backpacks can also pile up on the floor so I got these hooks to give these guys a home. It can also be a great place to hang a jacket, hat, or purse. Our backpacks often get dirty and thrown on the floor so I am hoping it helps with that too!

Now that the kids are in better shape, I wanted to work on some problem areas for me. My biggest issue is carrying around gym equipment so I wanted to make that an organizing priority.

diy-car-organizing-ideas-9

DIY Car Organizing Tips from MomAdvice.com

In my gym equipment stash I have two pairs of shoes (one for dance class and one for cardio), a spare pair of socks, yoga socks, tissues, water, facial cleansing wipes, hair ties, travel brush, and a towel. These are things that I am always forgetting and that I sometimes end up having to buy at the gym.

All of these fit perfectly in this container.

Again, plastic, wipeable, AND breathable.

Not that my feet sweat AT ALL, but I wanted you to know for you. It’s okay. It happens to a lot of people.

DIY Car Organizing Tips from MomAdvice.com

DIY Car Organizing Tips from MomAdvice.com

DIY Car Organizing Tips from MomAdvice.com

My yoga mat takes up valuable space and I hate that it is always rolling around in our trunk. Again, using those utility hooks to keep it in place along with my hot yoga towel and umbrella.

DIY Car Organizing Tips from MomAdvice.com

To finish up the tour, I wanted to show you just a couple of other things that are helping.

DIY Car Organizing Tips from MomAdvice.com

removable hook for hanging the trash bag- we will see how long this holds!

DIY Car Organizing Tips from MomAdvice.com

DIY Car Organizing Tips from MomAdvice.com

DIY Car Organizing Tips from MomAdvice.com

tiny totes for random things- one has receipts and pens, one has snacks for me, one has a mini first aid kit (for a legit one check here!), and the last one has tissues.

DIY Car Organizing Tips from MomAdvice.com

utilizing the gaps for my phone to save space in my drink holder (similar idea here!)

It’s not perfect, but I’m pretty proud. I feel like I *might* be able to be that mom this year AND my kids will be learning between activities too. High fives all around, friends!

Giveaway Time

Big Fat Notebook

I can’t wait to give someone this whole collection. We are so excited to share this with you! The books included in this giveaway are:

Everything You Need to Ace Math . . . covers everything to get you over any math hump: fractions, decimals, and how to multiply and divide them; ratios, proportions, and percentages; geometry; statistics and probability; expressions and equations; and the coordinate plane and functions.

Everything You Need to Ace Science . . . takes readers from scientific investigation and the engineering design process to the Periodic Table; forces and motion; forms of energy; outer space and the solar system; to earth sciences, biology, body systems, ecology, and more.

Everything You Need to Ace American History . . . covers Native Americans to the war in Iraq. There are units on Colonial America; the Revolutionary War and the founding of a new nation; Jefferson and the expansion west; the Civil War and Reconstruction; and all of the notable events of the 20th century—World Wars, the Depression, the Civil Rights movement, and much more.

Everything You Need to Ace World History . . . kicks off with the Paleolithic Era and  transports the reader to ancient civilizations—in Egypt, Greece, India, China, Africa, Rome; the middle ages across the world; the Renaissance; the age of exploration and colonialization, revolution and imperialism, and the modern world and the wars and movements that shaped it.

Everything You Need to Ace English Language Arts . . . covers everything to get you your best marks: grammar, including parts of speech, active and passive verbs, Greek and Latin roots and affixes; nuances in word meanings; textual analysis, authorship, structure, and other skills for reading fiction and nonfiction; and writing arguments, informative texts, and narratives.

One (1) lucky winner will receive:

  • Copies of all 5 titles in the Big Fat Notebooks series
  • Branded school supplies including highlighter/pen combos, a notepad, and jigsaw sticky notes.

Please follow the widget below to enter to win! I hope this post inspires you to get organized. As always, feel free to ask me any questions in the comments below!

a Rafflecopter giveaway

DIY Car Organizing Tips from MomAdvice.com

This post was sponsored by Workman Publishing and Big Fat Notebooks. All thoughts and opinions are my own!


Pin It

DIY Snack Station

Monday, August 15th, 2016

diy-snack-station

This post has been sponsored by Jack Link’s in partnership with Ahalogy. All thoughts and opinions are my own.

When I became a mom, I began to realize the beauty in one-handed snacks. When my babies were small, I had a hard time holding a baby and feeding myself so I created a basket of one-handed snacks that would keep me fueled throughout the day.

Now that my kids are older, you would think that I would have loads more time to care for myself.  I have found though that although my children aren’t necessarily as demanding as they were, their activity schedule certainly is. I am still struggling to keep myself fueled as we run from activity to activity.

If you struggle with keeping yourself AND your kids fueled, I wanted to share with you a fun snack station we created to encourage ALL of us to grab healthy snacks more regularly. This diy snack station was made with a basic small bar cart and is fully stocked for our whole family.

DIY Snack Station Tutorial

diy-after-school-snack-station-6

diy-after-school-snack-station-3


diy-after-school-snack-station-14

diy-after-school-snack-station-12

diy-after-school-snack-station-11

I headed to my local superstore to gather up four metal pails that had chalkboard labels on front for our little diy snack station and found this sweet little bar cart on summer clearance for 75% off. This is the perfect time to stock up on this summer entertaining accessory and keep it on budget for your family.

We then headed on over to Kroger  (check out the store locator to find one near you!) to grab some healthy options for our snack cart. The beauty in the chalkboard labeling is that you can switch snacks based on what’s in season, what’s on sale, or what you are craving that week. Have your kids be in charge of the labeling to work on mastering their spelling!

Our four pails had bananas (separated for easy grabbing), raisins/nut mixes, Jack Link’s in a few varieties, and crackers with peanut butter. On the bottom tier, I added apples and oranges, a variety of flavored waters, and some fun straws for sipping.

diy-snack-station (2)

Snacks with lots of protein are my favorite because they stop the HANGRY from coming on.

Tell me that you know a little about hangry moments too please! I need to know I’m not alone in this!

As someone who fights low blood sugar (as do my children), I have found that protein keeps me from fighting those sugar highs and lows.

Beef jerky can be a great protein-filled option and Jack Link’s is protein-packed with a whopping 12 grams of protein.  I like that you don’t have to be limited to just one flavor because it comes in tons of varieties. From the soy and ginger combo in Teriyaki, to a layer of coarse pepper in their Peppered option, to the smoky mesquite flavoring of their Original turkey, to the bold and savory offerings of their Jack Link’s Original. We are big fans of these options for keeping the hangry at bay.

diy-after-school-snack-station-12

For a sweet and savory combo, pair your jerky with fresh fruit for a balanced snack. Bananas always offer a good bang for your buck, apples can be sliced for eating on-the-go, and easy-to-peel clementine’s are always a big favorite in our house. Be sure to look for fruit that is on season for the most affordable (and freshest) options.

We are also really big fans of flavored waters in our house. It makes drinking water a little bit more fun.

A pretty papered straw doesn’t hurt either. What can I say? I am a blogger and paper straws are kind of a requirement over here.

diy-after-school-snack-station

diy-after-school-snack-station-4

We hope this post inspires you to create a snack station for your own family! We are thankful to have one at our house as we head back to the grind of school and activities. It is so nice to know that one-handed snacks are on hand for life’s busy moments!

This post has been sponsored by Jack Link’s in partnership with Ahalogy. All thoughts and opinions are my own.

Easy Hostess Gift: How to Make Paint-Dipped Spoon Sets

Tuesday, July 12th, 2016

Neon_Paint_Dipped_Spoon_Set_4

With summer comes many fun parties and opportunities to share these warm days with friends. This tutorial for a paint-dipped spoon set – and the packaging – makes a colorful and useful hostess gift that you can easily create to show your appreciation for those hosting your family at their next party.

Paint-dipped anything is quite a trend and so are these vibrant shades of neon I used. It was with those color trends in mind that I created this easy paint-dipped spoon set that embraces those fun colors and I also have found a unique way to package it that any hostess would flip for.

Neon_Paint_Dipped_Spoon_Set_supplies

Supplies

(affiliate links*)

Making Neon Paint Dipped Spoon Set

Directions

1) Mark off the ends of your wooden spoons with tape. I choose to do them at different levels, instead of all matching, to give it more of that “paint-dipped” look I was going for.

2) Pour small dots of paint into a disposable bowl or plate. Using a slightly damp paint brush, brush on a layer of neon paint around the top of your spoon. Remember to go with the grain of your wood when painting these.

3) Prop the painted spoons on a surface where they can dry. Allow the paint to dry for one hour.

4) Next, add a layer of the Triple Thick Glaze to the ends of your spoons, to protect the surface as well as to add a layer of gloss. Allow this to dry for one hour or until hardened before moving your spoons.

*Note that directions state that these paint-dipped spoons will not be fully cured for 21 days before you want to wash them.

Wrapping Neon Paint Dipped Spoon Set

5) While your spoons are drying, you can create the dishtowel bow for your oven mitt. Fold your towel until you get the desired narrowness on it.

6) Fold each side in to create your bow shape and then tie it securely with a strip of grosgrain ribbon. Tie the ribbon into a bow as well.

7) Finish by securing your dishtowel bow to your oven mitt with a paper clip or clothespin. Stuff the end of your mitt with a piece of tissue paper and then rest your spoons inside the mitt. Add a note of thanks and tie or clip it to your gift as well.

Neon_Paint_Dipped_Spoon_Set_5

How easy was that? What hostess wouldn’t love a gift as cute and as useful as this? I hope this inspires you to share the love with your favorite hostess this summer and keep this cute gift in mind for your next housewarming party or bridal shower too!

What kind of host or hostess gift would you like to make or receive?

*this post contains affiliate links- thank you for your support!

Pin It

How to Make a Fabric Wreath And Garland

Tuesday, July 5th, 2016

How to Make a Fabric Wreath And Garland from MomAdvice.com

This post was created in partnership with Waverly Inspirations. Thank you for supporting the companies that support our site! 

Making a fabric wreath has been on my crafting bucket list for a long time and I finally had the perfect excuse to execute it. I joined the Waverly Inspirations Network this month and am showcasing all the fun craft goodies you can find now at your local Walmart stores- YAY!

Each month I am challenged to make a project out of a surprise box of materials and the team gives me a theme to work with. This month’s theme was BEACH so I went with a nautical spin to show you how to make a fabric wreath and rope garland for your home.

Best of all, no sewing skills required!

Let’s get crafting.

How to Make a Fabric Wreath And Garland from MomAdvice.com

Supplies Needed To Make a Fabric Wreath

12″ or 20″ wire wreath frame

2 1/2 yards Waverly Inspirations Fabric (for 12″) or 3 yards Waverly Inspirations Fabric (for 20″). Be sure to select two or more patterns or solids that compliment each other. Have fun with this!

6 yards Waverly Inspirations Grosgrain or Satin Ribbon (select 2 3-yard packages in complementary colors)

Fabric Rotary Cutter

Rotary Cutting Mat

(Note- if making matching garland, be sure to pick up some rope (like this) over in the home improvement section of the store)

How to Make a Fabric Wreath And Garland from MomAdvice.com

Directions for Making a Fabric Wreath

1. Taking your fabric lengthwise, cut at the 1″ mark on your rotary cutter.

2. From this starting point, begin tearing down until you get to the bottom of your fabric to create strips. There will be loose threads. Pull any that are particularly bothersome, but this project is meant to have rough edges to it.

How to Make a Fabric Wreath And Garland from MomAdvice.com

3. Begin cutting this torn fabric into 6″ strips. Repeat these same 3 steps over and over again with your two fabrics.

How to Make a Fabric Wreath And Garland from MomAdvice.com

4. The same length strips will need to be cut out of your two ribbon options so begin cutting those, utilizing all of the ribbon that you have purchased..

5. Starting from the outer edge of the wire wreath frame, begin tying the fabric, making sure to keep your printed side turned out, and then slide the tied fabric down to the nearest crossbar. Repeat until you have filled the section, alternating fabrics and sprinkling a tie of ribbon in throughout. In the picture above, you can see that ALL of these have a fabric loop- this is to demonstrate your starting point for each row.  Continue doing this until you get all the way around the outside edge. Then repeat this same process on the remaining 3 wires until you have filled your entire wreath.

How to Make a Fabric Wreath And Garland from MomAdvice.com

How to Make a Fabric Wreath And Garland from MomAdvice.com

I added a little pom-pom trim that I had in my crafting cart and clipped it with two tiny clothespins to finish this.  I had so much fun making this that I wanted to add a garland to match.

How to Make a Fabric Rope Garland from MomAdvice.com

Utilizing the same technique for ripping your fabrics, cut 2″ strips this time and then cut these into 8″ pieces. Repeat this step with both fabric selections (or more if you have them!). Tie them onto your rope, making sure to have that printed side facing out. I love that you can make this as long or as short as you need for your space!

How to Make a Fabric Wreath And Garland from MomAdvice.com

How to Make a Fabric Wreath And Garland from MomAdvice.com

How to Make a Fabric Wreath And Garland from MomAdvice.com

My little painted laminate fireplace, in our basement, gets so much love and I love decorating it for the different seasons. I finished our beachy look with two rope handled lanterns. I, honestly, loved making this so much that I now have plans to make another smaller one for my fancy little she shed in yellows and polka dots.

I hope this tutorial inspires you to get out there and craft today!

Making brings me so much joy and I love sharing that with you!


How to Make a Fabric Wreath And Garland from MomAdvice.com


This post was created in partnership with Waverly Inspirations. Thank you for supporting the companies that support our site! 


How to Make a DIY Terrarium

Thursday, June 30th, 2016

How to Make a DIY Terrarium from MomAdvice.com.

You know people that are amazing at gardening and planting?

I’m not one of those people.

I am the girl that goes to the greenhouse and requests plants that can take care of themselves. My plants must be able to survive without water or nourishment of any kind.

Despite my black thumb, I spent many of my summers working in a greenhouse as a kid and I do know a few things about caring for plants. Thanks to my greenhouse knowledge, I know that terrariums are the perfect project for a girl with my skill set and they are also the perfect project  for any gardener-in-the-making.

How_To_Make_Terrariums

For those of you itching to play in the dirt, this project is a fun one that adds a bit of green to your house while you await planting season.  If you are looking for a fun project to tackle with the kids, this can transform into a little fairy garden with a few novelty items.

The possibilities of terrariums are endless because they are made in any type of glass container or jar.  A good place to hunt for unique jars is your local thrift shop. You can also get inventive and use other types of glass containers like cake stands, fish bowls, hurricanes, or even a light bulb!

How to Make a DIY Terrarium

Terrarium Supplies

Supplies Needed

Drop cloth or Newspaper (I use a dollar store shower curtain to cover my tables for messy crafts)
Glass container or jar
Small Plants or Herbs (Look for plants of varying heights, leaf shapes, & colors)
Pebbles
Moss
Charcoal
Potting Soil
Hand Trowel


Creating a terrarium is a lot like creating a layered cake. You need all the different layers in your terrarium in order for your plants to thrive. Since we are using such small amounts of materials, like pebbles or moss, ask your local greenhouse if you can buy small quantities instead of investing in large bags. At our greenhouse,  I was able to snag both the moss and pebbles for my project for just $.50!

How_To_Make_Terrariums

1. Begin by adding your pebbles to the bottom of your container. This is to create a false drainage layer so water can settle and not flood the plants. You will want to add 1 inch to two inches of stone, depending on the size of your container.

2. Next, we will layer our charcoal. The charcoal can come in granules or shards (the type I am using is shards). We will spread a layer of this over the rock to help reduce bacteria, fungus, and odors in our terrarium.

How_To_Make_Terrariums

3. Prepare your plants for planting. Remove them from their pots and loosen up the root ball, exposing the roots. If the roots are particularly long, you can trim them down a bit.

How to Make a DIY Terrarium from MomAdvice.com.

4.  Add a layer of dirt to your terrarium. Gently place your plants inside and then top them off with a bit more dirt, using your hands to gather the dirt firmly into place around each of the plants. Be mindful where you are planting them, mixing up your plants of varying heights and foliage, to fill your jar.

5.  Finish your terrarium with a layer of moss to keep the soil moist and add a decorative finish. If your kids are making their own little garden, this is a great time to finish them with fun little trinkets.

How_To_Make_Terrariums_Collage

6. Clean the container. Wipe down the outside and inside of your container, to remove any excess dirt that may have gathered on the sides.

7. Finish by watering your terrarium, being mindful not to overwater it. Caring for your terrarium is easy, especially if you are a terrible gardener like me. Check every couple of weeks to see if your terrarium needs water. Feel the soil to see if it is dry and add water if it is. If your terrarium is closed, be sure to take off the top at least once a month to air it out. If you see lots of condensation or have added too much water, leave the top off until it has had a chance to dry out.

How to Make a DIY Terrarium from MomAdvice.com.

How_To_Make_Terrariums-17

Here is a visual of what we want our container to look like. I love that this looks beautiful from the side as well as the top. I had so much fun making this that I can’t wait to make another one for other rooms in our home!

Have you ever made a terrarium? What advice would you give on these?


Pin It

Make-Ahead Sleepover Breakfast Buffet

Monday, June 20th, 2016

Make-Ahead Sleepover Breakfast Buffet from MomAdvice.com

When I was a little girl, one of my favorite sleepovers ever included a beautiful breakfast buffet for us in the morning. The parents got up early to make stacks of waffles and laid out a variety of toppings to make our own waffle creation. It was the stuff that little girl’s dreams are made of,  piled high with whipped cream, strawberries, and unlimited syrup.

I want to be that mom who rises early and makes these sleepover dreams come true, but often I am the mom dragging her tail out of bed after telling the kids to PLEASE, FOR THE LOVE, GO TO SLEEP IT IS THREE IN THE MORNING mom.

Are you her too?

That’s why I wanted to create a REALISTIC buffet that can be made in advance so you can just stumble into kitchen, put everything on the table, and curl up with a cup of coffee in bed with a little sweet silence.

Make-Ahead Sleepover Breakfast Buffet from MomAdvice.com

Today I am partnering with  Florida Department of Citrus to show you how to make this fun make-ahead sleepover breakfast buffet table complete with glasses of  FLOJ for everyone at the party.  Although waffle parties are fun, I wanted to create a healthy breakfast complete with a glass of Florida Orange Juice that provides 5 amazing nutrients in every glass for our guests. Not only are we loading our table with fresh fruit, but we are also getting, in just one single 8-ounce glass of 100% orange juice,  our daily recommended serving of fruit! Winning!

Make-Ahead Sleepover Breakfast Buffet from MomAdvice.com

Make-Ahead Sleepover Breakfast Buffet from MomAdvice.com

Instead of spending your morning flipping pancakes, take a peek at my make-ahead recipe for breakfast burritos. This recipe yields eighteen delicious burritos and you can even make them gluten-free with the use of a gluten-free wrap. They are filled with eggs, turkey sausage, spiced potatoes, and cheese- yum!

Make these ahead and tuck them in your fridge or use these instructions for popping them in the freezer until the morning. The beauty in this one is that no matter what time they rise, each person can have a hot breakfast!

Make-Ahead Sleepover Breakfast Buffet from MomAdvice.com

I made a simple breakfast bar with burrito toppings like olives, sour cream tomatoes, avocado, salsa, and sriracha. You can just chop and set this in the fridge on a cookie sheet for the big morning.  

Make-Ahead Sleepover Breakfast Buffet from MomAdvice.com

Make-Ahead Sleepover Breakfast Buffet from MomAdvice.com

Make-Ahead Sleepover Breakfast Buffet from MomAdvice.com


After warming their burritos, they can fill it with all of their favorites or simply put the toppings on top and dig in with a knife and fork.

Putting this spread together took me under an hour, even with all the chopping, and the best part is that I got to enjoy a hot cup of coffee even with a house full of kids. WINNING!

Thank you so much to Florida Department of Citrus for letting us share a make-ahead buffet with you. Be sure to kick back a glass of FLOJ for us and may your bedhead game be as strong as your coffee.


This blog was sponsored by Florida Department of Citrus. Thank you for supporting the companies that support our site!

Tips & Tricks for Evening Entertaining

Tuesday, May 17th, 2016

Tips & Tricks for Evening Entertaining from MomAdvice.com

This post is sponsored on behalf of BHG at Walmart.

Those summer nights…tell me more, tell me more.

Is it stuck in your head now too?

I think evening gatherings are the most fun to host and our patio always gets a workout in the summer months with friends and family gathering around our picnic table for meals, wine, and board games.

Also, a big shout out to night skies for hiding our not-so-awesome lawn.

Keeping it real here, friends! We can’t be good at everything!

Today I am partnering up with the BHG Live Better Network to show you some fun additions for your outdoor space AND I’m giving away a $100 gift card to Walmart to get you started on your shopping.

Tips & Tricks for Evening Entertaining

Tips & Tricks for Evening Entertaining from MomAdvice.com

Tips & Tricks for Evening Entertaining from MomAdvice.com

Bring on the Twinkle Lights

To me, one of the most beautiful sights in the evenings are strands of twinkle lights.

They are a super affordable way to dress up your patio without spending a lot of money.

Not only are they beautiful, but they help extend those evening hours outside to play games or enjoy a meal together.

You can see how we rigged our lights over our patio in this post.

Patio lights have a tendency to get shattered on our cement patio so I was REALLY excited about these vintage cage lantern lights because the cage helps protect that little bulb inside.

That should really help prolong those lights!

Tips & Tricks for Evening Entertaining from MomAdvice.com

Bring Inside Elements Out to Keep Guests Comfy

I never look at things inside our house and think that they can only be used indoors.

You will often find me dragging out dining chairs, piling up our throw pillows up, and heaving side tables out onto the patio.

I love  to create warmth and comfort for our guests, but I’m not a millionaire.

Smaller homes require you to really consider what can function in multiple ways for your home and it helps cut down on out of season storage.

That’s why I rely on the items in my home to create a comfy space outside too.

Tips & Tricks for Evening Entertaining from MomAdvice.com

Here are three pillow options that go inside AND outside in our home (option 1, option 2, option 3– all under $12!!) when entertaining.

I don’t know about you, but there can never be too many throw pillows- am I right?

To add a touch of spring to my home, I pulled in the coral color to mix in with my blues.

All of these pillows happen to transition really well with our gorgeous outdoor rug on our patio and match our stained picnic table outdoors too.

Tips & Tricks for Evening Entertaining from MomAdvice.com

Tips & Tricks for Evening Entertaining from MomAdvice.com

Tips & Tricks for Evening Entertaining from MomAdvice.com

Tips & Tricks for Evening Entertaining from MomAdvice.com

Warm Your Guests (S’mores NOT Optional)

Having a place for a fire has been lovely and may have contributed to summer weight gain (ahem!)

I can never resist the opportunity for a s’more though. Have you seen my S’More Toppings Bar I created?

Clearly, I have an addiction.

We love to get our fire pit going and nothing completes the evening like a bit of warmth and a  killer playlist on Spotify.

I’m talking about you, Adele.

I hope these ideas inspire you and I wanted to share a giveaway so you can create your own perfect evening outdoors with a few of your favorite people.

Check out the widget below for directions to enter our $100 Walmart Gift Card giveaway!

Good luck, everyone!

a Rafflecopter giveaway

Live-Better-Network-Badge

In accordance with the FTC Guidelines, I am disclosing that I received compensation from BHG at Walmart for my time and participation in the BHG Live Better Network. Although we have material connection to BHG, any publicly stated opinions of BHG and their products remain my own.

Pin It

5 Easy Ways to Grow Your Facebook Page

Monday, May 16th, 2016

5 Easy Ways to Grow Your Facebook Page from MomAdvice.com

This year I wanted to get serious about my Facebook page. I got in on developing my page a little late, spent very little time on it, and experienced a long plateau in growth for months. My page was super boring so it was no wonder that no one wanted to interact on it. Heck, I didn’t even like it. I really needed to grow my Facebook page, but it needed to be in easy ways that could fit into our busy life.

I made it a business goal to grow this to page to 20,000 this year and to buckle down for one month to see if I could begin growing my audience again. Last week, I hit my 20K in fans (woohoo!!) so I was pretty pumped about this little milestone.

The question I get about this is, “Did this increase your pageviews on your website?”

My answer is not really.

Let’s be honest, Facebook wants you to pay to play. The traffic seems to only really grow when I boost (pay to advertise-be sure to target those ads!) my posts. So, if I am not experiencing growth, why would I want to invest any time in this platform?

Well, if you do sponsored content writing you know that your reach determines your rate.

Bottom line, the bigger my audience I have, the more I can charge for my posts. 

But, wait…mo money mo problems, right? Nah! I want to show you my 5 easy (and, let’s be honest, a bit lazy!) ways to grow your FB page WITHOUT creating new content.

No charge at all for the lazy advice, but I would appreciate your LIKE on my page

5 Easy Ways to Grow Your Facebook Audience

5 Easy Ways to Grow Your Facebook Page from MomAdvice.com

Get on a Schedule

Once a week, I sit down and schedule out my entire week of shares. I have experimented with lots of different times for sharing and with my audience, the times that have worked for me are 2:30PM EST (when moms are typically waiting for their kids to get out of school) & 8:30PM EST (when moms are settling in with their wine & Facebook time). My audience is moms so I can just guess when the are on Facebook based on my own Facebook habits.

You can experiment a bit with your sweet spot by trying out different times at first and then figuring out which seem to work best with your audience. You could also keep a close eye on a boosted post and see when the likes are increasing and gauge that as roughly a good time to start posting. Once you figure it out, you can make a schedule for sharing content.

I sit down with pen and paper, map out a week, and check off each day with the two shares.

Can you share more?

Go for it!

I don’t have time to do more than that and I don’t want to waste precious money trying to get someone else to do it for me right now. Two works for me, along with my own personal content shares,  for enough to grow the site at a steady pace.

Here is the thing, I only share what I find funny or compelling. A huge pet peeve of mine is link-bait sharing (“You’ll never believe what this man did when he saw this homeless person, it will shock you….”) or just crap sharing all day. If it isn’t funny to me, if I would be annoyed trying to click through slideshows, if I would never do that recipe/craft/eat that forty decker burger (tacos…maybe!), I’m not sharing it on my page.

Those people might have attracted a million people for sharing, but that’s not the kind of audience I want to grow, for me personally. 

(mic drop)

5 Easy Ways to Grow Your Facebook Page from MomAdvice.com

Find Great Content to Actually Share

Where do I find all this funny and engaging stuff? I do it in two ways. First, at the bottom of your Insights page (under the Overview tab), you have something called, “Pages to Watch.” You can pick pages that have a huge following and add them to your Pages to Watch list or sites with similar audiences. I try to pick ones that share similar content as me to follow because I know my readers will love it.

5 Easy Ways to Grow Your Facebook Page from MomAdvice.com

Once you click on the pages you are watching, you can see the week’s top posts for each of those sites. Since I am typically one week later on the sharing (since I do this weekly), I schedule a share for the following week, allowing me to recirculate the same content, but after a little bit of a break between shares. These top posts are usually a gold mine of great stuff since this is what people are really loving.

5 Easy Ways to Grow Your Facebook Page from MomAdvice.com

The second thing I do, when scrolling through my personal feed, is I look for posts that my personal community is sharing. In the corner of that post, you can click on it and save the link. Just doing this at the bus stop gives me a good week of materials (rounded out with the pages I’m watching). You can then go to your Facebook homepage and click on the Saved button which will give you everything you have saved for the week. Done!

5 Easy Ways to Grow Your Facebook Page from MomAdvice.com

Move Your Instagram Feed to Your Page

I began to realize that I got way more interaction on my personal page then I ever did on my site page. Let’s be honest, all the good stuff was going on my personal page though so why would anyone ever feel a connection to my page?

I switched where IG shared my pictures over to my Facebook page and this added enough personality to not make it only a giant place of funny shares, but that I’m there too. It breaks it up, adds my personal touch, and adds zero extra work to my day!

5 Easy Ways to Grow Your Facebook Page from MomAdvice.com

Invite Them To Your Table

Did you know that you can invite people to like your page after they have enjoyed one of your posts?

Yup, you sure can!

When you go on your page, just open up who has liked your posts and you can send them an invitation to like your page. As you can see here, the ones that have already Liked it are grayed out and the ones that have already been invited are grayed out. That means you won’t spam your guests, but that you always have offered this invitation once. For more details on this, read this post

5 Easy Ways to Grow Your Facebook Page from MomAdvice.com When a post goes viral (and if you know the secret formula to that, let me know!), you have a lot of new friends that you can invite without paying a dime for it and with minimal work.

Heck, you could pay your kids to do this for you.

5 Easy Ways to Grow Your Facebook Page from MomAdvice.com

Keep Track of What is Working For You (And Not)

On your Insights page you can see your posts and how far they are reaching. Be sure to sort by reach or engagement to really get a good insight into what people are loving.  It helps to give me an idea of what people are sharing and what resonates with them.

I can give you three themes that will always resonate with them.

1. Make ’em laugh, make ’em laugh, make ’em laugh.

2. Mom, you are good enough.

3. But when you feel like you aren’t, here’s some stuff that will help.

Isn’t that what moms all share?

5 Easy Ways to Grow Your Facebook Page from MomAdvice.com

Case in point- reaching almost 63,000 people this week. That’s some funny stuff, right? Wouldn’t you share this too?

PS- I’m the one on the right, I just look like the one on the left (meaning the apron, not the body).

One Bonus Point (if you feel ambitious)

Since your Facebook audience aren’t really seeing all that you are posting (particularly your personal page), consider starting a FB group to build community again! Not only are you finding your true audience and fans, you are able to share your posts directly to them as well as use that platform for affiliate marketing. In our group, for example, I spend the morning hunting for great Kindle deals that our bookworms will love and share one post in the morning.

Last month I sold over 300 Kindle books, primarily through this group. As someone striving to make smarter passive income choices, this feels authentic and helps keep my website going.

5 Easy Ways to Grow Your Facebook Page from MomAdvice.com

5 Easy Ways to Grow Your Facebook Page from MomAdvice.com

What a happy day to reach a goal and I didn’t have to create more content to do it!

#winning!

Don’t forget to give me a like– I’d really love you to join my table! Plus, you will save me the hassle of inviting you (wink, wink!).

There you have it- schedule shares out once a week, save the stuff your friends are sharing, invite them to your table, keep track of what’s working (and do more), and get a little personal.

What are some successful ways you have found to grow your Facebook audience?


Pin It

Bringing Outdoor Furniture Indoors

Wednesday, March 23rd, 2016

Bringing Outdoor Furniture Indoors

This post is sponsored on behalf of BHG at Walmart.

Do you remember when outdoor furniture looked like…  well, outdoor furniture. Now outdoor furnishings rival those inside my home and I have started looking at these pieces differently than I used to. I now see the true potential for outdoor pieces in indoor spaces and I wanted to chat a bit with you about that today!   I am partnering up with the BHG Live Better Network this month to show you the fantastic offerings they have this year for your outdoor (or indoor) needs.

Bringing Outdoor Furniture Indoors

A couple of years ago, we created the cutest spot in our house that isn’t in our house. My dreamy she shed makeover is one of the best ideas I have had to utilize a hidden space in our home. I wanted something that we could really lounge on and originally thought a daybed would be a great idea. The truth was though, I really needed something that could stand up to a lot of abuse and the idea of changing linens in a shed did not appeal to me at all.

Let’s be honest, I can barely change the sheets on my own bed.

Outdoor Bed Ideas

I did a lot of research on smart bedding solutions and discovered this Better Homes and Gardens Providence Outdoor Day Bed while browsing and just knew it would be so perfect for our space. This piece was coated in durable outdoor fabric since it was intended for outdoor use, making it perfect for a mom with two busy kids.

When I saw that it was available again this summer (YAY!), I just had to share it with you because it makes me so happy!

Bringing Outdoor Furniture Indoors

This outdoor daybed has become THE spot in the house for anyone who needs a little retreat. The generous size of this piece really is as deep and as long as a true bed would be, making it a fantastic place to take a nap.  I have been known to take many a blissful Sunday siesta on this bed. Curled up with a throw and and a good book, it’s the perfect retreat right on our very own property. When the kids and my husband can’t find me, they know that I am out here taking a little time for myself.

Although I loved the bed itself, I wanted to add a fresh accent color to this piece so I switched out the pillows with a few cute options I scored on Groopdealz as one of their deals-of-the-day and added a Too Legit To Quit pillow from Michelle Dwight Designs to add a splash of fun to the bed.

Even if you source your pillow covers somewhere else by supporting a fellow crafter, I have found inexpensive pillow forms from Walmart to create cushions with style for the back of this bed.  The pillow forms are two for $5.15 and feel like expensive cushions and line the back of our bed. I love that we can switch pillow covers on this piece to bring in a new accent color or simply to freshen things up.

outdoor-bed-ideas-2

We were lucky enough to have a very mild fall and winter so we were able to use this shed more than we usually do, as you can see by this cozy picture of my daughter nestled in blankets. I found a string of outdoor lights and hung them from the canopy to create a beautiful glow in the evenings.

Twinkle lights make any space magical, don’t you think?

I am so happy my kids have this spot to read in.

Bringing Outdoor Furniture Indoors

As a child, I only dreamed of places like this to curl up with books and I try to never take for granted such a special retreat!

I hope this inspires you to look at outdoor furniture a little differently. Whether you have a spot in your basement for a little nook for your kids, if you are looking for an alternative to couches for a patio space, or if you are making your shed into a dreamy bonus room, this bed is for you.

Live-Better-Network-Badge

In accordance with the FTC Guidelines, I am disclosing that I received compensation from BHG at Walmart for my time and participation in the BHG Live Better Network. Although we have material connection to BHG, any publicly stated opinions of BHG and their products remain my own.