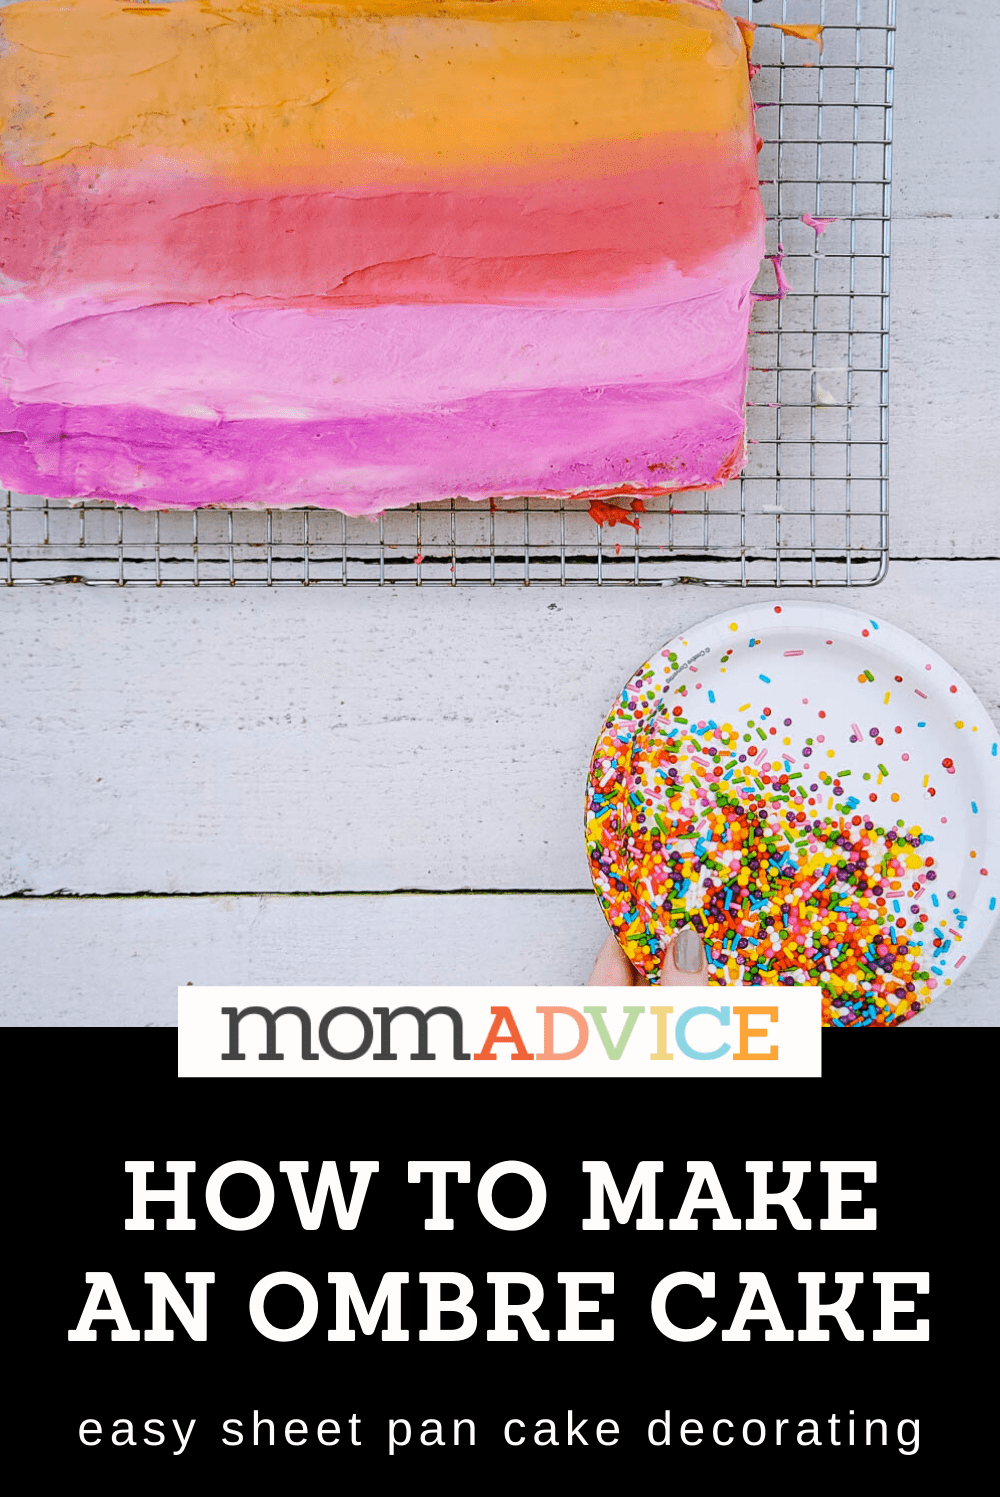
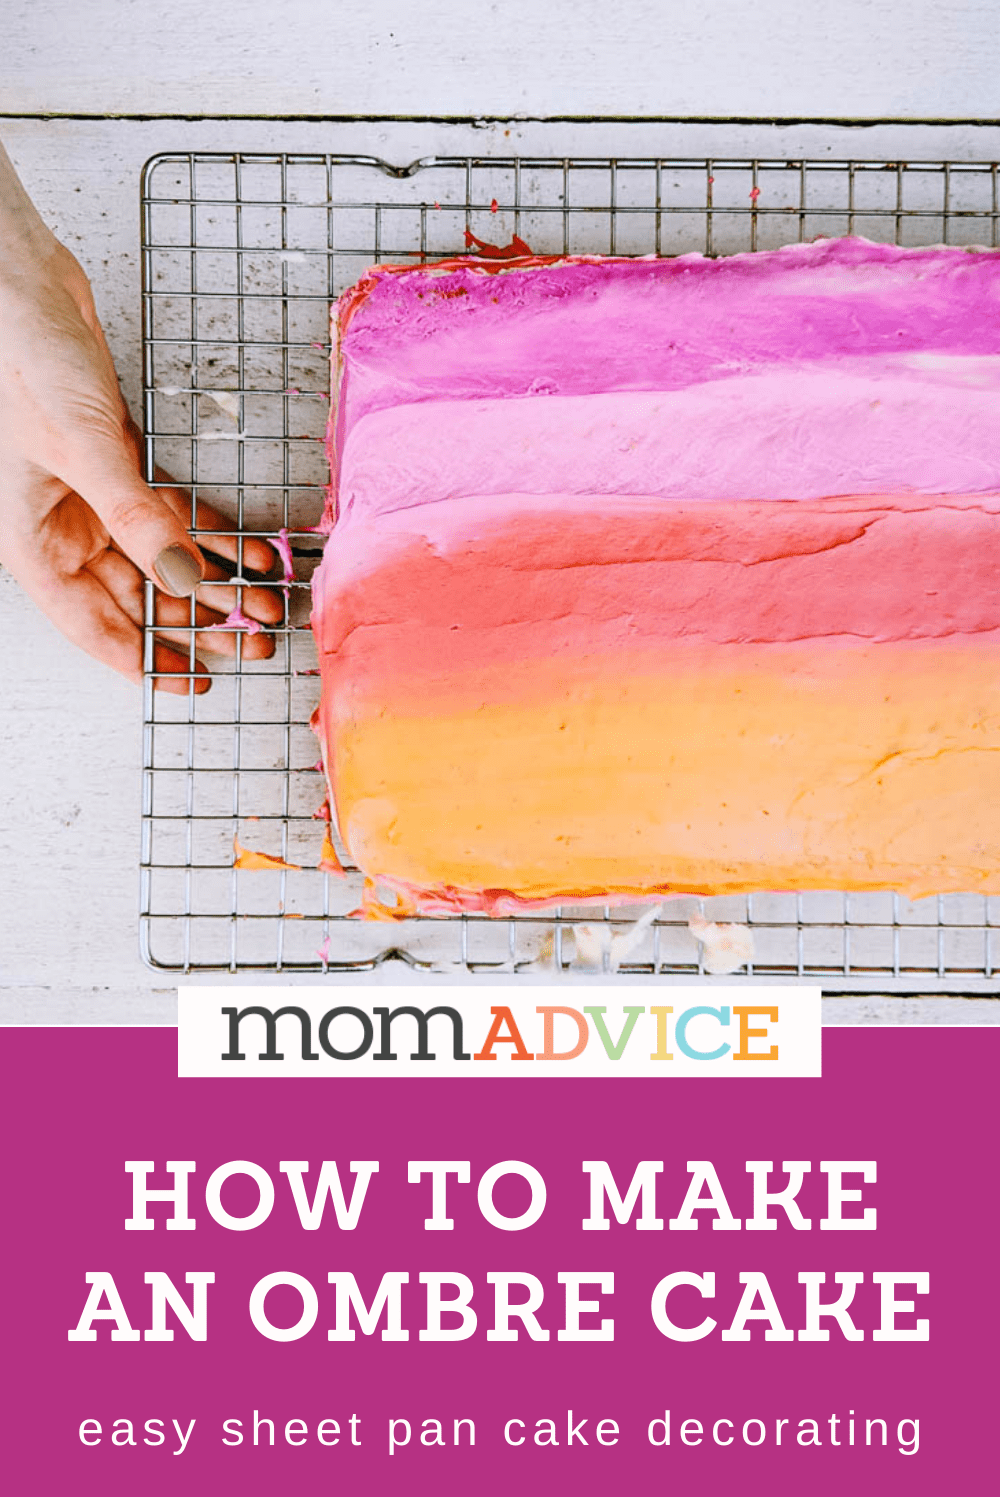
No need to make a fancy layer cake with this easy ombre icing technique for your sheet pan cakes. This cake tutorial couldn’t be easier with a simple white cake recipe topped with a simple buttercream frosting. Check out today’s tutorial for your next birthday cake!
This post is sponsored by Clarkson Potter. Thank you for supporting our sponsors!
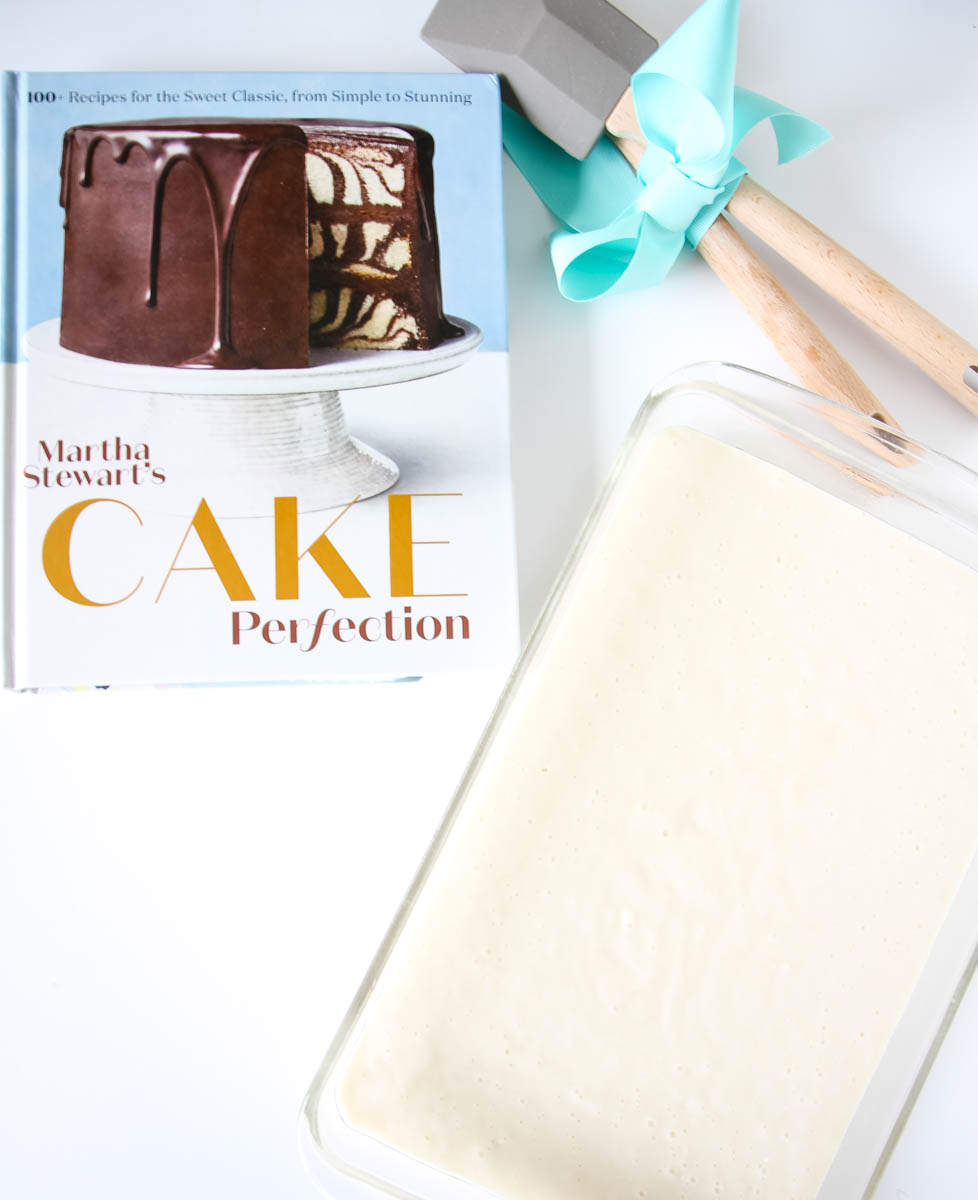
Looking for the perfect baking escape? You are in luck! Martha Stewart is back with a brand new cookbook that helps novice bakers master beautiful cakes with a few of her favorite tips and tricks.
Martha Stewart’s Cake Perfection is a step-by-step cookbook that teaches you how to wow your friends and family with inspiring cake ideas and couldn’t come at a better time, with the upcoming celebration seasons.
Since my kids were small, I have made cakes for all their special occasions. Bakery cakes are expensive so learning to make our own cakes has saved us hundreds of dollars over the years.
Now that I have teenagers, it is a treat to be able to do these kinds of projects with them and today’s ombre sheet cake was so fun to create together.
Let’s go through the easy steps to make this cake that would be perfect for any occasion from a baby shower to a birthday bash!
How to Make an Ombre Cake
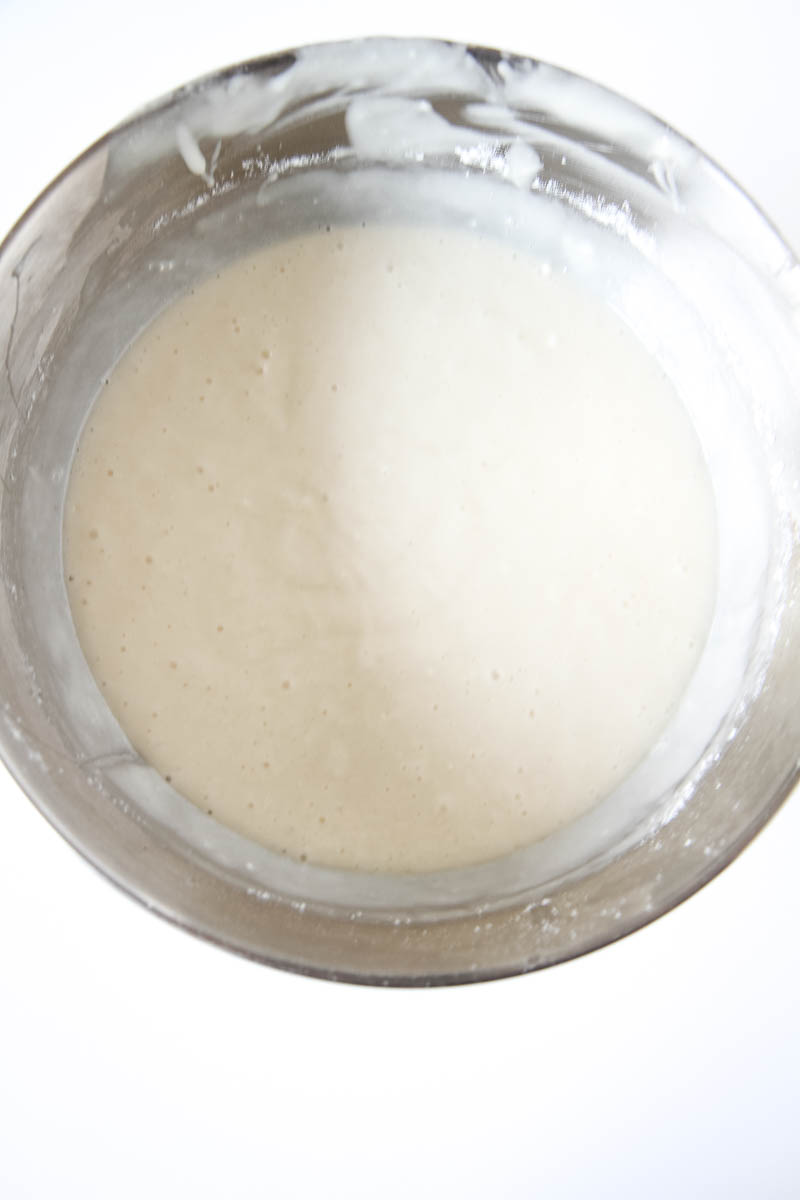
To begin today’s recipe, you will need to bake this easy vanilla sheet pan cake recipe.
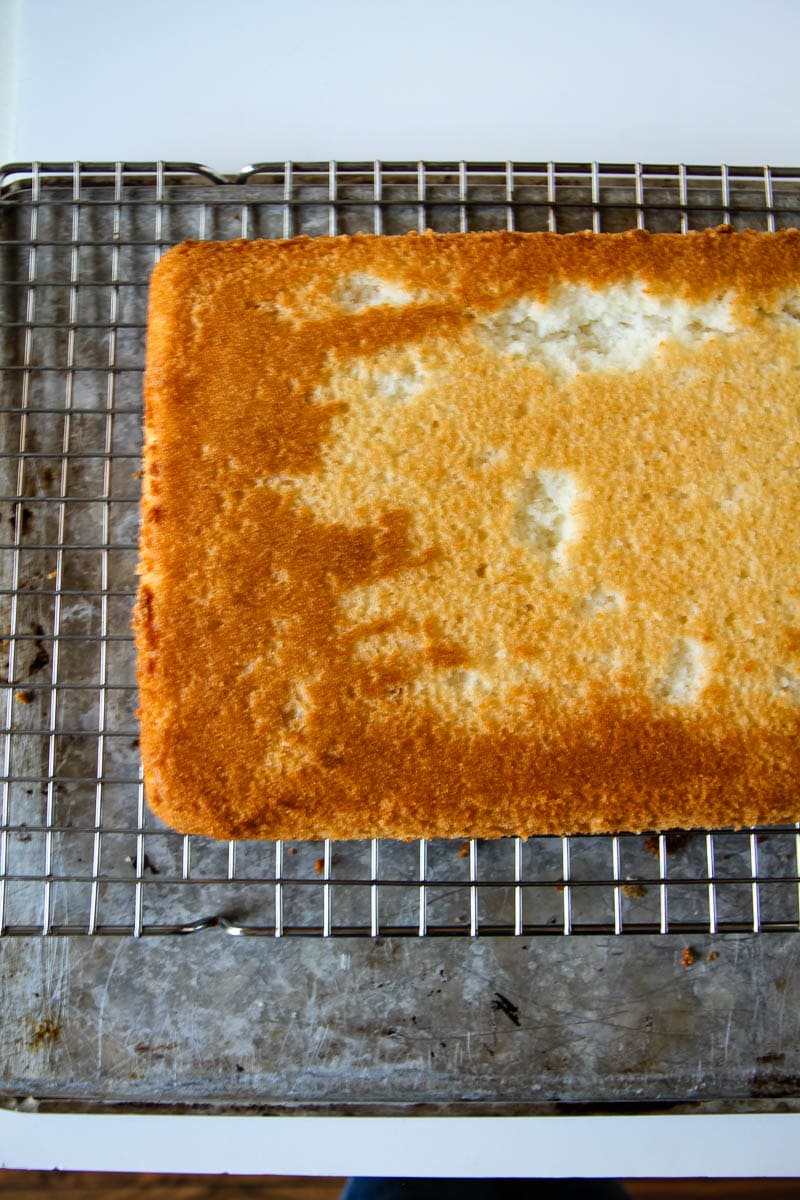
Once the cake is cooked, transfer it to a wire rack and allow it to cool for 30 minutes. Once your half hour is up, simply turn the cake out, from the cake pan, and allow it to cool completely on your wire rack.
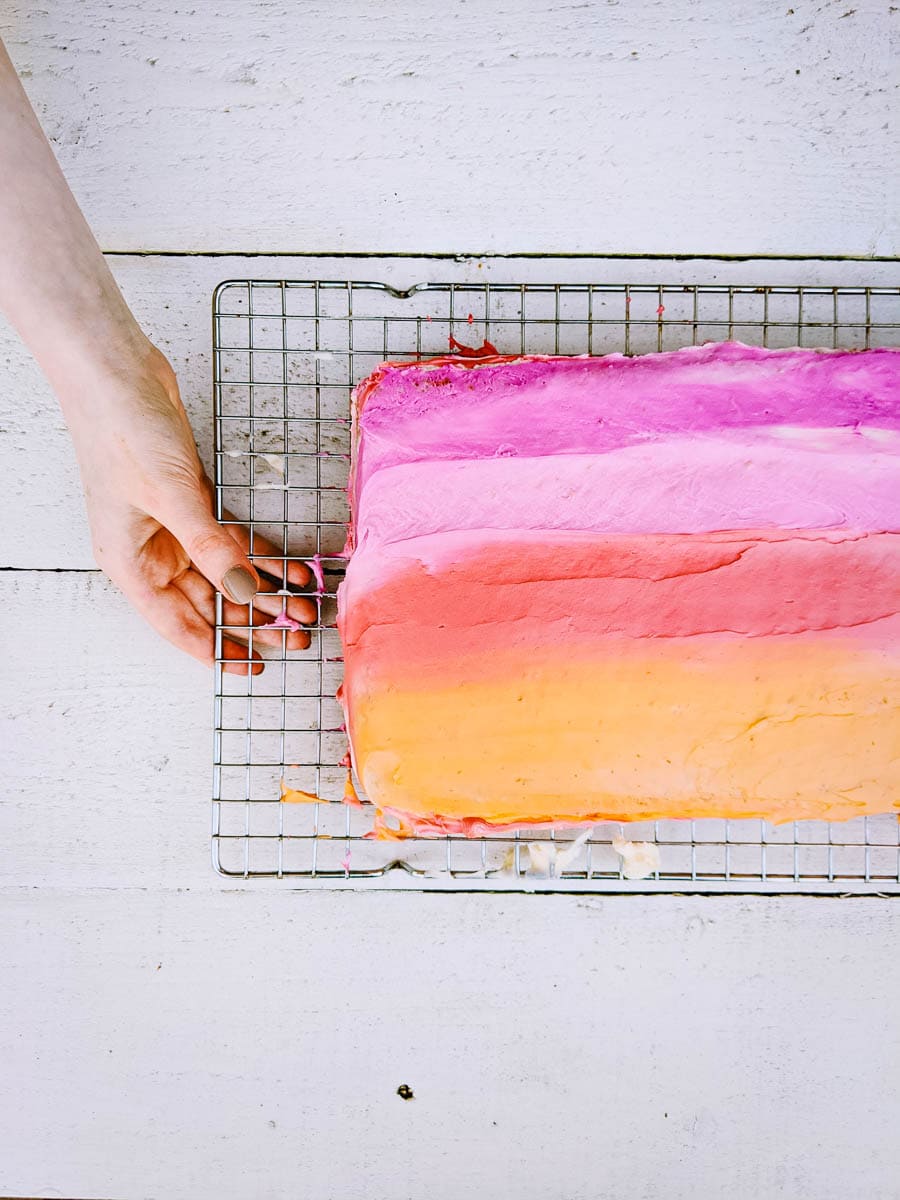
Once the cake is cool, you will cover it in white buttercream frosting.
This first layer is often referred to as the “crumb coat,” because it helps trap the crumbs so they aren’t visible in your final product. I find an offset spatula is the easiest way to spread icing on the top and sides of the cake.
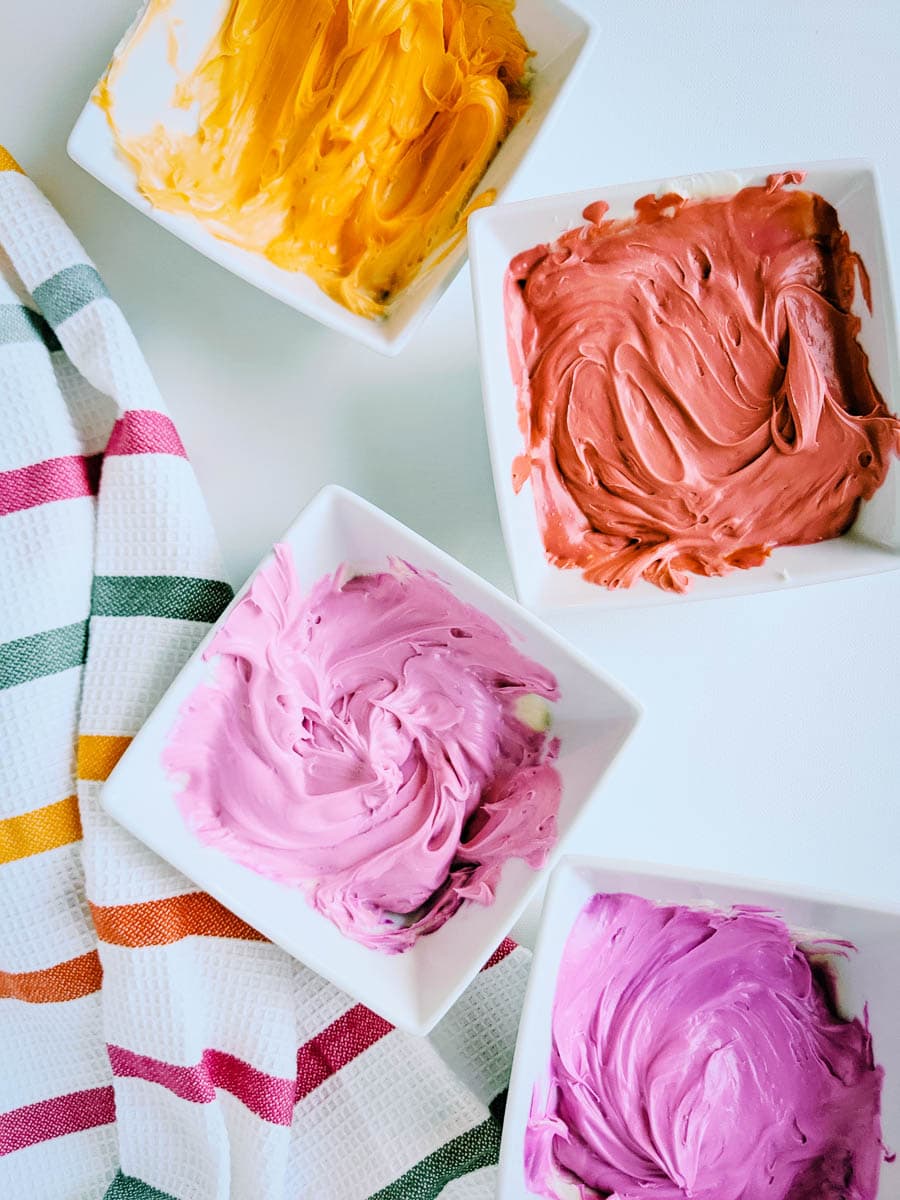
Now, divide your remaining frosting into three or four bowls (depending on how many colors you would like for the top of your cake). We will be placing these in piping bags for making our beautiful ombre stripes.
You have creative liberty on what colors you want to use, but we used Martha’s suggestion to mimic the gorgeous hues of a sunset, in our personal color scheme.
Who couldn’t use a pretty sunset right now?
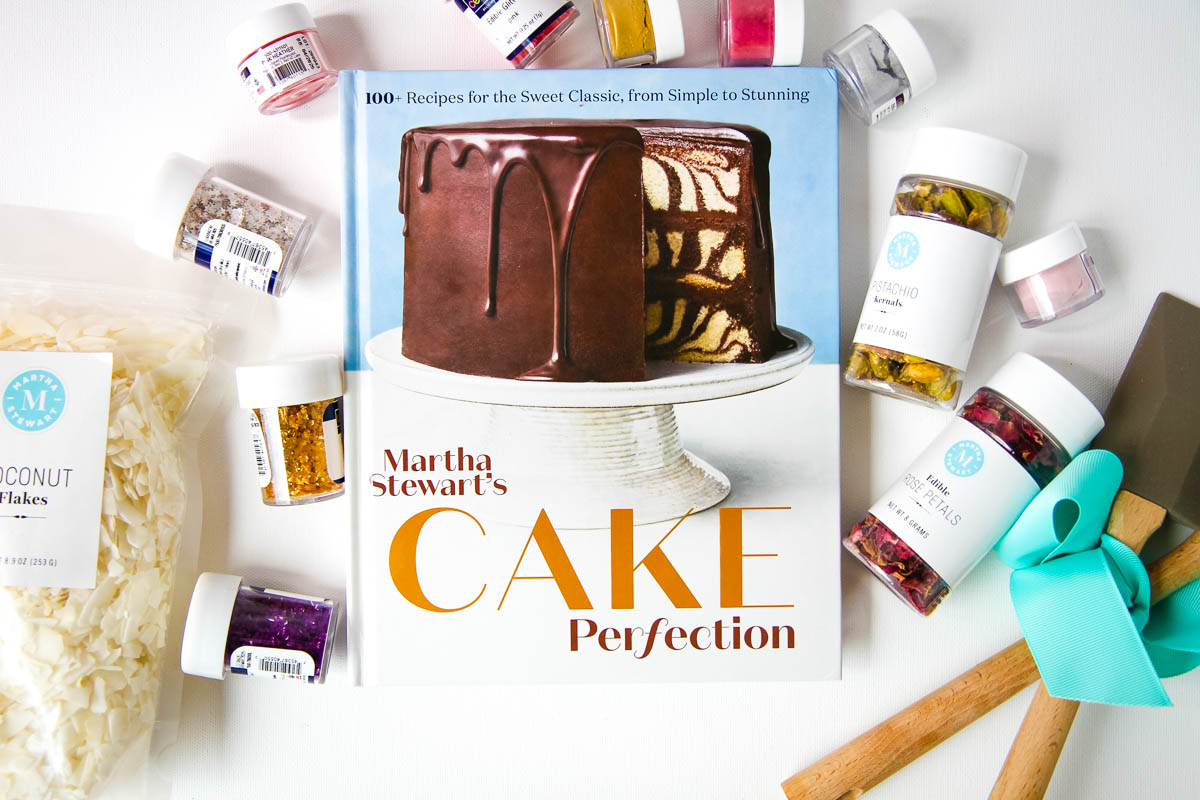
Lucky for us, our cookbook came with this fun decorating set from iGourmet so we had everything we needed right on hand for our cakes. The best part about this decorating set is that Martha Stewart and her team of editors picked out everything you need to make her fabulous cakes at home so no need to visit a fancy shop to get all the pretty essentials. This kit has everything you need from gold and silver sparkles to natural food colorings.
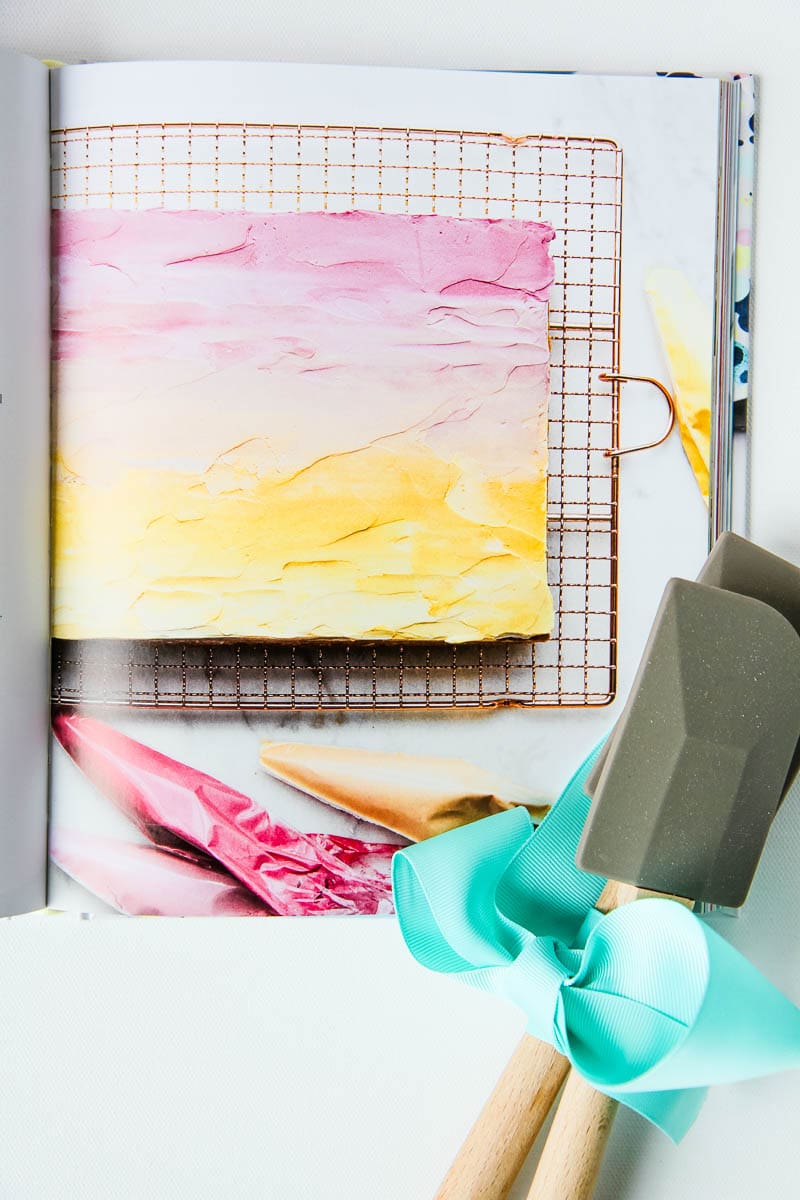
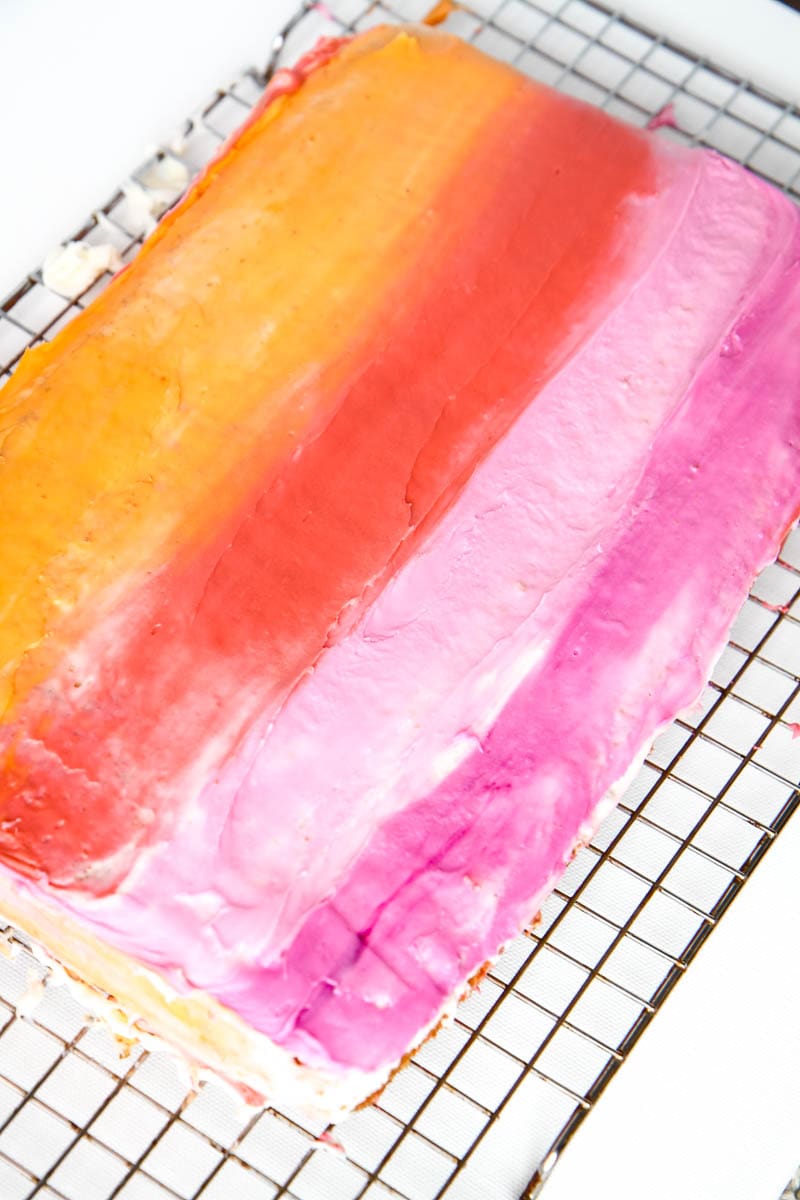
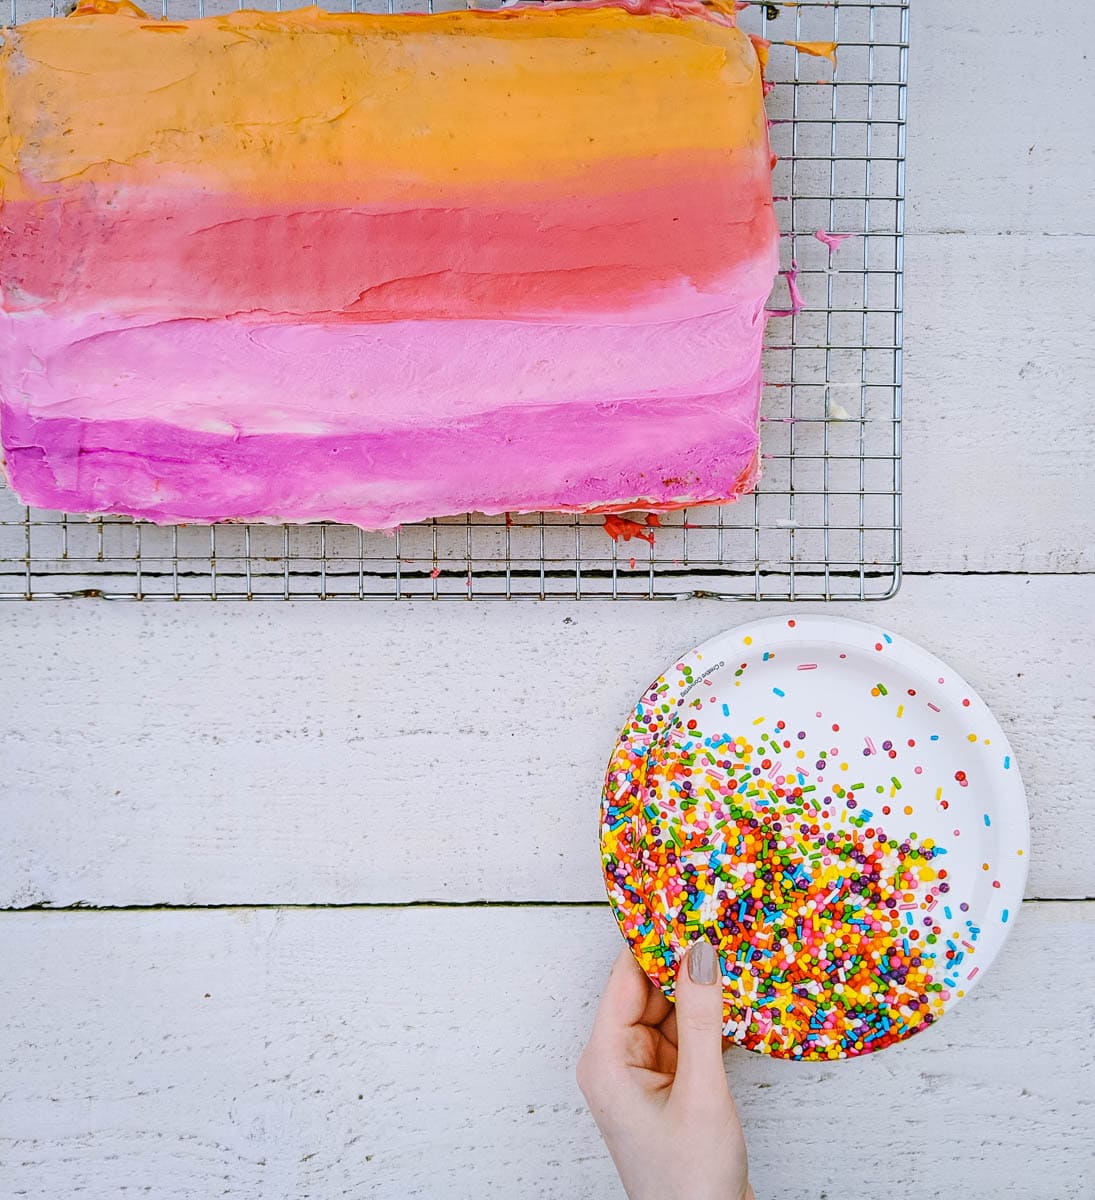
Now we just add a color horizontally across the top of the cake in your desired order. Lightly drag the offset spatula or bench scraper end to end to create a blended effect to your cake. Be sure to just wipe off the bench scraper completely between each stroke of color to keep your lines beautifully clean.
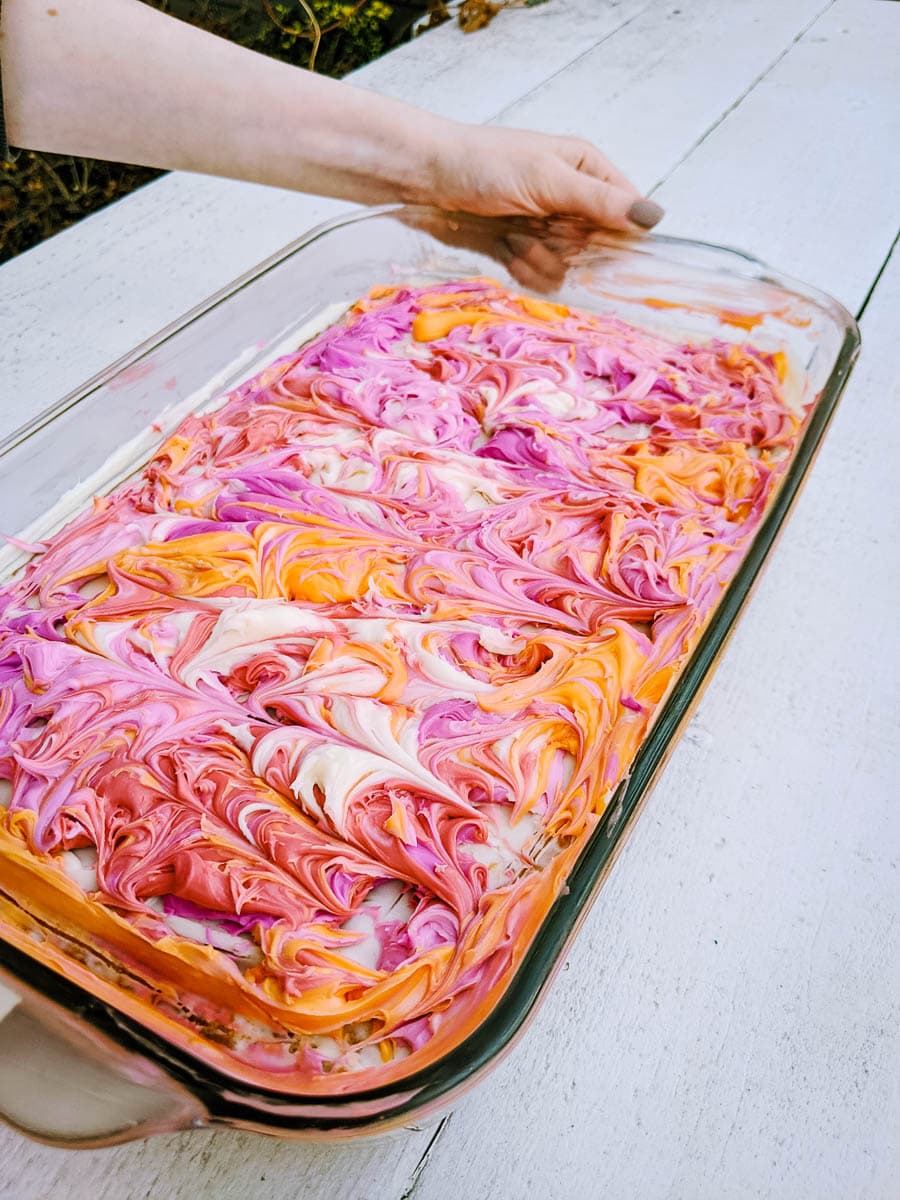
Looking for a more abstract design? Don’t be afraid to get creative and randomly scatter dollops of colored frosting around your cake and blend as directed. My daughter had a great time being a cake decorator and making her own design with toothpicks and all these vibrant colors.
How easy is that?
- 3 sticks unsalted butter, room temperature
- ½ teaspoon vanilla extract
- 1 pound confectioners’ sugar, sifted (4 cups)
- 2 tablespoons whole milk
- Pinch of kosher salt
- With an electric mixer, beat butter on medium high speed until pale and creamy, about 2 minutes. Reduce speed to medium and add confectioners’ sugar ½ cup at a time, beating after each addition and scraping down sides of bowl as needed. Add vanilla, milk, and salt and beat until buttercream is smooth.
Looking for more cake ideas? Grab this cookbook for 125 recipes for all occasions- from those little everyday moments to gorgeous wedding cakes. What a fun way to make the most of these days at home together.
- 1 stick (½ cup) plus 1 tablespoon unsalted butter, room temperature, plus more for pan
- 2 ¼ cup unbeached all-purpose flour, plus more for pan
- 1 ½ teaspoons baking powder
- ½ teaspoons baking soda
- ¾ cup kosher salt
- 1 cup sugar
- 3 large eggs, room temperature
- 1 teaspoon vanilla extract
- 1 cup buttermilk, room temperature
- Vanilla Buttercream (recipe below)
- Natural food dyes in Berry and Sunflower (or your favorite shades)
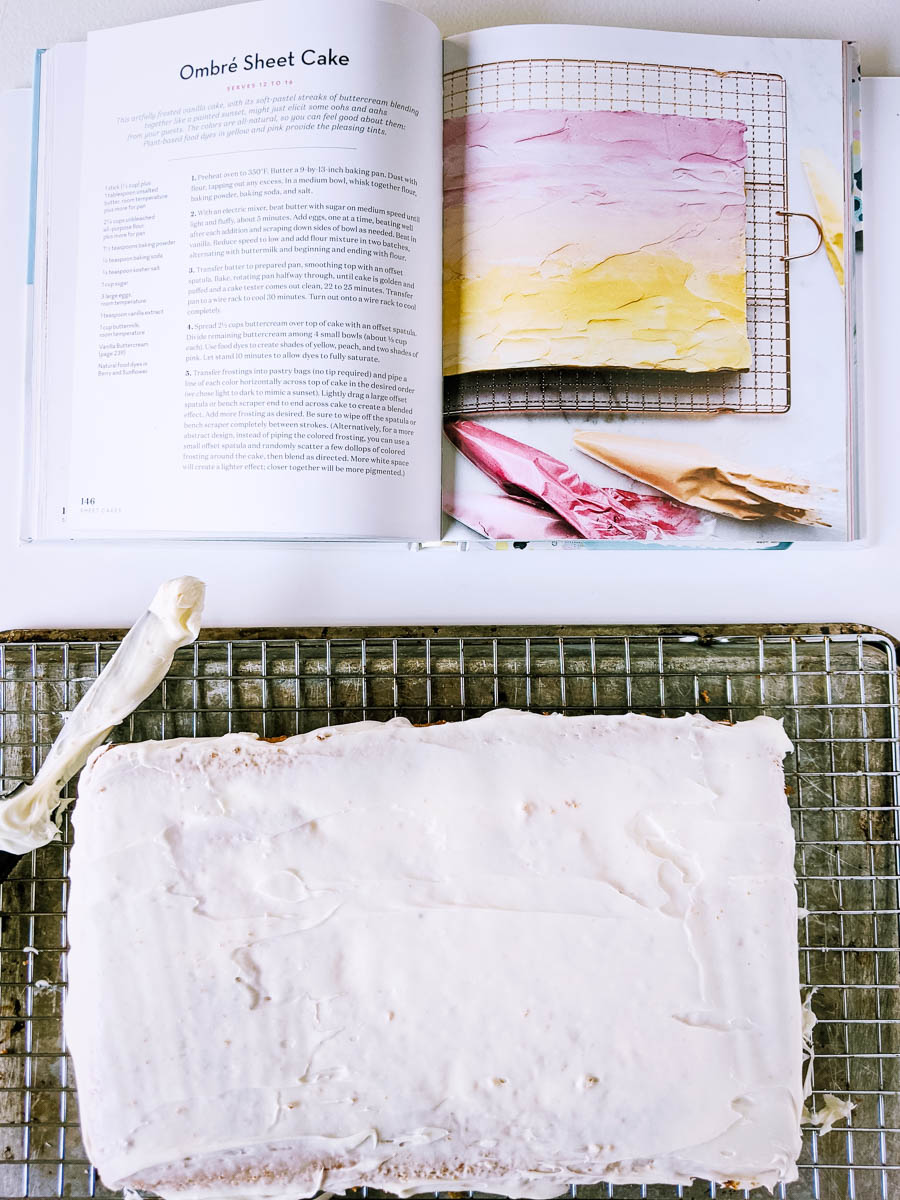
- Preheat the oven to 350 degrees. Butter a 9-by-13-inch baking pan. Dust the pan with flour. In a medium bowl, whisk together flour, baking powder, baking soda, and salt.
- With an electric mixer, beat butter with sugar, until light and fluffy (about 5 minutes). Add eggs, one at a time, beating well with each addition, scraping down the bowl as needed. Beat in vanilla. Reduce speed to low and add dry ingredients in two batches, alternating with buttermilk, and beginning and ending with your flour mixture.
- Transfer batter to prepared baking pan, smoothing top with an offset spatula. Bake, rotating pan halfway through, until cake is golden and puffed and a cake tester comes out clean, 22-25 minutes. Transfer the pan to a wire rack to cool for 30 minutes. Turn out onto a wire rack to cool completely.
- Spread 2 ½ cups buttercream over top of cake with an offset spatula. Divide remaining buttercream among four small bowls (about ⅓ cup each). Use food dyes to create desired shades. Let stand 10 minutes to allow dyes to fully saturate.
- Transfer frostings into pastry bags (no tip required) and pipe a line of each color horizontally across top of cake in the desired order. Lightly drag a large offset spatula or bench scraper end to end across cake to create a blended effect. Add more frosting as desired . Be sure to wipe off the spatula or bench scraper completely between strokes.
This post is sponsored by Clarkson Potter. Thank you for supporting our sponsors!


