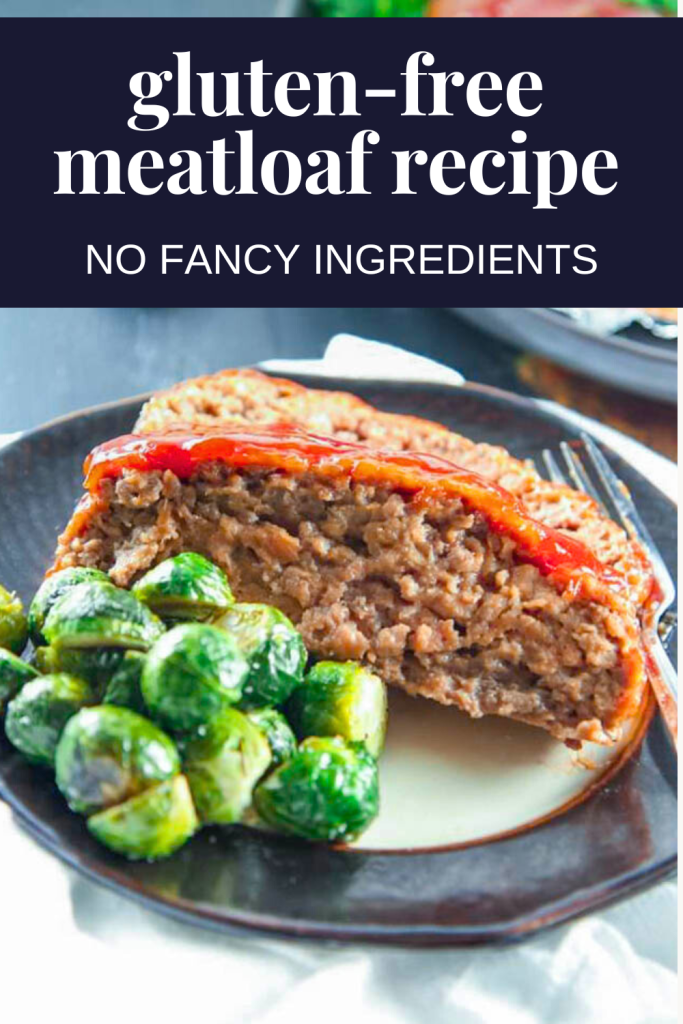
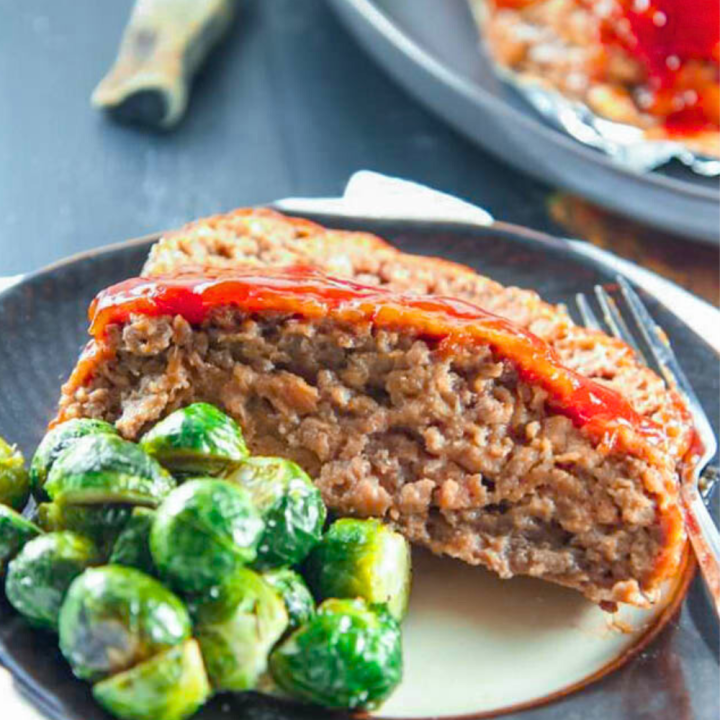
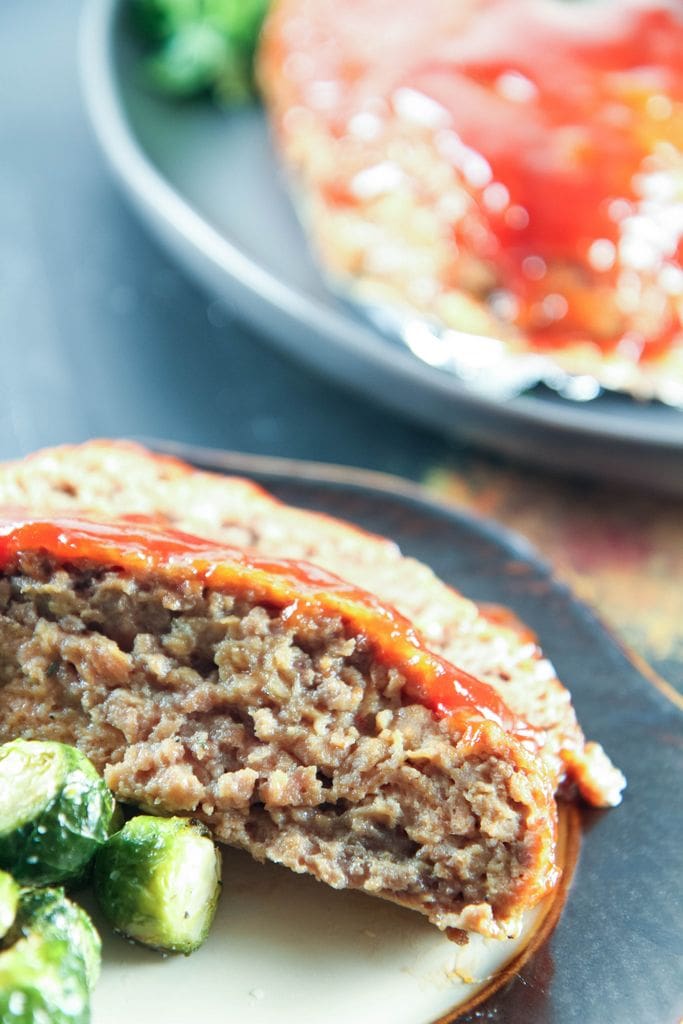
This easy gluten-free meatloaf recipe uses an unusual breadcrumb substitute- instant mashed potatoes! With a tangy glaze, this recipe is a classic for a reason!
I have tried and tried and tried to create a delicious gluten-free meatloaf but have failed on countless occasions.
We incorporated all of the usual suspects for months of testing.
From oatmeal to gluten-free breadcrumbs to no breadcrumbs to fresh gluten-free breadcrumbs.
It was a parade of hard-as-a-rock meatloaves, runny meatloaves, gummy meatloaves, and dense meatloaves.
Imagine my delight when I stumbled upon a gluten-free substitute that finally created the consistency we had been after all along.
This tried-and-true gluten-free ingredient is one I had never considered until America’s Test Kitchen offered this as a suggestion in their How Can It Be Gluten-Free Cookbook.
This meatloaf recipe offers an unusual binding agent that yields a fluffy and delicious meatloaf without gluten.
Here’s the secret: Your new meatloaf gluten-free breadcrumb substitute is instant mashed potato flakes!
Let’s break down how this recipe works and some tips and tricks for the perfect gluten-free loaf that you can eat now or freeze for later!
Kitchen Equipment Needed for Gluten-Free Meatloaf
Meatloaf pan– For your prepared gluten-free loaf- if you don’t have one, please see the substitution below.
Large mixing bowl- For mixing the meatloaf mixture
Whisk- For mixing the meatloaf glaze
12-inch nonstick skillet- For sauteing the veggies in this recipe
Brush- For applying the meatloaf glaze.
Measuring cups and spoons- For measuring the ingredients in this meatloaf mixture.
How to Make a Gluten-Free Meatloaf
Scroll down to see the complete ingredient list and step-by-step instructions.
Preheat and Prepare: Adjust the oven rack to the upper-middle position and preheat the oven. Prepare the meatloaf pan and spray the foil with cooking oil spray.
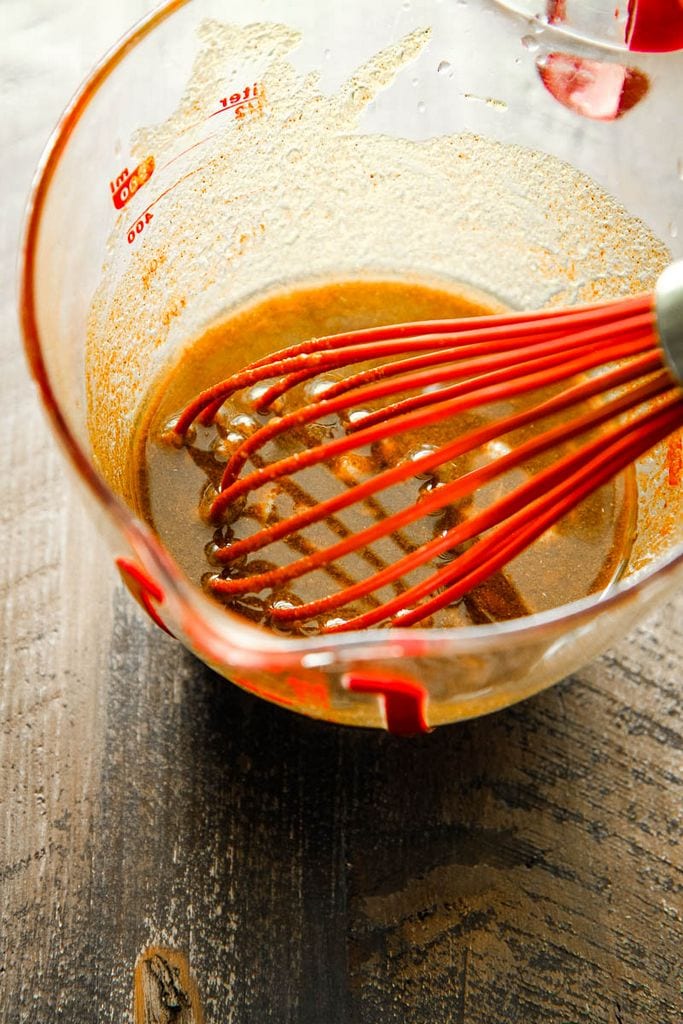
Prepare the Glaze: In a bowl, stir the ketchup, light brown sugar, and cider vinegar until well combined. Set aside.
Sauté the Aromatics: Heat vegetable oil in a skillet. Sauté finely chopped onions until softened for about 5 minutes. Stir in minced garlic and thyme, cooking until fragrant for about 30 seconds, and transfer the mixture to a large bowl. Let cool.
Mix the Meatloaf Mixture: Combine cooled onion with eggs, milk, Dijon mustard, gluten-free Worcestershire sauce, salt, pepper, potato flakes, and minced parsley. Mix until fully incorporated, and blend in ground pork and lean beef.
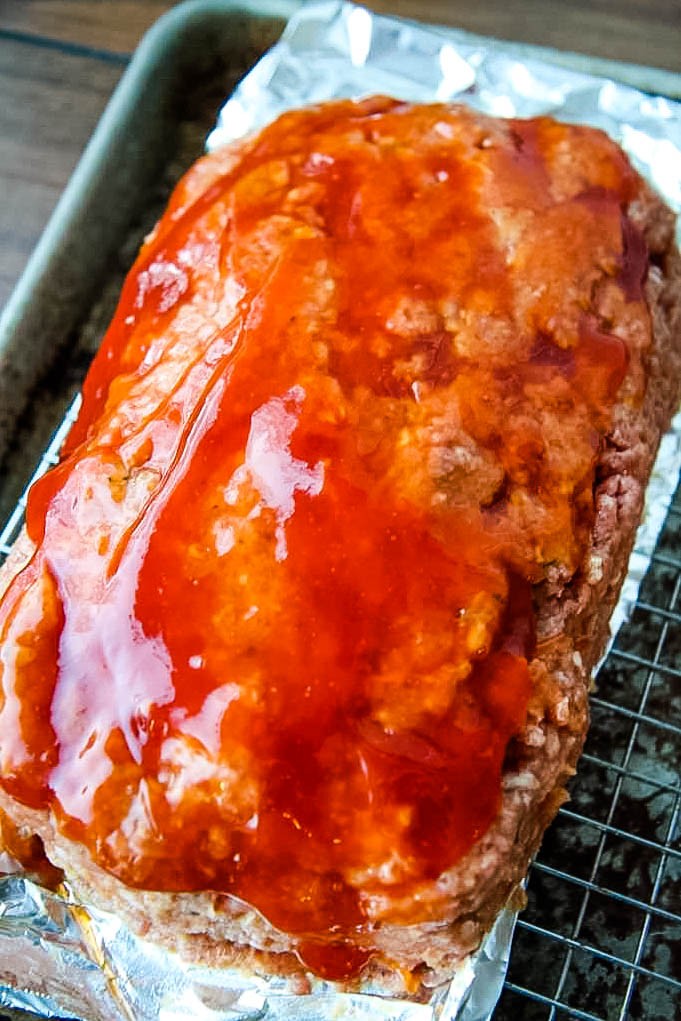
Shape and Bake: Transfer the meat mixture to the foil rectangle on the wire rack and shape it into a 9×5-inch loaf. Brush half of the ketchup mixture over the meatloaf. Bake in the preheated oven for 40 minutes. After 40 minutes, brush the remaining ketchup mixture over the meatloaf.
Let the meatloaf cool for 15 minutes before slicing.
This is a brief overview of my recipe. If you need comprehensive instructions, please refer to the recipe card at the bottom of this post.
Before I share the full recipe, I’d love to put all those hours I spent in cooking classes for my dietetics program to work.
Here’s how to nail a great meatloaf no matter what recipe you use.
What Keeps Meatloaf From Falling Apart?
There are three ways to keep a meatloaf from falling apart- binding agents, avoiding overmixing, and using a pan with drainage holes.
Ingredients that act as binders, such as eggs, breadcrumbs, or a gluten-free substitute like instant mashed potatoes, are essential.
These ingredients help hold the meat mixture together and provide structure during baking.
Also, try to avoid overmixing the meatloaf mixture, as excessive mixing can break down the proteins in the meat and result in a crumbly texture.
What Are Potato Flakes?
Technically, potato flakes are dehydrated mashed potatoes cooked, mashed, and then dried to form flakes.
Instant mashed potatoes are a shelf-stable product used as a quick way to prepare mashed potatoes.
Typically, you would rehydrate them with water, milk, or a mixture of both, along with added butter or margarine.
Besides serving as a quick side dish, potato flakes are a gluten-free thickening agents.
You can use this in soups and stews, as a binder in meatloaf and meatballs, and in bread making to add moisture and a soft texture.
Experiment in your kitchen beyond this recipe using this as your binder.
Why Are Instant Mashed Potatoes a Good Breadcrumb Replace For a Gluten-Free Meatloaf?
When I took cooking classes, we constantly tested binding agents, and I’m baffled why I hadn’t considered this as a tool before.
Now, I’m dreaming of other ways to incorporate it into my other recipes, from meatballs to meatloaves.
Let’s discuss why instant mashed potatoes are an excellent breadcrumb substitute:
Texture: Instant mashed potatoes have a powdery consistency that, when mixed with liquids, forms a thick and cohesive mixture.
This helps hold the meatloaf together just like breadcrumbs or traditional wheat-based binders.
Neutral Flavor: Instant mashed potatoes typically have a mild, neutral flavor, which won’t overpower the taste of the meatloaf.
Naturally Gluten-Free: Since instant mashed potatoes are made from potatoes, they are naturally gluten-free.
This is the perfect ingredient substitute for those who need to avoid gluten due to celiac disease or gluten sensitivity.
Convenience: Instant mashed potatoes are readily available and easy to prepare, making them a convenient option for adding moisture and binding properties without needing specialty ingredients.
Price: This ingredient choice is less expensive than gluten-free breadcrumbs and is available at all discount grocery stores (hint, hint- Aldi Supermarket), including the dollar store!
How Can I Make This a Dairy-Free Meatloaf Recipe?
To make this dairy-free, choose a non-dairy alternative like almond milk or soy milk for this recipe.
For the record, most instant potato flakes do not contain dairy.
They are typically made from dehydrated potatoes without any dairy ingredients added.
However, it’s always a good idea to check the ingredient list on the packaging or contact the manufacturer for clarification.
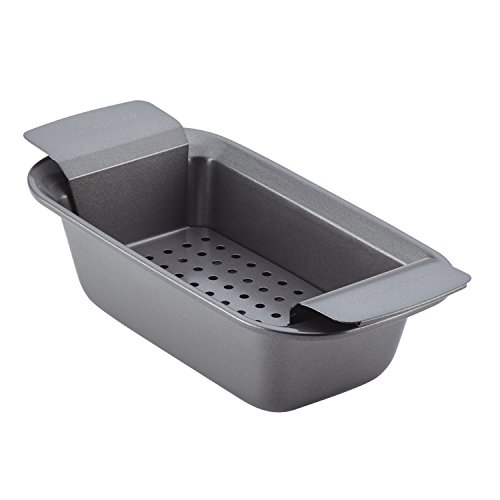
What Are Meatloaf Pans?
A meatloaf pan is a baking dish designed specifically for making meatloaf.
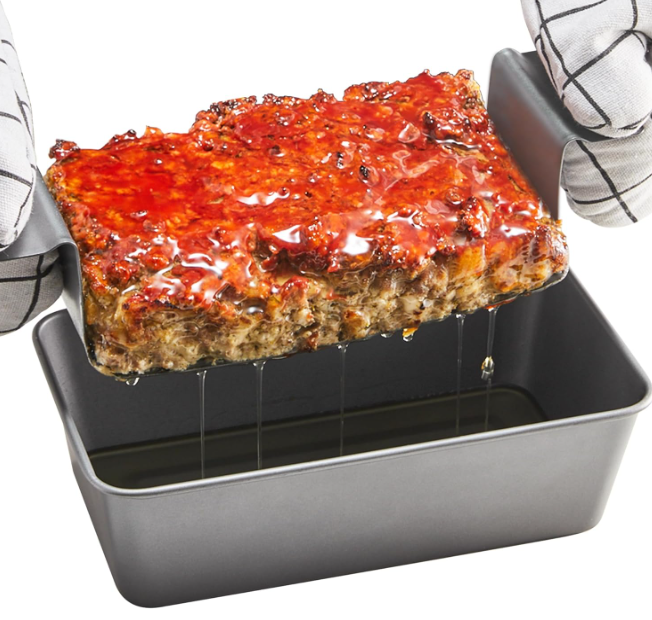
It typically has a rectangular shape with high sides and may come with a removable insert or rack that allows excess fat to drain away during cooking.
Meatloaf pans come in various materials, including metal, glass, and silicone, and may feature non-stick coatings for easy cleanup.
Using a meatloaf pan helps shape it into a uniform loaf shape and prevents it from spreading too much during baking.
Additionally, the high sides of the pan help contain any juices or glazes added to the meatloaf, ensuring that it stays moist and flavorful.
What If I Don’t Have a Meatloaf Pan?
As someone with a small kitchen, I want always to be mindful of your kitchen storage.
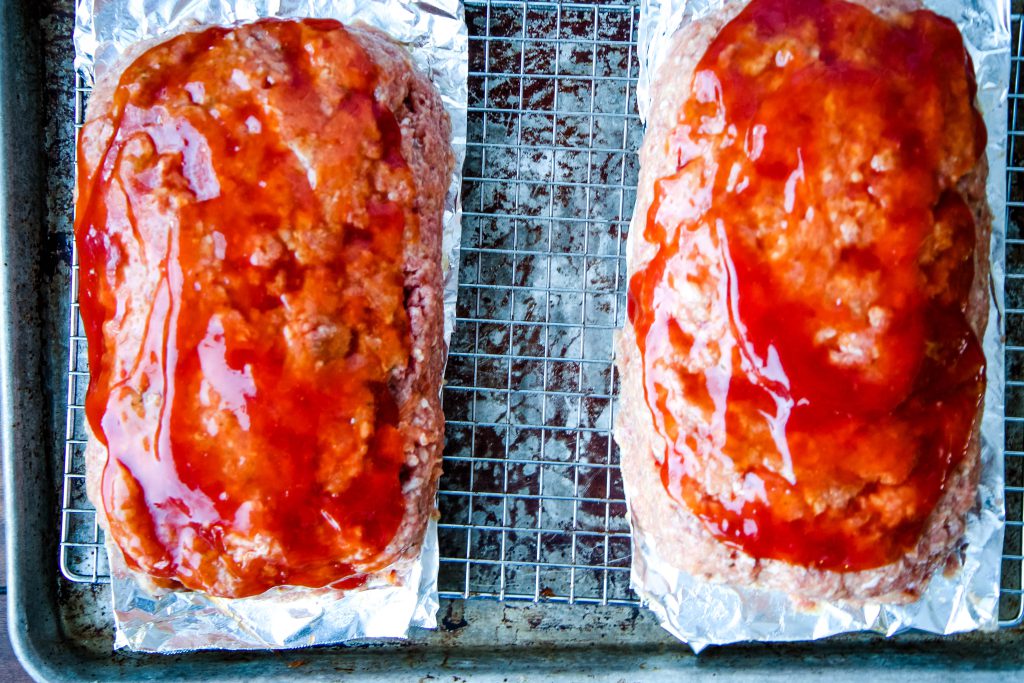
I’m showing a simple, budget-friendly alternative that will yield delicious results without excess grease. Here’s what you can do:
If you find yourself without a dedicated meatloaf pan, you can achieve delicious results with a simple workaround. Here’s what to do:
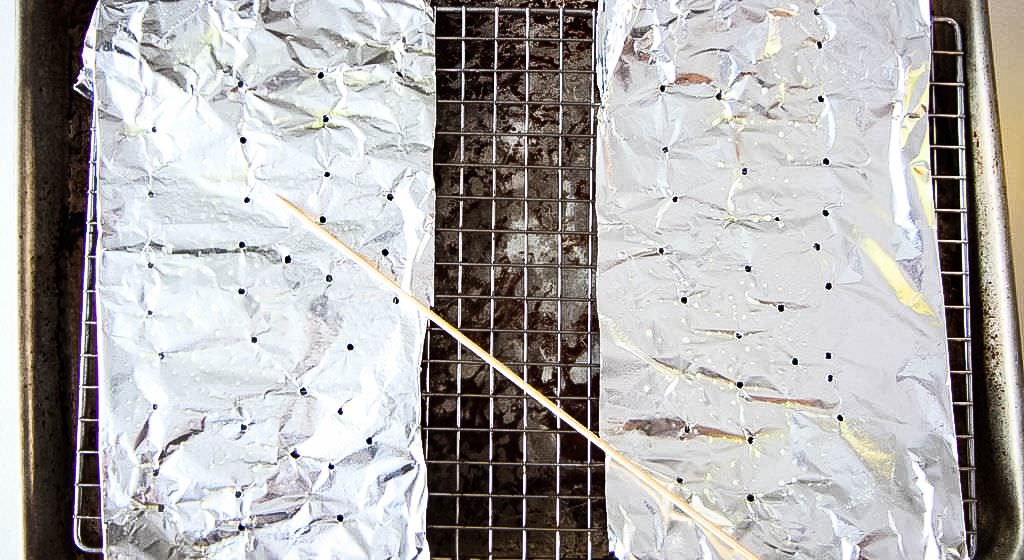
Prepare Your Setup: Place a standard cooling rack on a rimmed baking sheet. This setup will elevate the meatloaf and allow excess grease to drain during baking.
Create a Foil Mold: Tear pieces of foil, roughly the size of a loaf pan, to lay on top of the cooling rack. Ensure that the foil extends over the edges of the rack to contain the meatloaf mixture.
Prevent Sticking: Spray the foil with cooking spray to prevent the meatloaf from sticking during baking.
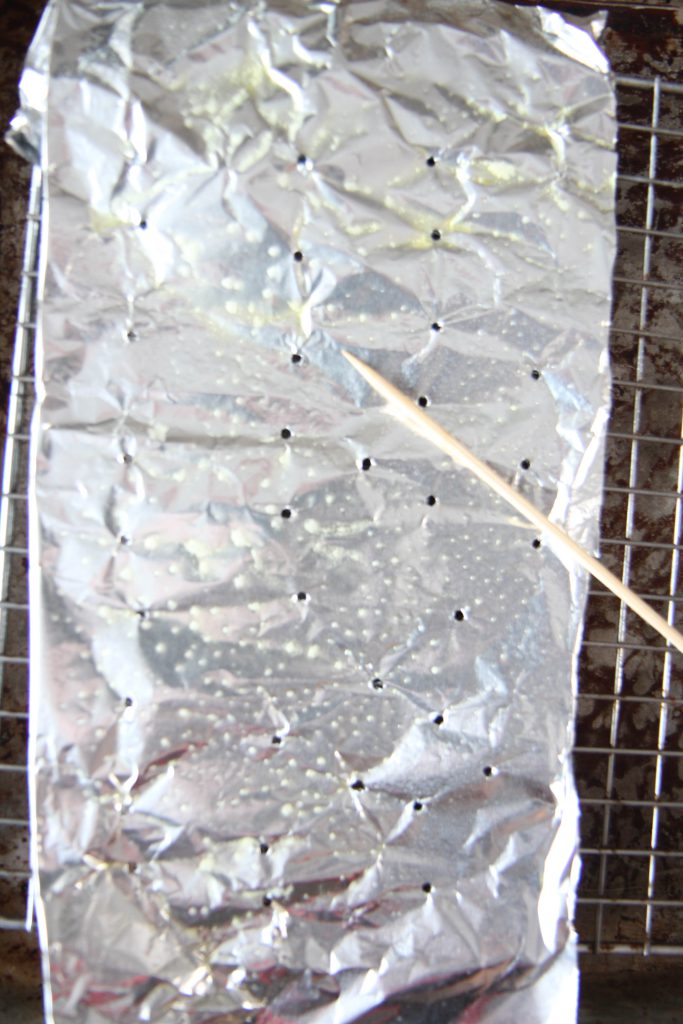
Poke Draining Holes in the Foil: Using a wooden skewer, poke holes to drain the grease from the loaf. These holes will allow the excess grease to drain away and collect on the baking sheet below.
Bake as Directed: Once your setup is ready, shape your meatloaf mixture on the foil-lined cooling rack according to your recipe’s instructions.
What If I Don’t Like This Meatloaf Glaze?
For an Italian twist on your gluten-free meatloaf, use canned tomato sauce instead of the sweet glaze.
This easy swap adds a savory flavor that perfectly matches the meatloaf’s rich taste.
I prefer how tomato sauce brings in acidity and is more reminiscent of my favorite Italian meals.
Follow the instructions for the gluten-free meatloaf recipe, but substitute with an 8-ounce can of tomato sauce and season with your favorite spices like garlic powder, onion powder, basil, and salt.
What Are the Best Sides for Meatloaf?
If you have a box of instant potatoes, you can make those.
I love to add fresh ingredients like a scoop of creamy Borisin cheese, fresh chives, or sour cream to elevate this pantry ingredient.
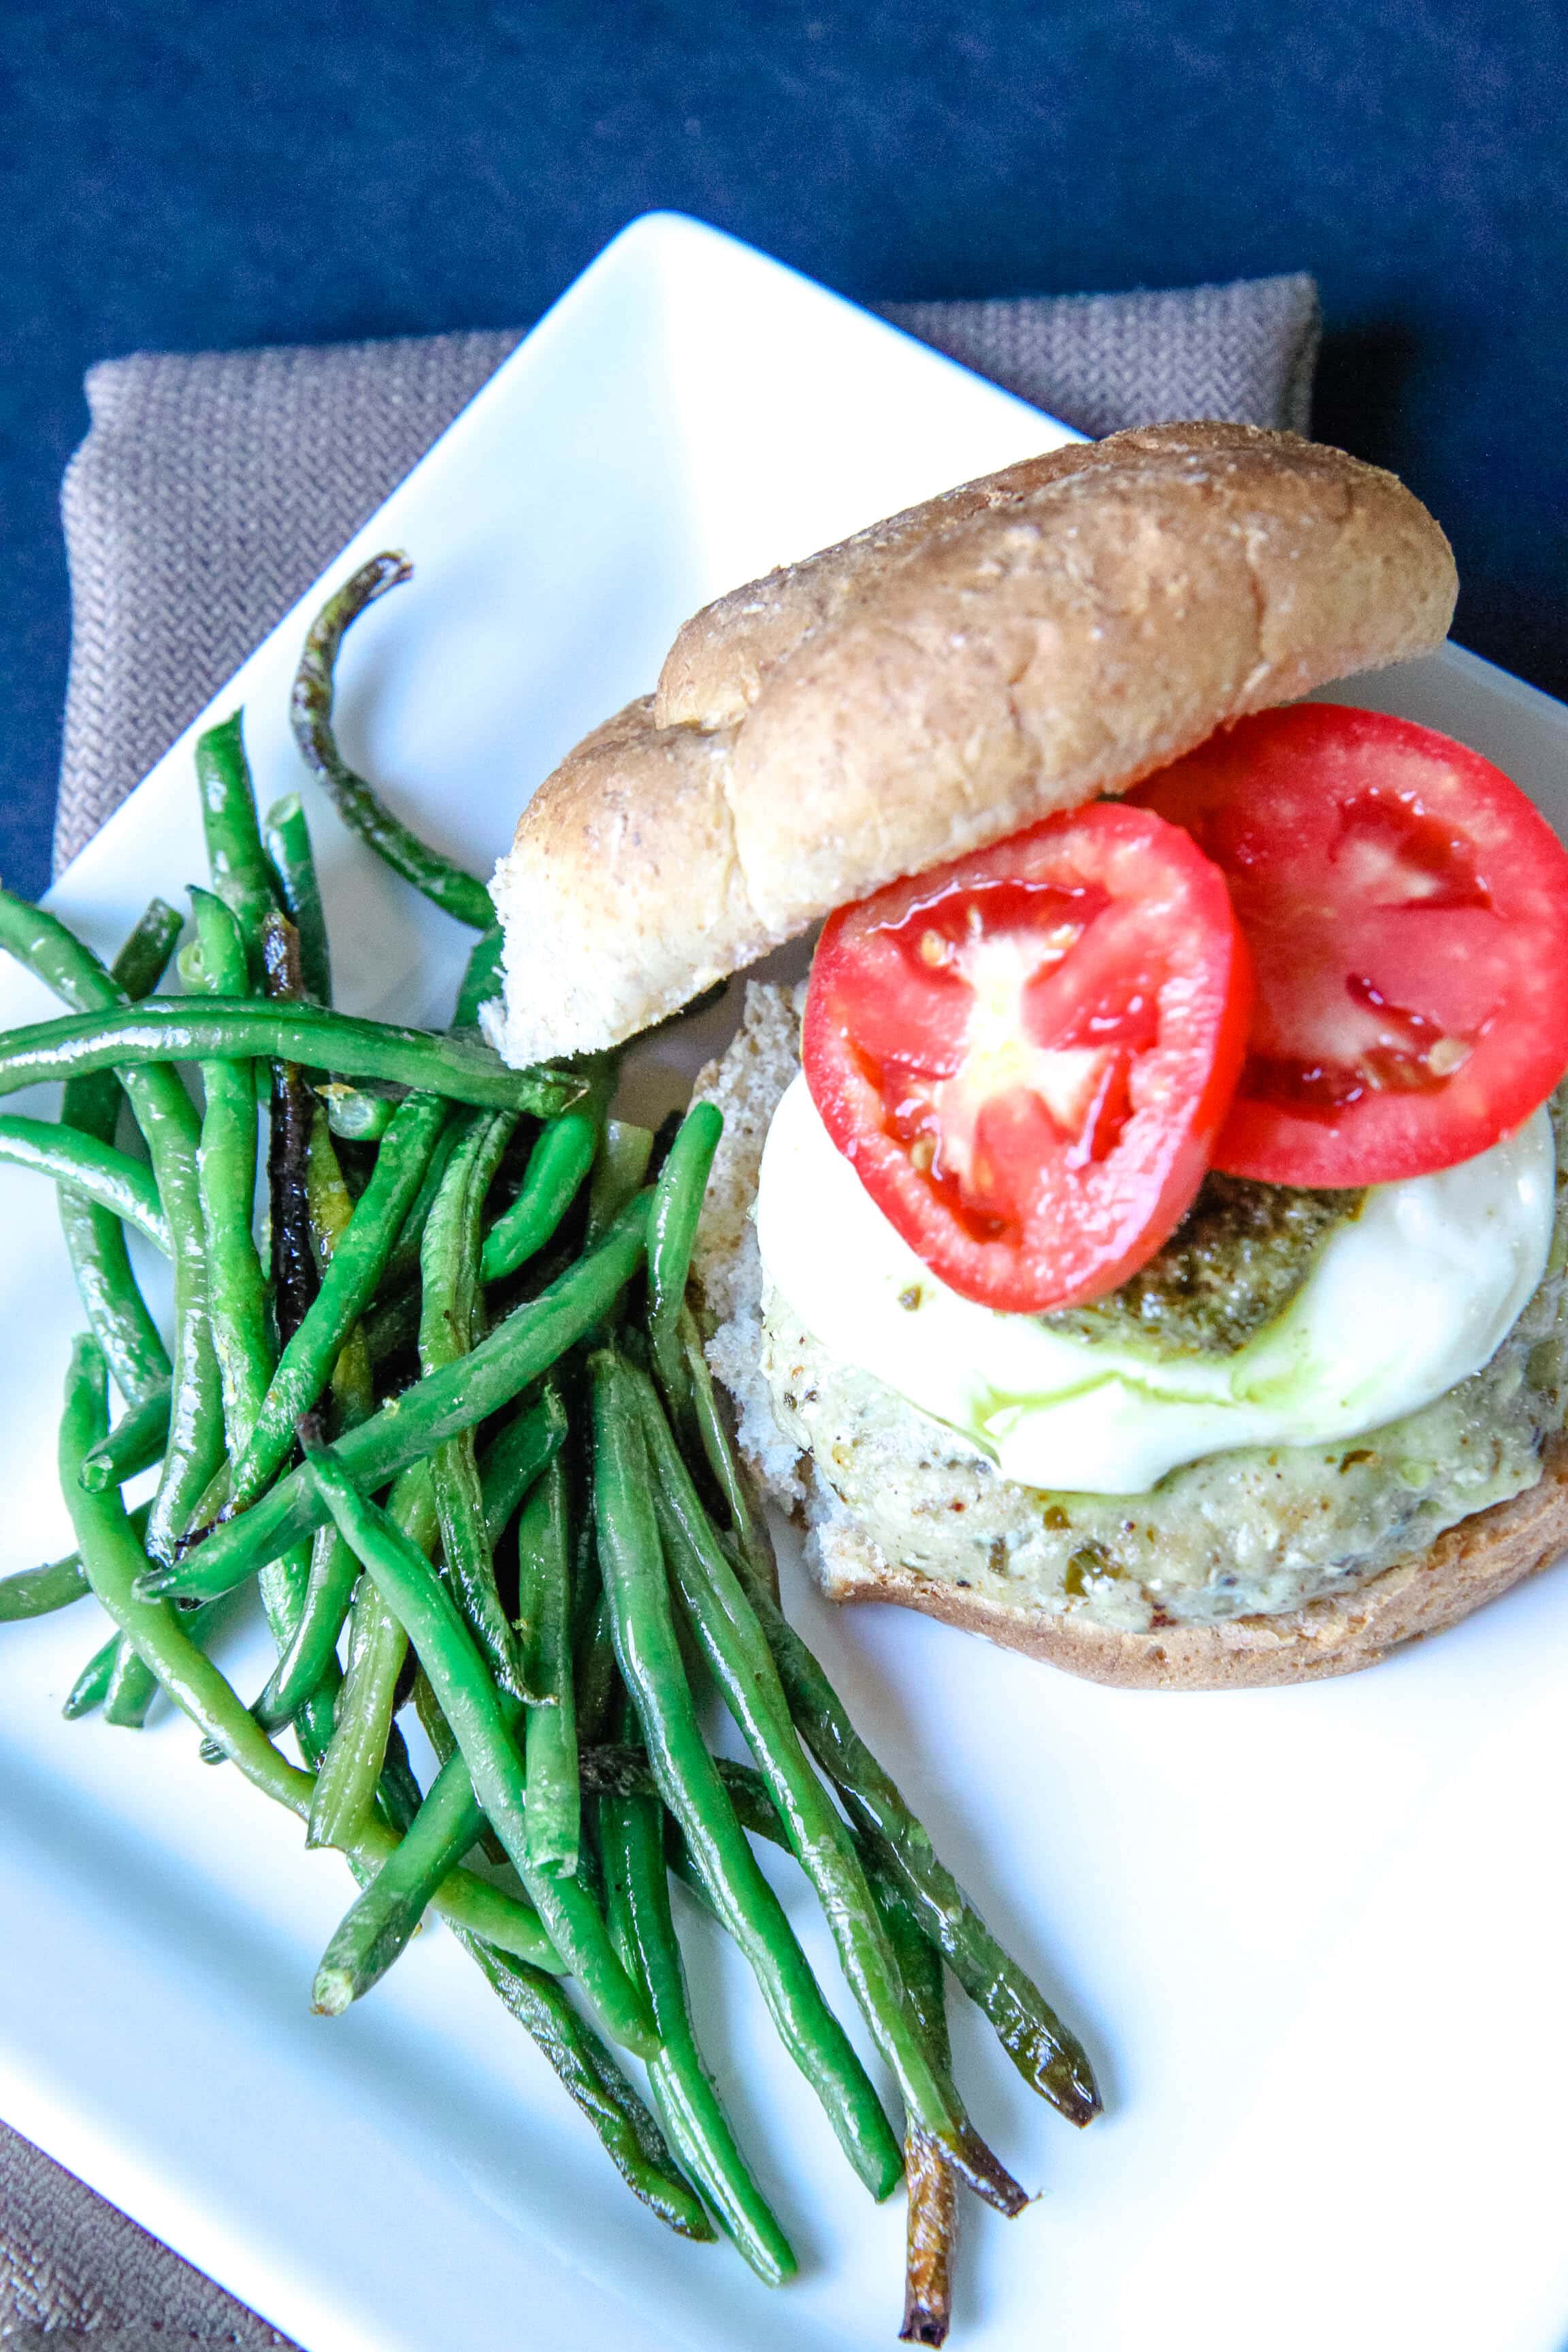
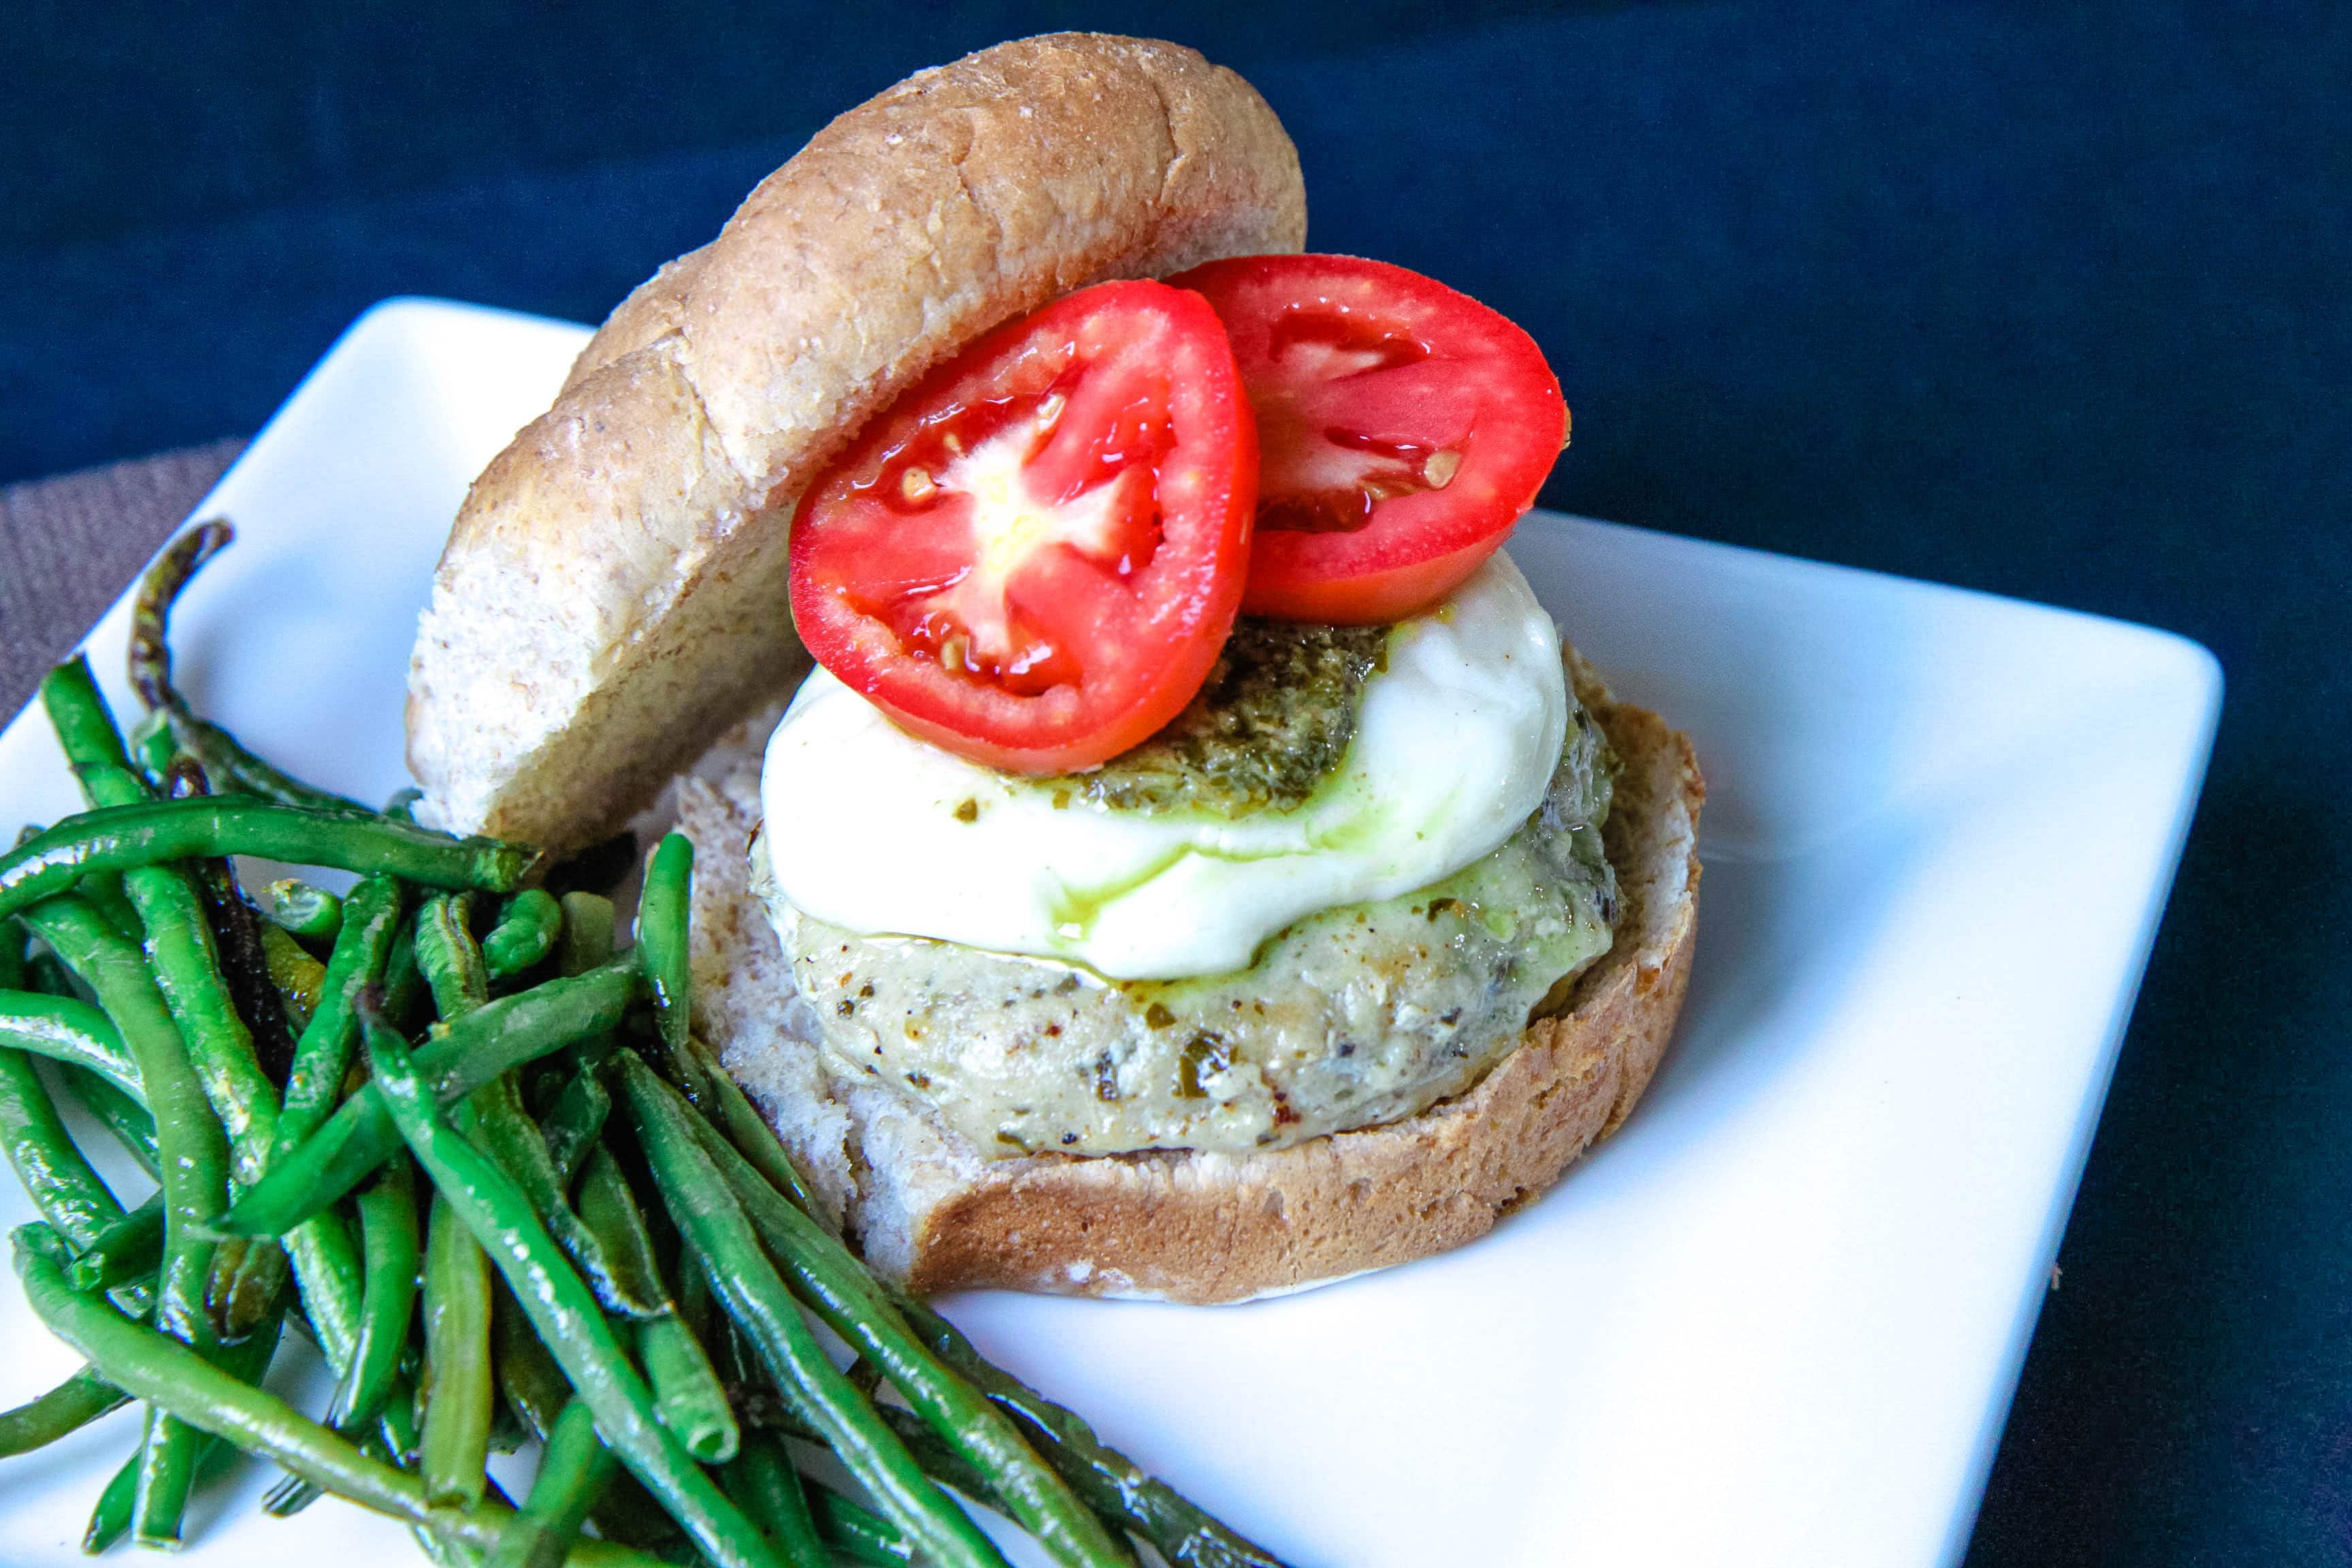
Other options: Roast frozen green beans, these oven-roasted baby potatoes, or this easy make-ahead mashed potatoes recipe that can be tucked in the freezer for busy weeknights.
Can I Freeze This Gluten-Free Meatloaf?
Yes, you can freeze this gluten-free meatloaf both before and after baking.
To freeze before baking, prepare the meatloaf as per the recipe, but stop before baking.
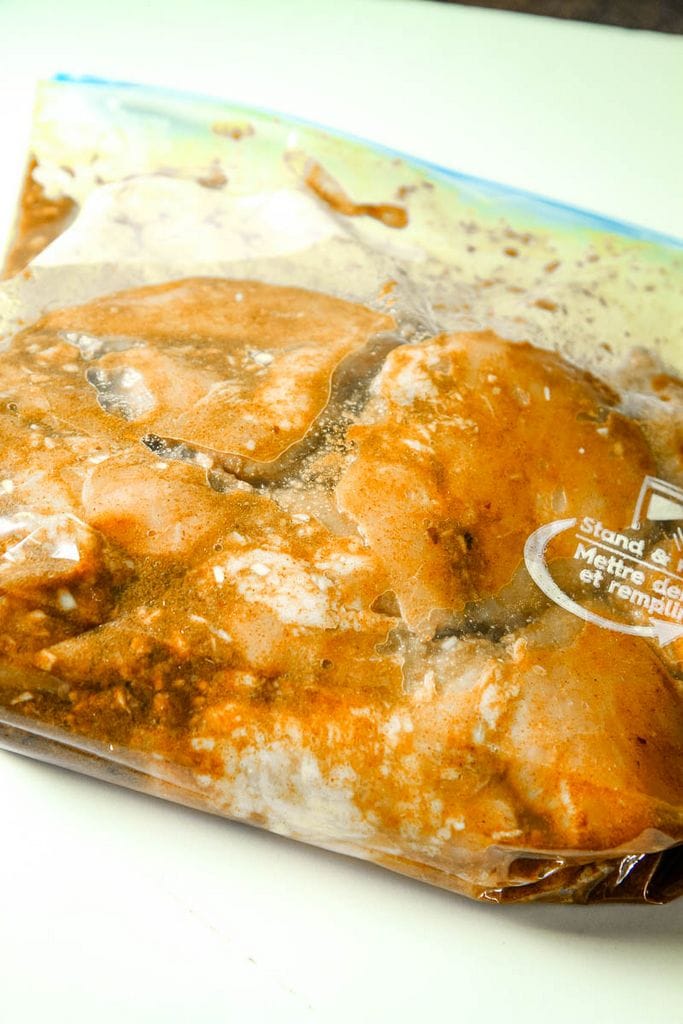
Wrap the uncooked meatloaf tightly in plastic wrap or aluminum foil, and place it in a freezer-safe bag or container.
When you’re ready to bake, thaw it in the refrigerator overnight before cooking as directed.
To freeze after baking, allow the cooked meatloaf to cool completely. Then, wrap it securely in plastic wrap, followed by aluminum foil, or place it in a freezer-safe bag or container.
To reheat, thaw the meatloaf in the refrigerator overnight and then reheat in the oven until it is heated through.
When freezing make sure to label with the date. Whichever preparation you choose for freezing, this gluten-free meatloaf can be frozen for up to 3 months.
Looking for more gluten free recipes for easy dinners? Here are three of our favorites:
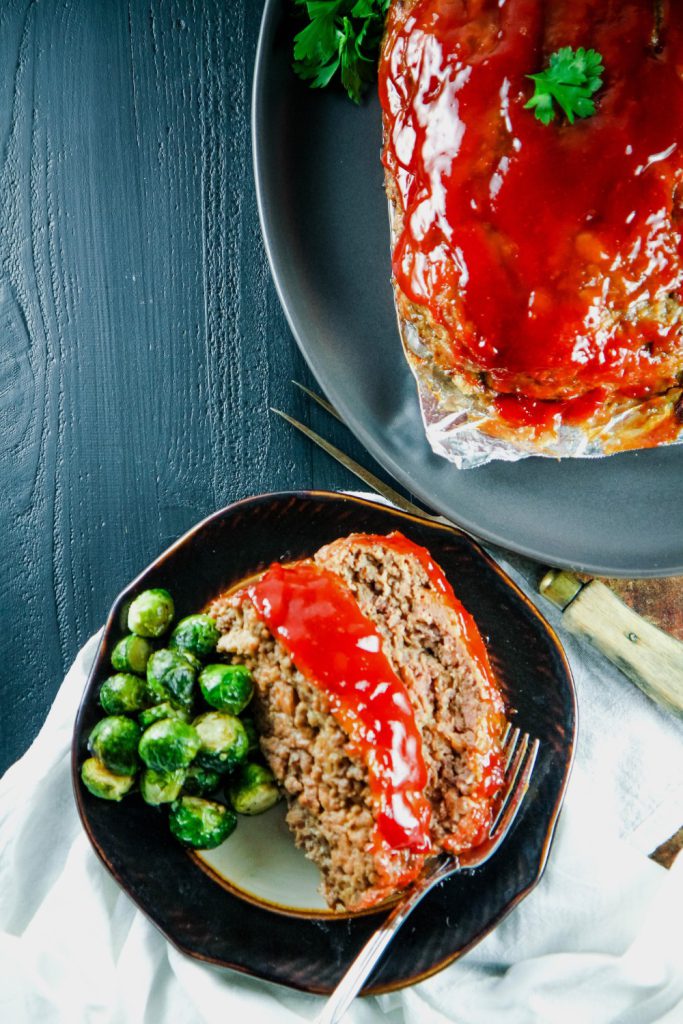
The Best Gluten-Free Meatloaf Recipe
This traditional meatloaf recipe has a tangy glaze that reminds me of my childhood. The secret ingredient is a box of instant mashed potatoes from your pantry.
Ingredients
- ½ cup ketchup
- ¼ cup packed light brown sugar
- 4 teaspoons cider vinegar
- 1 tablespoon vegetable oil
- 2 onions, chopped fine
- 4 garlic cloves, minced
- 1 teaspoon minced fresh thyme or ½ teaspoon dried
- 2 large eggs
- ½ cup milk of choice
- 2 teaspoons Dijon mustard
- 2 teaspoons gluten-free Worcestershire sauce
- 1 teaspoon salt
- ½ teaspoon pepper
- ⅓ cup potato flakes
- ⅓ cup minced fresh parsley
- 1 pound ground pork
- 1 pound lean ground beef (85 percent lean)
Instructions
- Adjust the oven rack to the upper-middle position and preheat oven to 350°F. Prepare a 9 Inch x 5 Inch meatloaf pan with cooking spray.
- Stir ketchup, sugar, and vinegar in a bowl and set aside.
- Heat oil in a 12-inch nonstick skillet over medium-high heat until shimmering. Add onions and cook until softened about 5 minutes. Stir in garlic and thyme and cook until fragrant, about 30 seconds. Transfer to a large bowl and let cool for 5 minutes.
- Whisk in eggs, milk, mustard, Worcestershire, salt and pepper. Stir in potato flakes and parsley. Add pork and knead with hands until thoroughly combined. Add beef and continue to knead until uniform.
- Transfer the meat mixture to your prepared pan. Brush half of the ketchup mixture over the meatloaf. Bake meatloaf in preheated oven for 40 minutes.
- Brush meatloaf with remaining ketchup mixture and continue to bake until the internal temperature reaches 160°F, 30 to 35 minutes.
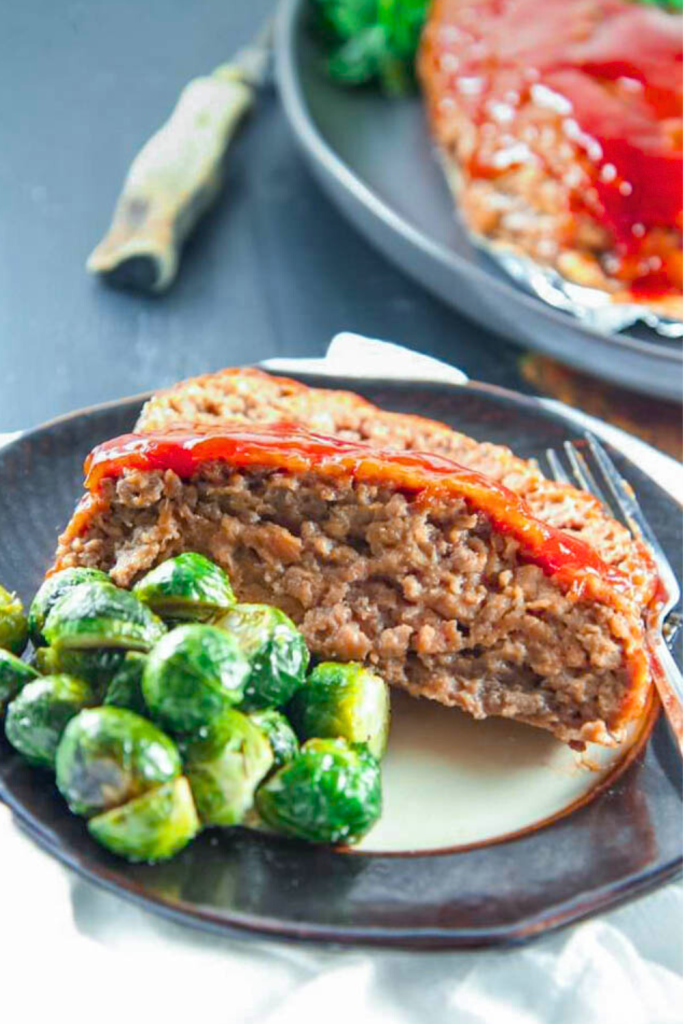
- Let the meatloaf cool for 15 minutes before slicing and serving with your favorite side dishes.
Notes
Please see instructions in the post for how to prepare gluten-free meatloaves on a sheet pan if you do not have a meatloaf pan.
You can substitute this sweet topping with an 8-ounce can of tomato sauce mixed with your favorite Italian seasonings for a different flavor profile.
Recommended Products
As an Amazon Associate and member of other affiliate programs, I earn from qualifying purchases.
Nutrition Information:
Yield: 8 Serving Size: 1Amount Per Serving: Calories: 399Total Fat: 22gSaturated Fat: 8gTrans Fat: 0gUnsaturated Fat: 12gCholesterol: 151mgSodium: 569mgCarbohydrates: 16gFiber: 1gSugar: 11gProtein: 34g
Looking for more gluten free recipes for easy dinners? Here are three of our favorites:
Gluten-Free Orange Chicken– This takeout recipe is thickened with gluten-free flour or cornstarch. The fresh orange sauce makes this recipe a family favorite.
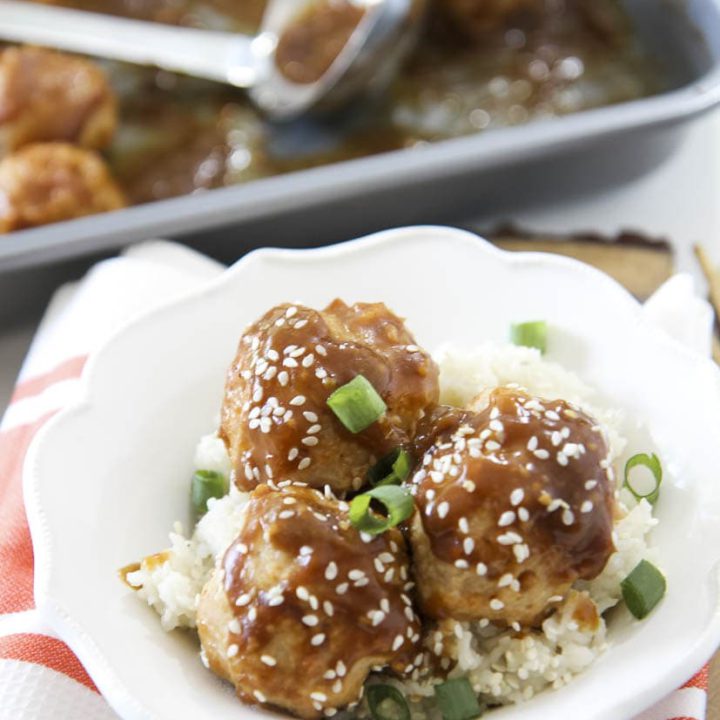
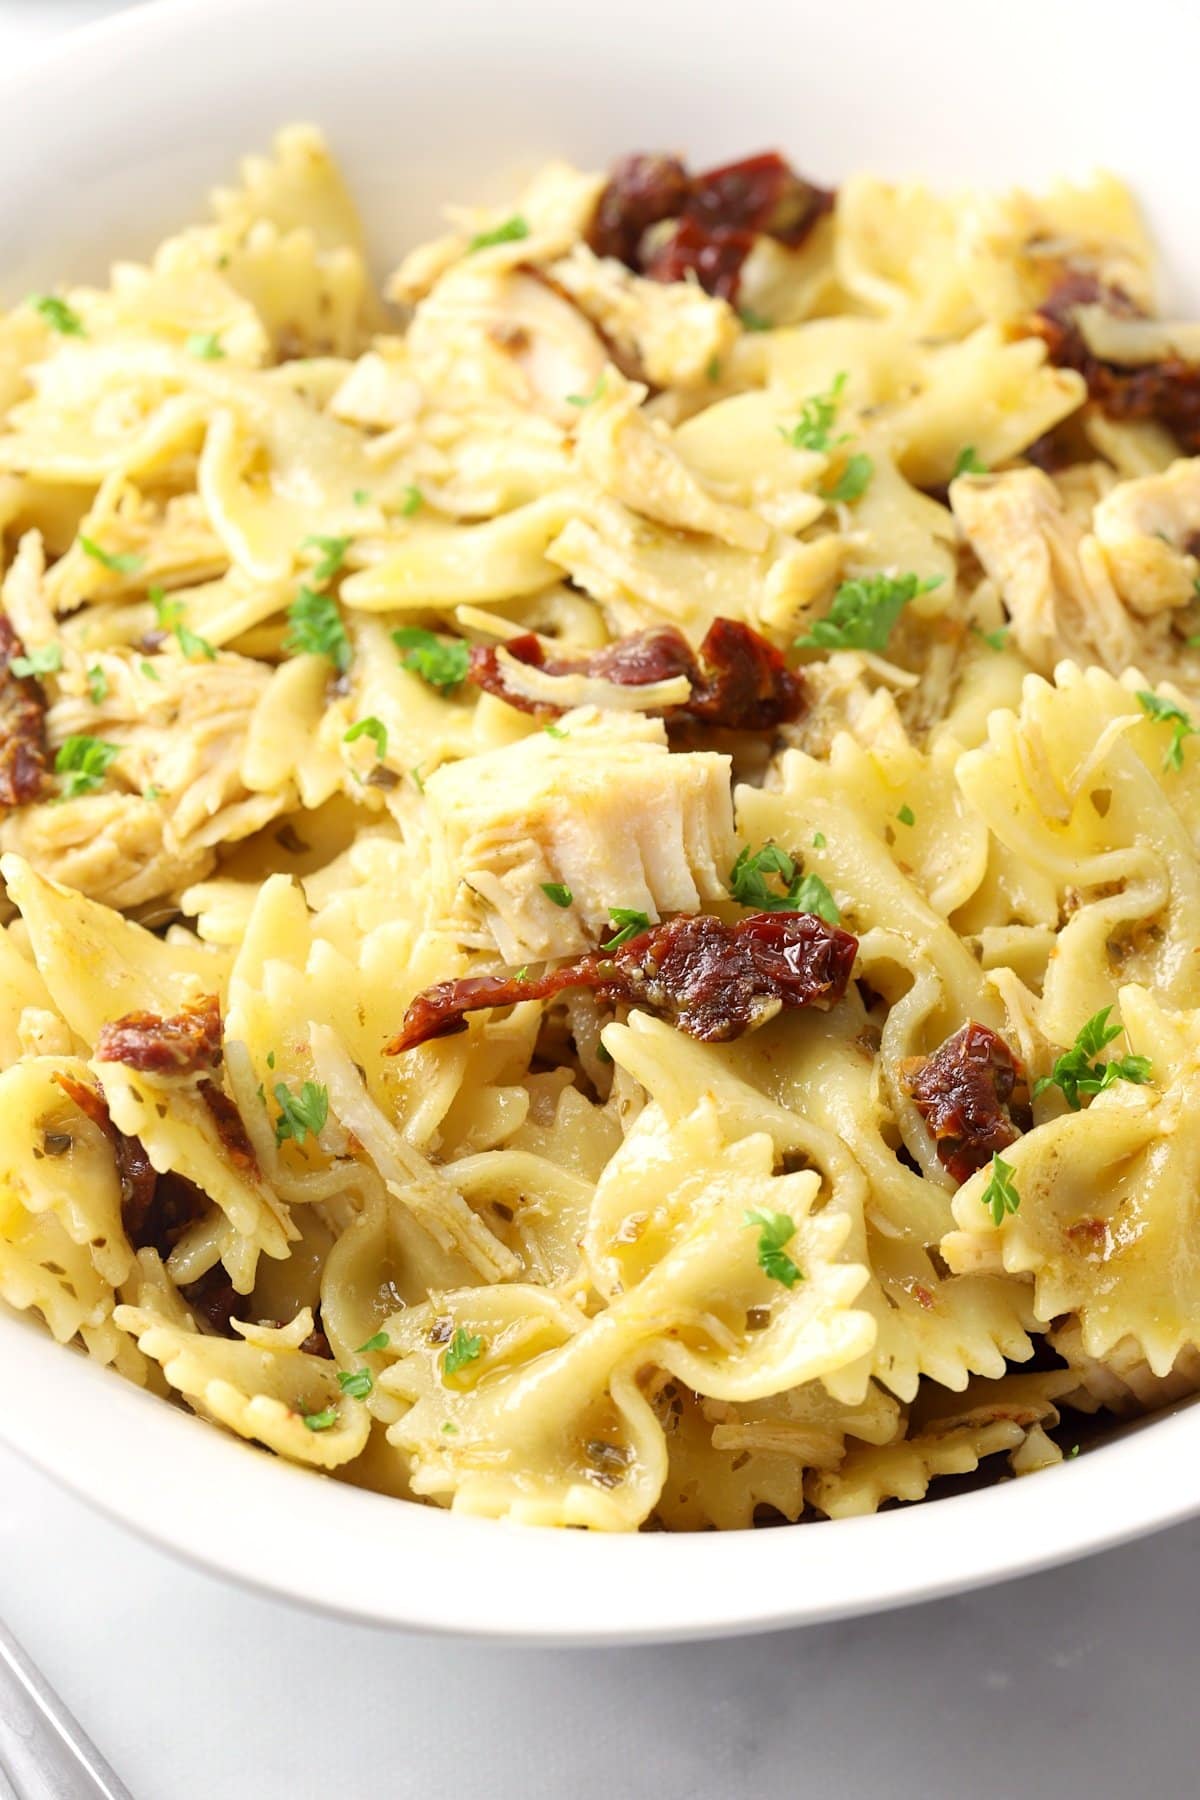
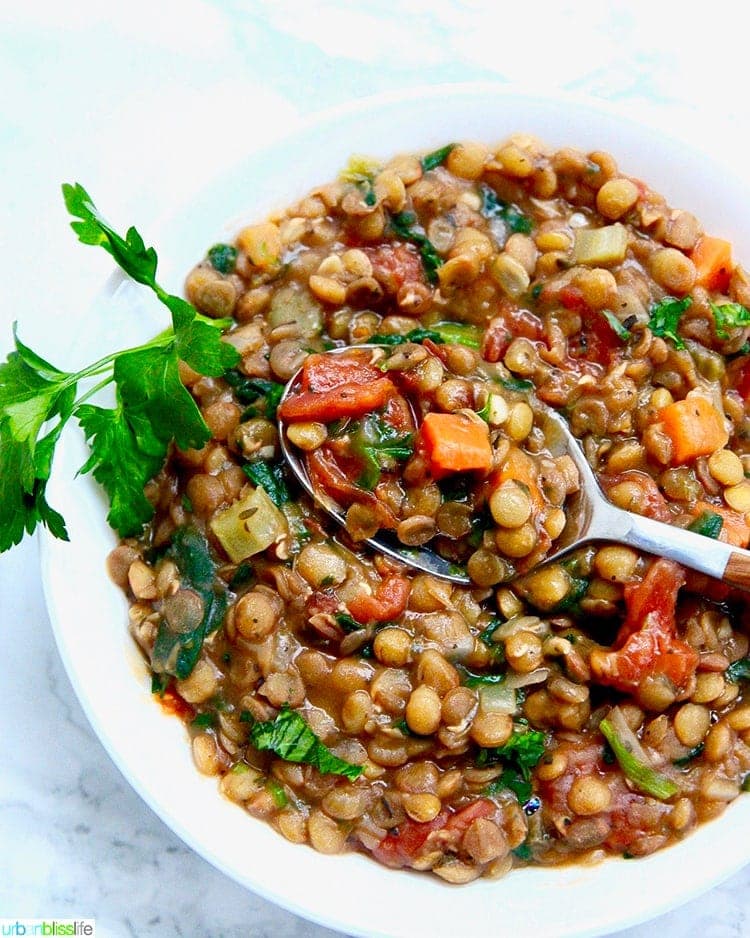
Gluten-Free Meatballs– This meatball recipe can be served over your favorite gluten-free pasta, on your favorite gluten-free bun, or as an appetizer.
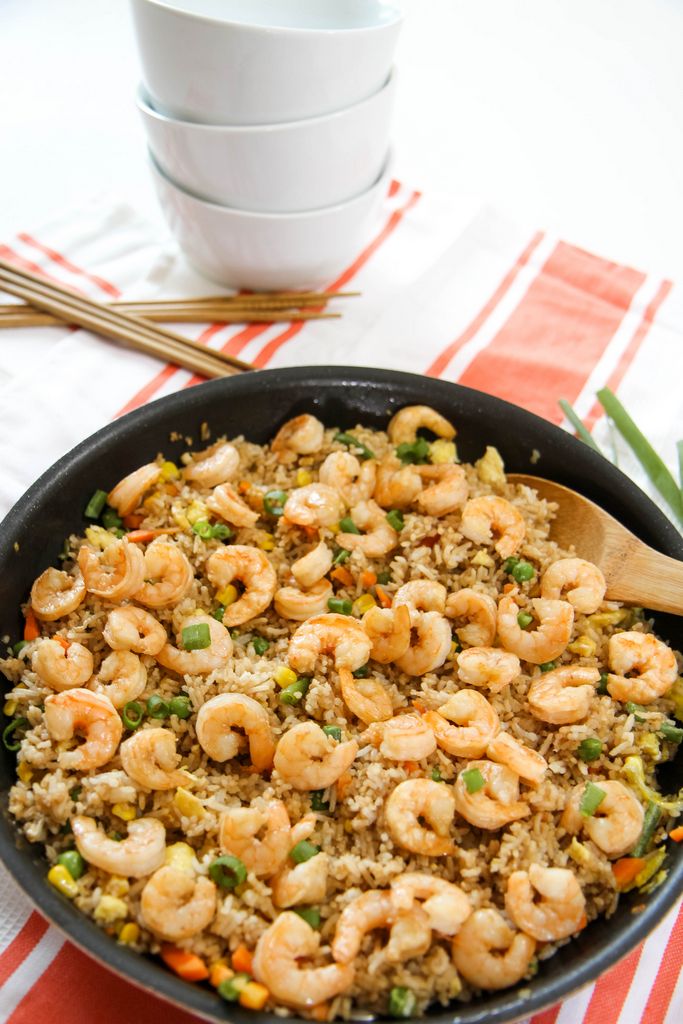
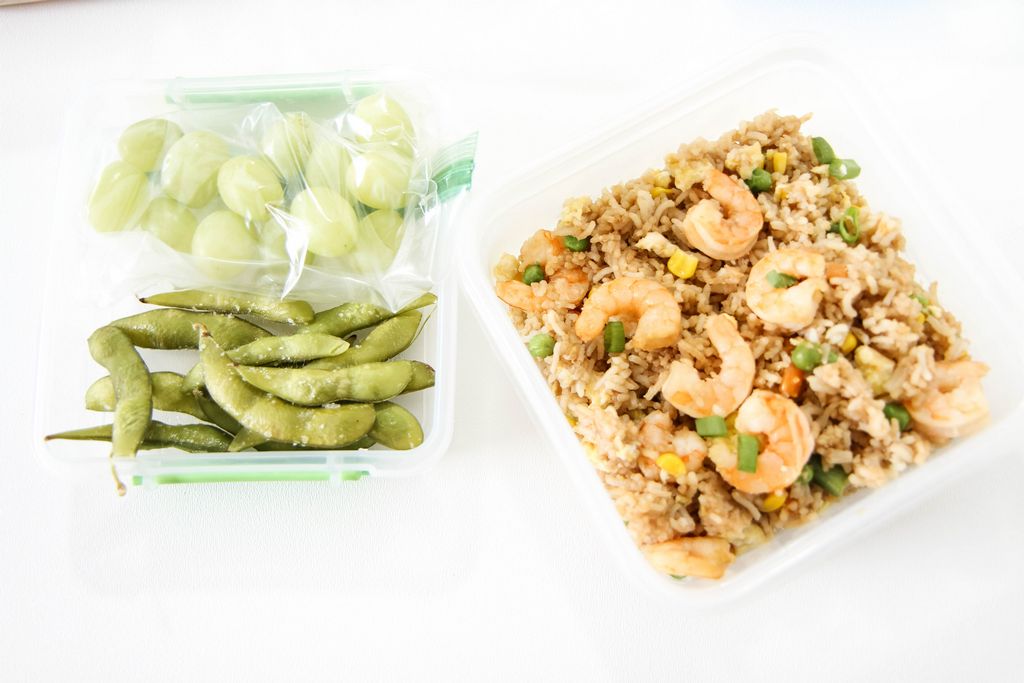
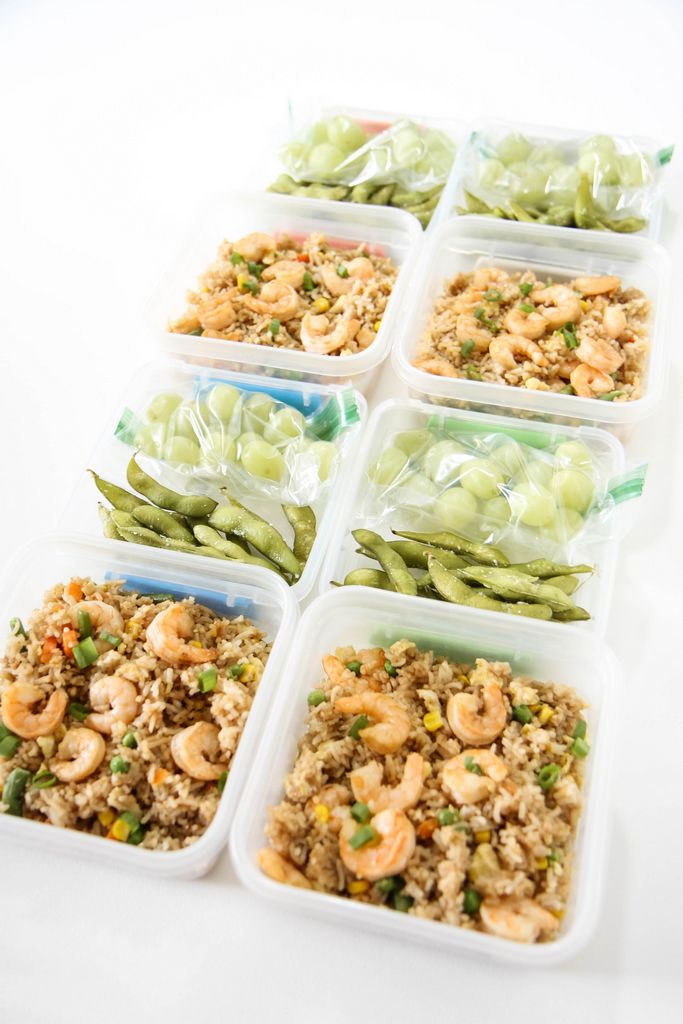
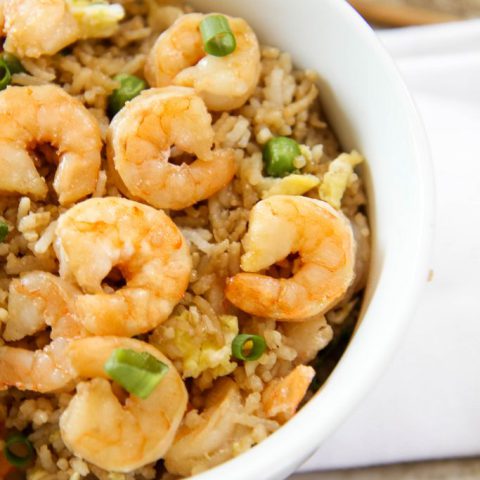
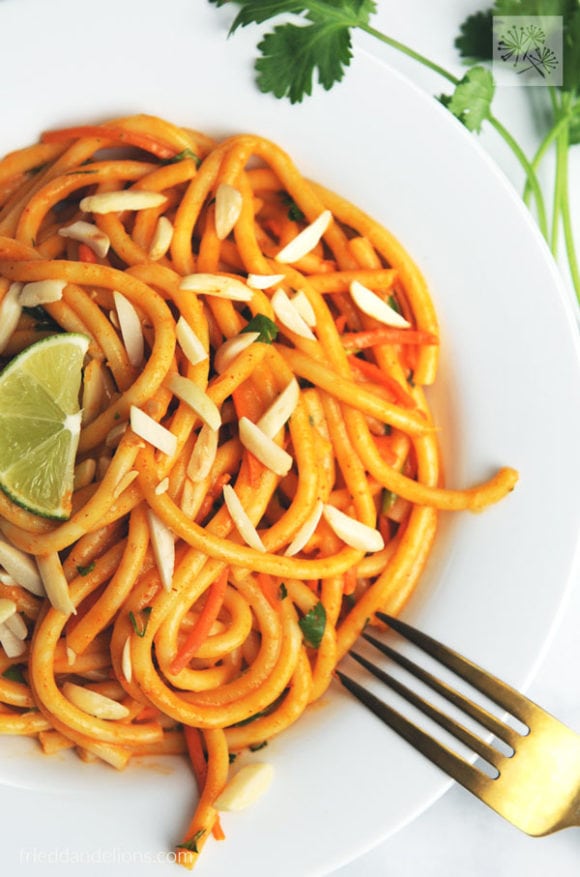
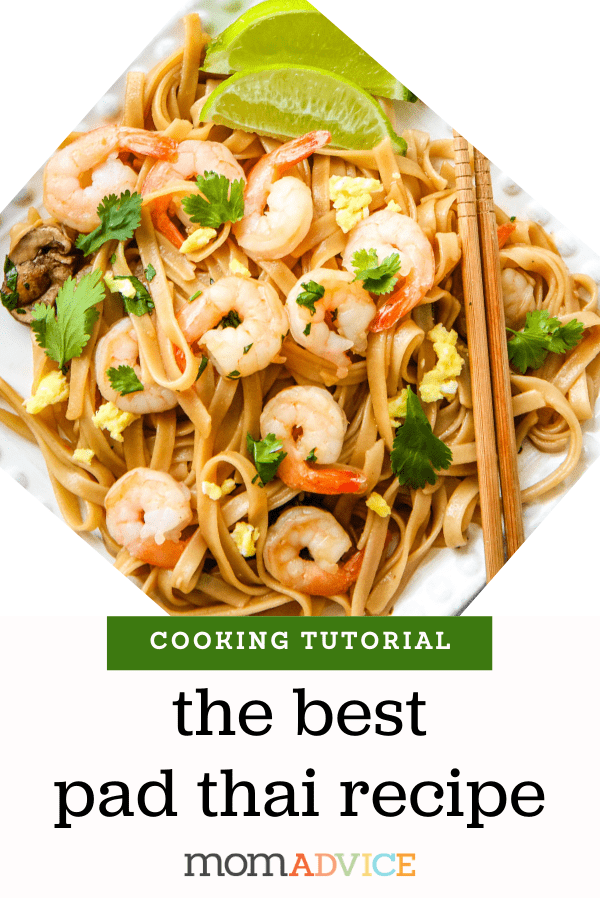
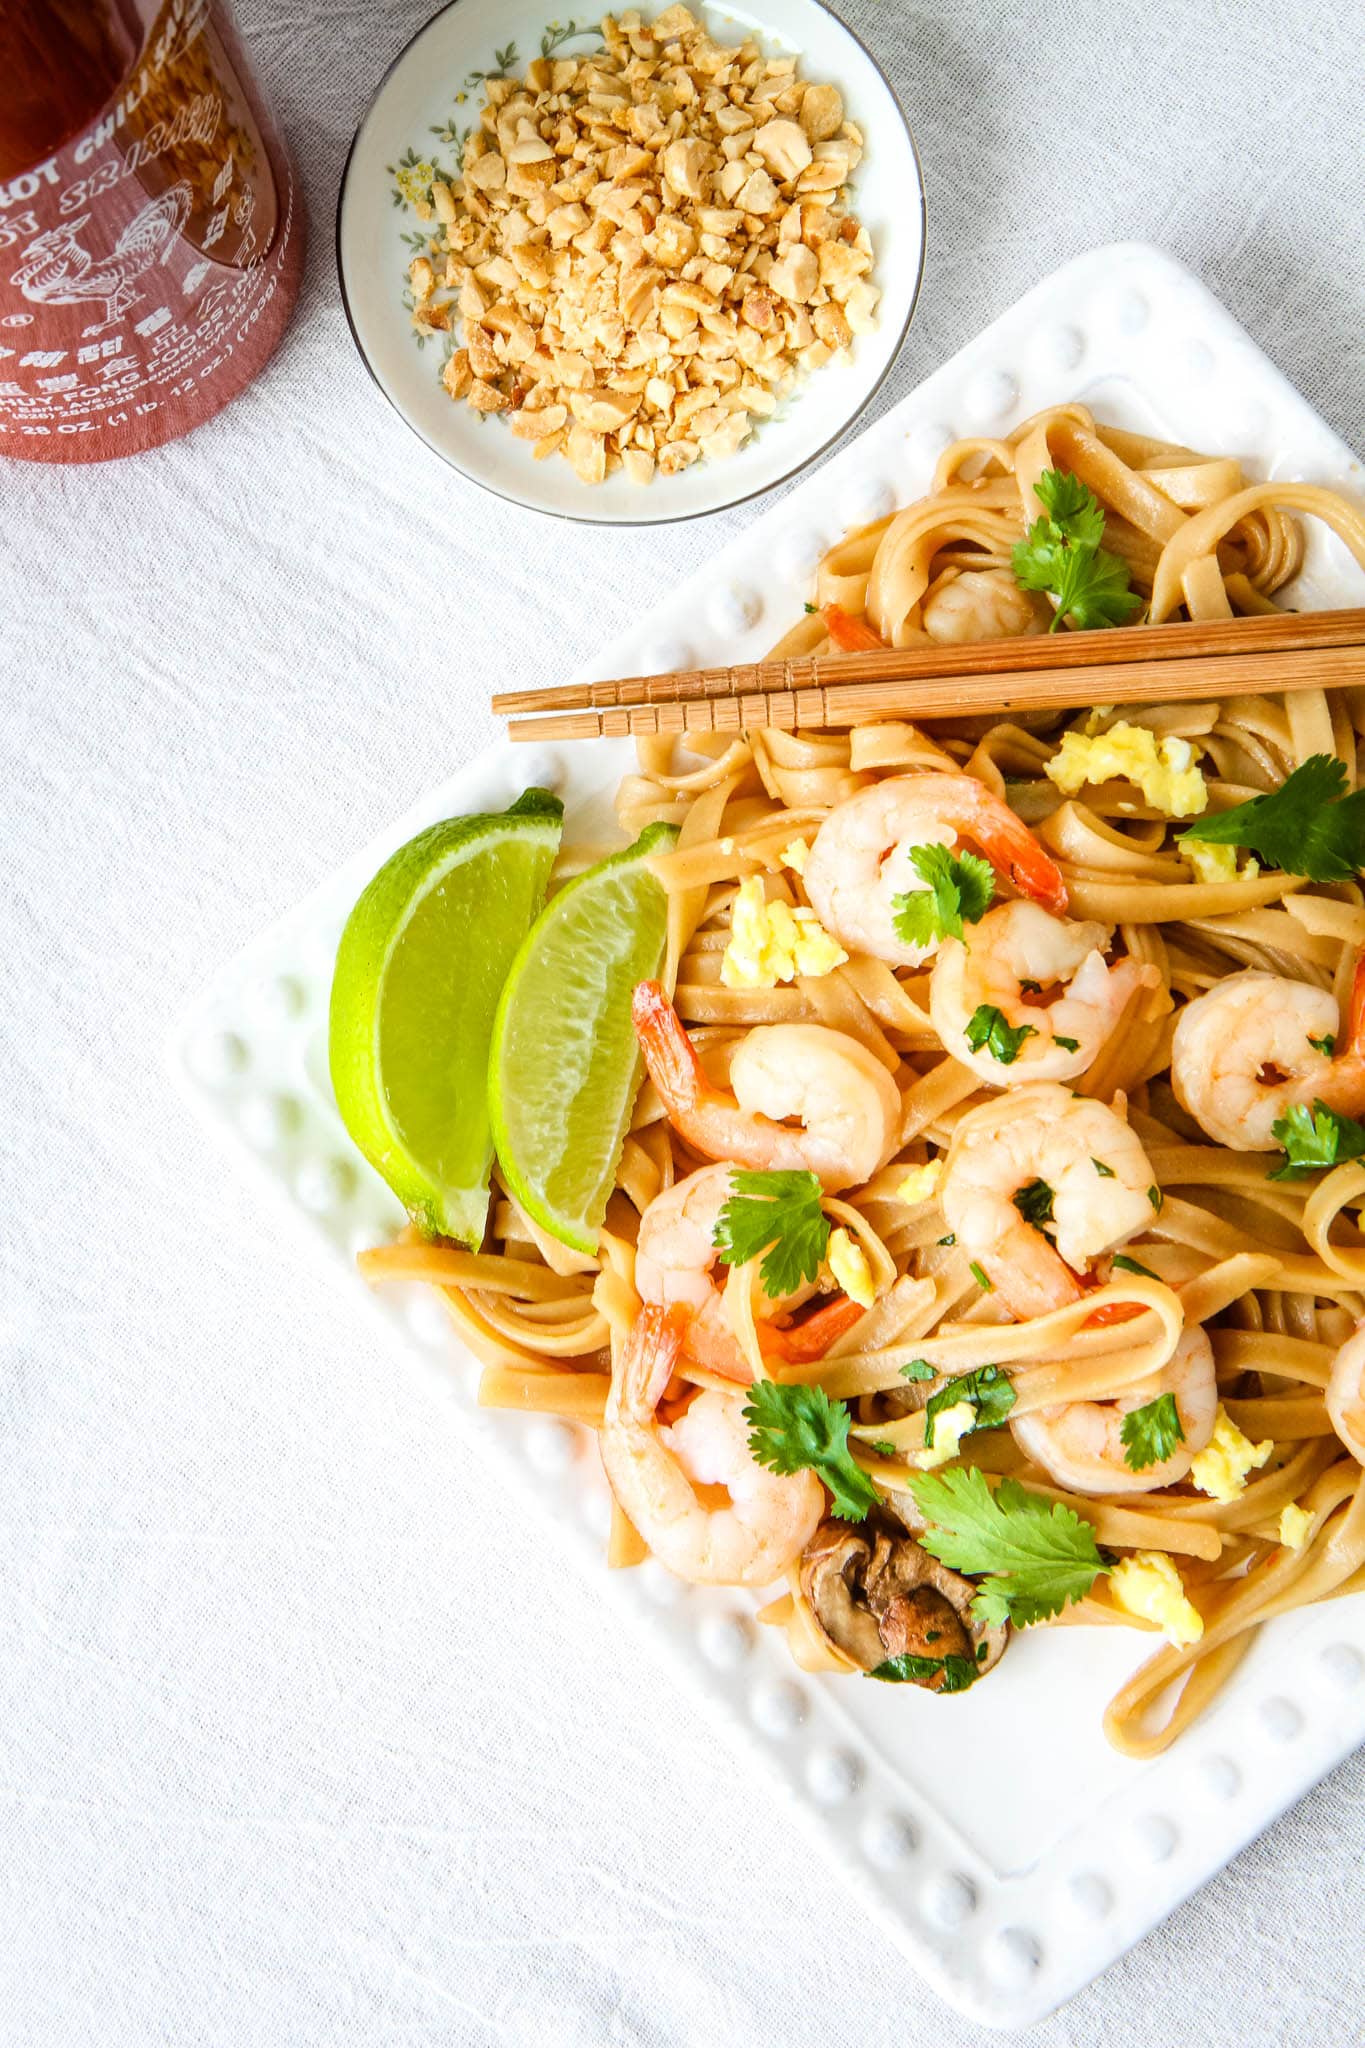
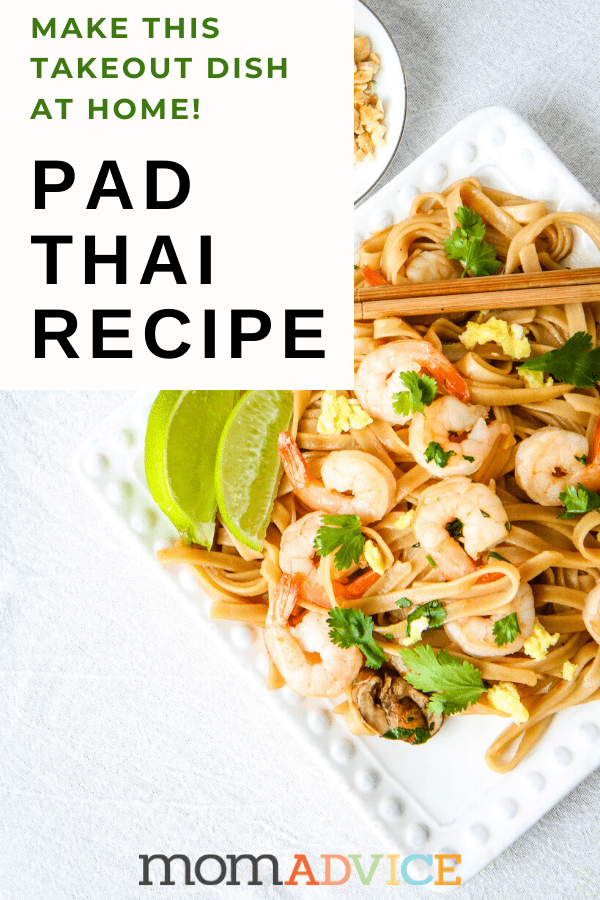
Gluten-Free Pad Thai– Pick your favorite protein and enjoy this takeout treat at home. This is a great way to use up frozen shrimp in the freezer!
TELL ME: What did you think of this gluten-free meatloaf recipe?
Recipe updated: February 21, 2024
Pin It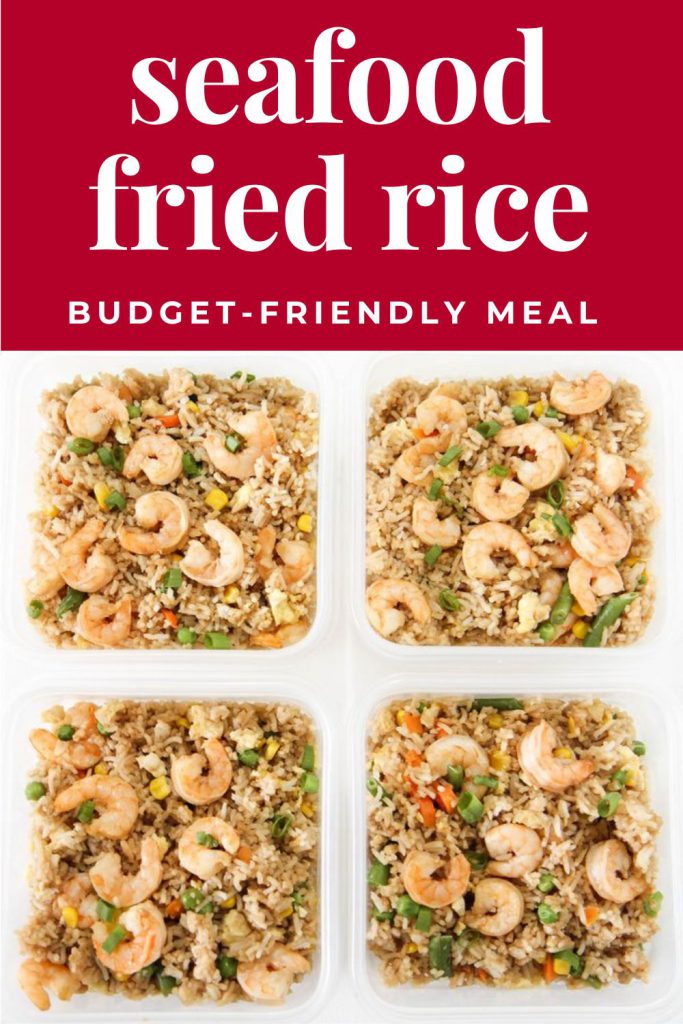


