Archive for the ‘Breakfast’ Category

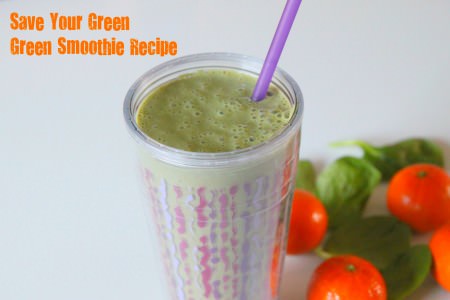
“Save Your Green” Green Smoothie

Monday, February 13th, 2012

Everywhere I turn, I am seeing green smoothie recipes. Green smoothies have filled my blog reader and my Pinterest wall. My girlfriend first jumped on the green smoothie bandwagon and I shortly followed behind her. We would chat in the mornings, trying different fruits, different ratios, and then deciding the order that everything should go into the blender for the perfectly blended drink. Yes, our conversations tend to be quite fascinating only to us. That being said, I became hooked on green smoothies and I feel so much better about my day if I have had one of these in the morning.

That being said,  I did not want to spend our entire grocery budget on green smoothie ingredients or run from store to store to get ingredients that I couldn’t find at my usual store. Sure, I want to be healthy, but I also like to stay under my grocery budget. I decided to create my own version of this smoothie using ingredients I could find at ALDI Supermarket.

I always hate to list prices for items because they can become out-of-date by tomorrow, but I do want to share with you the rough cost of the items I found at the store.

Flat Leaf Spinach (9 ounces)- $1.69

Vanilla Soy Milk (half gallon)- $2.39

Mandarin Oranges (3 pounds)- $2.49

Fage Greek Yogurt (17.6 ounces)- $1.99

Bananas- $.45 per pound

Frozen Strawberries (2 pounds)- $3.49

It is hard to estimate the price per smoothie because items like the yogurt go quickly while other ingredients (like the fruit) can last for a couple of weeks for me. Regardless, I love that I can make one of these green smoothie creations on my budget and not have to shop for more obscure or expensive ingredients.

Why would anyone ever want to drink a green smoothie? It is packed full of fruits and vegetables that can be the perfect workout treat or a fun way to start your day. I worried that the smoothies would taste like spinach, but the spinach blends right into the fruits and I can’t taste it all once it has been blended well. As a busy mom trying to get my kids on the bus every morning, I don’t make eating breakfast a priority. Doesn’t coffee count as a healthy breakfast? This smoothie is helping me do better about putting good things in my body while we are getting ready for the day.


A few years ago, I decided to make the investment into a blender that would really last after burning up my blender every summer making the kids slushies and other frozen treats. My Krups blender is going on its third year with me and has been one of the wisest investments for smoothie creations in my kitchen. If you use your blender often, I encourage you to get one that has some power behind it especially when blending ice and frozen fruits like this smoothie.

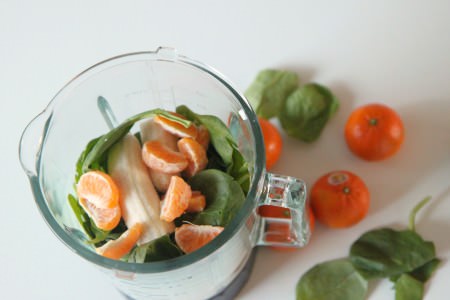
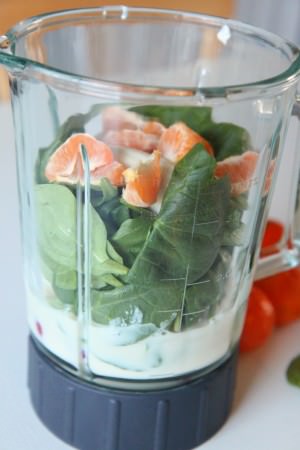
After trying different variations of layering, I find the spinach pulls in the best when it rests in the middle. On the bottom I pour my soy milk, my Greek yogurt, my frozen strawberries, and my ice. Next I put in my layer of spinach. I add a banana and a segmented orange or clementine to the top. This seems to be the best technique for smooth spinach blending for me. You may want to experiment in your own blender and see what works best for you.

This smoothie makes a really giant smoothie for me and one small smoothie for my daughter for our breakfast in the morning. When my daughter brought home her, “sh” words from her kindergarten class, my husband handed it to me and proclaimed that I have officially brainwashed my children. She thinks her green smoothie is a “sh…ake.”

I love this child.

You will love this smoothie. I hope it transforms your morning as much as it has transformed mine!

“Save Your Green” Green Smoothie
Recipe Type: Drink
Author: Amy Allen Clark
Prep time: 5 mins
Cook time: 2 mins
Total time: 7 mins
Serves: 2
A green smoothie made from inexpensive ingredients to jump start your day!
Ingredients
  • 1 cup vanilla soy milk
  • 1/2 cup plain or vanilla Greek yogurt
  • 4 ice cubes
  • 5 frozen strawberries
  • 2 cups fresh spinach
  • 1/2 a banana
  • 1 orange or clementine, peeled and segmented
  • 1 tablespoon honey (optional, but can help add sweetness)
Instructions
  1. Place ingredients in your blender as listed.
  2. Pulse or use the ice crush feature on your blender to break down the ice and frozen fruit.
  3. Blend well.

Have you jumped on the green smoothie bandwagon? What are your tricks and ingredients for making your signature green smoothie?

Linking up to Mouthwatering Mondays on A Southern Fairytale


Pin It

Baked Apple Pie Donuts

Monday, September 26th, 2011

Fall is in the air and with the beautiful sights and scents of Fall come all of the amazing fall foods. Anything apple happens to be on our fall cooking agenda, and baked apple pie donuts seemed the perfect way to bring my favorite fall flavors together.  Proving that anything can be made into a delicious baked donut, I wanted to share this easy recipe for an apple pie donut perfect for serving with your favorite mug of cocoa, hot chai, or latte when the weather gets chilly.

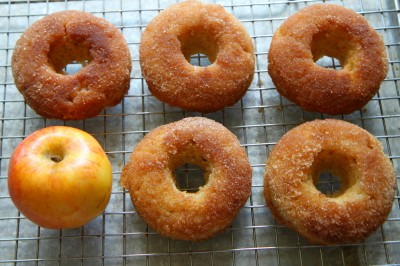
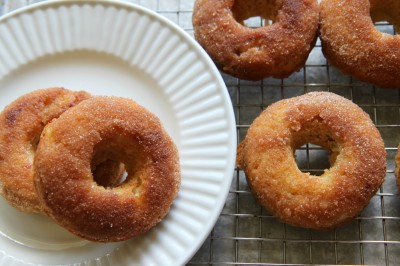
The dominate flavor in this one is definitely the apple followed by the earthy and nutty flavor of ground nutmeg that helps round out the flavor profile of these donuts.  Once these delicate donuts are done baking, they are brushed lightly with butter and then dipped into a cinnamon and sugar coating that helps bring all of those delicious fall flavors together and that little bit of gritty, yummy crunch that just so happens to be my favorite thing about donuts.

There is no need to visit the apple orchard for pricey donuts this year because I plan to make these right in the comforts of our home and in a price that is just right for our little family. These would be the perfect ending to any fall activity whether it is a round of jumping in the leaves, sitting cozy by the fire, picking apples together in the sweet sunshine, or just a lazy Sunday afternoon with nothing else on the agenda. It is also just a fantastic way to use up any apples you might have in your fruit basket this week.

It took all the willpower in me to photograph these and not eat all of them. It then took another great round of willpower to wait until my children came home from school to eat this fun snack. If you have been a reader here long, you will know that our donut pan is worth its weight in gold in our house and I would highly recommend snagging one or two for your kitchen too.    My donut pans were purchased with a few Swagbucks that I had set aside and credited  towards an Amazon gift certificate to purchase them for free this year. I use these Norpro 6-count Nonstock Donut Pans for $12.99 each for our donut baking in our house.

If you don’t have a donut pan, a mini-muffin tin will do the trick too for quick and easy donut holes. Watch the donuts after half the time listed in the recipe since they should cook up a little quicker.

Recipe:

Baked Apple Pie Donuts

1/4 cup of lightly packed brown sugar
1/4 cup of white sugar
1 1/2 cups of bite size chunks of apple, peeled and cored (approximately 2 apples)
1 1/2 cups of all-purpose flour
1 3/4 tsp baking powder
1/2 tsp kosher salt
1 tsp nutmeg
1/3 cup of cold butter, cut into small pieces
1 egg
1/4 cup of milk

For sugar & cinnamon topping:
1/4 cup of butter, melted
1/3 cup of sugar
1 tsp cinnamon powder

Directions:

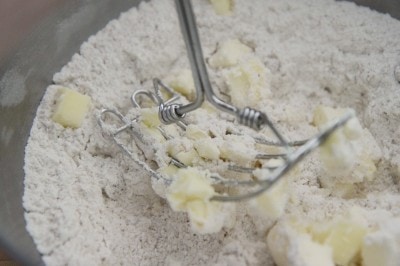
Preheat your oven to 350F. Whisk the flour, baking powder, sugars salt and and nutmeg in a bowl. Add the cold chopped butter, cut into tablespoons. Cut the butter with the flour mixture until the mixture resembles coarse crumbs with a pastry blender or fork.

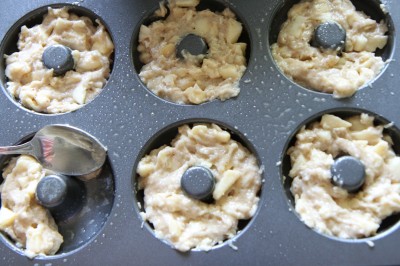
In a separate bowl, beat the egg. Mix in the milk and fold in the chopped apples. Add the egg mixture to the flour mixture. Stir using a spatula or spoon making sure not to overmix. Place two spoonfuls of batter into a greased donut mold pan.

Bake for 15-18 minutes or until the donuts are just golden. Allow to cool for five minutes. Unmold each donut gently and lightly brush each with the melted butter. Dunk in a bowl with the sugar and cinnamon mixed in. Shake off excess sugar and serve immediately.

Prep Time: 15 minutes

Total Time: 30 minutes

Recipe Adapted From: Cooks.com

Serving Size: 9 donuts


Pin It

Healthy Banana Blueberry Muffins

Monday, August 8th, 2011

It is that time of year again where I begin to gather ideas for baked treats to stick in my kid’s lunchboxes and for after school snacks.  I always wanted to be that mom that packed an amazing lunch filled with homemade goodness, handwritten notes, and power foods that would get my child’s day started right. Sometimes I am that mom. Sometimes I am not.

It isn’t because I want to be superior over other mothers, but simply because I just know how good I feel when I have the right snacks in my corner for the day.

I want that for them too.

They deserve a little of that.

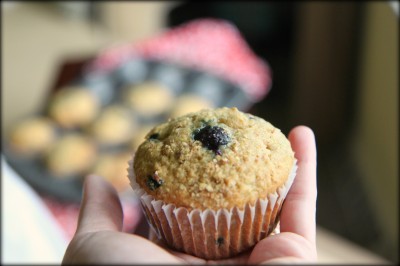
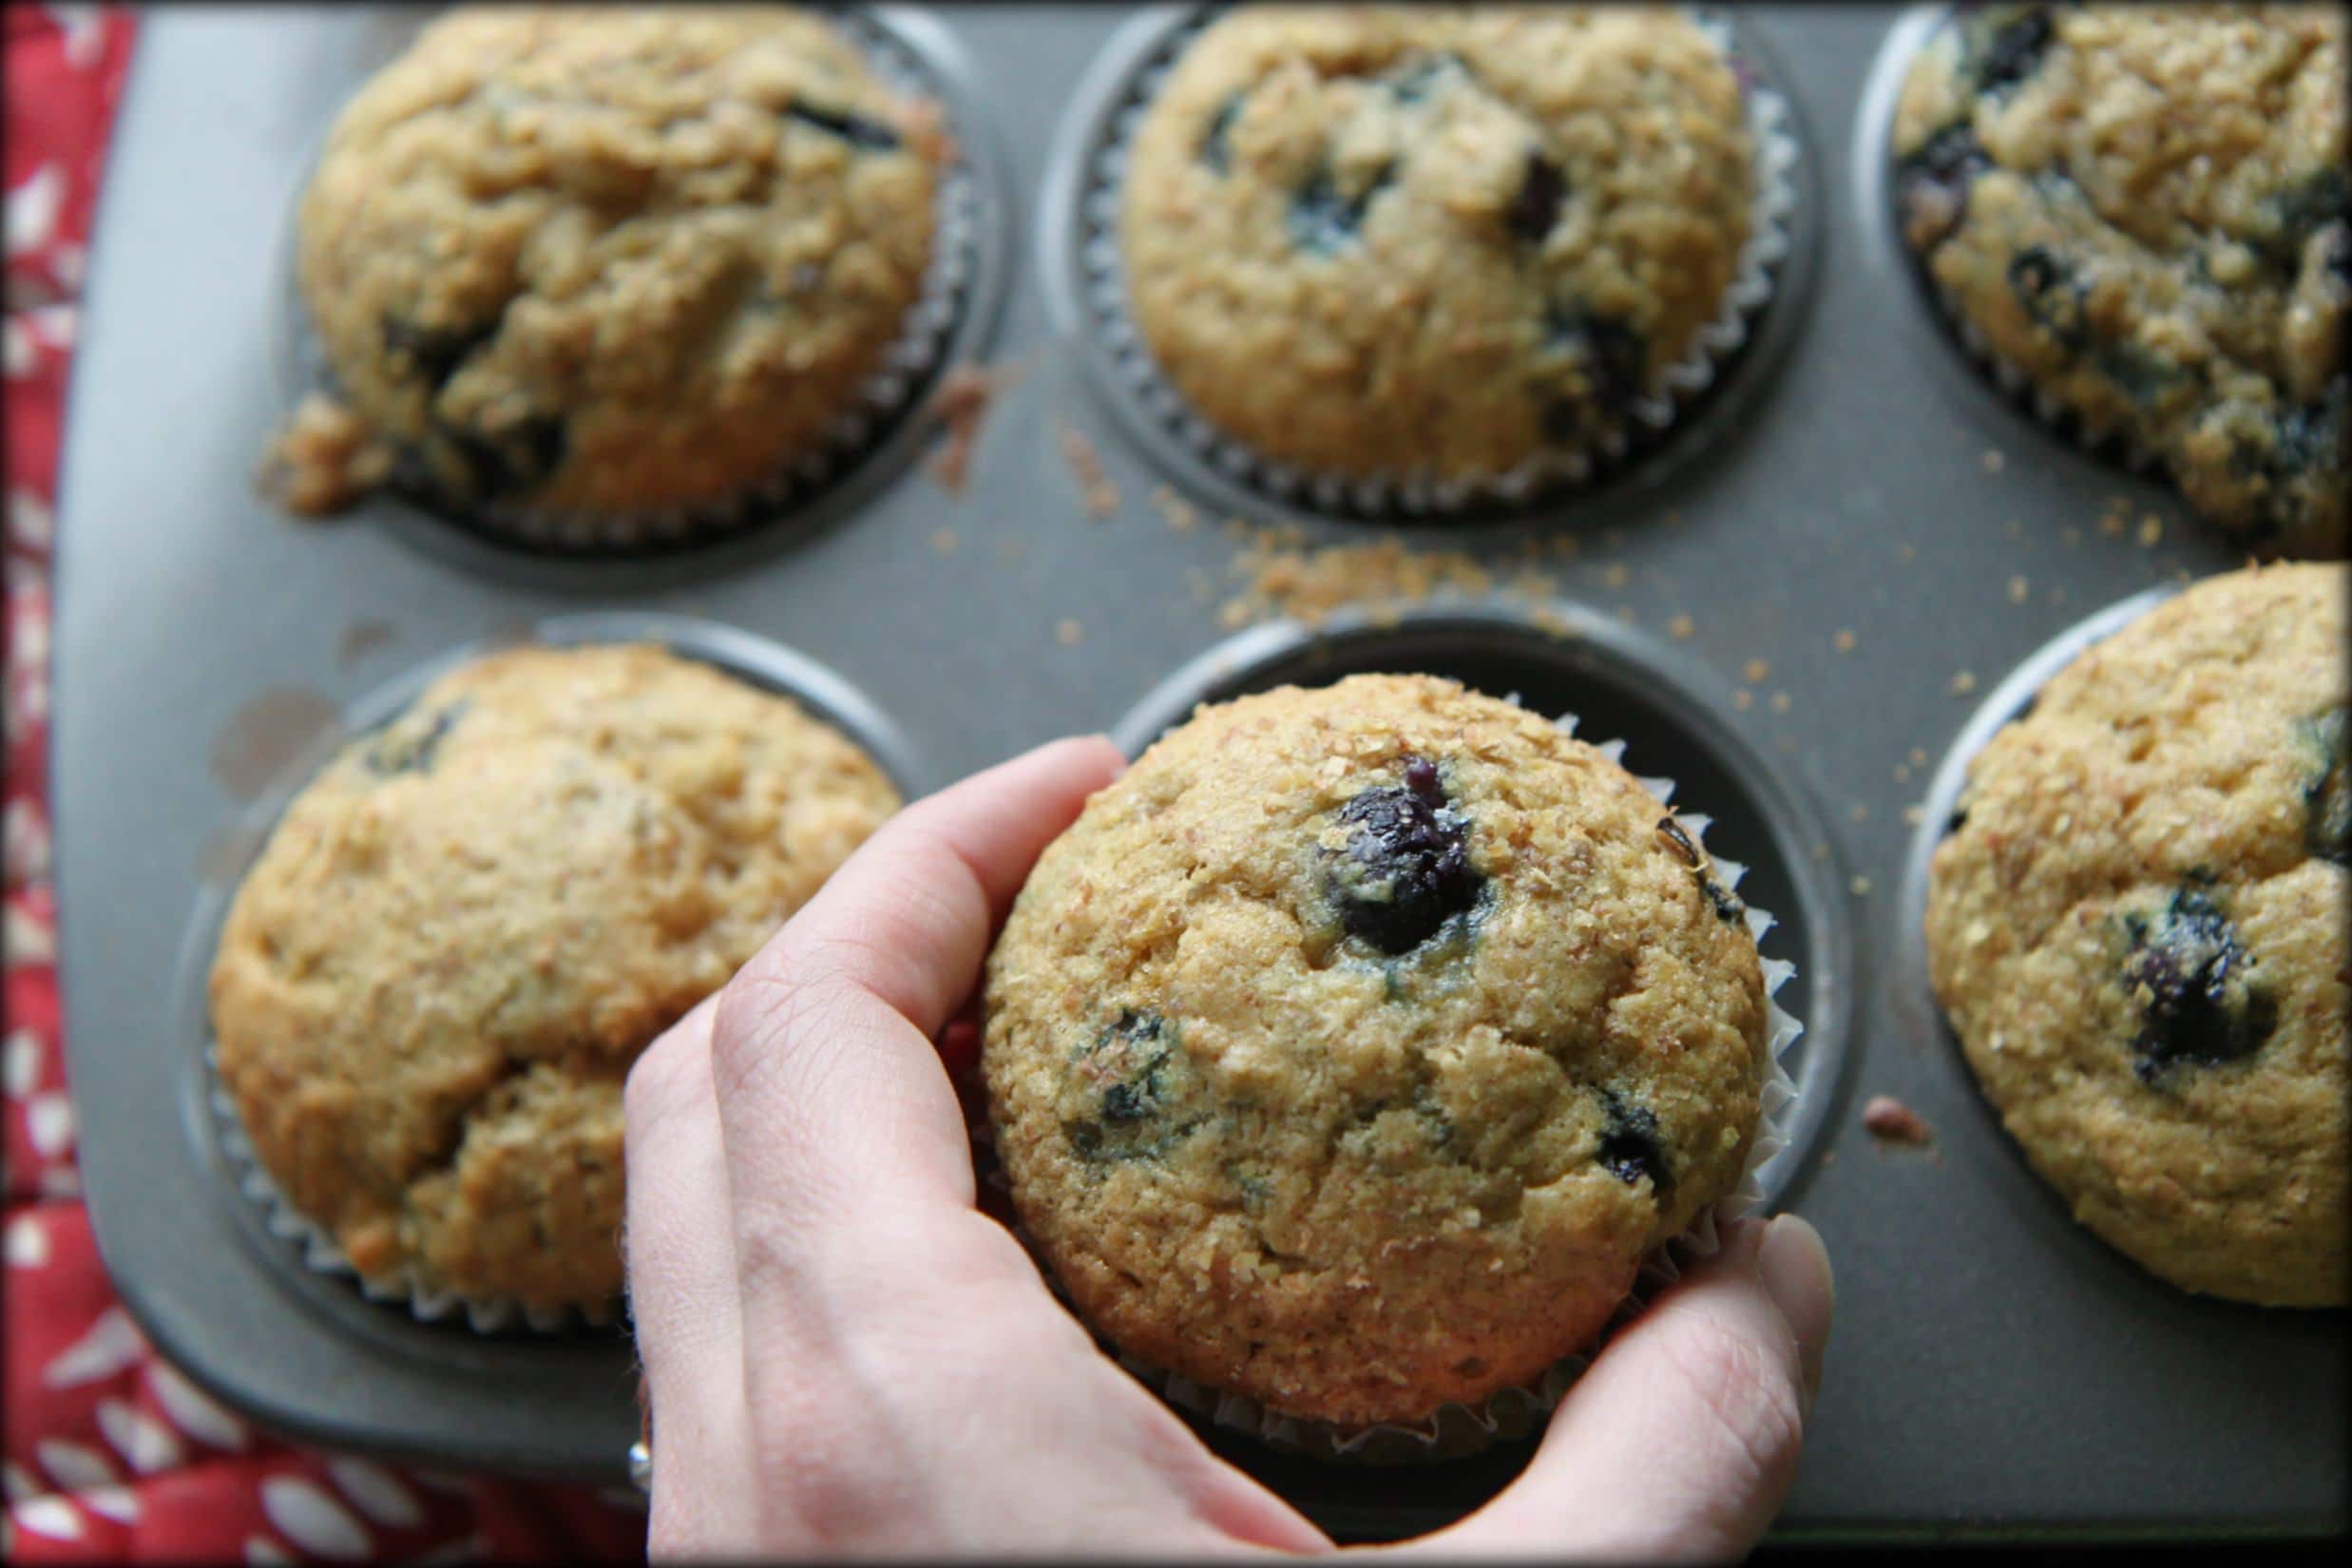
With blueberries already popped in the freezer from our berry picking last month, I decided to put them to good use in our home and made these Healthy Banana Blueberry Muffins for a fun midday snack and to add to my snack ideas list for their lunchboxes this year.

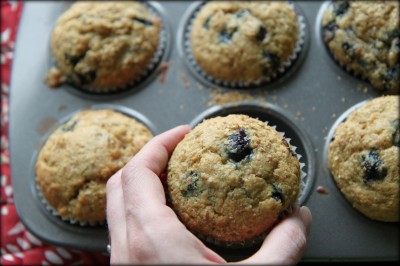
These have everything I want in a good muffin- whole wheat flour, wheat germ, blueberries, bananas, and a little bit of sweetness. The muffin is light with bursts of berries throughout. If  blueberries aren’t your favorite things, you can halve the amount of blueberries, or even cut fresh blueberries in half like our Baked Blueberry Donuts with the Lemon Glaze. The toasty wheat germ on top adds a little bit of texture to the top that keeps to their healthy nature.

I have included a vlog from a long time ago that I made on creating a baking day in your house to save money and keep your grocery budget on track. It is hard to believe that this little girl in the video is now off to kindergarten this year. This vlog illustrates though one way that we save money in our family and incorporate healthy eating in our home by making a commitment to one day of baking each week.

Happy baking, everyone!

Recipe:

Healthy Banana Blueberry Muffins

Ingredients:

1 cup whole-wheat flour (spooned and leveled)

3/4 cup all-purpose flour, (spooned and leveled)

1/4 cup wheat germ

1 teaspoon baking soda

1/2 teaspoon salt

1/2 cup (1 stick) unsalted butter, room temperature

1/3 cup granulated sugar

1/3 cup packed light-brown sugar

2 large eggs

2 ripe bananas (about 1 pound)

1/3 cup reduced-fat (2 percent) milk

1 teaspoon pure vanilla extract

1 cup frozen blueberries

2 tablespoons wheat germ, for sprinkling on top

Directions:

Preheat oven to 375 degrees. Line a 12-cup muffin pan with paper liners. In a bowl, whisk together flours, wheat germ, baking soda, and salt. In a large bowl, beat butter and sugars with a mixer until light and fluffy. Add eggs, one at a time, beating well after each addition. In another bowl, mash bananas with a fork (you should have 3/4 cup); stir in milk and vanilla. With mixer on low, alternately add flour mixture and banana mixture to butter mixture, beginning and ending with flour mixture; mix just until combined. Fold in frozen blueberries. Divide batter among muffin cups and sprinkle the tops with a little wheat germ for an added crunch. Bake until a toothpick inserted in the center of a muffin comes out clean, 20-22 minutes, rotating pan halfway through. Let cool in pan 10 minutes; transfer muffins to a rack to cool 10 minutes more.

Prep Time: 20 minutes

Total Time: 25 minutes

Serving Size: 12

Recipe Source: Adapted only slightly from the amazing Martha Stewart

What treats do you like to bake for your child’s lunchbox? Feel free to share links or ideas from your own recipe collection in the comments below!

Baked Blueberry Donuts With a Lemon Glaze

Monday, August 1st, 2011

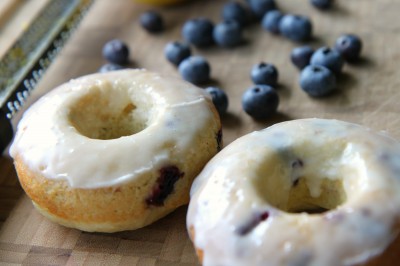
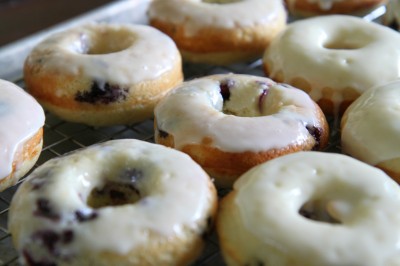
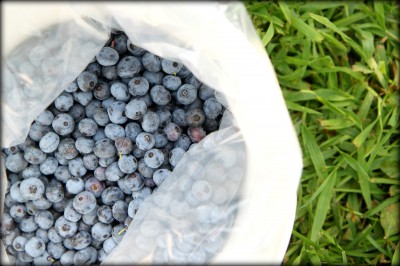
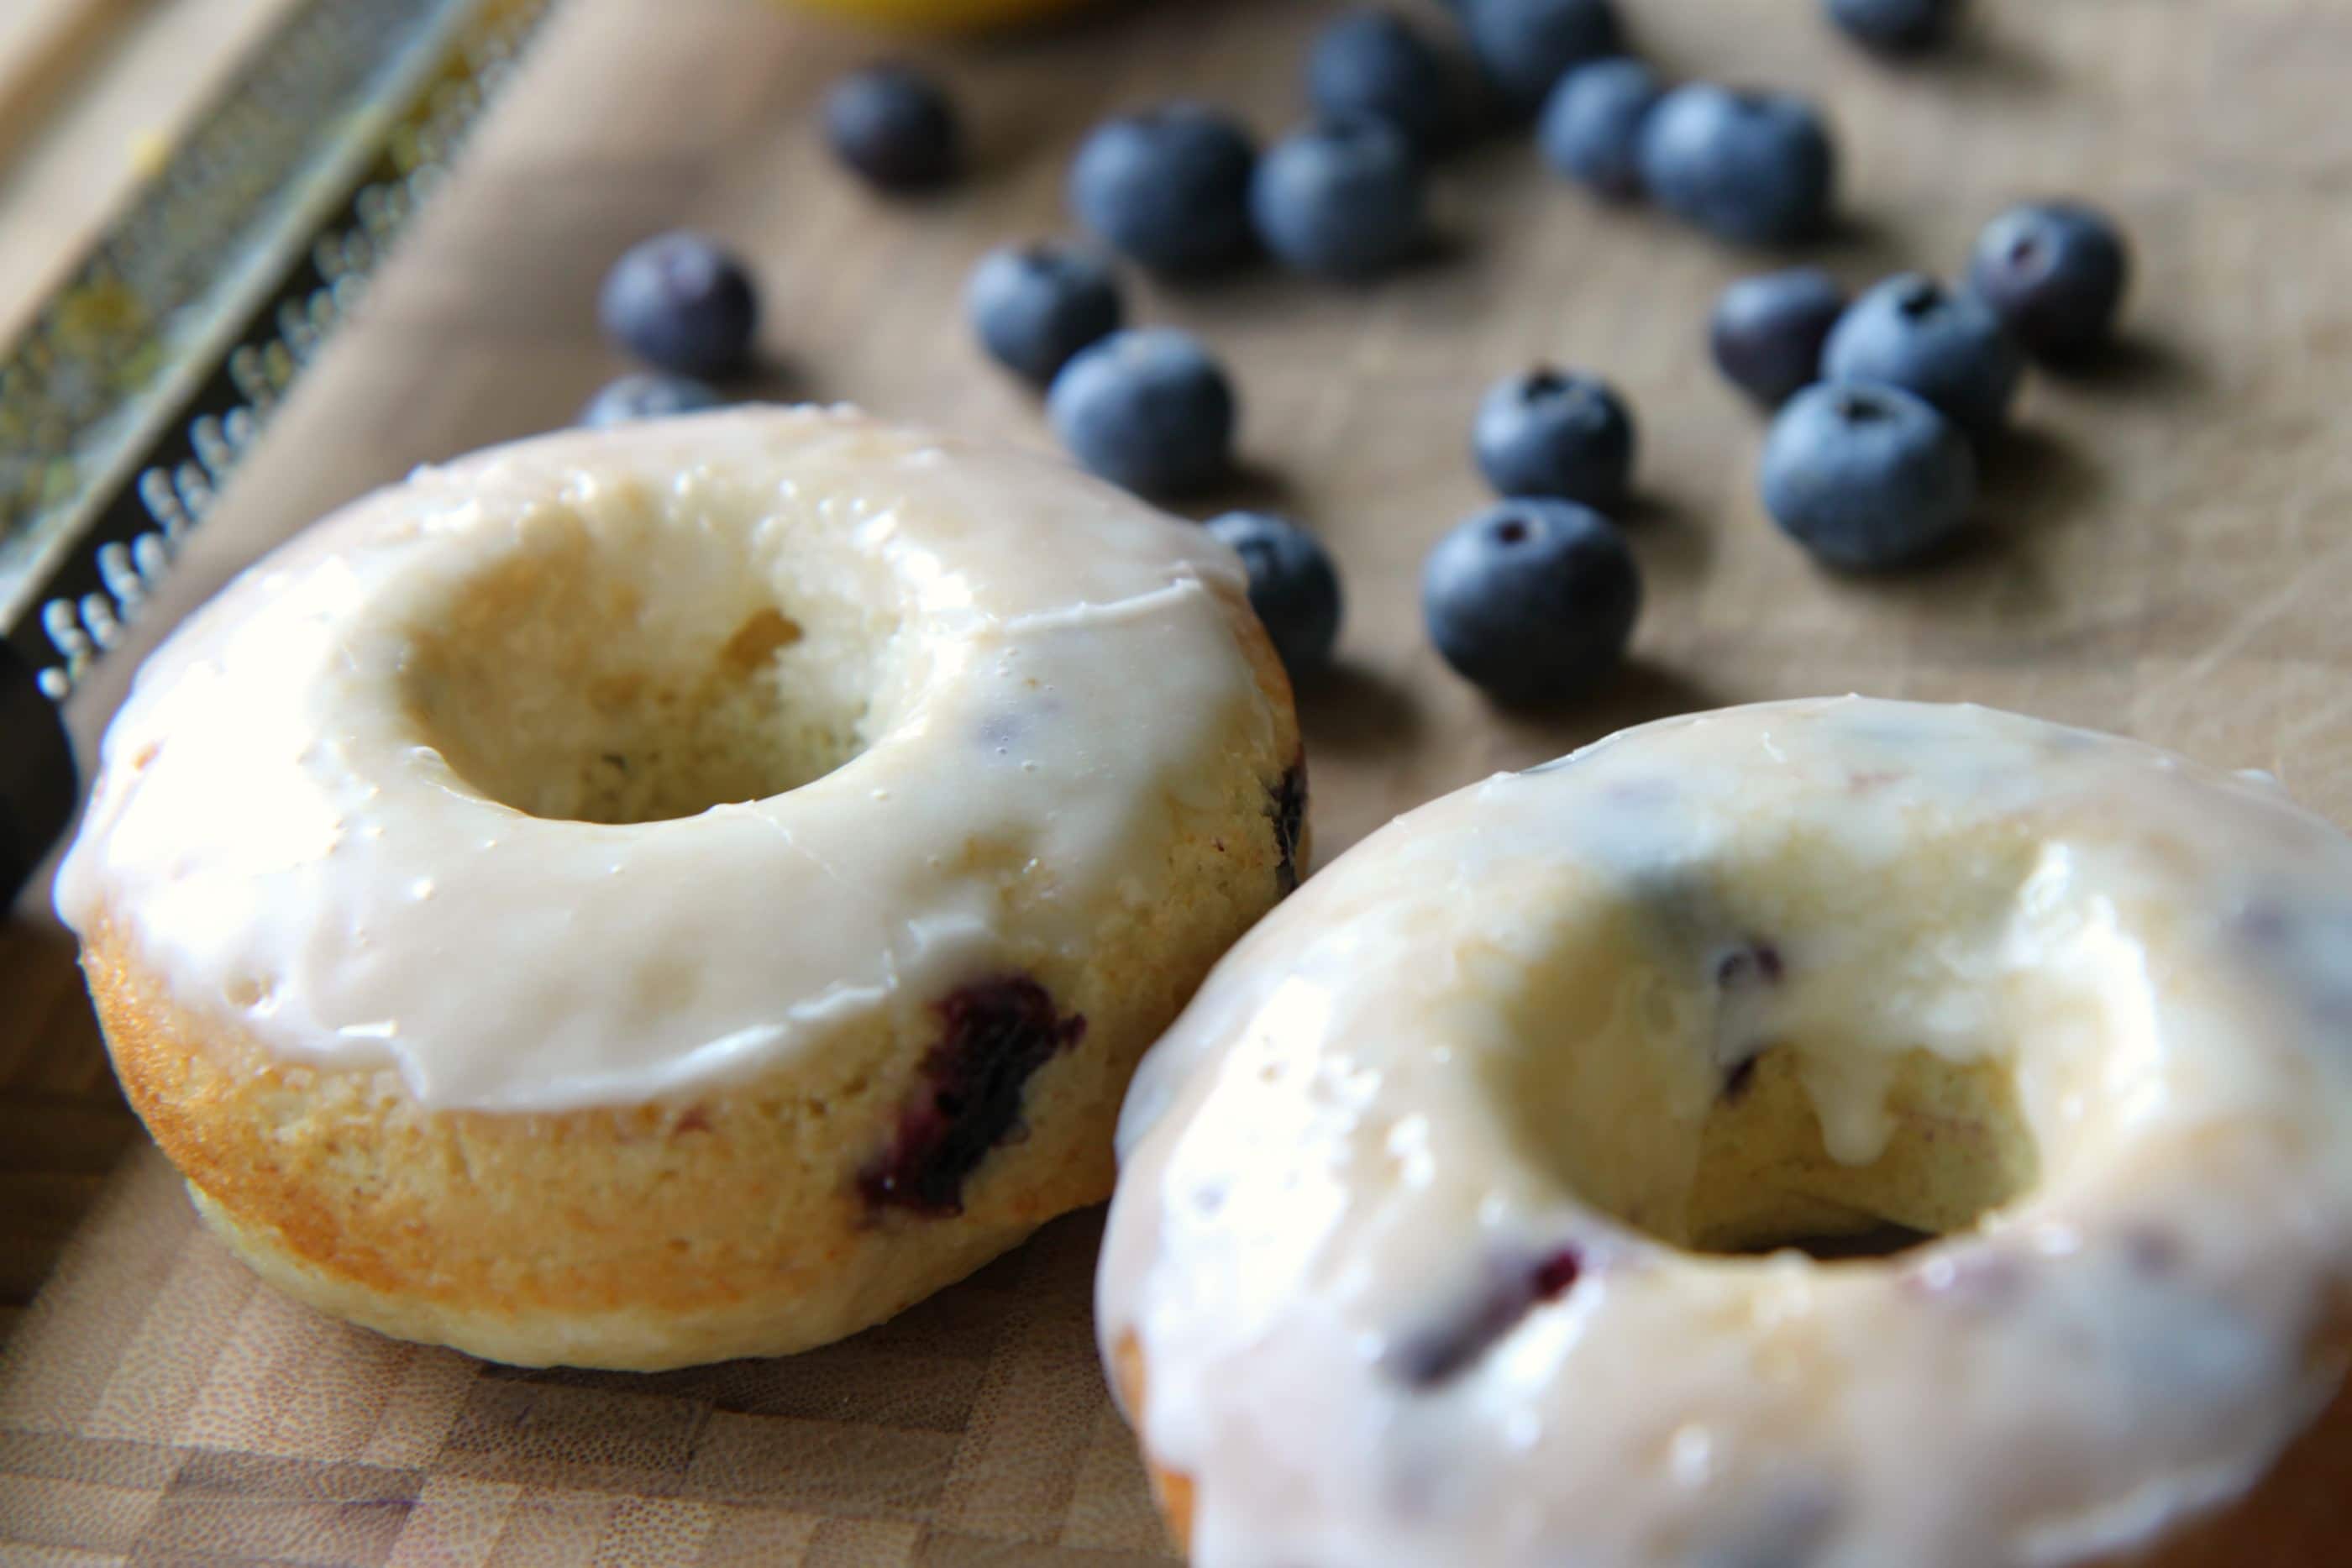
It is no secret around here that baked donuts are a favorite thing in our house. We have tried everything from delicate chocolate donuts, to pumpkin donuts, to cake donuts, to gingerbread donuts.  The one thing I haven’t tried though is fruit-filled donuts and I have been dying to make these.  I found an evening of blueberry picking last week yielded the perfect fruit to marry my love for baked donuts with some delicious results.  Your life just might be transformed by these baked blueberry donuts.

Even though blueberries are a hit with me, this fruit is a miss with my son and husband.  I knew if I could make a blueberry lover out of them though, baked donuts would be the ticket. I can finally, in all honesty say, that these donuts were loved by even them, thanks to the lemon additions and halving the fruit for delicate bites of berries rather than bursts.

The glaze is so light, but filled with the powerful flavor of lemon throughout. The cake is light and fluffy with flecks of berries and more lemon zest throughout the fluffy batter. The accompaniment of these flavors is a perfect marriage of deliciousness in your belly, while remaining a surprisingly light snack for a morning or afternoon treat.

I can’t say more about these donuts or I may be forced in the kitchen to make another batch already.  If you have any Swagbucks, I would put them to work towards donut pans. My donut pans were purchased with a few Swagbucks that I had set aside and credited  towards an Amazon gift certificate to purchase them for free this year. I use these Norpro 6-count Nonstock Donut Pans for $12.99 each for our donut baking in our house.

They have been a priceless treasure in my kitchen and a fun new Saturday morning tradition for our family!

Recipe:

Baked Blueberry Donuts with a Lemon Glaze

Ingredients:

2 cups cake flour (or 1 3/4 cup all-purpose flour + 1/4 cup cornstarch)
3/4 cup sugar
2 tsp baking powder
1 tsp salt
zest from 1 lemon
3/4 cup milk
2 eggs, lightly beaten
2 Tbsp butter
1 tsp vanilla extract
1/2 cup blueberries, halved

Lemon Glaze:
1 1/2 cups powdered sugar
1 Tbsp milk
1 Tbsp lemon juice (from the lemon you zested)
1/2 tsp vanilla extract

Directions:

Whisk together the cake flour, sugar, baking powder and salt into a large bowl.  Add in the lemon zest and whisk this into your dry ingredients. Pour in the milk, eggs, butter and vanilla extract. Gently mix the ingredients together. Be careful not to over-mix the batter. Fold in the halved blueberries carefully. Lightly grease a doughnut pan with non-stick cooking spray. Carefully spoon the batter into the doughnut pan, filling each one halfway. Bake the doughnuts at 400 F for 8-9 minutes. The donuts will remain light in color, but should spring back when pressed.

For the glaze: Put the powdered sugar in a large bowl. Add in the lemon juice, milk and vanilla extract. Whisk to combine. If the glaze is too thick, add additional lemon juice or milk, 1/2 teaspoon at a time until desired consistency is reached.

Once the doughnuts are done baking, let them cool in the doughnut pan for 4 minutes. Carefully remove the donuts from the pan.  Dip one side of each doughnut in the glaze. Set the doughnuts on top of a cooling rack with a baking sheet underneath. Allow the glaze on the doughnuts to dry and serve immediately with big glasses of ice cold milk.

Prep Time: 5-7 minutes

Total Time: 20 minutes

Serving Size: 12 donuts

Don’t be bored with berries! Be sure to check out our eight inspirational recipes for the  blueberry season to get those juices (literally) going on a berry project in your kitchen!

8 Inspirational Recipes for the Blueberry Season

Tuesday, July 26th, 2011

8 Inspirational Recipes for the Blueberry Season

Blueberry season is upon us and today I wanted to share with you our favorite blueberry creations that you can use those fresh picked berries for. Our family is looking forward to an evening of picking this week and these are the recipes that we will be using to create our favorite blueberry dishes.

blueberry pancakes 2

A pancake laced with fresh handpicked blueberries seems the perfect occasion to break out the old griddle and spatula for a fun and inexpensive weeknight meal. These blueberry pancakes are a delicious way to use a few of those berries and I promise that they will be a hit with your family too!

I love that with this batter it is encouraged to mix the batter up ahead of time and allow it to rise for a bit on the counter. What happens is that this seemingly unimpressive batter is magical as it puffs up beautifully once placed on the griddle. Once poured on the griddle, I sprinkle the blueberries into each pancake individually as they become golden. The pancakes are then served with a little syrup and another generous handful of fresh berries on top.

Recipe:  Blueberry Pancakes

Blueberry Iced Tea Syrup

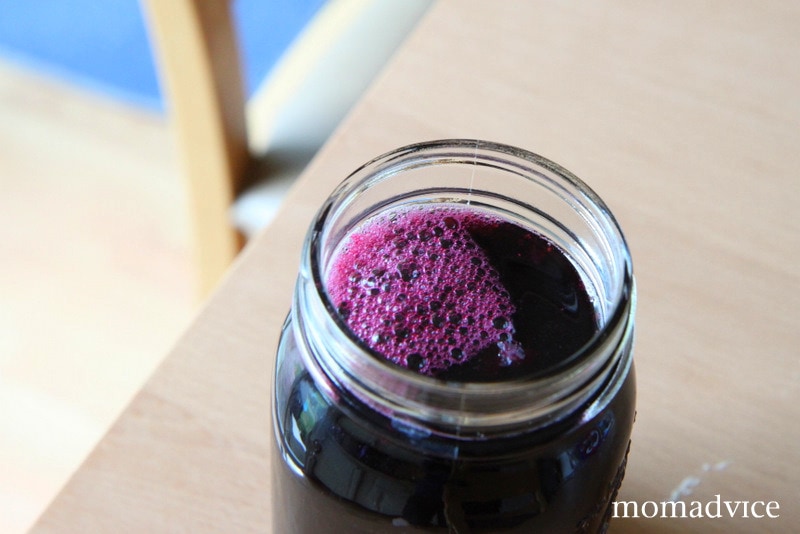
Making homemade syrups for drinks is something that I love to keep in our refrigerator to fancy up a glass of iced tea or a mug of coffee. Making homemade syrups does not take a lot of time, but it can make a regular glass of iced tea go from a standard glass to a fantastical gourmet treat.

This is a my favorite recipe for making Blueberry Drink Syrup that can be added to your iced tea, your coffee, or even your margarita! Whatever gets you going in the morning, I promise not to judge!

Recipe: Blueberry Drink Syrup

Blueberry Muffins

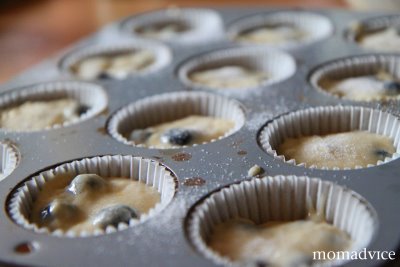
It is the berry season and nothing says summer to me like a big blueberry muffin. These blueberry muffins are laced with the juice and zest of one lemon, which cuts through the sweetness and makes a perfect balance of flavors. I dust these with raw sugar and they make a fantastic snack to eat and to share with neighbors and friends.

Recipe: Lemony Blueberry Muffins

Blueberry Cobbler

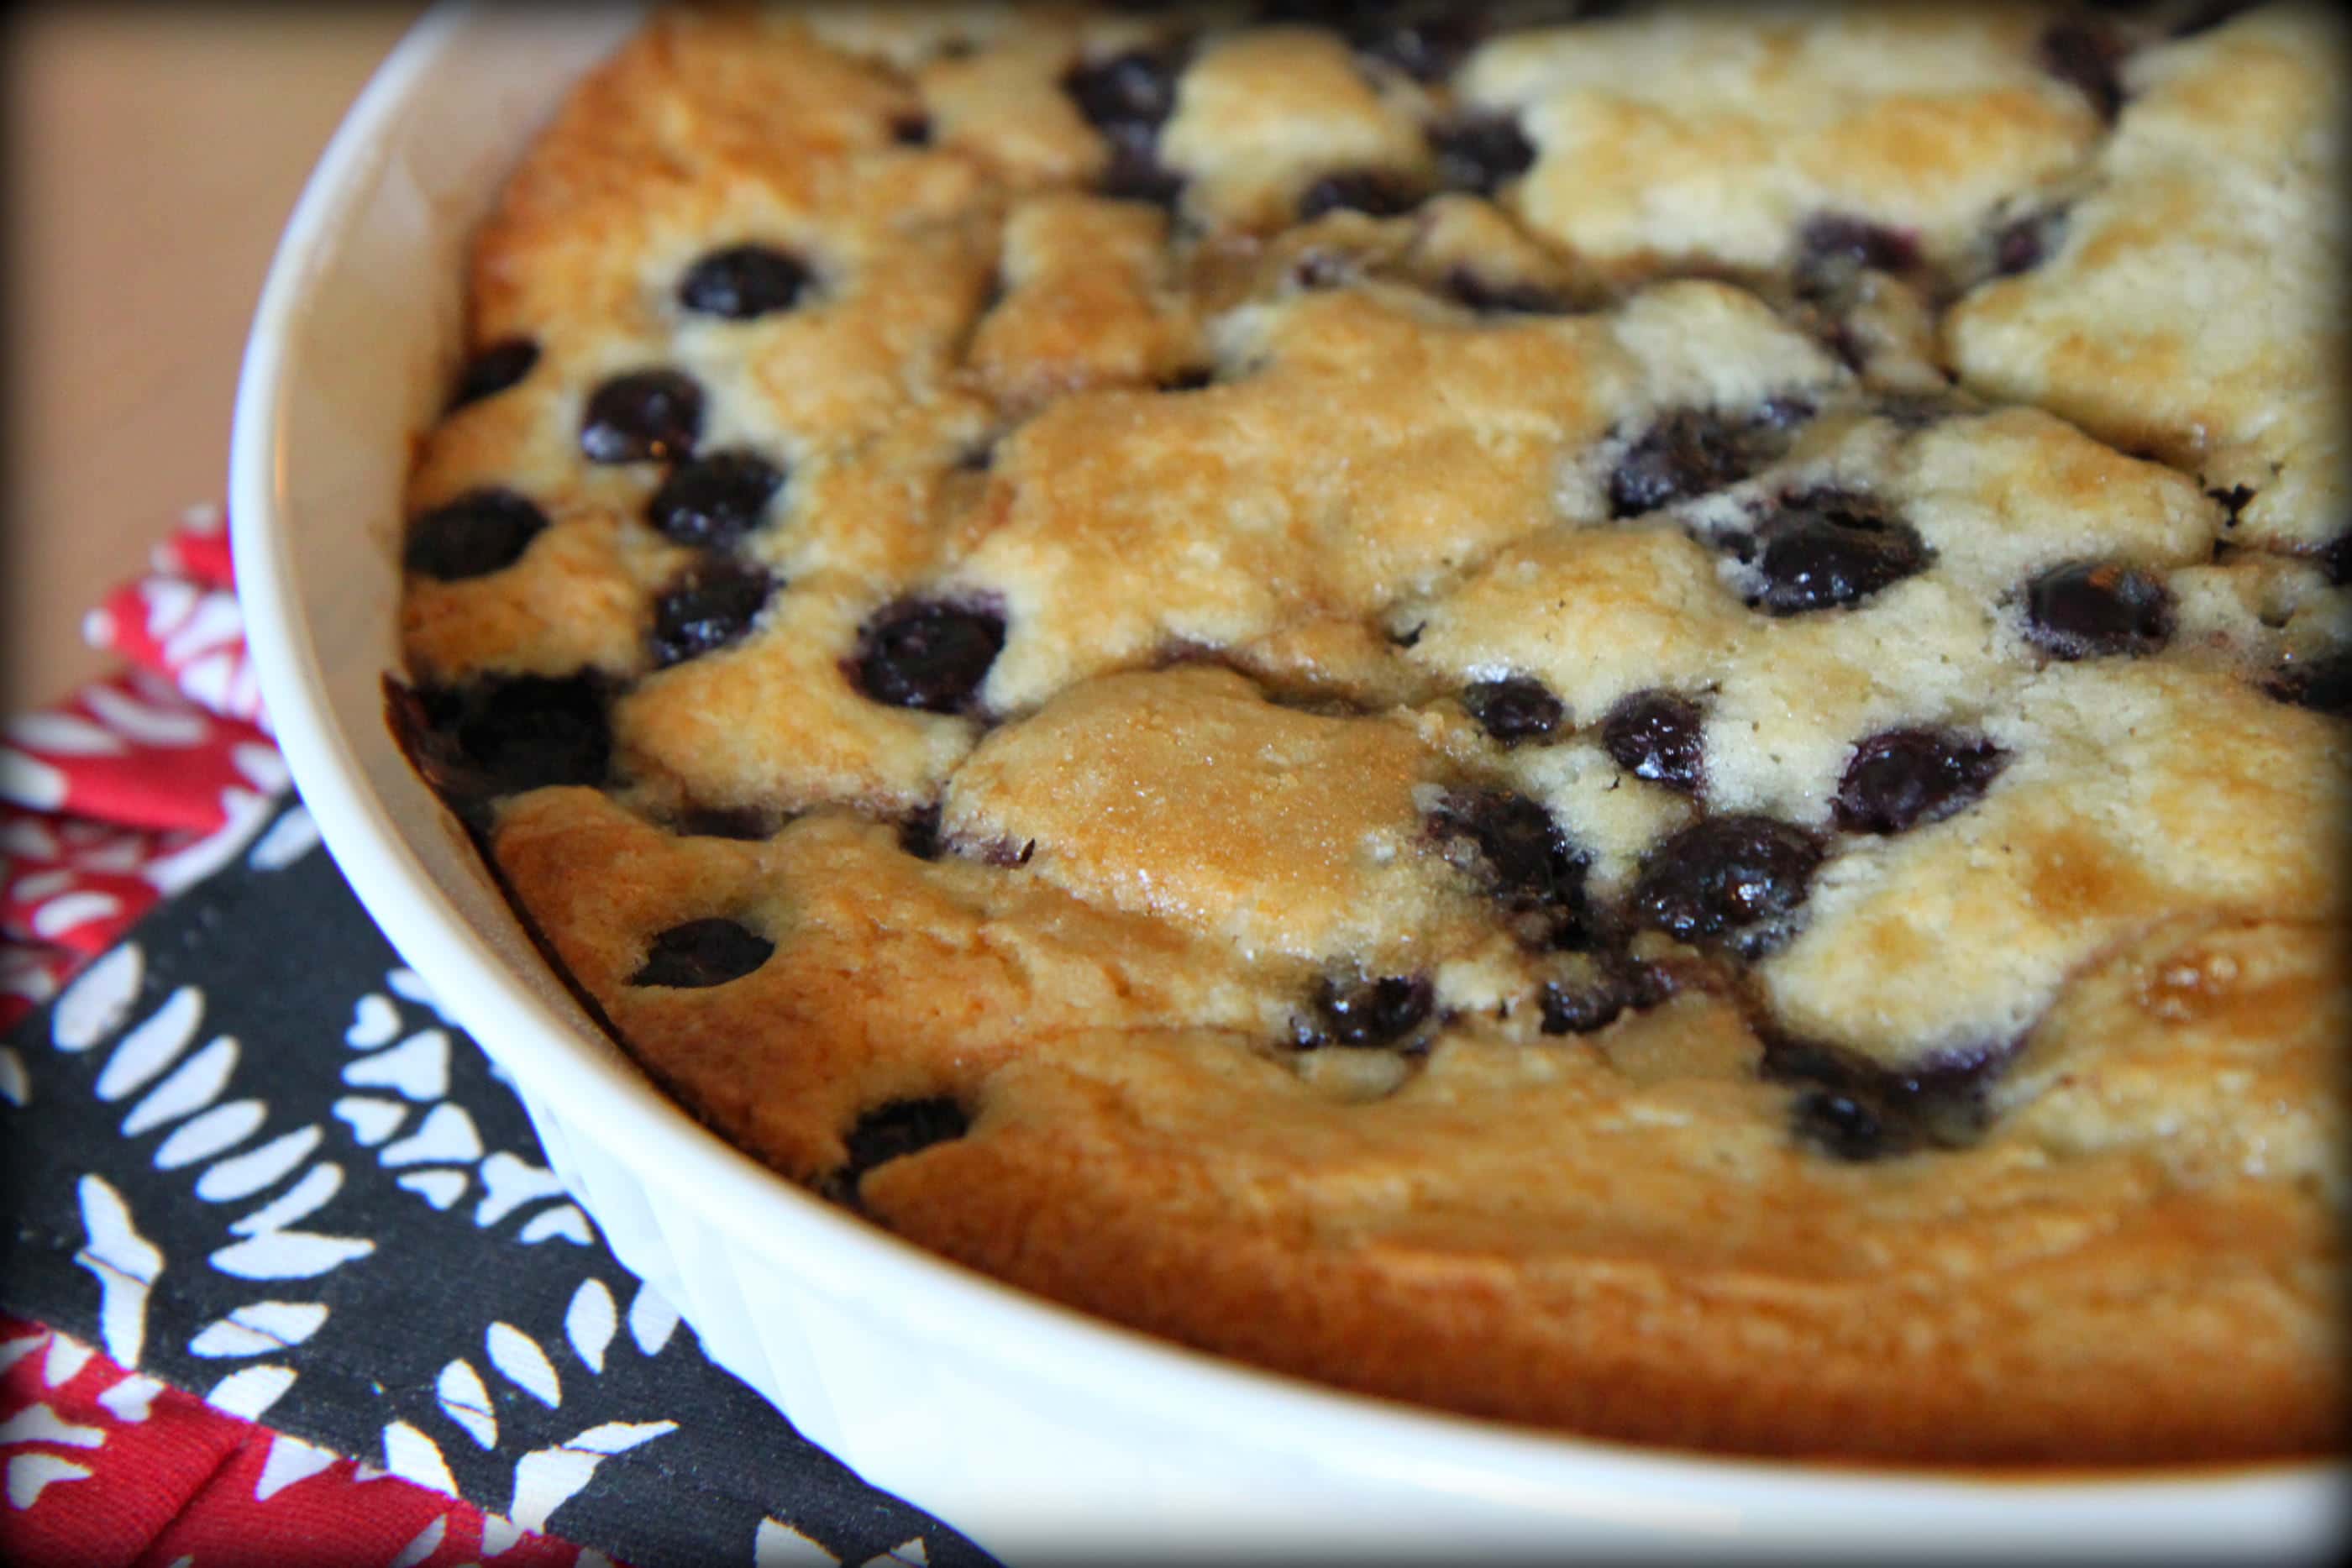
Last year I decided to give a blueberry cobbler a try for a book club meeting and this recipe pulled together so easily that I shared it that evening and then later, as a special birthday treat for my mom. With all of the ingredients coming straight from the pantry, it was a fun and frugal dish to share and everyone I shared it with really seemed to enjoy it. If you are looking for a fast and satisfying dish to bring to your next gathering, I highly recommend this delicious blueberry cobbler for a perfect way to end any meal.

Recipe: Fresh Blueberry Cobbler

Blueberry Muffin Cake

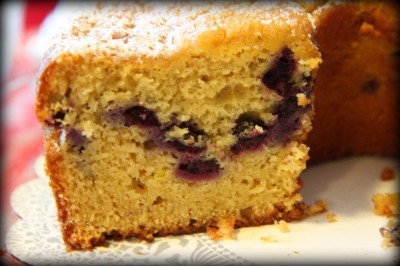
Looking for a recipe for a few blueberry haters in your family? This is the one that is sure to convert them and just a peek inside this cake shows why anyone can eat it. The cake only has one cup of blueberries in the whole thing. This handful of berries makes a beautiful stripe down the middle and adds just the right balance of blueberries and cake instead of the overwhelming amount of berries that can be in other cakes and muffins.

The blueberries are suspended in the batter with the help of a little reserved cake mix and a quick toss to coat them. The cake mix has added flavor boosts from the addition of cinnamon, vanilla yogurt, and a little vanilla pudding mix. The resulting cake is moist and absolutely perfect. This is truly my favorite blueberry recipe and I promise it will be yours too!

Recipe: Blueberry Muffin Cake

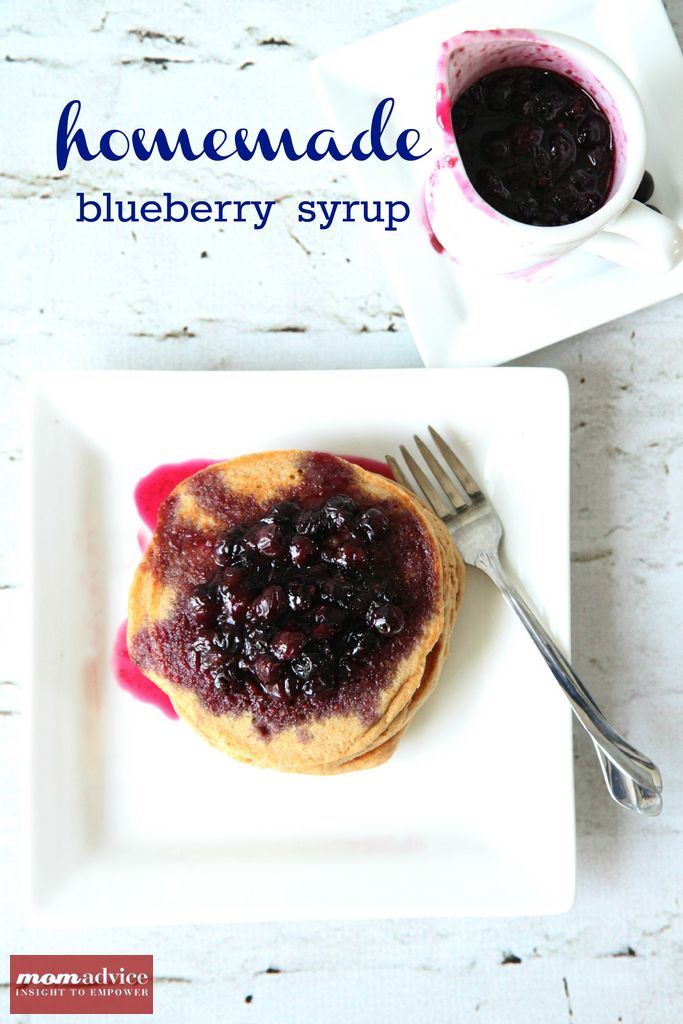
Blueberry Pancake Syrup

It is amazing how sugar, water, a little vanilla, and fresh berries make such an incredible difference on a plain old waffle, but this blueberry pancake syrup proves that simple ingredients can create something outstanding.

The burst of flavor, the happy dance in my mouth, and the smacking of lips at the table make me so incredibly joyful when we eat this syrup over our waffles. The berries coat the waffle perfectly and add a little sweetness to my waffles without a sugary overkill.

This is really and truly a fantastic indulgence that takes about the same amount of time to cook as it does to make up a batch of waffles. Fast and delicious!

Recipe: Blueberry Pancake Syrup

Berry Trifle

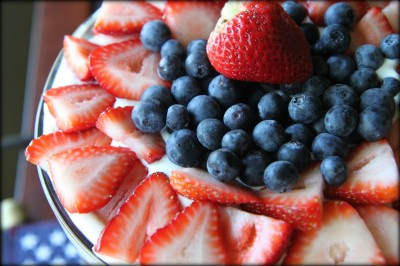
One thing I have wanted to try is a trifle and for my son’s birthday this year, I had the perfect opportunity!  With berries in season and a store-bought angel food cake, this dish isn’t only affordable, but easy too!

The white chocolate pudding set this trifle apart from any other I have ever eaten because it adds a richness and unexpected layer into this berry trifle. Not only does this dish taste rich, but it is perhaps one of the lightest desserts I have ever made where I felt full and satisfied, while feeling like I indulged.  Of course anything with pudding, cake, and berries is a winner in my book.  I would highly recommend giving this recipe a try for your next get together!

Recipe: Red, White, & Blueberry Trifle

How to Freeze Blueberries

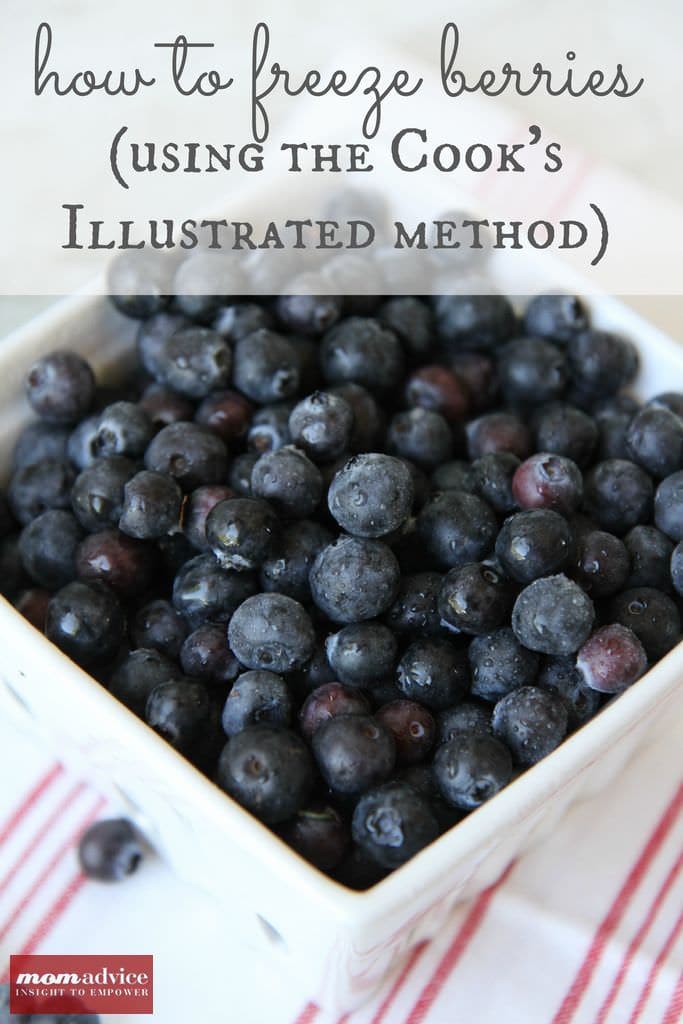
After all of this inspiration, if you still have some berries left, I highly recommend the Cook’s Illustrated technique for freezing your berries for optimal flavor. I tried this last year and last month we ate berries that tasted like they had been freshly picked after almost a year of storage.

In years past, I just threw the berries on a cookie sheet, froze them, and then tossed them into marked bags for later consumption. Cook’s Illustrated is my Bible for cooking and they claim that the best consistency for blueberries is if they have been frozen with sugar. They froze six different kinds of fruit, tried seven different methods of freezing on each fruit, stuck them in the freezer for six months, and then tasted them. I certainly don’t have the time or inclination to take on a task like that and that is why I absolutely love Cook’s Illustrated!

If you are worried about the sugar, it is just meant to help keep the fruit’s shape and texture. When you want to eat the berries, you just rinse the sugar off and enjoy the optimal taste of the fruit.

Freeze Blueberries in 3 Easy Steps

Our collection of recipes continues to grow! While I have you here, here are four more fun ideas to try this year!

Baked Blueberry Doughnuts

Baked Blueberry Doughnuts With a Lemon Glaze

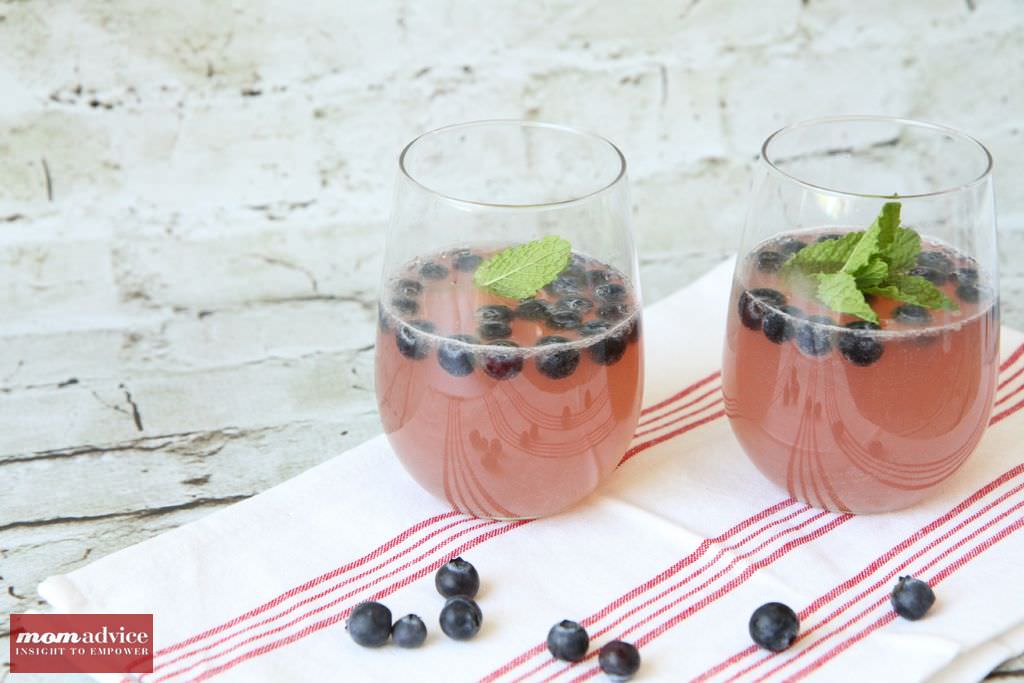
Blueberry Sangria Lemonade

Blueberry Sangria Lemonade

Healthy Banana Blueberry Muffins

Healthy Blueberry Banana Muffins

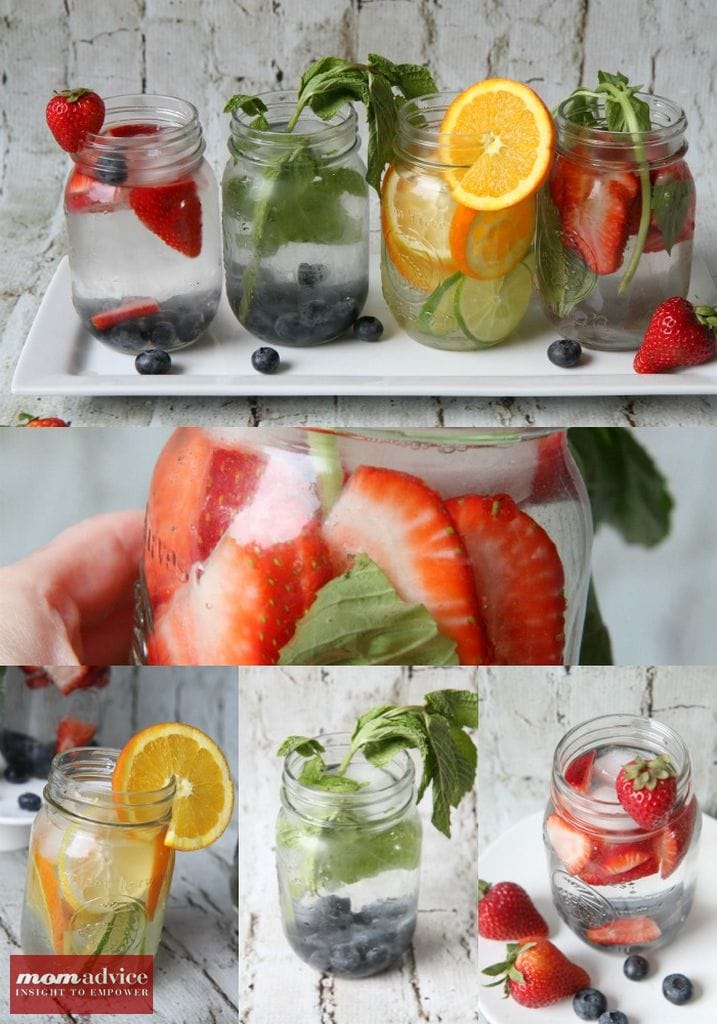
Fruit Infused Water Recipes

Healthy Fruit Infused Waters

Quinoa-Berry Breakfast Bowls

Quinoa-Berry Breakfast Bowls (sub with blueberries)

What are your favorite blueberry recipes? How do you freeze your berries? Feel free to share links and recipes here for even more inspiration for our readers!

Pin It

Lighter Whole Wheat Chocolate Chip Pancakes

Monday, May 16th, 2011

When people ask me what I am most proud of that I have done for my family, I will answer you with two words… creating traditions.  I think what makes our family unique is not only our commitment to live within our means, but to have fun doing it along the way by creating family traditions that I hope my children will someday remember fondly. Perhaps one of my most favorite traditions is our Jazzy Sunday tradition of delicious waffles and jazz music. Those two are the perfect merriment for our family and no Sunday would be complete without this special time together.

It is nice to switch up the traditions though, and this particular Sunday felt like the perfect pancake kind of morning.  In the fall months my Light & Fluffy Pumpkin Pancakes are a family favorite, in the summer my Fresh Blueberry Pancakes are a fun breakfast treat, and Piggy Pancakes happen to be a year-round way to cheer up my kids when they have had a rough day.

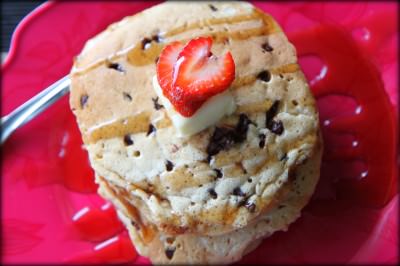
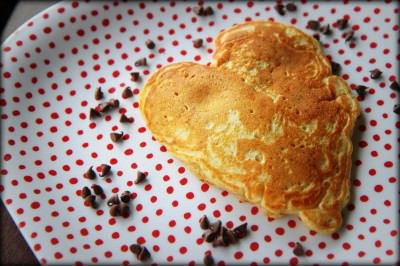
Chocolate chip pancakes are my daughter’s new favorite thing after a school field trip to a local restaurant served a plate of these up to her.  I prefer a hearty pancake that will stick to their ribs especially when heading for a jam-packed day of school. I decided to whip up a batch of these whole wheat chocolate chip pancakes to satisfy her pancake cravings that just happen to be filled with wheat flour, wheat germ, and mini chips for a good balance of sweetness to round them out. I promise you won’t miss that white flour at all and neither will your kids!

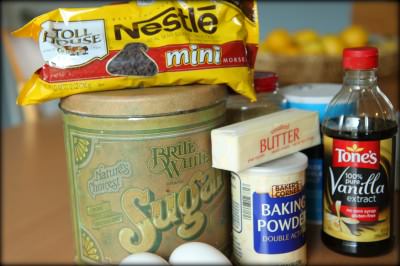
Let’s gather up our ingredients for this fun recipe. You will need whole wheat white flour (or you can substitute with half white and half wheat flour), wheat germ, baking powder, salt, butter, skim milk, eggs, vanilla extract, sugar (just a tiny bit), and mini chocolate chips.

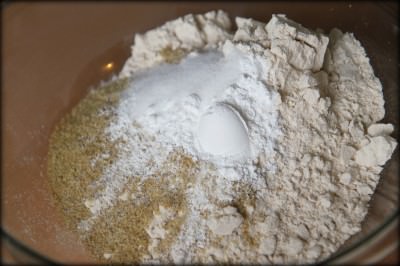
In a large bowl mix together your whole wheat white flour, wheat germ, baking powder, salt, and sugar. I like to break up the lumps with a whisk.

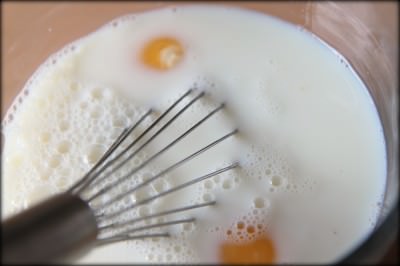
In a separate bowl whisk together your skim milk, eggs, vanilla, and melted butter.

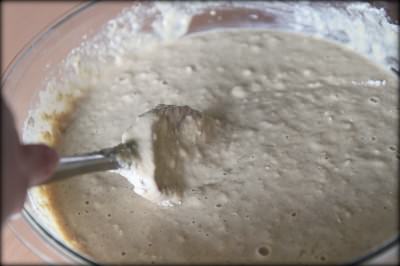
Now mix the wet and dry ingredients together, just until they are incorporated. It’s okay if the batter is lumpy, I promise!

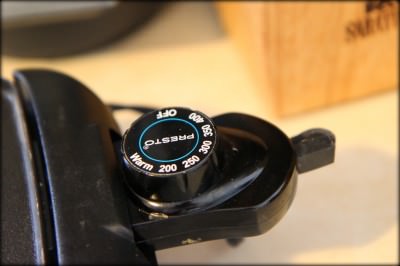
Preheat your nonstick griddle to 350 degrees or spray a skillet with nonstick cooking spray and heat on medium heat.

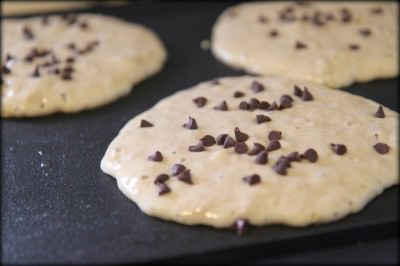
Ladle 1/4 cupfuls of batter onto your griddle and then sprinkle with a tablespoon or so of mini chocolate chips (if desired). Let the pancakes cook until they begin to bubble, then flip. Cook until golden on the other side. Serve with a little syrup and fresh strawberries. Yum!

Lighter Chocolate Chip Pancakes

1 3/4 cups white whole wheat flour
1/4 cup wheat germ
2 teaspoons baking powder
1 teaspoon salt
1 3/4 cups skim milk
1/4 cup margarine, melted
2 eggs, beaten
2 teaspoons vanilla
3 tablespoons sugar
Mini chocolate chips (optional)
Cooking spray

Combine flour, wheat germ, baking powder, and salt in a large bowl. Set bowl aside. In a separate bowl, whisk together the skim milk, melted margarine, eggs, vanilla, and sugar. Make a well in the center of the dry ingredients; stir in the wet ingredients, being careful not to over mix the batter.  Heat a large skillet over medium heat, and coat with cooking spray. Pour 1/4 cupfuls of batter onto the skillet & sprinkle each pancake with mini chocolate chips (if desired). Cook until bubbles appear on the surface. Flip with a spatula, and cook until golden brown on the other side.

Recipe Source: Adapted from AllRecipes.com

I put a shout-out on our Facebook Fan Page asking for any recipe requests for these upcoming summer months. What recipes are you looking for?  I would love to hear what you want to see so can create recipes that your family will really enjoy! Thanks so much for your help, friends!

Fluffy Baked Chocolate Donuts

Monday, April 4th, 2011

Thank you guys so much for your patience last week!  That bronchitis really wiped me out and we are slowly returning to humanity again this week!  I will admit, there has been a whole lot of take-out since I was out of commission this week. I had to tie on my apron though to share a recipe with you for the week and I hope that these Baked Chocolate Donuts will do the trick!

If you have missed my past donut posts, I used a few Swagbucks that I had set aside and credited them towards an Amazon gift certificate to purchase two donut pans for free. I found these Norpro 6-count Nonstock Donut Pans for $12.99 and making donuts has become a new fun tradition in our house.

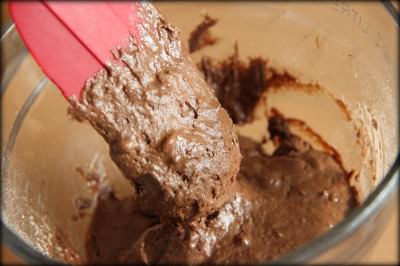
I have been dying to make chocolate donuts in my donut pan, but had a really hard time finding a good chocolate baked donut recipe that incorporated what we already had in our pantry. I decided to improvise and pulled together this recipe and, I have to say, these are AMAZING.

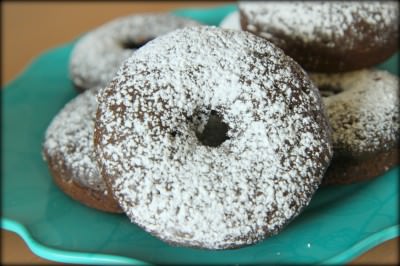
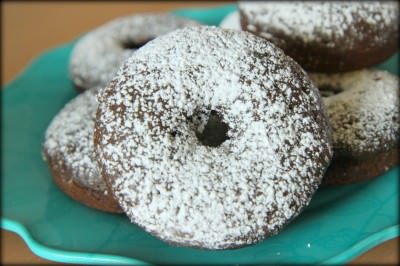
The donuts look rich and decadent, but are surprisingly light in texture. My secret ingredient of leftover coffee from my morning coffee, heightens the chocolate flavor of the cocoa powder. A light dusting of confectioners’ sugar finishes this delicious treat for a fun way to start the day or a mid afternoon snack.

Let’s get baking!

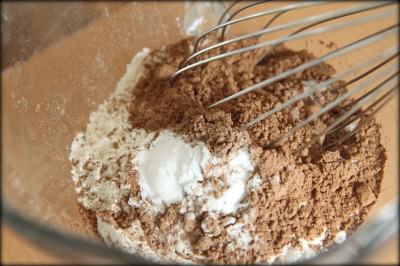
In a bowl, mix together your cocoa powder, flour, salt, and baking soda with a wire whisk.

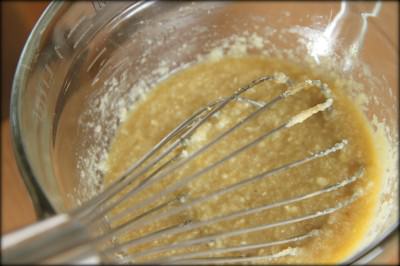
In another bowl, whisk together your melted butter, egg, brown sugar, vanilla, and coffee.

Mix the wet and dry ingredients together. Be careful to mix these just until they are incorporated so you have a nice & fluffy donut.

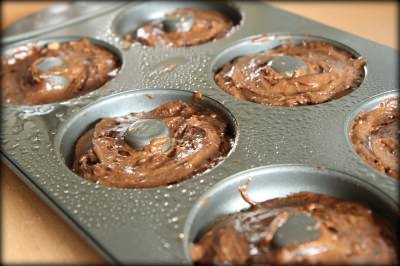
Spoon your batter into well-greased donut pans. I have found that an ice cream scoop can be the be the perfect way to scoop in the batter without a lot of spills or drips. You want to fill them about 3/4’s full which worked out to be six donuts worth. Slide them into your oven at 325 degrees  and bake them for thirteen minutes.

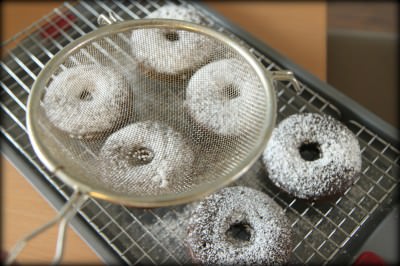
Once they are done baking, pull the donuts out and place them on a cooling rack to cool.

Give the cooled donuts a sprinkle of confectioners’ sugar or finish with a simple glaze. Enjoy with a ice cold glass of milk!

Baked Chocolate Donuts

1 cup all-purpose flour (may need to add 1/4 cup more of flour if your dough is looking too loose)
1/4 cup unsweetened cocoa powder
1/2 teaspoon baking soda
1/4 teaspoon salt
1/2 cup milk
1/2 cup packed brown sugar
1 egg
4 teaspoons butter, melted
2 tablespoons coffee
1 teaspoon vanilla extract

For the glaze (optional):

1 cup confectioners’ sugar
2 tablespoons hot water
1/2 teaspoon vanilla, butter, or almond extract

Heat oven to 325.  Coat donut pan with nonstick cooking spray. In large bowl, whisk flour, cocoa, baking soda and salt.  In small bowl, whisk milk, sugar, egg, butter, coffee, and vanilla until smooth.  Add milk mixture to flour mixture; whisk until blended and smooth. Fill each doughnut cup approximately 3/4 full. Bake at 325 degrees for thirteen minutes or until doughnuts spring back when touched. Allow to cool slightly before removing from pan. Dust with confectioner’s sugar.

Optional: To make glaze, blend confectioners’ sugar, hot water and extract in a small bowl. Dip doughnuts in the glaze and then dip them in sprinkles.

Looking for more fun ways to enjoy baked donuts at home? Check out our recipes for Fluffy Baked Cake Donuts with a Simple Glaze,  Baked Pumpkin Donuts with Maple Syrup Frosting and these delicious Baked Glazed Gingerbread Donuts for three more variations that your family will flip for!

Wafflepalooza: 6 Amazing Waffle Recipes & Tips to Get Your Waffle On

Monday, March 28th, 2011

In this family, we are all about traditions… especially food traditions.  One tradition that we started a few years ago was a waffle or pancake tradition each and every Sunday for brunch. It has become such a normal part of our week that you would think that it would lose some of its shine over the years, but it honestly has not. Thanks to a wide variety of fun waffle recipes and our fun tradition of jazz music with the Sunday paper, it is truly what Sunday afternoons have become all about for me and my family. Honestly, who could refuse a little Harry Connick Jr. and a little homemade waffle magic for a Sunday tradition? Not me!

This tradition is the gift that keeps on giving because I always make a double batch of orange juice and a double batch of waffles that are frozen and are at the ready for a quick breakfast that costs a fraction of the price.  With my big breakfast eaters in the house, it has definitely helped save us a lot on the cereal budget.

Today I am throwing my own little wafflepalooza with all of the great waffle recipes that we have featured over the years a few fun ways to dress them up,  and a few quick tips for great waffle success.
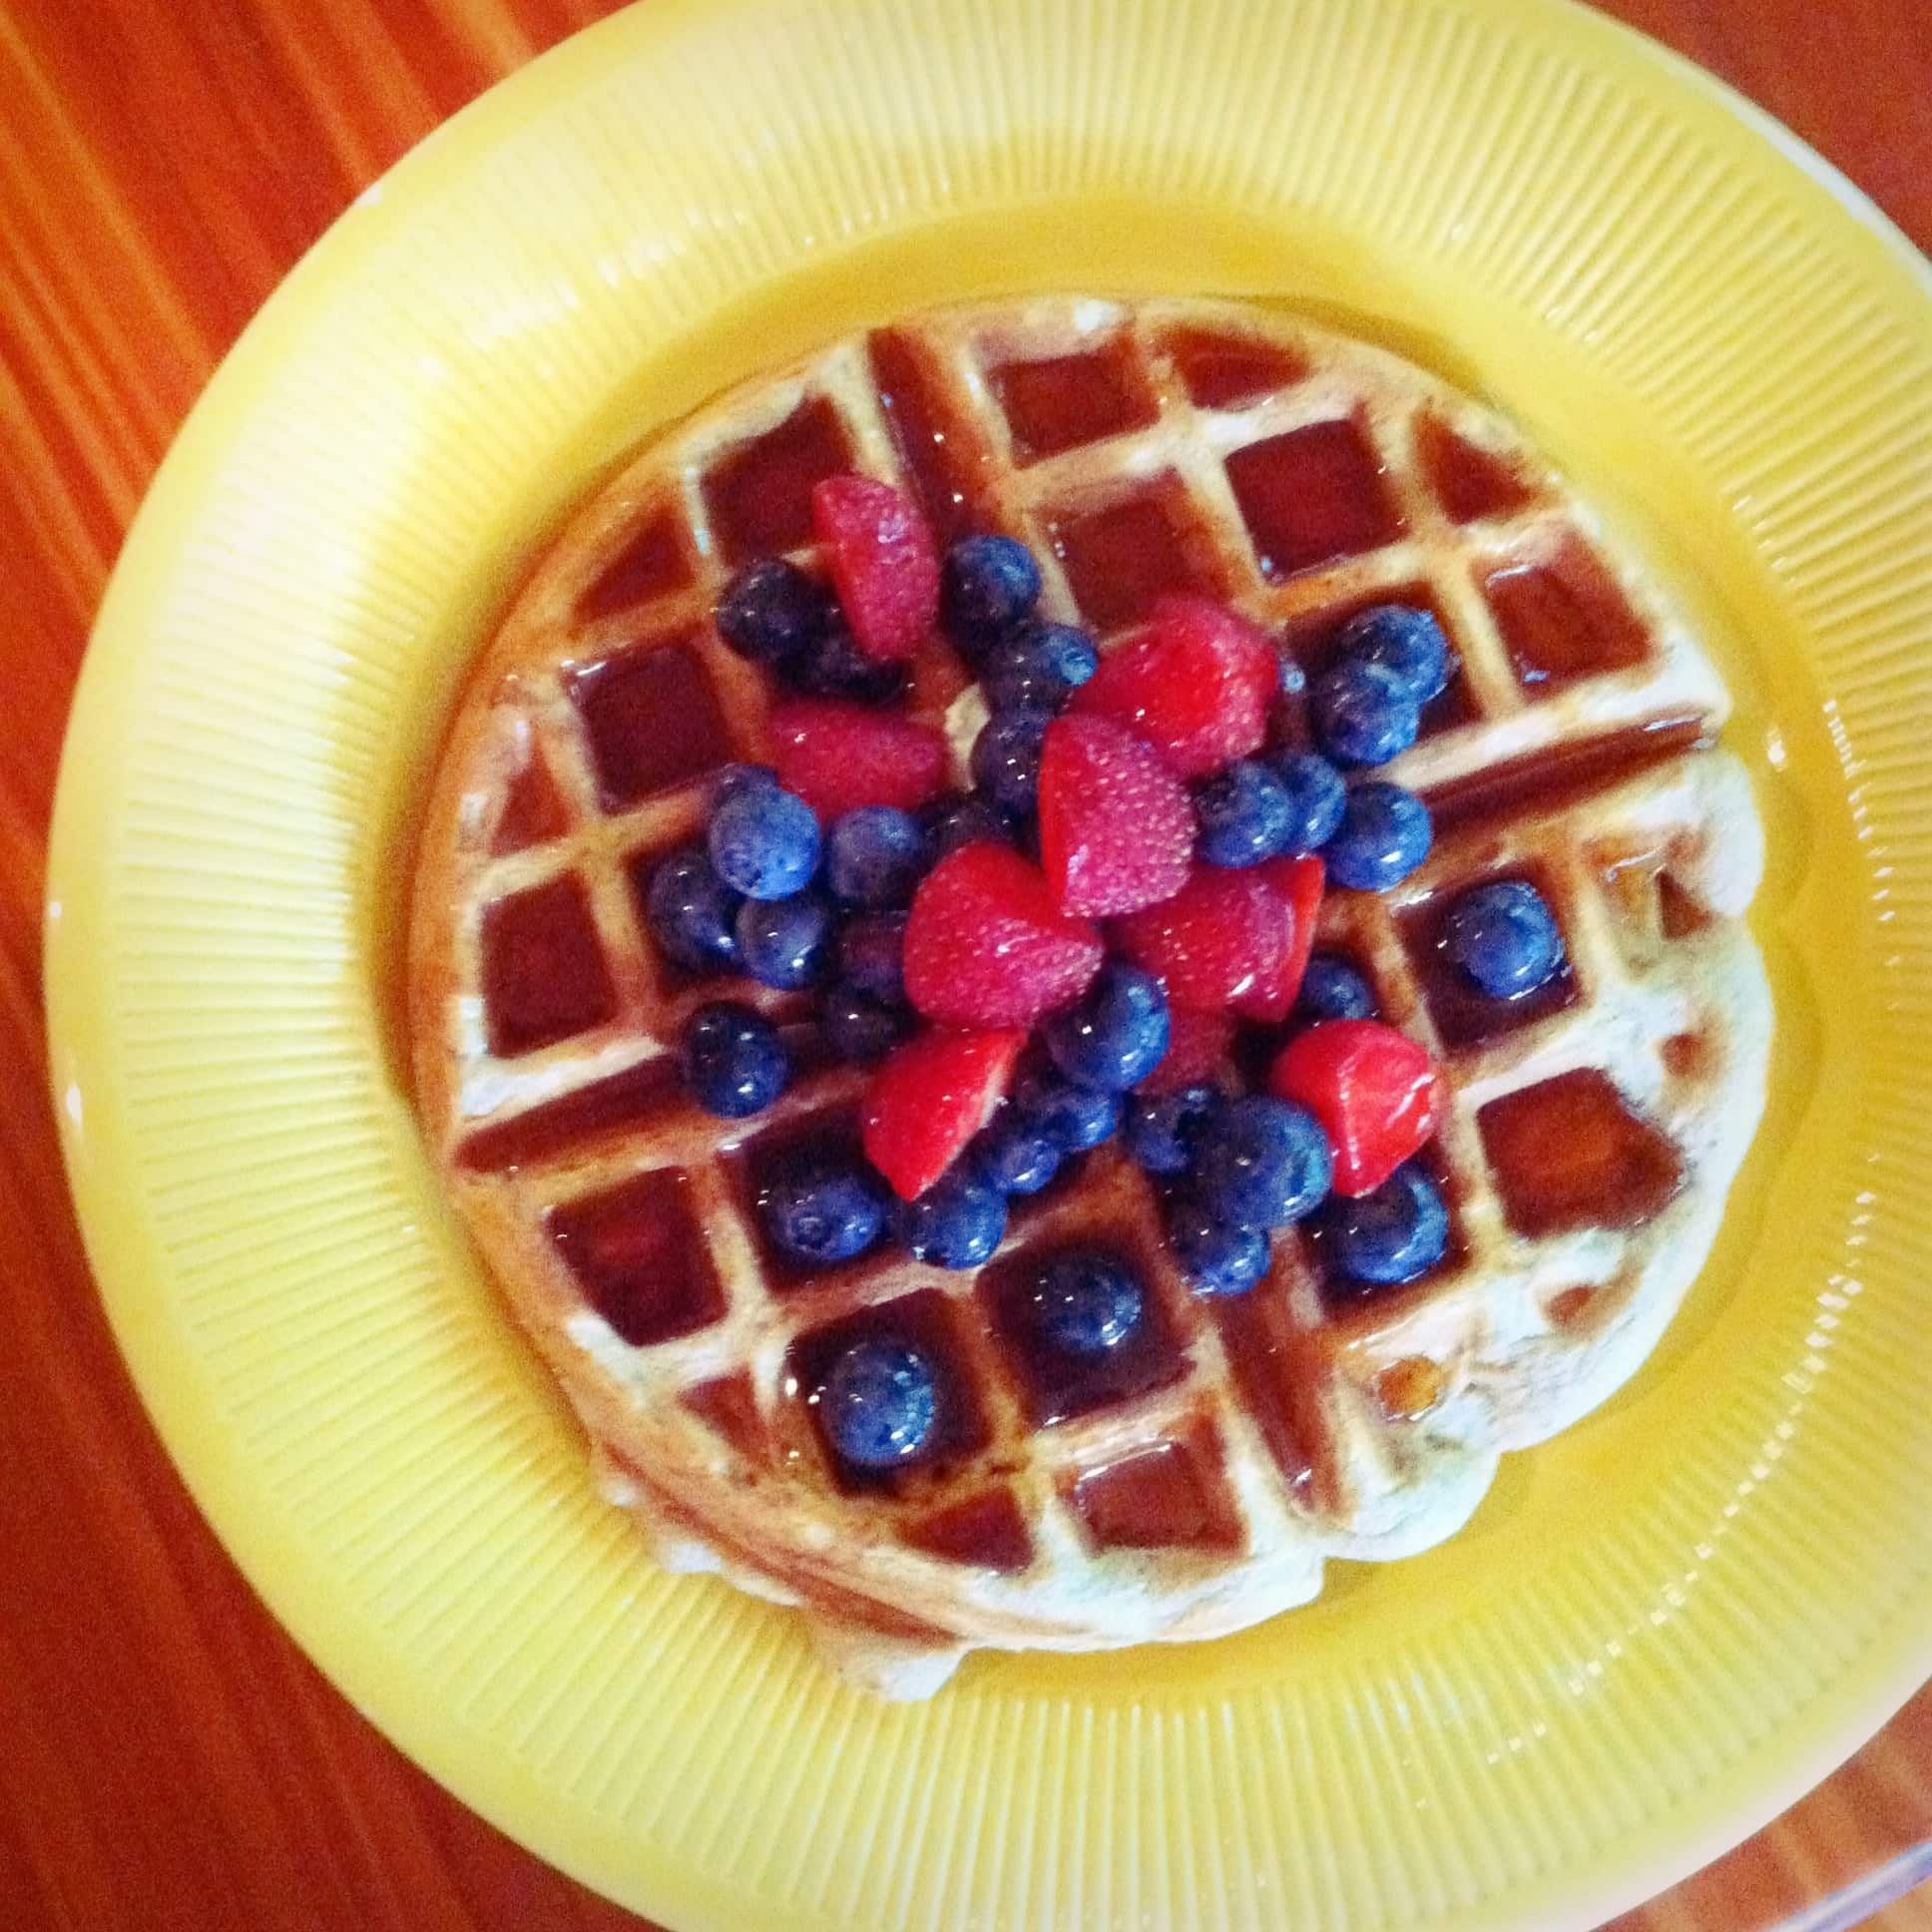
This waffle is still our absolute favorite and it has been tweaked over the years and is now the most perfect and light wheat waffle that I have ever eaten. Give this one a try!

Whole Wheat Cinnamon Waffles

1 3/4 cup whole wheat white flour
1/4 cup toasted wheat germ or rolled oats
1/3 cup instant nonfat dry milk powder
1 tablespoon ground cinnamon
1 tablespoon baking powder
1/2 teaspoon baking soda
1/2 teaspoon salt
2 eggs (separate the egg whites from the egg yolks)
3 tablespoons canola oil
2 teaspoons vanilla extract
2 cups buttermilk (I used regular milk and then added 2 tablespoons of vinegar & let it stand for five minutes)

In a large bowl, combine the whole-wheat flour, unbleached flour, dry milk, cinnamon, baking powder, baking soda, wheat germ, and salt; mix well. Separate the egg yolks from the egg whites. In a medium bowl, mix the yolks, oil, buttermilk, and vanilla. Pour over the dry ingredients. In a small bowl beat egg whites until stiff peaks form (tips stand straight up). Gently fold egg whites into flour and egg yolk mixture, leaving a few fluffs of egg white, Do not overmix. Coat your waffle iron with vegetable cooking spray and preheat. Pour 1/2 cup of the batter into the center of the hot waffle iron and cook until the batter stops steaming, about 6 minutes. Cooking time varies according to the they type of waffle iron you have. Repeat with remainder of the dough, applying the cooking spray between waffles. Serve warm with your favorite syrup.

********************************
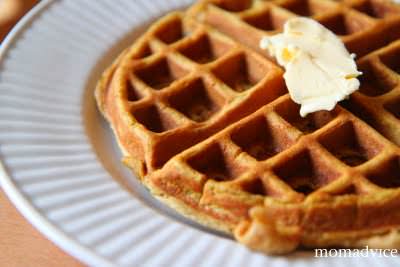
While this is definitely a waffle that might feel more appropriate in the fall season, if you have a can of pumpkin gathering dust in your pantry, I highly recommend freeing up your pantry space on this waffle recipe. These are my most requested waffles by my kids!

Deliciously Spiced Pumpkin Waffles

1 1/2 cups all-purpose flour
3 teaspoons baking powder
1/2 teaspoon baking soda
1 teaspoon cinnamon
1 teaspoon nutmeg
1 teaspoon ground ginger
1 pinch salt
2 eggs
1/4 cup firmly packed brown sugar
1 cup canned pumpkin puree
1 2/3 cups milk
4 tablespoons butter, melted and cooled

Mix together flour, baking powder, baking soda, cinnamon, nutmeg, ginger, and salt in large bowl. In a second bowl, add eggs, sugar, pumpkin, milk, and butter; beat well. Gently fold in the flour mixture. Spoon in about 3/4 cup of batter into the waffle iron. Cook each waffle for 4-5 minutes. This recipe makes approximately 5 waffles on my waffle iron.

Additional Notes- I double this recipe to make an extra batch to freeze or when entertaining. Make sure to spray your waffle iron well with nonstick spray or these will stick to the waffle iron and make a big mess. Also, be sure to leave these on at least four to five minutes. If you try to take them off sooner than that, they will not taste as good or set up as nicely.

********************************
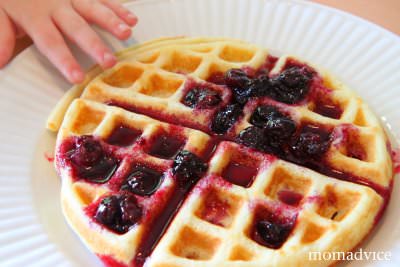
Sometimes you just want a deliciously light waffle just like you would get at a great waffle house. This is my favorite waffle house type waffle and comes from the legendary Better Homes & Gardens cookbook. It is rave-worthy and perfect for your next Sunday brunch!

Best Waffles Ever (Courtesy of Better Homes & Gardens Cookbook)

1 3/4 cups all-purpose flour
1 teaspoon baking powder
1/4 teaspoon salt
2 egg yolks
1 3/4 cups milk
1/2 cup canola oil
2 egg whites

In a medium mixing bowl stir together flour, baking powder, and salt. Make a well in the center. In another bowl beat egg yolks slightly. Stir in milk and oil. Add egg yolk mixture all at once to the dry mixture. Stir just till moistened (should be lumpy). In a small bowl beat egg whites until stiff peaks form (tips stand straight up). Gently fold egg whites into flour and egg yolk mixture, leaving a few fluffs of egg white, Do not overmix. Spoon waffle batter into your waffle iron, making sure not to overfill it.

Note- I doubled this recipe for my family of four and we had enough for three extra Belgian waffles.

********************************
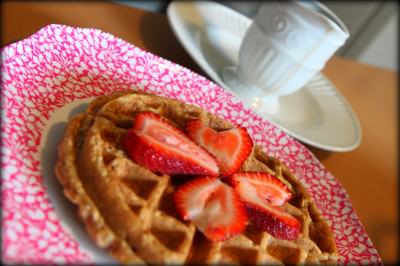
One of my oldest and most favorite waffles are these Oatmeal Cookie Waffles. They are deeply satisfying and are created using one of my favorite budget-friendly pantry ingredients!  This produces a giant batch of deliciousness with stick-to-your-ribs tastiness.

Oatmeal Cookie Waffles

4 cups quick oats (grind the oats in your food processor or blender until it is a fine powder)
1 cup all-purpose flour
2 teaspoons salt
3 cups milk (you can use prepared powdered milk)
2 tablespoons baking powder
2 beaten eggs
2 tablespoons molasses
4 tablespoons canola oil
2 teaspoons vanilla
2 teaspoons cinnamon
1/4 cup sugar

Mix all ingredients together until there are no lumps. Pour batter into well-greased waffle iron and allow each waffle to cook four minutes. Serve immediately.

Note: If you make the batter ahead of time, be sure to add milk to thin it out. My batter became too thick to even put in my waffle iron so add a little milk until you reach the desired consistency.

********************************
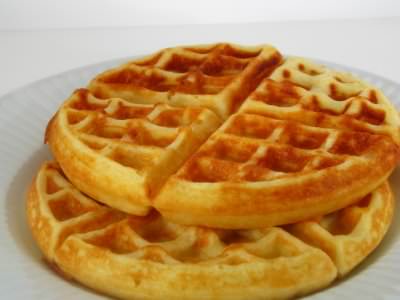
Looking for a waffle recipe that you can create the night before and then just wake up and heat up that waffle maker? Well, look no further than this delicious waffle that requires some time in your fridge overnight to rise. This recipe was gifted to me after enjoying a girl’s weekend with one of my dearest friends, passed on to her by her own mom. It is definitely great for after church service entertaining!

Overnight Yeast Waffles

1/4 cup warm water
1 package yeast or 2.25 teaspoons of yeast if bought in bulk(dissolve the yeast in the ¼ cup of water)
½ cup oil
1 egg
1 tablespoon sugar
¾ teaspoon salt
3 cups flour
2 cups warm milk

Mix all ingredients together, cover, and refrigerate overnight. Warm waffle iron and spray with non-stick spray. If batter is too thick, use milk to thin down.

Note: Keep water warm- if  it is too hot it will kill the yeast.

********************************
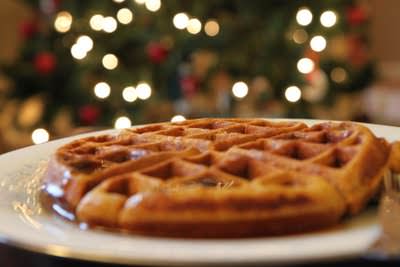
These waffles are our special Christmas morning treat and reserved for our Christmas Eve gift opening. These are so special and my kids know that they can look forward to this yearly tradition, reserved for this season of giving once a year. Bookmark this recipe for the holiday season!

Gingerbread Waffles (courtesy of 30 Minute Meals)

3 cups all-purpose flour
4 teaspoons baking powder
2 teaspoons ground cinnamon
2 teaspoons ground ginger
1/2 teaspoon freshly grated nutmeg, eyeball it
1/2 teaspoon salt
4 l
arge eggs
2/3 cup packed dark brown sugar
1 cup canned pumpkin puree
1 1/4 cups milk
1/2 cup molasses
1/2 cup (1 stick) melted butter, plus some to butter the iron
Syrup, whipped cream or fresh fruits for topping, to pass at table

Preheat waffles iron. In a large bowl combine flour, baking powder, cinnamon, ginger, nutmeg and salt. In a medium bowl, beat eggs and brown sugar until fluffy, then beat in pumpkin, milk, molasses and melted butter. Stir the wet into dry until just moist. Do not overstir the waffle batter. Brush the iron with a little melted butter and cook 4 waffles, 4 sections each. Serve with toppings of choice.

********************************
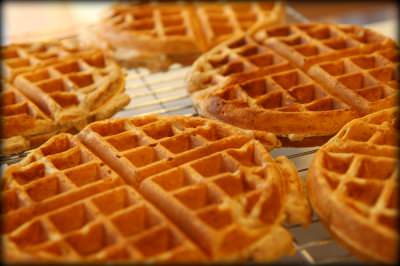
After years of trial and error in waffle-making, these are my simple tips for waffle success:

Get a Great Waffle Iron– The first tip to great waffle success is to find a great waffle maker.  Remember that a great waffle maker is not necessarily a bulk waffle maker. I made the mistake of asking for this Cuisinart 6 slice waffle maker that I thought would save me from standing over the waffle maker and enjoy some time with my family. Instead, we found the waffles that it created were teeny-tiny waffles and six of these teeny-tiny waffles barely fed one mouth and got cold before the syrup hit them. I am still a fan of a simple and inexpensive Belgain waffle maker.

Freeze the Leftovers– I try to always make a double batch of batter to insure that we can enjoy waffles all week long. As I make the extra waffles, I fan them out on my cooling racks until they are completely cool. Once they are cool, I slide them into a freezer bag, stacked on top of one another. If they are completely cool before freezing, they will just pop apart without the need for any wax paper to go in between.
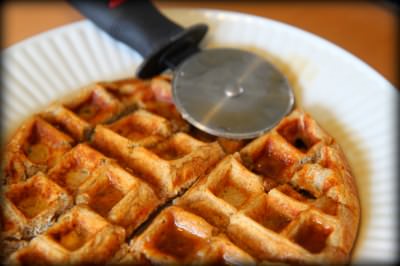

Cut Those Waffles in Record Time– If you have several mouths to feed, cutting the waffles can be tedious work. My favorite and most overworked gadget in my kitchen drawer is the pizza cutter. Cut the waffles into waffle strips for dunking in the syrup on the side or cut into bite-sized pieces in record time.

Make the Toppings Fun– Waffle toppings don’t have to be boring and I love to add variety to my toppings. Try this recipe below for blueberry syrup in the summer or this apple cider syrup in the fall to spice up the waffles. Forget the syrup and serve with a little nutella, peanut butter, or just a little fresh fruit on top.  Don’t forget you can also ditch your dependence on store-bought syrups and make your own homemade pancake syrup at home.

Fresh Blueberry Pancake Syrup

1 pint (or two cups) fresh blueberries
1 cup sugar
1 teaspoon vanilla
1/4 cup water

Place all ingredients in a saucepan. Cook over medium heat and stir to dissolve the sugar. Allow it to cook for 12-15 minutes and give the berries a little smash with your wooden spoon to break them up into the syrup. This syrup can be served warm over The Best Waffles Ever or you can serve the syrup cooled.

Homemade Pancake Syrup

2 cups warm tap water
4 cups sugar
2 tablespoons molasses
1-1/2 teaspoons maple flavoring
1/4 teaspoon butter flavoring (optional)

In a three-quart saucepan combine the water, sugar and molasses. Put the pan on the stove over medium heat. Stir every now and then until the syrup comes to a rolling boil. Watch the syrup carefully because it has a tendency to foam and will boil over if your pan is too small. If this starts to happen, remove the pan from the heat and turn the heat down. After the syrup boils, cover the pot and simmer it for ten minutes over a low flame. Do not stir it for this ten minutes. Remove the pan from the heat. Take off the lid and let it cool on the counter for about 15 minutes. Stir in the maple flavoring (and butter flavoring if you’re using it). Store the syrup in a clean quart canning jar.

Have you tried a waffle recipe that has been featured on MomAdvice? We would love to hear your feedback! Feel free to share your own recipes (links or plug in those recipes below) and share your family’s favorite food traditions!

Be Mine Donuts: Fluffy Baked Cake Donuts With a Simple Glaze

Monday, February 7th, 2011

Starting this month, I will be joining the Walmart Moms and sharing a fun DIY project that you can do that is both wallet-friendly and can be done with common items that you can pick up at your Walmart store.  Being a  DIY girl at my frugal heart, I am really excited about sharing easy craft and food projects that you can do on a limited budget that can make your life feel a little more special!

This month’s challenge was to create a DIY Valentine’s gift for someone you love. With two kids, our Valentine’s Day has admittedly become a little less about the romance and more about fun traditions that we can do as a family. We usually enjoy a heart shaped pizza with heart shaped pepperoni for a fun dinner, but this month I wanted to incorporate a fun breakfast tradition that could really show everyone just how much I love them.

What says, “I love you!” more than fresh homemade donuts in the morning?

The answer? Nothing.

These cake donuts will take about the same amount of time to make as they would be to bundle everyone up and run over to your local donut shop and can be made easily from pantry ingredients that you already have in your kitchen.  I found all of the supplies I needed over at our Walmart store and hit the kitchen for a fun treat that can be made in about twenty minutes!

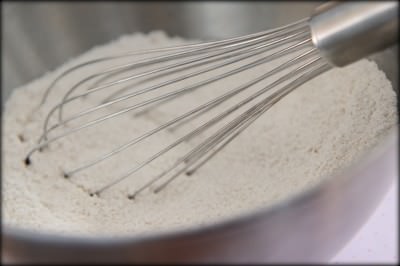
The first step is to whisk together your dry ingredients. In one bowl mix together your flour, sugar, cinnamon, baking powder, & salt.  Use your whisk to incorporate all of the ingredients together and break up any clumps in your dry ingredients. Set these aside.

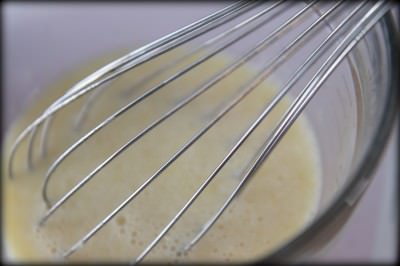
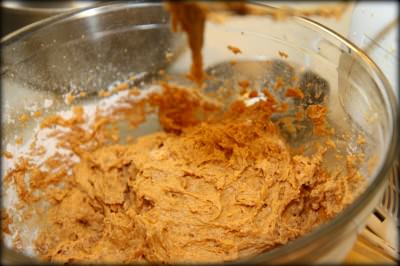
In another bowl you can whisk together the wet ingredients for your donuts. In this bowl you can mix the milk, eggs, butter, and vanilla that will go into your batter.  Then you can pour your wet ingredients into the dry ingredients and stir these together for your batter.

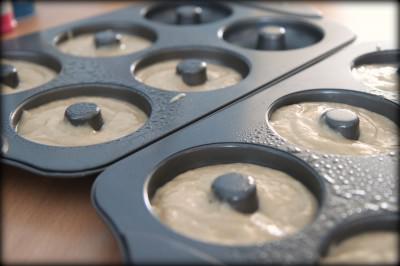
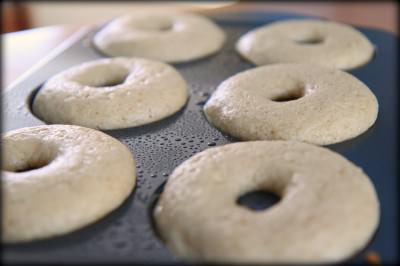
Spoon your batter into well-greased donut pans. I have found that an ice cream scoop can be the be the perfect way to scoop in the batter without a lot of spills or drips. You want to fill them about 3/4’s full which worked out to be nine donuts worth (Side Note- the second batch I made created an even dozen and they did cook more evenly. Definitely try and make them into 12 instead of nine).  Slide them into your oven at 325 degrees  and bake them for ten minutes or so. Keep half an eye on these as they do bake quickly!

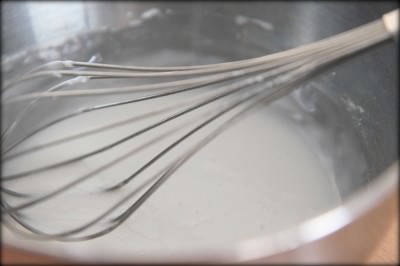
While the donuts are baking, you can mix up a little glaze to dunk your donuts into and act as the sprinkle holder for your donuts. This glaze is confectioners’ sugar, hot water, and a little flavoring. You can do vanilla extract, butter extract, or almond extract…whichever flavor suits your fancy!

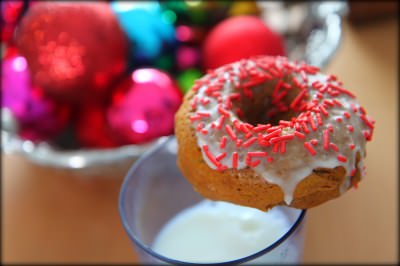
Pull the donuts out of the oven and allow them to cool a bit before decorating. See the light color on these? That is good! Don’t overcook them or you will have really dry donuts. These are a baked donut so they will not have that deep fried color that we are used to from the donut shops. They are also happen to be a little more figure-friendly and who doesn’t love that?

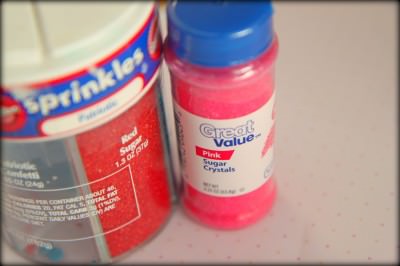
Now comes the fun part… the decorating! I found these cute pink sugar crystals in the Walmart baking supplies aisle and the store brand was a fraction of the fancier cake brand supplies. I also pick up seasonal sprinkles that have been moved to the clearance section and use those for decorating our donuts. Fourth of July sprinkles and Christmas sprinkles that are lurking in your baking supplies are also a fun addition to your Valentine’s Day decorating needs.

Dip the tops of your donuts in the prepared glaze and immediately shake on the sprinkles before it hardens. I rest a baking sheet under a cooling rack and decorate like this so that all the sprinkles and drips are contained into one spot. Allow the glaze to harden and then serve to someone you love.

What do these donuts taste like?

Um, heaven.

The cake is very fluffy and has a hint of cinnamon in it.  While I usually get a belly ache from donuts, these have the perfect balance of sweetness in them. The glaze and sprinkles add texture and sweetness to the donut that will have your kids begging for more. It really is a perfect donut that is light tasting, but feels very decadent!

Pair this with a little, “I Love You!” note on their napkins and I guarantee that you will score big points with them and your husband. This is the gift I plan to give my kids this Valentine’s Day and I hope you can share this with your own family!

Fluffy Cake Donuts with a Simple Glaze (Adapted from AllRecipes.com)

2 cups all-purpose flour
3/4 cup white sugar
2 teaspoons baking powder
1/2 teaspoon ground cinnamon
1 teaspoon salt
3/4 cup milk
2 eggs, beaten
1 teaspoon vanilla extract
2 tablespoons melted butter

For the glaze:

1 cup confectioners’ sugar
2 tablespoons hot water
1/2 teaspoon vanilla, butter, or almond extract
Directions

Preheat oven to 325 degrees F. Lightly grease a doughnut pan. In a large bowl, mix flour, sugar, baking powder,  cinnamon and salt. Stir in milk, eggs, your favorite extract,  and melted butter. Beat together until well blended.  Fill each doughnut cup approximately 3/4 full. Bake 8 to 10 minutes in the preheated oven, until doughnuts spring back when touched. Allow to cool slightly before removing from pan.
To make glaze, blend confectioners’ sugar, hot water and extract in a small bowl. Dip doughnuts in the glaze and then dip them in sprinkles.  Serve with big glasses of milk and lots of hugs & kisses.

Looking for more fun ways to enjoy baked donuts at home? Check out our recipes for Baked Pumpkin Donuts with Maple Syrup Frosting and these delicious Baked Glazed Gingerbread Donuts for two more variations that your family will flip for!

Do you have any fun Valentine’s Day food traditions in your house? How do you make this holiday special for your children? I would love to hear your ideas!

I am a part of the Walmart Moms program, and Walmart has provided me with compensation for these posts. My participation is voluntary and opinions are always my own.

Holiday Treat: Baked Glazed Gingerbread Donuts

Monday, December 6th, 2010

There are few things in the world that say Christmas to me more than the flavors of gingerbread.  Our family tradition is to indulge in Gingerbread Waffles on tree decorating day and for Christmas morning.  This weekend we had a busy weekend filled with fun holiday activities and I thought it might be fun to whip up a batch of baked gingerbread donuts as a special treat following my daughter’s holiday concert.

I spent the morning searching for a recipe to use and came up with not a single one. I had not intended to invent one, but once I had my heart set on a gingerbread donut, there was no turning back. I decided to pull together the ingredients from our gingerbread waffle recipe with a few of the ingredients from our Baked Pumpkin Donuts With Maple Syrup Glaze. By pulling these ingredients together, I just think I might have nailed down the perfect baked gingerbread donut.

As far as equipment goes for this, I did buy two donut pans with some Swagbucks that I set aside and credited those towards an Amazon gift certificate to purchase these. I found these Norpro 6-count Nonstock Donut Pans for $12.99 each and decided to put my certificates towards two of those.

If you don’t want to put these in a donut pan though, you could use a muffin tin or a mini-bundt pan. They have roughly the same amount of batter in them, but you will want to keep one eye on them to make sure they don’t overcook and test them with a toothpick to see if they have cooked all the way through. They won’t look like donuts, but will achieve all sorts of deliciousness without buying any extra equipment.

Let’s get started on our donuts! To begin making these donuts, you need to mix together the dry ingredients in one bowl. In a separate bowl, mix together all of your wet ingredients.  Then just add your dry ingredients to the mixed wet ingredients, just until they are combined. I just used my little hand mixer for this quick job.  It really is that easy.

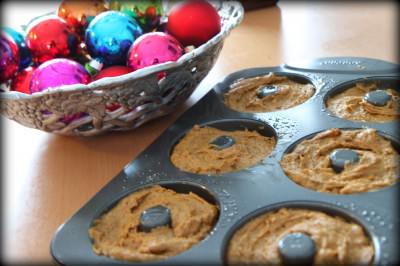
Now it is time to fill your donut pans.  Lightly spray your donut pan with a little cooking spray.  To fill the pan, you can do my lazy version or you can do it the “right way.” To do it the right way, scoop the batter into a gallon size bag and cut off the end corner to pipe the batter in. The lazy version simply requires an ice cream scoop and trying to scoop half the batter in on one side and half the batter in on the other side. Then smooth the batter on top with a butter knife.
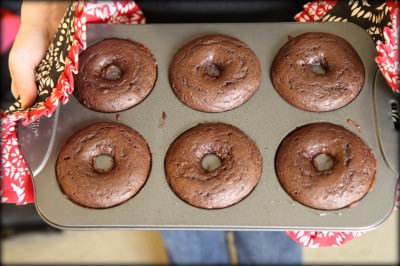
See this picture above? Do not fill them this high.  You need to only fill them 1/2 to 3/4’s full. If you fill them this high, they will not cook as evenly….trust me!

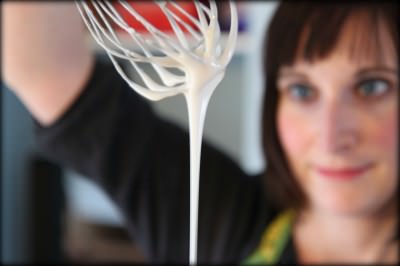
It’s time to whip up your glaze. This one is a simple one with just confectioner’s sugar, hot water, and a little vanilla extract. I mixed it in a bowl that is wide enough to give the donuts a little dip on top. This simple glaze won’t take away from the bold spices that are incorporated in the gingerbread. I consider the glaze more of a holder for the sprinkles than a frosting.

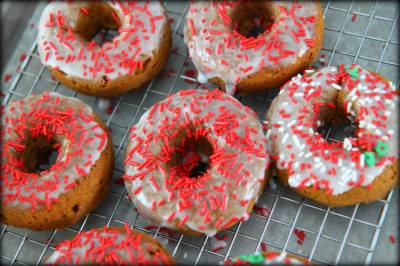
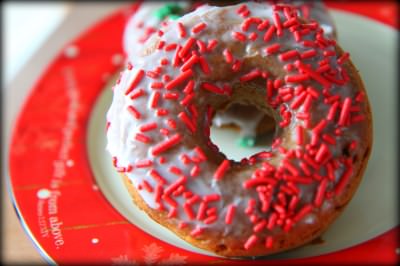
Once your donuts have cooled, place them on a cookie sheet with a cooling rack on top. Dip the tops of the donuts in your glaze you have prepared and then quickly give them a little shimmy shake with the sprinkles all over. This is a great way to use up some of those sprinkles that have been gathering dust in your baking supplies. I had quite a variety leftover from our holiday cupcake decorating extravaganza from last year.

Accept the wild compliments and applause from your family members. If a nomination for Mom of the Year is thrown around, accept your nomination graciously. Pledge to continue making fabulous food & family traditions for the holidays that your children will long remember.

Baked Glazed Gingerbread Donuts (courtesy of me)

2 cups flour
1 1/2 teaspoons baking powder
1/4 teaspoon baking soda
1/4 teaspoon salt
2 teaspoons cinnamon
1 teaspoon ginger
1/2 teaspoon nutmeg
1/2 cup brown sugar
1/4 cup molasses
4  tablespoons butter, softened
2 eggs
2 1/2 tablespoons milk
1 cup pumpkin purée

For the Simple Glaze:

1 cups confectioners’ sugar
2 tablespoons hot water
1/2 teaspoon vanilla extract

Preheat the oven to 375 degrees and grease two doughnut pans. In a medium bowl, whisk together the flour, baking powder, baking soda, salt, and spices.In another medium bowl, cream together the brown sugar and butter. Beat in the eggs one at a time, and then the vanilla extract, milk, molasses,  and pumpkin puree. Gradually beat the dry ingredients into the wet ingredients just until combined. Fill each doughnut mold 3/4’s full with batter. Be careful to not overfill the donut pans or the donuts will not cook evenly.  Bake 8-10 minutes or until the doughnuts spring back when touched. Remove from the pan and cool completely.

For the simple glaze: In a small bowl, combine confectioners’ sugar, water, and vanilla extract; stir well. Add additional water, if needed, to reach desired consistency. Dip tops of donuts in the glaze and then quickly sprinkle with colored sprinkles (if desired).

Eat.

Be Merry.