From our food contributor, Shaina Olmanson.
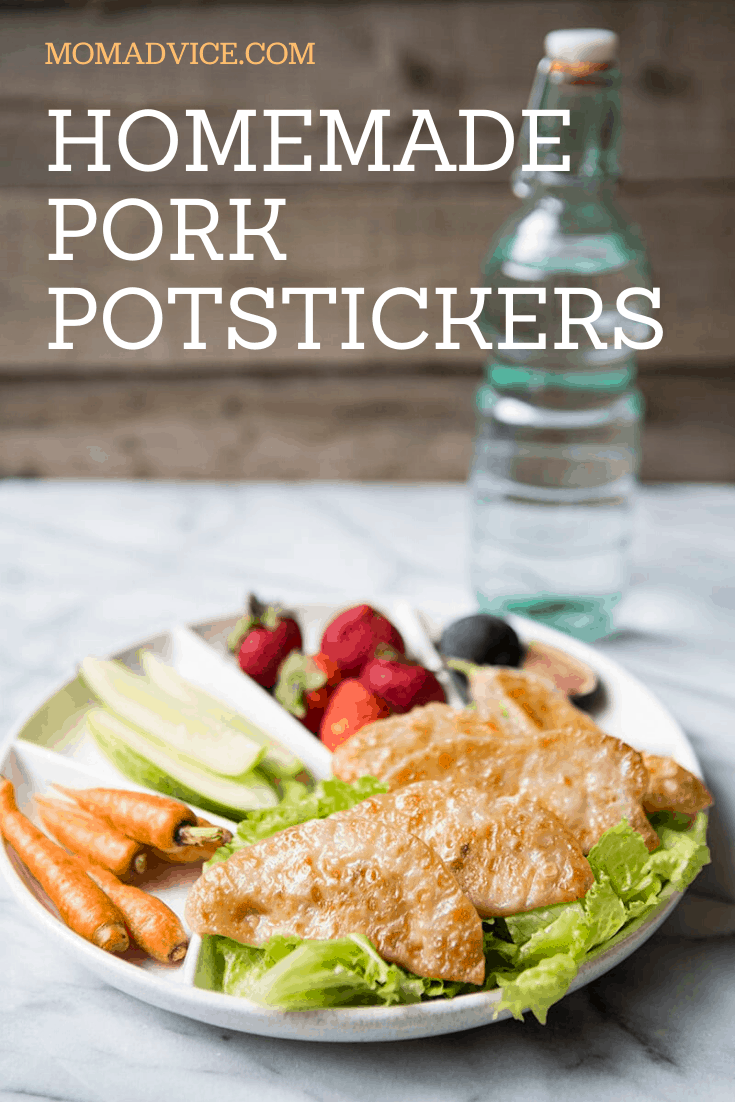
This simple DIY recipe for homemade potstickers can make for a kid-friendly dinner or an easy freezer snack. We love ours with a dipping sauce of soy sauce, sriracha, and green onions, but the kiddos like the straight from the pot.

One of my children’s favorite things to order when we go out for sushi is a plate of potstickers to enjoy while we watch the sushi chef in his tall paper hat roll out our rice and seaweed and tuck pink-fleshed fish inside.
They are second only to sushi itself in my children’s eyes.
While your kids may not be on the same sushi train as mine, pot stickers are rather universally delicious.
A dim sum, two-bite dumpling with a salty pork meatball tucked inside.
But why wait until you head out to enjoy them when they can easily be made at home?

Once you get the hang of getting potstickers unstuck from the pot, there’s little stopping you from making your own all of the time.
We like to have a potsticker party, filling and crimping as many as possible, and then freezing them for use later as a quick and easy treat, nearly as easy as heading to our favorite restaurant.
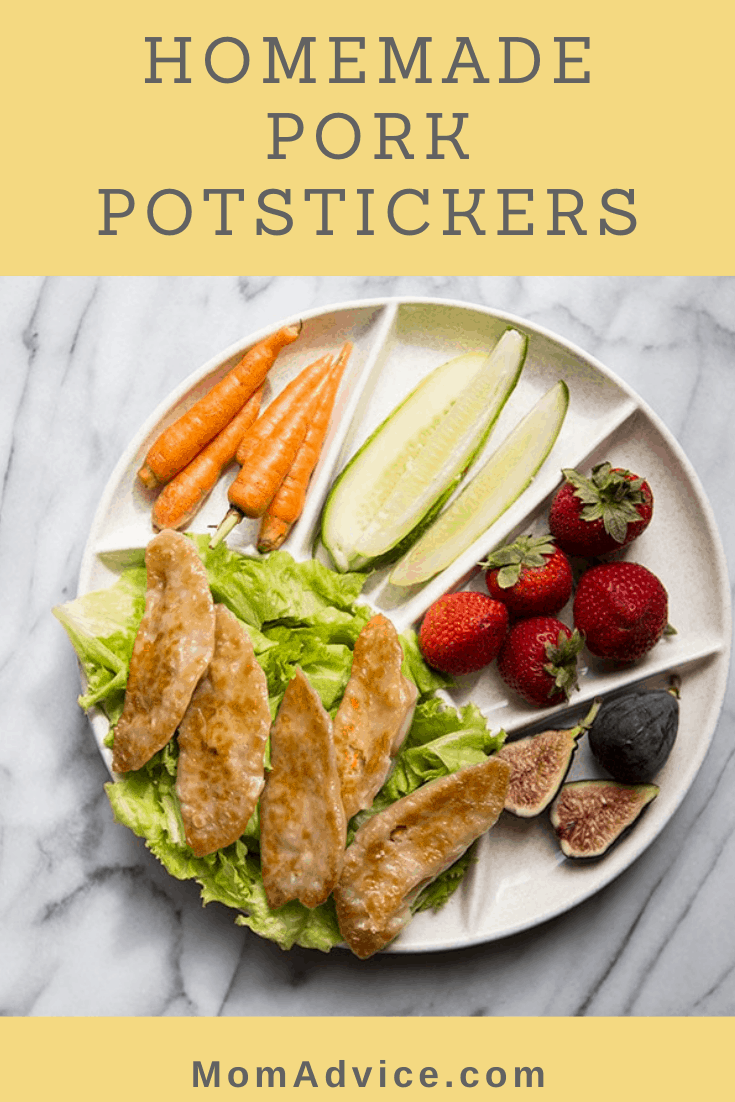
Pulled from the freezer bag and cooked up on the spot, these meatball-filled dumplings make a wonderful lunch option when paired with a rainbow of fruits and vegetables.
- 1/2 pound ground pork
- 1 cup finely shredded Napa cabbage
- 1/4 cup shredded carrot
- 2 green onions, diced
- 1 clove garlic, minced
- 1 tablespoon fresh minced ginger
- 1 tablespoon soy sauce
- 2 teaspoons toasted sesame oil
- 1 egg, beaten
- 1 teaspoon kosher salt
- 1/4 teaspoon black pepper
- 30 potsticker wrappers
- 1/4 cup frying oil of choice
- In a large mixing bowl, combine the pork, cabbage, carrot, onions, garlic, ginger, soy sauce, sesame oil, egg, salt and the black pepper.
- Place a small bowl of water near your work surface. Cover the potsticker wrappers with a damp cloth to prevent them drying out.
- Place a rounded teaspoon of the pork filling into the center of the wrapper. Lightly wet the edge of the wrapper, and then using your thumb and finger, fold pleats into the dumpling, starting at the center and going towards the cents to form a crescent shape.
- Set the filled dumplings on a baking sheet or cutting board, covered with a damp cloth. Continue until all the filling has been used.
- To cook, heat 2 teaspoons of oil in a 10″ non-stick skillet with a lid over medium heat. Add about 6 dumplings to the skillet. Cook for 3 minutes. Pour in 1/4 cup of water, cover, and allow the potstickers to steam for 5-6 minutes, until they are cooked through. and golden brown on the bottoms. Remove the lid and allow the steam to cook off, shaking the pan lightly to encourage the potstickers to dislodge themselves from the pan bottom. Serve warm.

Sign up for the MomAdvice Newsletter!
We think you’ll love these ideas too!
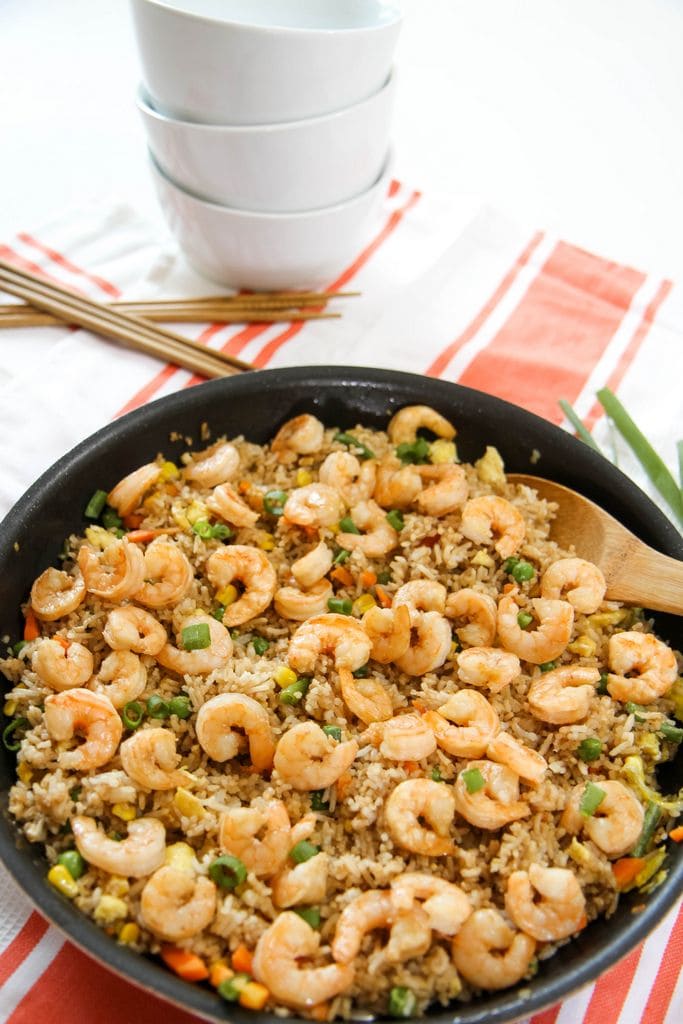
Shrimp Fried Rice
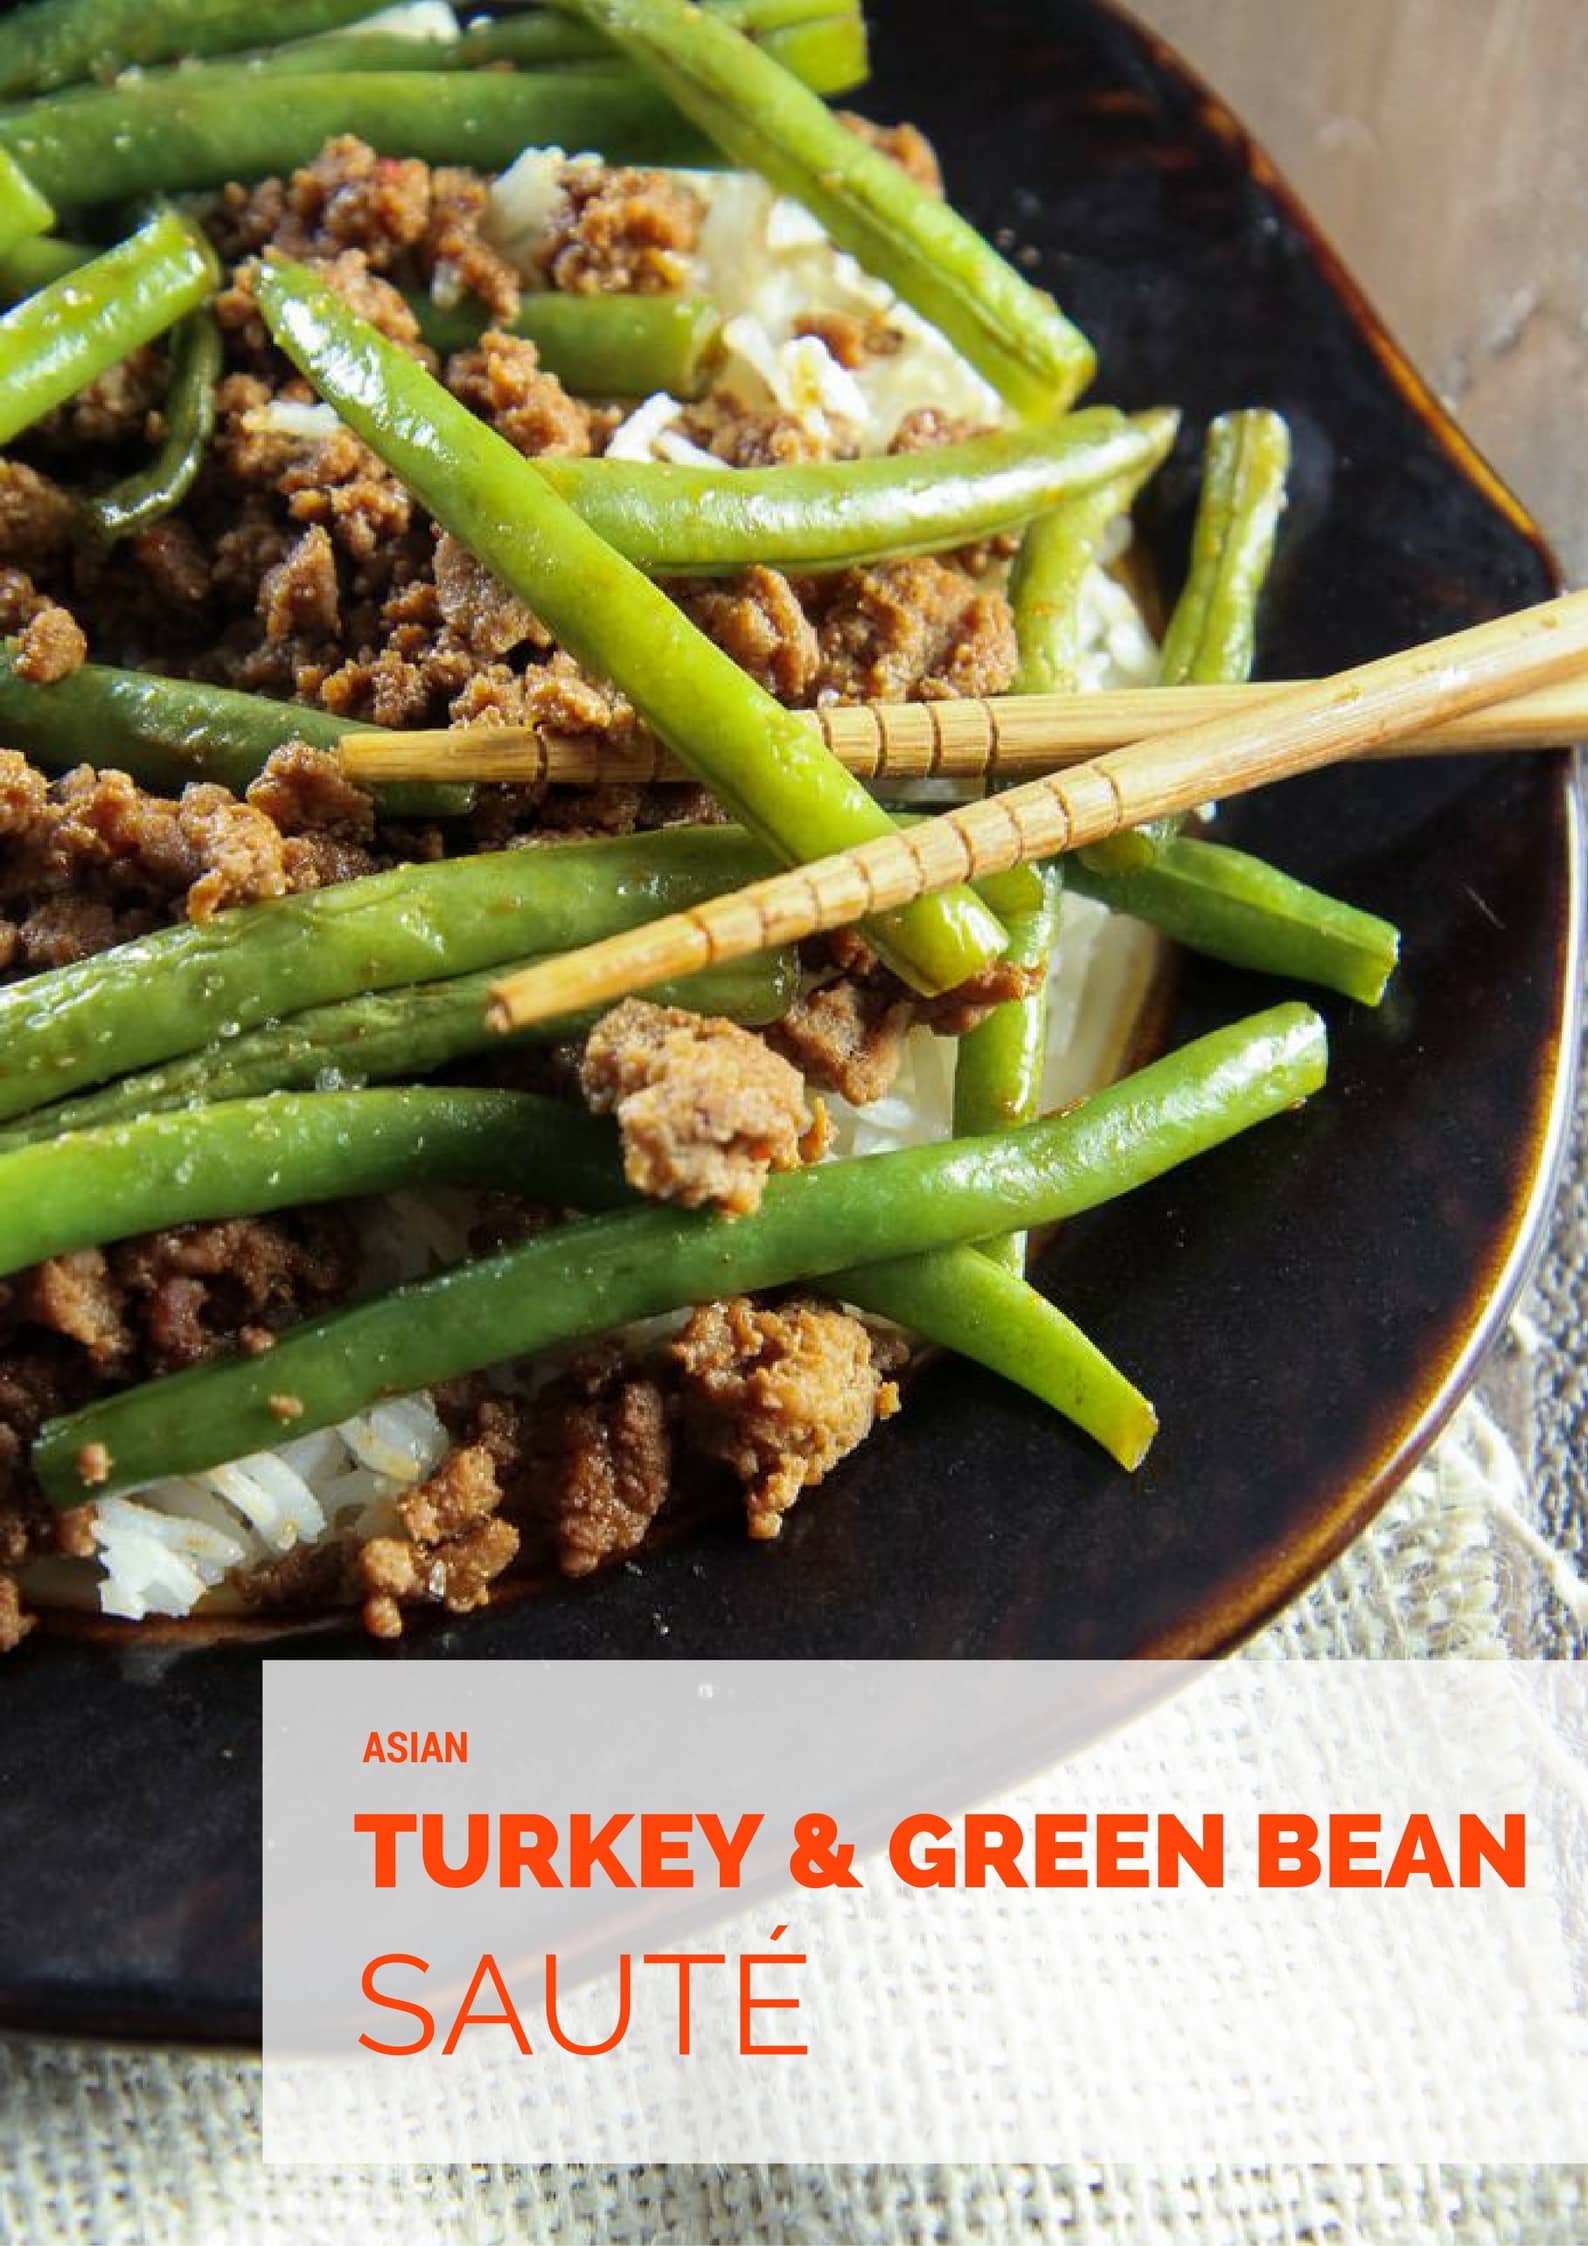
Asian Turkey & Green Bean Saute
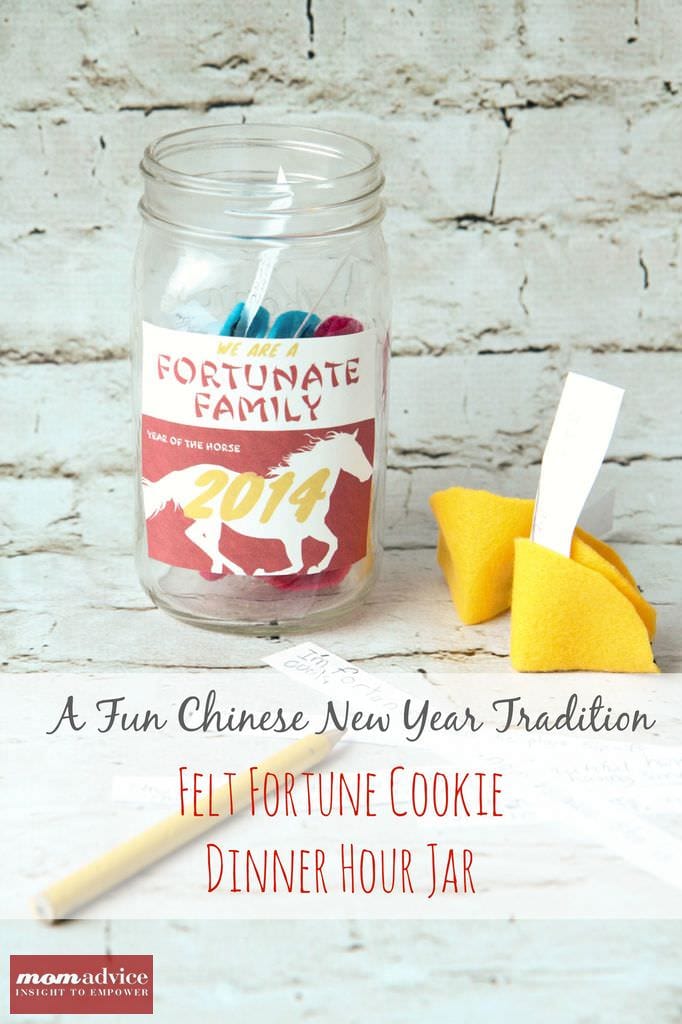
Felt Fortune Cookie Dinner Hour Jar
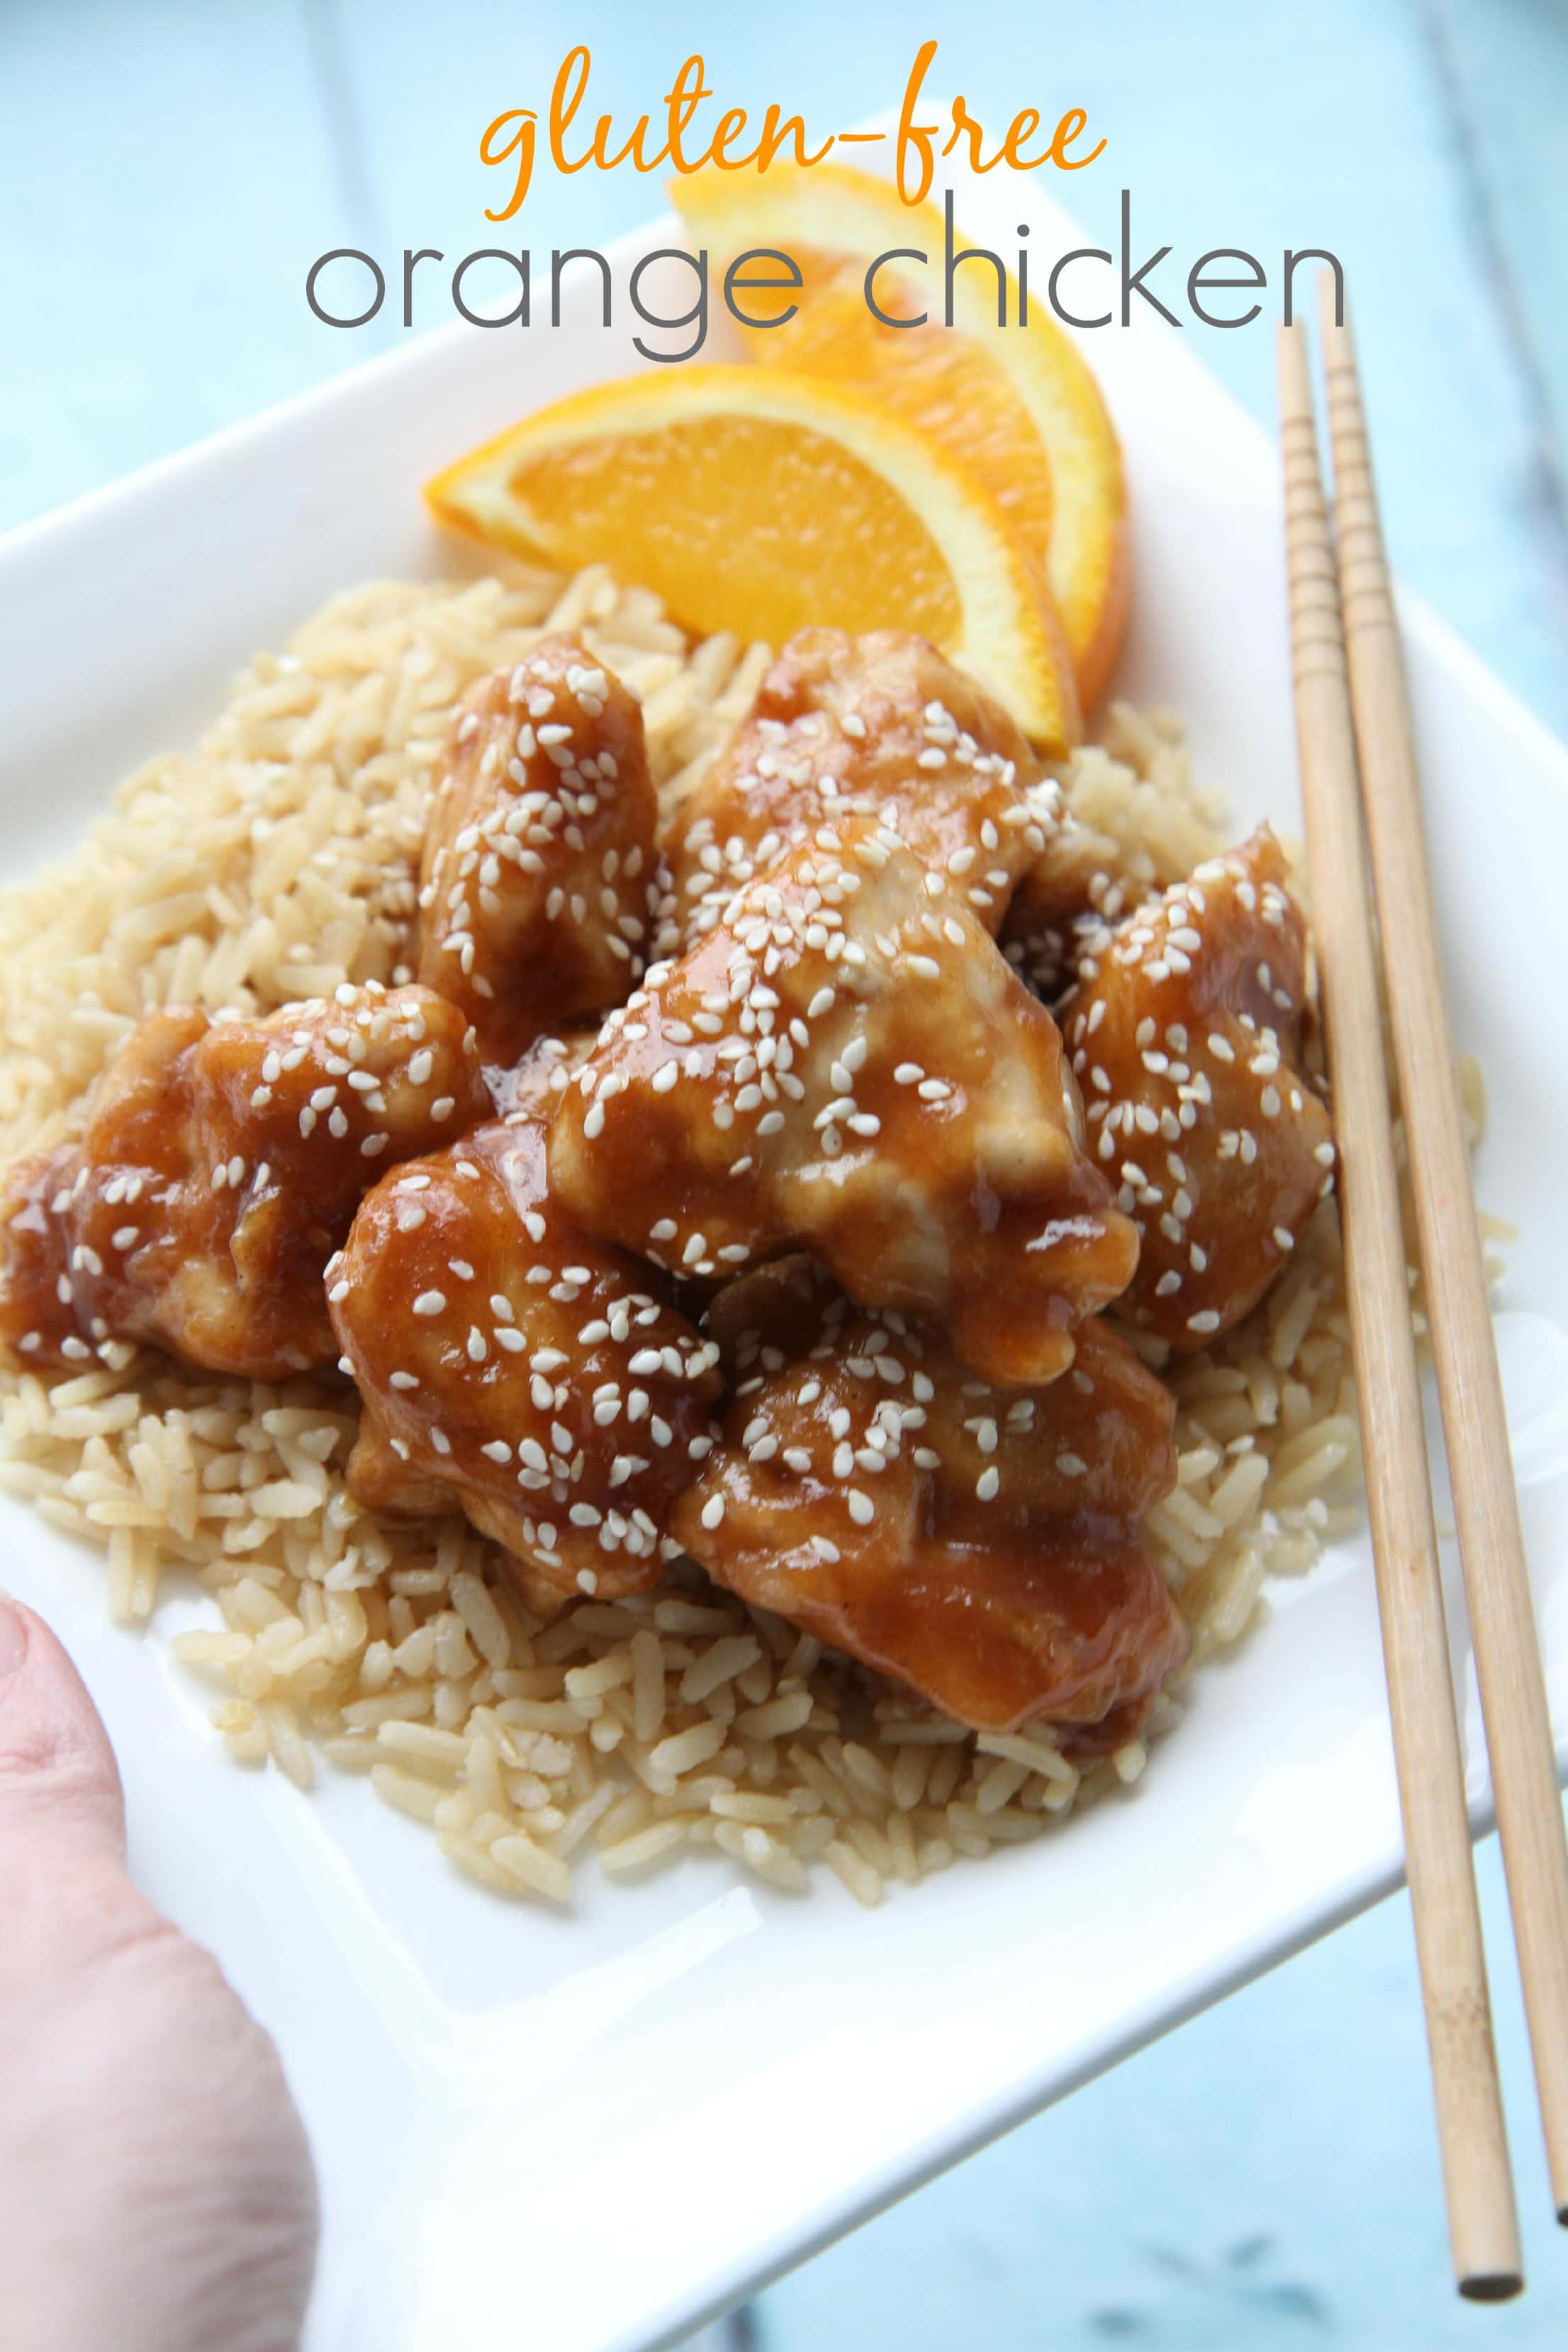
Gluten-Free Orange Chicken


