This post was created in partnership with Waverly Inspirations. Thank you for supporting the companies that support our site!
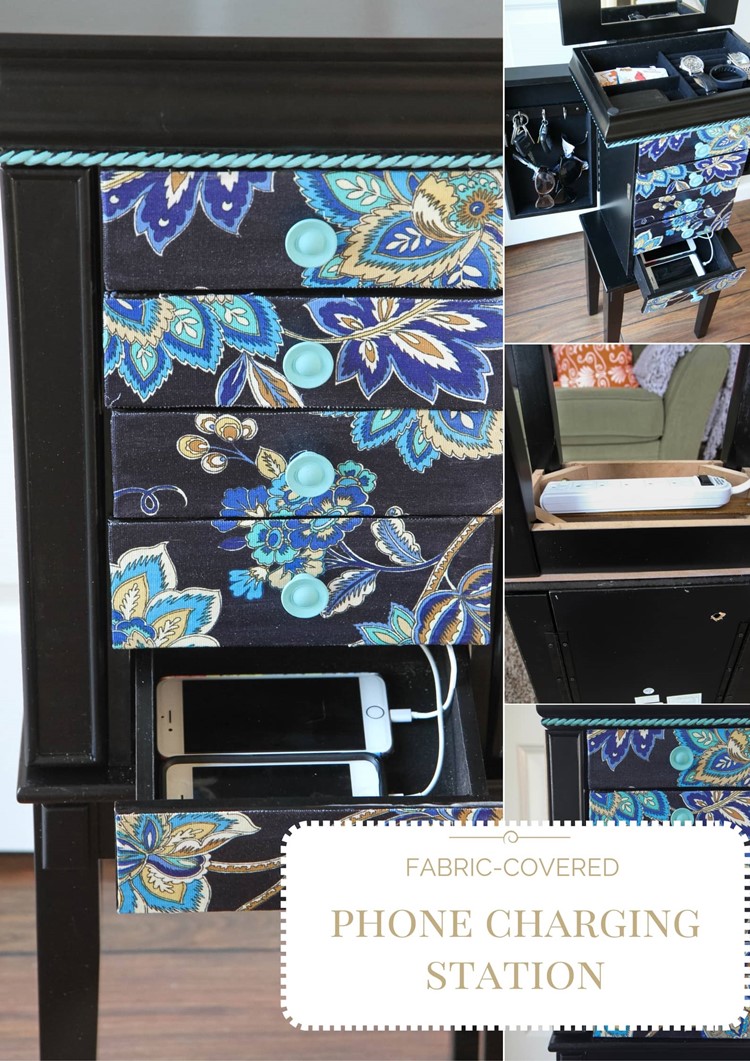
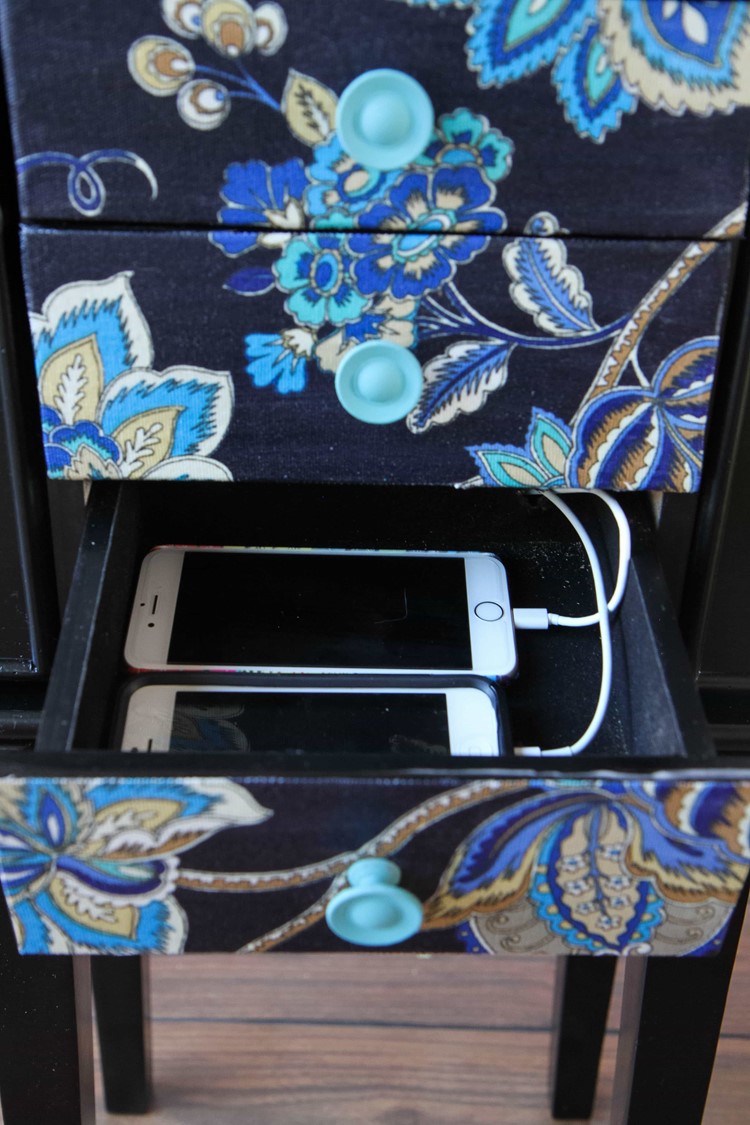
A new year typically brings along new organizing techniques in our home. We have been struggling with keeping track of phone chargers, remembering where we left these poor devices to charge, and figuring out a system that doesn’t require taking up my valuable counter space. I decided I wanted to create a phone charging station that could house all of these devices and be our new landing spot for our home.
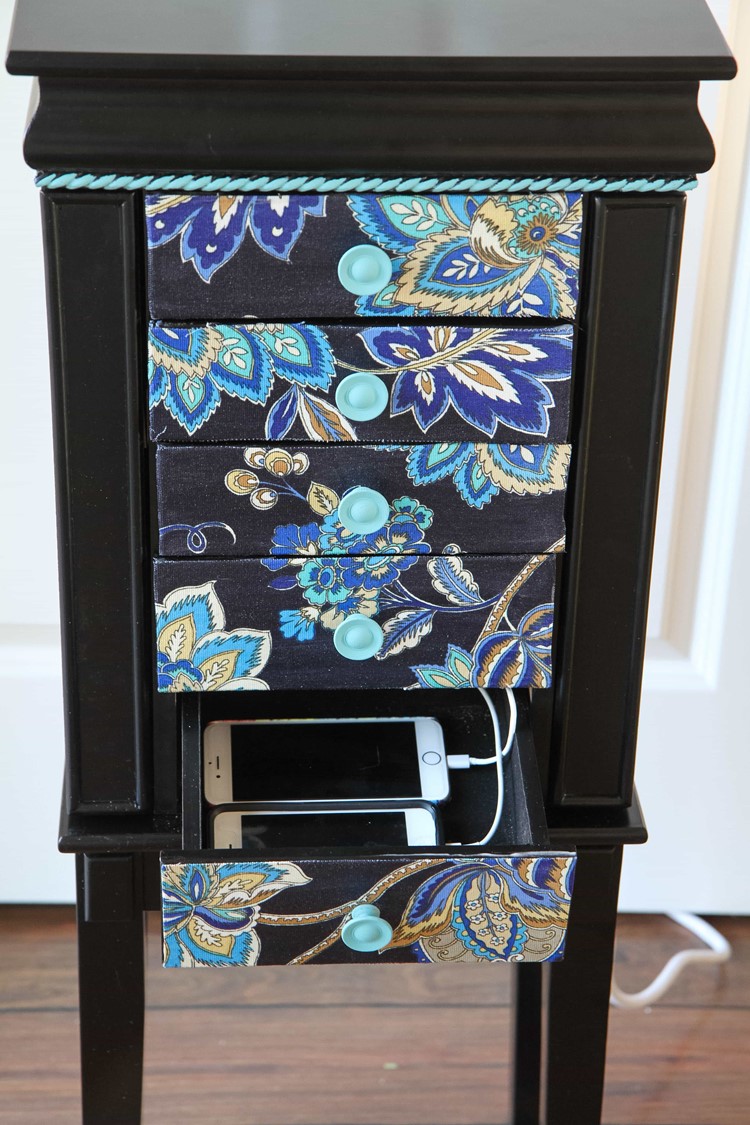
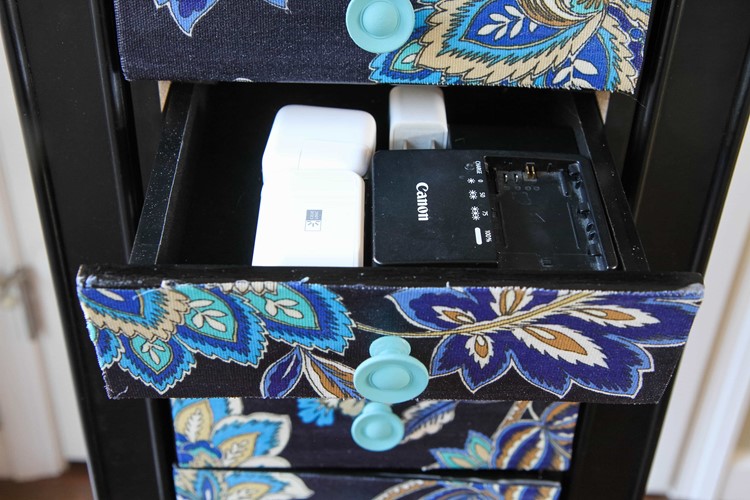
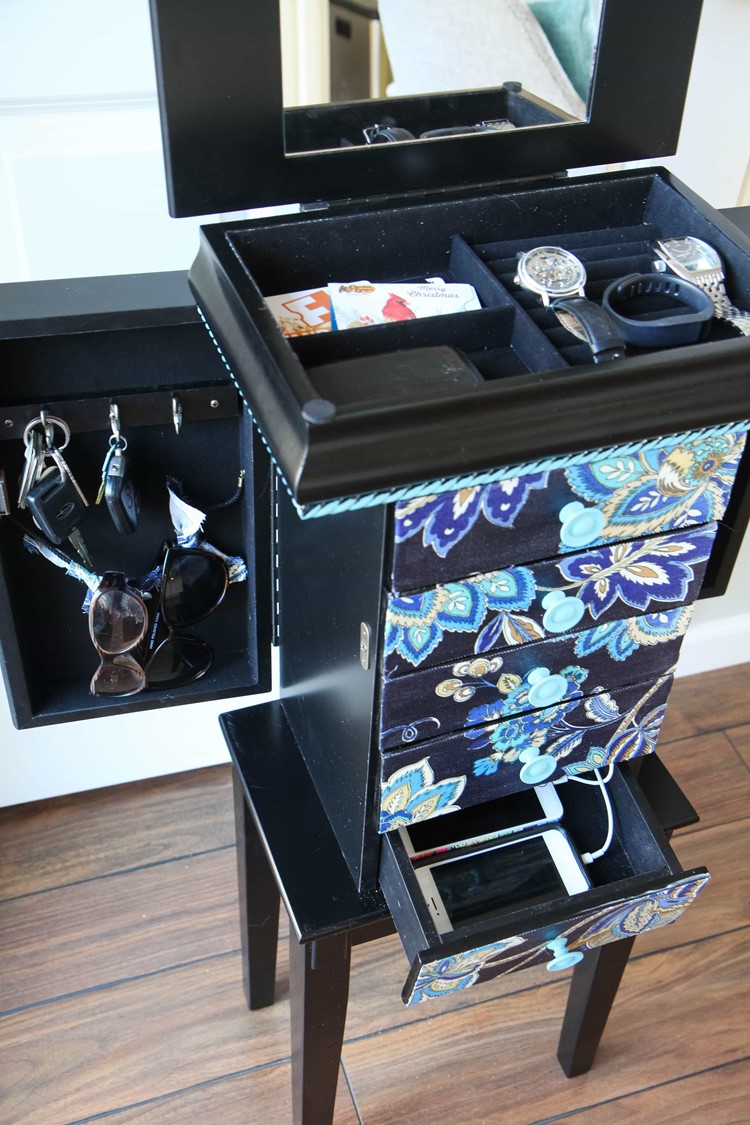
This DIY phone charging station is made out of a jewelry armoire and, not only will it house all these phones, it can also be the perfect organizing spot for keys, sunglasses, watches/Fitbit devices, & a place to keep those gift cards we got for the holidays. Wait until you see how we make the most of this little piece!
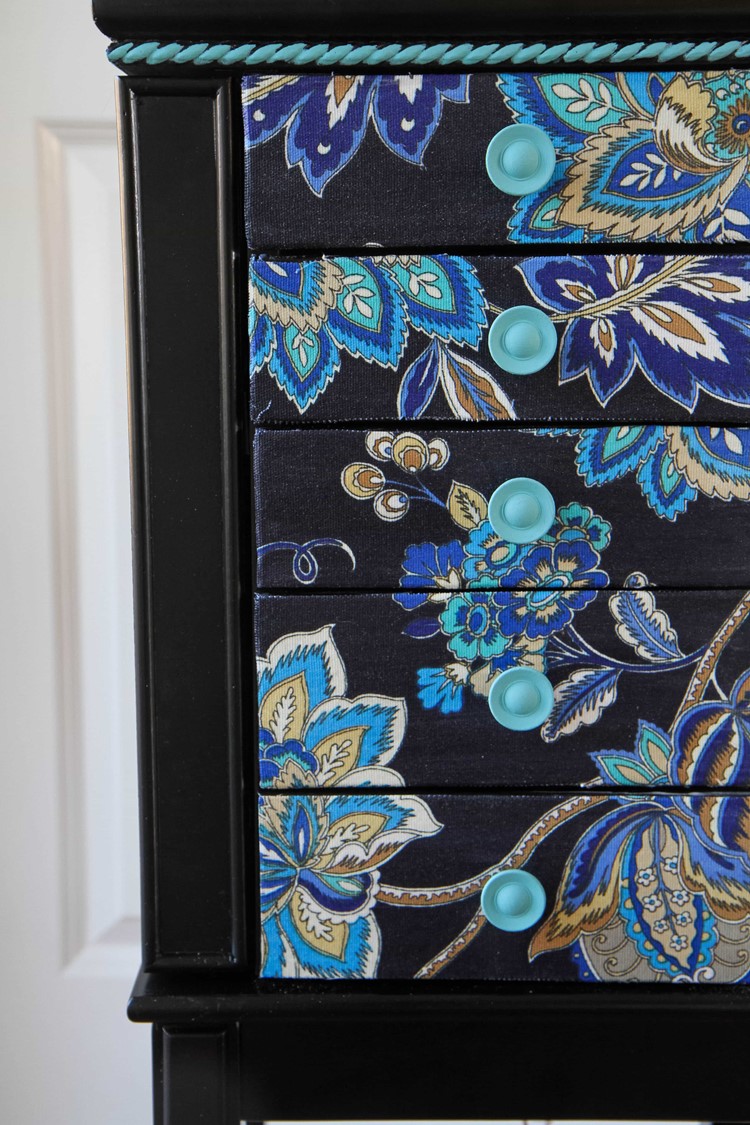
I also wanted to add a unique touch to this station with some of the beautiful Waverly Inspirations Fabric that I was sent this month. I have never added fabric to a furniture piece before, but not only is it super easy, it also adds a gorgeously unique detail that makes an inexpensive piece look a little more high end. It’s been on my craft bucket list to try this and now I want to add this special touch to a few more pieces in our home.
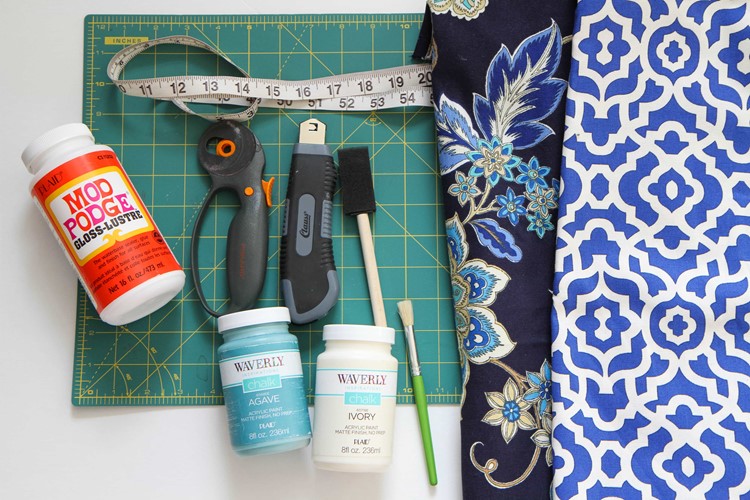
Supplies Needed (all of these supplies can be found at Walmart!)
Jewelry Armoire (you can browse all the options here)
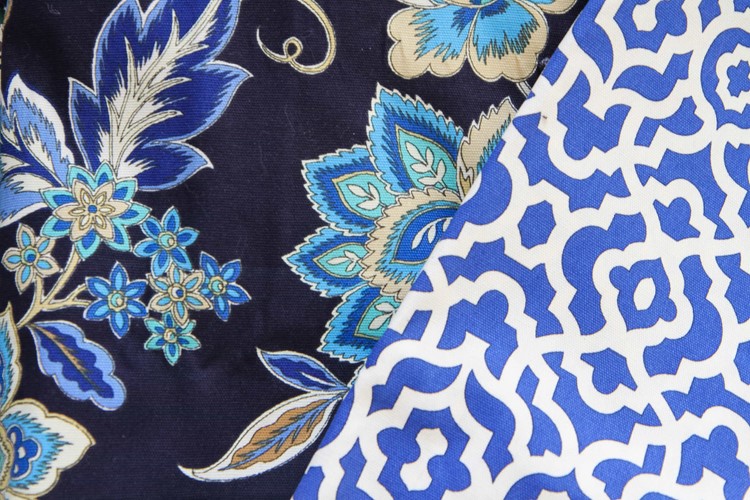
Waverly Inspirations Fabric (I used the 100% cotton duck fabric available at the store)
Waverly Chalk Paint in a coordinating color (I am using Agave)
Mod Podge
Paint brushes & Foam Brush
Fabric Rotary Cutter (or you can use scissors or a razor blade for trimming)
Rotary Mat
Drill
Scrap Wood
Screws
Surge Protector
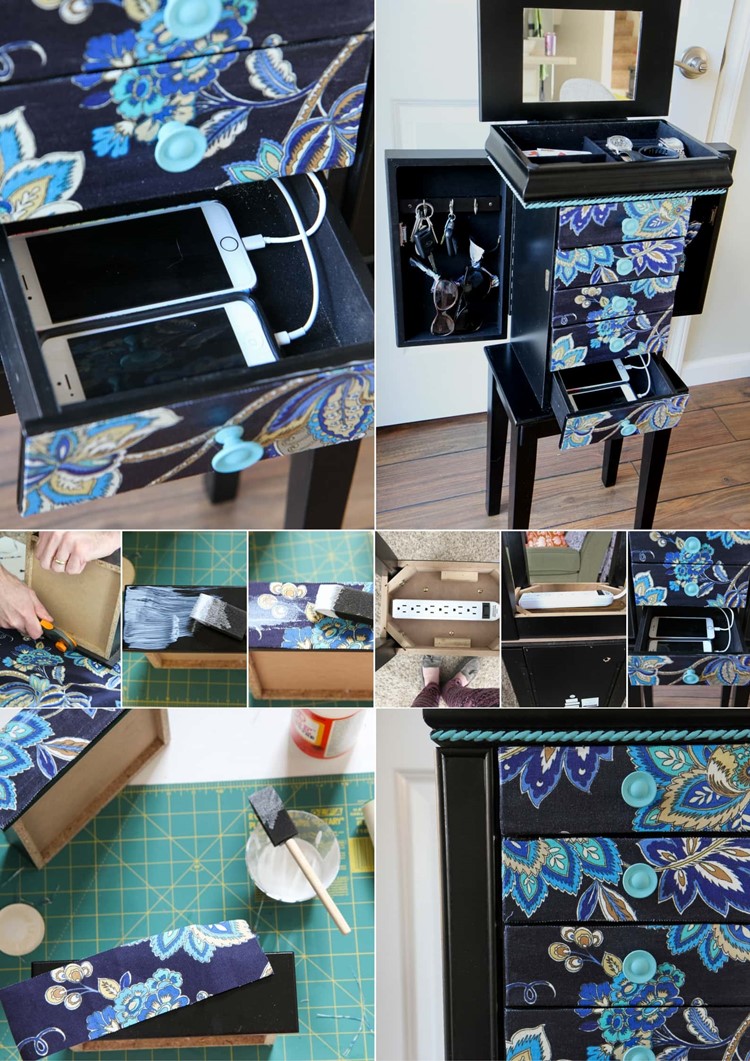
How to Make a DIY Phone Charging Station
1. Begin by assembling your jewelry armoire, but leave all of your knobs off the fronts of the drawers for now.
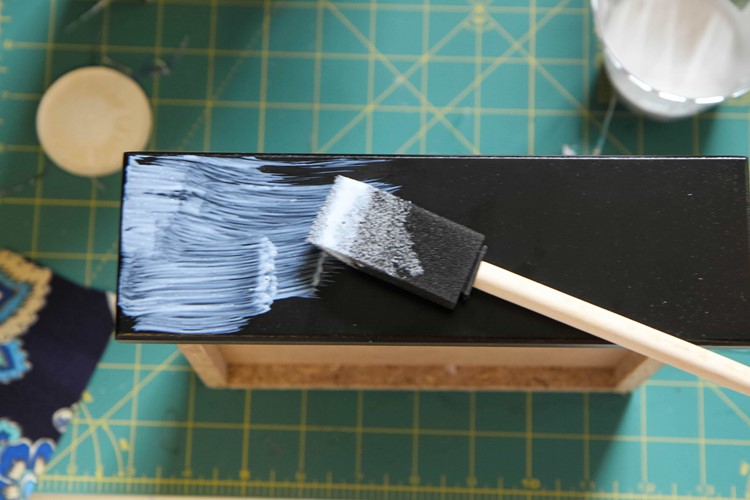
2. Using your chalk paint and a small paint brush, paint all of the knobs with a coat of chalk paint. Set aside to dry and then add a second layer of paint.

3. Using the front of your drawer as a guide, cut the fabric carefully and as closely as possible, around the drawer. Repeat with all of the other drawers.
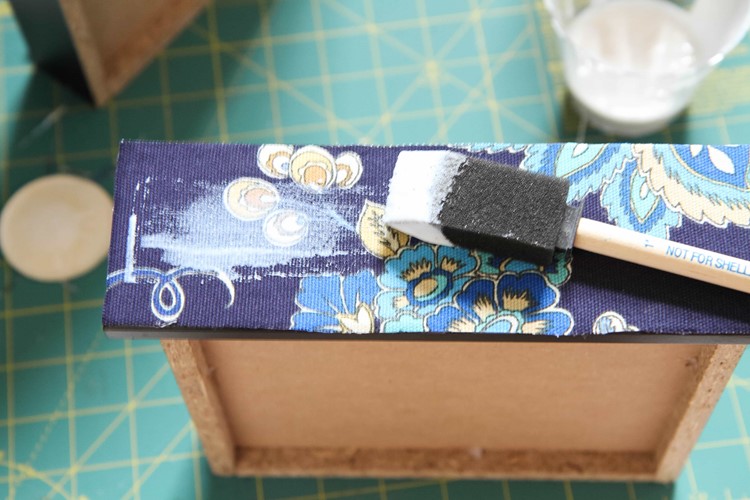
4. Before you attach your fabric to the drawer front, make sure any loose threads and lint are removed from the piece (I went over mine with a lint roller to make sure the surface is clean). Dip your foam brush in the Mod Podge and add a thin layer of glue on the front of the drawer. Carefully line the fabric up on the front of the drawer. Once again, add a layer of Mod Podge OVER the fabric, making to seal all along the edges and across all the fabric. Repeat on all the drawers and then repeat with a second layer.
5. Add your painted knobs on the front of the drawers.
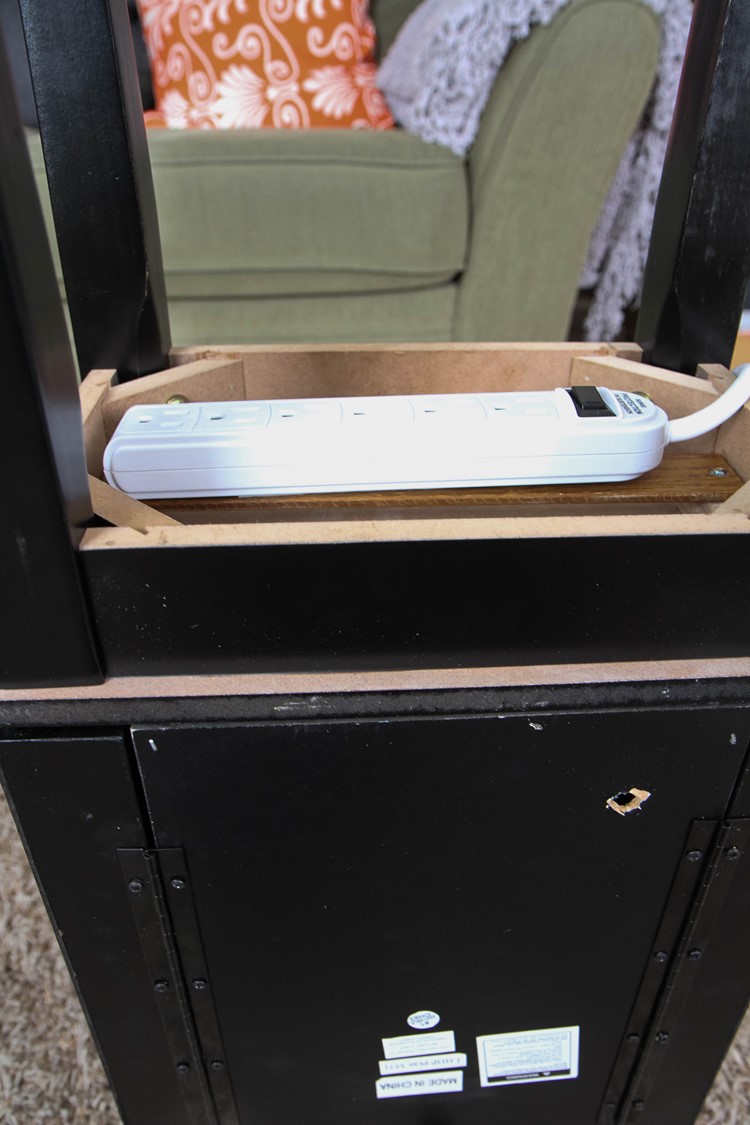
6. Drill holes in the back of your drawers and then a hole in the back of the piece. The size and amount of holes needed will depend entirely on how many devices you have and how wide your charger end is.
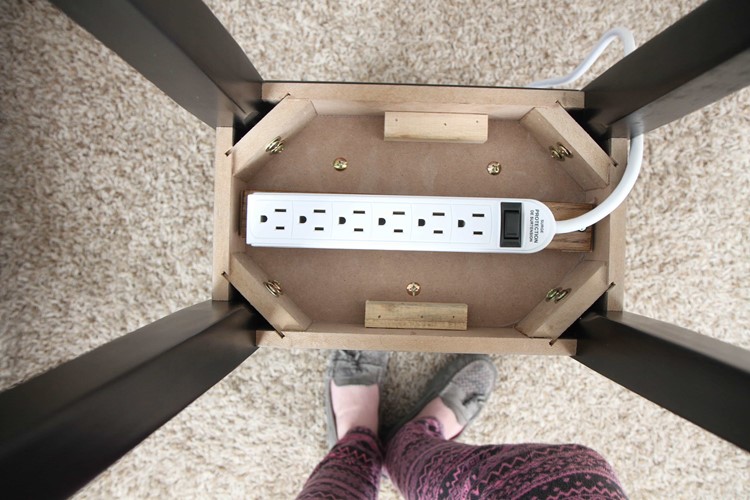
7. On the bottom of the unit, attach a scrap piece of wood that can be used to attach your surge protector. We attached the surge protector with a couple of screws to mount this scrap wood.
 \
\
I realized after we took the pictures how much it could benefit from a little dusting with all our drilling we were doing.
Stretch your imagination a bit for that part as we are still dismantling our home from all these festivities!
I wonder if you are in the same boat today?
Seriously, how cute is this fun diy phone charging station to act as an inexpensive organizing solution for a small space? I decided to tie in those painted handles with a little color on the trim of this piece. I really think the paint and fabric details really make this piece feel really unique and I love how practical this is for helping everyone stay organized!
A huge thank you to my hubby for his assistance on this DIY.
There is nothing like crafting in your pajamas and coffee with someone you love!
Do you want more craft inspiration from Waverly? Try these!
DIY No-Sew Reversible Chair Cushions
Fabric Wreath & Matching Garland
Fabric Bulletin Board Tutorial
Painting Pumpkins With Acrylic Paints
DIY No-Sew Hand Warmers
DIY Ottoman Serving Tray
15-Minute Scrappy Fabric Trees
Kid Craft: Easy Technique for Painting Gift Wrap
This post was created in partnership with Waverly Inspirations. Thank you for supporting the companies that support our site!