This post was created in partnership with Waverly Inspirations. Thank you for supporting the companies that support our site!
What’s one of the things I dread the most about the new school year?
The papers.
Everywhere.
All the time.
Hey, wasn’t there a kitchen counter here at one point?
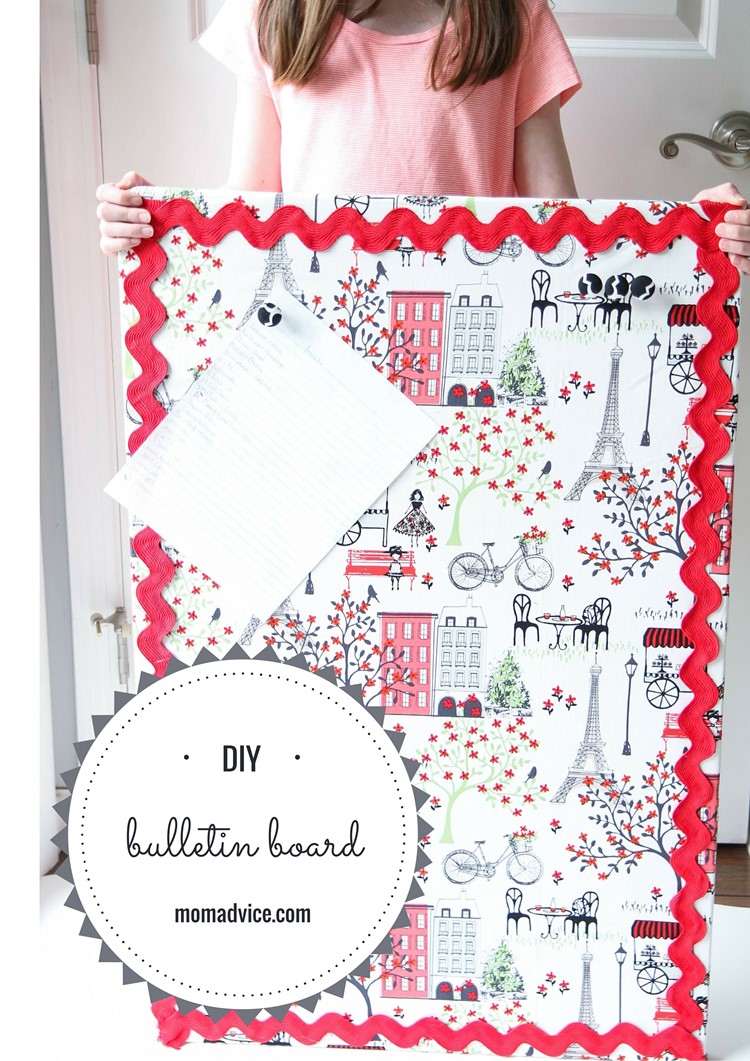
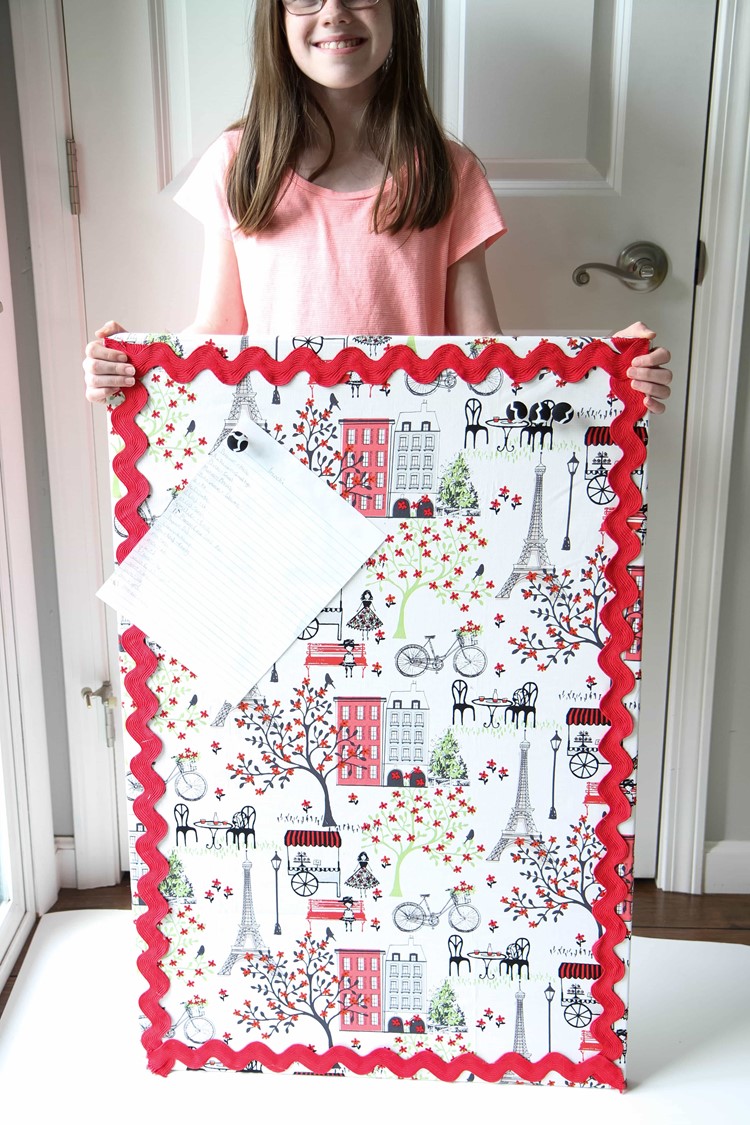
In honor of back to school, I wanted to create a place where all those papers, awards, and fun art projects can be displayed so we can all reclaim our counters. Today I’m making a gorgeous giant fabric bulletin board for the perfect paper storage spot for you or your kiddos. If you haven’t made a diy fabric bulletin board before, you are going to love this simple tutorial that even your big kids can do (with a little help from mom on the stapling!).
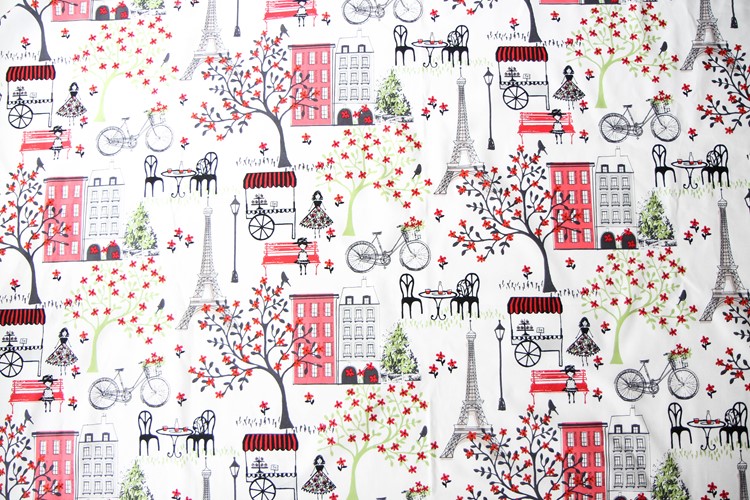
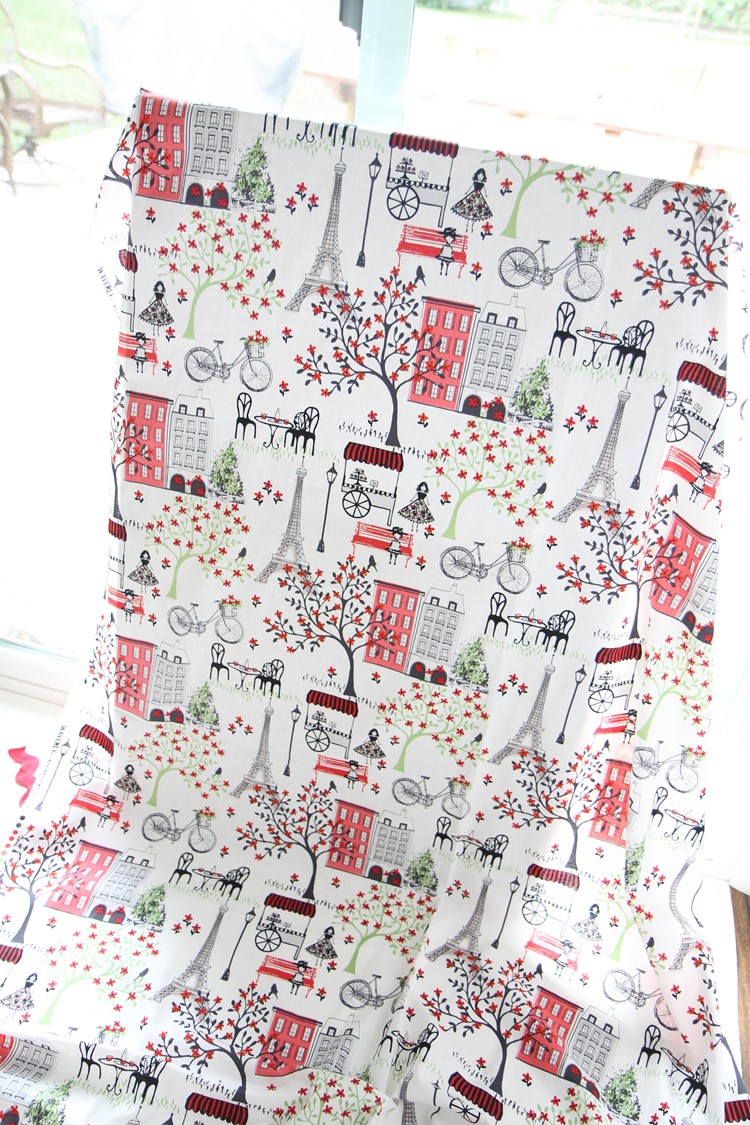
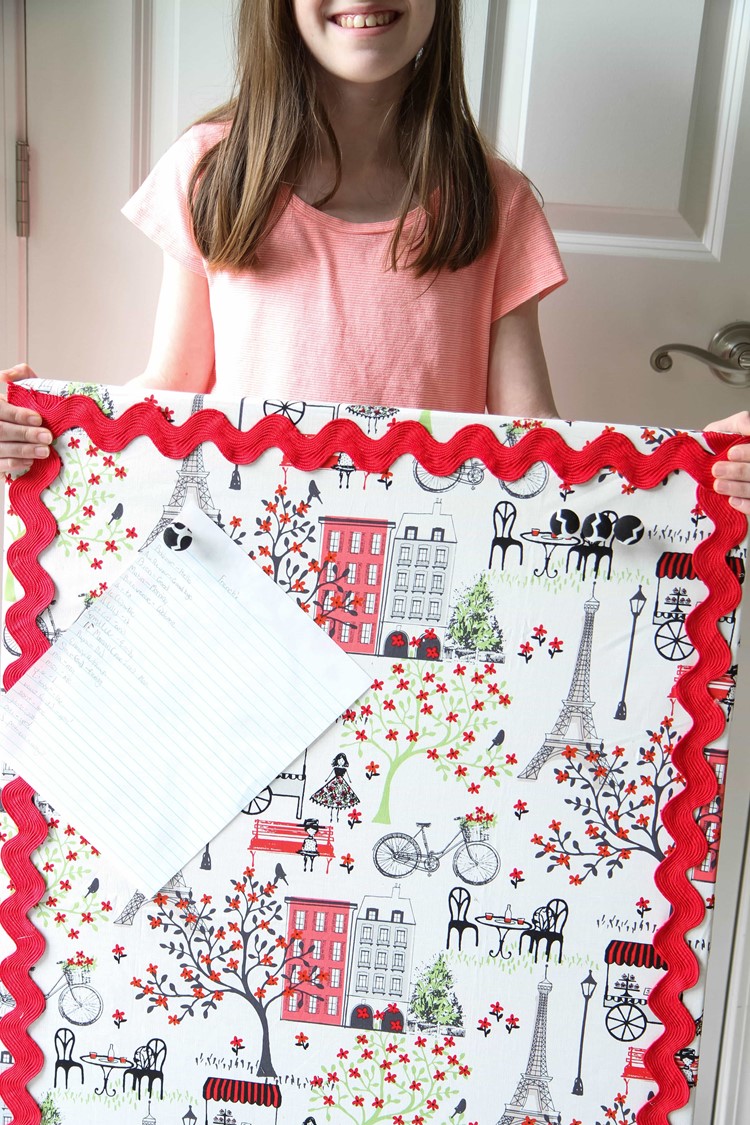
When I saw this month’s fabric selections from Waverly Inspirations (found at Walmart!), I kept getting this print out to gaze at it. I just knew there was no way I could not put this in some kind of display especially since my little girl has an obsession with Paris.
I mean, so obsessed she’s been working on teaching herself French this summer.
We really wanted to let this magical fabric be on display in her room.
(PS- She also said she is the beautiful girl in the print with a dress and I am the old lady on the bench. Thank you, Em- insert crazy-eyed emoji!).
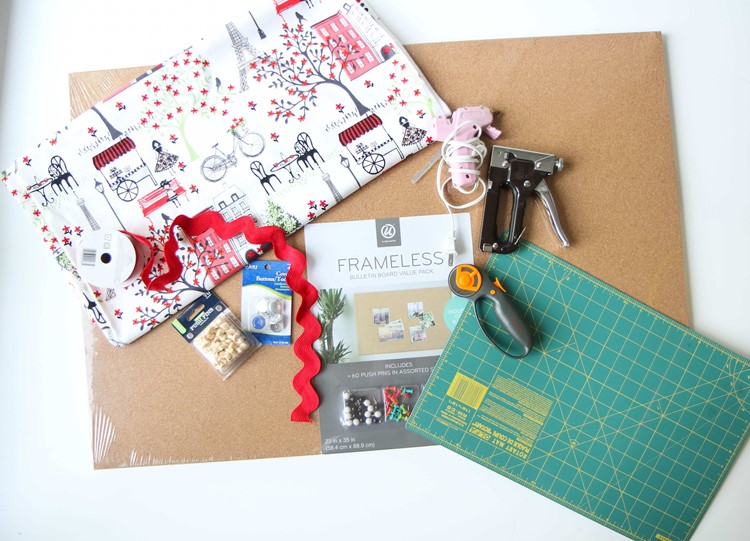
Supplies Needed to Make A Fabric Covered Bulletin Board
1- Frameless Bulletin Board (found this in the office supplies of the store!)
Upholstery Stapler
Upholstery Staples
Trim (I purchased 2- 3 yard packages to cover this board)
Your choice of matching Waverly Inspirations Fabric (measure the dimensions of your bulletin board to figure out yardage!)
Fabric Rotary Cutter
Rotary Mat
Hot Glue Gun & glue sticks
Optional (but fun!)- Waverly Paints, Fabric Button Kits, and scrap fabric
Directions for Making a Fabric Covered Bulletin Board
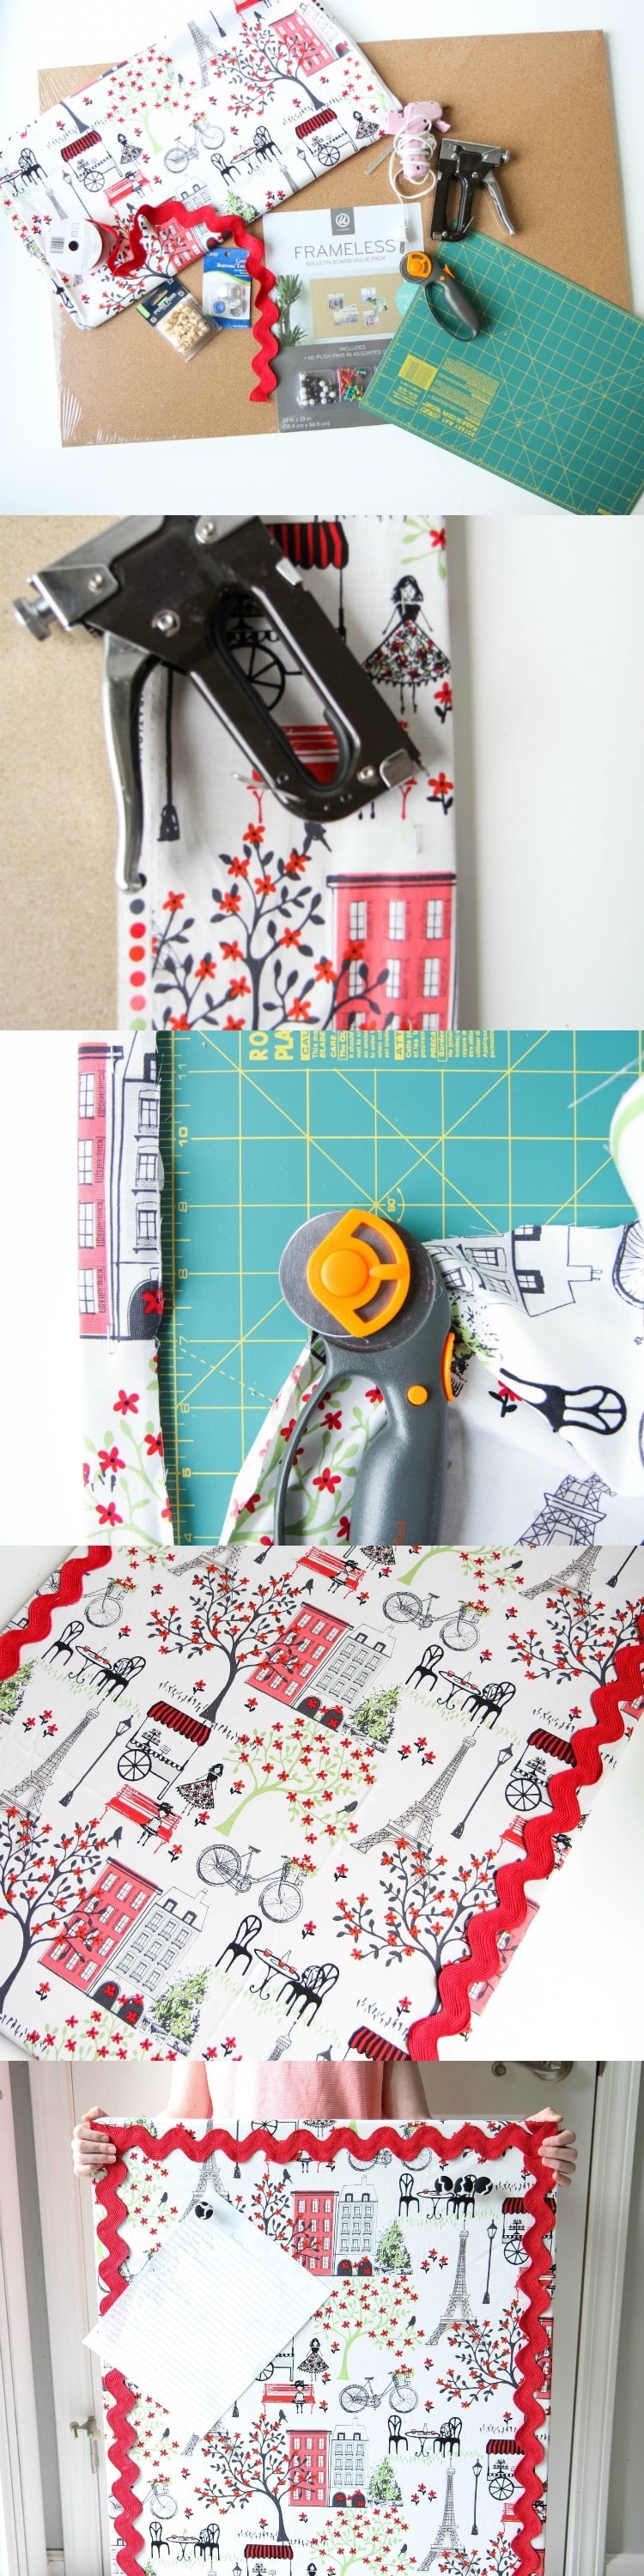
1. Make sure to press out any wrinkles in your fabric before beginning. Next, lay your fabric right-side out over the bulletin board, making sure to position the pattern so that it has nice straight lines.
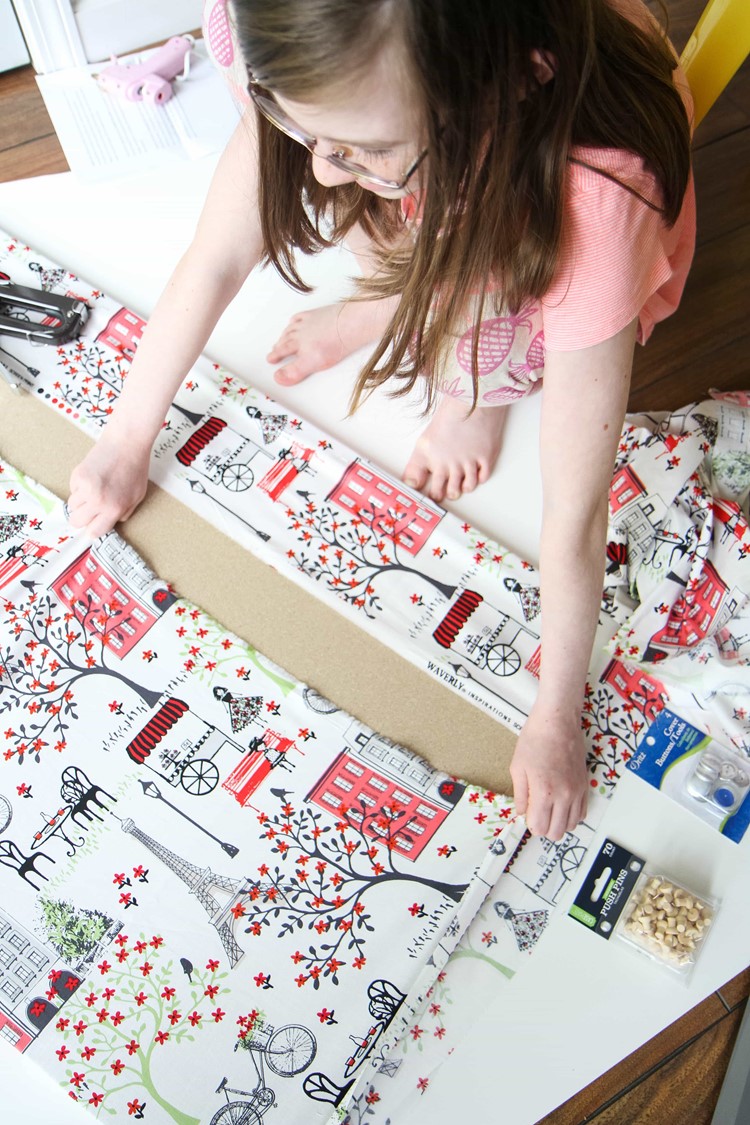
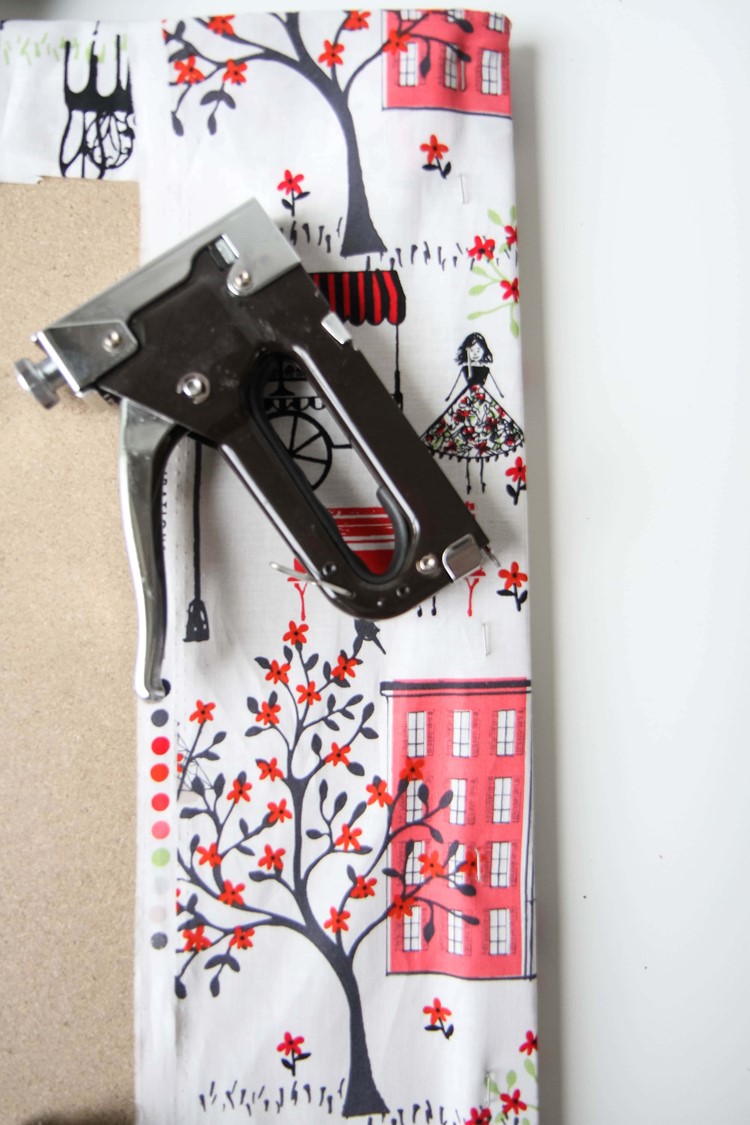
2. After you have centered the fabric, flip the bulletin board over and begin pulling one long side tight to staple it directly into the framing on the back of the board. The most important thing is HOLD TIGHT to create that beautifully smooth surface. Repeat this on the other long side and then fold in the tops, creating neatly folded corners (just as you would with wrapping a package, making sure you are holding tight on each side. Did I mention, hold tight?
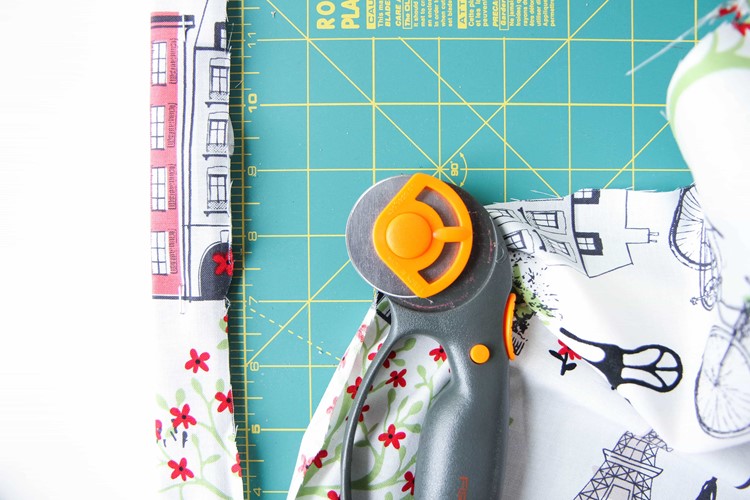
3. You can now trim the excess fabric around the back of the frame. I lined my rotary mat right up to the edge and trimmed with the fabric rotary cutter. You could just just eyeball it and use a pair of scissors if you don’t have these two items in your craft supplies.

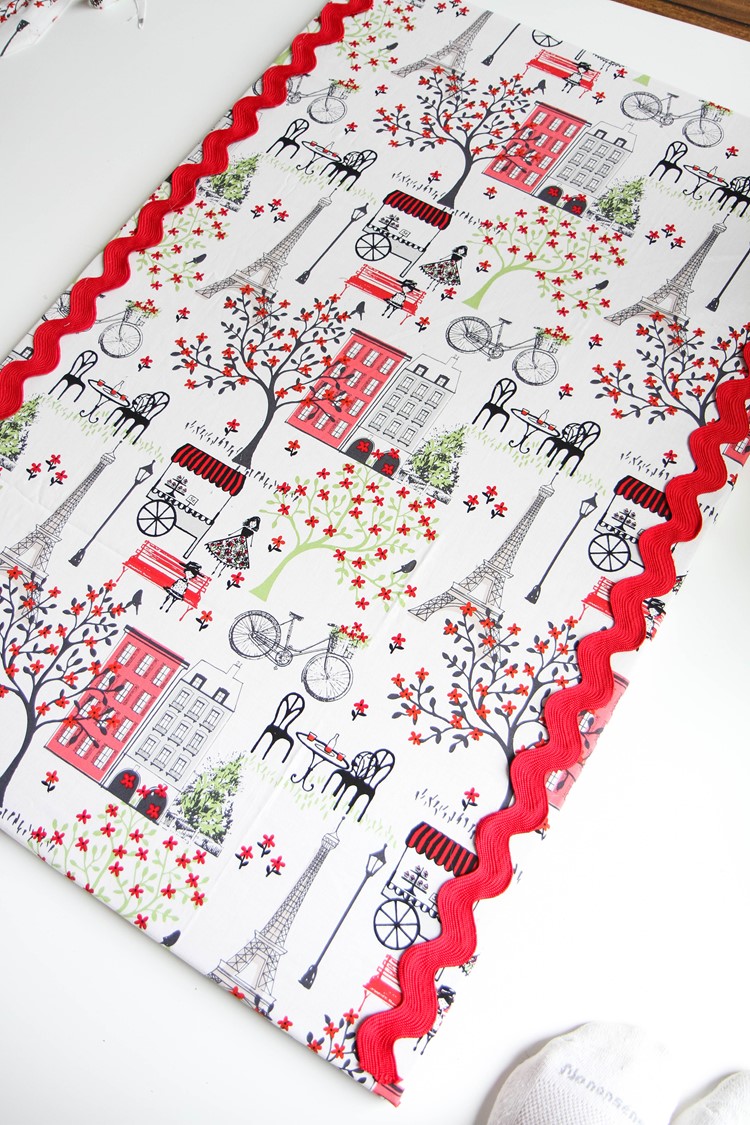
4. Finish your piece with your choice of trim. I loved the waviness in this one to add a decorative edge. I lined up and glued the two long sides first and then finished by gluing the shorter sides over, creating an overlapped corner. Play around with this with your own favorite trims and ribbons- the possibilities on that are endless.
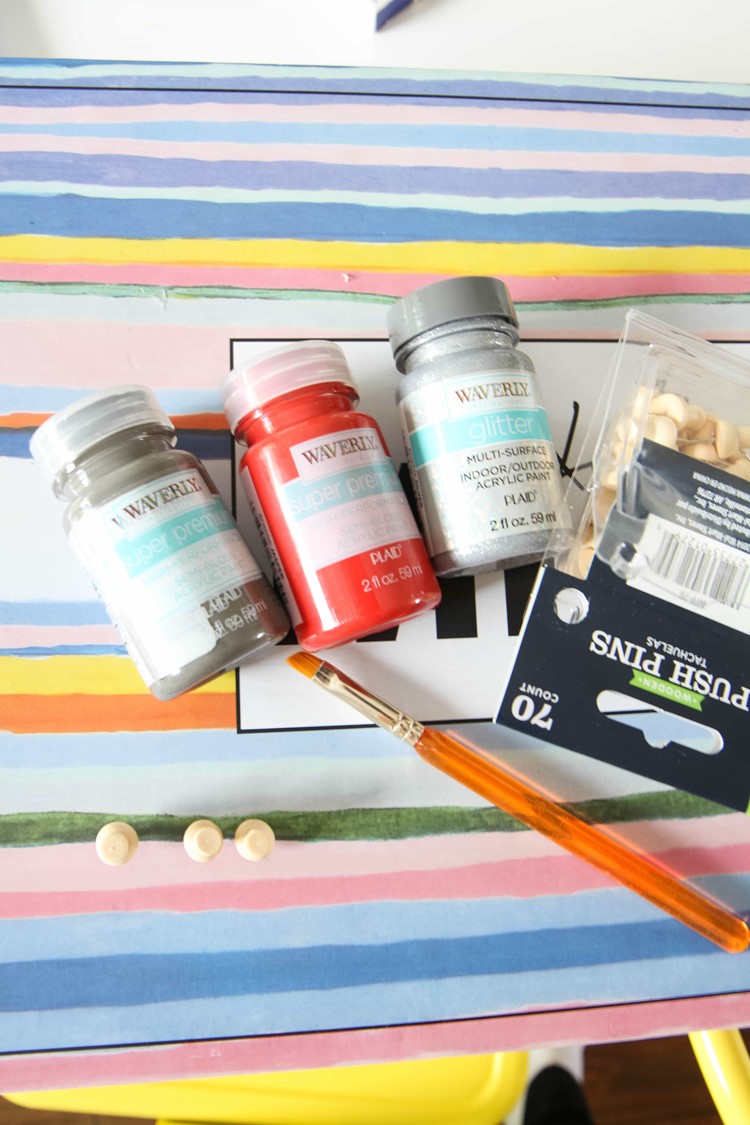
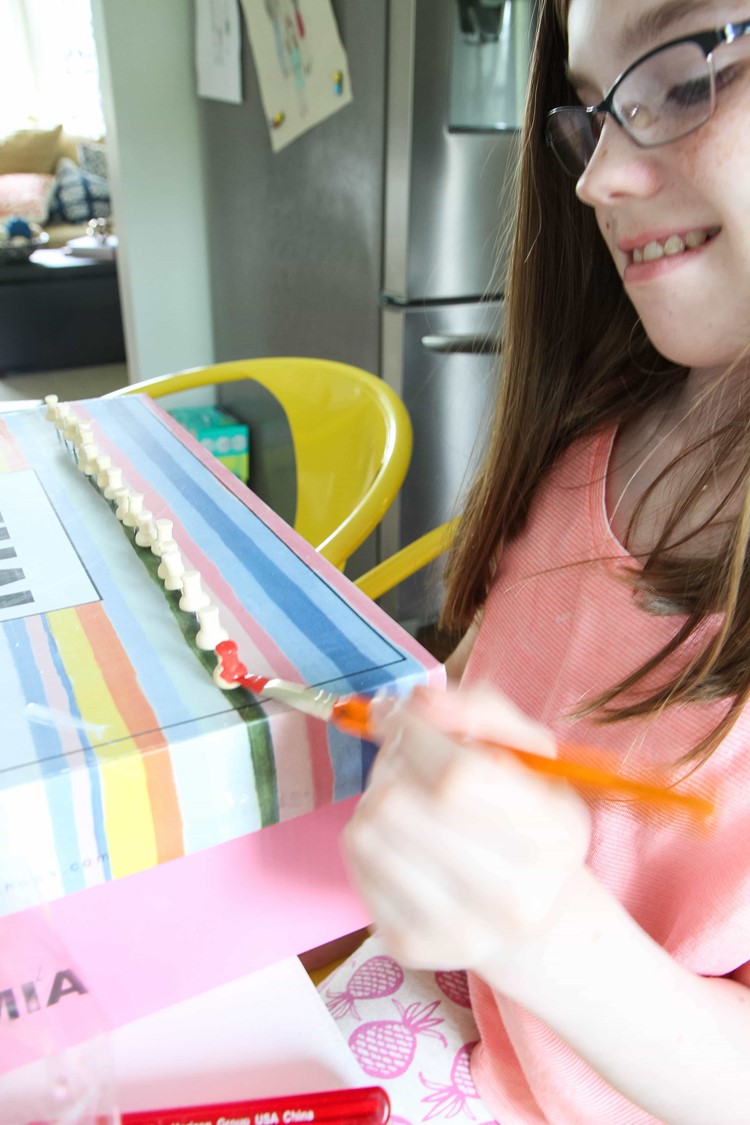
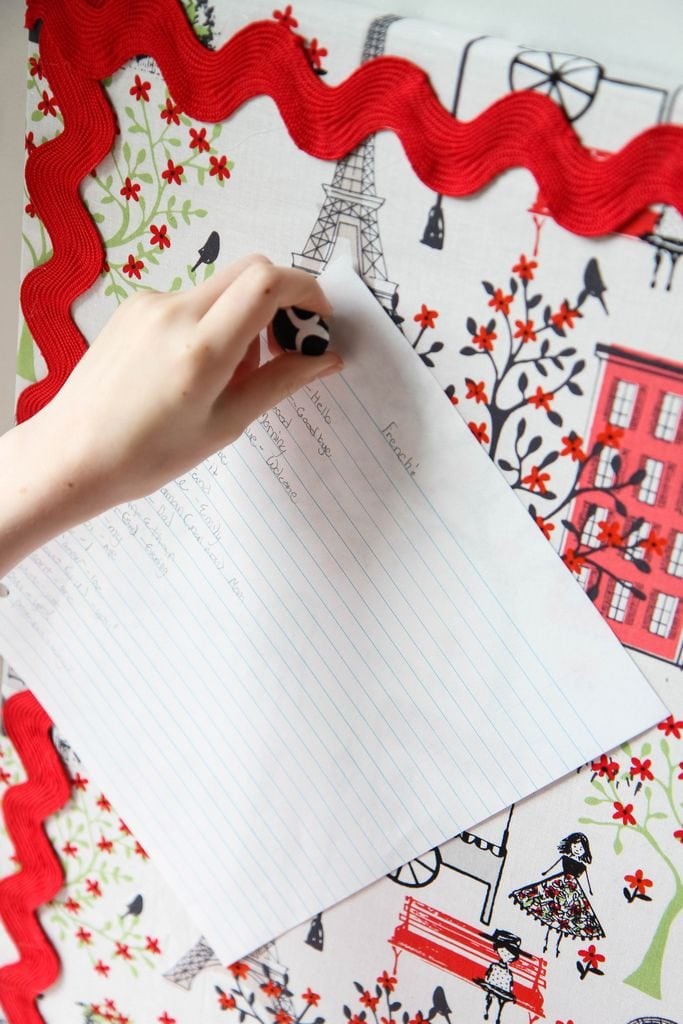
5. Finish with your choice of cute decorations. My daughter had fun painting wooden thumbtacks to match the color scheme and if you haven’t used a button making kit before, it is a blast and such a fun way to use up any scraps of fabric (all the instructions are on the back of the packaging!). We glued these buttons on to the thumbtacks to create decorative tacks for our papers.
We hope you find this idea inspiring for getting organized for another school year! I loved my daughter’s so much, I made one for myself to keep all my work projects organized. This craft can be done in less than an hour (even with making your own fabric tacks!).
Happy crafting!
This post was created in partnership with Waverly Inspirations. Thank you for supporting the companies that support our site!
Pin It