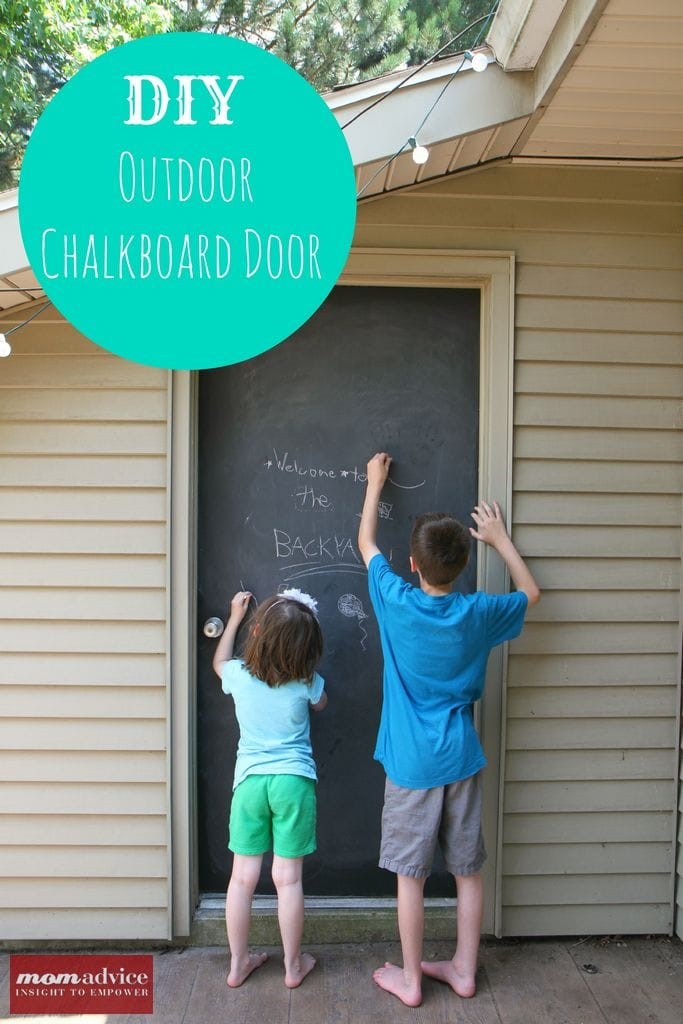
 What could be better than a fun summertime outdoor project? Today I want to showcase an easy DIY Outdoor Chalkboard Door that I created to entertain my kids in the summer months. This DIY chalkboard project that we created is one of my new favorite things in our backyard. This project featured is in conjunction with my job as a Walmart Mom and all of the supplies can be found at your local Walmart store.
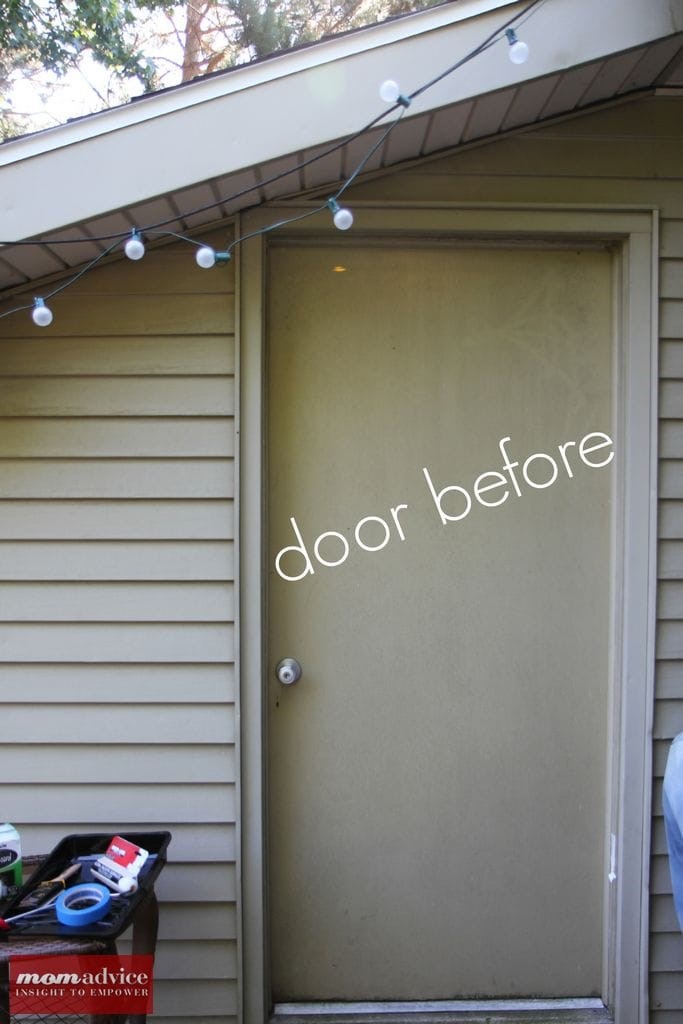
Here is a picture of what our tired old door looked like on our outdoor shed. The neutral paint showed all of the dirt, debris, and water drip marks all over it. It was becoming an eye sore in our backyard. Instead of painting it with regular paint, I decided to transform this spot into a new backyard activity area and give the kids a spot to do their drawing outside.
For adult entertaining, this can double as a place to jot down a menu, create a welcome sign for your guests, or keep tally of game scores in a wild game of badminton.
We are crazy like that.
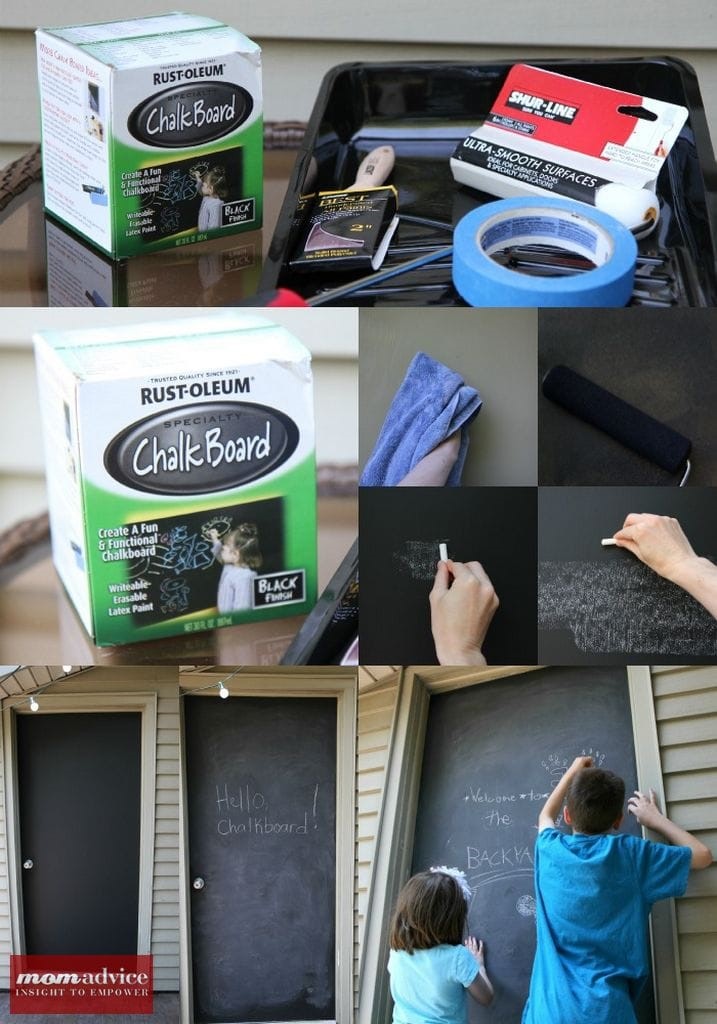 Supplies List (if you buy everything it will be less than $25 in supplies!)
1- 30 ounce container of Rust-Oleum Chalkboard Paint in Black Finish (over in the painting supplies)
Soapy Water & Rag (for wiping down your door)
Painters Tape
Paint Roller
Paint Brush
Paint Tray/Liners
Directions
1. Clean your surface and let it dry. I wiped my door down with a grout brush and a pail of sudsy water and then rinsed it with our hose.
2. Tape off around your door handle to protect it from getting paint on it.
3. Pour your paint into your paint tray and begin applying your first coat with your paint roller. The paint will be dry to the touch within thirty minutes, but give it a full four hours before applying your second coat.
4. Add a second coat of paint and repeat with the same timing above, if you desire, to add a third coat.
5. Allow the door to dry for three whole days before beginning your conditioning or writing on it.
6. Before writing on it, after three days time, condition the surface by rubbing the side of a piece of chalk on the surface and then erase. I like to rub my chalk in one direction and then rub it in the opposite direction for good coverage. This will leave a coat of chalk dust that will provide erasability. Your chalkboard can be wiped clean with a damp towel, but wait seven days after painting before wiping it down. Repeat the conditioning step after cleaning.
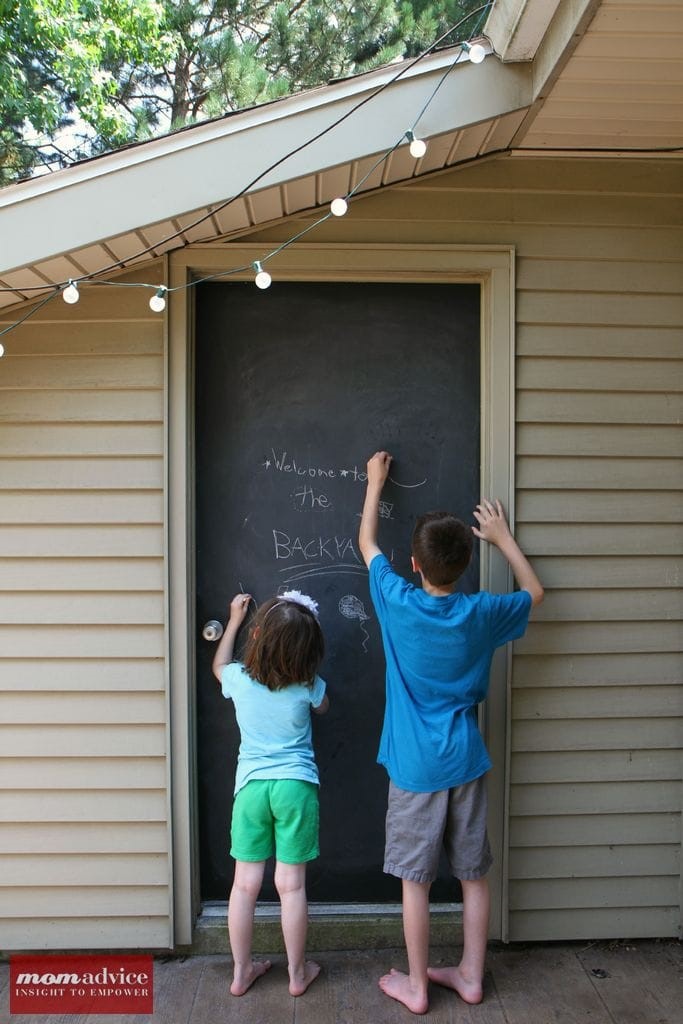
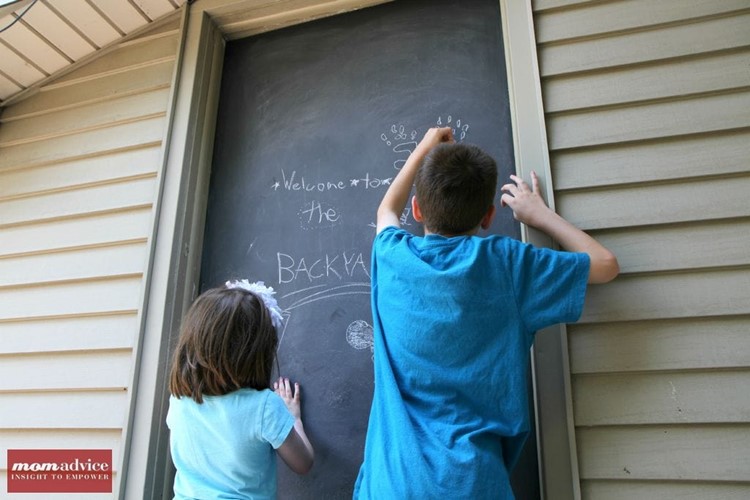
Give your kids some chalk and the chance to create their own welcome sign for your guests outdoors! I hope your family loves this project as much as we do! The best part is the hours of enjoyment they get and the lack of dirt showing on my outdoor door in the backyard.
A win-win for both kids and parents!
If you loved this project, I just know that you will love these ideas for Chalkboard Fun & Outdoor Entertaining!
S’More Toppings Bar Party
DIY Chalkboard Conversation Bubble Cookie Jars
Dollar Store DIY Chalkboard Food Label Frames
DIY Lunchbox Creation Station

Pin It